Wowow! Good to see some paint on the car.
Announcement
Collapse
No announcement yet.
The CR-X
Collapse
X
-
Yep, feels good. I haven't seen it in person yet, but I'm sure it will be much nicer than the janky old black paint.Originally posted by felixR View PostWowow! Good to see some paint on the car.
I think it's mostly sympathetic camera angles that don't show all the ratty old parts. I need to find a good zinc plater to re-do all the hardware!Originally posted by Apu View PostMy build feels so cave-man like in comparison to the detail you've gone to Tom!
Comment
-
After an anxious wait I finally received the car back from the paint shop yesterday, now all that remains is the minor task of putting it together. I'm pretty happy with the colour combination, the exterior is the standard Flint Black Metallic, with the interior and engine bay done in a Satin Silver Metallic-ish colour. All the removable panels not pictured are hidden away until needed, and I still need to get all the plastic mouldings re-done:

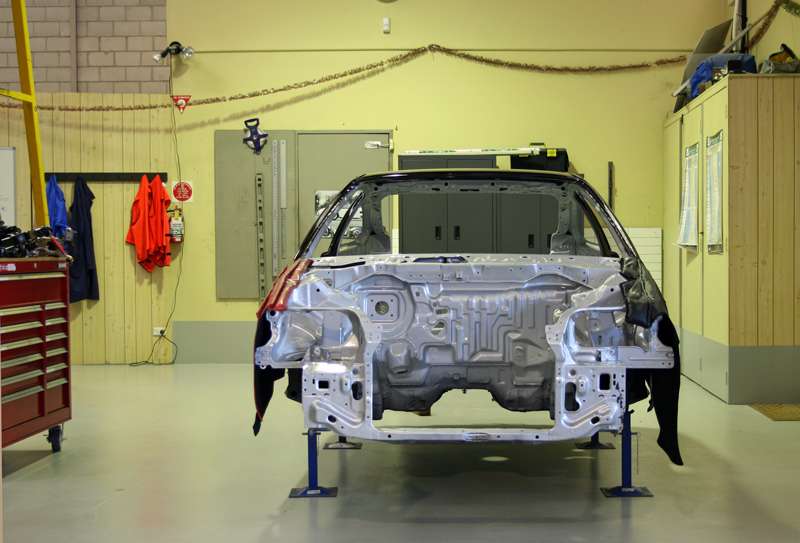
Today I gave it a quick wash, scrubbed the underbody a bit and set it up on stands in the corner of the workshop where it will live for a while:

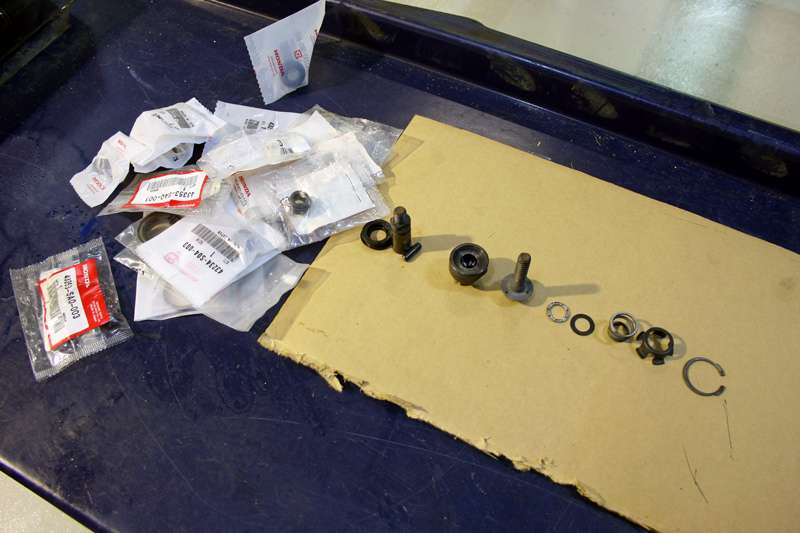
Then I finished up assembling the brake calipers, with all new OEM seals and bits and pieces. There's a surprisingly large number of parts in the handbrake mechanism, hopefully I put it back together in the correct order. I didn't end up with any bits left over though, so I'd call that a great success:

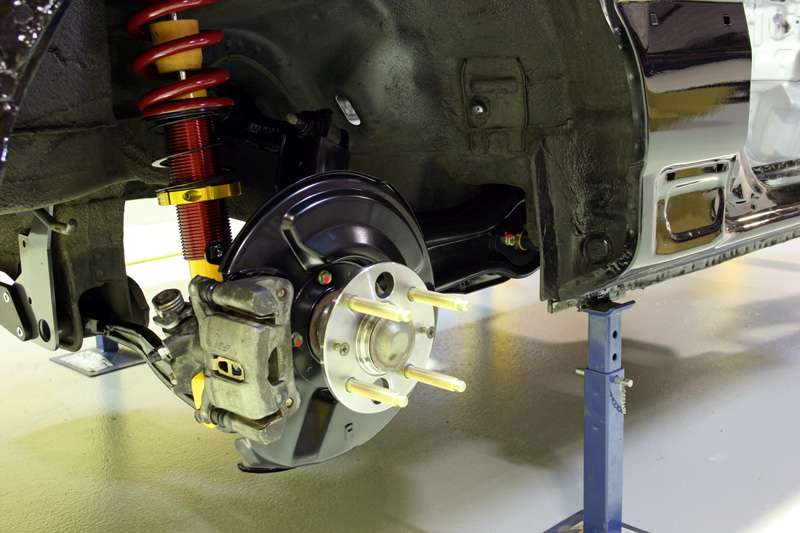
After that I started bolting the suspension into the car so I can roll it around more easily. I got the rear mostly together, until I found that the ASR rear sway bar brackets bolt to tow hook mounting points which the Japanese models don't appear to have. So I'll need to make up a slim reinforcing plate with a couple of nuts welded on to slide in through the end of the chassis:
Next up is to get the front suspension fitted, and once I've got the sub-frame and steering rack in I'll drop the motor and box in and start working on the plumbing and wiring.
Comment
-
Not only that, how did I get it through the doors!Originally posted by Apu View PostInteresting...which hospital do you have connections with to allow to assemble your car there?


Yep, very pleased the boss let me assemble it at my workplace.Originally posted by felixR View PostThat is a nice space indeed.
Thanks, I'm quite happy with the colour combination. Still heaps of time left though!Originally posted by eskimo_firefighter View PostColour combination looks cool! Hopefully it's smooth sailing putting the car back together. Not much time left!
Only just noticed the tinsel when you pointed it out. Our workshop really needs a clean haha. See you at the track in 26 days.Originally posted by butter View PostCan still see your christmas tinsel decorations hung up in the workshop. Glad you got your priorities sorted :P
Looking forward to seeing this out on the track!
58 days! Need some way to embed the countdown thingo from the WTAC site in my thread. Yep the workshop is a bit rough, and that is probably the best example of the DIY electrical workOriginally posted by Shakeel View PostAs an Electrician I love the ingenuity of that plug in sensor light... Good luck with putting the puzzle back together Tom!
Can I officially start the countdown if you haven't already!? 60 days to go
 . A little more progress last night. Started by assembling the steering rack, with new rack ends and boots. Sorry the steering rack is a bit dirty, I don't have time to re-build it at this stage.
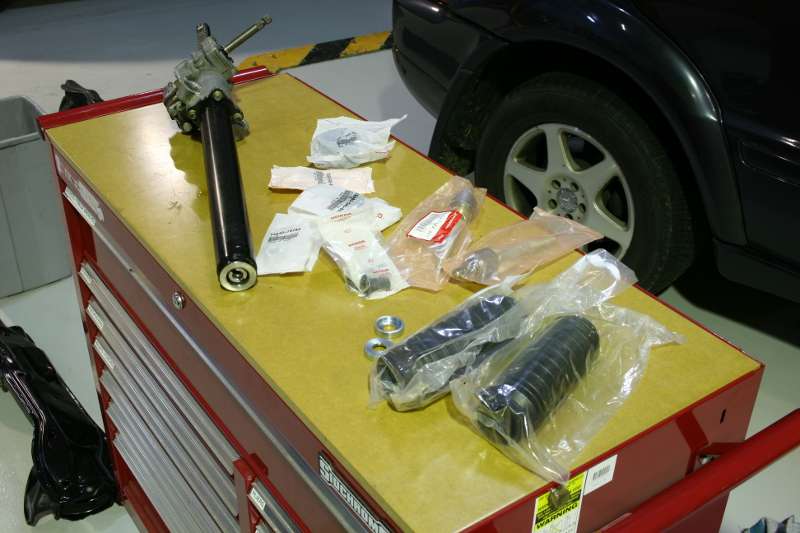
I also fitted a pair of rack stopper spacers that are part of our tie rod end kit. The spacers slightly limit the rack travel to ensure that the tie rod end doesn't contact the inner part of the wheel at full lock. The flat washer that usually fits in this location to limit the rack travel is in the foreground.

All assembled with new rubber rack mounts:

Then fitted it into the car, along with the uprights, upper and lower control arms, coilovers and front swaybar. Apologies for the very ratty looking suspension uprights and upper control arms, I've got replacements under way for both these so I haven't given them the full strip down and re-furbish treatment.

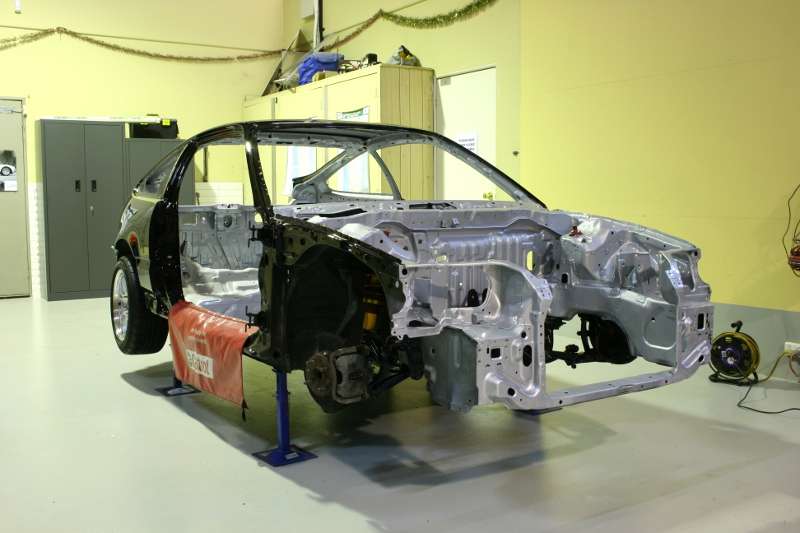
That's where I was up to when I called it a night. Motor in tonight.
Comment
-
Originally posted by Apu View PostNot only do I have "build envy", I now have "workshop envy".Thanks guys.Originally posted by ievaq8 View Postvery fast bro...
keep it up man...
Wait until you see it up close before saying things like that, I don't think it's nearly as clean as your car!Originally posted by mnc View Postmy dream would be to own a crx of this build quality one day. Built and restored from ground up. Very jealous right now.
As promised on Tuesday evening I dropped the engine and gearbox in, hopefully for the last time for a while. No issues fitting it in, all the tweaks I made to the engine mounts way back when I did the test fits have worked well. I did discover that clearance to the steering rack will be quite tight with the ASP header, so I'll need to check that tomorrow night and modify the rack if necessary. Ignore all the mis-matched hardware it's just temporary until I replace all the trashy Hasport stuff with OEM flange bolts and nuts.
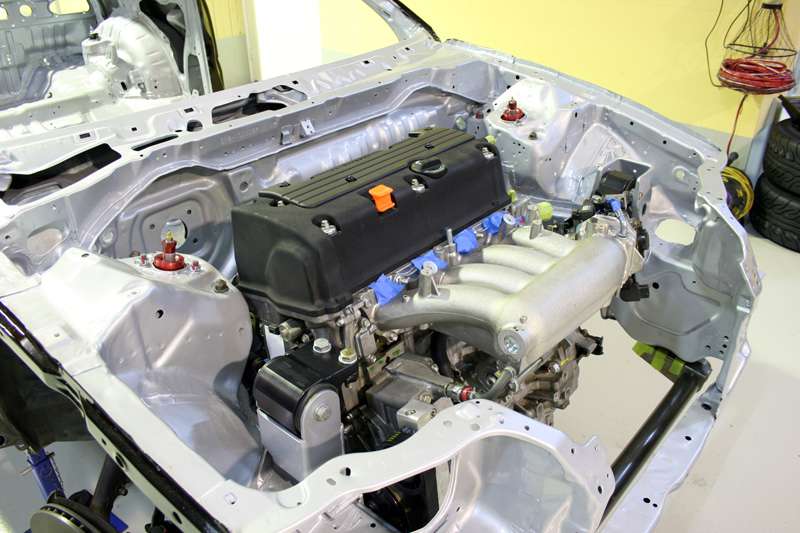
I then bolted a few more bits and pieces on, including the alternator, and night moved on to mocking up a radiator in cardboard, with the help of Grant/Itsu-san. Here's my radiator template in place, the power of cardboard dreams:

Here's where I got up to before I got tired and went home.
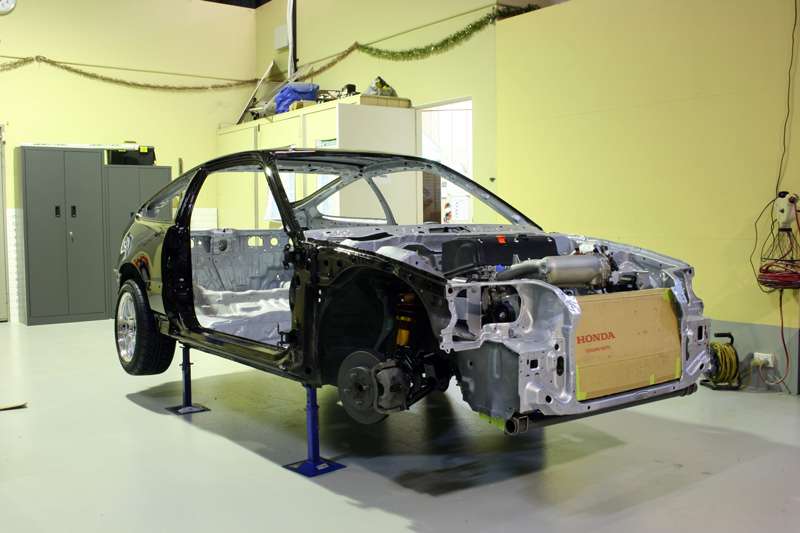
The radiator will be only slightly smaller in frontal area than the standard EF8 part (needed for clearance from the alternator) but with the increase in thickness it should function well enough. I had hoped to mount the radiator off the top of my fabricated front suspension cross-member, but unfortunately the alternator occupies that space.
I then modelled up the radiator ready to send off to the good folks at PWR.

Picked up the final part of my traction bar puzzle today, so I'm aiming to put that together tomorrow night, test fit the ASP header again, and put my pedal assembly and brake master cylinder back in.
Comment


Comment