Originally posted by DC2R
View Post
-
Maybe you can take pics of the seat you've already done and another picture you're about to do. I am sure that would make a good comparison! -
well as said on my last update the wheel refurb was next soooo....
thats what i! did after phoning a few local company's i finally decided on the company to go with so removed my wheels!
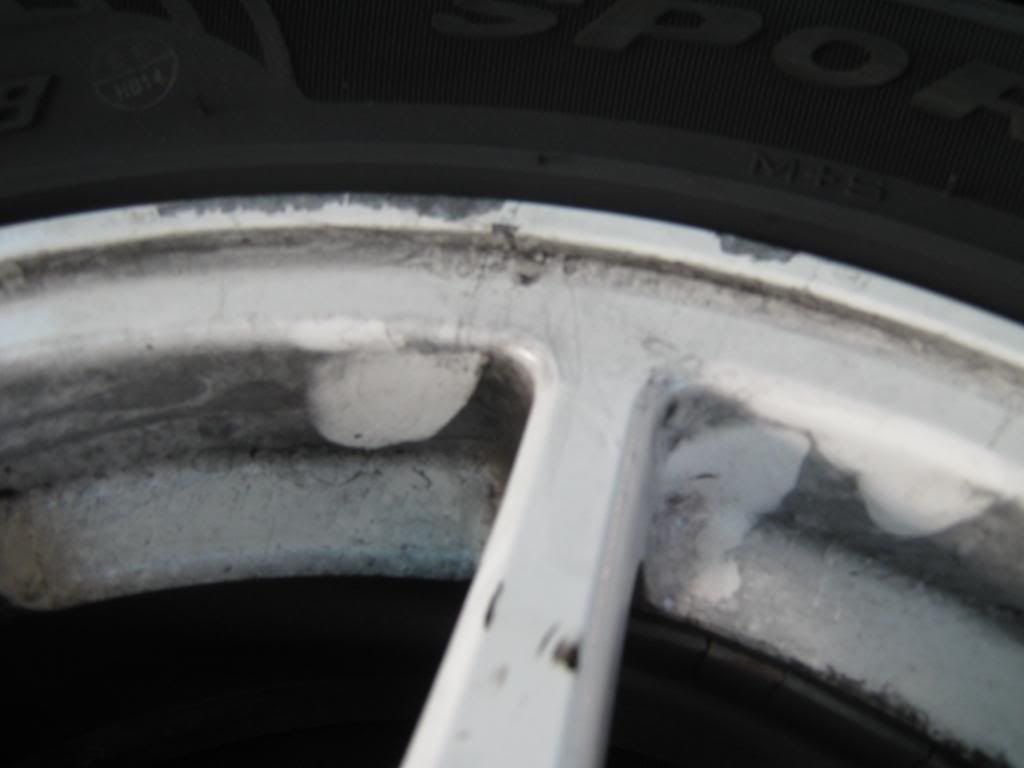
well so heres the pics of my wheels before i sent them off not too bad but they had some paint flaking off and some marks
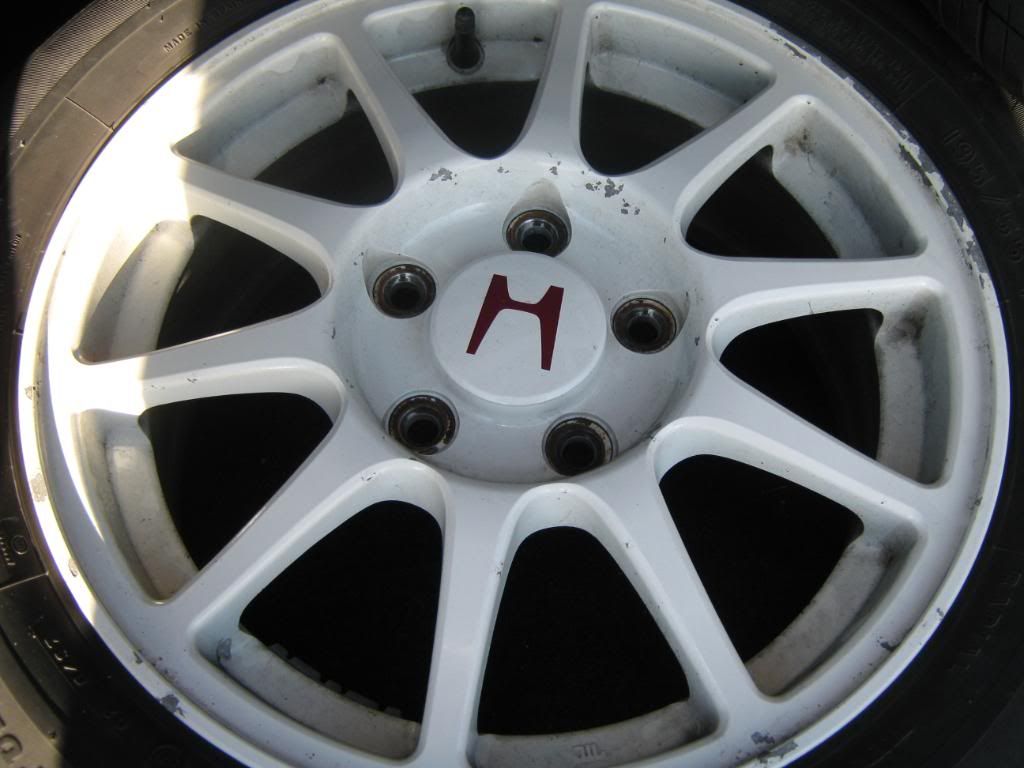

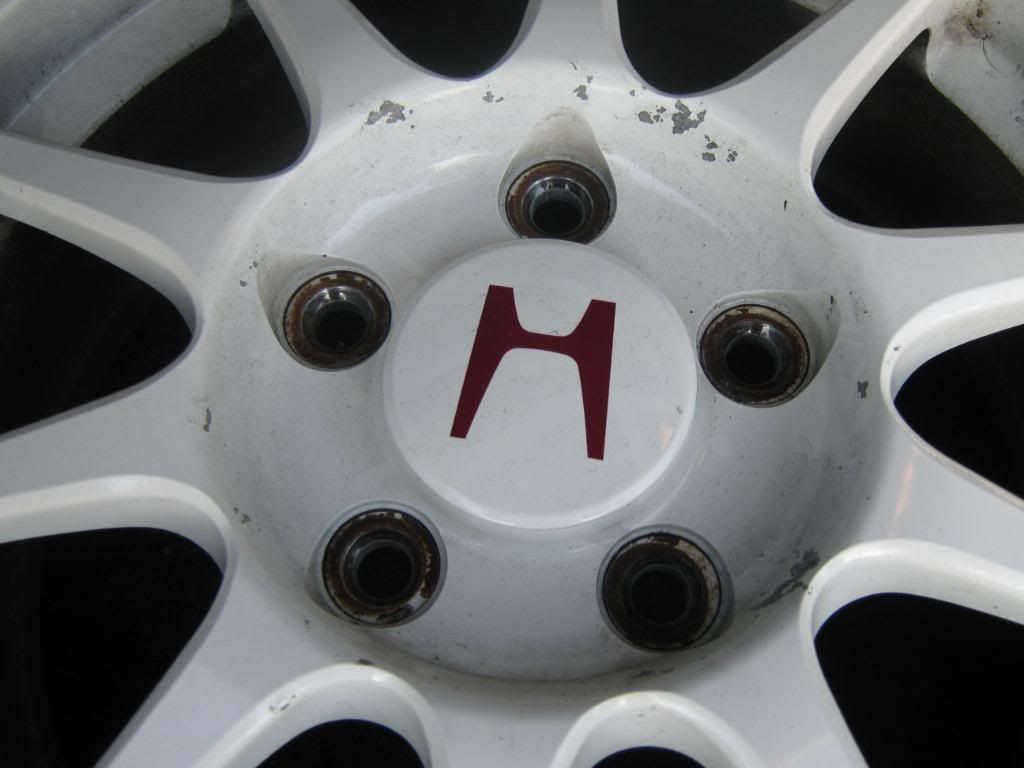
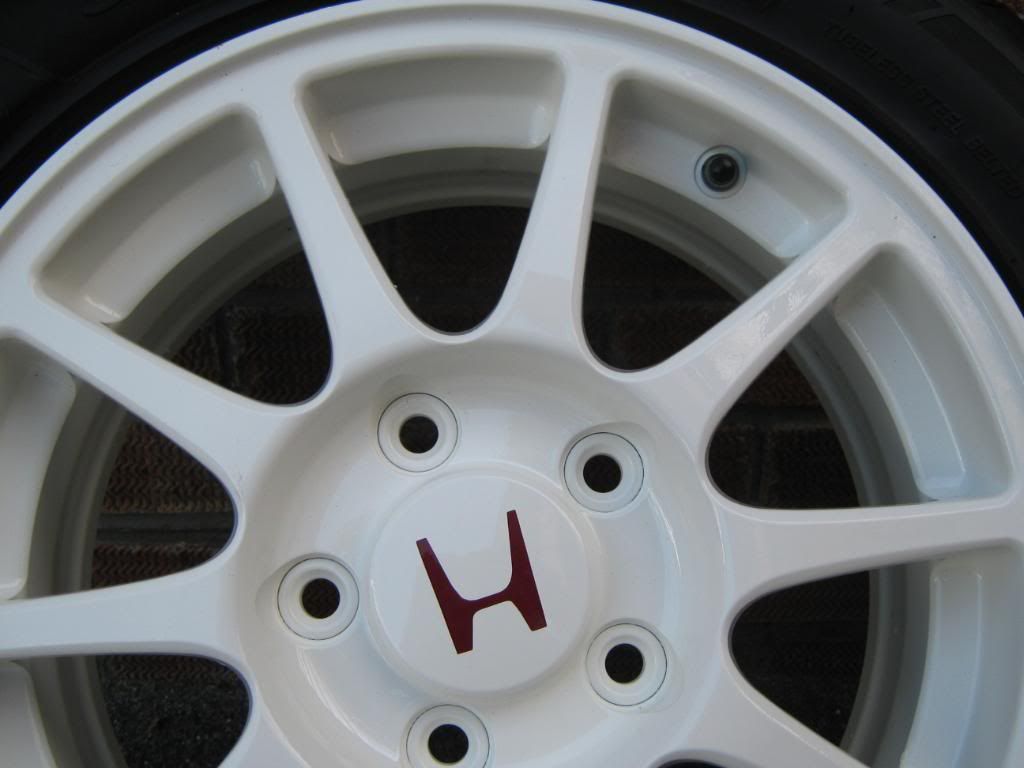
[b]I got hold of sticker dude on here and ordered some centre decals in the original size and colour must thankyou sticker dude the stickers where perfect and arrived quickly i highly recomend him and his products thanks again,Anyways i managed to get my hands on some civic type r wheels:
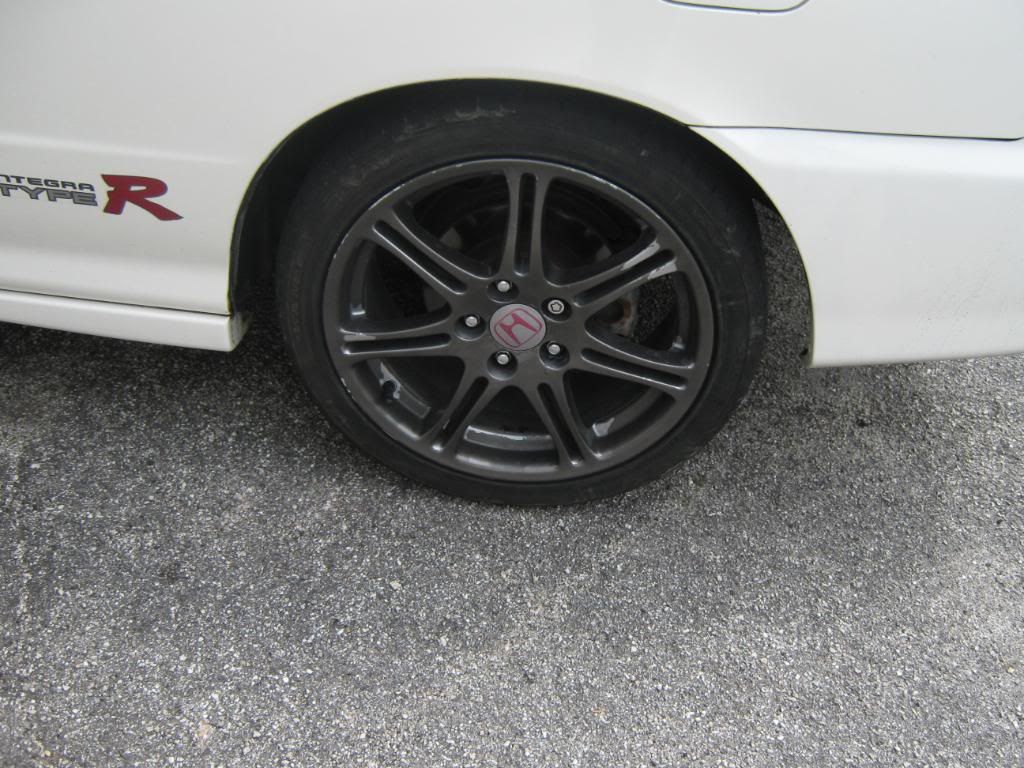
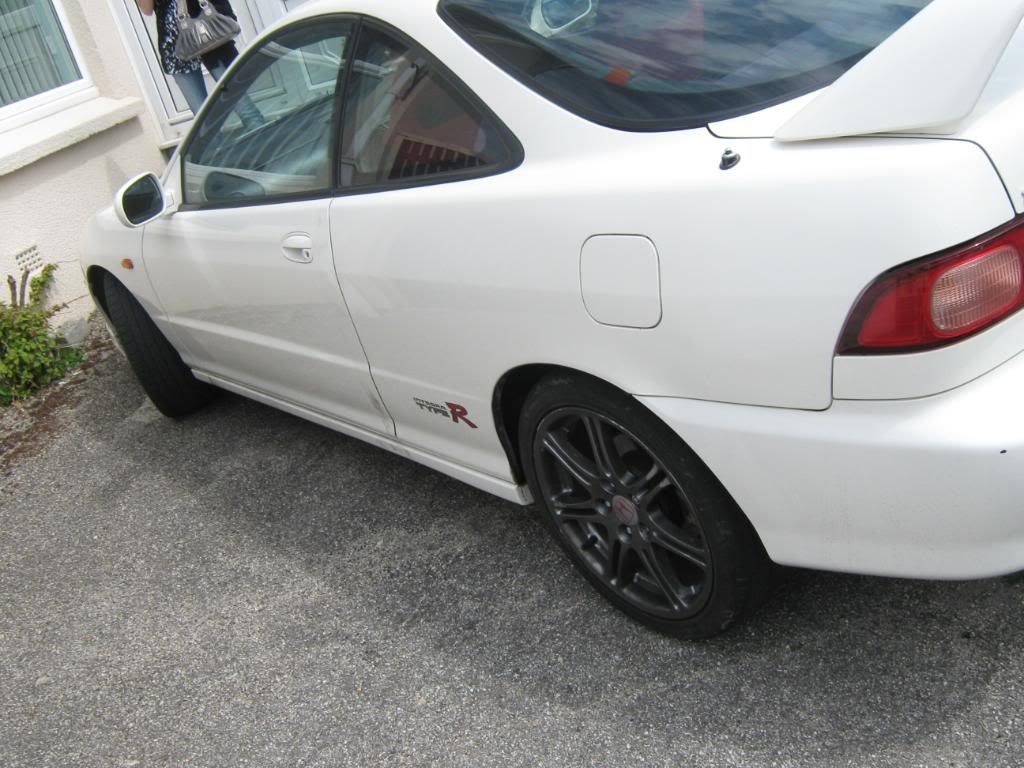
I loved the look of these on the car but after driving it with them on i would of honestly not bought the car if it drove like that when i went to see it!! hated it it tramlined everywhere and felt real heavy on the stearing...
anyways after a bit of waiting i got my new sexy rims (old) back i believe they sprayd them in 4 year old cw paint from honda.
and here they are:
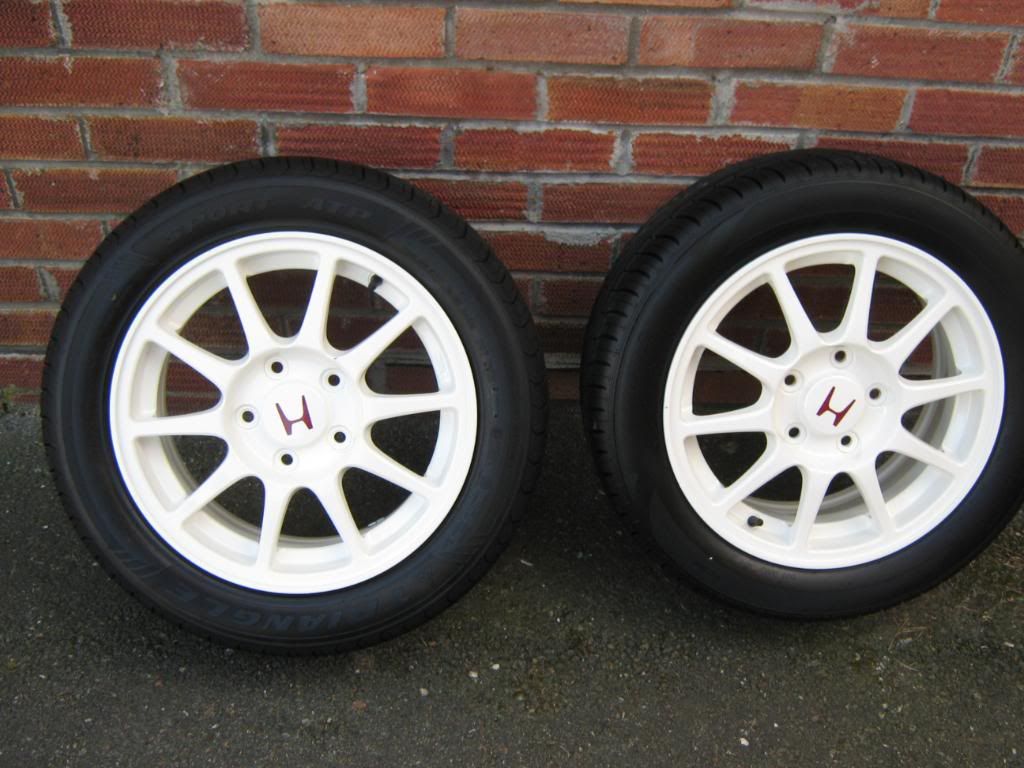

hope u like!! will get some pics of the wheels on the car real soon also have done a few other bits which i shall post up very soon.....
let me know what u think...
Comment
-
nice work ! looks awesome, bitch to keep clean thoughComment
-
tell me about it every other bloody day luckily my missus is very understanding!!
but hey i love the look of the white wheels so is worth the effort for now.......
Comment
-
anyone know of any good wheel waxes and or wheel cleaners? the brake dust is now starting to stick even with constant cleaning!Comment
-
sooo has been awhile since i did a propr up date have been pretty busy with work glastonbury,the f1(silverstone) and just general commitments but have managed to do a few bits!:lol:
i bought a brand new honda front badge (looks nice a bright red) but am only fitting this after i have had the front spliter and front bumper resprayed(car has some stone chips but when i got the car has a little scuff on the splitter and want this to be sorted so she is looking clean)
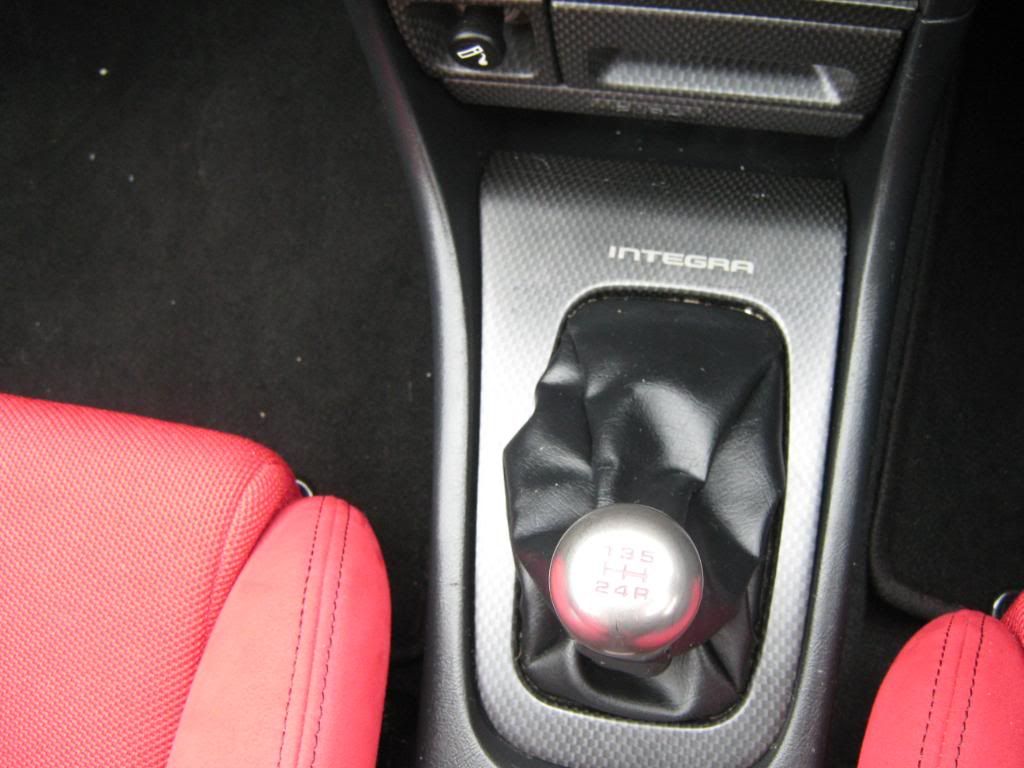
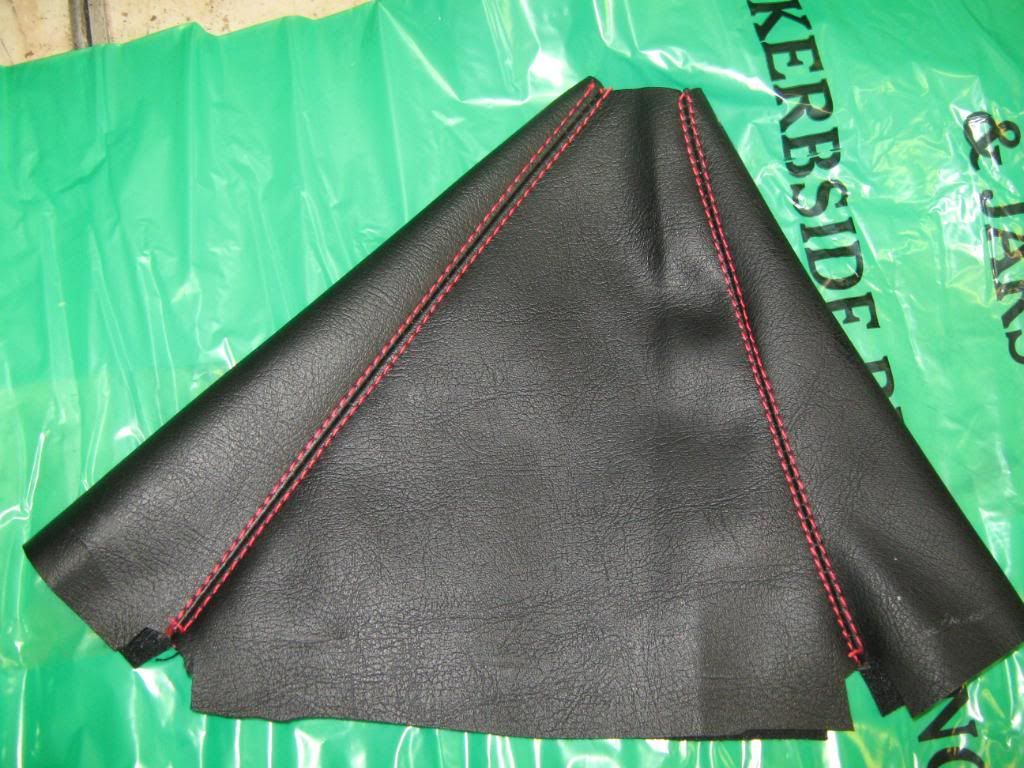
so i decided i wanted the red stitched leather gear gaiter that come in the jap spec motors find it weird they didnt put them in as standard espically considering u get the red stitched steering wheel but hey! so i got hold of tegwia and bought a red stitched gaiter.
so here my standard gaiter and the new one
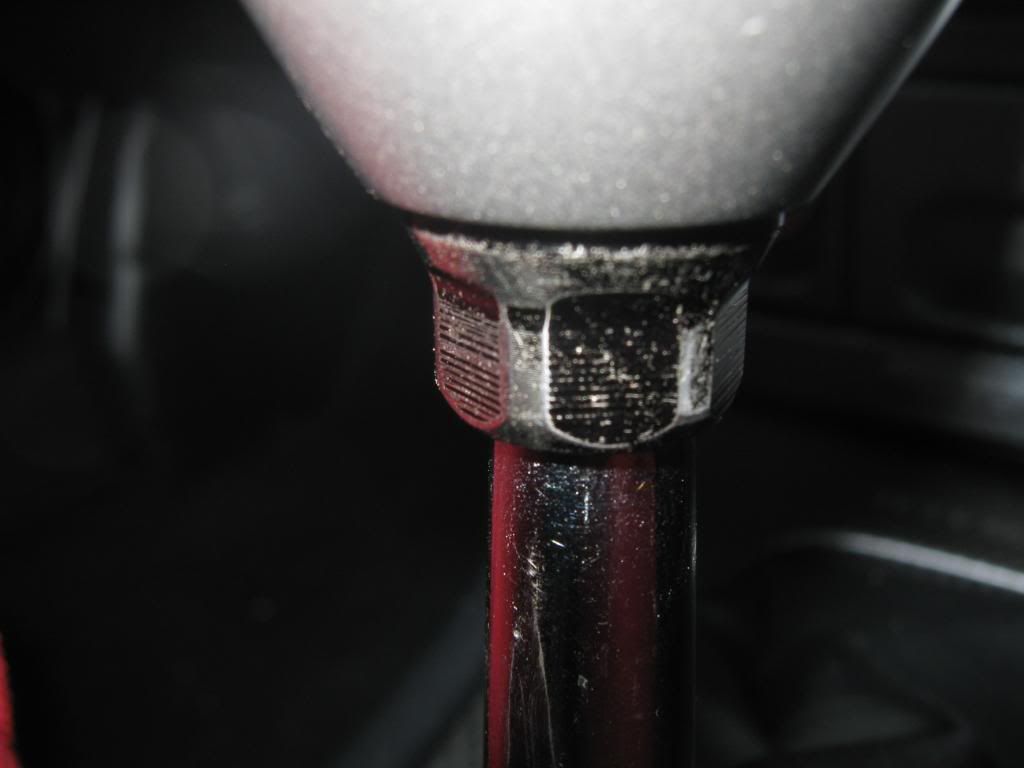
So started by loosening off this nut:

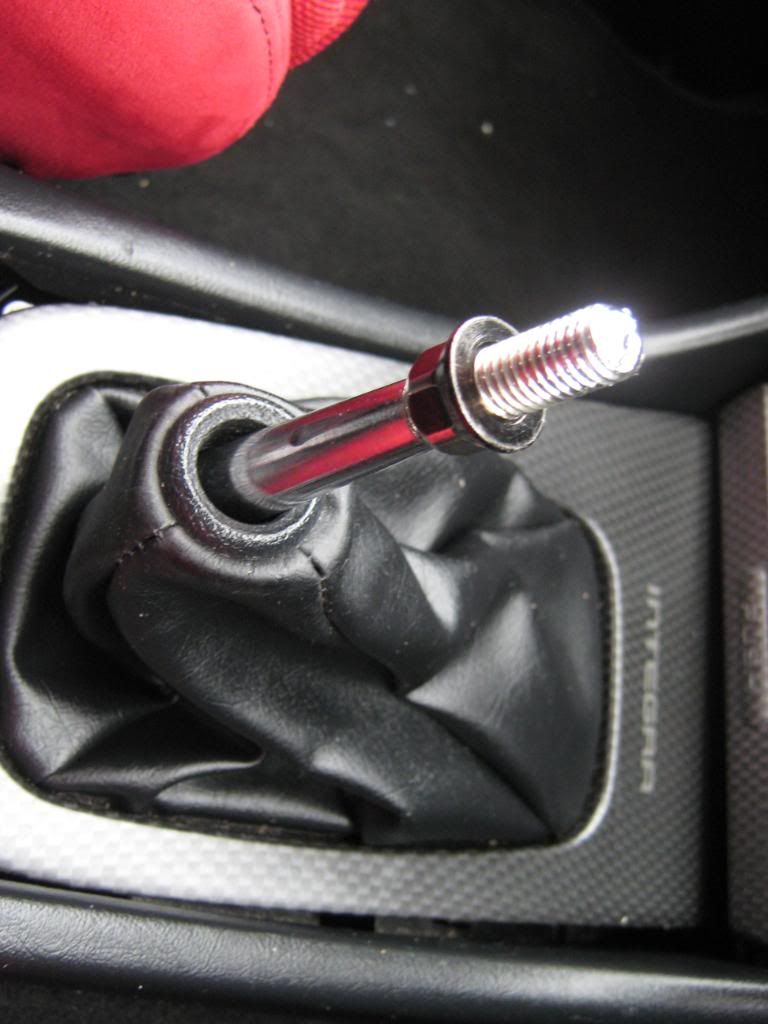
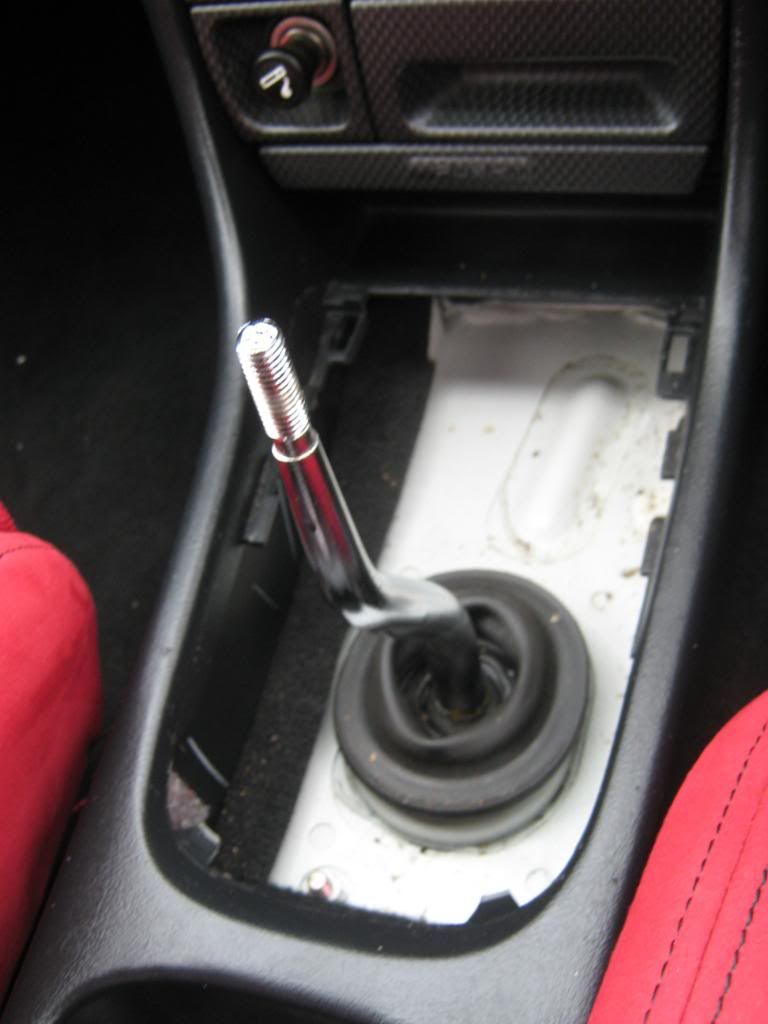
[b]I then unscrewed the gearknob and loosened the base plate the gaiter is attached to u do this by lifting the fron of the panel up first as indicated:

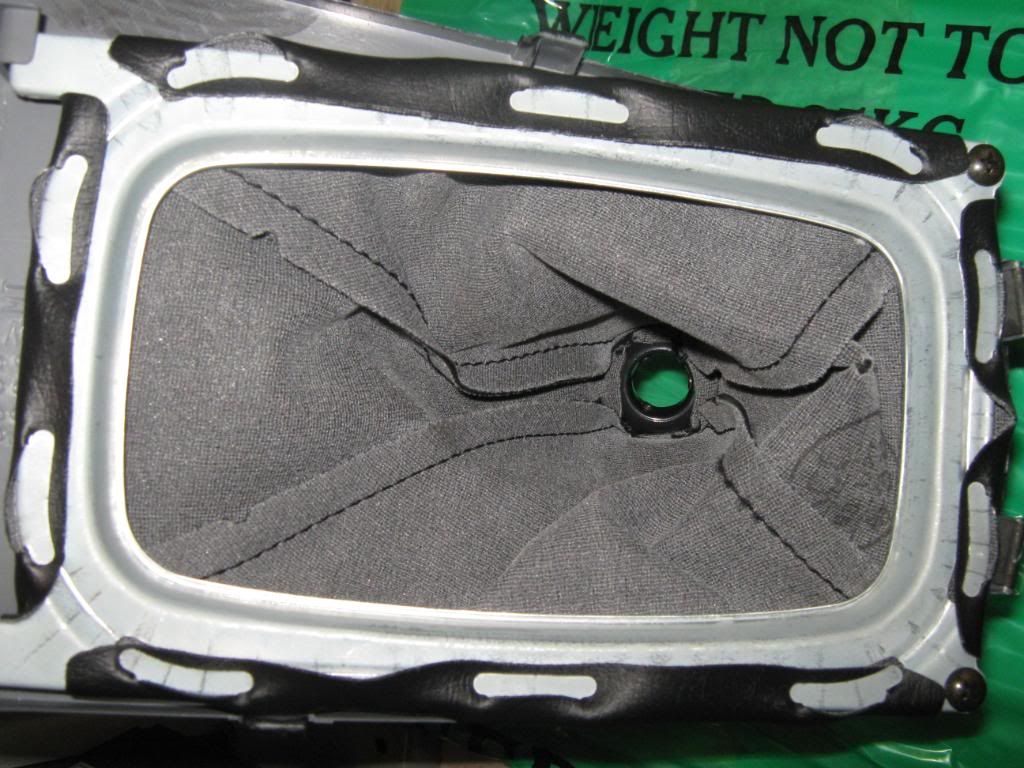
So with the gaiter and surround removed i went into the warmth of the garage! and begin the dismantel there are two screws underneath undo these and the metal frame the gaiter is mounted to comes away from the plastic carbon fiber look a like mould after this all u have to do is unclip the gaiter from the metal tags here are some pics:Comment
-
the screws:
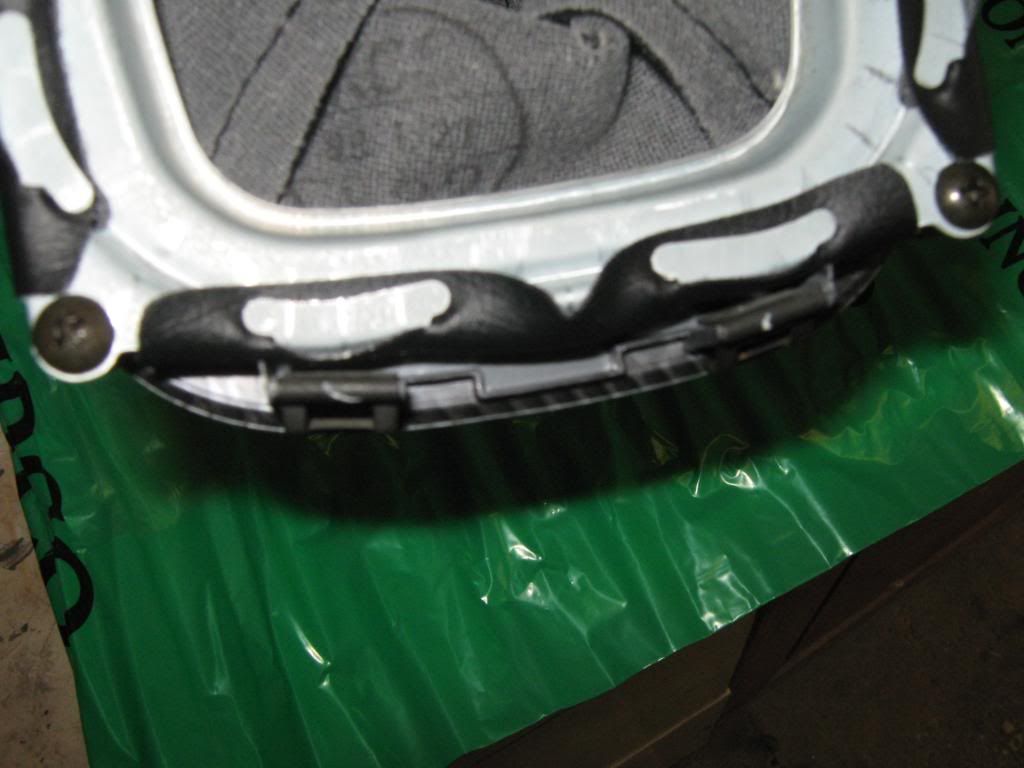
the metal clips

So when this is done just do the reverse to fit the gaiter if ur a eagle eyed legend u will have noticed there is no plastic collet that is on the standard one this is only held on with a rubber ring to which also holds the gaiter like this:
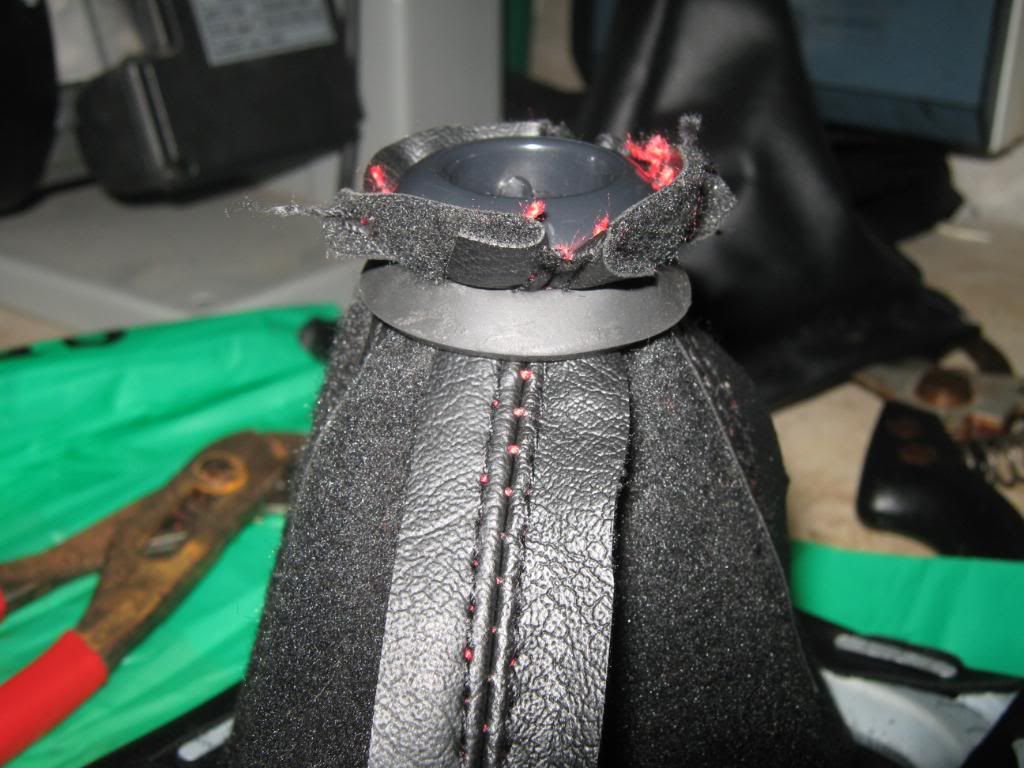
So u just remove this and then refit it to the new gaiter leaving a small amount just protruding out of the rubber band u then just turn it out so its the right way out and refit the as u removed (make sure the gear knob is straight when refitted!):lol::lol:
And so here is the finished product:
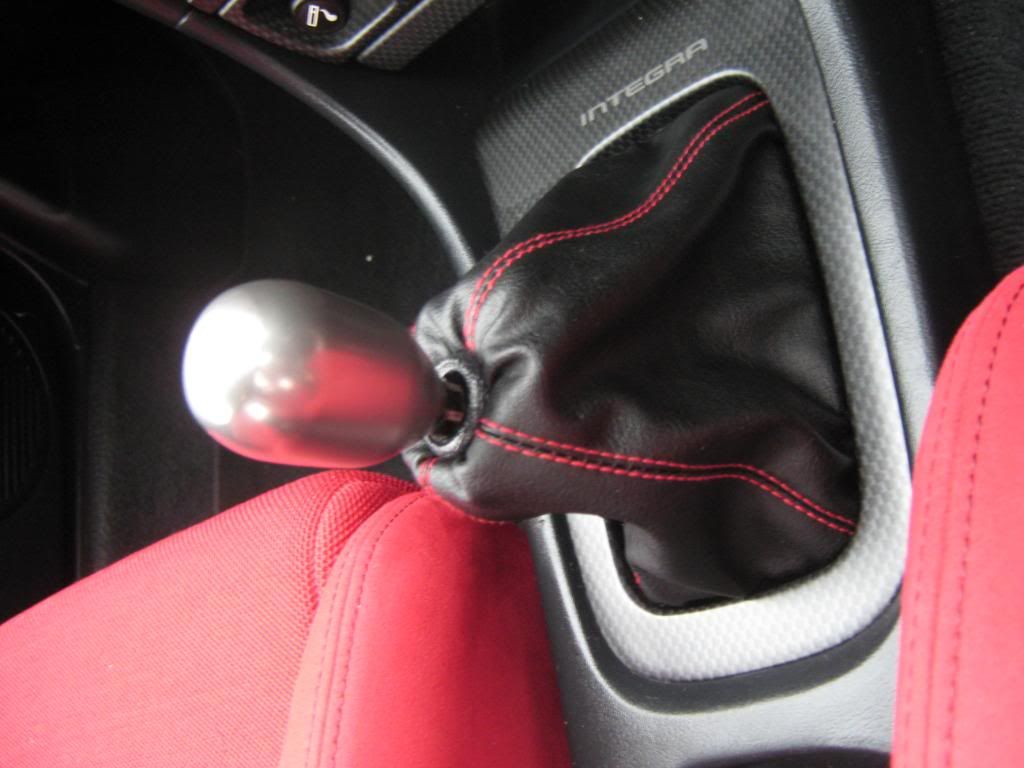
gotta say the tegwia gaiter is a nice quality well priced piece of kit so big thanks to them,
so what u guys think?Comment
-
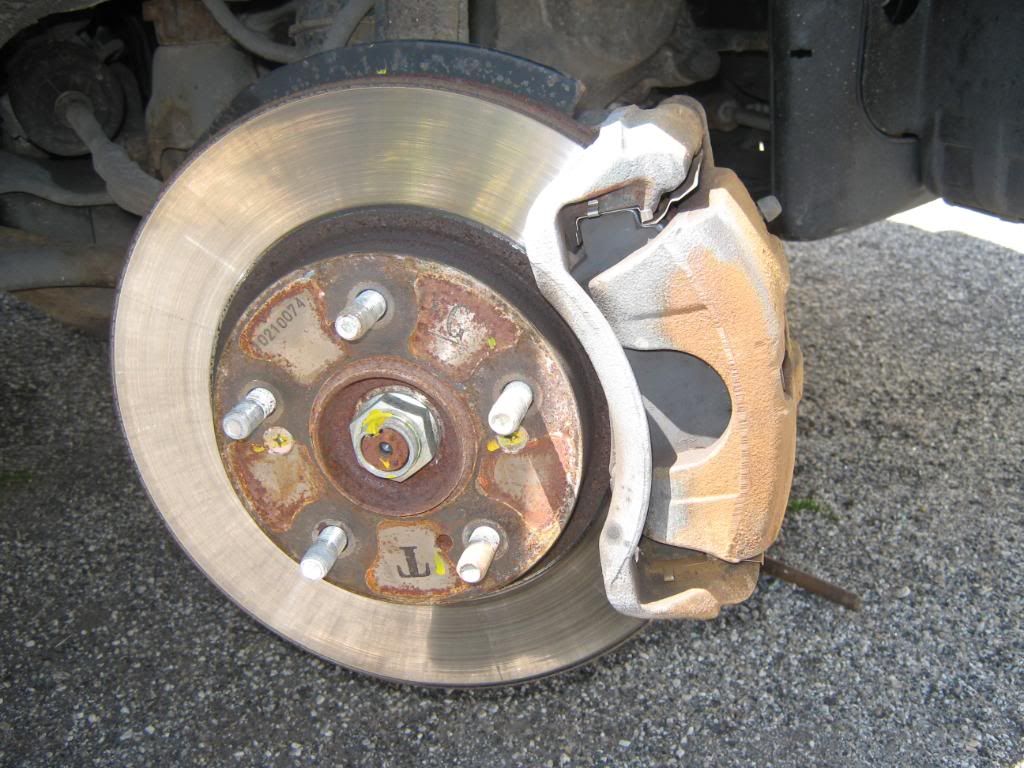
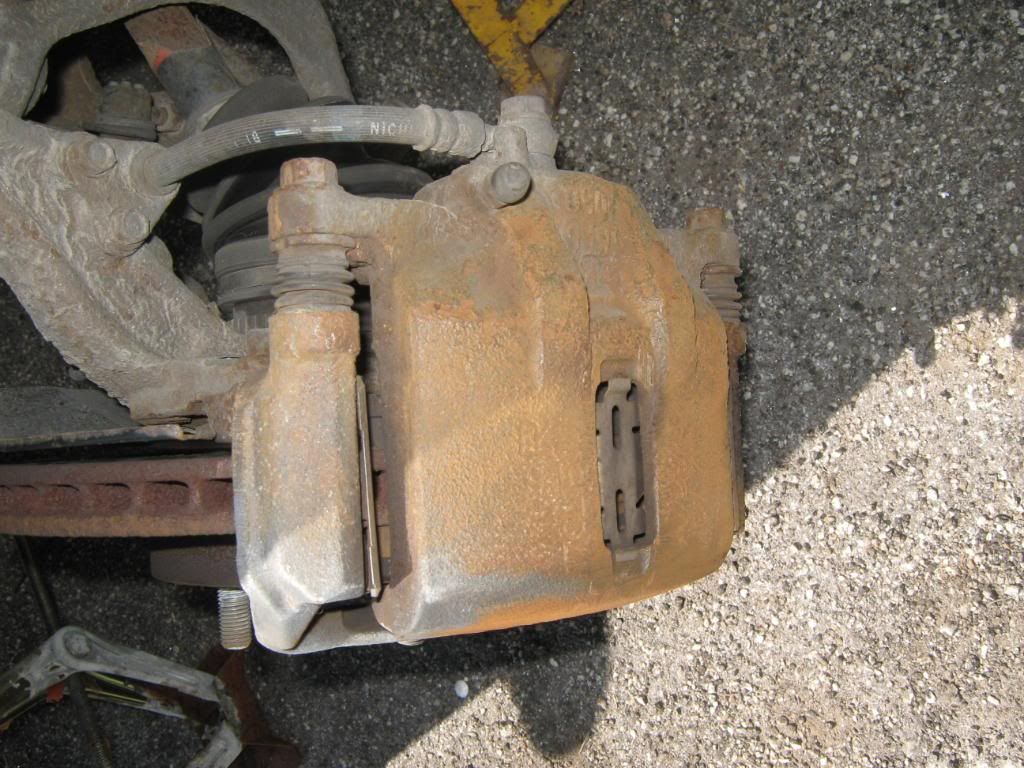
Well after looking at my brakes i thought they where starting to look a bit boring and rusty so with the wheels being refurbed thought some painted calipers to make them stand out a little more was in order so i got to work:
before:
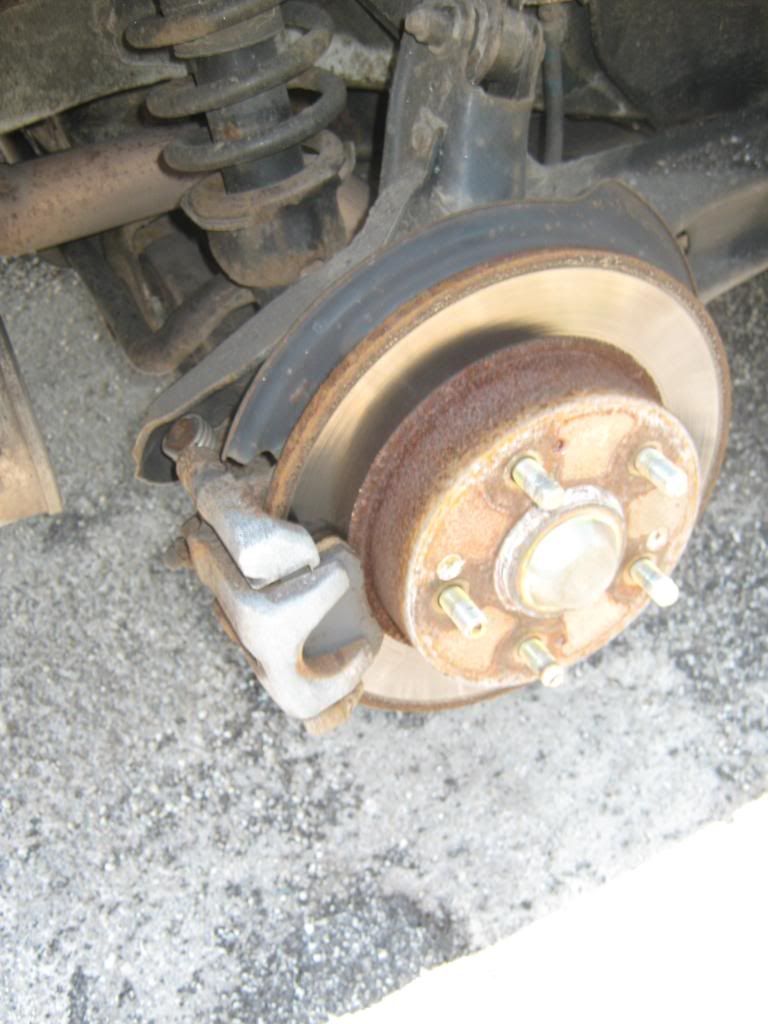
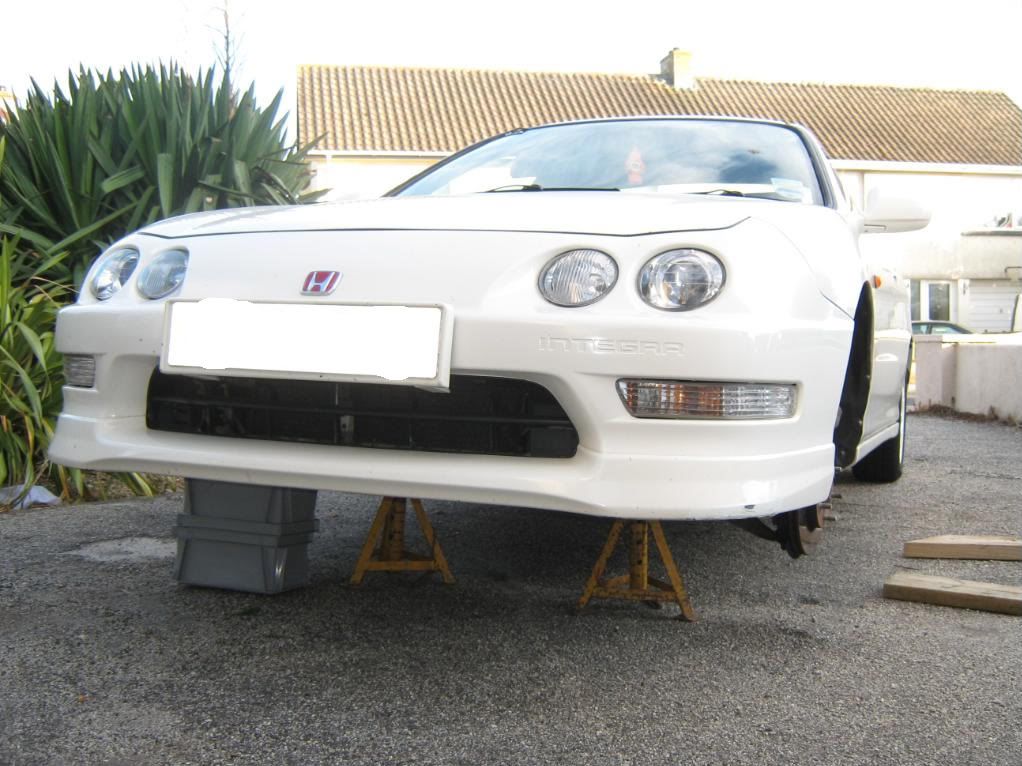
[b]so i jacked the car up and got her on axle stands and removed the carriers and un bolted the calipers:[b]
Comment
-
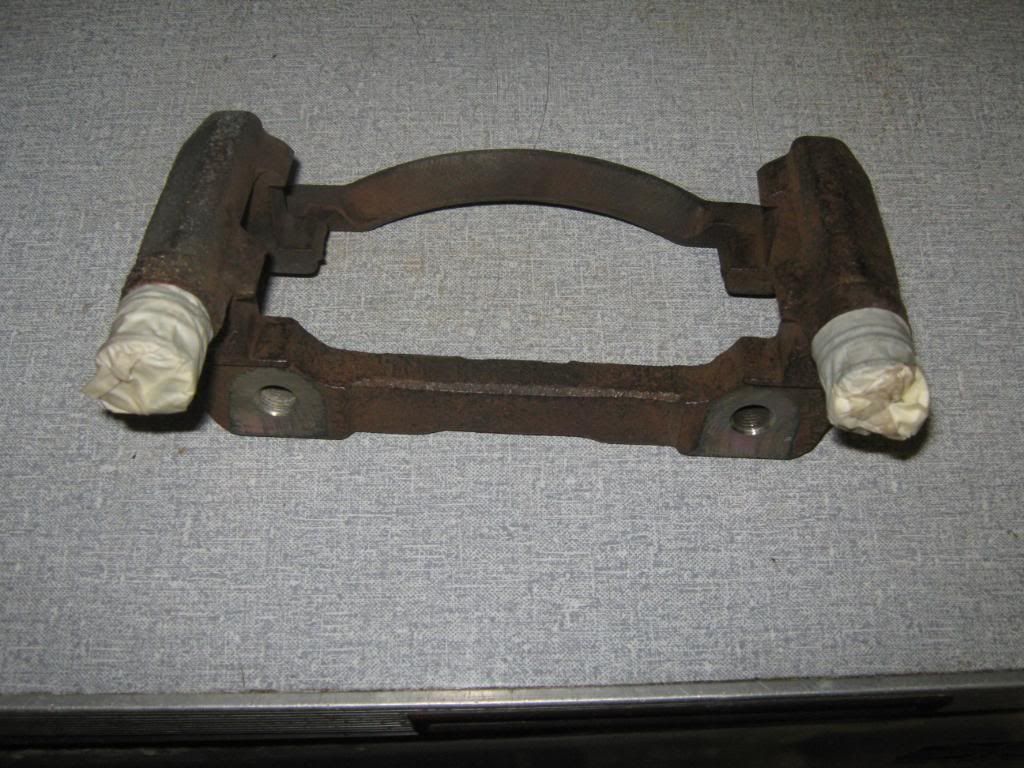
so after doing that i wire brushed and sanded them down and used cleaners to get them nice and ready for the painting procedure,I strung the carriers up,and masked up the brake areas i didnt want painted and got to work!: :lol:
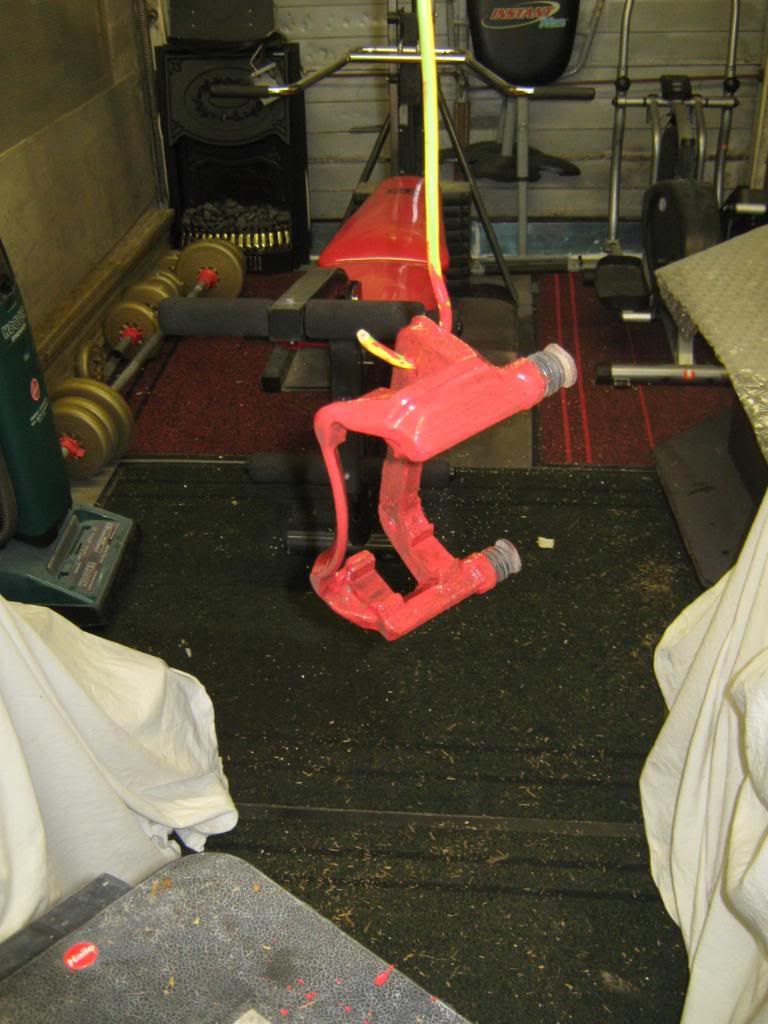
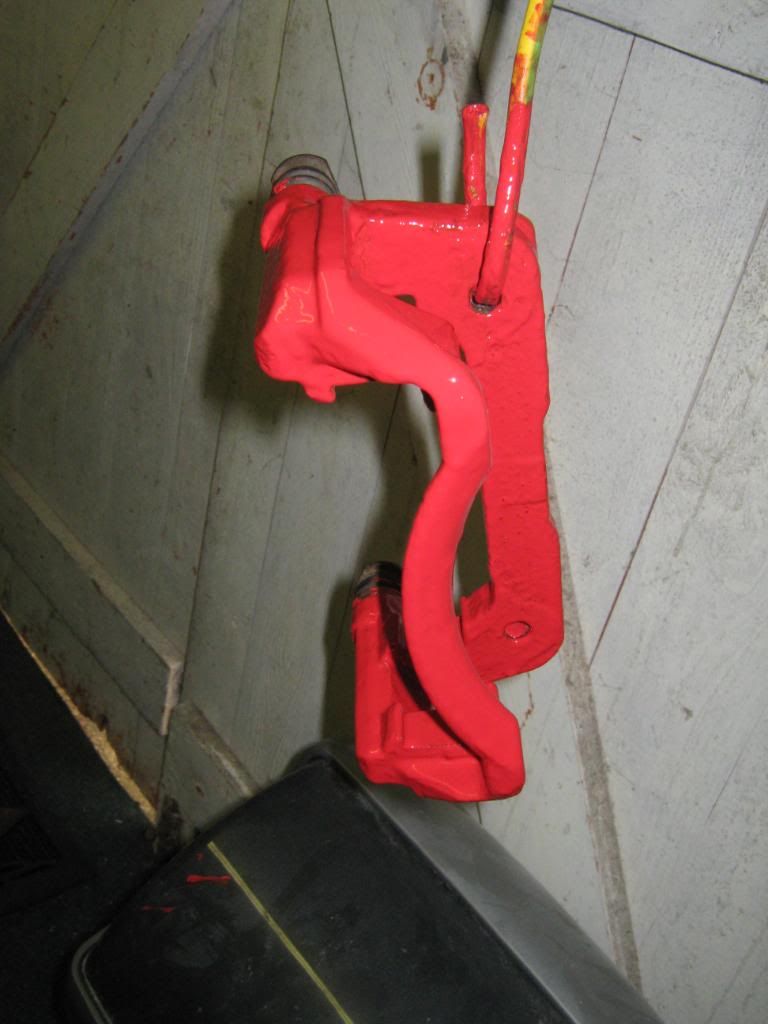

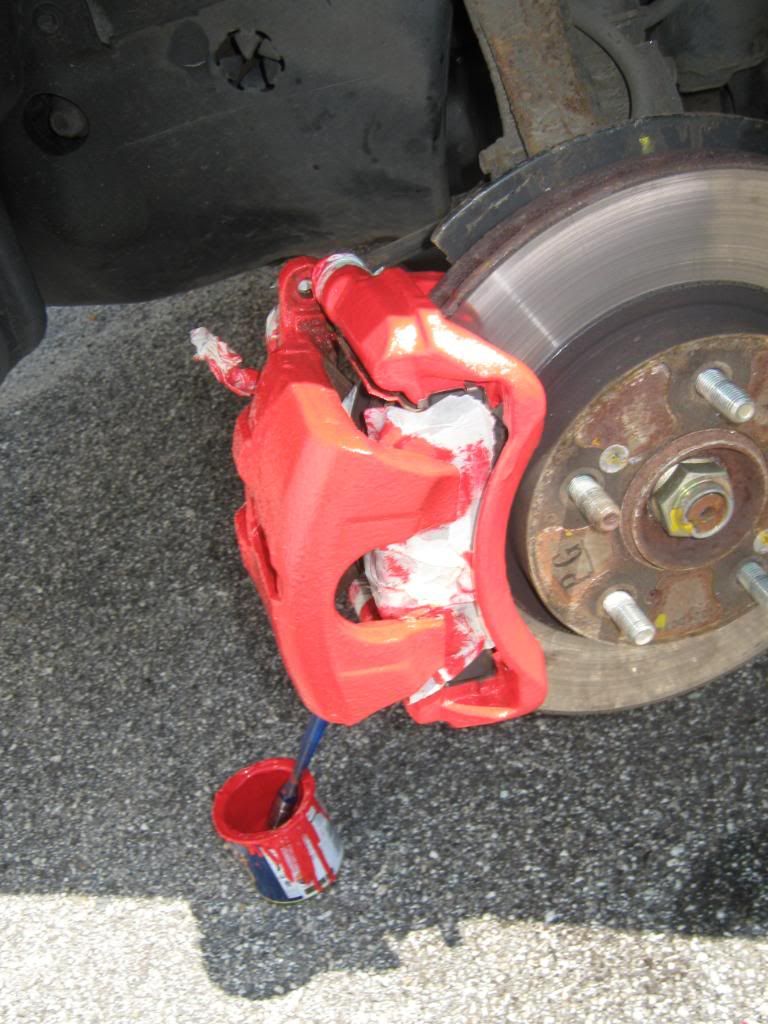
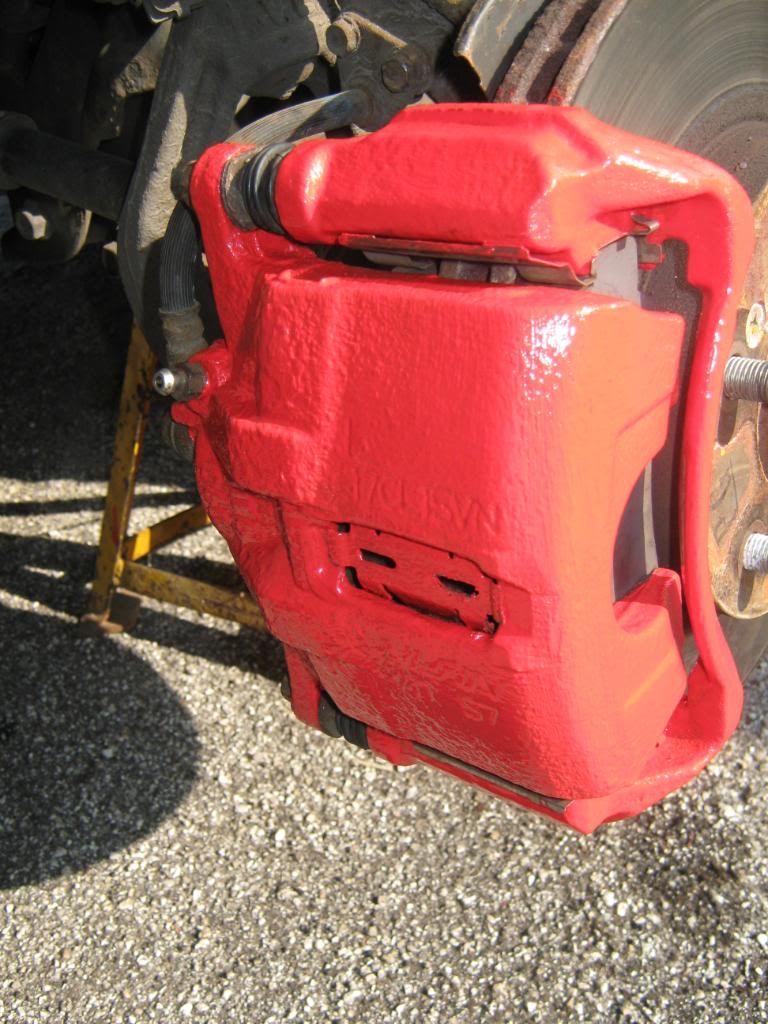
the finished article:
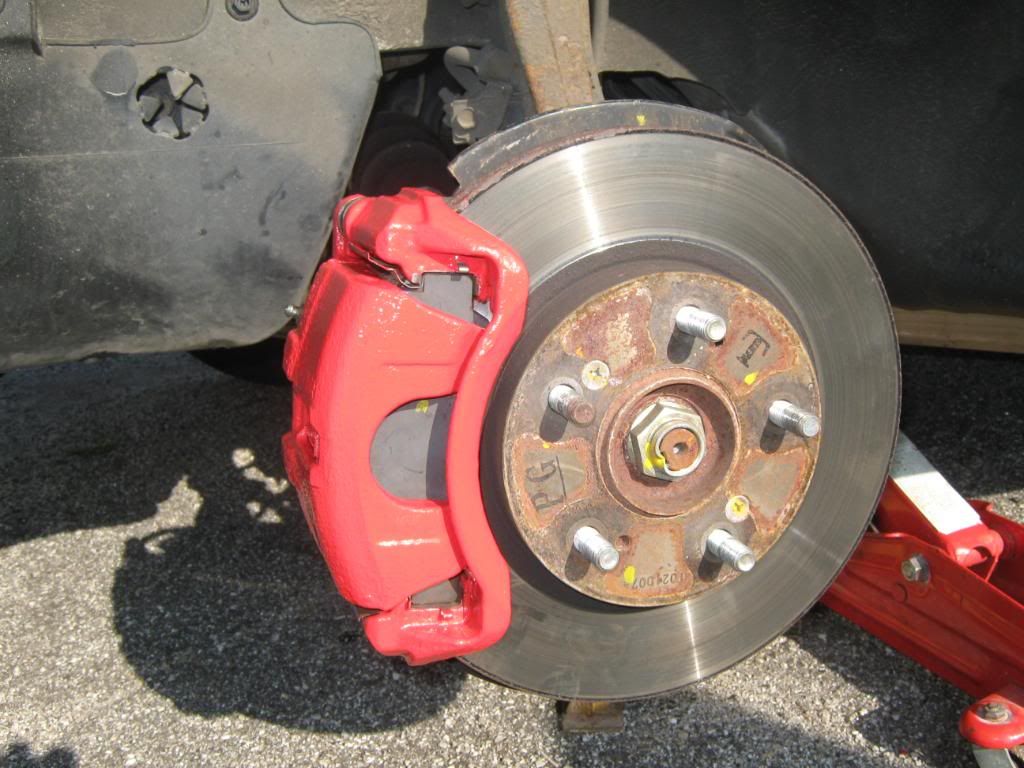
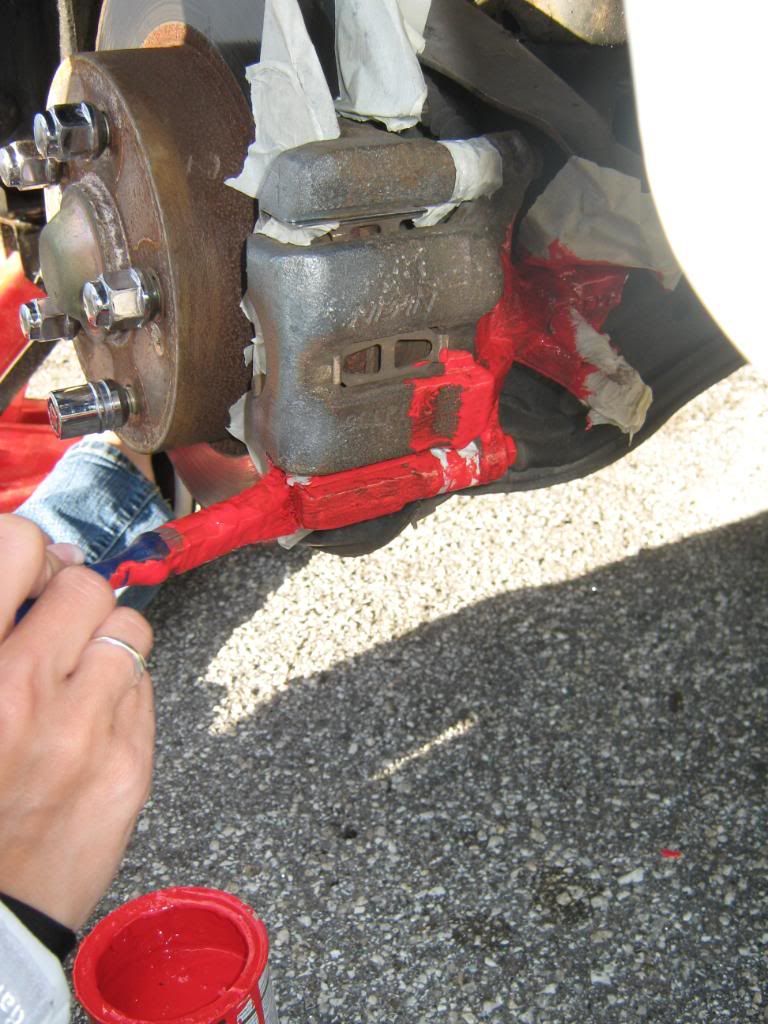
with the wheels fitted before the painting and after:
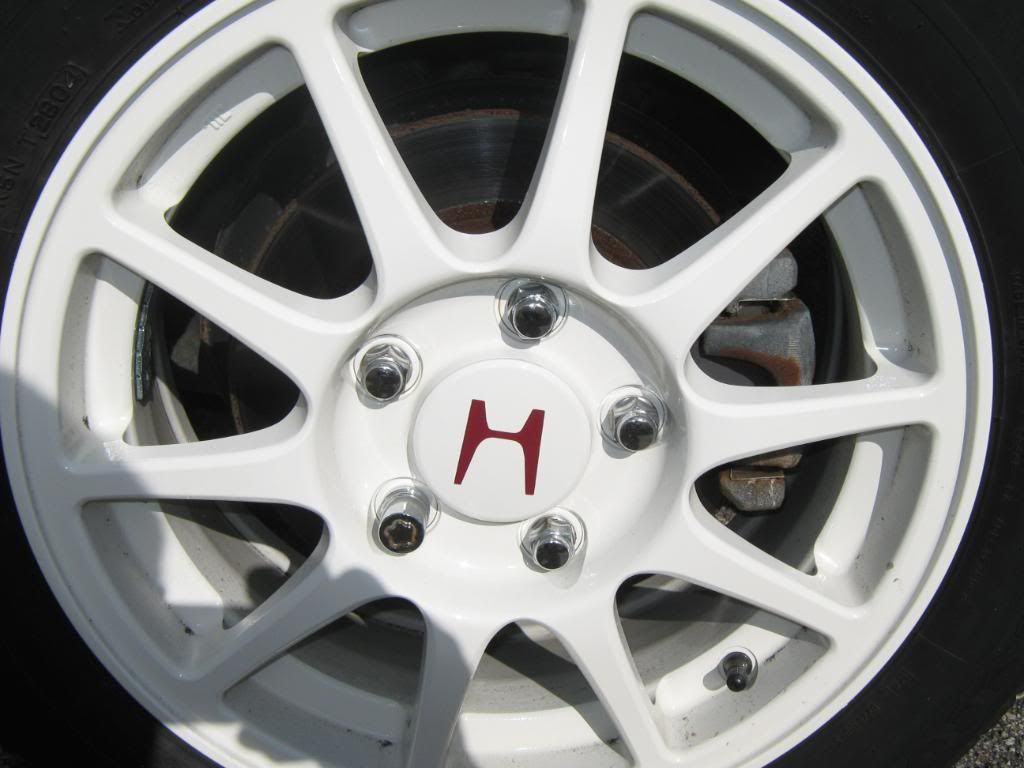
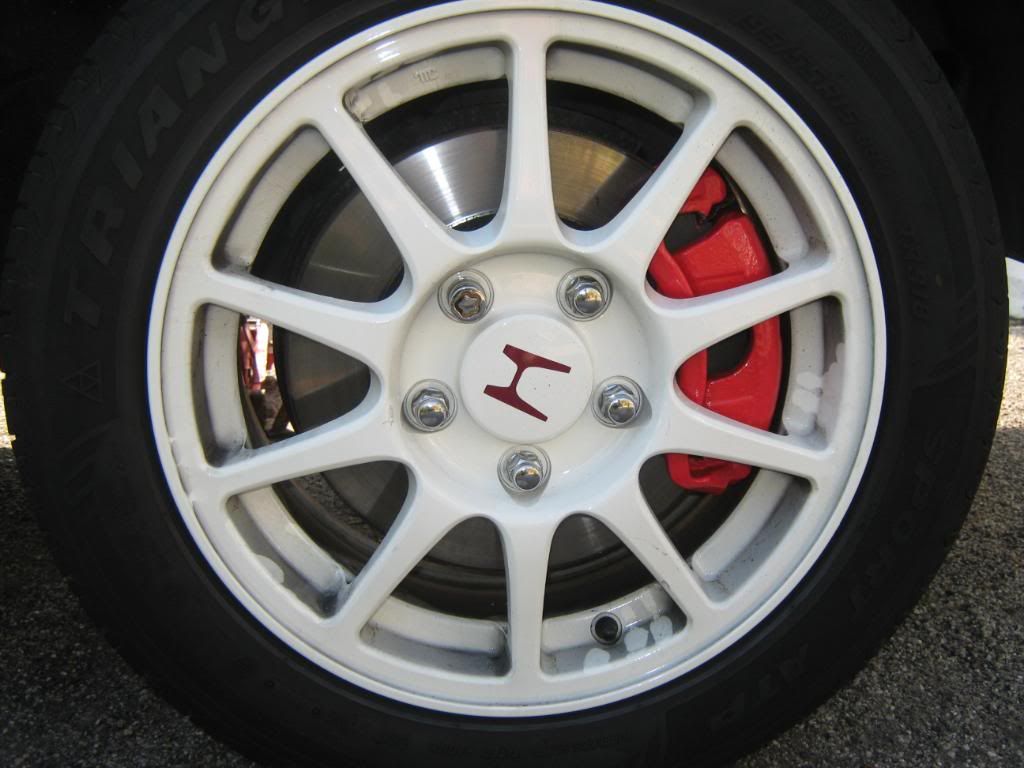
to be honest i love the finished look and makes a massive differenece to the overall look of the car one of my favourite things i have done pretty sure it wont be everyones cup of tea but hey it my car!
:lol: :lol: 8)Comment
-
great work thought about painting my brakes never done it, always worried about overspray, looks great against the white wheels. did the gaitor a while back couldnt work out why honda didnt fit it originally looks great with the seats (i have black seats and red stitching) i noticed your wheels are dirty hahahaComment
-
cheers mate yeah i decided on going with a paint pot rather than using a spray can to eliminate the overspray aspect i just used a can of red can of hamerite and seems to have worked a treat was a bit worried that the heat may effect the paint but its been done for awhile now and seems absouletly fine fingers crossed!
yeah the red stitching just looks soo much better seems such a little silly thing the didnt fit is weird the jdm's also get the passenger side window switch in carbon why only in the jdm's!!! so random whats even randomer is not one model gets the passenger air vent in carbon makes the interior look miss matched from standard!!
yeah the wheels where dirty even when i just clean them they get bloody dirty within 30 seconds the beauty of white bloody wheels!!hahahahahComment
-
just a quick update yesterday i decided to change the gearbox and engine oil what i used:
a pit
3 bottles of genuine honda mtf3 gearbox oil
fuchs 5w 40 engine oil
funnel long pipe.
so i put her on the pit and drained the gearbox oil and engine oil and left it for awhile so it could drain out aswell as i could allow it too,i would of taken pics of the gearbox oil change but there are a few threads on here that show u how too soo...
so i replaced the gearbox drain plug and the sump plug,i then removed the filling plug on the gearbox fed the pipe from the funnel down from the top of the engine and fed the pipe into the filler hole and began the tipping it took just under 2 and a half bottles of the gearbox oil pulled the pipe out and waited for it to level off (allowed the oil to come out untill it was level with the whole) then replaced the filler plug.
then i removed the oil filler cap and used a different funnel and filled the engine up with oil shll give no details on this as im sure u have done and heard it all before!!!
after wards i have noticed that the box seems nice and smooth and just drives all smooth havent driven her for long so shall keep all updated to any changes or not hopefully! am a happy bunny have been wanting to do the box oil since the day i got her got some more updates with pics next....Comment
-
did the GB oil stink badly?... retired/Comment
-
how often should we change the GB oil?Comment
-
i do it every 20,000.Comment
Comment