Great project, will you need to get it tuned to suit the new turbo set up?
-
Honed - WEB: https://honeddevelopments.com/ FB: https://www.facebook.com/honeddevelopments -
Awesome work, thanks for sharing! Love the old school Japanese mini rockets like the City Turbo and Autozam AZ-1.
I did the same thing with angle grinding off the shift linkage in my EK, glad that I wasn't the only one that did that, haha.Comment
-
This is great. I vote extended track use of this vehicle once complete, could apply for a special dispensation to compete in the exhibition class in a certain upcoming sprint series.Comment
-
Thanks guys! I'll definitely keep this thread up to date.
Shouldn't do. We're using the standard actuator so it'll be running the same amount of boost. There's more headroom in this turbo if we want to push it harder down the track but given we've never even heard the car running, we're not thinking about upgrades yet.Originally posted by itsu-san View Post
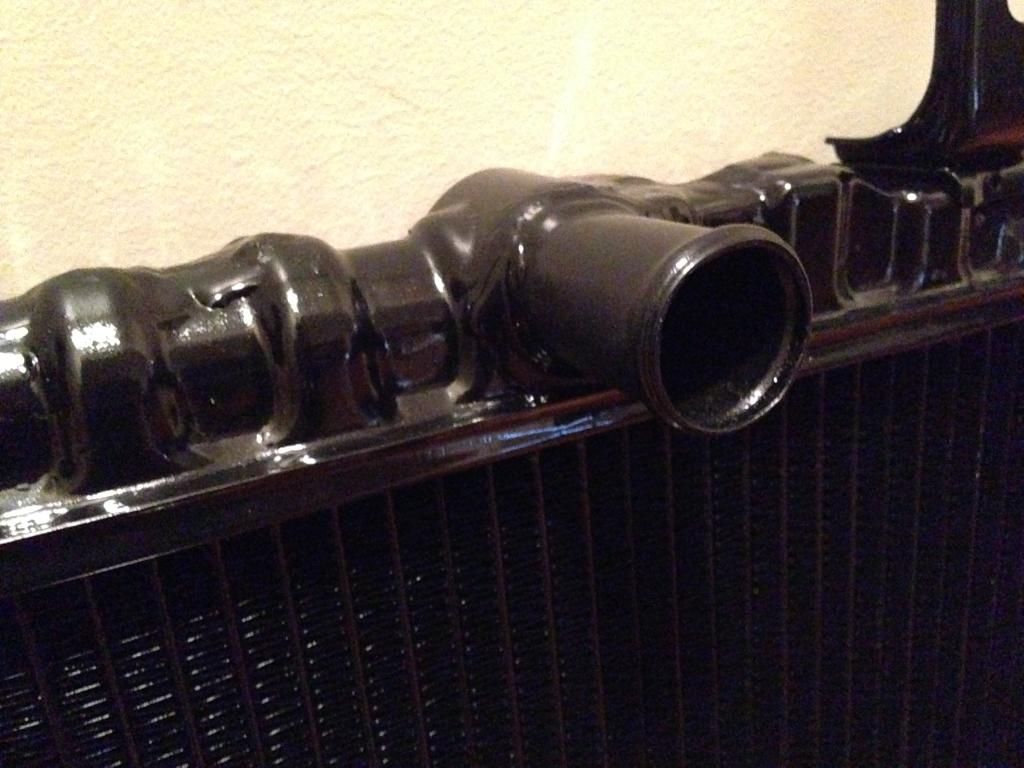
I took our radiator to Eastside Radiator Service earlier this week.

It's not in a good way.

You can see here how ballooned the bottom end tank is. It should be flat where the core meets the tank (like it is on the far left) all the way along.

This is where our top hose outlet should be. The brazing failed long ago and the old outlet vanished. Conveniently, it affords us a close-up look at the state of the core's innards! Ew.
We're getting it rebuilt with a brand new core. The old end tanks can be re-shaped with heat and a new hose outlet fitted.
Now that the radiator is getting sorted, this is where we're at with the rest of the car.
Mechanicals:
We need to sort out the exhaust. We've got a standard one but it needs repair work. The flange from turbo to dump pipe (if you can call it that) has broken off. The dump pipe is basically a flexible joiner that connects to the cat converter. We'll probably do something a bit custom but nothing can be done until the engine is back in the car to get the orientation spot on.
Brakes need to be looked at. Maybe a bleed will sort them out, maybe not. Suspension is standard and in unknown condition. New fuel pump still needs to be installed and it's not a direct replacement so some trickery needed there. Driveshafts will take some fiddling but shouldn't be an issue, we've got spares of them. Tie rods and tie rod ends are available so we should probably replace those. We haven't looked too closely at ours yet. Ball joints cannot be replaced without replacing the whole lower control arm (which are NLA) so we're just going to assume ours are fine and leave them alone.
We'll need to work out what we're doing with wheels then get some tyres. There's an engine mount issue which we're yet to find a solution to (there's an interesting story there which I don't think I've covered yet) and the gear selector will need to be refitted to the car.
Interior:
We're replacing the dashboard and dyeing things black. The old dashboard needs to come out to remove the rest of the A/C gear before the engine goes back in. Roof lining need to be ripped out, sound deadening removed with dry ice, lots of cleaning, etc.
Exterior:
Old decals need to be removed then the paint needs a really serious clean up. New decals to be applied after that. Both bumper bars need to be spray painted.
That's all I can think of at the moment. There's definitely more I've forgotten. Bottom line is there's lots to do but the car should start and run as soon as we have a solution for the exhaust.Comment
-
Love the build. I've been trying to find a bulldog turbo 2 forever. Keep the updates coming please 1988 CRX
1999 Integra Type R
2020 Civic Type RComment
-
I remember seeing this for sale! I was going to look at it to but it had sold before I was going to inspect it. Having said that, it looks like it went to the right person
Keen to see where this goes!Comment
-
I love love love these little City Turbos! Very nice!Comment
-
Thanks mates.
We spent a few hours with the City on Friday night.

New sump gasket first.
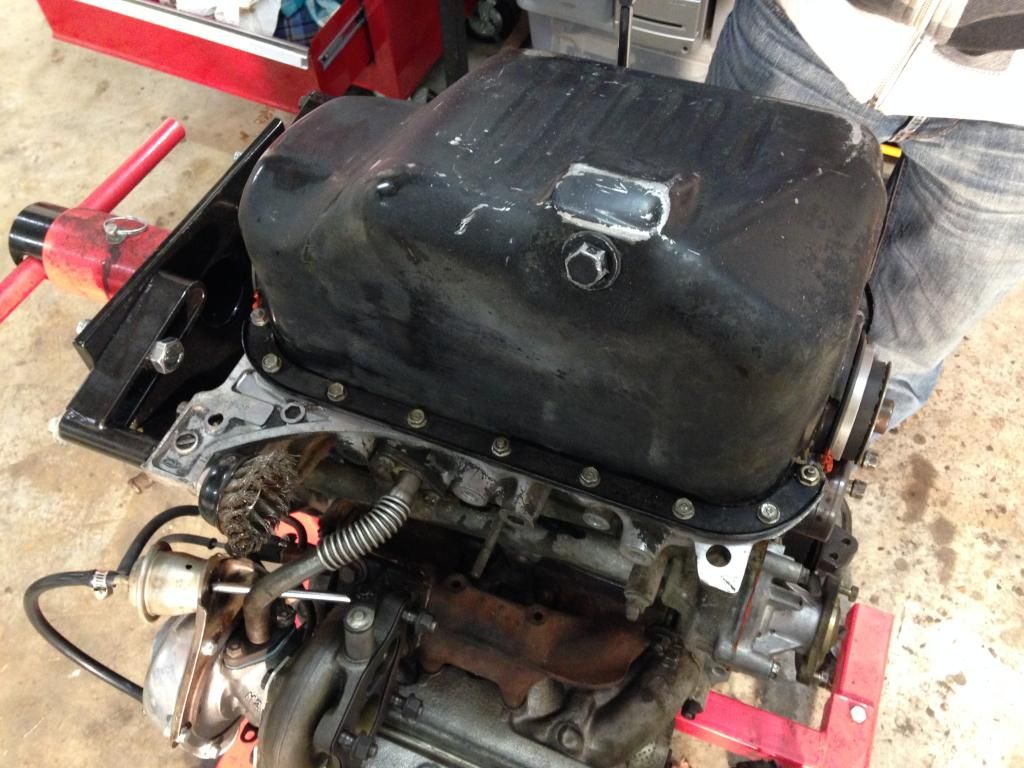
Sump cleaned up and torqued to the block.

Went through and replaced a bunch of junk hoses.
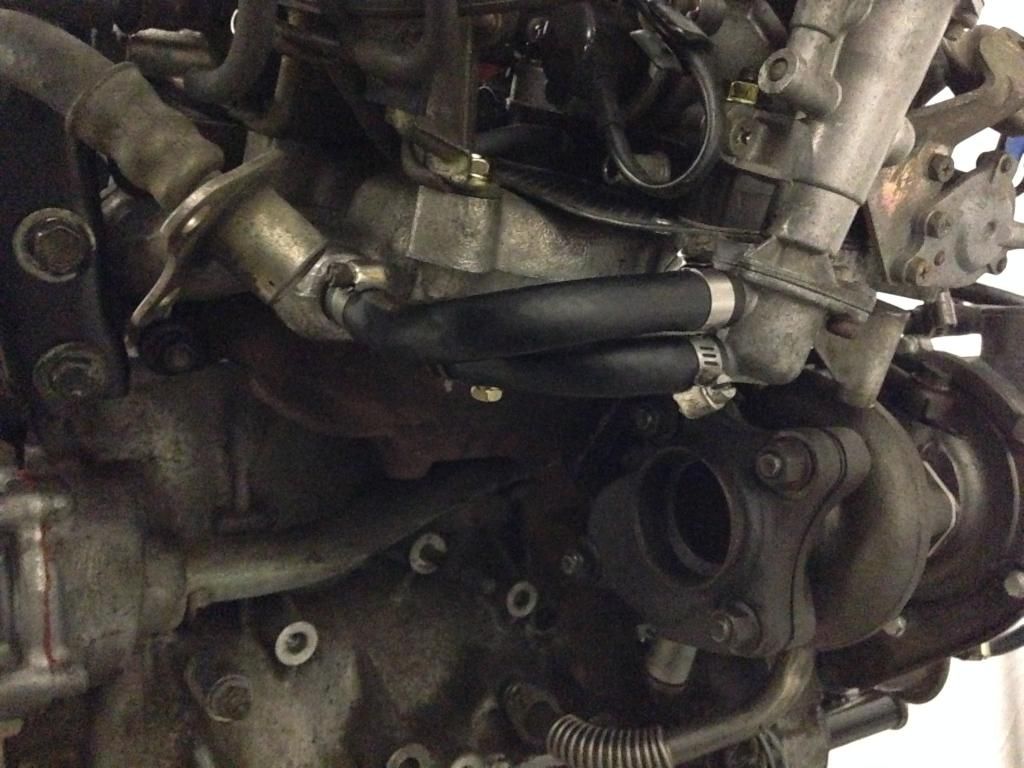
We're doing our best not to cut any corners while we've got access to all this stuff. You can see the exhaust flange on the back of the turbo needing to be joined to the rest of the system.

Engine mount, crank pulley, water pump pulley and alternator all fitted up with a new drive belt. The huge empty bracket is for an A/C compressor but our car didn't come with one. We've pulled the rest of the A/C gear out anyway.

New oil filter ready to go.

Distributor dropped into position but we're yet to set ignition timing. We need to get the engine off the stand, drive in the rear main seal the rest of the way then fit the flywheel to use its timing marks for final dizzy installation.
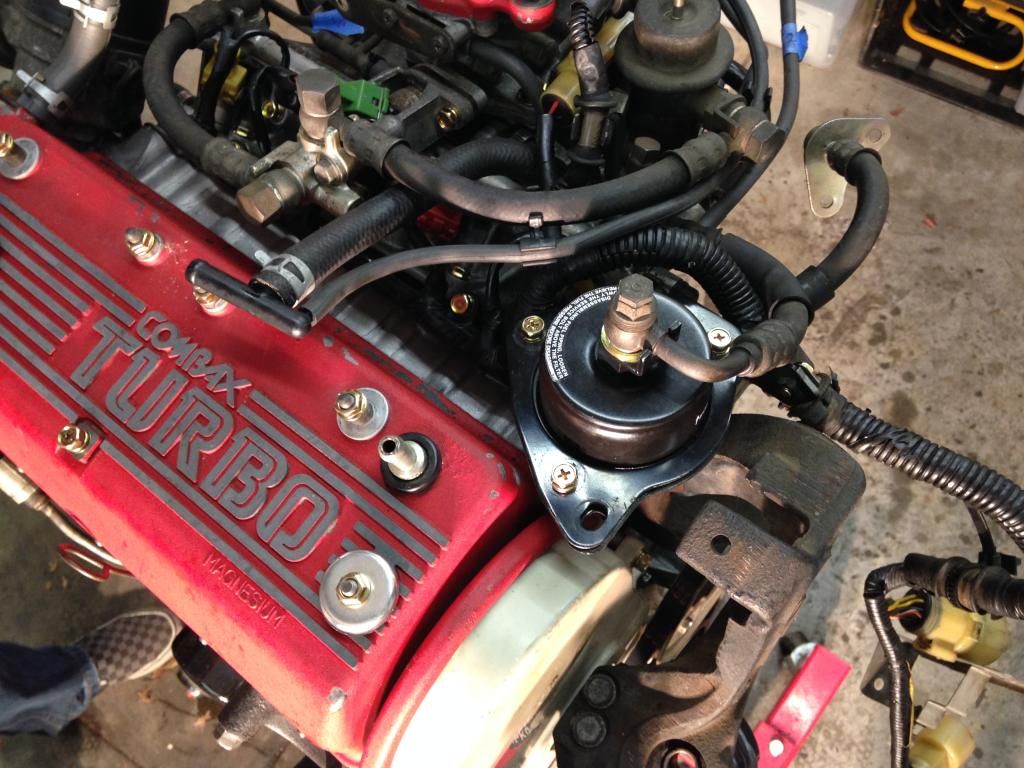
We worked out how to fit the new fuel filter after looking at a few engine bay photos of other T2s. The bracket was one of the bits we found loose in the car when we got it.

Air box in situ. Unfortunately missing its cool OEM sticker on top. Same goes for our intercooler shroud which we'll see in a future update. Gonna try and source the stickers somehow.

We managed to source one of these unusual filters from New Zealand. The previous owner was using a filter that only covered the larger section with a bit of thin alloy sheet glued to it to cover up the other section. Not the best idea.
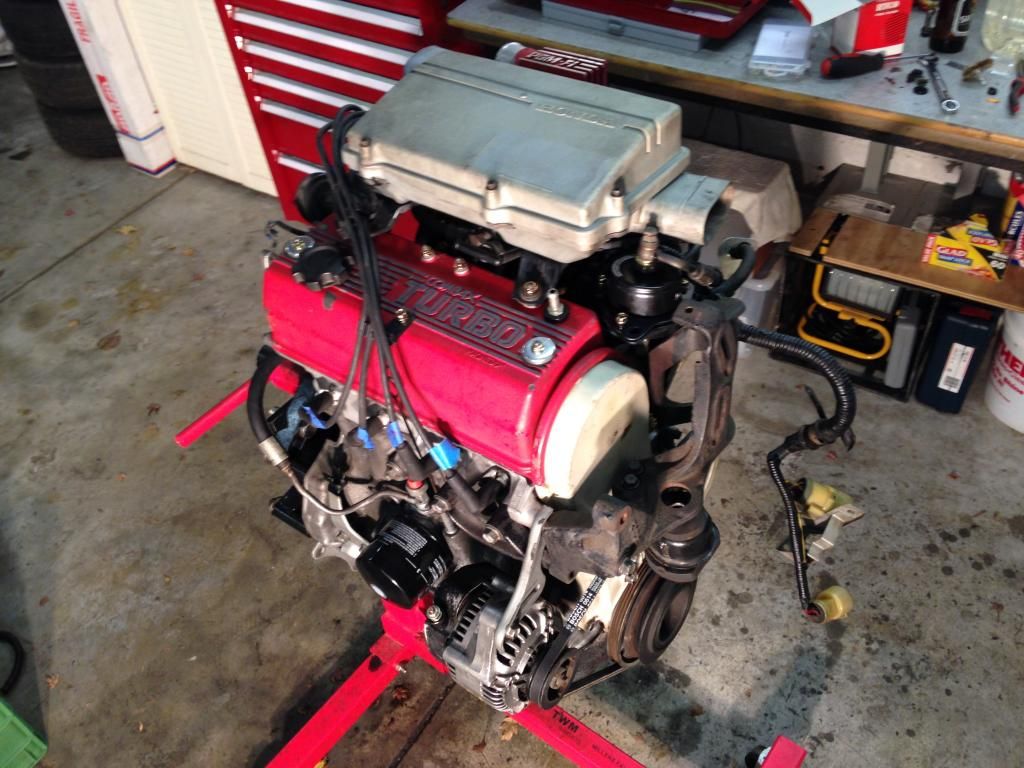
As it stands right now.
The plan from here is to pick up an engine crane on Friday and get the motor in at some point on the weekend. I'm hoping we'll have the radiator back before that and possibly be able to fire it up, but there's a lot else that has to go right for that to happen.Comment
-
I picked up our reconditioned radiator today. Eastside Radiator Service in Glen Waverley did a brilliant job for a really reasonable price. Recommended if anyone else needs a similar job done.

The core is brand new. It was the only one Adrad had available in in the right dimensions. I think it's for a Suzuki of some sort.

Somewhat incredibly, our original end tanks were restored.

New hose outlet fitted to replace the missing one.
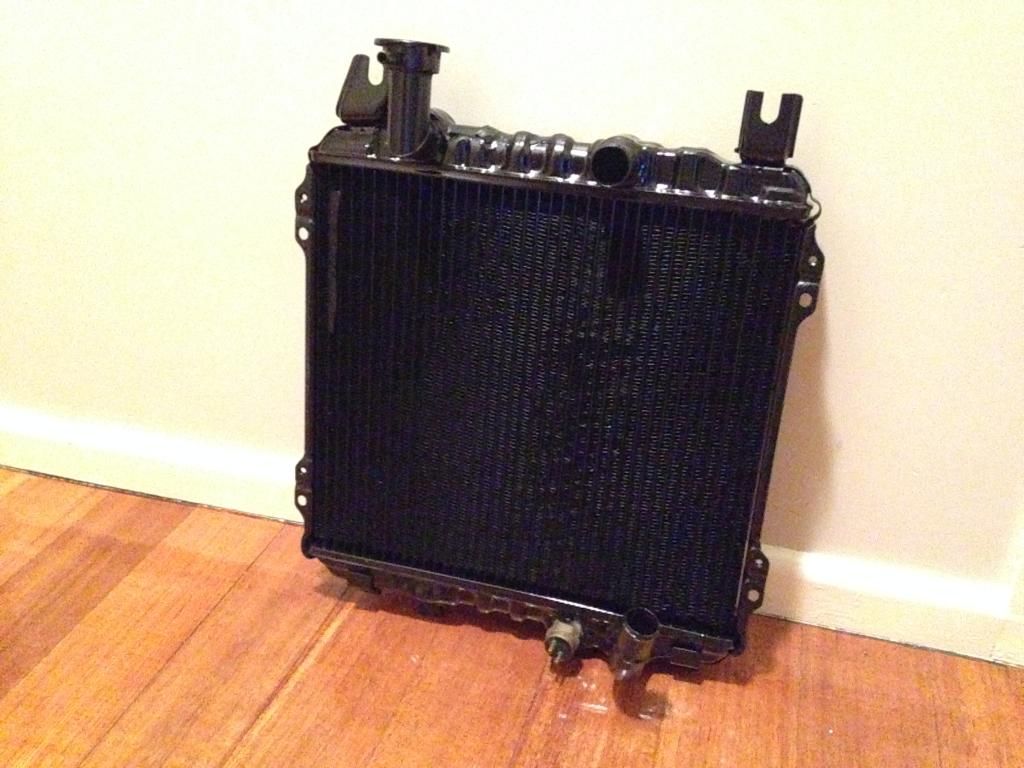
One more piece of the puzzle ticked off the list.Comment
-
This is so awesome!DC2R - J's RacingComment
-
Proper update time. We made significant progress this weekend. I forgot to take photos of some things, but most of it is in the video complete with Initial D eurobeat.
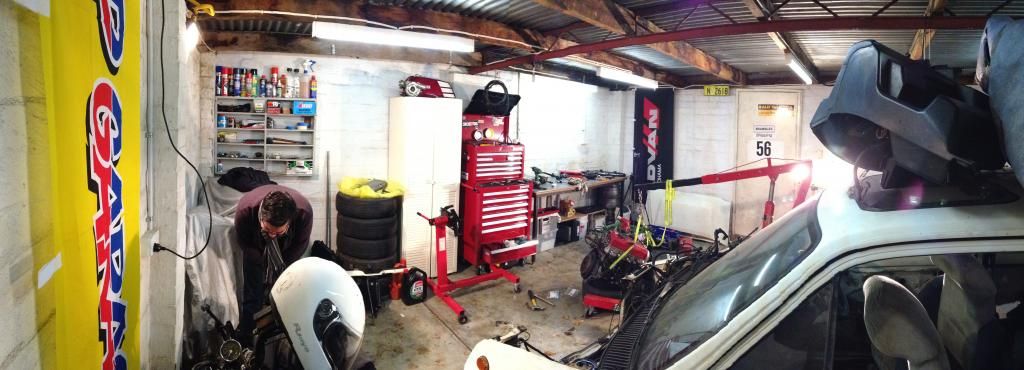
Rigged up some stadium lighting to keep warm in the garage. So damn cold in Melbourne at the moment.

Dropped the engine off its stand to sort out the gearbox end of things.
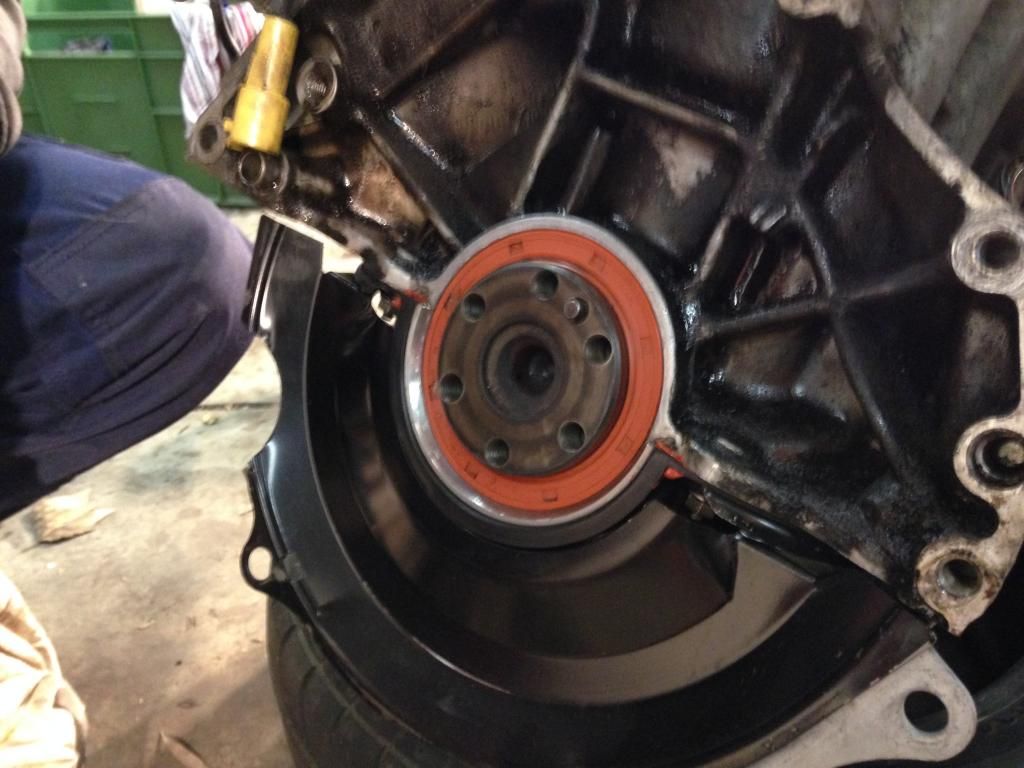
Fresh rear main seal we were now able to seat properly.
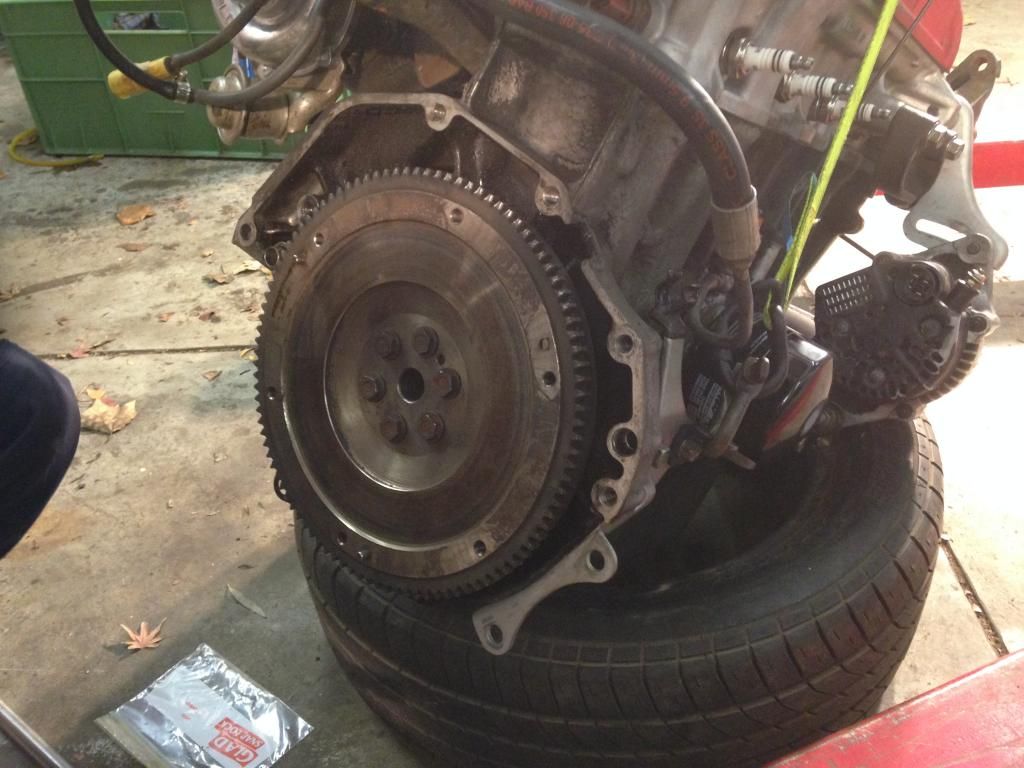
Flywheel torqued to the crank. The flywheel has markings for TDC and 20 degrees advance for setting initial ignition timing.

Crank angle sensor installed and distributor fitted now that we had timing markings to use.

Bit of gearbox cleanup. We did buy a new throwout bearing, but it turned out to be the wrong one. Thankfully our standard one was fine.

Clutch and pressure plate installed.
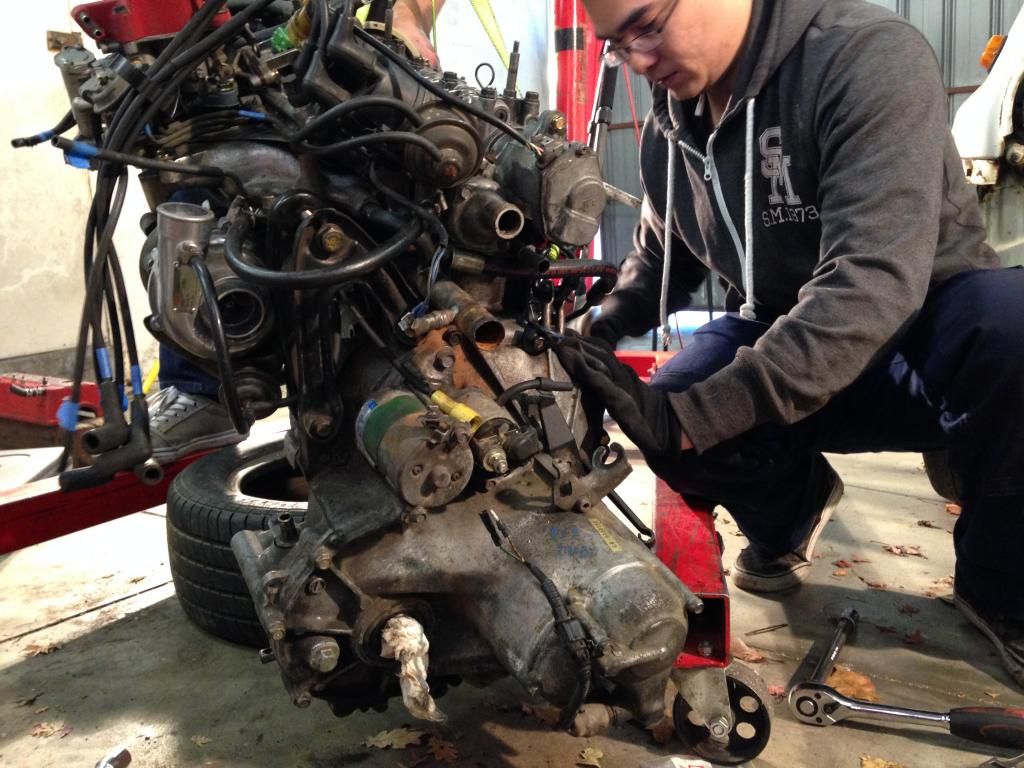
Gearbox bolted up.

Radiator support removed, engine ready to go.

It took a bit of fiddling to get the motor sitting nicely over the crossmember but here it is.
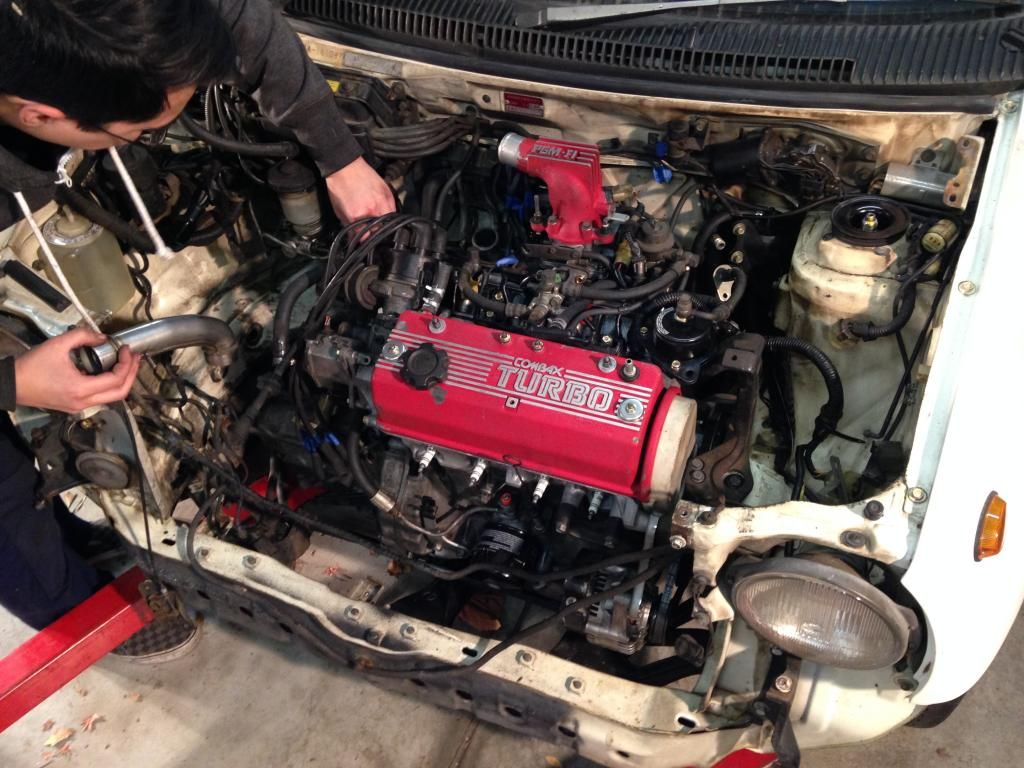
The engine had been out not long before we bought the car, so assembly was a little more than the opposite of disassembly but it's all come together really well.

All wiring is connected, all coolant plumbing is sorted except for the radiator hoses which are getting a bath first.
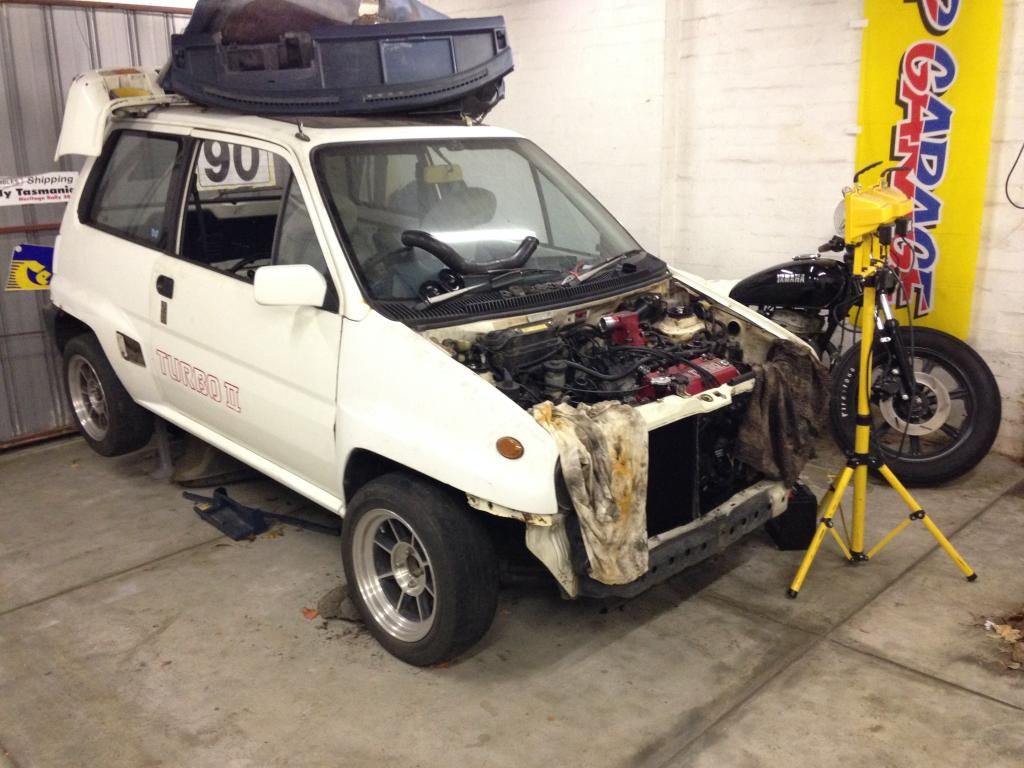
Today we worked out how we're going to mount the new Walbro fuel pump, replaced the dodgy bonnet latch and cable, finished routing all vacuum lines (there are LOTS) and a few other odds and ends. We need to buy a fitting and fuel hose to fit the pump, then we can get that installed, put the tank back in and drop the car down.
After that the steps before startup are: fit gear linkage, driveshafts, radiator hoses, airbox, intercooler and intake piping, fill engine and gearbox with oil, fill radiator with coolant, turn the key!Comment
-
super stuff mate, crossing all the t's and dotting all the i's - the only way to do it
just one thing, the alternator belt looks maxed out?
and felix:
Originally posted by Ryan View Post... retired/Comment
Comment