Announcement

Collapse
No announcement yet.

[ysosrs] Boosted JDMK20A DC2 Integra Type R

Collapse
X
 
  • Filter
  • Time
  • Show
Clear All
new posts

    [ysosrs] Boosted JDMK20A DC2 Integra Type R

    Hello ClubITR, my name is Michael and I currently own a dc2r. It has been through a few phases and hopefully this is the 2nd last time. 2nd last because I have another build plan I wish to pursue later down the track.

    Funny thing how I came to sharing my build on this forum, I stumbled across Felix on Instagram and told him that maybe I should share my build thread with the members at clubitr. Fast forward a few months and it looks like I'm here sharing my build thread with yous.

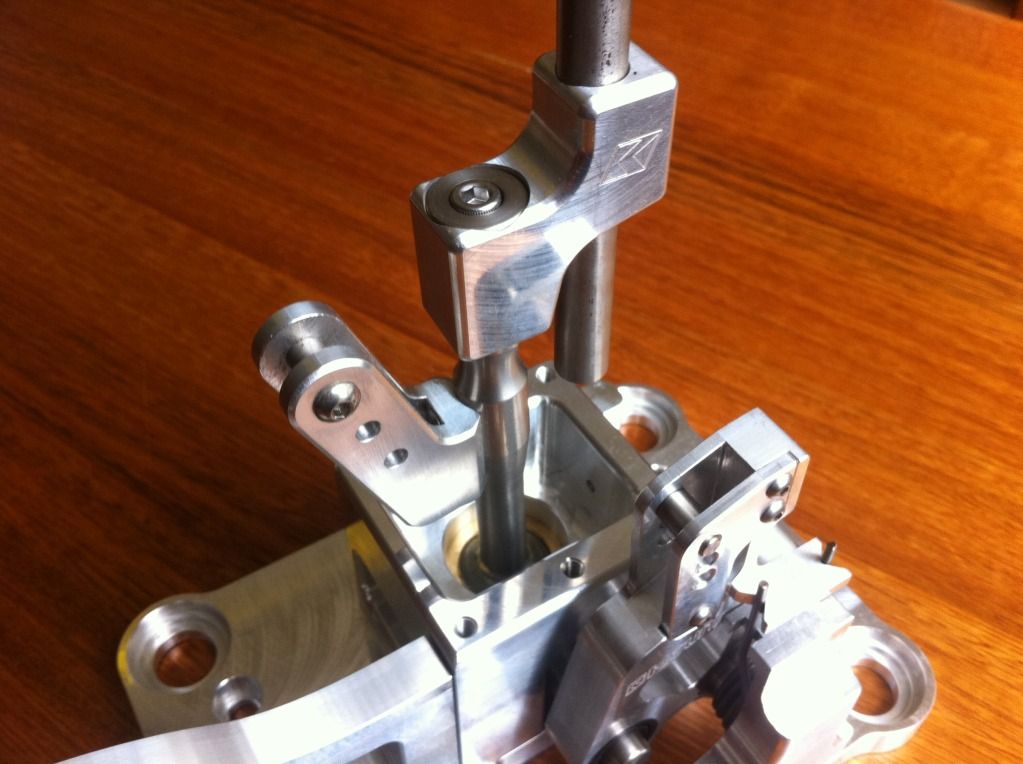
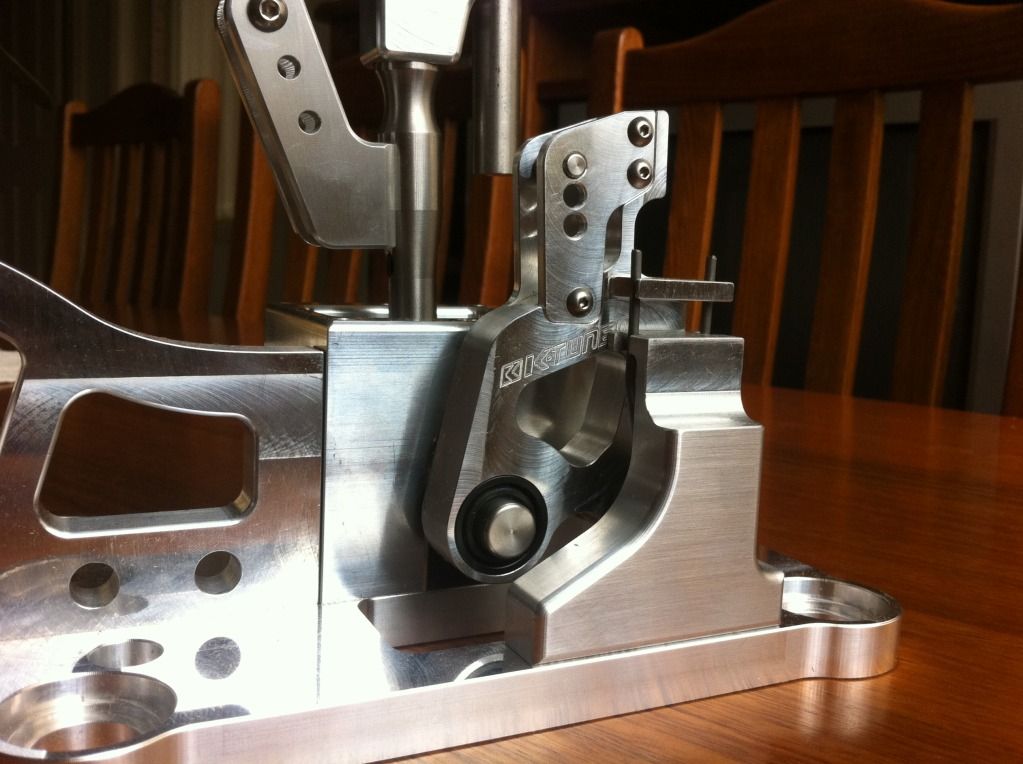
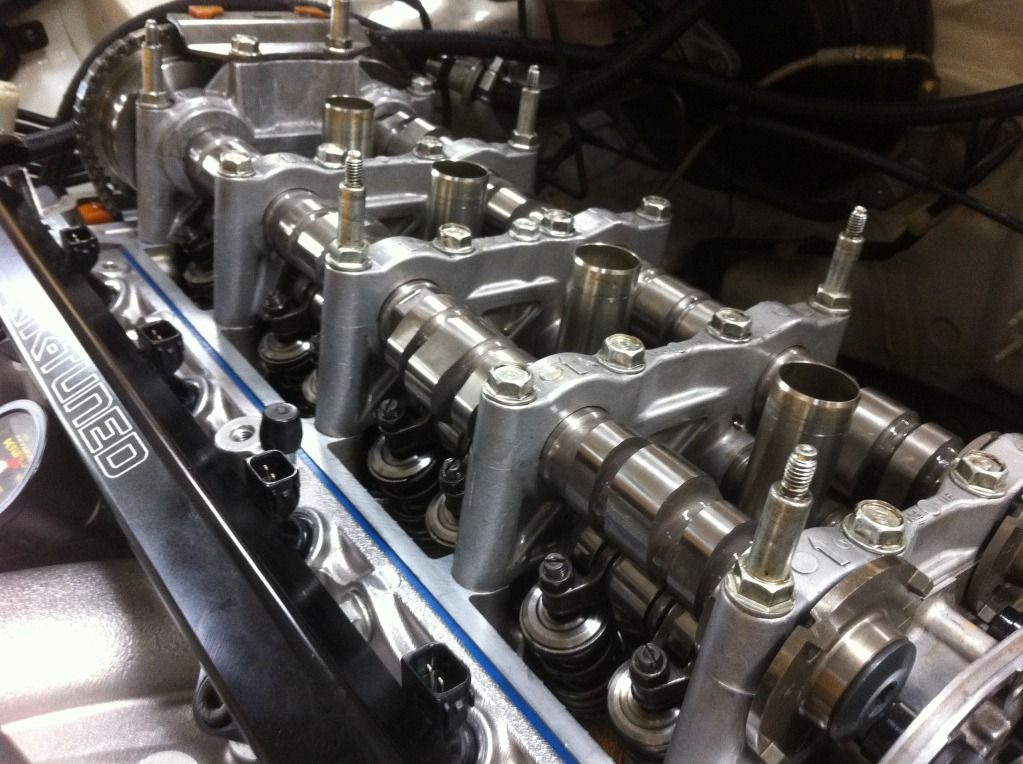
    I already have my build thread on a few forums so I won't bring over the old things. I'll try to show the cars background a little and where it's at in its current state.

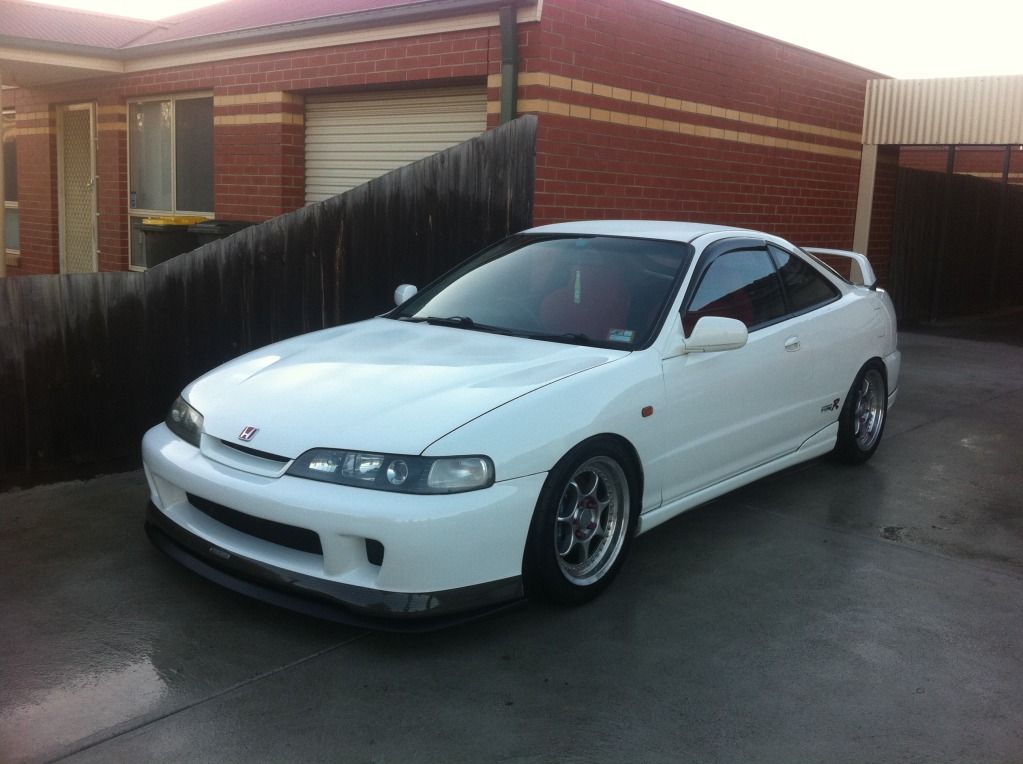
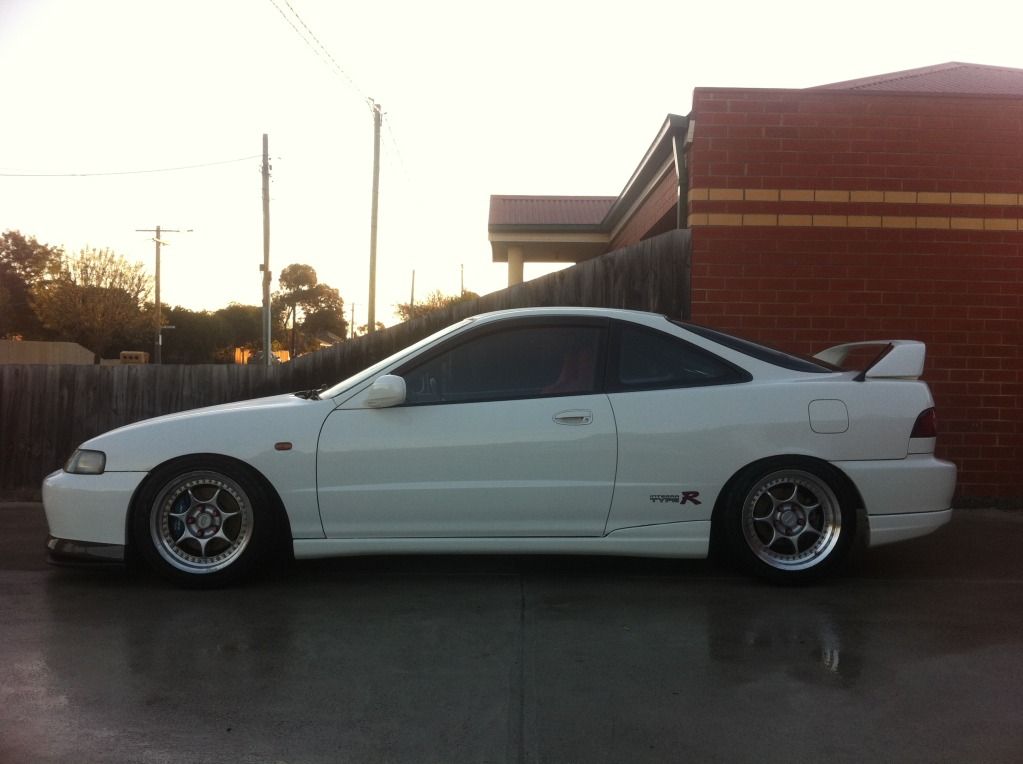
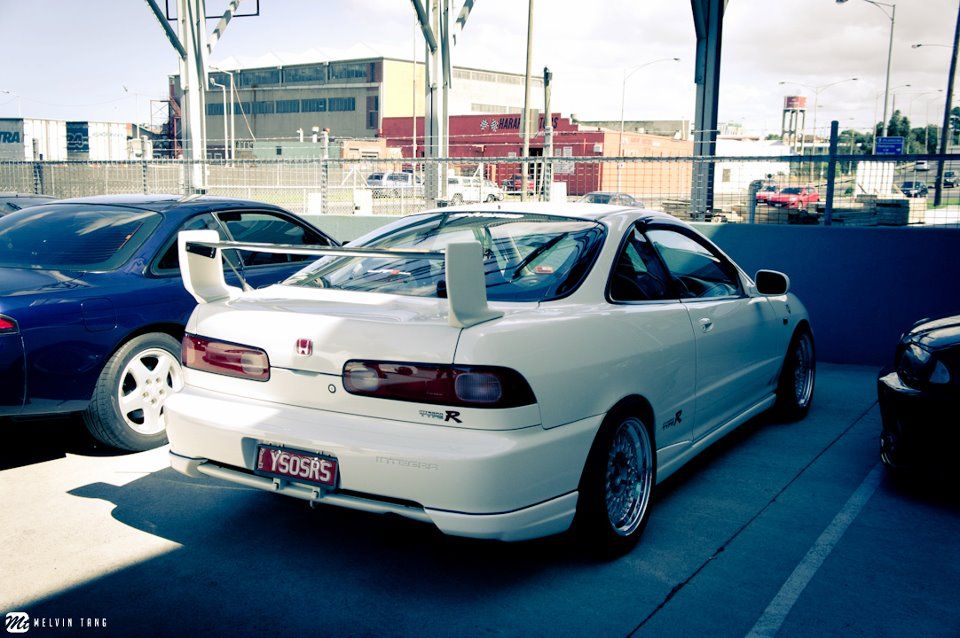
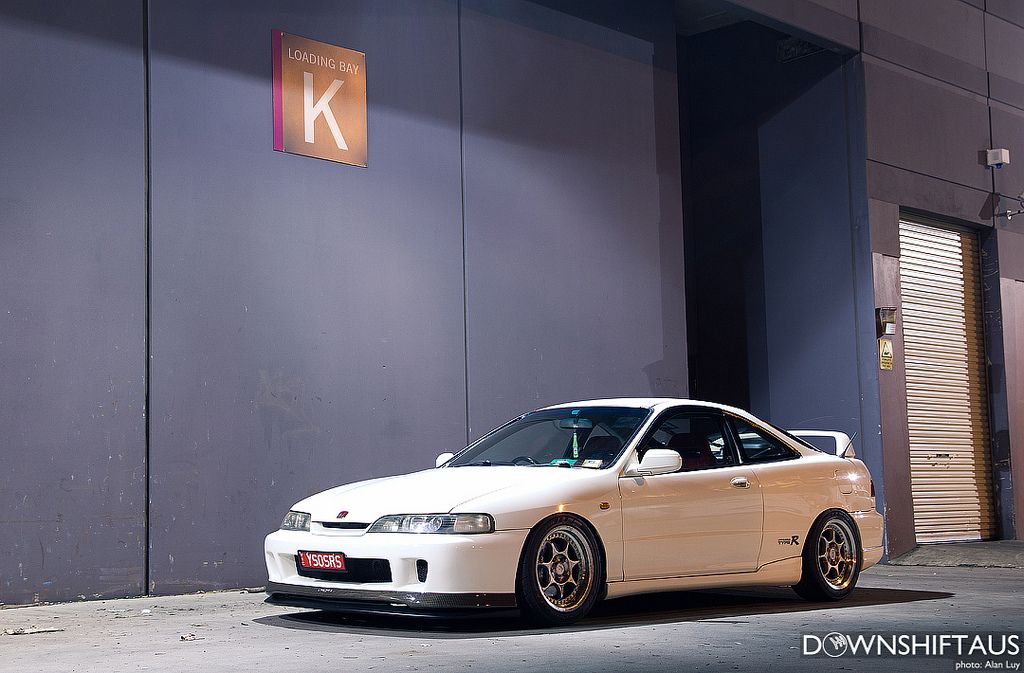
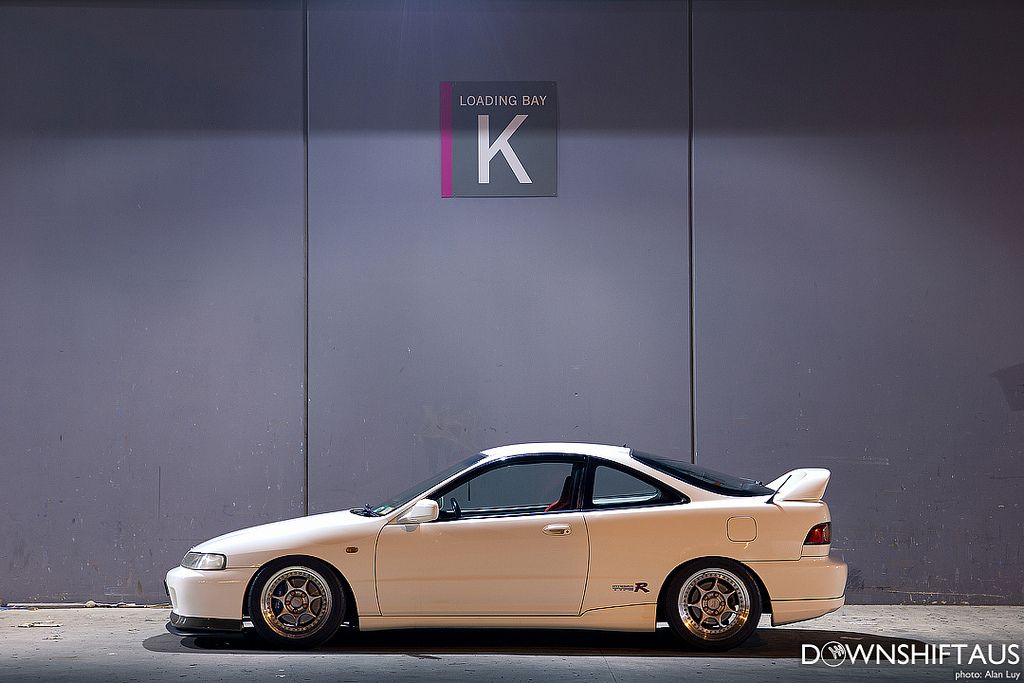
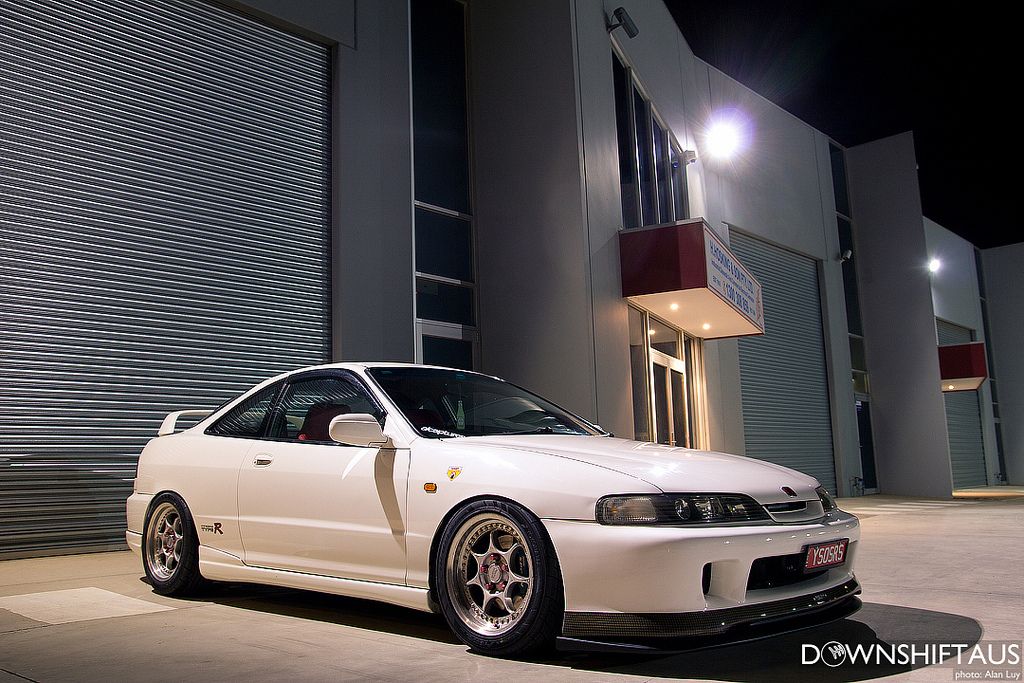
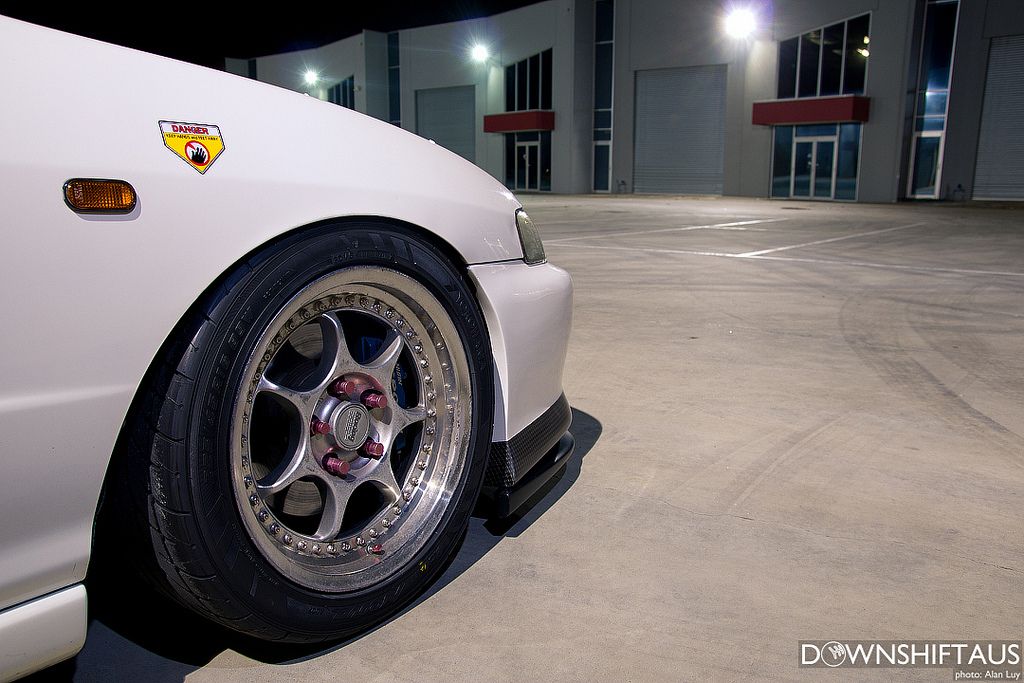
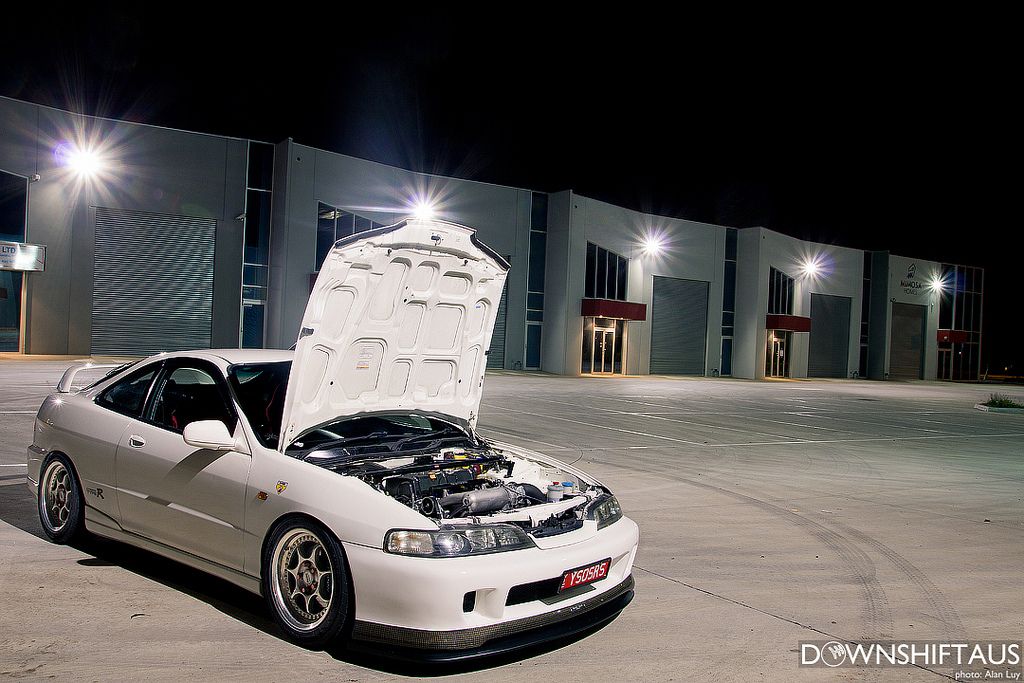
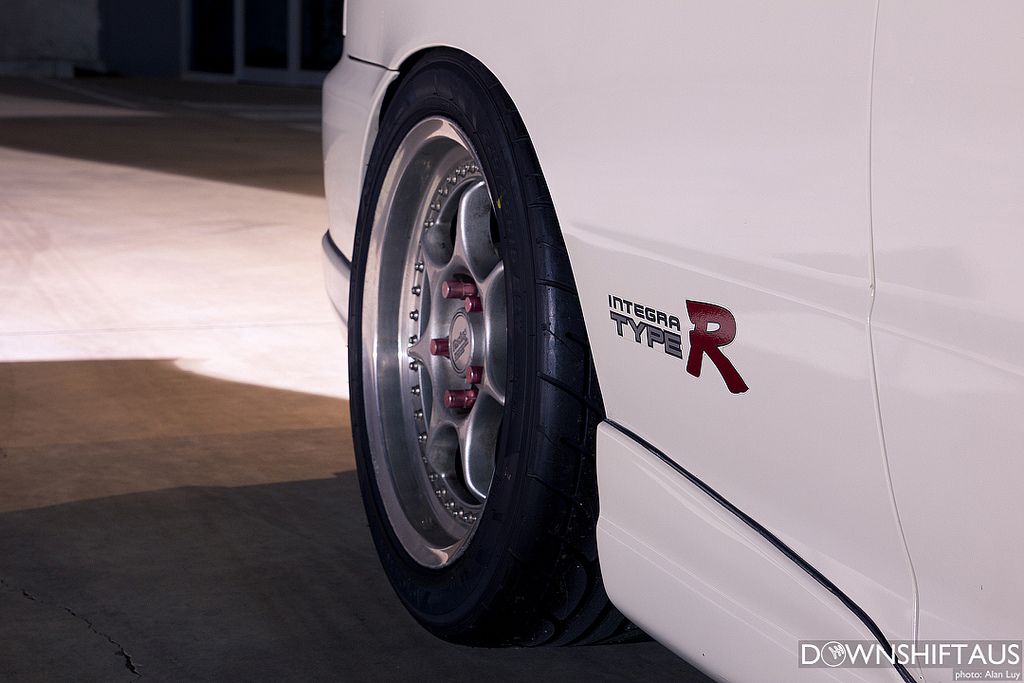
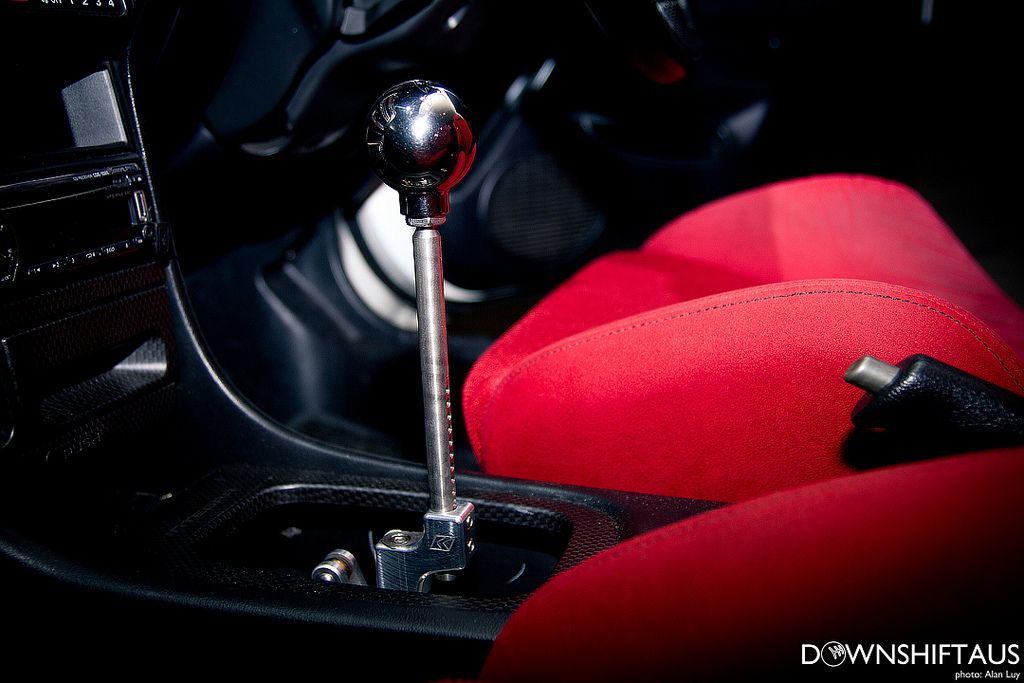
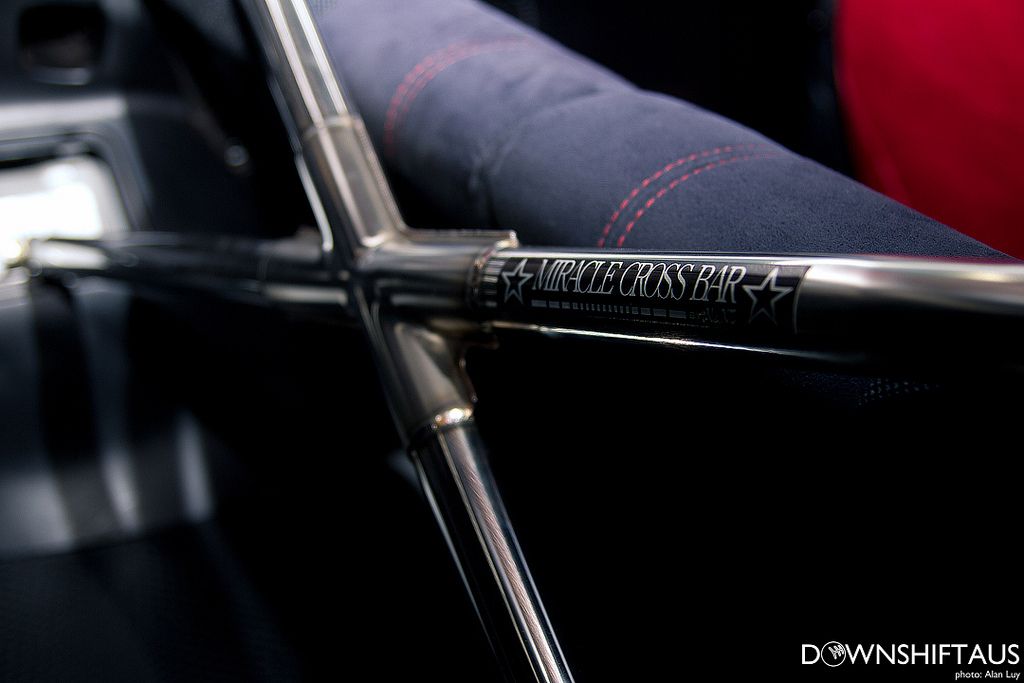
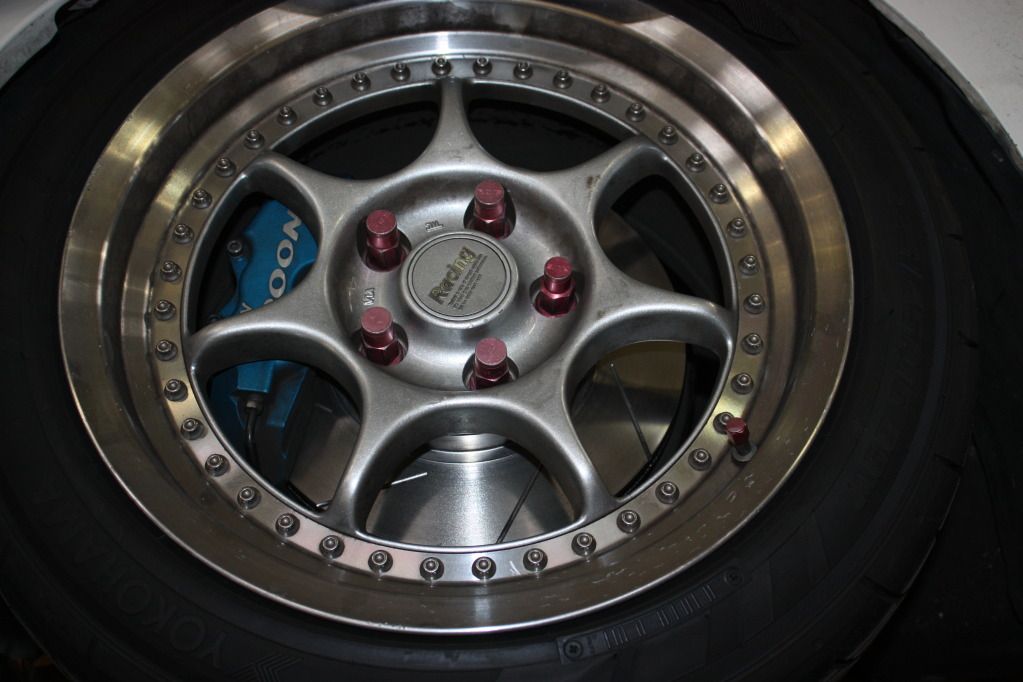
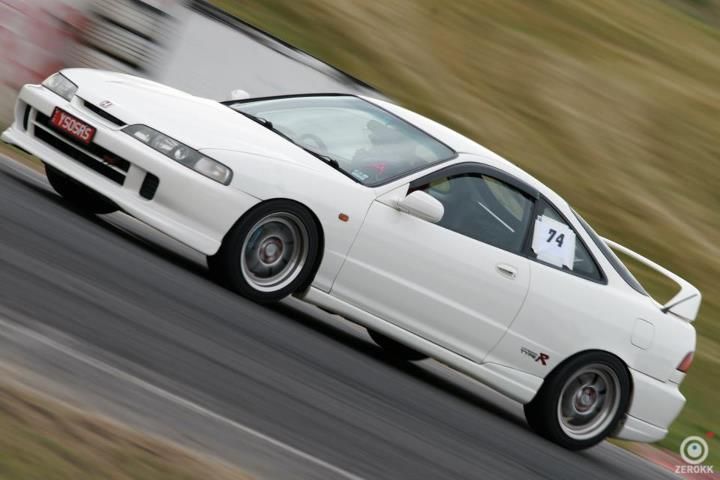
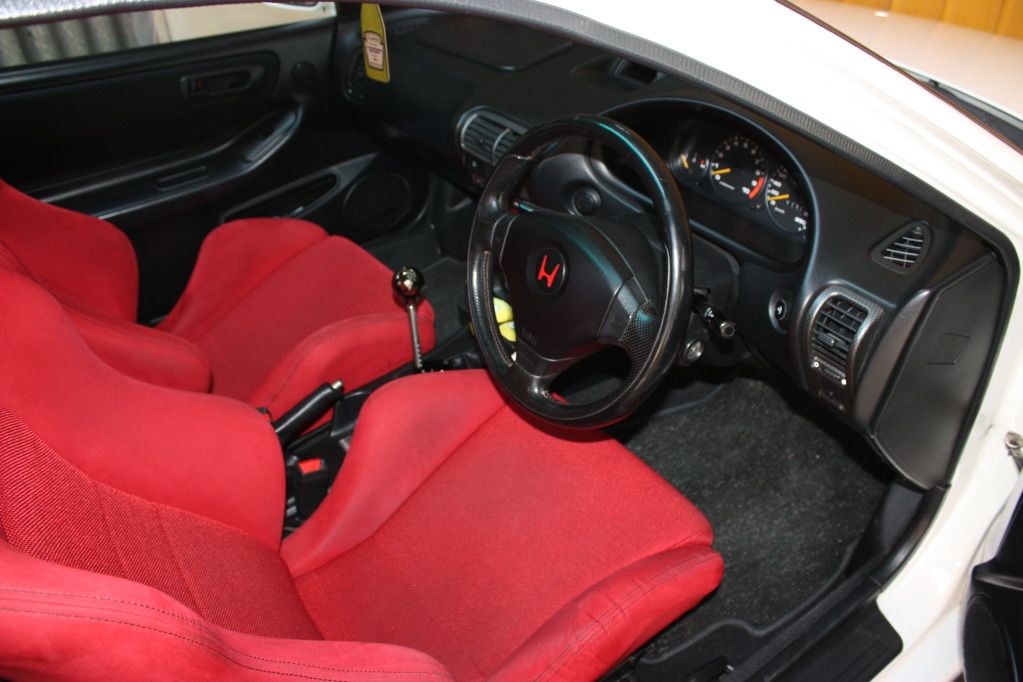
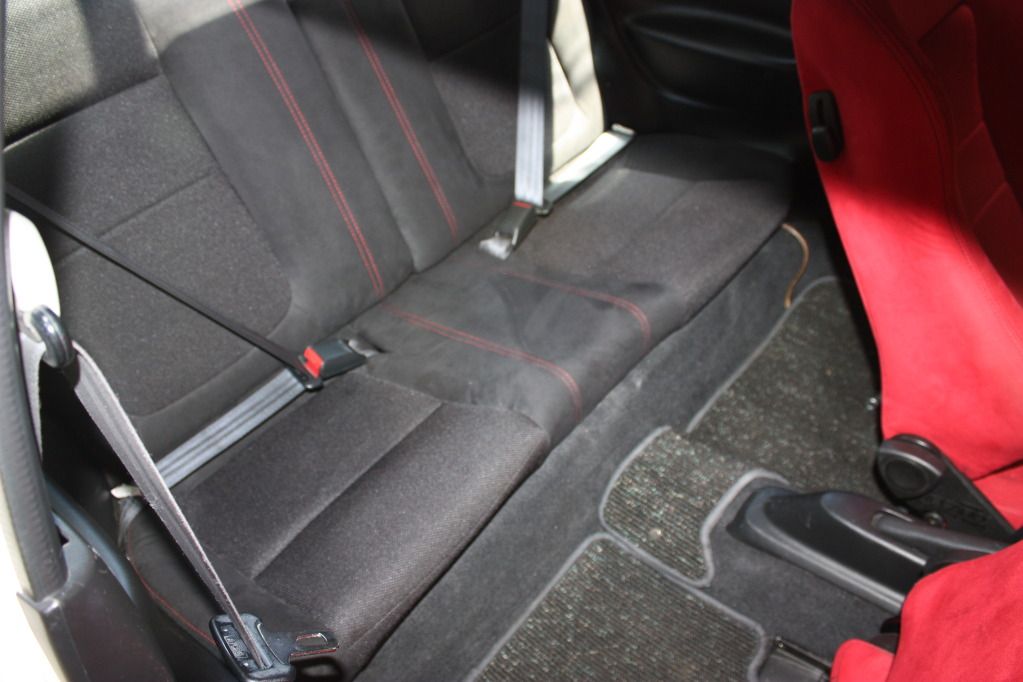
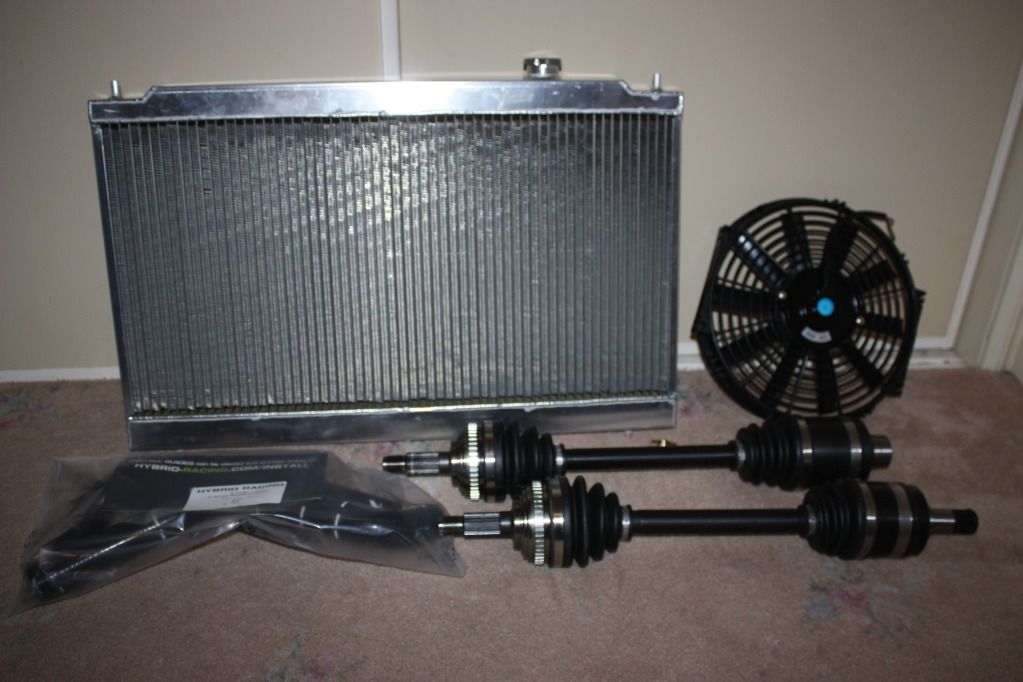
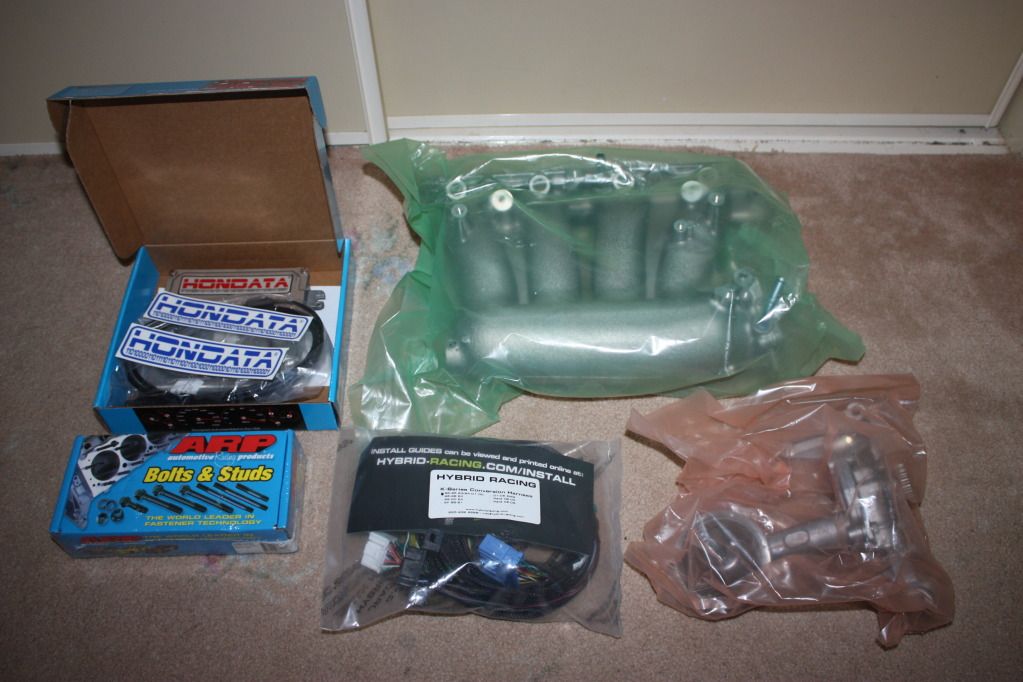
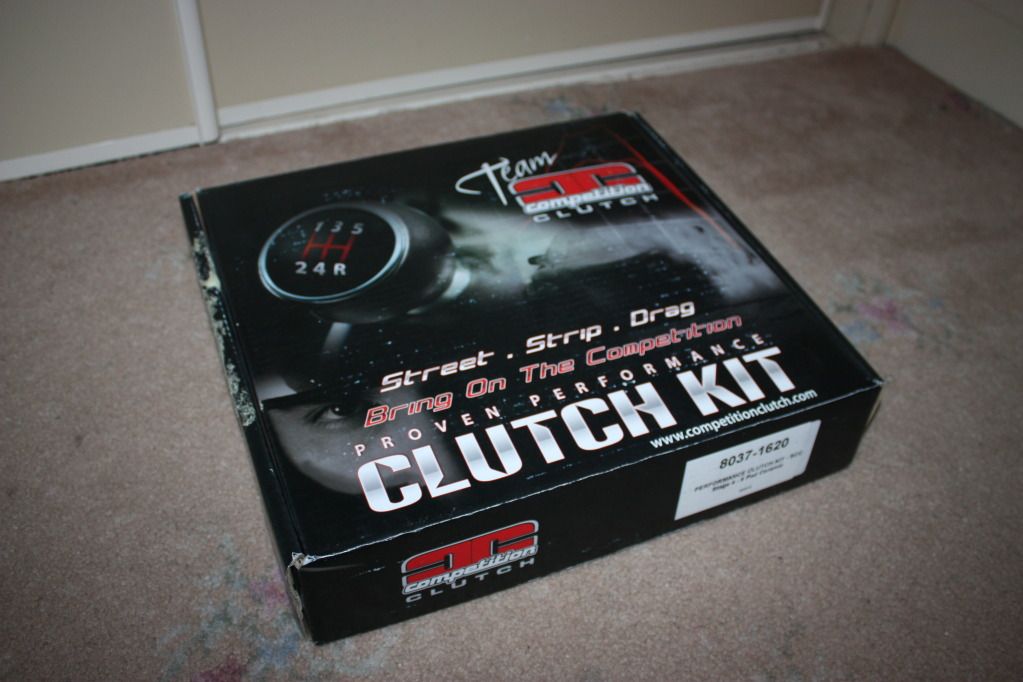
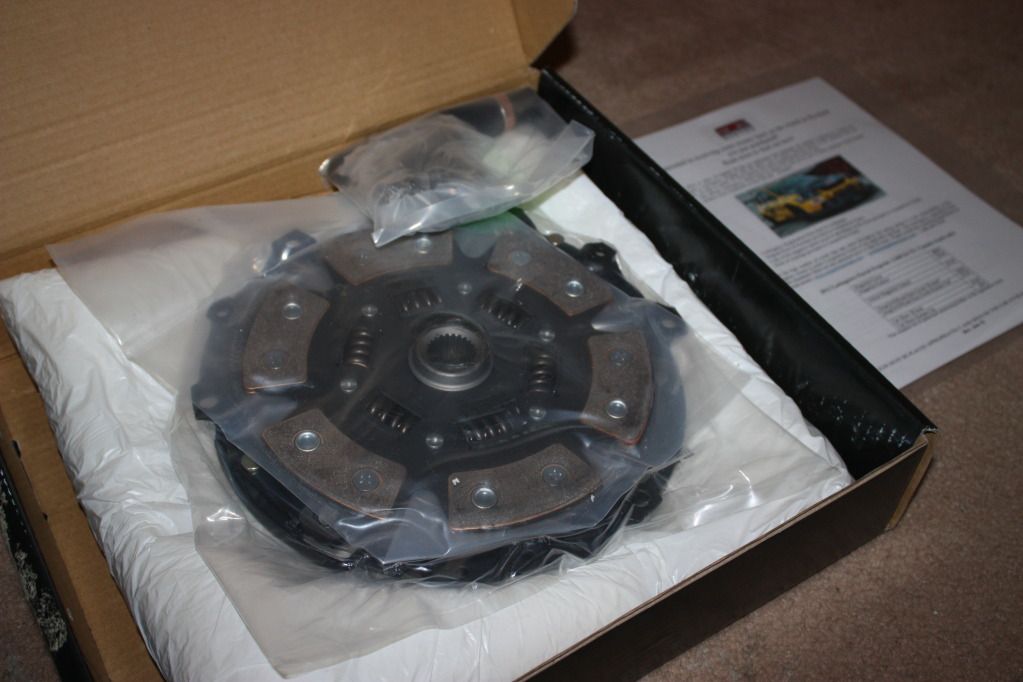
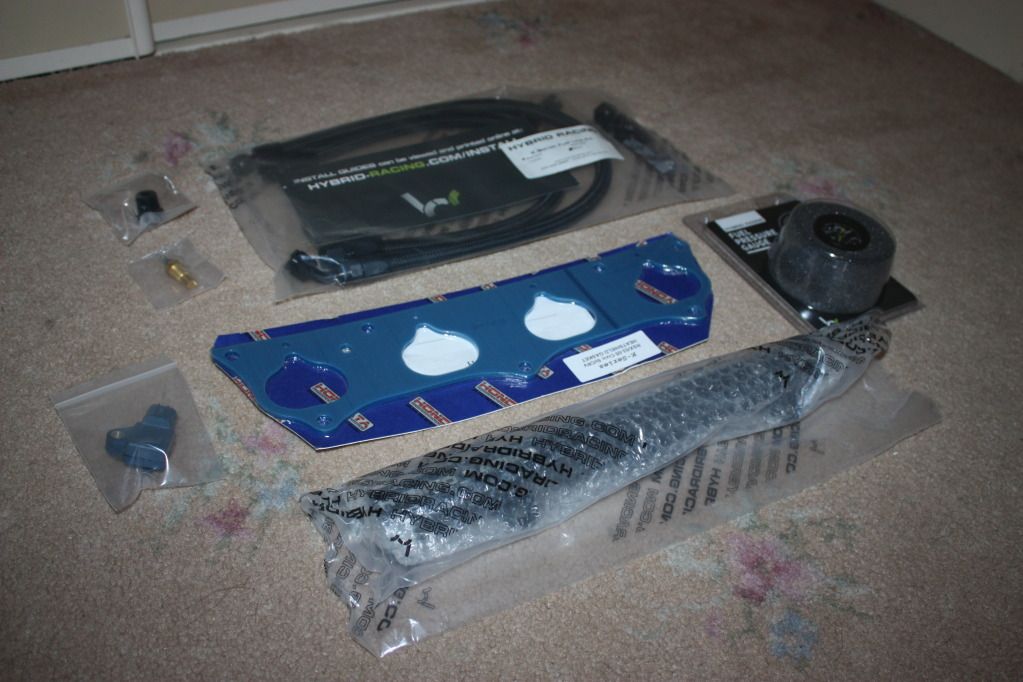
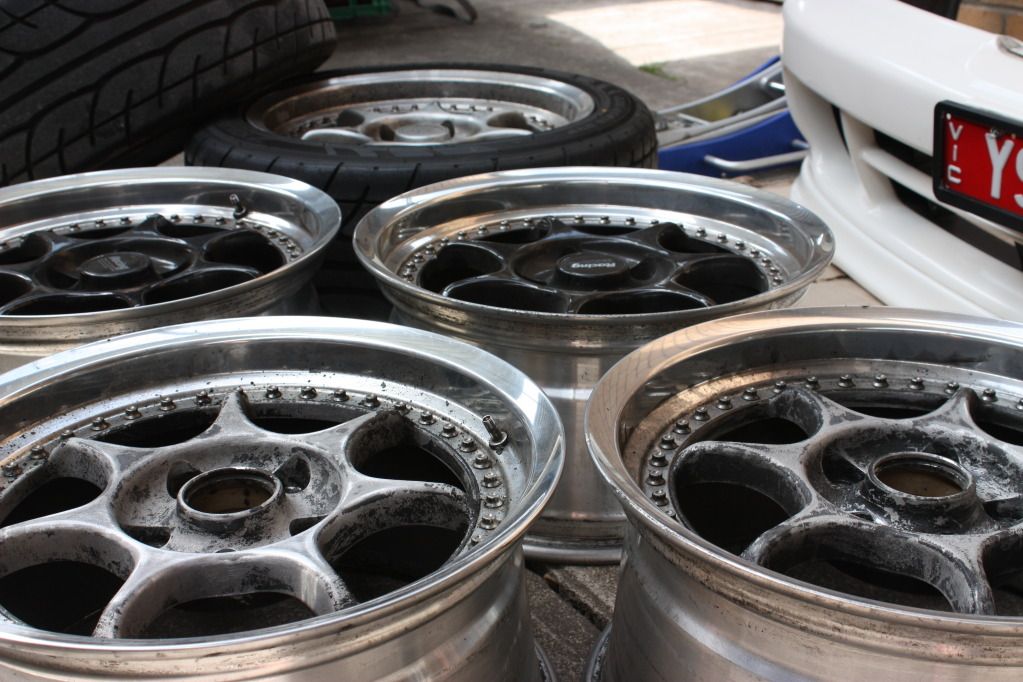
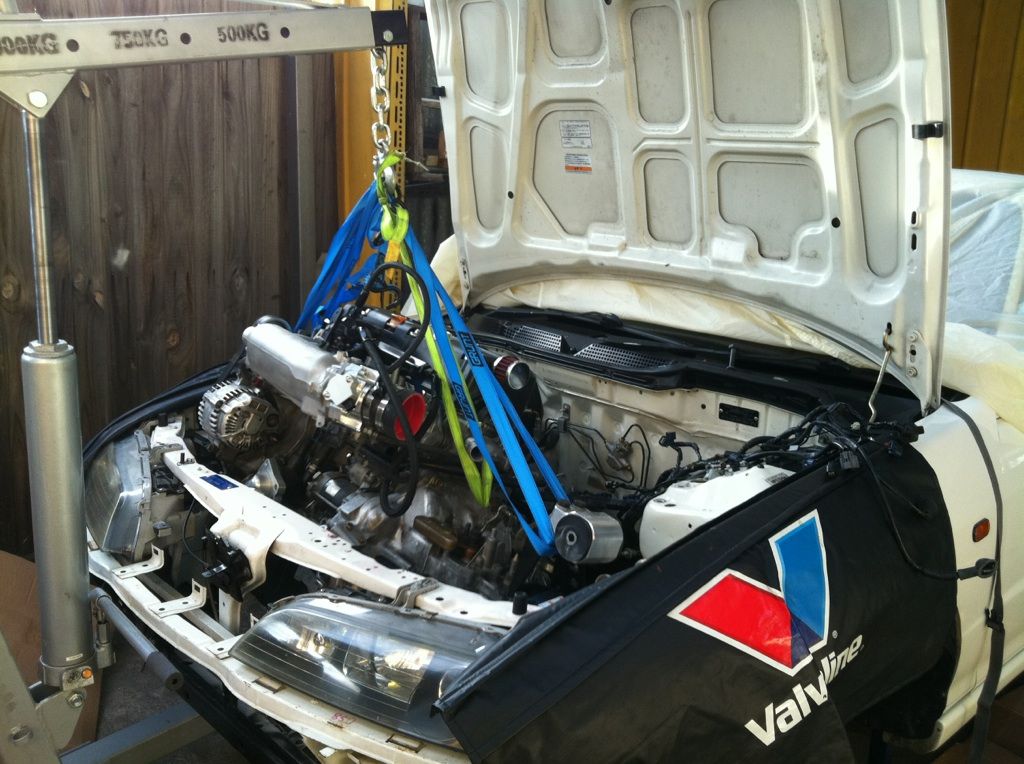
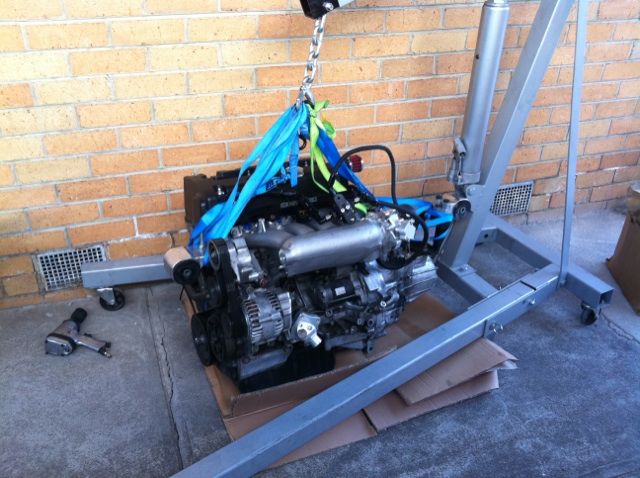
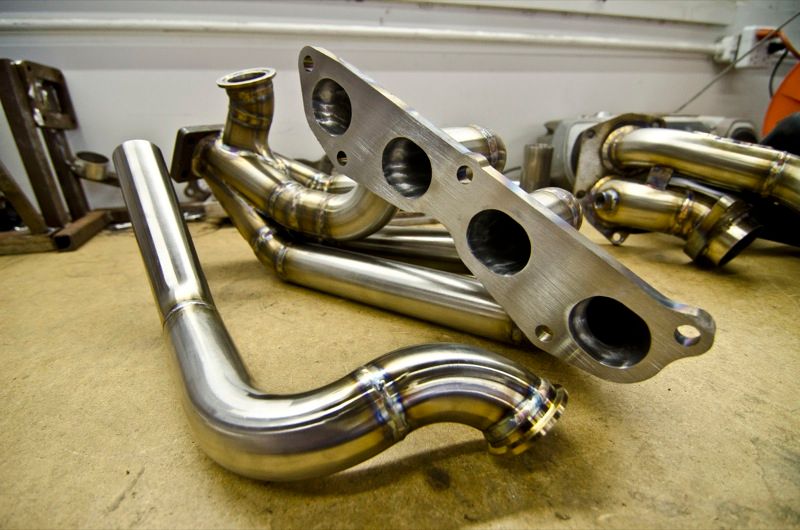
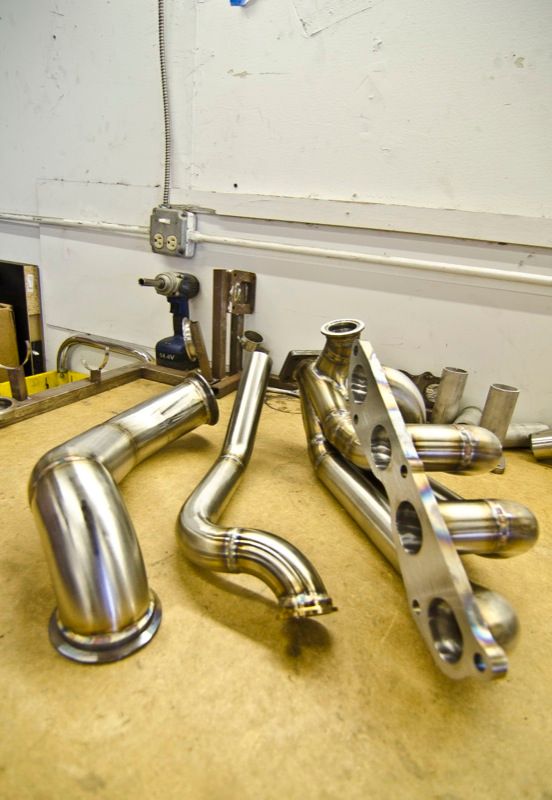
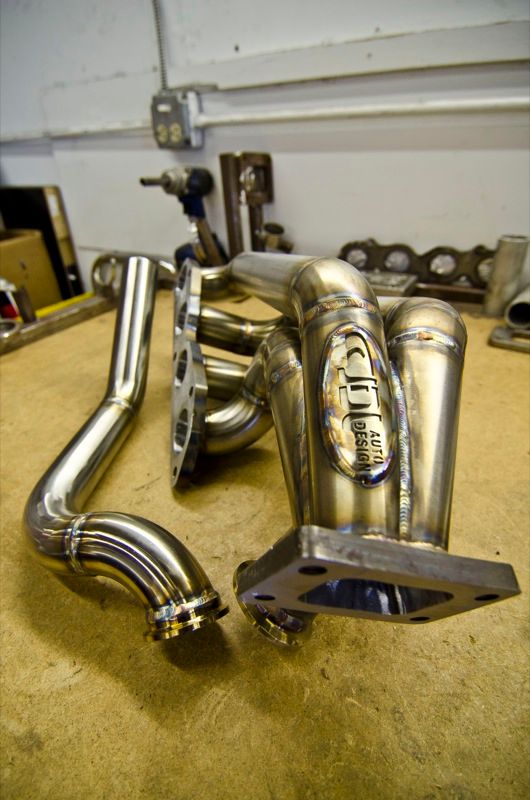
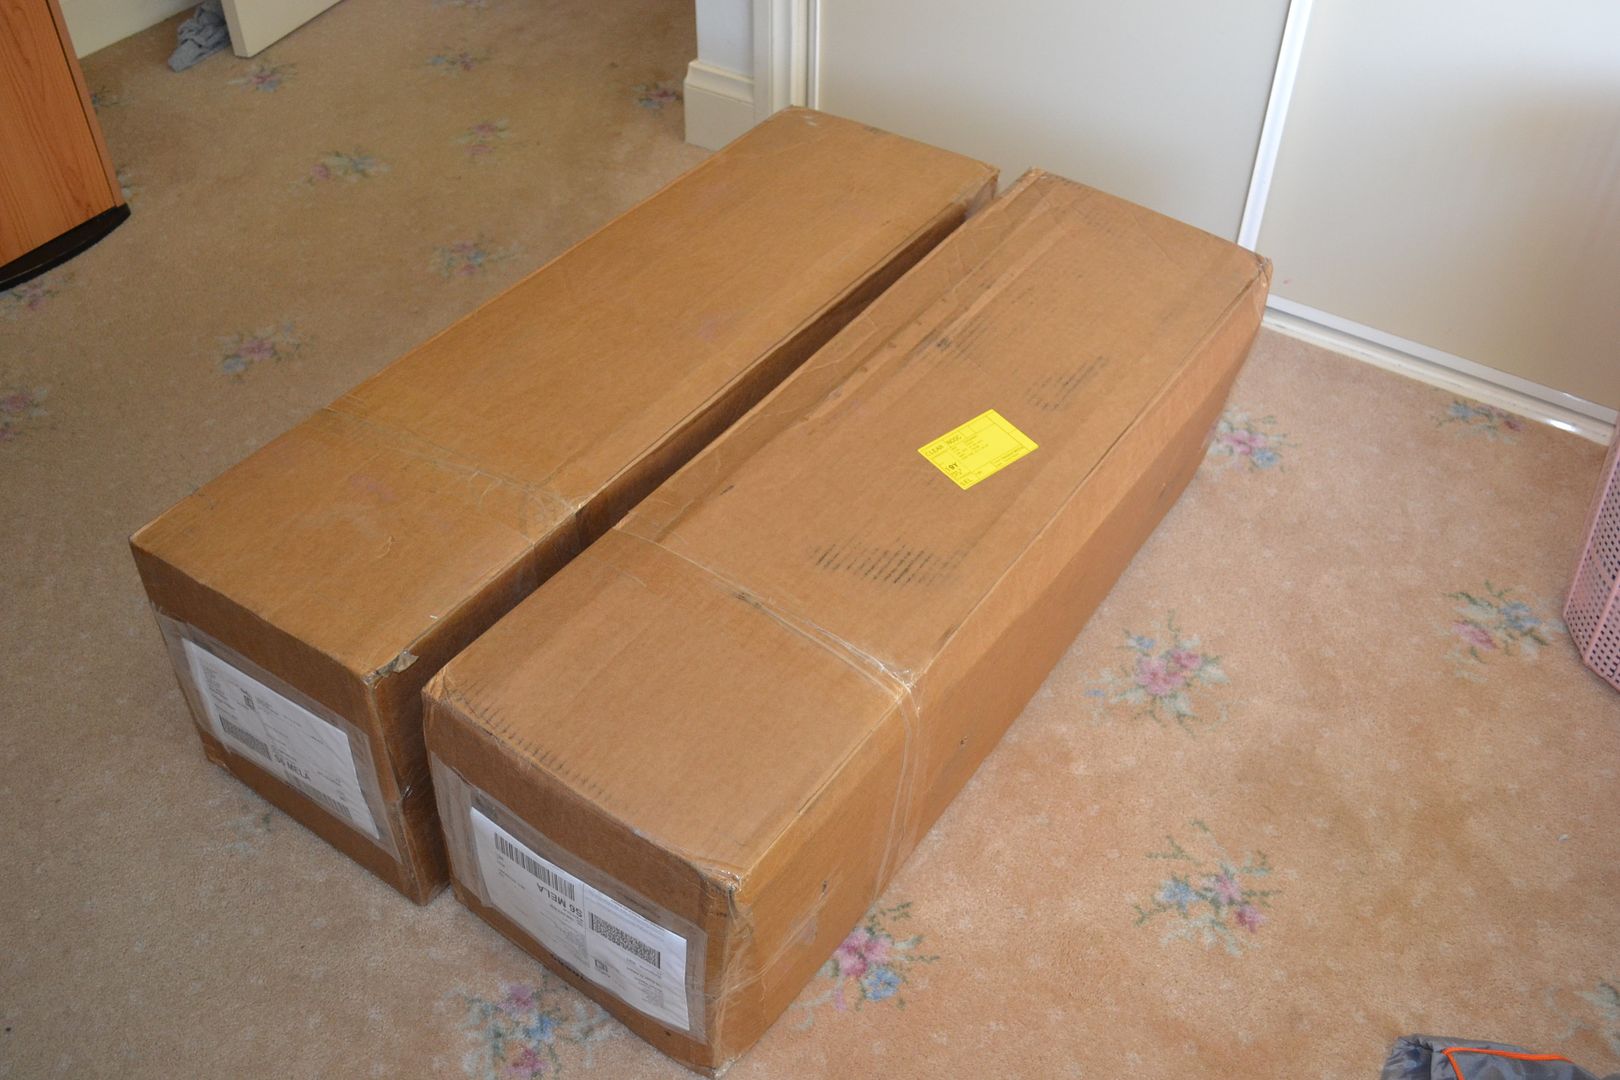
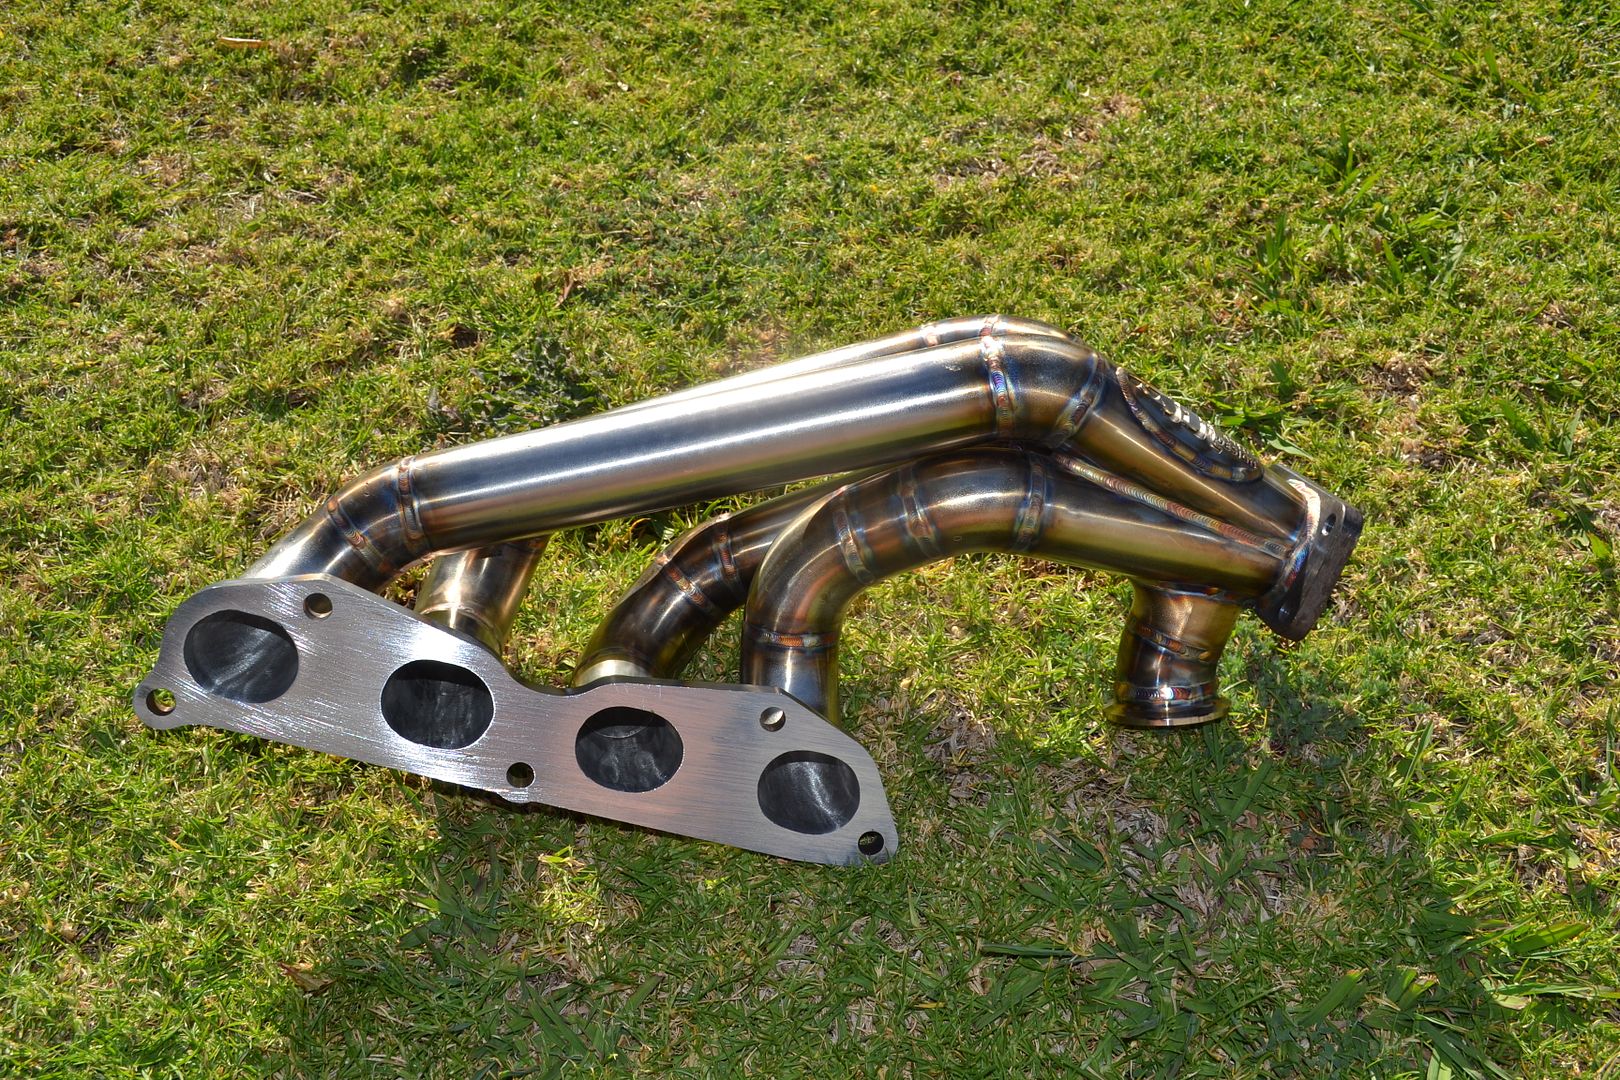
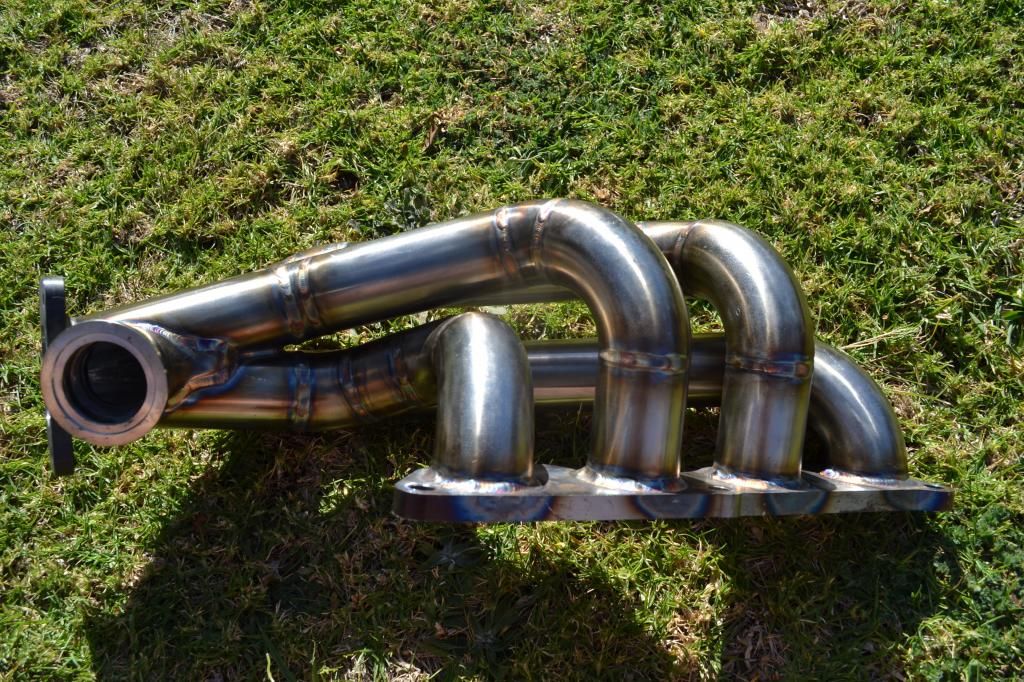
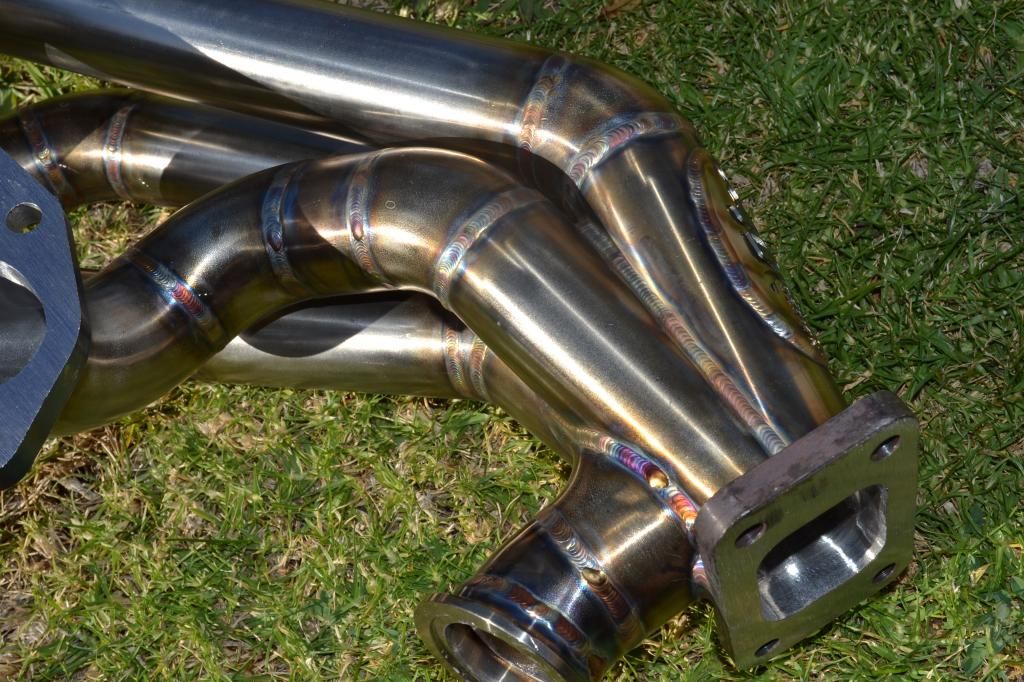
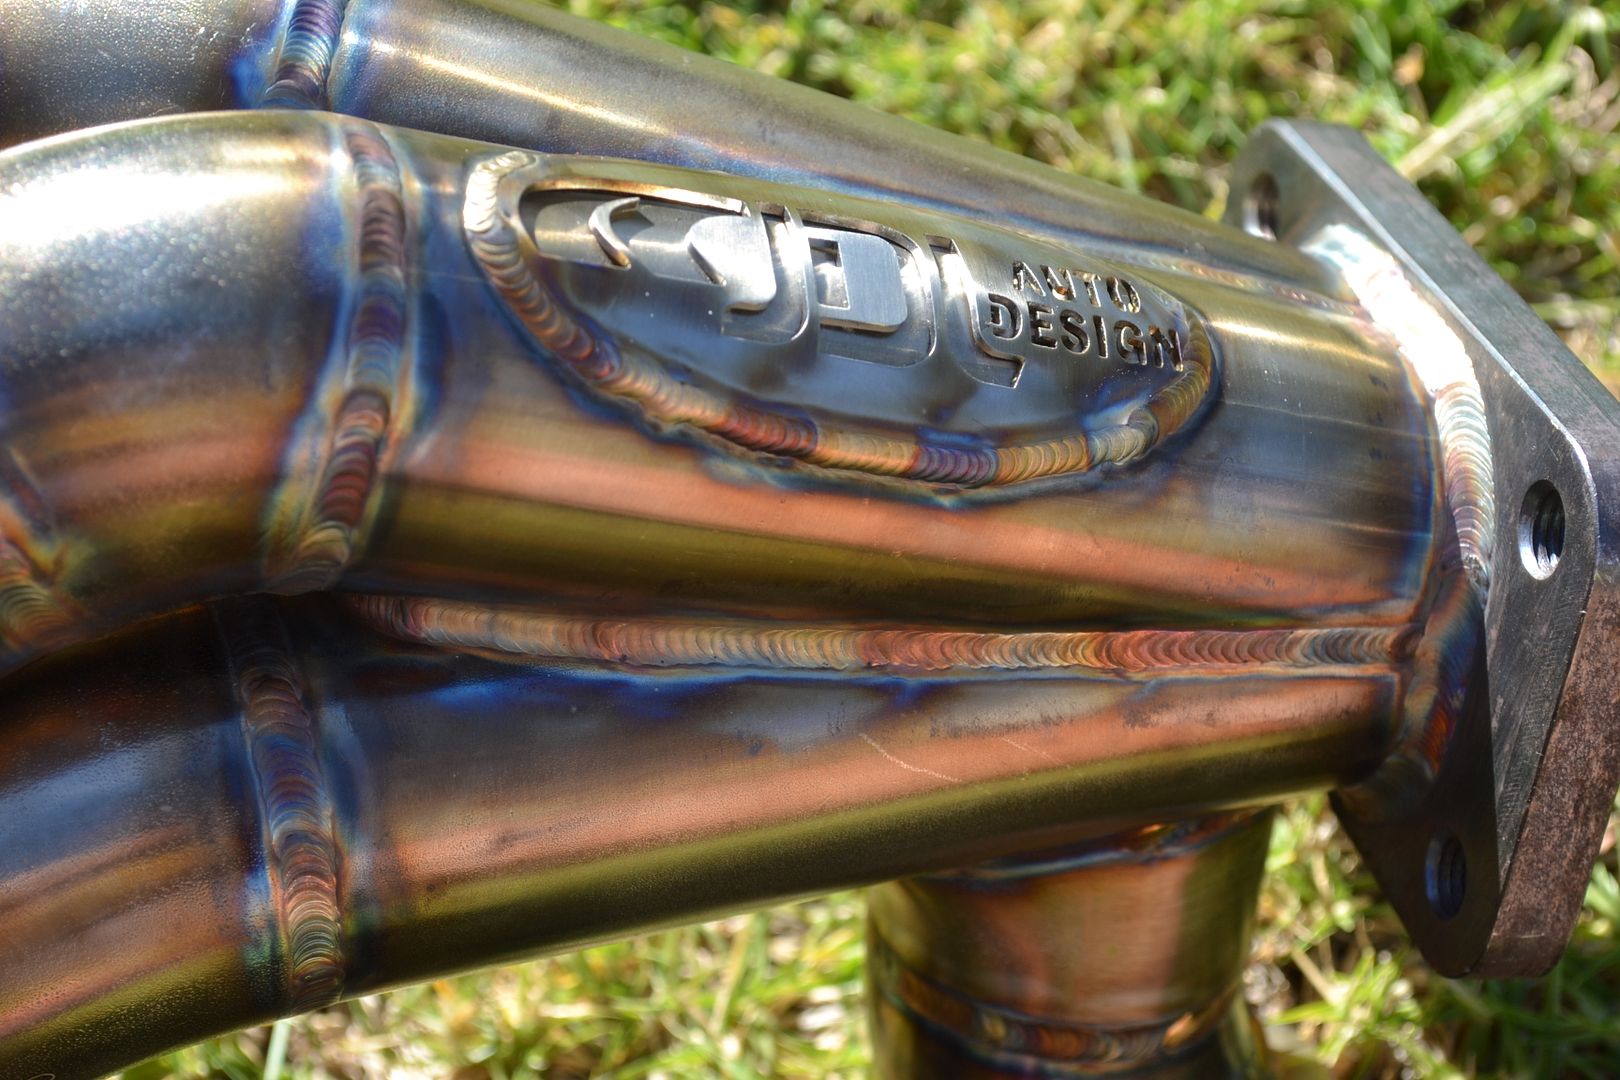
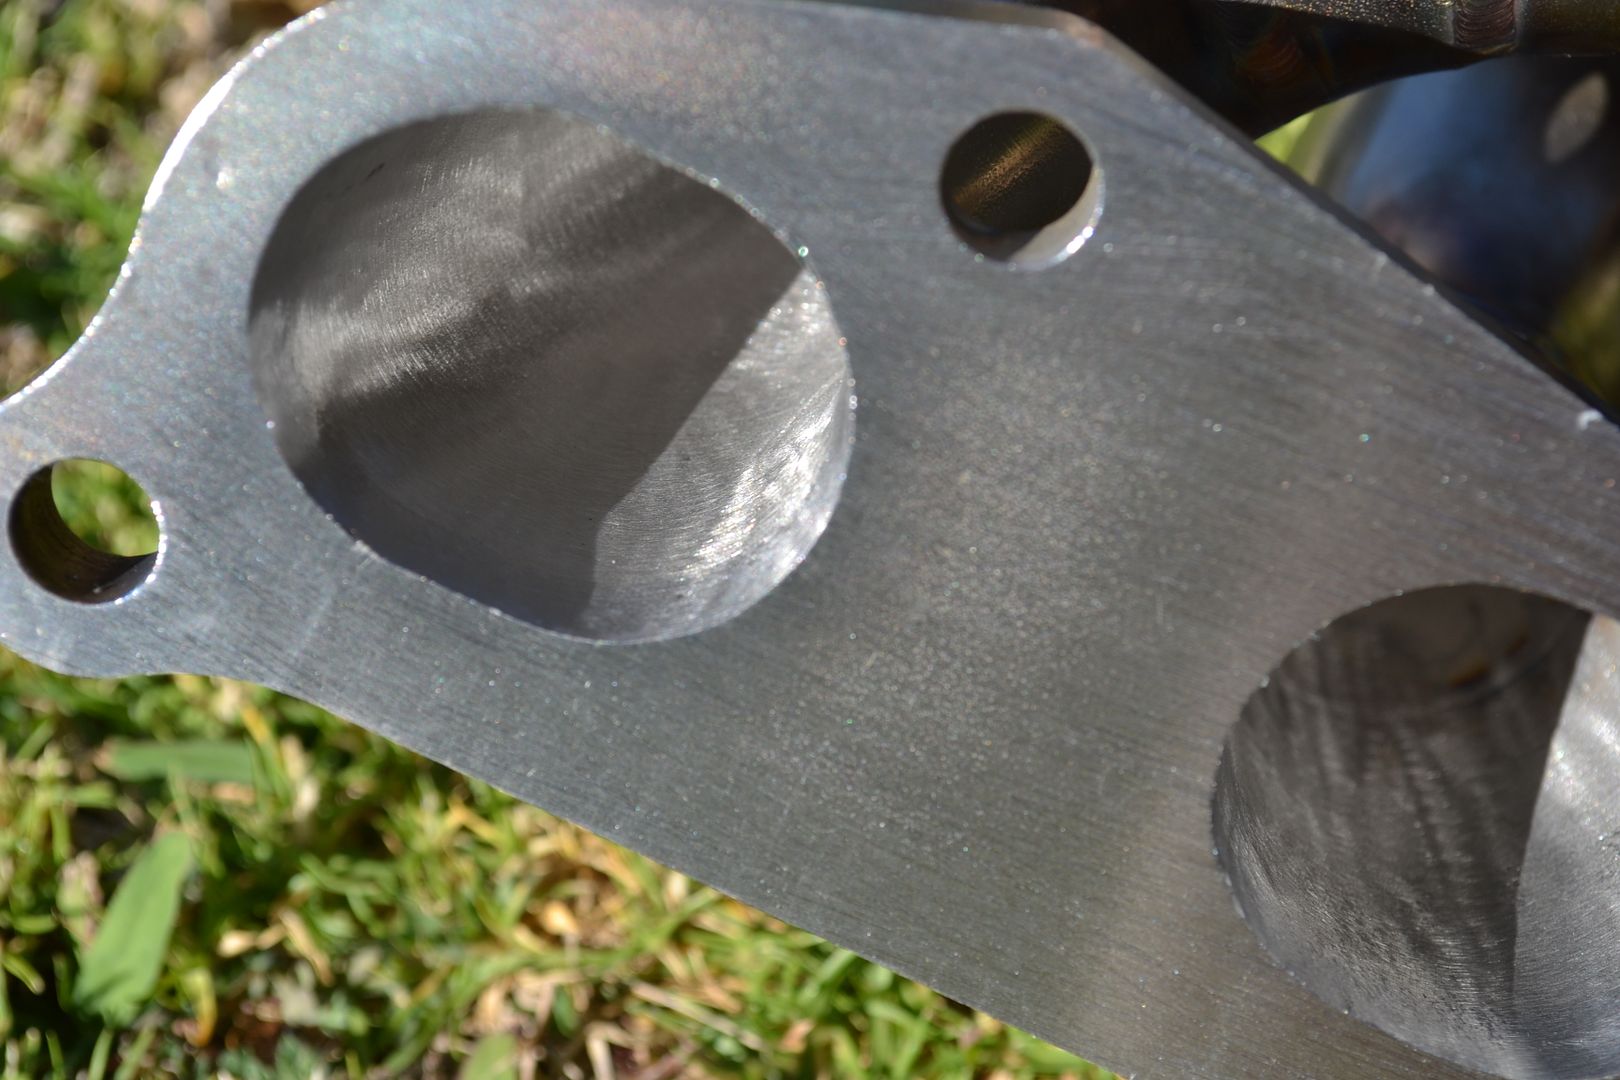
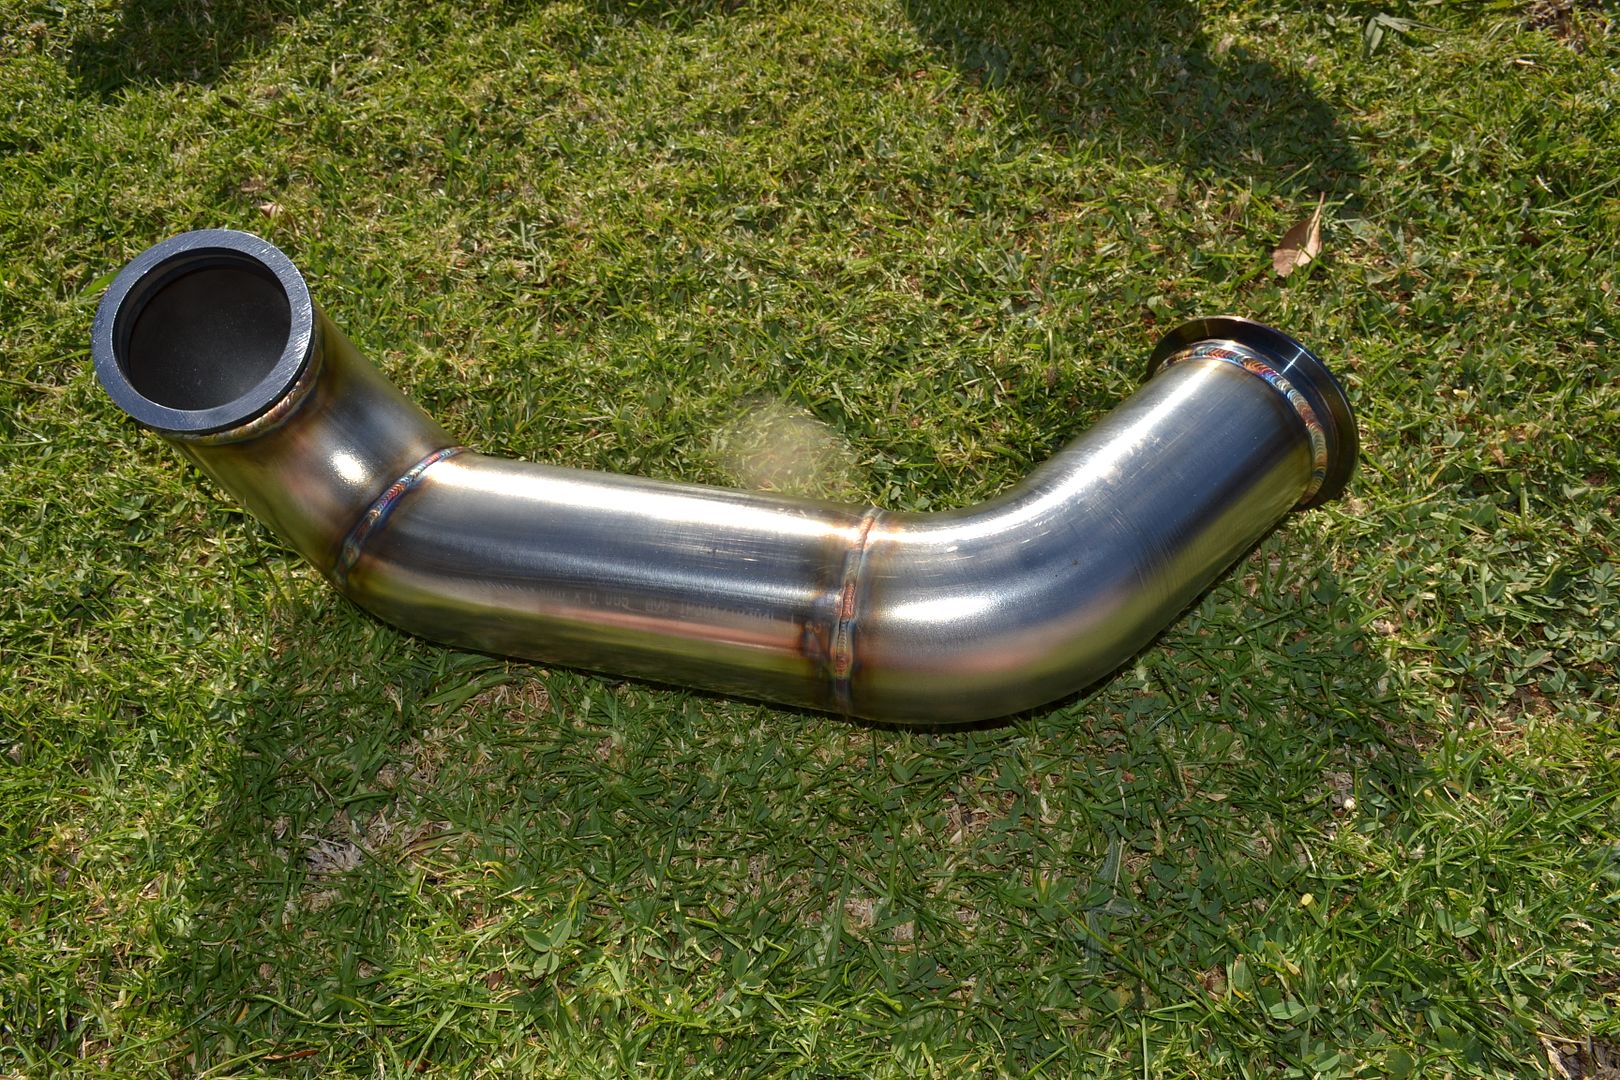
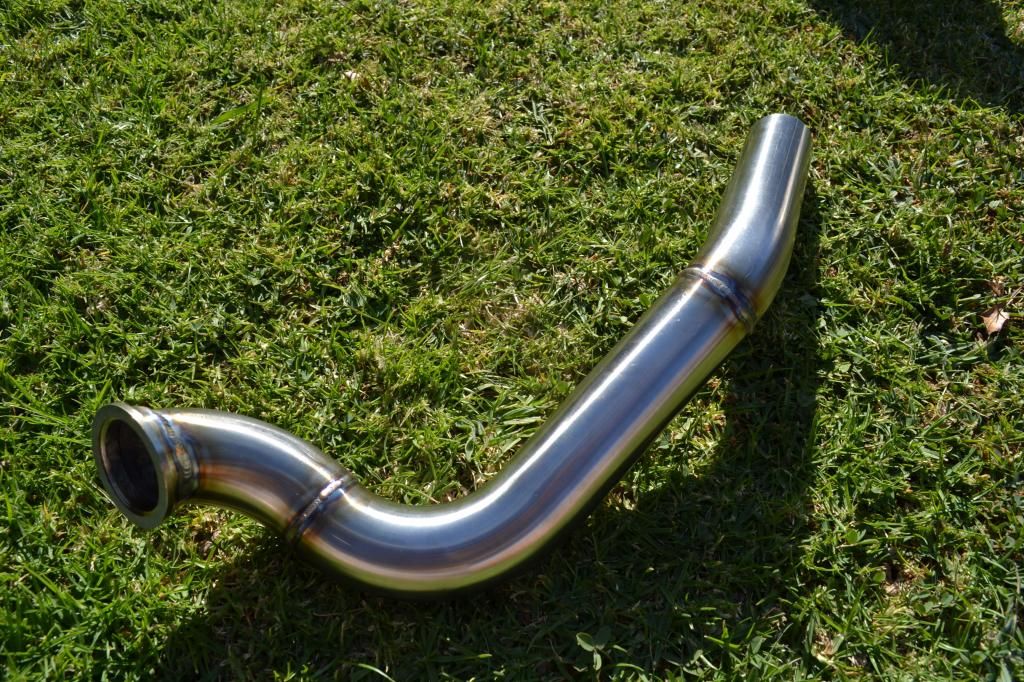
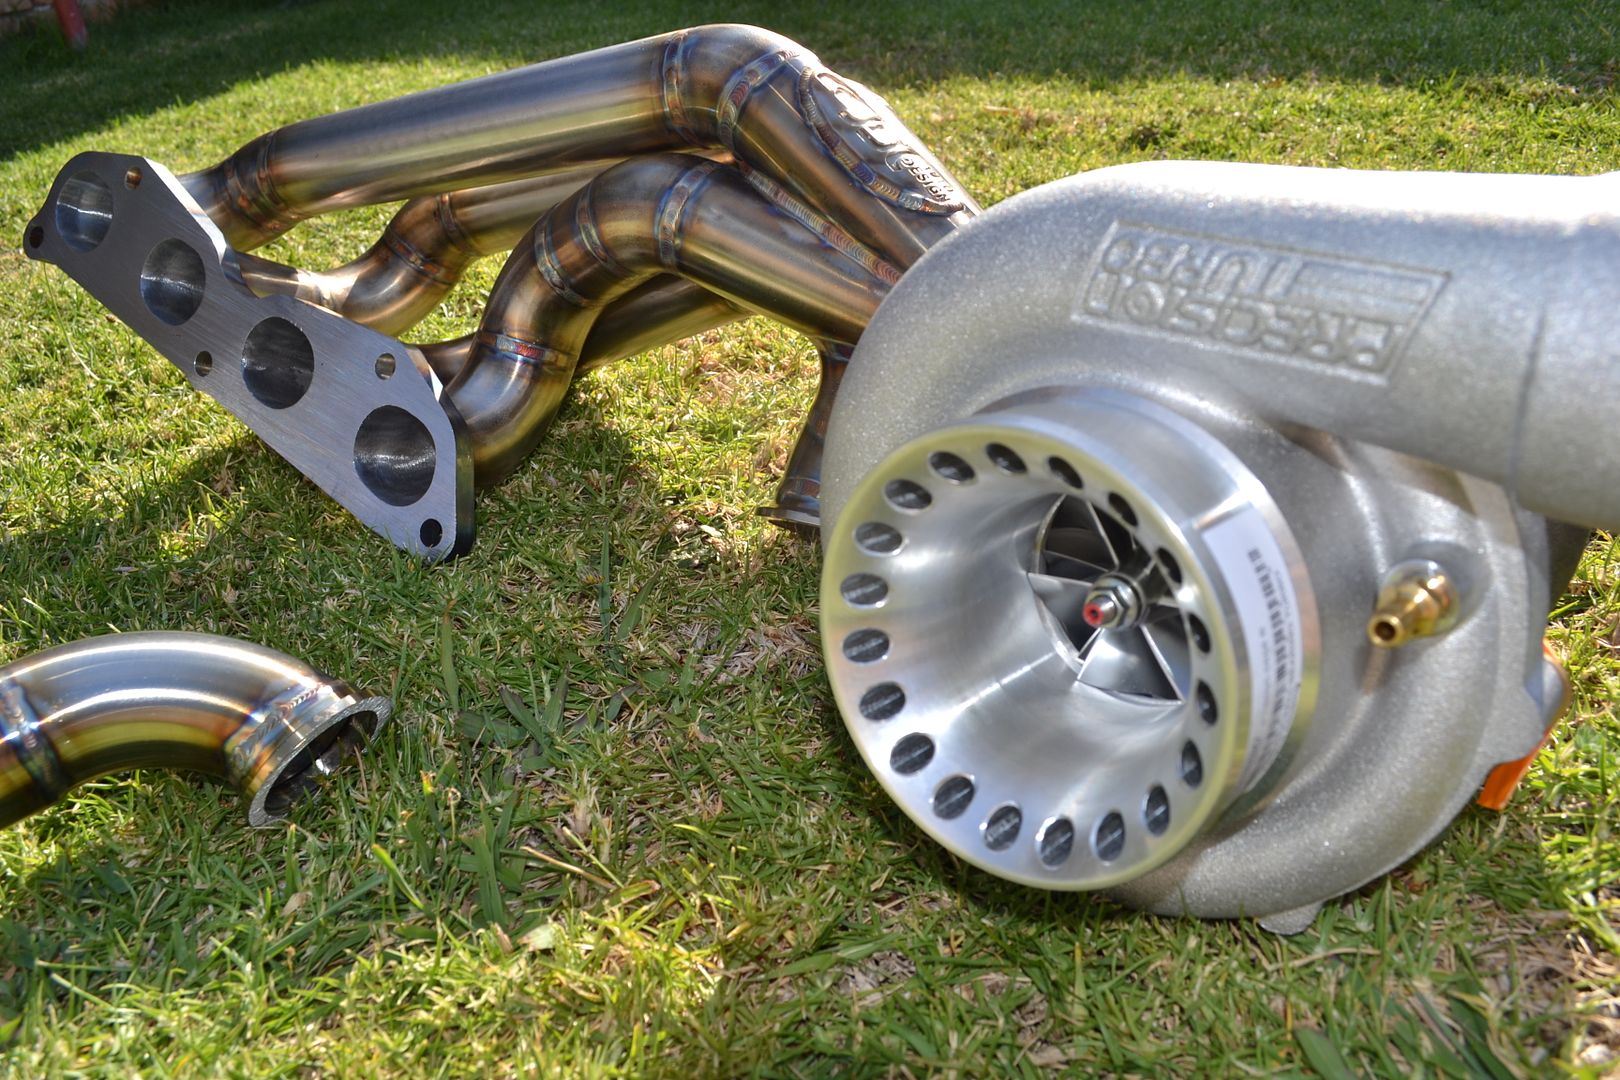
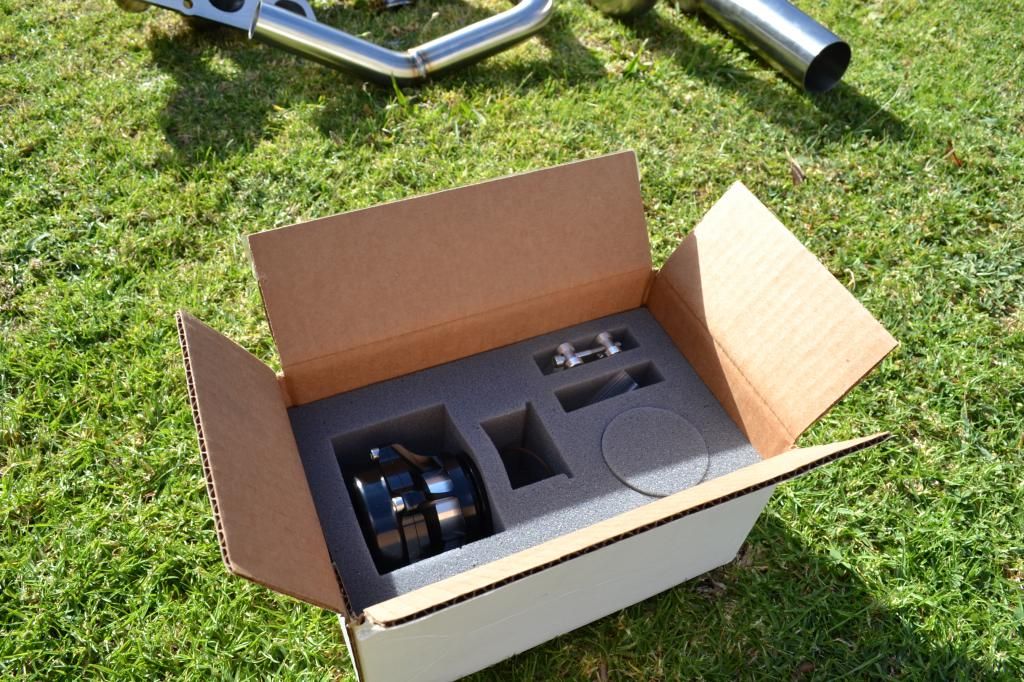
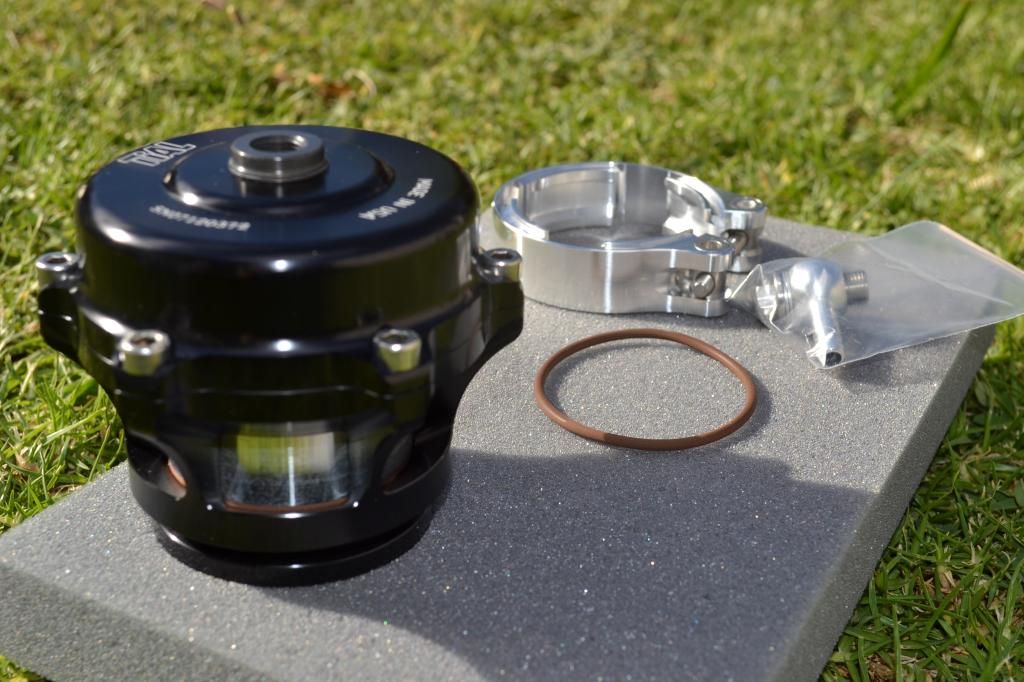
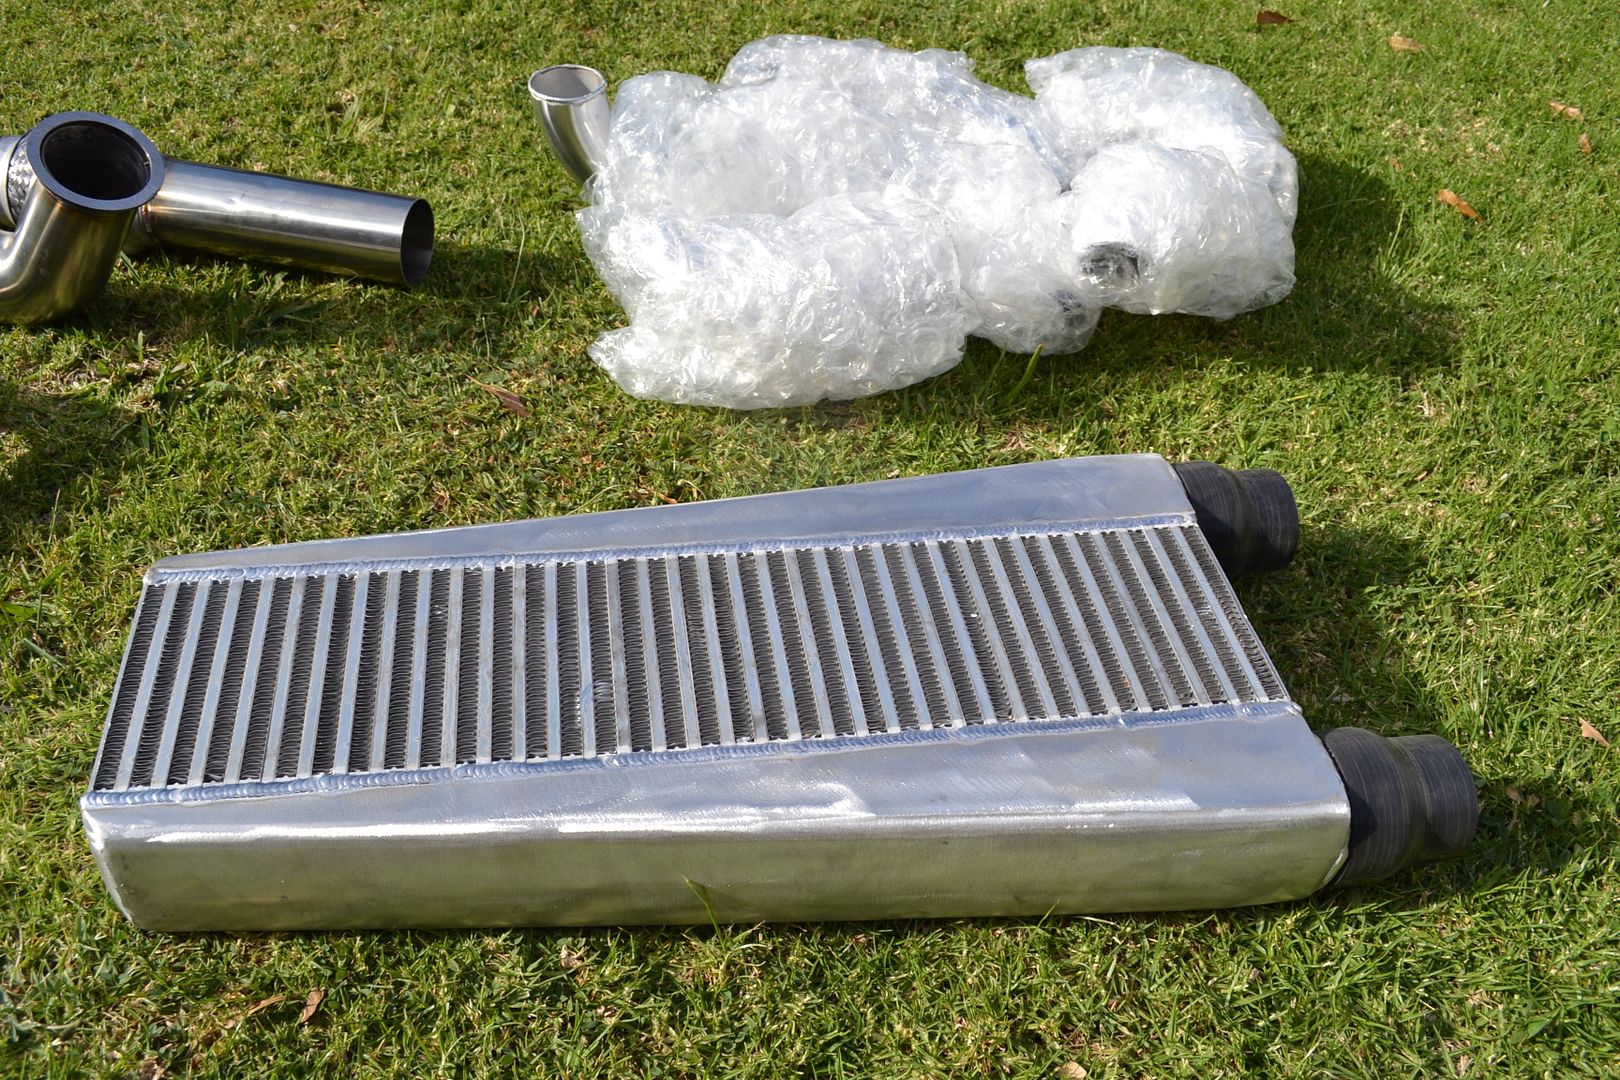
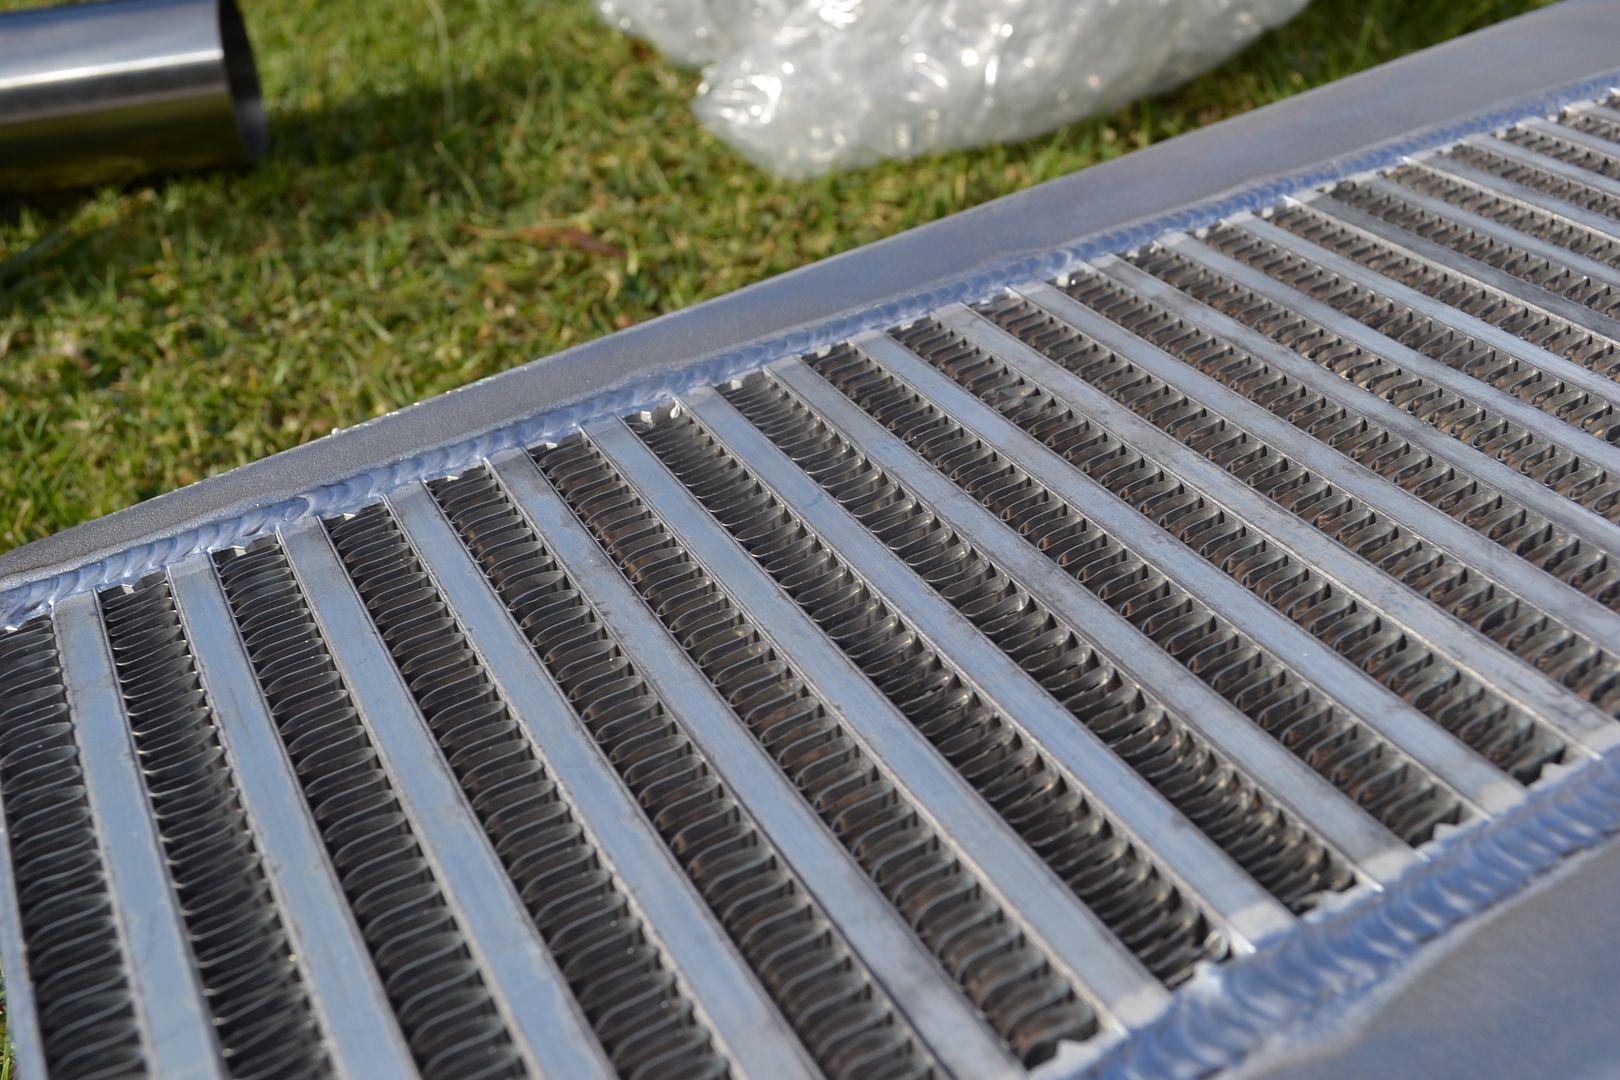
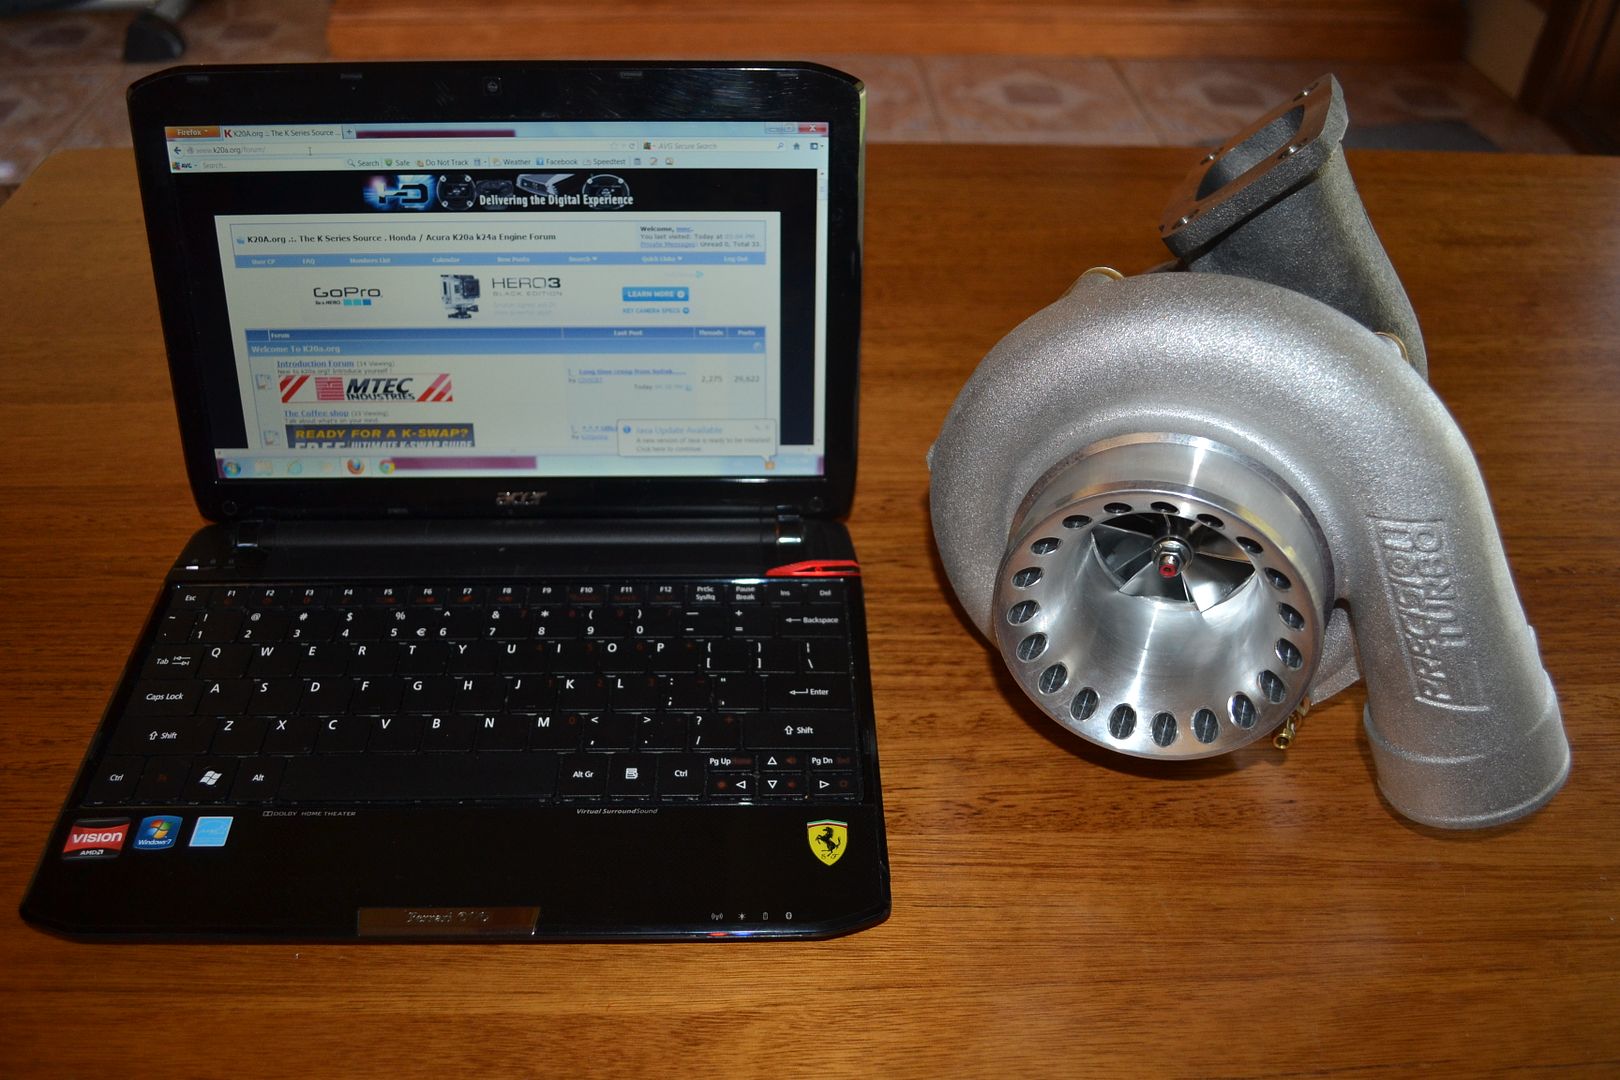
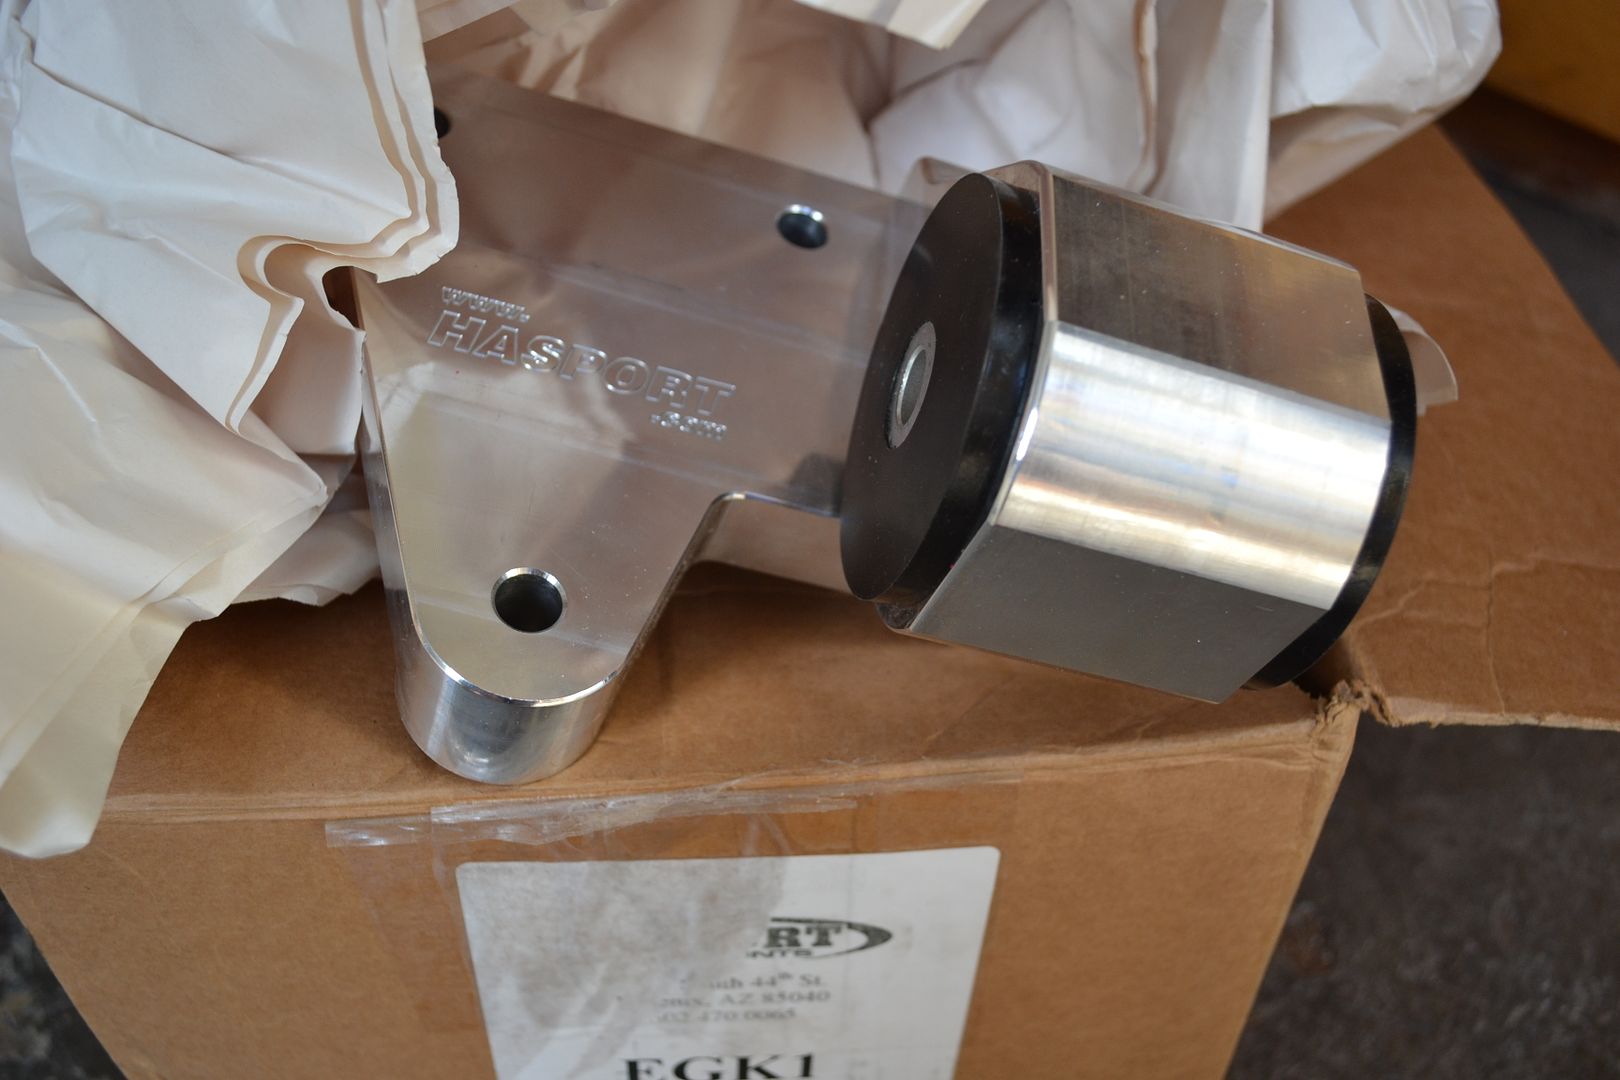
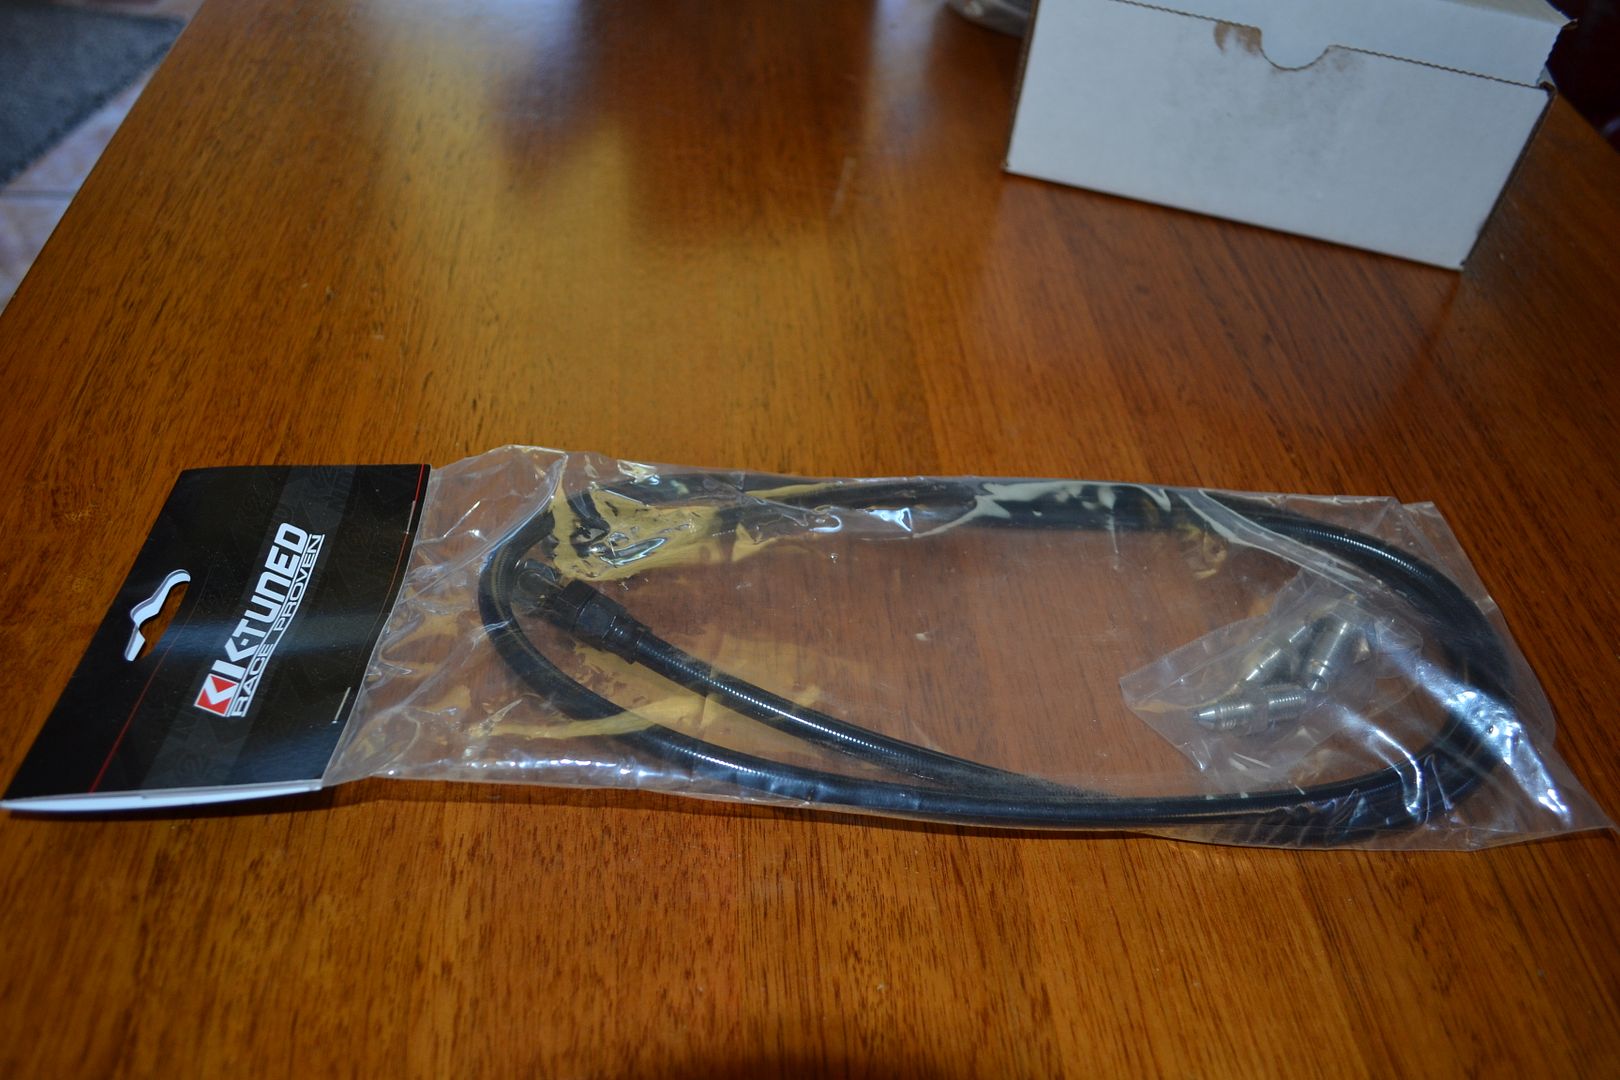
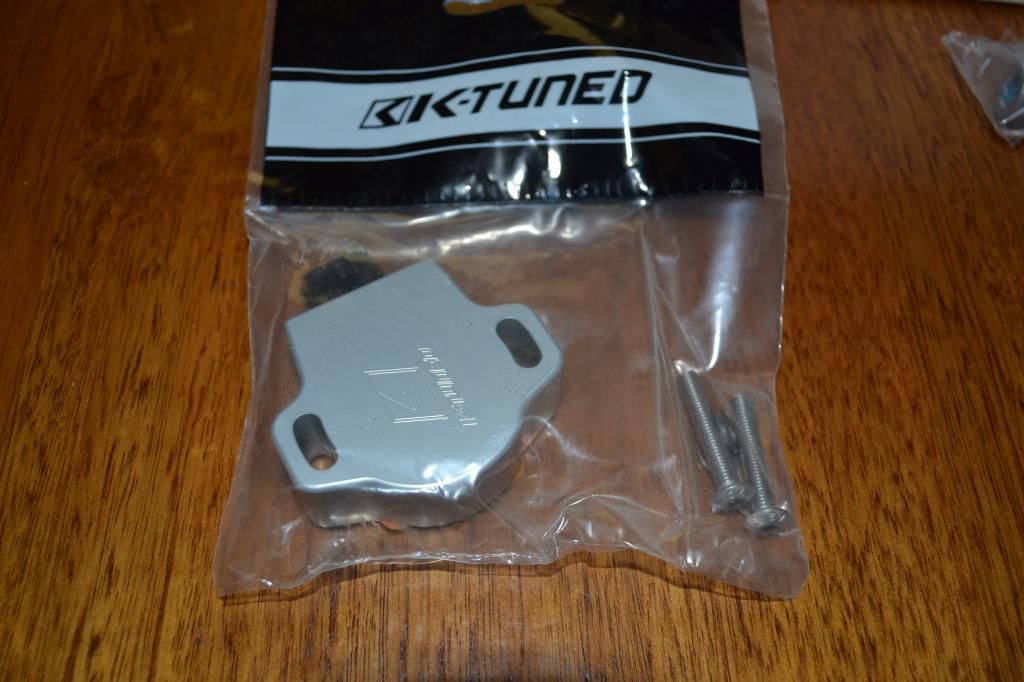
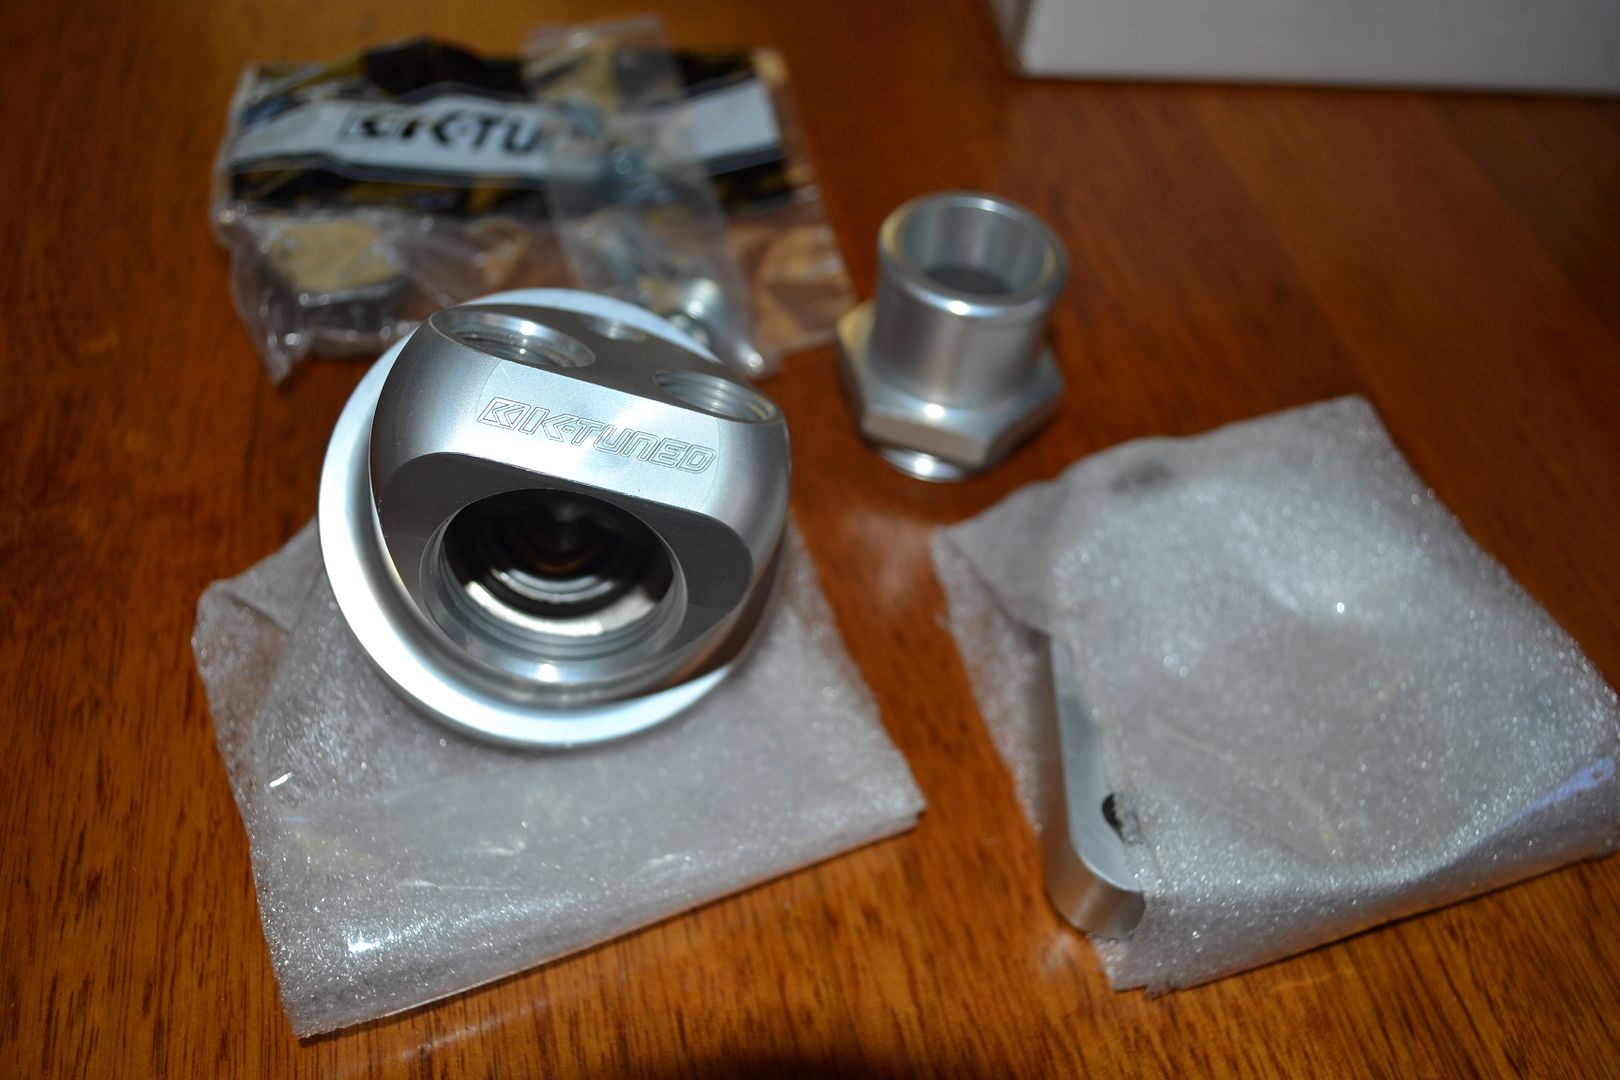
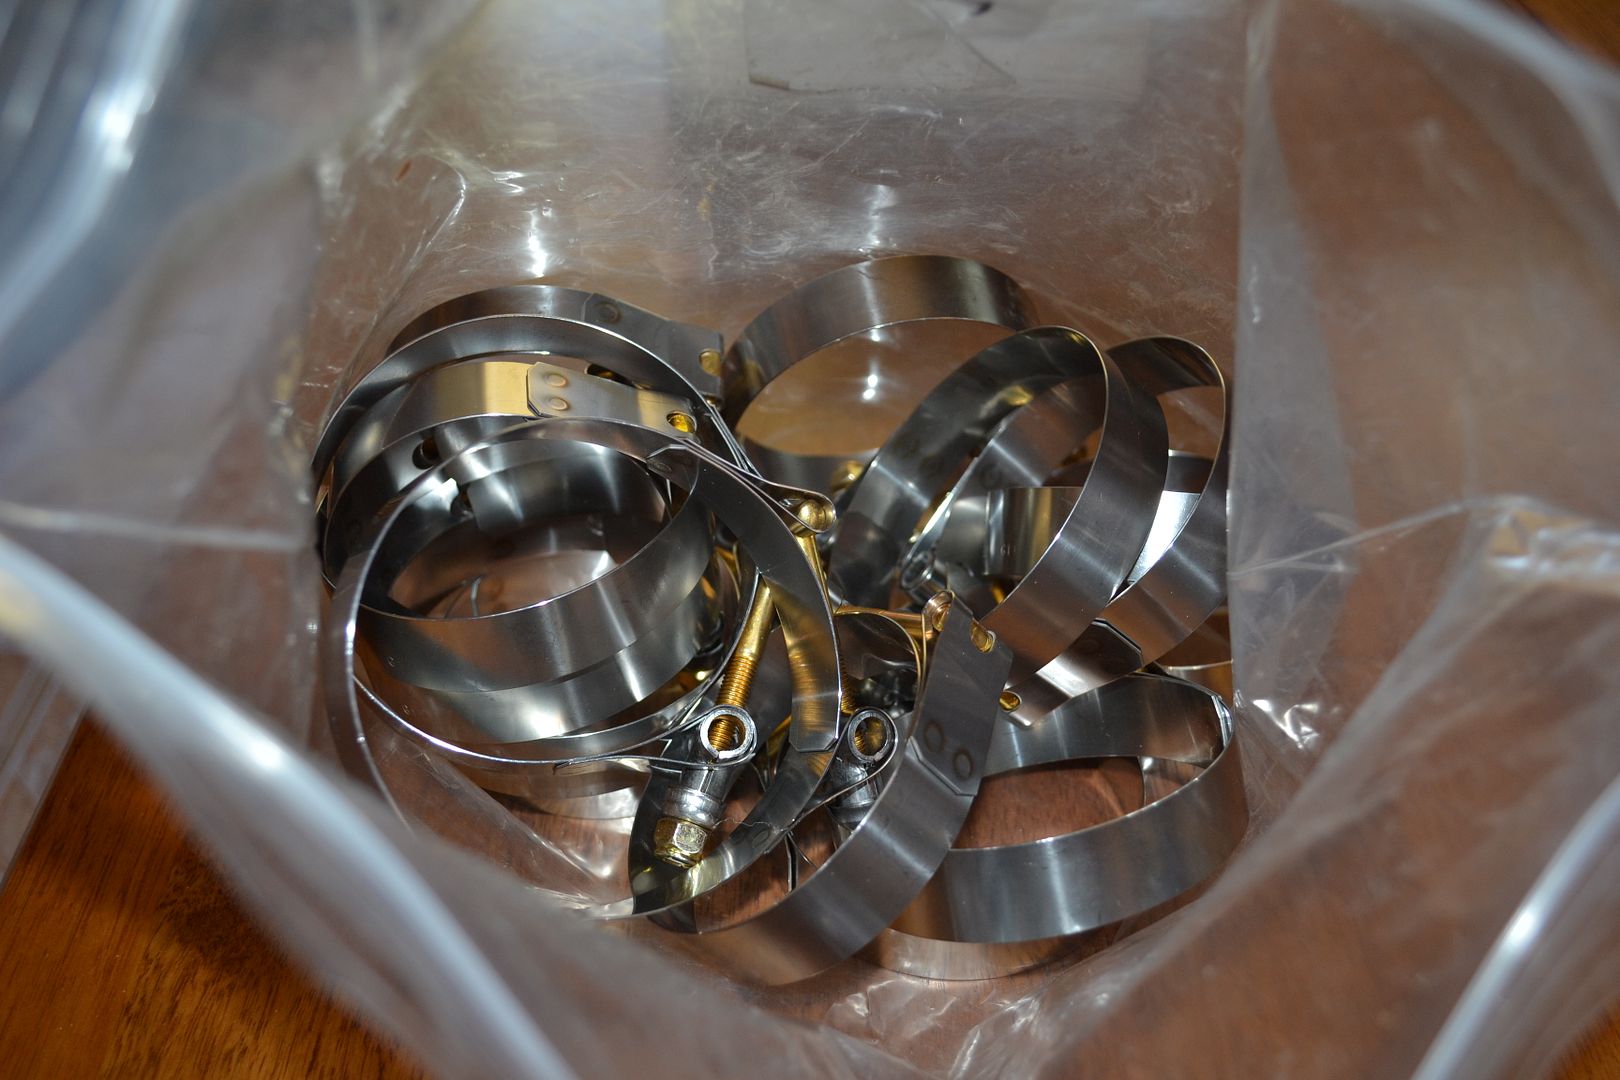
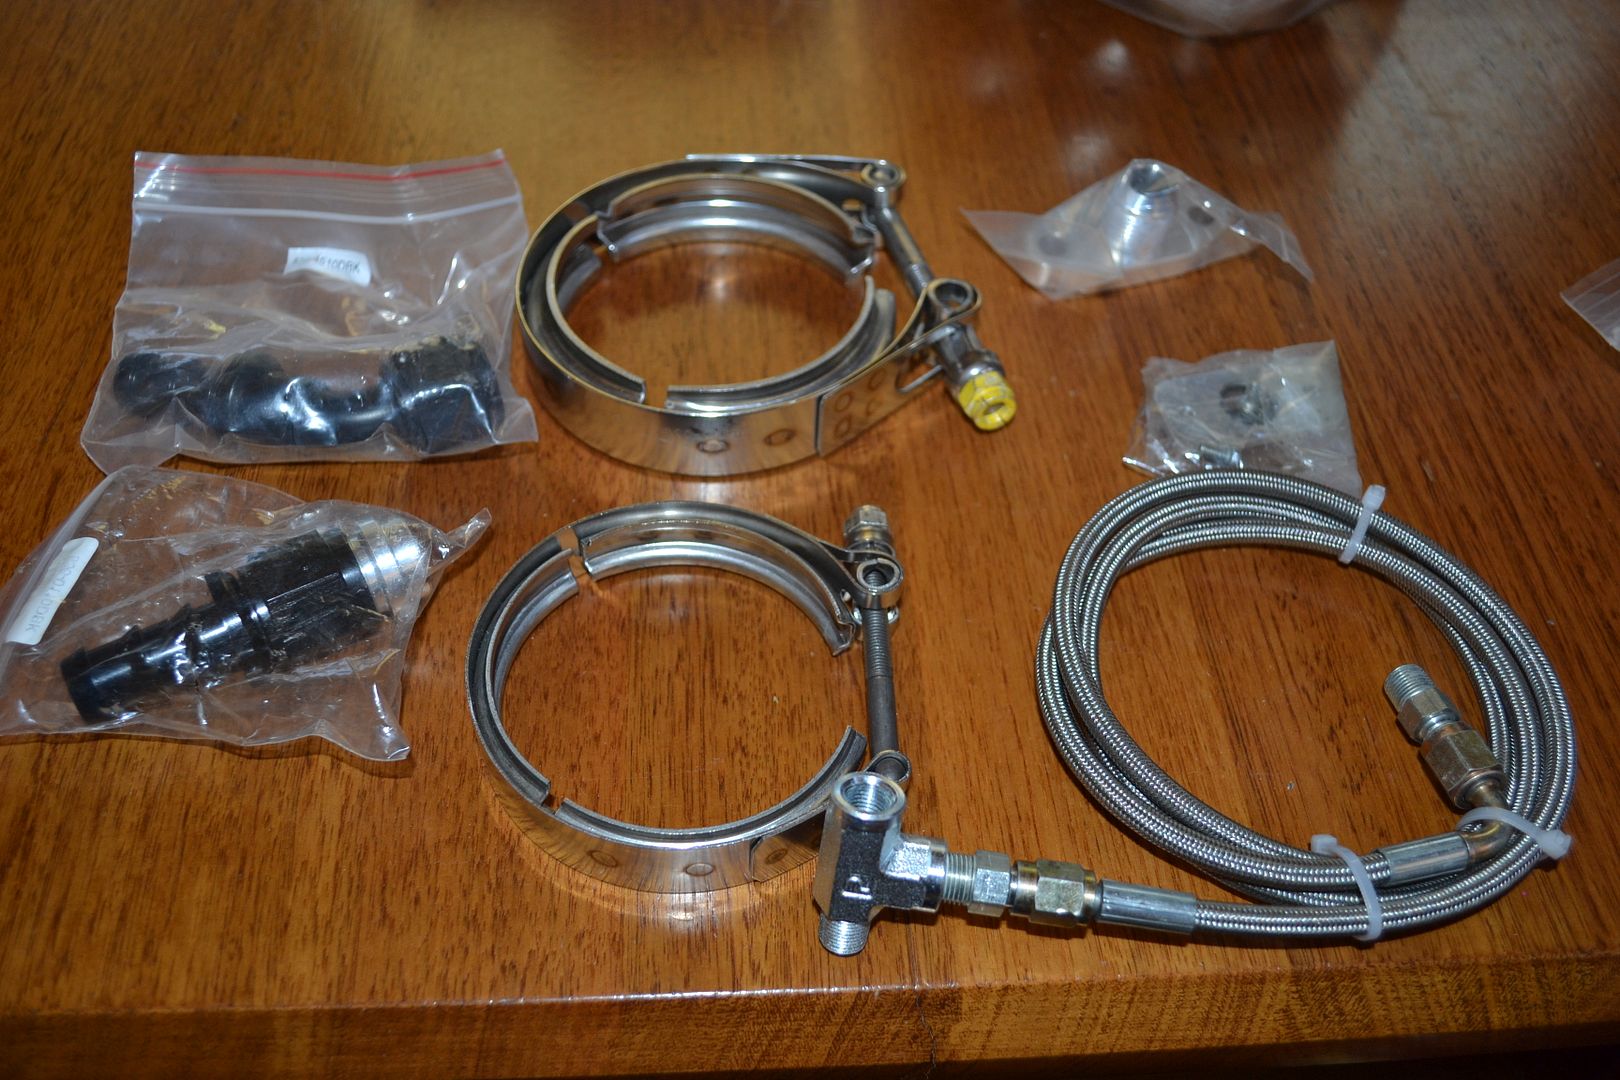
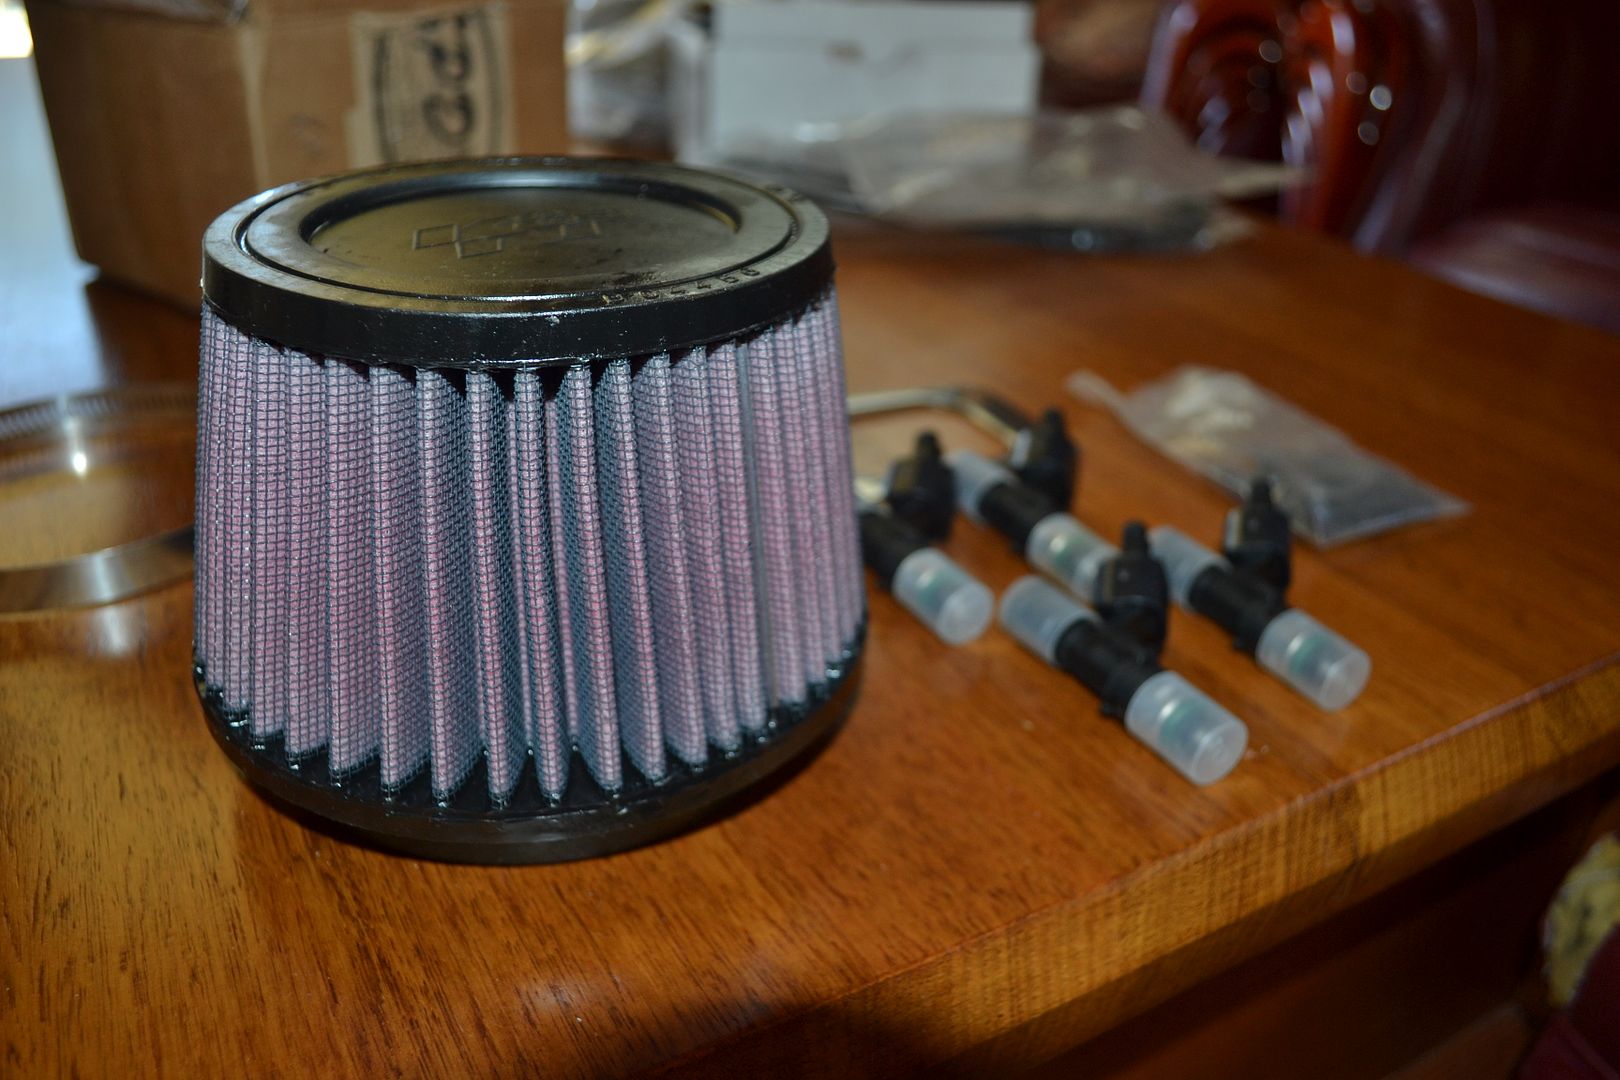
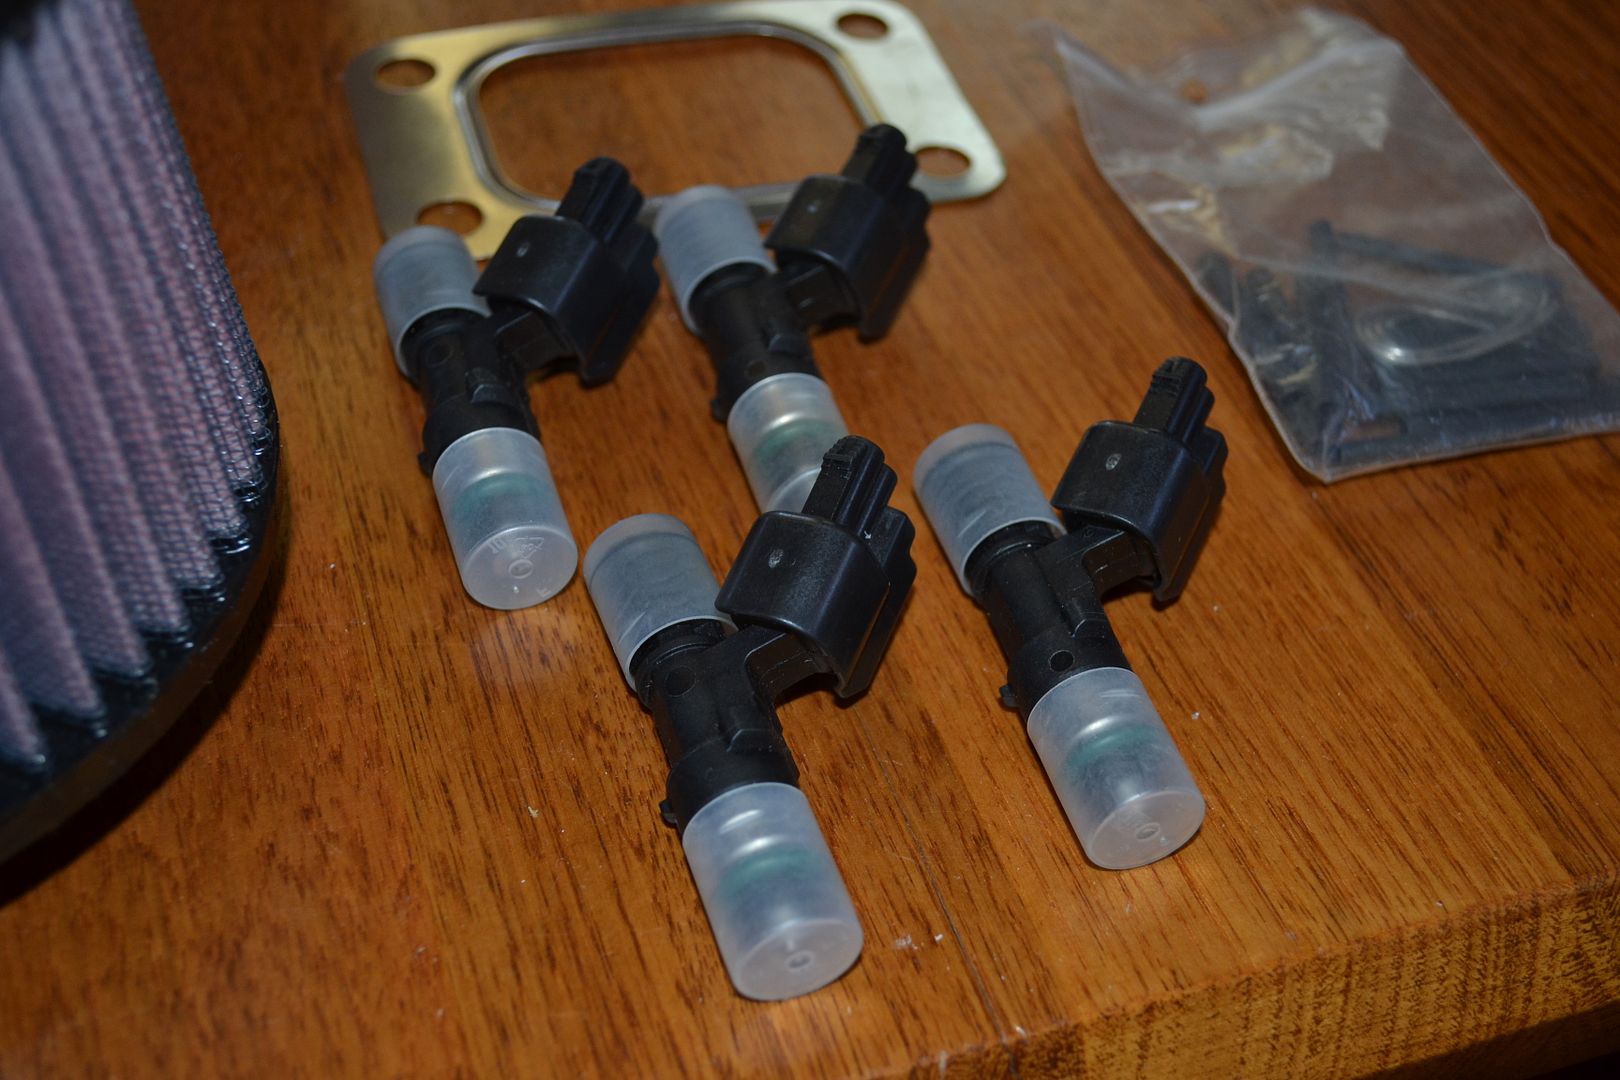
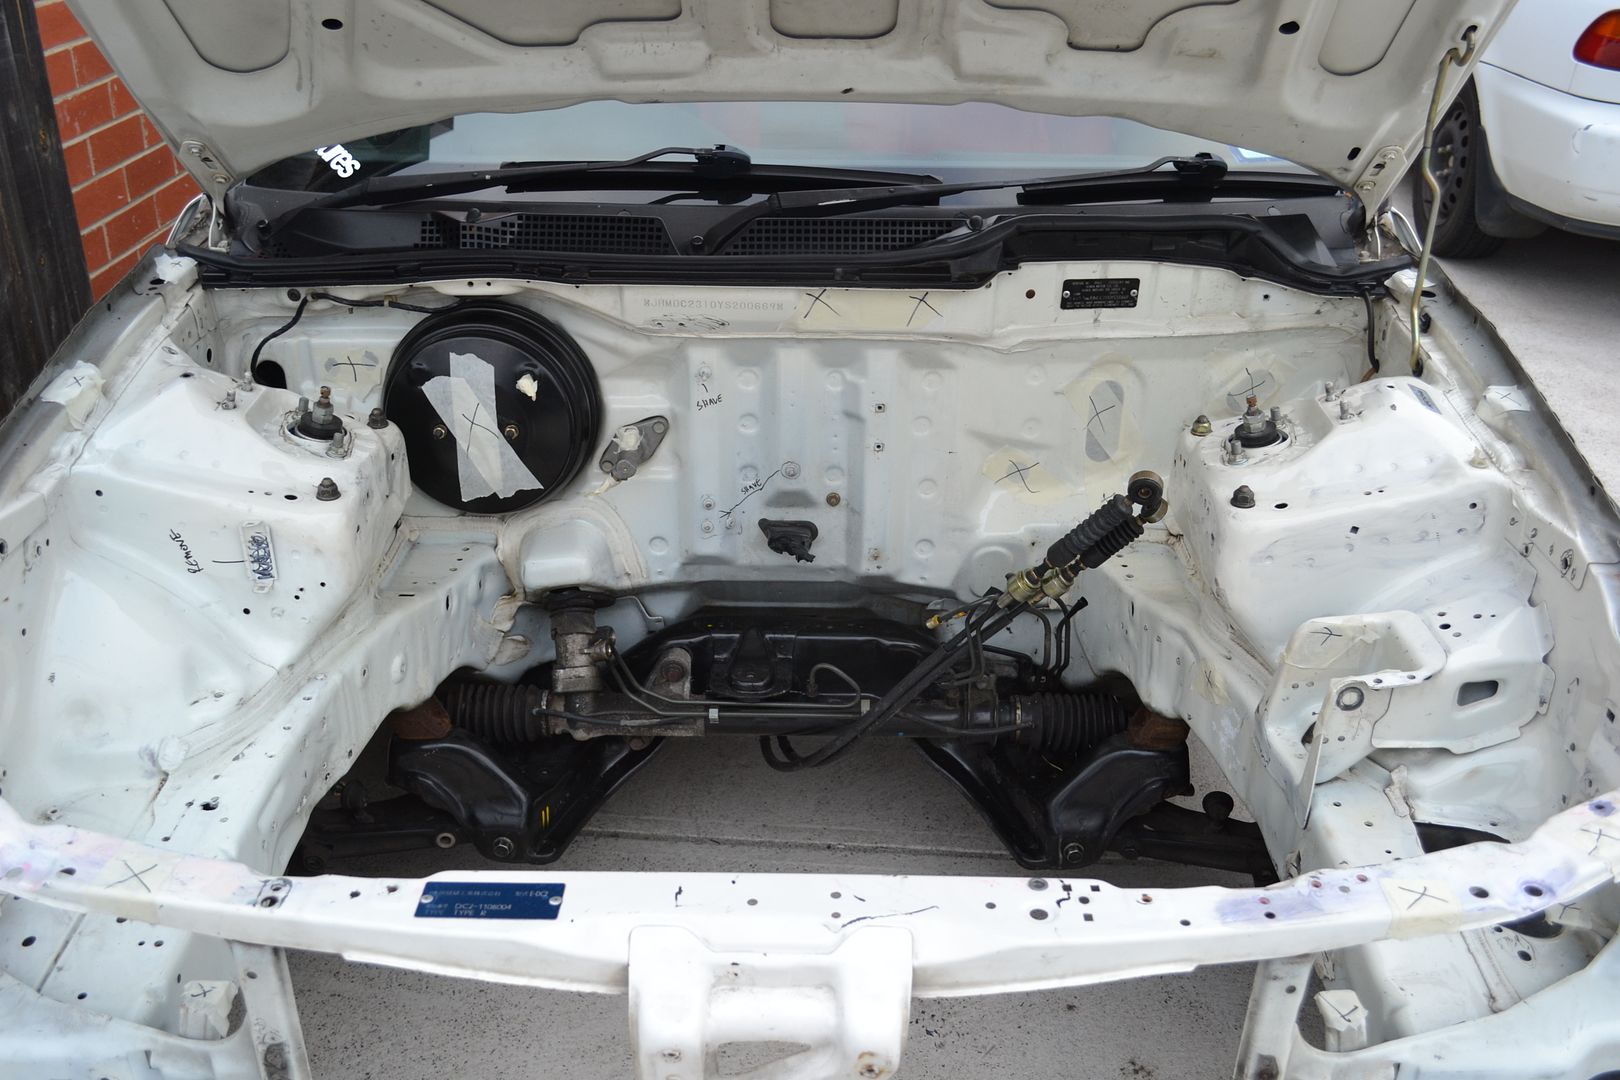
    Here is a few pictures of when it was one and can be driven and enjoyed + a few random pics.


    Last edited by mnc; 15-05-14, 03:22 AM.

    #2
    Now the rebuild starts.


    Last edited by mnc; 15-05-14, 03:10 AM.

    Comment


      #3


      Last edited by mnc; 15-05-14, 03:12 AM.

      Comment


        #4
        Removed the old setup. K24a3, blueprint stage 2+ billet cams and valvetrain.


        Comment


          #5
          My Turbo Kit fabricator from America sent me these pictures.


          Last edited by mnc; 15-05-14, 03:46 AM.

          Comment


            #6
            Received the package from my fabricator a few weeks later.


            JDL Auto Design FTW!


            In house hand ported


            Down pipe


            Dump Tube


            Turbo of choice to suit my application. Precision 5858 Dual Ball Bearing T3 .82 A/R


            For the wastegate side, I opted for the Precision pw46 (46mm) wastegate.


            Had many choices in mind for the BOV but I decided to use the Tial Q BOV.


            Vertical flow intercooler for the cooling side of things. (intercooler piping's are in the background still wrapped up)


            Just a comparison to my laptop.

            Last edited by mnc; 15-05-14, 03:48 AM.

            Comment


              #7
              Hasport mounts 70a


              K-tuned clutch line


              K-tuned ver.2 tps


              K-tuned swivel neck thermostat


              A bag full of hose clamps for the intercooler pipings


              v band clamps for the waste gate etc, oil lines and a few fittings.


              A brand new K&N filter for the turbo and a set of Injector Dynamics 1000cc injectors.


              Last edited by mnc; 15-05-14, 03:49 AM.

              Comment


                #8


                Last edited by mnc; 15-05-14, 03:51 AM.

                Comment


                  #9
                  My friend David helped me out by sourcing a 5 speed dc5 gearbox for me. What an awesome guy for putting out the time and effort to source a box and also organize courier for me.


                  Powder coated my Down pipes and dump tube. Big thanks to Thanh (neut) for also going out of his way after work to get my stuff done. I got a few more things to coat such as intercooler, intercooler pipings, radiator, strut tower brace etc.


                  Spoon rigid collars donated to me by a friend who sold his car. I believe these are the earlier version of the spoon rigid collars. They are in a gold colour now from Spoon.


                  HardRace full bushing kit for the dc2r. Big thanks to the boys at BYP for always giving me a hand with parts when I need it most.


                  Bought these from an ozhonda user, I plan to refurbish them soon. Te37 16x8 +15, 16x7.5 +30 5x114.3.


                  My latest acquirement and probably one of the best things I have ever bought are these Desmond Regamaster Evo. They are Brand new, literally brand new... No tyres have ever been mounted on them ever. They also come with the original decals still new and also the valves stems and caps. The previous owner had these for 4 years and told himself to never ever sell them ever. Unfortunately he has moved on and decided to let go of all his rare Honda goodies.


                  Last edited by mnc; 15-05-14, 03:54 AM.

                  Comment


                    #10
                    Sold off a set of
                    16x8 +30
                    And another (staggered) set of
                    16x7.5/8 +30

                    I'm left with
                    6x 16x8 +15

                    Pretty much sold more than half of my te37 collection.


                    Finally found some time to take a proper look at the Spoon damper kit. I must say I am pretty happy with the product overall. Looks to be a very quality damper kit.

                    I had no intentions to ever move away from my Zeal function x but after browsing yahoo auctions I came across these. Brand new with no bid yet, after a few bids it finally came down to 140,000 yen (it was reserved at 140,000 yen so that was the minimum the buyer wanted). Surprisingly no one else bid and I ended up winning these for 140,000 yen. Retail for these from Spoon are 252,000 yen, I ended up saving around $1200 AUD with the current exchange rate.

                    I'll let the pictures do the talking as no one really wants to hear my crappy story.


                    I really need to point this out, they came with a screw driver to adjust damper and no spanners are included :thumbdwn:

                    Sorry for the poor quality pictures, they don't do any justice on how nice these are. inb4buyapropercamera.

                    Comment


                      #11


                      Went to pick a Jdm K20a on sunday, the motor has been sitting there unused for awhile and has accumulated quite a bit of oxidation and is also covered well in dirt and dust. The good news is that it only has 37,xxxkm on it.

                      Got straight to business and started stripping it while we waited for a friends van to transport it back to my place.


                      I would like to thank Thanh and Steven for giving me a hand, thanks boys. The next day I spent an hour removing a few things.


                      Here comes the fun part... cleaning it and prepping it for a makeover.

                      Comment


                        #12
                        I organised a group buy for Top One aero parts for 9 people total including myself, I must say.. I am impressed with the quality. I ordered for myself the rear diffuser, front splitter brackets and side skirt extensions. Here is a quick picture of the rear diffuser only.


                        I put in a little elbow grease, cleaning this motor and masking it up in this heat was a mission dead set...


                        Anyways.... My temptation took the better of me and it was damn worth it in this heat.


                        Comment


                          #13
                          Started shaving my RBC intake manifold.


                          Cleaned up some suspension parts to get it ready for new bushings.


                          Used a heavy duty foaming degreaser to break loose the heavy grease and dirt, worked wonders!


                          Now the elbow grease, a bit of dish washing detergent and straight to scrubbing it clean.


                          Borrowed a press off Mr spoon fanboy Billy. Got straight to testing it out but it soon got dark and had to call it a day.


                          New versus Old.

                          Comment


                            #14
                            I put on my Edelbrock 3 point tower brace to test fit and to see whether if I wanted to keep it the original black or go for something else. My friend Thanh mixed up a nice metallic black for me to use on my Advan rg's so I might consider doing my wheels, engine mount brackets and tower brace in the same metallic black.

                            Don't mind the amount of filth in the engine bay. I was waiting a few months for the paint to cure so that I could get started on sanding it back and polishing it up.....


                            Sent off a few things to get sandblasted.


                            Also got the subframe powdercoated gloss black, intercooler pipings a custom grey metallic and the intercooler end tanks gloss black.


                            Picked up a 100cell high flow cat off Steven.


                            My Topone splitter brackets I bought along with my rear diffuser and side skirt extensions.


                            And last but not least.. what my car looks like as of today.


                            I plan on purchasing my brake line tuck kit and my brake booster delete through Chasebay with a few guys.

                            Comment


                              #15
                              After a hard decision on what engine enamel I should use I decided on the Dupli-Color engine enamel range.

                              Picked up a can of high heat grey primer and 2 cans of aluminum silver enamel. I had so many colour choices to choose from but decided on aluminum silver purely on the fact that it would always look nice in a white engine bay regardless.


                              I always wanted new trims for the exterior of the car and was pretty close to purchasing some new OEM ones. A friend of mine has used trim paint/dye and it turned out top notch. He has painted/dyed them over 2 years ago and has lasted nicely. The option was too easy on whether to buy new tirms or give this a go. I think everyone would agree on going the cost effective solution first as the trim dye was only $25.

                              Comment

                              Working...
                              X