Originally posted by felixR
View Post
Announcement
Collapse
No announcement yet.
Does this belong? Ryan's new whip, Project TOPLESS
Collapse
X
-
+1Prash Imaging (Facebook) - Please like!
Flickr
my car blog - Have a read
my 2nd car blog - Have a read too
-
Yissss been a long time since I posted . No monayz! But I thought I could do something that didn't require money at all!
Yesterday was Father's Day, my dad and I had nothing to do! So I took him for a spin to his toy store (Bunnings) lol. Dropped the top, and he noticed the soft top striker was hanging like a loose nutbag. He goes, let's fix this! So we did.
Now I regret not taking photos but there wasn't much to take! I thought it was gonna be a bitch taking off interior plastics, but to my surprise it was much easier than I thought!
1. Took off the latches, inserted a card piece in each slit to prevent jiggle, lubricated and set aside.
2. Took off windscreen plastics to reveal soft top strikers. Holly crap the screws had come right off, only half of another screw was keeping it in place.
3. Swapped both sides of the strikers around so the hook would sit on an unworn portion of the striker.
4. Screwed the strikers back on with a toothpick tip worth of loctite, this shit's going nowhere.
5. Reverse install everything back in place.
Today was my first test drive after the fix, and my gosh, what does a rattle sound like? Hahaha. Rattles are completely gone! And with a much tighter fit with the top up, the roof isn't loose anymore and wouldn't catch the wind at higher speeds. Cabin is more quiet as a result!
I'm very pleased with a result that only took less than half an hour and costed me nothing!!

Comment
-
You may want to check out this link:
http://hondatech.info/search/s2000/
This lists all the service bulletins that came out for the S2000.
This particular one mentions the strikers wearing that you mentioned - http://downloads.hondatech.info/Auto...00/A01-037.pdf
Handy bit of information if you ever need to fix it again in the future.
Comment
-
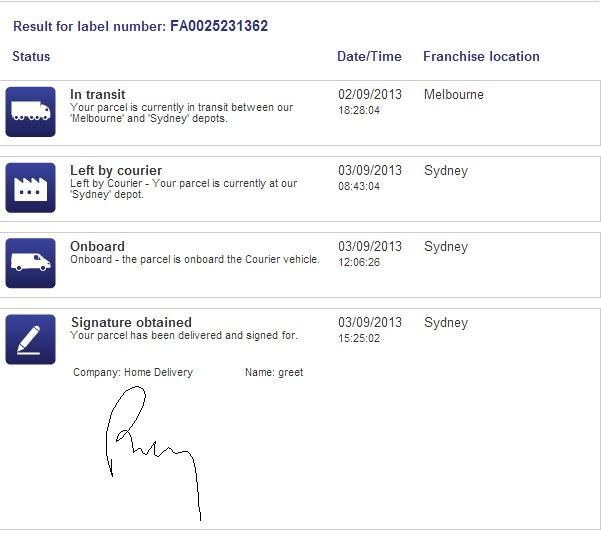
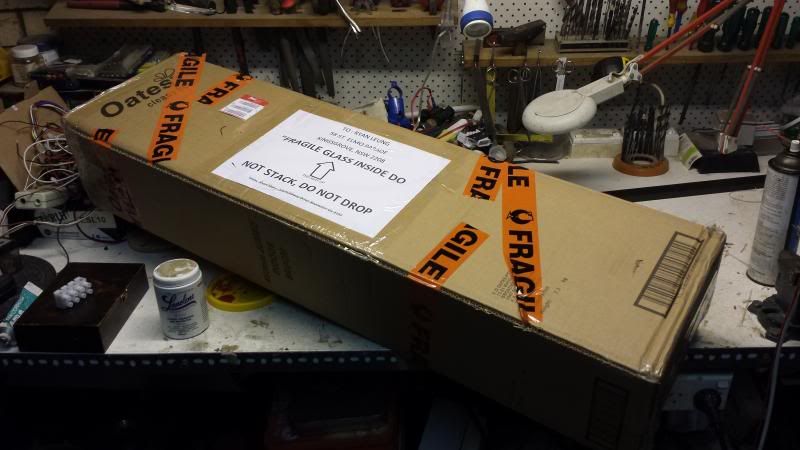
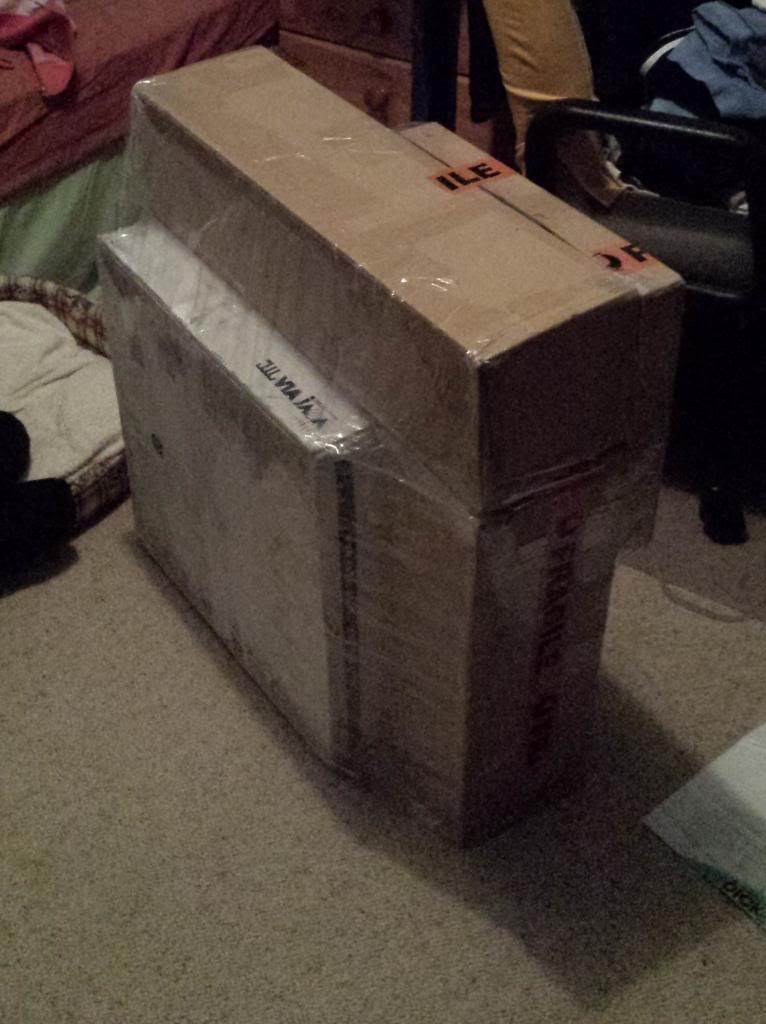
Thats one huge care package.Into Gundam and Anime?! Check out my business at www.facebook.com/officialgundamuniverse
www.gundamuniverse.com.au
Comment
-
Sighs I miss playing COD so much!
I'll let some guesses roll in before I reveal anything Last edited by ryry668; 04-09-13, 01:38 AM.
Comment
-
okayyyyy....its been a long day boys and girls. those who went to showcased, i hope it was enjoyable!!
my day on the other hand was immensely exciting!! today's post shall reveal what came through inside that box!! okay i'll hand it to you first, i bought an intake, so check it out! i'll try and type less and show more, cos i can assume thats how you all like it.
first things first, took a photo of my patient that was eager to accept a healthier organ, allowing better breathing and improved performance and higher levels of grin factors.
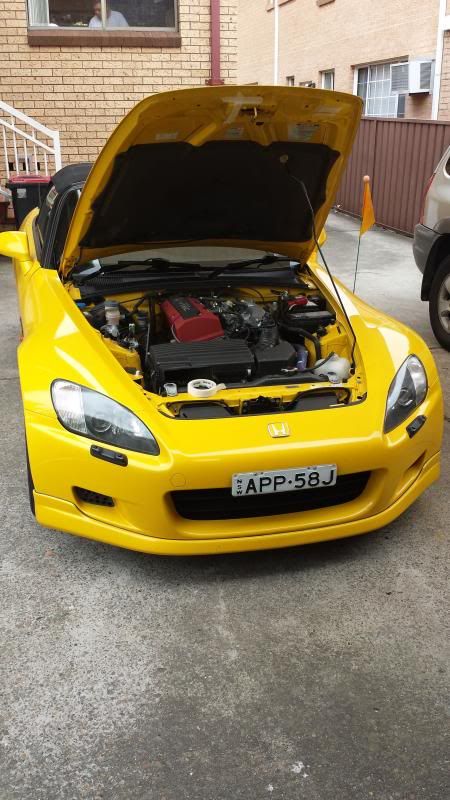
now for this intake, i had to shave off a part of my bonnet to allow for the intake to fit. some of you may already know where this is going to be pointing towards
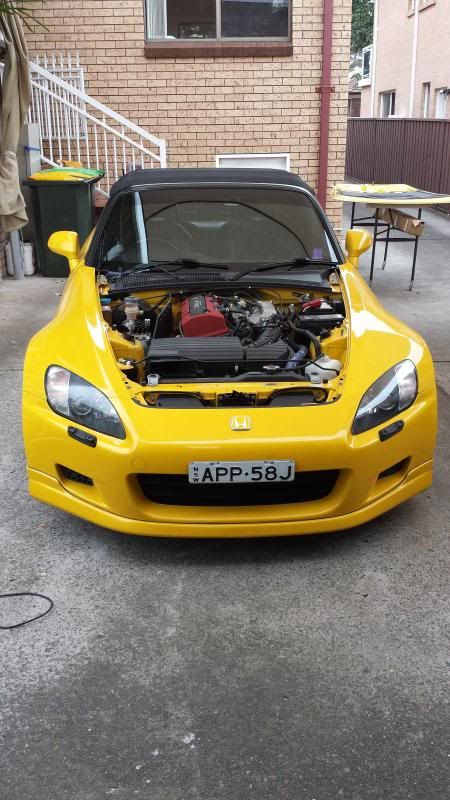
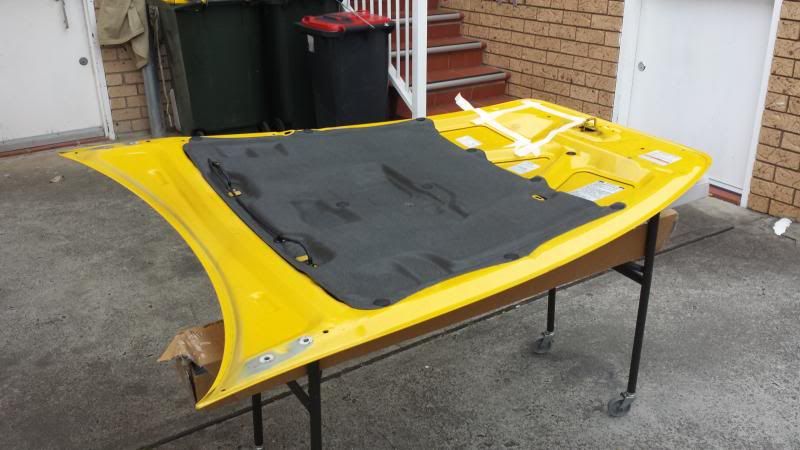
so before anything else, i wanted to get the bonnet done first as i thought it was going to be the most trickiest.
i found a template for the part i needed to get cut out. Others had posted it up on another forum and i was lucky to find it.
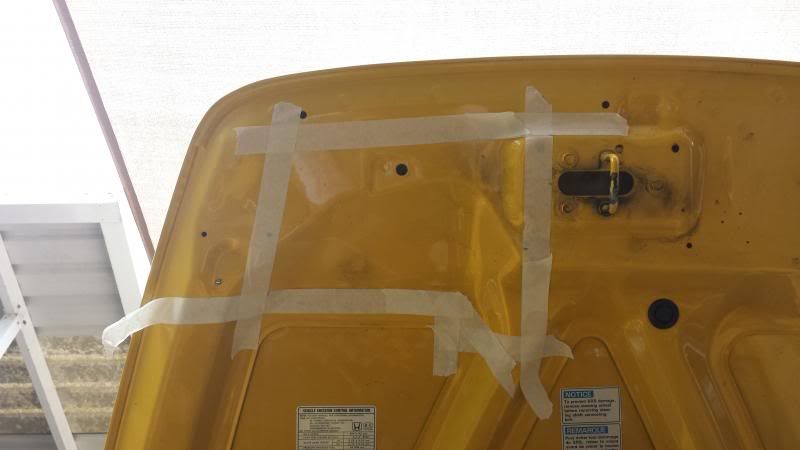
i was lucky to have the help of my trusty dad who was good with his handwork! couldnt have done a cleaner job without him!
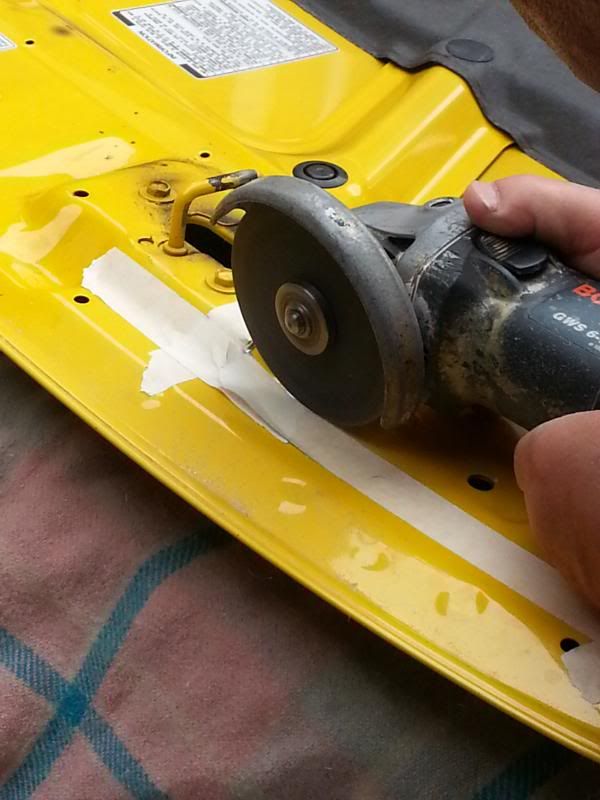
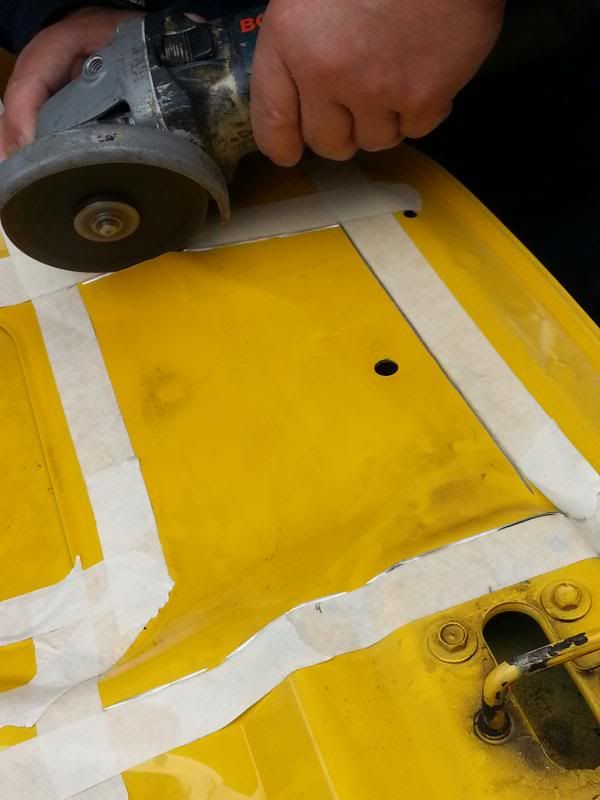
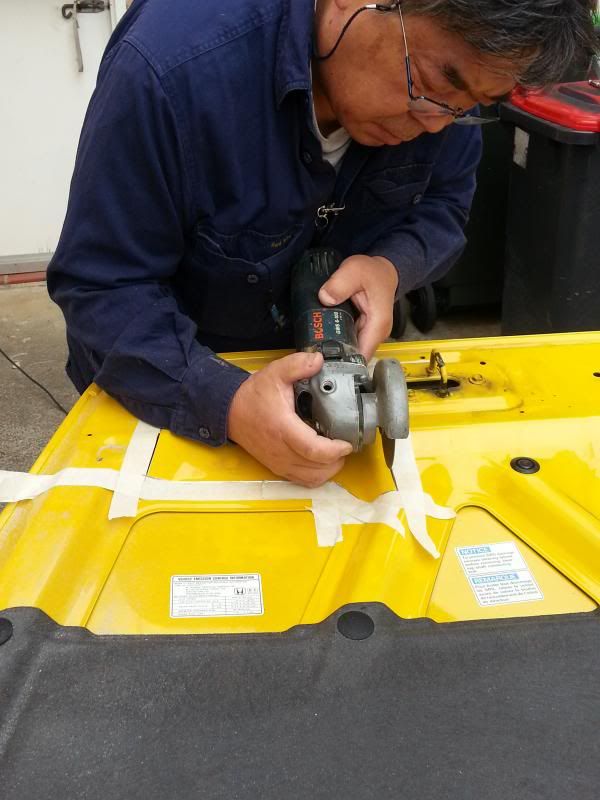
most of it was done with an angle grinder, but for the tighter curves, we used a dremel instead
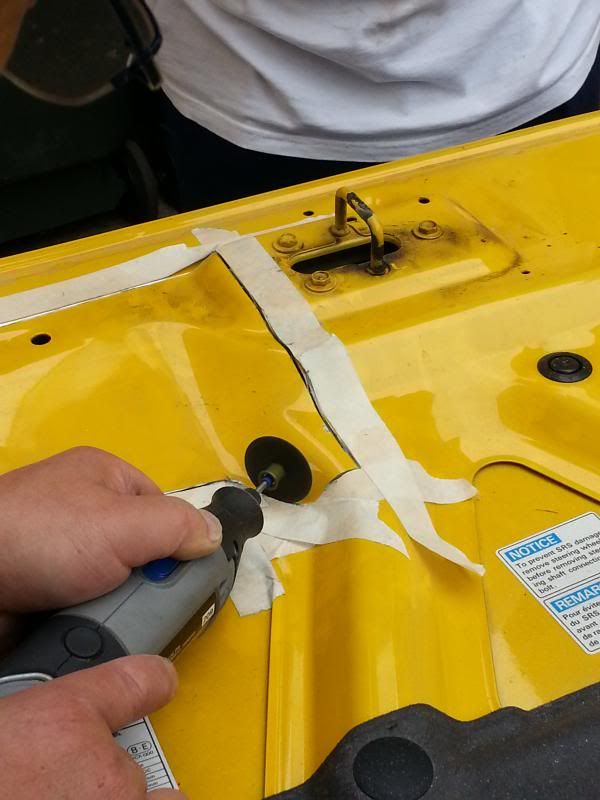
had to bend it out cos we couldnt get all the corners done, too sharp
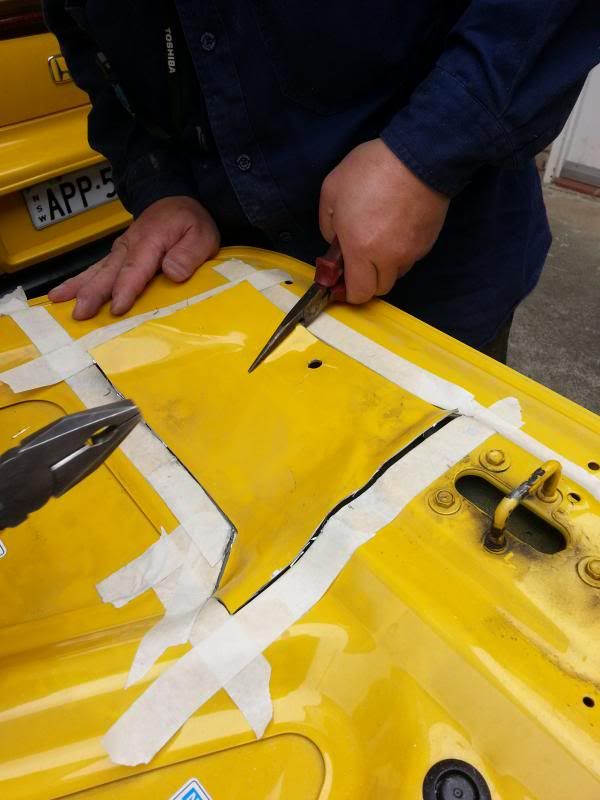
finally got it out!
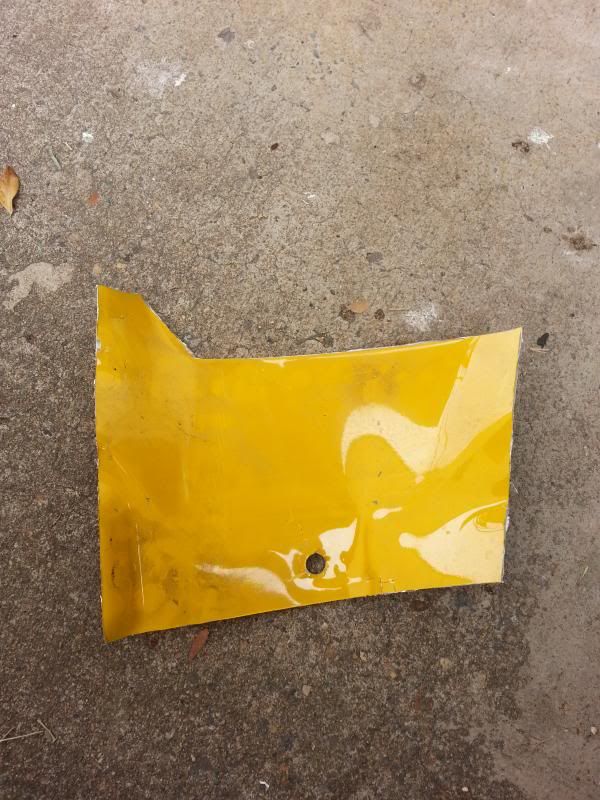
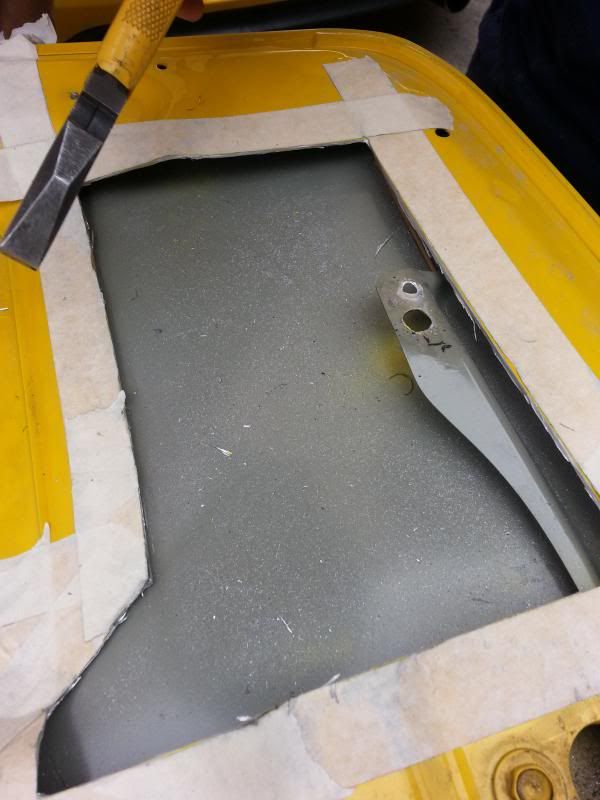
used a file to smooth out the edges!
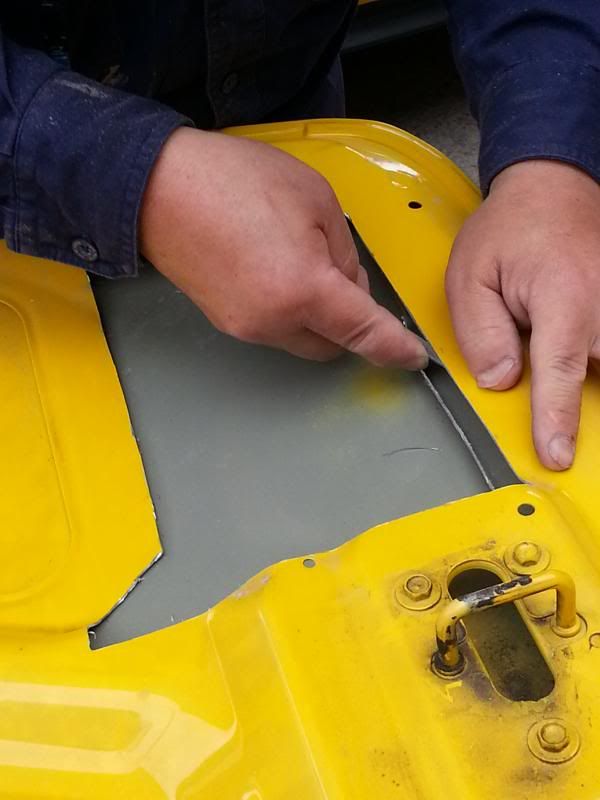
then found some spare paint lying around and used it to seal the metal, preventing it from corrosion
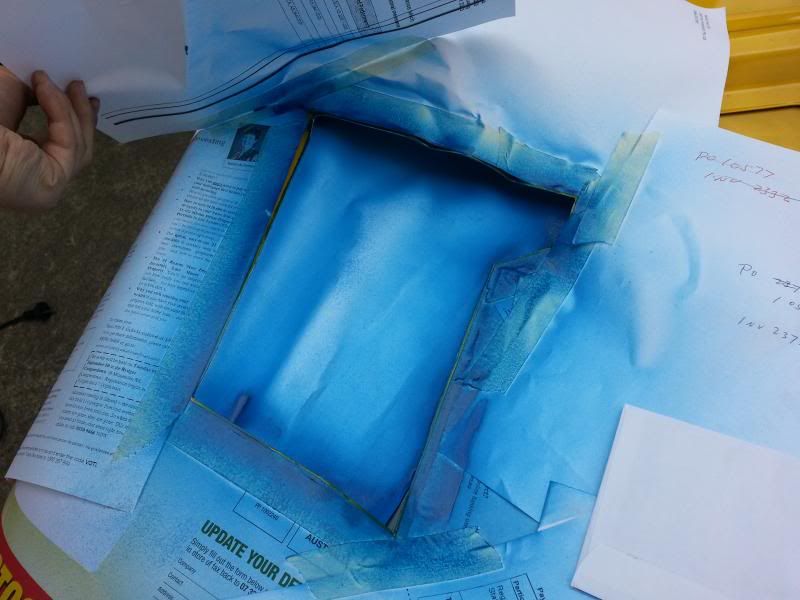
okay so the bonnet was complete! now i thought the intake was going to be an easy fix, but holy cowballs what a different story!
i bought my intake used, so it didnt have any brackets or screws etc, so i had to mock up my own stuff for it.
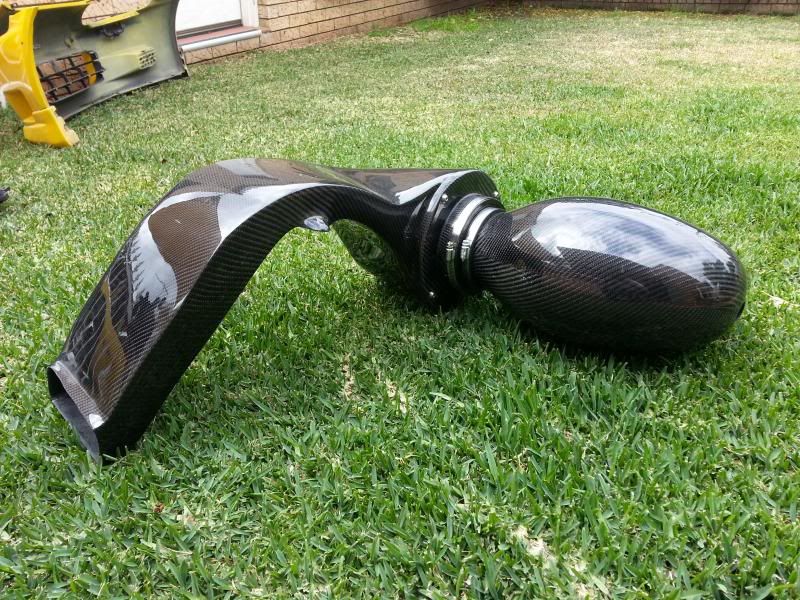
oh yeah, and this it what i bought


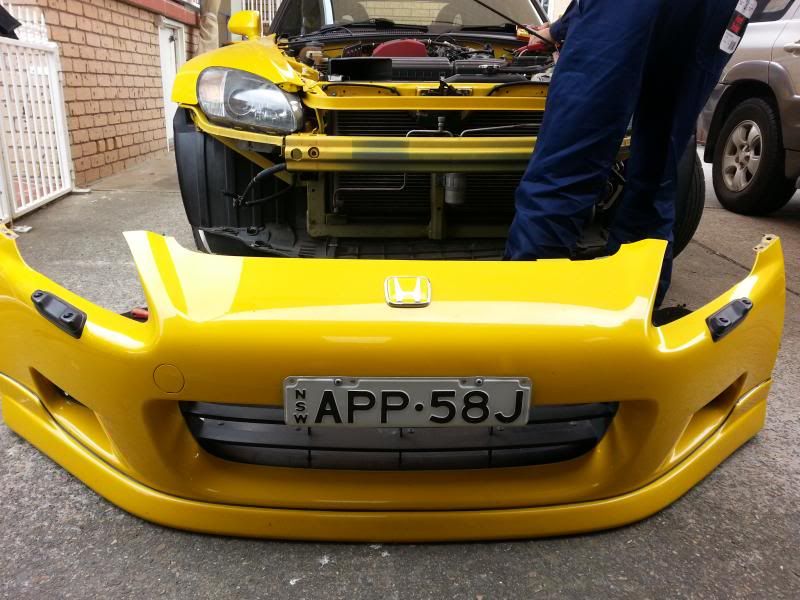
removed my bumper for easier access
took out the radiator duct as it was useless now
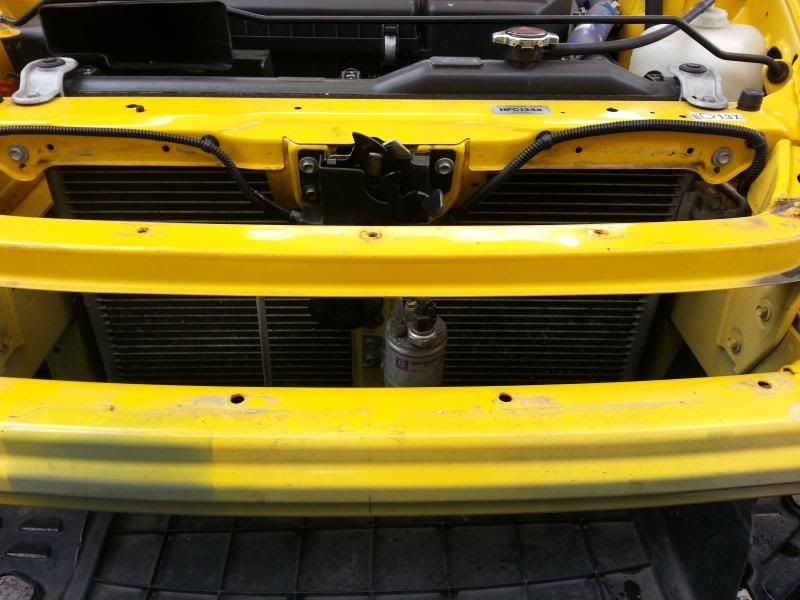
took out the stock airbox, empty engine bay! so much room tbh
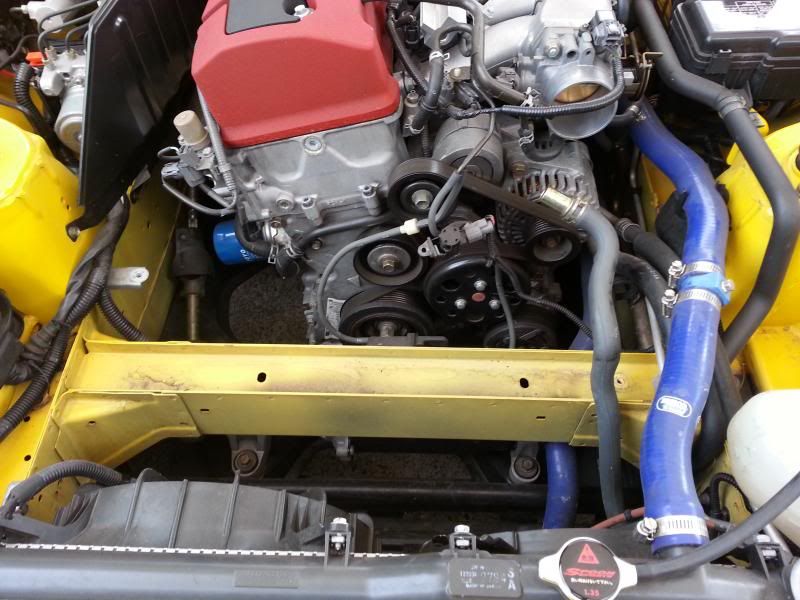
in goes the snorkel!
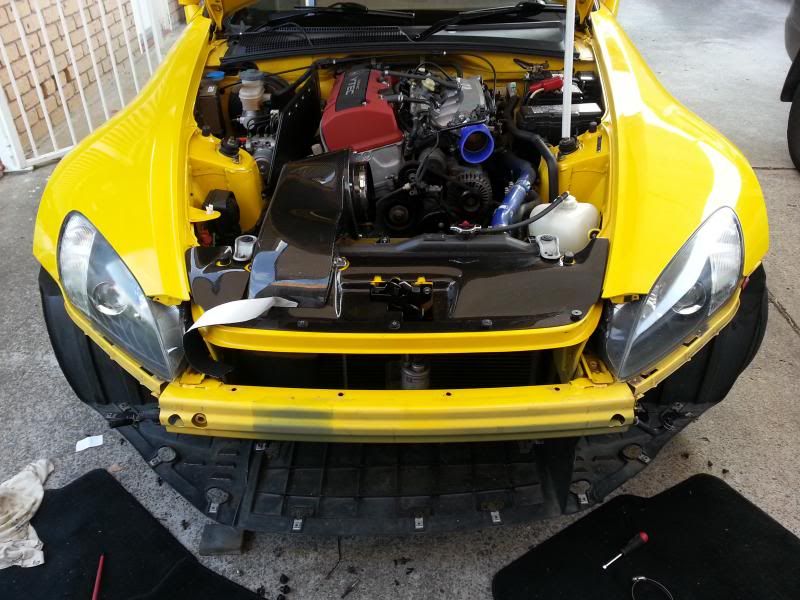
test fitting and wriggling it about, making sure the intake doesnt catch the bonnet or get in the way of it. i swear j's racing fitment coulda been better, it was actually not as good as i thought it would be, but nonetheless a great quality part.
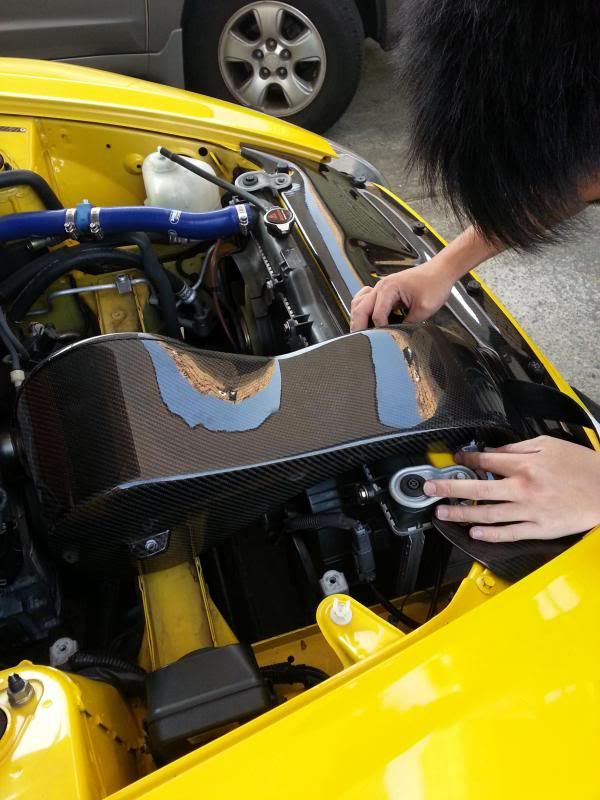
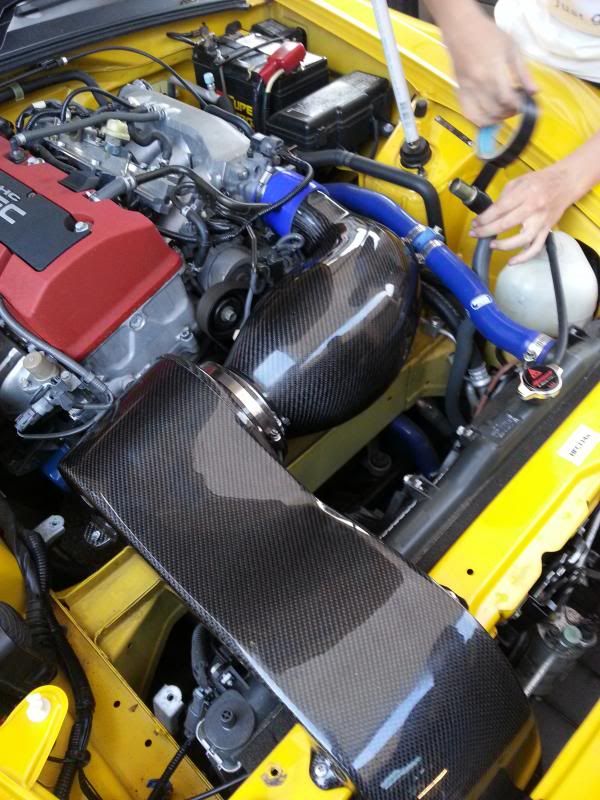
it literally took us a whole day cos of the obstacles that was came across. needed to butcher a bracket for the intake, needed to get appropriate nuts and bolts to fit everything together, but it all went very well!
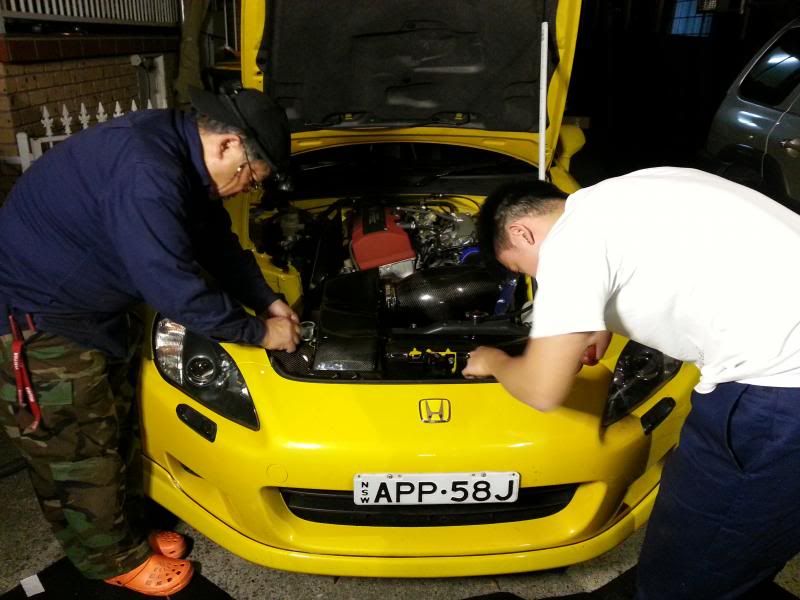
Comment
-
wtf won't let me post more than 25 images per post...fineee, anyway!
this is the final look, complete with J's racing cooling plate!
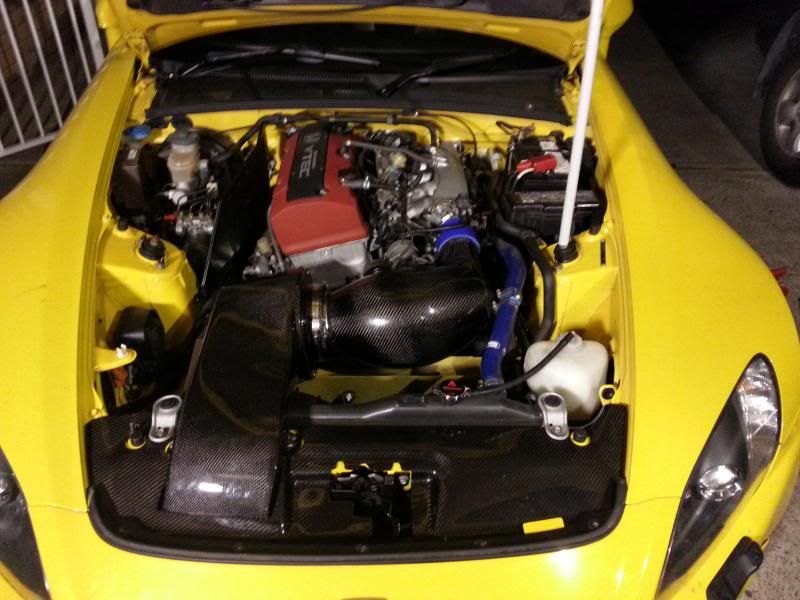
and the tough as steel nuts bracket my dad made, cheers old man! this thing is going nowhere haha
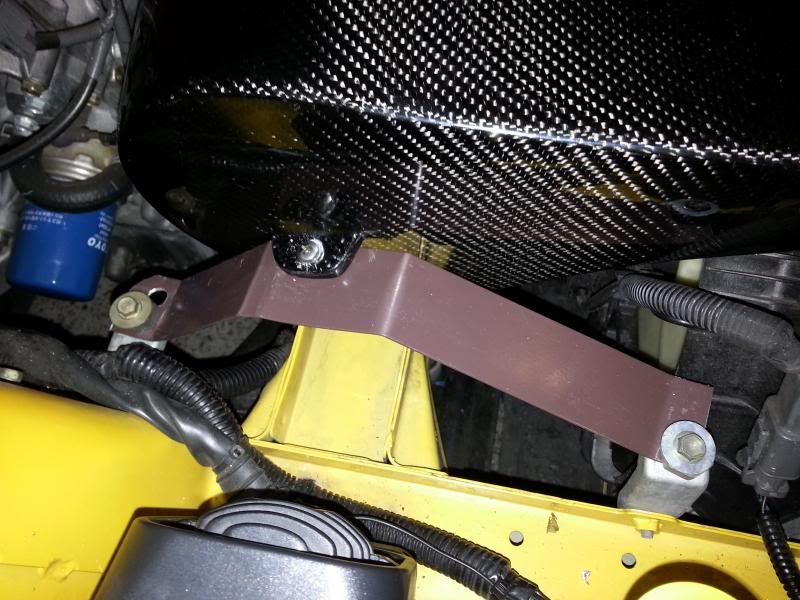
i wanna thank Nathan (wongy) for helping tremendously, couldnt have done it without you bro! and my dad of course...great effort everyone!
hope you guys liked the update and give us a thumbs up!
Comment


Comment