Nice update. Keep them comming. Almost there!!!
Announcement
Collapse
No announcement yet.
Shak's next project, my 2nd DC5R.
Collapse
X
-
If you would of had your brembos installed by Race Brakes Sydney it would have been My brother and I installing them as we do all their upgrades and conversions. mwahah!Originally posted by Shakeel View Post
I need to catch up to you, my arch rival!
mwahaha!
Comment
-
Yeahaheyayeaheahaeheayaheh!Originally posted by ob3d View PostPimp update.
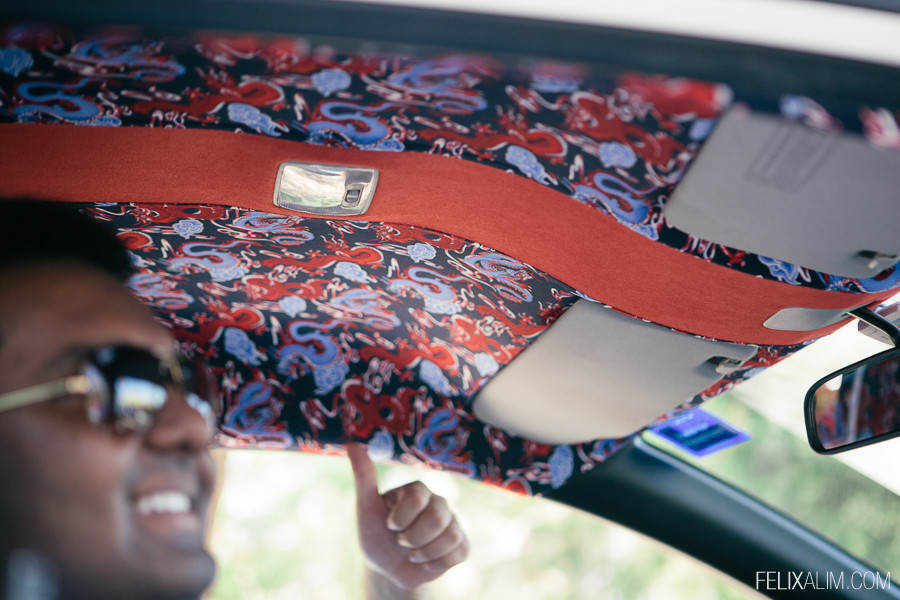
I like dragons.
Puff the magic dragon ftw.
Thanks loveOriginally posted by plAythiNG View PostNice update. Keep them comming. Almost there!!!
Thanks Ryan! Oh man it was such a pain... I don't mind painting but all these chemical reactionsOriginally posted by Oz Striker View PostNice updates Shak! I had the same paint issue when doing my cage when the colour reacted with the primer. How frustrating is it!!!!! I hate painting!!!!!!! Lol .. That's why I'm a sparky haha!
Thanks knobby! Remember to take your time my friend, don't rush everything like I didOriginally posted by knobosaurus View PostHuge fan of your diy haha. I'm taking a similar approach for my build. Hope it looks as good as yours when I'm that far along
Make and install some of those custom rings for meOriginally posted by Flippit View PostIf you would of had your brembos installed by Race Brakes Sydney it would have been My brother and I installing them as we do all their upgrades and conversions. mwahah!
Thanks Nate, yeah finally getting there!Originally posted by wongy View PostNice, almost up to date haha
I bought them off Ebay for $20 (a yards length, you will need more). Dragon power is good powerOriginally posted by DaRKNT View PostHow much did the dragons cost you? I want dragon power!
Better continue updating, as I am falling behind once again.
25 November 2012
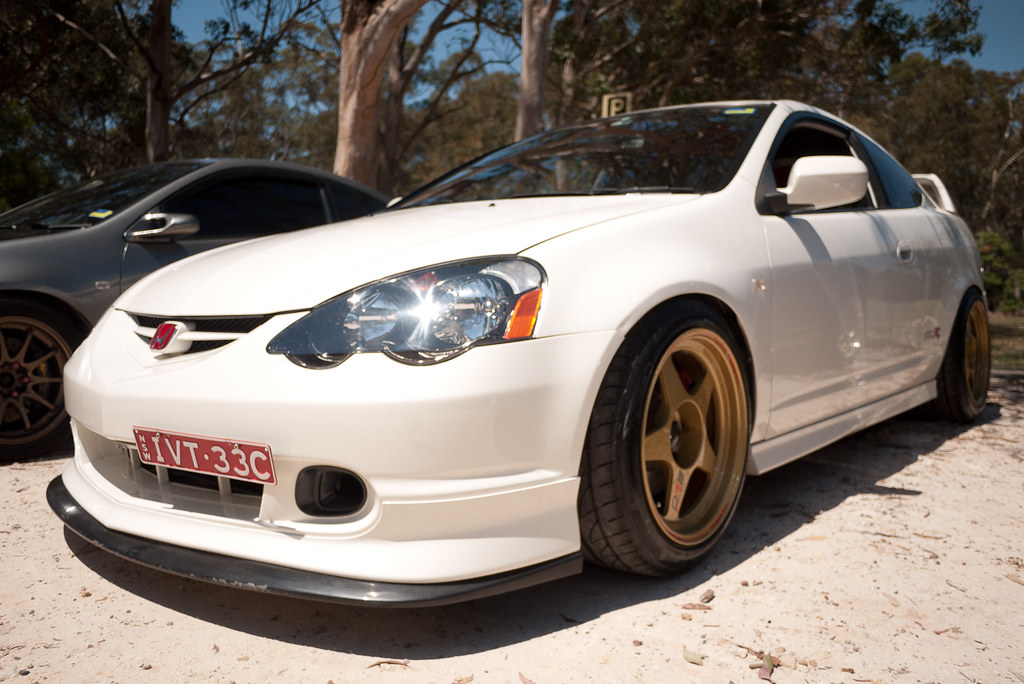
Attended the Annual ClubITR BBQ. Car was finished just in time and I was happy with its progress in the short time that I had it. Received lots of positive feedback and comments about the car which made it even more worthwhile. Also the pre-meet I organized turned out better than I had expected. Met many new members on the day, and also had the chance to catch up with some of the ClubITR OG's. The day was great minus the extreme heat, looking forward to the next BBQ! In the mean time here's a few pictures of the car taken on the day:
Taken by JLS:


Taken by SB Captures:

Thumbs up!

Random picture of the aftermath after taking the wrong approach to getting up that monster hill at the BBQ:

2 December 2012
'Repped ClubITR at the JDMyard 10th Anniversary with the usual ClubITR gang. Another day, another great meet. Ended up impulse buying a Spoon front strut bar, and some spoon sweatbands on the day.
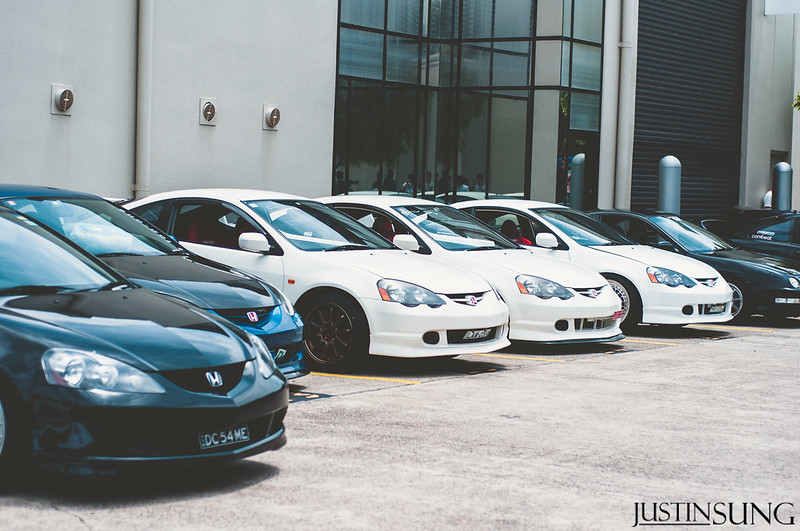
Followed the 3 White DC5R lineup from the BBQ:

Definitely my all time favourite shot of the car, thanks Berty!

15 December 2012
Went on the cruise up to The Entrance. Thanks again to the guys (Dollar, Khuong, Nathan) who decided to go ahead with the cruise even with the poor weather, and turnout. On the way home realized I had some knocking sound but whenever I hit the brakes it stopped, ended up being the front left rotor coming loose and not screwed in properly or the screw had come loose. Couple pics of the day:


Since then not much has happened to the car. I've really been interested of gettting a feel of how it is to drive on a track. The urge is getting stronger every day! I've signed up for H Nationals, so I'm looking forward to meeting the Melbourne crew and finally getting the first of many track days under my belt. In preparation for the upcoming track day (which isn't too long away now), I've purchased a couple things:
- Takata Harness from Alex, which was originally Stevan's.
- Spoon N1 catback exhaust from Alex (install update soon)
- RDA slotted rear rotors from Alex
- 6 bottles x RBF600 from Alex (I buy alot of things from Alex)
- Some project mu brake bits which is yet to arrive from Japan
- Buddyclub RSD coilovers courtesy of Hau, to be swapped with current BC BR coilovers
- Had a service at Top One
Still need to get an AASA licence, helmet, and a fire extinguisher.
Takata Harness installed with the help of Alex on 31/1/2013:

Spoon N1:

Polished and cleaned up. Thanks to Danny (DTN) for lending me his metal polish, and giving me a hand cleaning up the exhaust.

Only genuine, and certified stuff here:

Purchased a Circuit Hero shift extender from Marcus @ JDMaccessories, as well as a mugen gear stick/knob from ClubITR member David (icebox). I think it's quite interesting how parts go from person to person but stay within the community. The gear stick for example originally belonged to Winry.

I also aquired another set of Regamasters a while ago thanks to my love, Alex. These are actually evo's and not the marquis promada versions like the gold set. Been thinking what I should do with them as they've just been collecting dust under my bed for about 8 months now. I think I may keep them, throw my spare set of tyres on, and go have some fun on the track. They are the same specs as my gold set (17x9+18):


2 February 2013
Dropped by Zen Garage with John, and Wilson for the dent removal day. I've had a dent on my boot which has been annoying me for quite a while, so I let the Bruce Lee lookalike work his magic.

17 February 2013
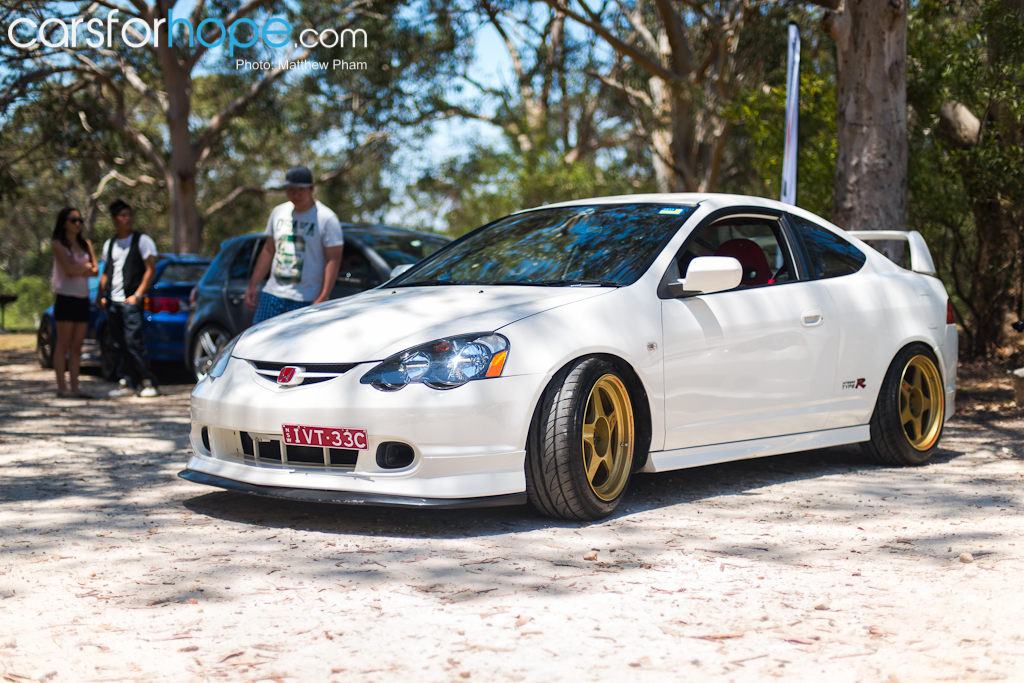
Last year at the JDMyard meet, Berty asked if I was interested in him doing a feature shoot of the car for Cars For Hope. I don't know who would turn down such an opportunity and gladly accepted his offer! Two and a half months later we finally got around to organizing a time that would suit both of us, and went to our shoot location. Thankfully the weather wasn't too bad, and we didn't have any disturbances during the shoot. Here are a couple pics I took of the master at work!

 Last edited by Shakeel; 03-03-13, 11:30 PM.
Comment
-
Thanks Jaz, as much as I love doing multiple updates in one go it takes a while to remember all that I've done ;POriginally posted by DaRKNT View PostI want them dragons. God damn, I love your updates.
Looking good boss.
What about having three?Originally posted by sugz View PostLove it
What's more baller than having a set of regas??
Having two!
Yes Felix, dragons and regas go hand in handOriginally posted by felixR View Post+ dragons
Thanks Ryan, I don't know if i'll be smashing around Winton since I'm not that great of a driver but i'll do my best!!Originally posted by Oz Striker View PostKiller update Shak!! Can't wait to see you smashing around Winton in this beast!!!!
15 February 2013
Going back 2 days before the feature shoot, a couple friends notified me of a type S getting wrecked. I've always loved the look of the facelift DC5, with the mugen lip kit. I finally had the chance in getting one step closer to that dream. I called the guy up and later on that afternoon I was back home with the following:
- Facelift front bumper
- Facelift rear bumper
- Facelift tail lights

I thought the feature shoot with Berty would be the best oppurtunity to capture the final days of the car in it's complete, beautiful, aggressive pre-facelift form. To be honest I really do miss how it looked pre-facelift and some days I think to myself "What have I done ", but life goes on I guess and I'm still chasing after my dream of having a genuine mugen lip kit on a facelifted DC5. Also who knows what the future holds, maybe I may own another pre-facelift CW DC5R one day..
A week later I had given the bumpers to this one guy who repairs my family's vehicles whenever they've been in an accident, he said they'd be ready in a week. I had also placed an order with JDMConcept for some new facelift tail light gaskets, new front red H badge, and a set of OEM window visors.
26 February 2013
Didn't have much work on this day, so together with my Dad I decided to begin wiring and mounting the facelift lights. It took a fair while as we were thinking of the best way to wire up the lights without affecting the OEM wiring, sockets, plugs etc (just in case I need to sell the car in pre-facelift form or decide to revert back). So we decided to make up some custom extension wires. An electrical lug kit is a must if you want to do something like this! For my sparkys out there I just used spare lengths of 1.5mm building wire I had left around. Here are some pictures I took of the car in its last moments of pre-facelift glory and the wiring and mounting of new lights:
The car was fairly dirty, forgive me


Massive thanks to Obed (ob3d) for the donor headlights!


It's ALIVE!!

Naked rear end:

Now if I was Phillip (Flippit) I would take apart my whole rear end, and clean it just cause I was bored..LOL
Although I did give it a quick wipe down

Just an example of the extensions I made

All wired up and working!

28 February 2013
I picked up the bumpers back from the guy. Paint is sort of matched but if you look close you can tell, doesn't bother me as i'll get a full respray eventually. This was also the day of the CITR EOMM at Step-A-Side Diner. So the race was on to get the bumpers fitted by then.


The front bumper did come with foglights, but they were cracked and damaged on both sides. So I just put the foglight housing back on so it didn't look empty.

Fitment was almost perfect except for this.. The ends of the rear bumper refuse to go in. I have fixed most of this now but its just the ends under the tail light that don't go in, does anyone know how I could fix this? I was thinking of going back to the wrecker and buying the Type S clips that held the bumper in place since the Type R clips were basically touching the tail lights leaving no room for the rear bumper to clip in.
Sneaky Felix took a picture without my knowledge haha. I was hoping no one would realize. It was nice to finally meet Ryan also, unfortunately he had to leave the pretty waiter behind and drive back home .
.

The bottom of the bumper is sticking down because there was a crack on the underside, the painter added some extra material in the middle and plastic welded it hence why it sticks down. Nothing a cable tie can't fix!
The car looks alot more ridiculous now especially since there aren't any lips on the front or rear. I was thinking of getting a v-lip again or maybe a cheap mugen replica front lip for the time being. I don't know really..More to come soon.Last edited by Shakeel; 07-04-13, 09:06 PM.
Comment


Comment