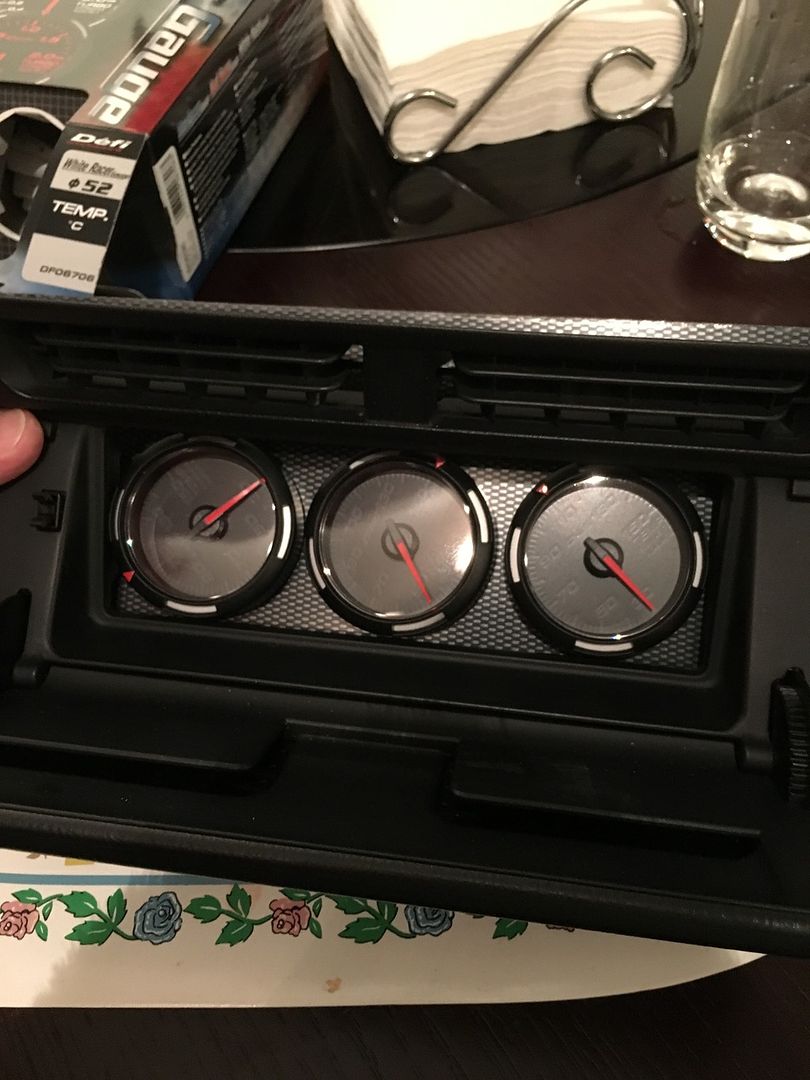
So I installed my AP2 door cards, and my aftermarket speakers didnt fit, so I just removed the speakers, thus my headunit was now redundant.. so before all this I planned to run a second Defi ZD so I can have a gauge to see temp for my diff and gearbox. Now that i had a spare space in my ehad unit area i wanted to make use of it.. didnt exactly want the defi din even though its plug and play, as the pressure gauge was useless to me. instead I went the custom setup, and ordered 3 x defi racer gauges
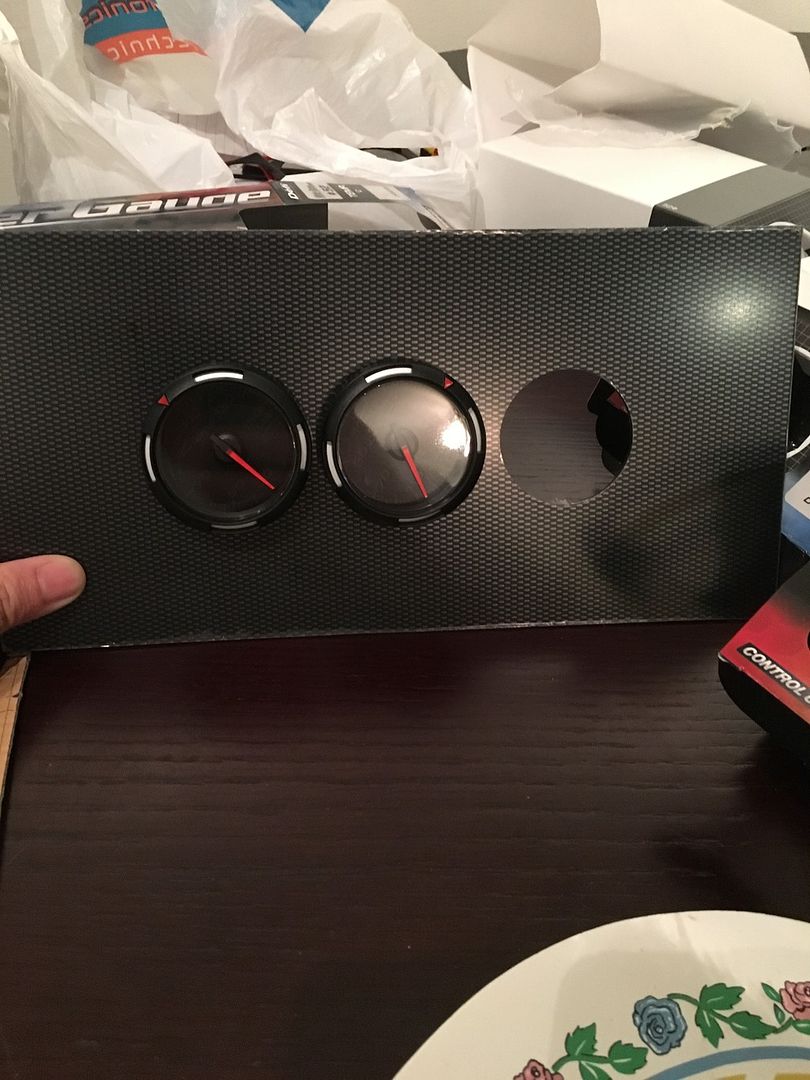
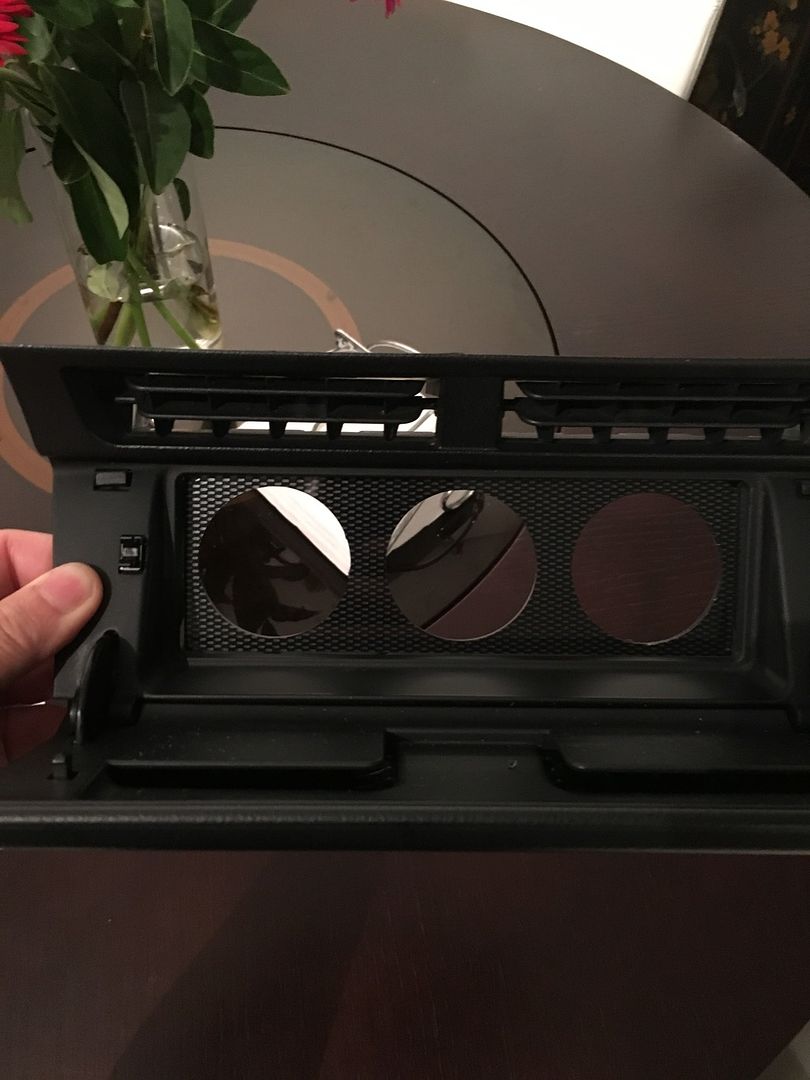
As above I also bought a CF looking panel that had 3 x 52mm holes precut perfectly for gauge installation. Plan was to cut this to shape to fit in the head unit area.
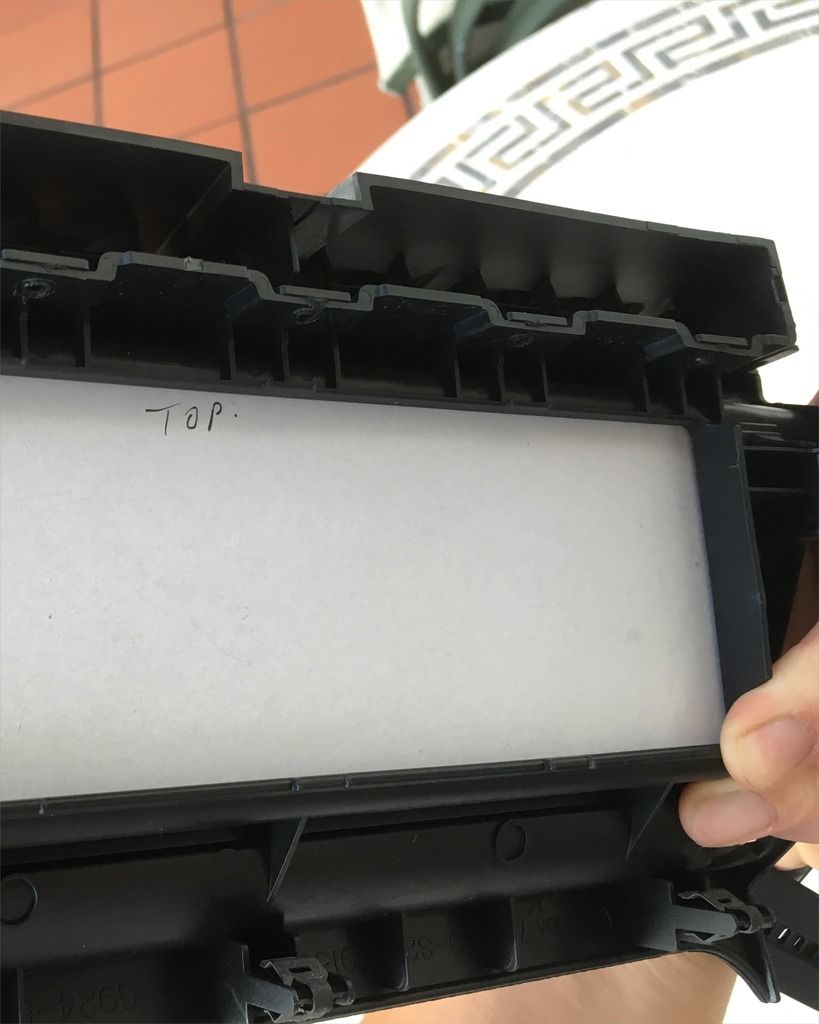
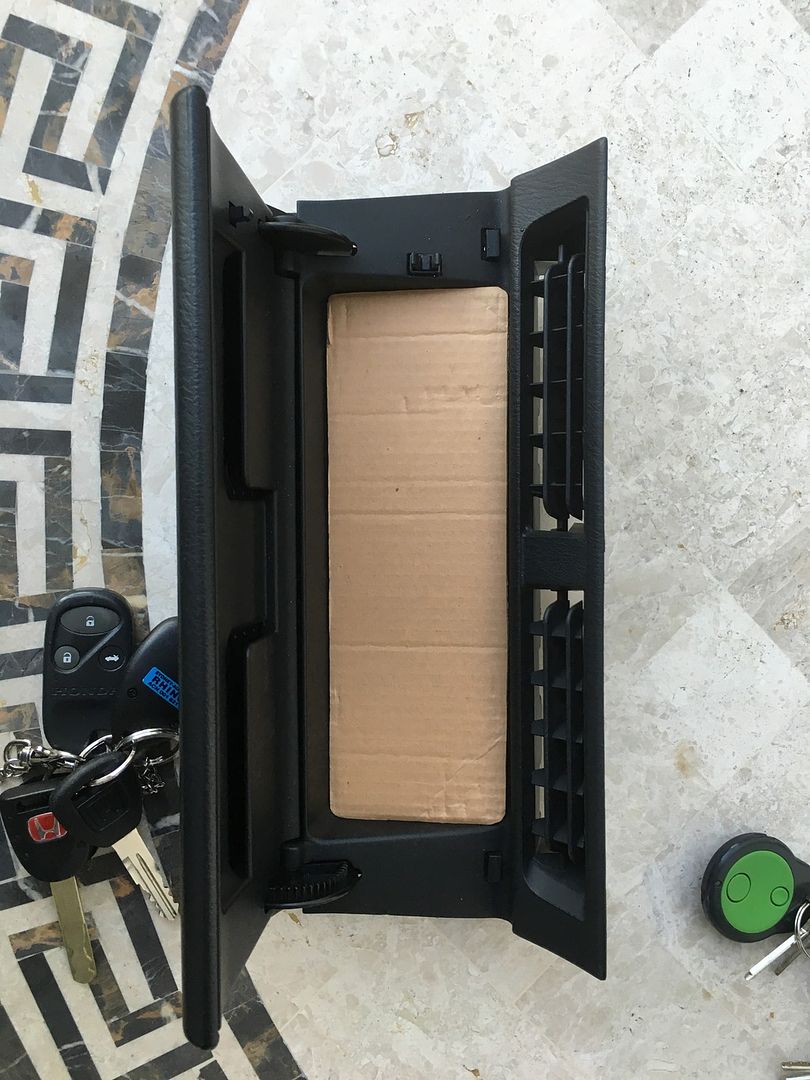
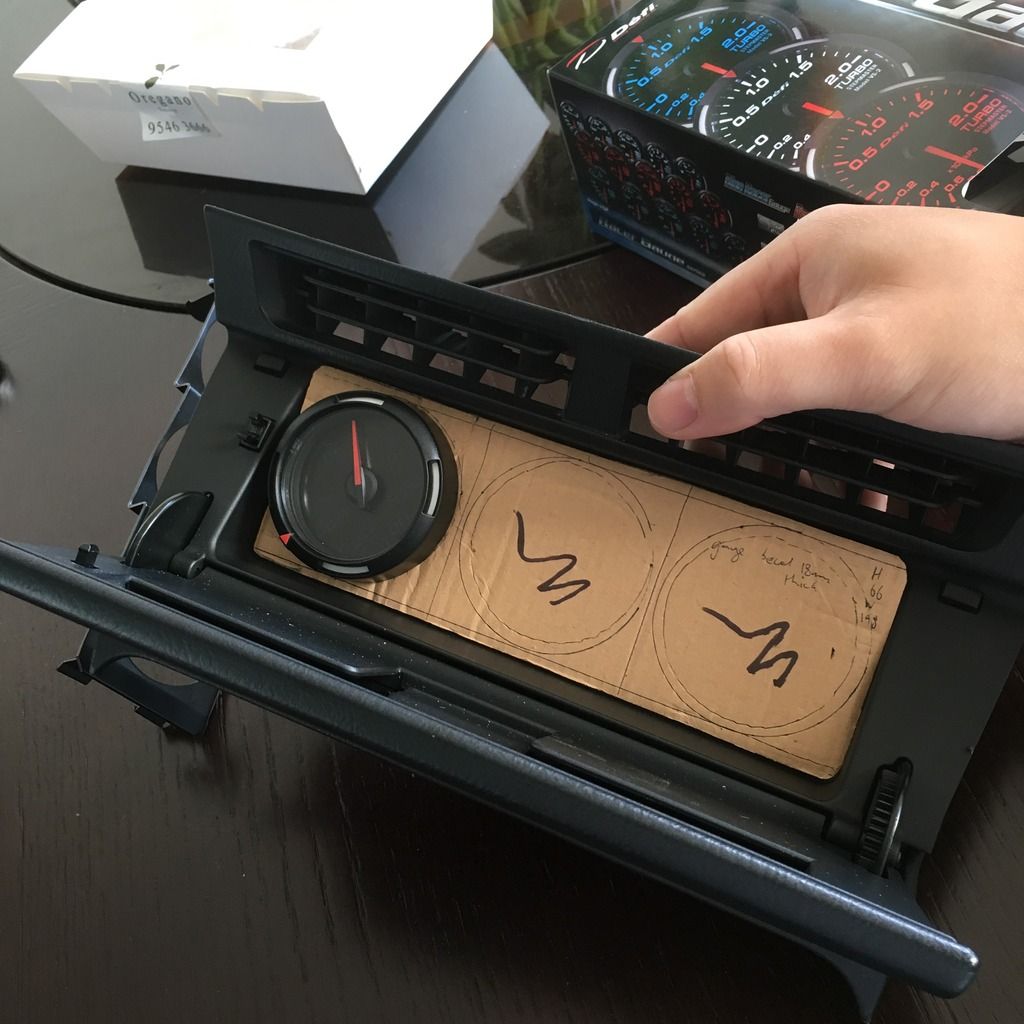
As above I wanted to mount the plate on the actual bracket for biggest room, and also mounting on the front meant I could seal across all four edges with JB weld. However I was faced with one issue, clearance of the gauge bezel when closing the radio door:
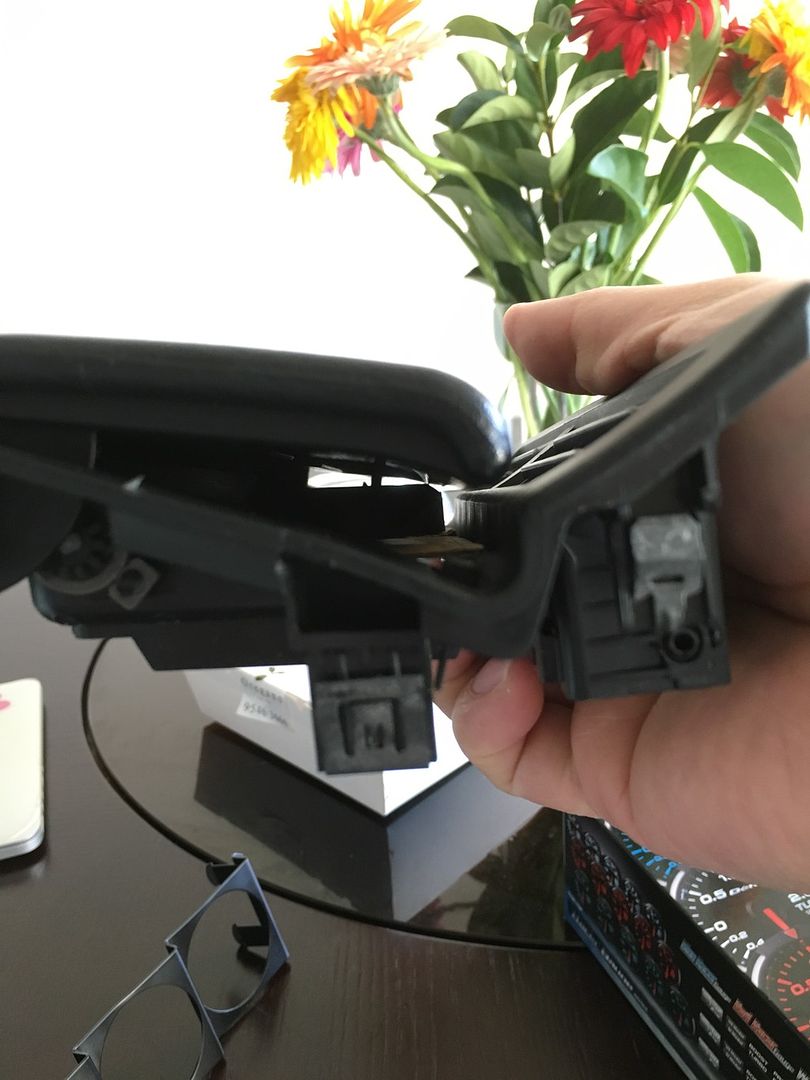
Decided to mount at the back to maximise clearance!
wiring all sorted. just tapped the oem harness for +12v, ignition, ground, illumination

also used that aerospace product! works awesome! how i did it, used 3 x MF towels, and each section used a new MF towel, used three so I could rotate and let other two dry in between! just keep rubbing/buffing it off!

As above I also bought a CF looking panel that had 3 x 52mm holes precut perfectly for gauge installation. Plan was to cut this to shape to fit in the head unit area.


As above I wanted to mount the plate on the actual bracket for biggest room, and also mounting on the front meant I could seal across all four edges with JB weld. However I was faced with one issue, clearance of the gauge bezel when closing the radio door:

Decided to mount at the back to maximise clearance!


wiring all sorted. just tapped the oem harness for +12v, ignition, ground, illumination
also used that aerospace product! works awesome! how i did it, used 3 x MF towels, and each section used a new MF towel, used three so I could rotate and let other two dry in between! just keep rubbing/buffing it off!


Comment