Announcement

Collapse
No announcement yet.

Steven's 01 S2000

Collapse
X
 
  • Filter
  • Time
  • Show
Clear All
new posts

    Thanks man,

    I'm looking to make on or just over 300kw at the wheels on e85 at around 16-18 psi, i was told that the stock headers might restrict the power a little due to the size of the collector, so if i feel like they're are restricting power i may upgrade.

    Comment


      Originally posted by steve d View Post
      Thanks man,

      I'm looking to make on or just over 300kw at the wheels on e85 at around 16-18 psi, i was told that the stock headers might restrict the power a little due to the size of the collector, so if i feel like they're are restricting power i may upgrade.
      OR just upgrade it now and be done with it Stevo come on mate

      Tegiwa headers good bang for buck
      S2000
      WSID : TBA
      Wakefield : 1:10.1

      Flippit Photography
      Smooth As Detailing
      Incar Racing

      Comment


        Originally posted by Flippit View Post
        OR just upgrade it now and be done with it Stevo come on mate

        Tegiwa headers good bang for buck
        Haha it's money i don't really want to spend if i don't need to, so if i decide to upgrade it will be later on

        Comment


          how much are tegiwa headers anyway?

          Comment


            Originally posted by Toddxxx View Post
            how much are tegiwa headers anyway?
            Around $900 i believe, very cheap in comparison to other s2000 headers

            Comment


              Hey guys,

              I was hoping to have the supercharger kit done by now but i got told that the piping has been delayed once again, i have now been promised tomorrow (monday).

              The good news is i got everything else done, down to even starting the engine with the charger hooked up to the drive belt to bleed the rotrex traction fluid through it.

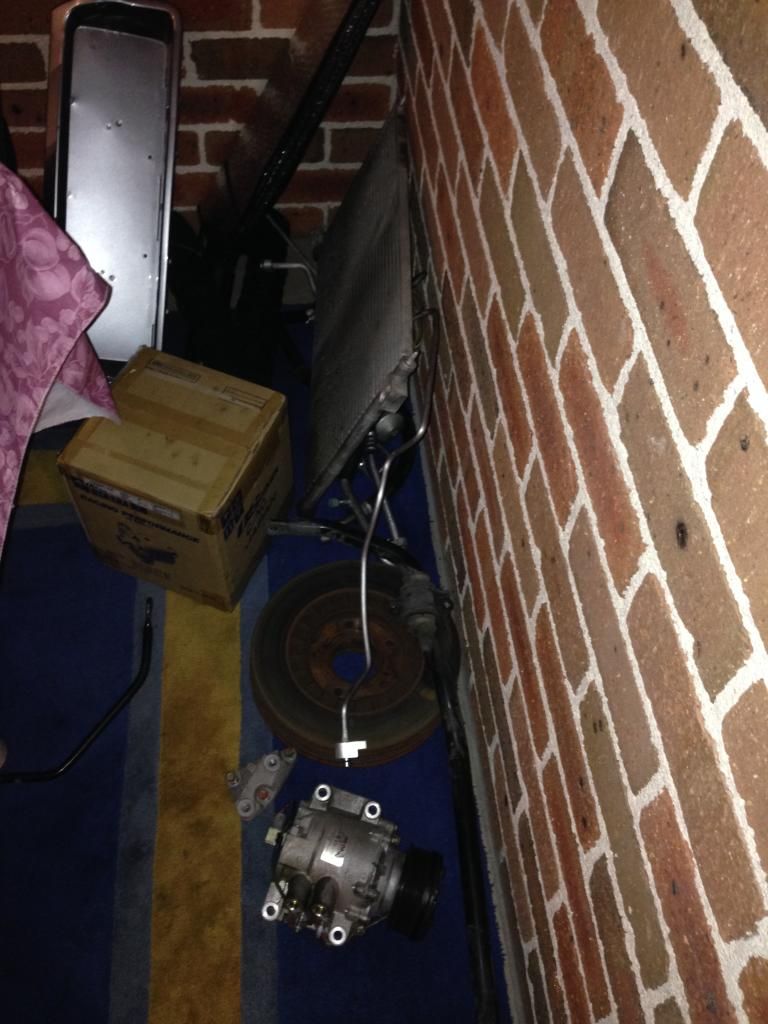
              So I started out by removing the A/C compressor which i left in when i removed the rest of the A/C due to not having a shorter belt to delete it, threw it in the corner of parts that ill probably never use again lol


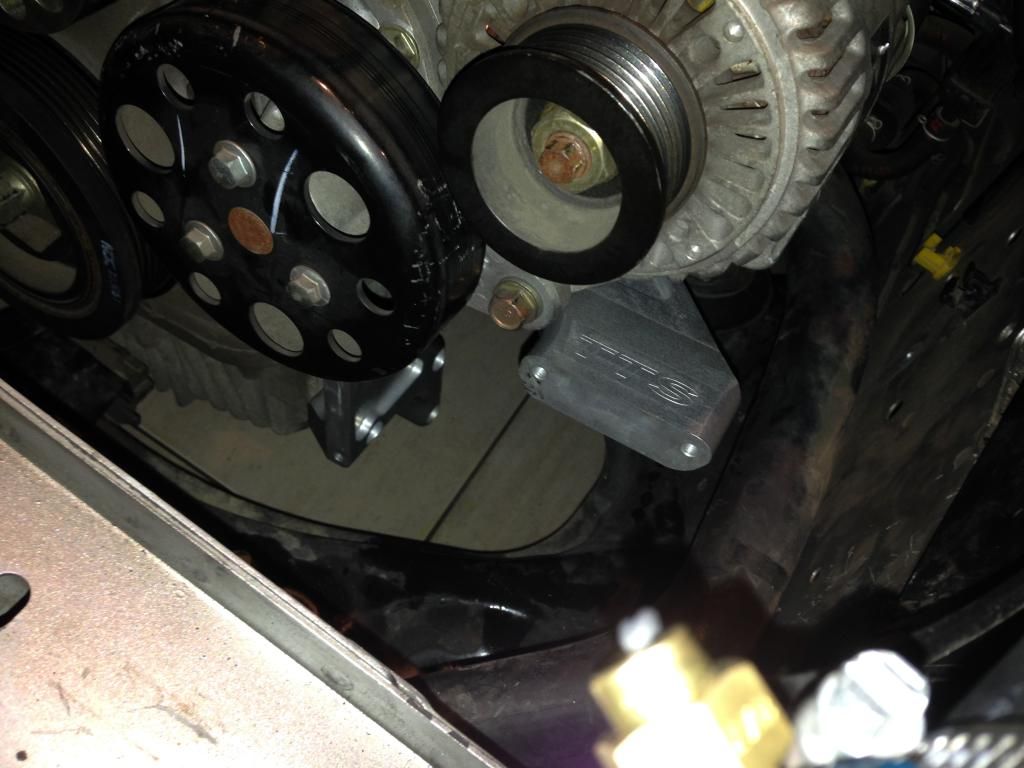
              I then began to install the TTS low mount bracket...


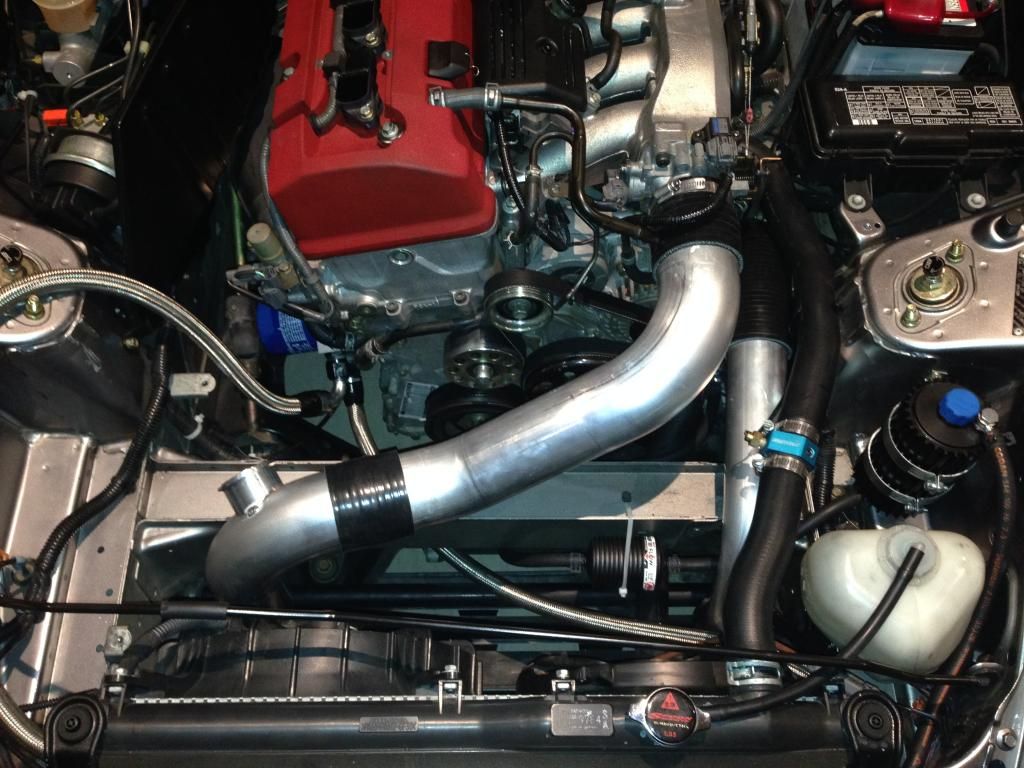
              Before installing the charger i first had to trim the bottom radiator hose about 20-30mm so it can run over the charger and bracket rather then beside it, to make room for the charger piping...

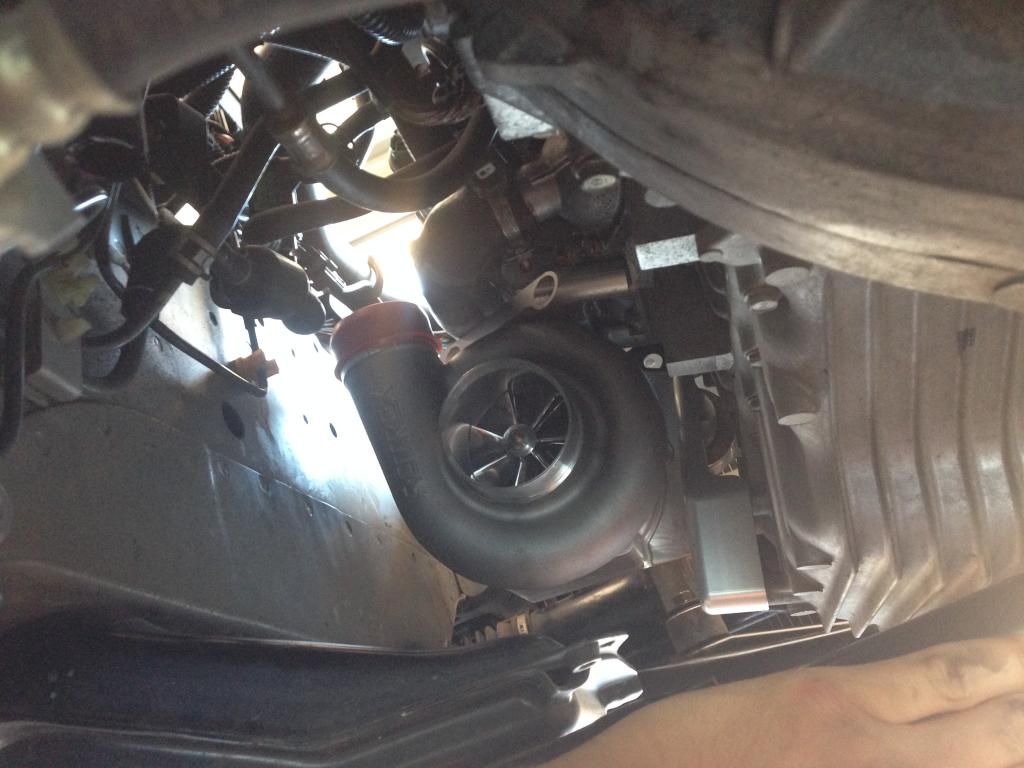
              After that it was time to mount the charger, I had to remove the passenger side engine mount and jack the engine up about 15-20mm to feed the charger between the subframe and the engine...


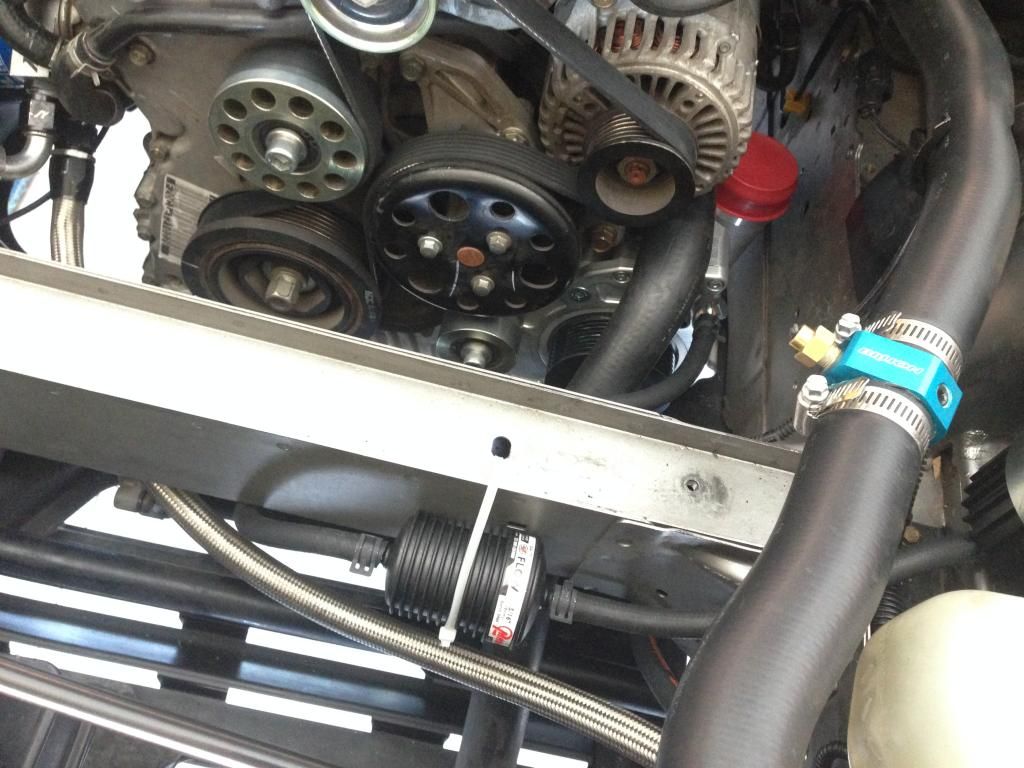
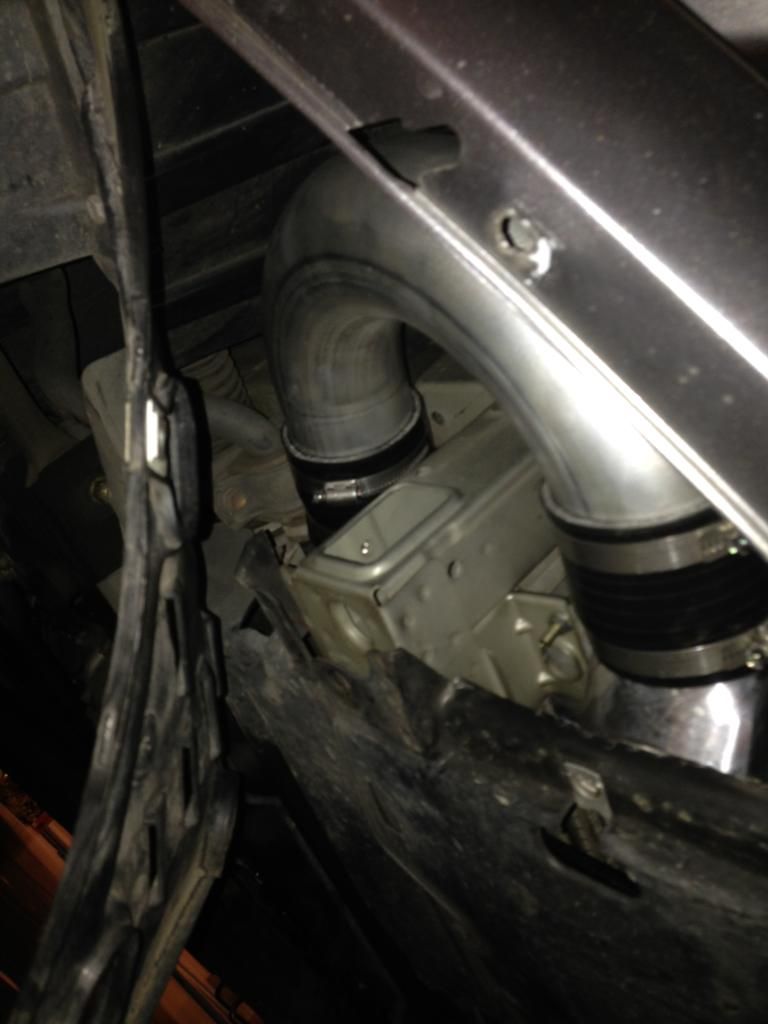
              With that done i re-installed the mount, then i routed the rest of the hose from the rotrex oil cooler and canister to the charger. You can see the new position of the bottom radiator hose in this pic, it would usually run along the chassis over where the outlet of the charger now sits


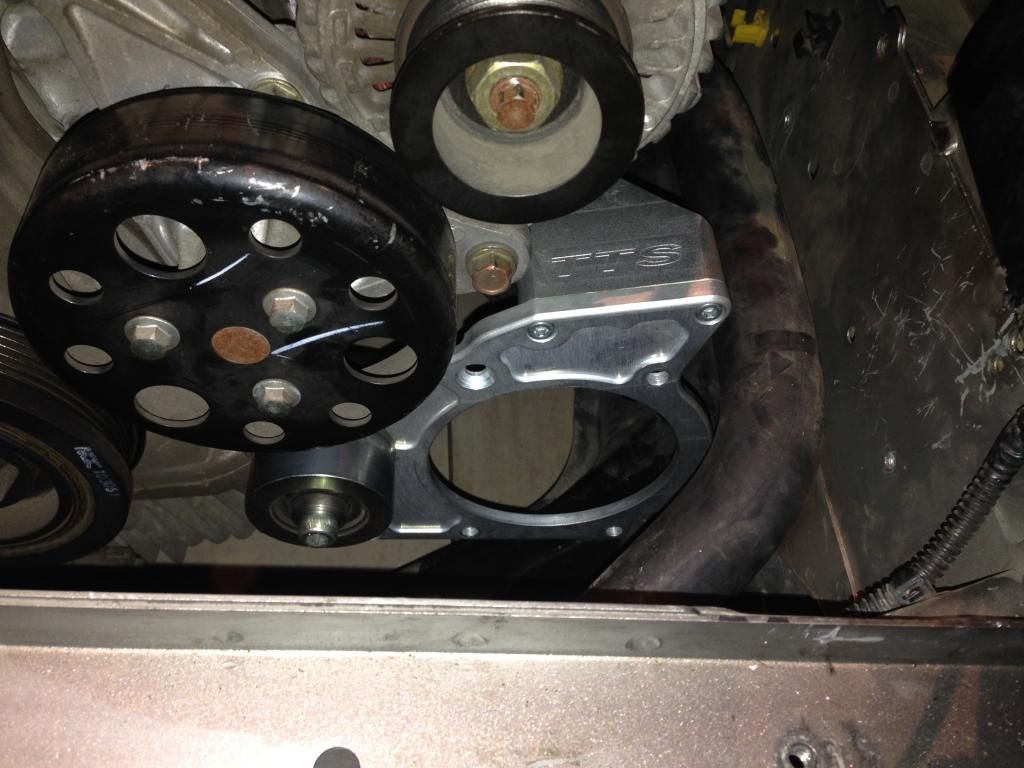
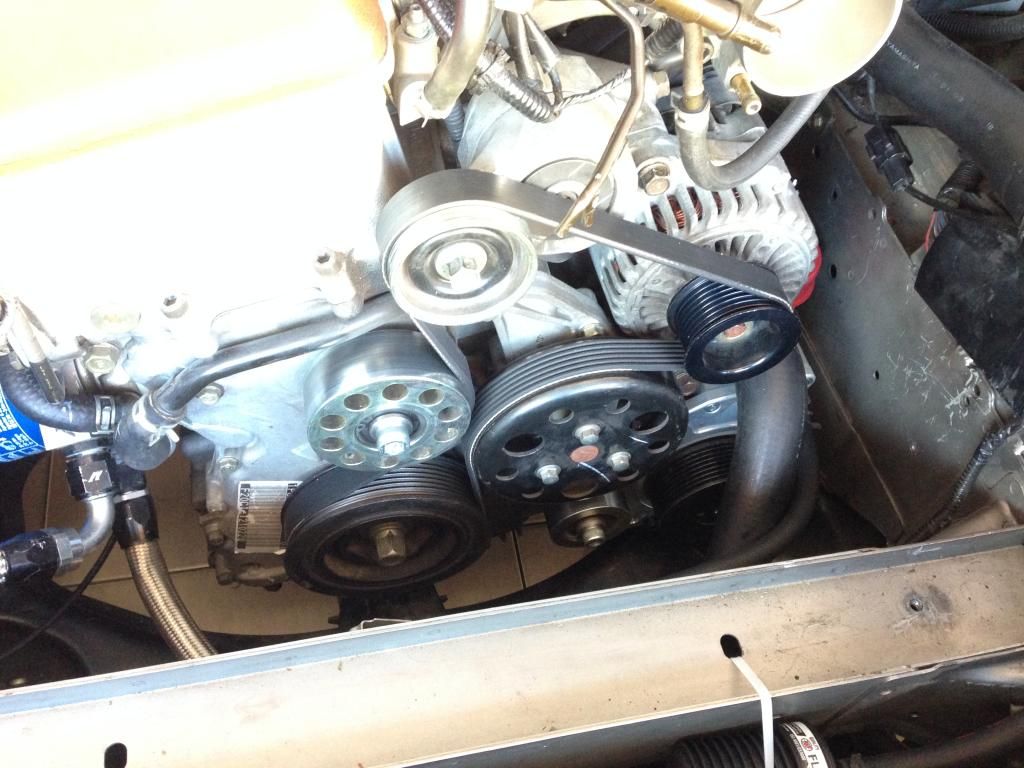
              I had installed the 8 rib TTS idler pulley and tensioner pulley a while ago simply because it was easy to do, but for the crank pulley i needed a special hex tool to lock the crank and a rattle gun for the alternator pulley, so i went over to BYP and they gladly let me borrow their tools as usual, so i am now running all the 8 rib pulleys to match the 8pk belt i will be running once the charger is completely installed, not many people choose to run the 8pk belt but i wanted to to ensure no belt slip at high rpm. I then went out and bought a 6pk1145 belt to bypass the charger pulley for now until i get the piping.

              When i got home I decided to throw the 8pk belt on and bleed the charger with the traction fluid, that required me to fill the canister up and apply pressure to the top to force fluid down the hoses through the filter and to the charger, with that done i started it and ran it at 2000rpm and checked the fluid, topped it up and it was done, was exciting to hear it spinning for the first time . I blocked off the inlet and outlet and chucked the 6pk belt back on and now its ready to roll as soon as the piping is installed.

              all the 8 rib pulleys installed with the shortened 6pk belt on

              Last edited by steve d; 23-11-14, 03:22 PM.

              Comment


                Sooooo close to being done now!
                What times are you hoping to get at wakefield once the set up is installed?

                Comment


                  Originally posted by Toddxxx View Post
                  Sooooo close to being done now!
                  What times are you hoping to get at wakefield once the set up is installed?
                  yeeep,
                  I have no idea aye lol I haven't been to wakefield with the ad08's but N/A i guess i would get a low 10 or high 9, with the charger maybe low 8's high 7's?
                  Not too sure, but my next track day will probably be on december 5th at SMSP then maybe back to wakefield after i fit a surge tank and some other bits and pieces

                  Comment


                    mad another day closer to me having a test drive
                    S2000
                    WSID : TBA
                    Wakefield : 1:10.1

                    Flippit Photography
                    Smooth As Detailing
                    Incar Racing

                    Comment


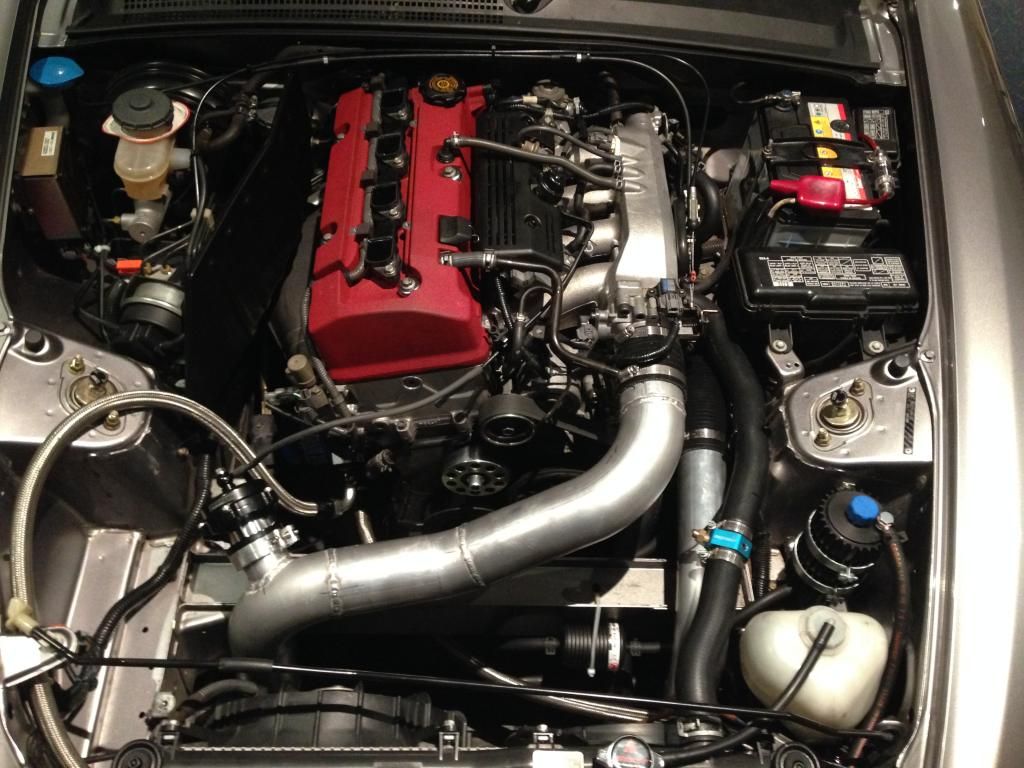
                      I FINALLY got my piping yesterday and of course installation began right away, i was keen as lol

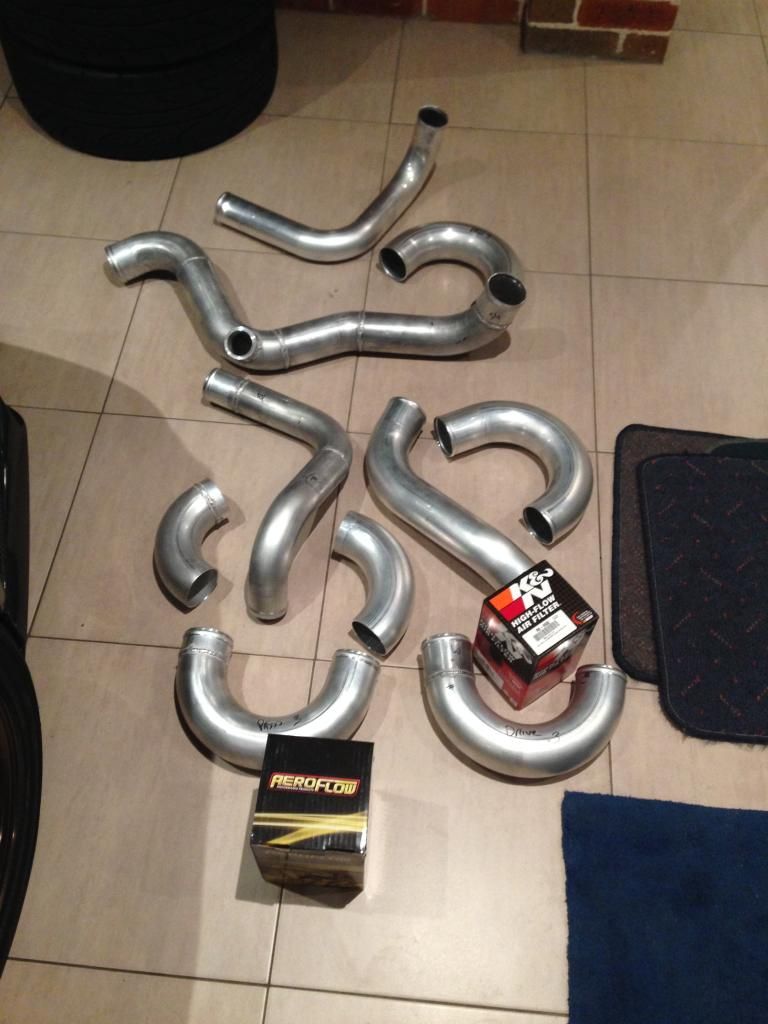
                      BYP wanted me to try out some new piping which is the same as the piping in their normal kit except completely mandrel bent with no welds, which is why there is doubles of some pipes in this pic...


                      All the new mandrel bent pipes fit perfect, i didn't take many photo's due to bad lighting and just being too keen to finish it lol


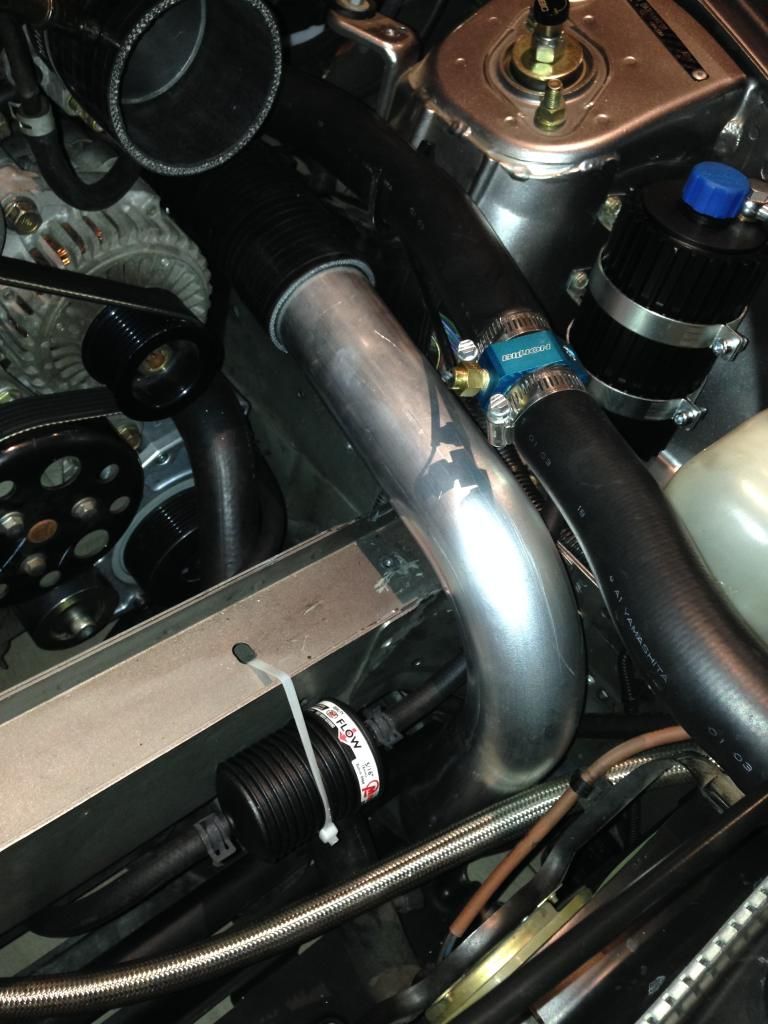
                      Intercooler to intake pipe...


                      The fabricator had only tacked the BOV flange onto the mandrel bent intake pipe as he needed confirmation that it fit ok before drilling and welding the flange on, after confirming that it fit i took the intake pipe back to BYP to get the finishing touches, in the mean time they had given me one of their welded intake pipes as a temporary replacement.

                      mandrel bent pipe...


                      temporary pipe with Aeroflow 50mm blow off valve with 4psi soft spring


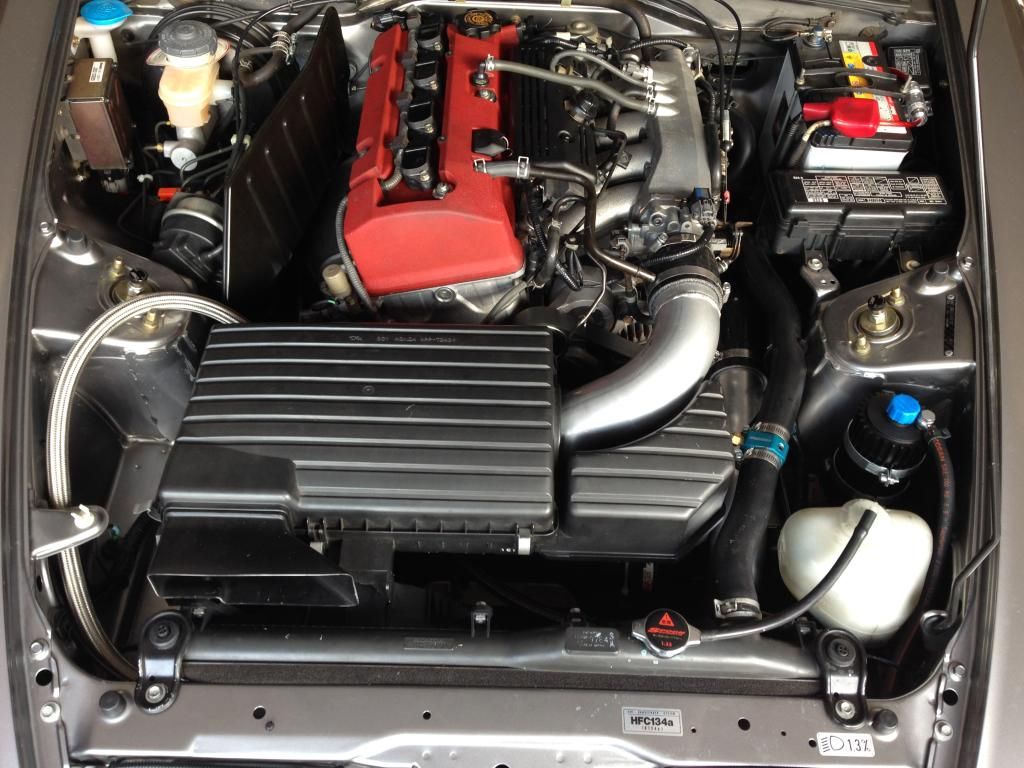
                      The next day i cut the bottom of my airbox out... what supercharger?


                      Took the car for a test drive with everything hooked up and it sounds freaking awesome, being on the N/A map still and with the tune booked for friday arvo, I'm driving to work and back under 4000rpm's at light throttle to avoid the engine boosting and leaning out, the blow off valve at partial throttle wont close up until about 3500rpm so boost pressure is bypassing the engine. So if all goes well the car will be e85 tuned by the weekend exciting times.

                      Comment


                        awhh yee madd so geed!
                        S2000
                        WSID : TBA
                        Wakefield : 1:10.1

                        Flippit Photography
                        Smooth As Detailing
                        Incar Racing

                        Comment


                          Awesome!

                          Comment


                            I love how you can do that with the stock airbox!
                            ClubITR | Like

                            Comment


                              Great progress! Awesome job with hiding the charger with the stock airbox. Haha.
                              1999 Formula Red S2000 Blog

                              Comment


                                337kw!!! Fuarkkkkk!

                                Comment

                                Working...
                                X