Announcement

Collapse
No announcement yet.

Dpr DC2

Collapse
This topic is closed.
X
X
 
  • Filter
  • Time
  • Show
Clear All
new posts

    #46
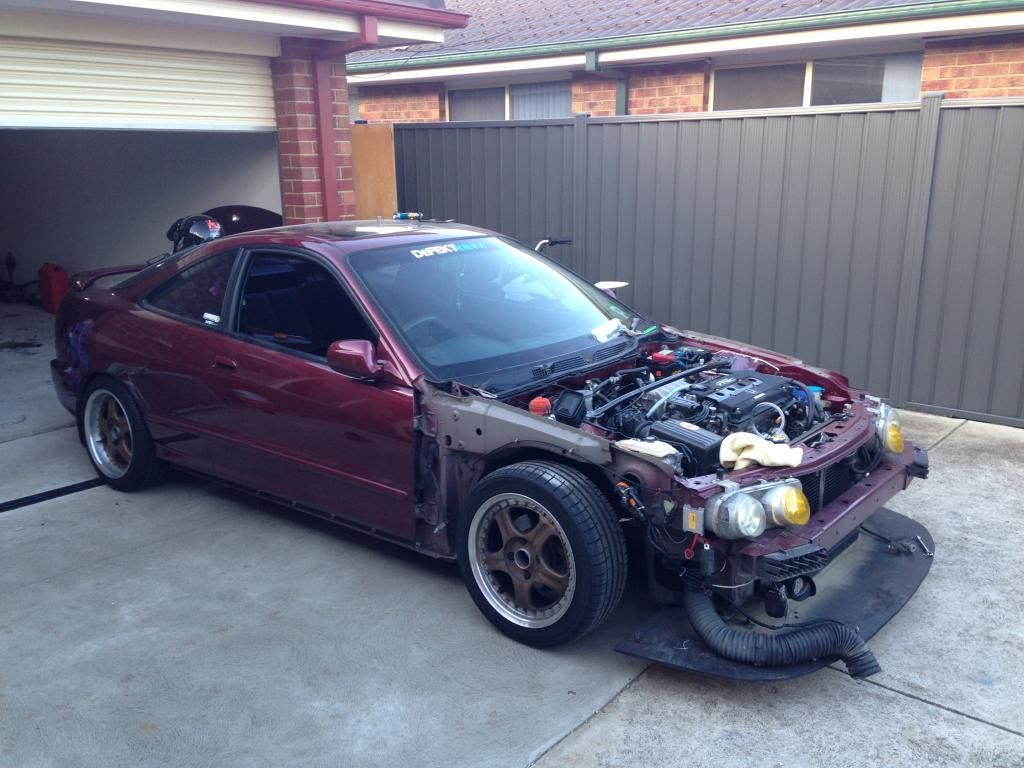
    Seeing as how i lost my license for the stupidest reasons i thought id dedicate some time into my engine bay, consisting of a semi wire tuck! never attempted this before so i was quite nervous on how time consuming this would be!

    inspiration came from my mate Bills spoon spec dc2r
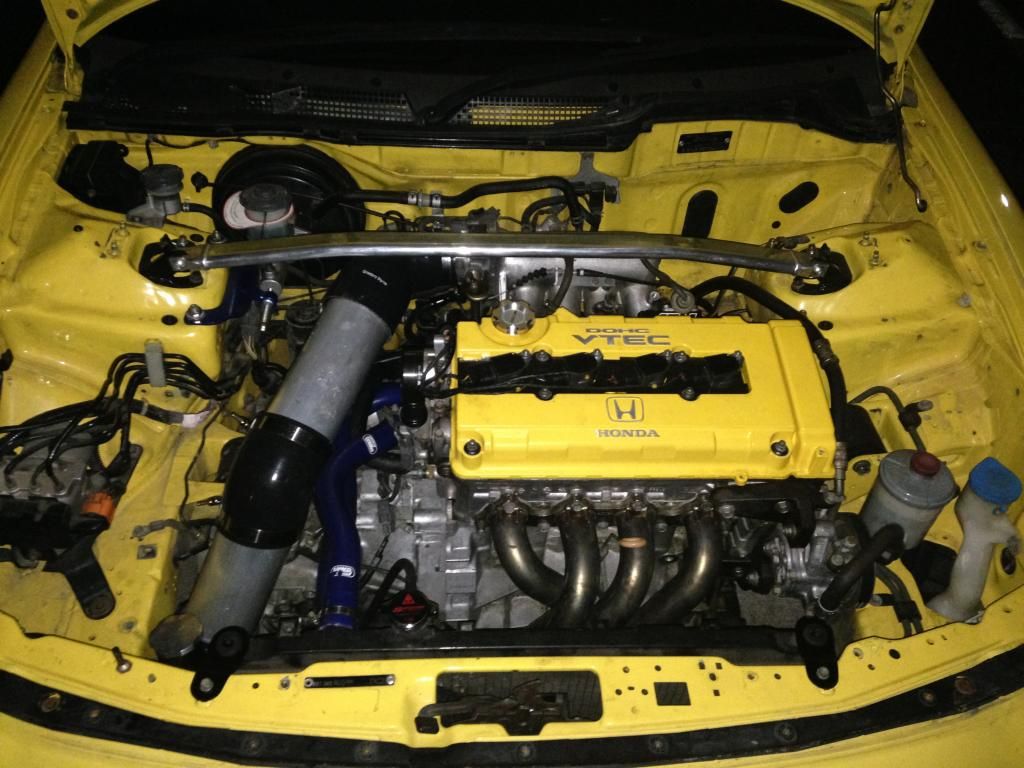

    i wont be going as hard out as he did but ill try keep it as neat as possible, also picked up another full aluminum Jasma radiator that Bill gave me for free, mad dog ahaha. Will most likely be using the koyorad though, if anyone a good radiator shop around northwest please let me know! as i suspect my koyorad might have a small leak
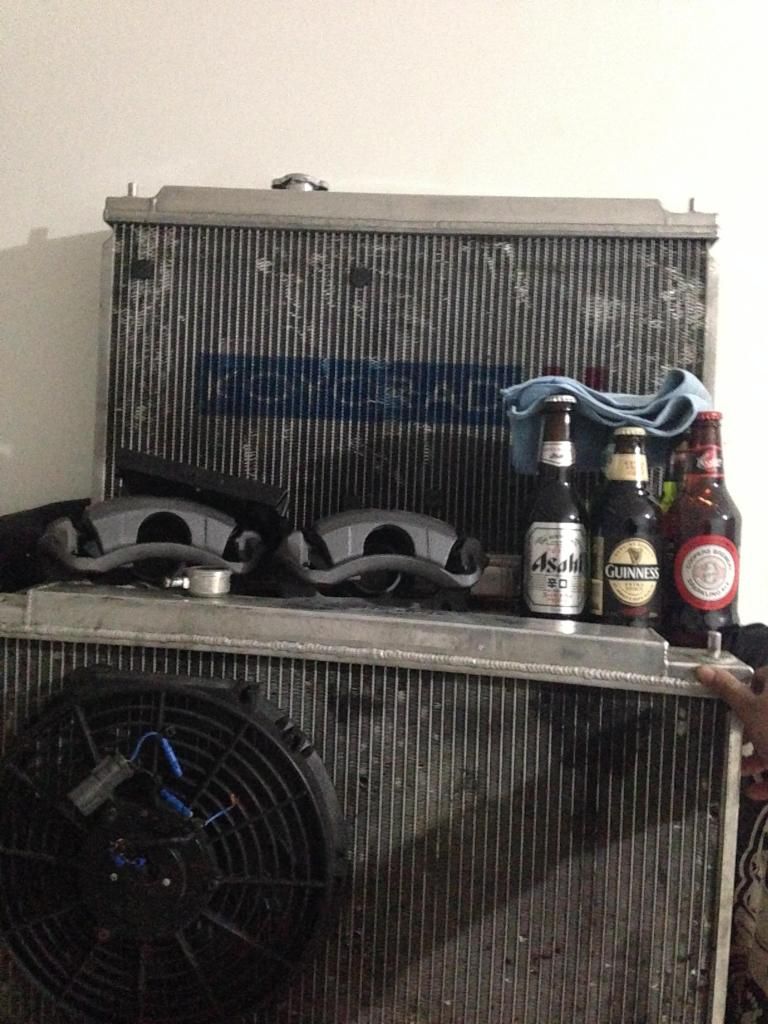

    its sad seeing it sit in the garage like this, knowing that i wont be able to drive it for another 2 months
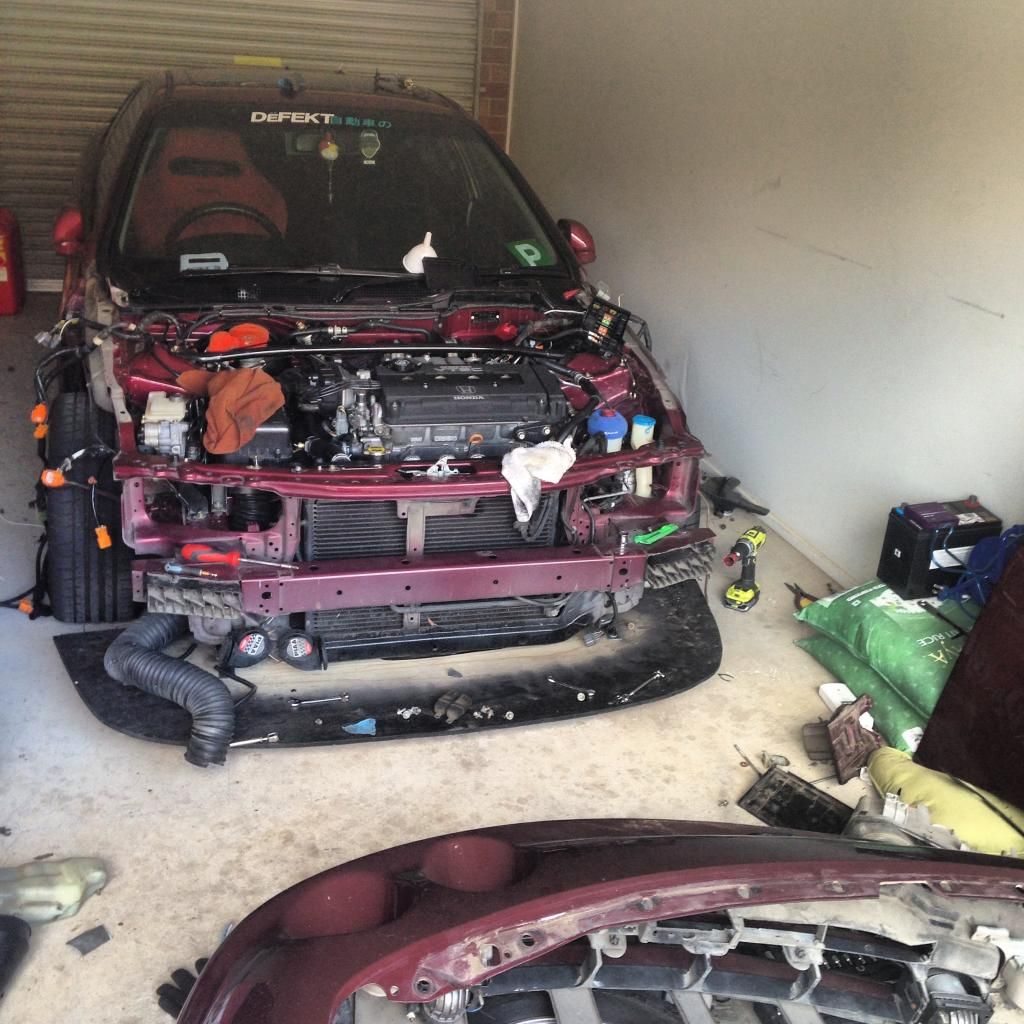

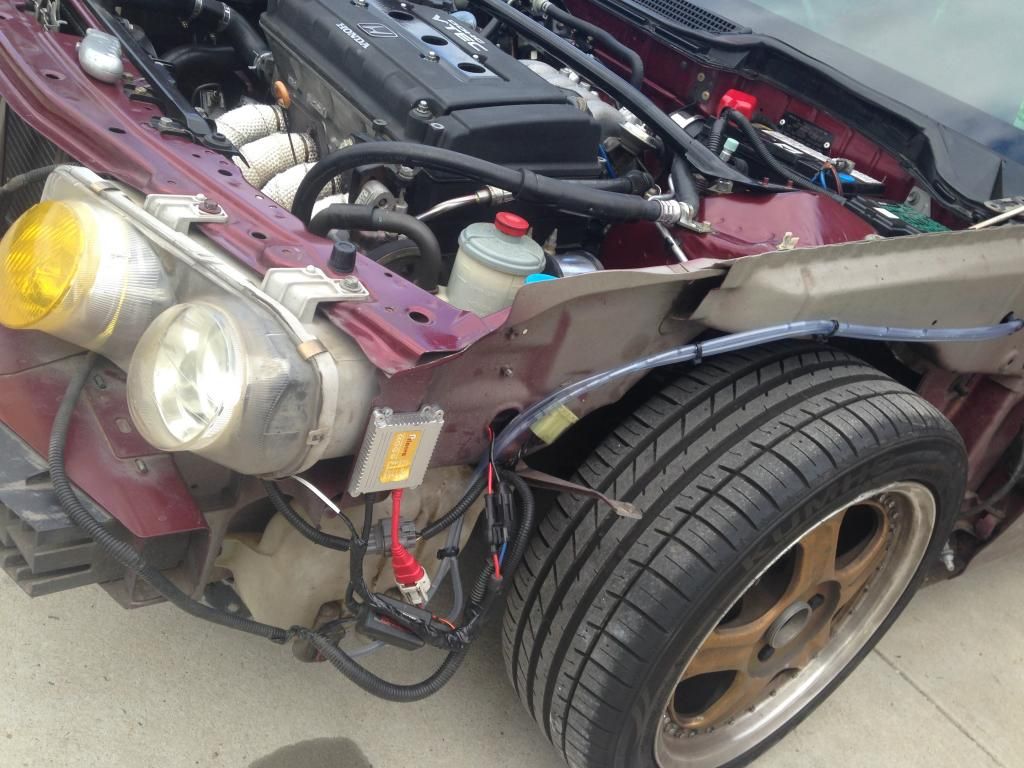
    Well after pulling off the front end i realised this was probably going to be more than a couple hour job i assumed it would be! always underestimating --' but ive got another 2 months to get it done, so may as well do it slowly, do it properly, i also went ahead a polished up the vtec solenoid, butterlfly valve, aircon lines, fuel filter and also the bolts that hold the plug cover and rocker cover into place (no photos as of yet) but i think they came up okayish

    Left side had been pulled off, getting the wires out from under the abs unit was a pain in the ass but i finally managed after loosening the abs unit bracket and wiggling the wires through
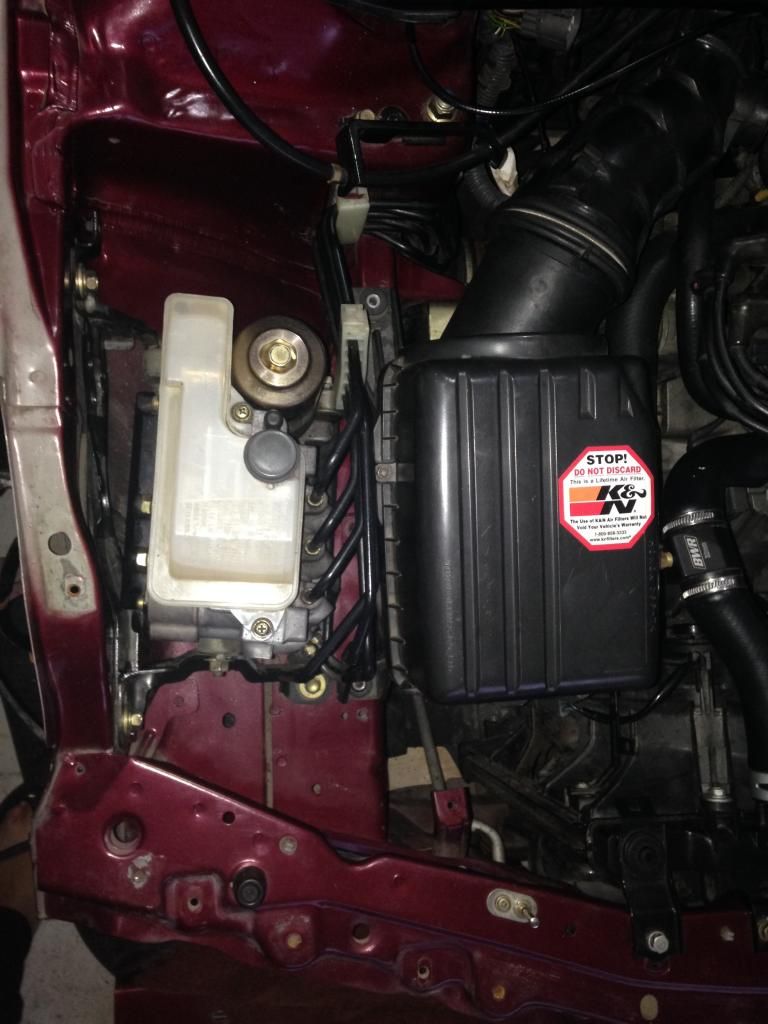

    right side was a bit easier than the left, took me half the time
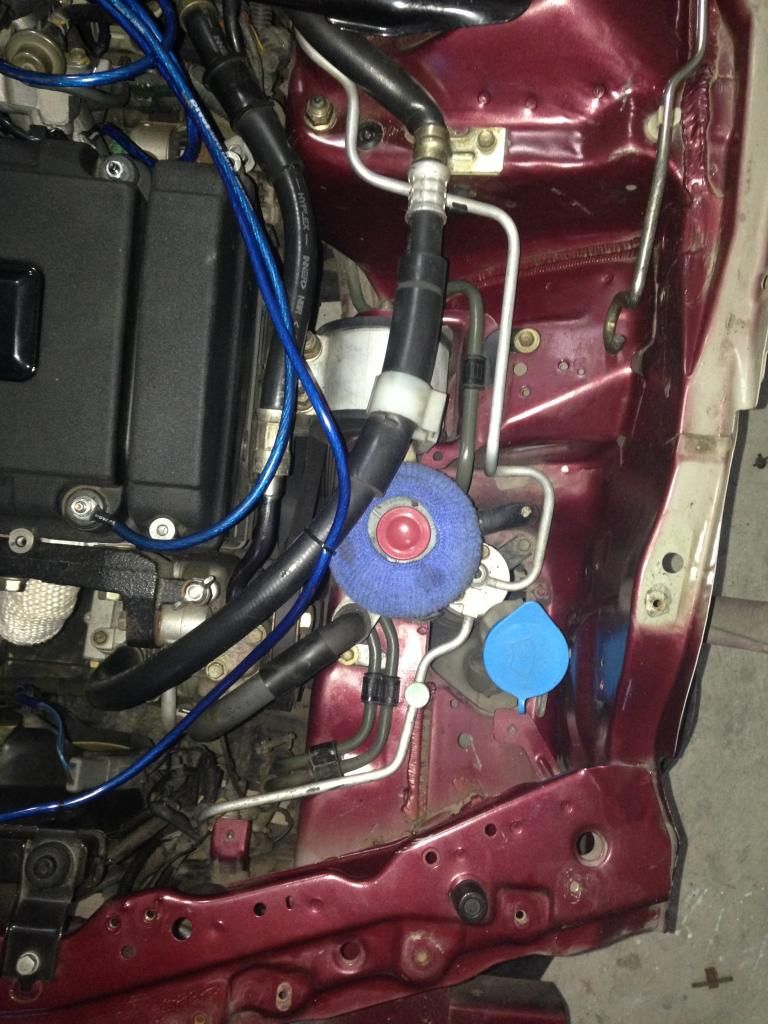

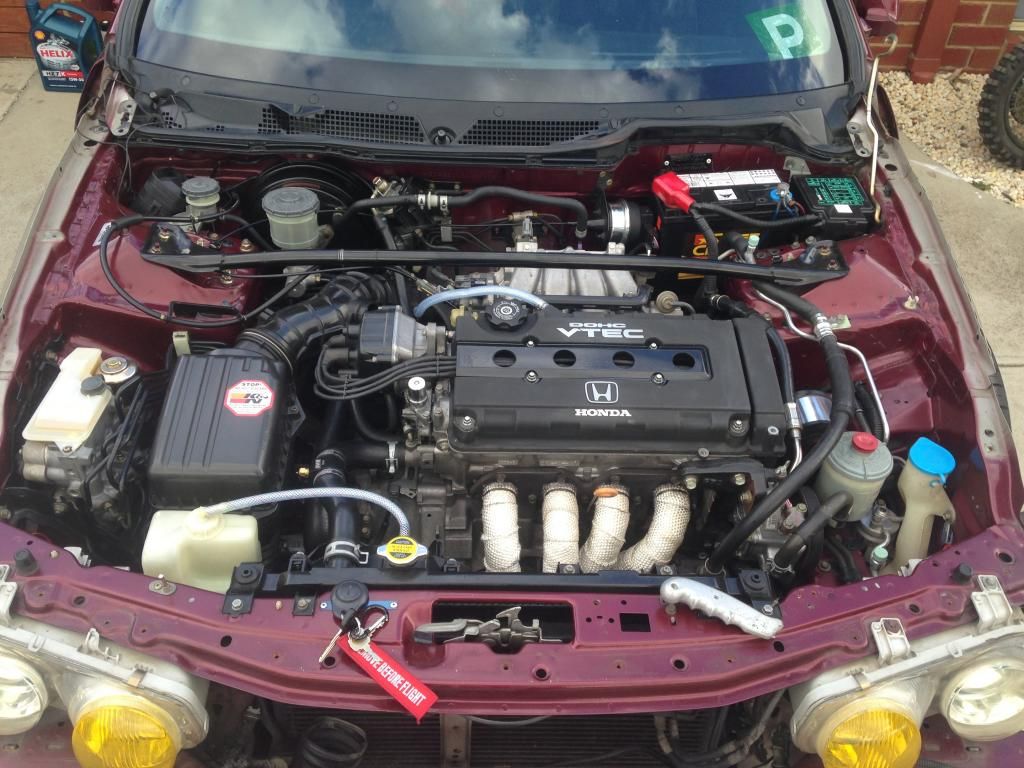
    Progress has been pretty good so far, now to just feed all the wires back through the firewall which i have a feeling will take some time and cut up hands. Starting on that tomorrow, leggo

    Comment


      #47
      cool

      Comment


        #48
        Dem beers. Come tuck mine too. Will pay in Guinness.

        Comment


          #49
          Originally posted by DaRKNT View Post
          Dem beers. Come tuck mine too. Will pay in Guinness.
          AHAHA, have a different brand for every type of day mate :P

          Comment


            #50
            Finally found some time to update the thread, past few days have just been in the garage polishing up bits and pieces and sourcing most parts i needed to get the build almost finished. and ive finally decided to go for a oem+ look for the car, been hassled by the authorities too much, and for all the stupidest reasons.


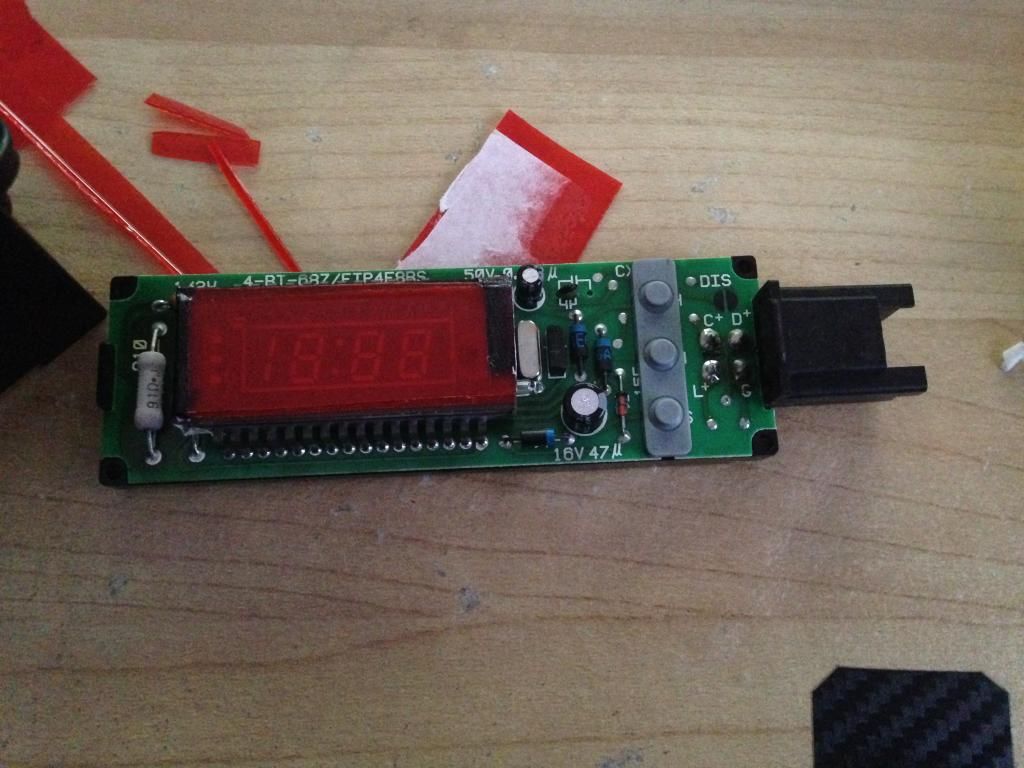
            Moving on to the updates, ive decided to try out the tic tac mod for the dash clock. Since the itr dash clock is amber, i have cut up some strips of a large tic tac box and overlayed them over the stock clock after taking it apart, the colour matches 95% to my itr interior back-lights, very easy to do, id recommend anyone who has gone the itr interior route to try this, but make sure you layer 2 strips to get it a almost perfect shade, 1 strip doesn't make it so vibrant. Sorry for no installed pics! will upload next time


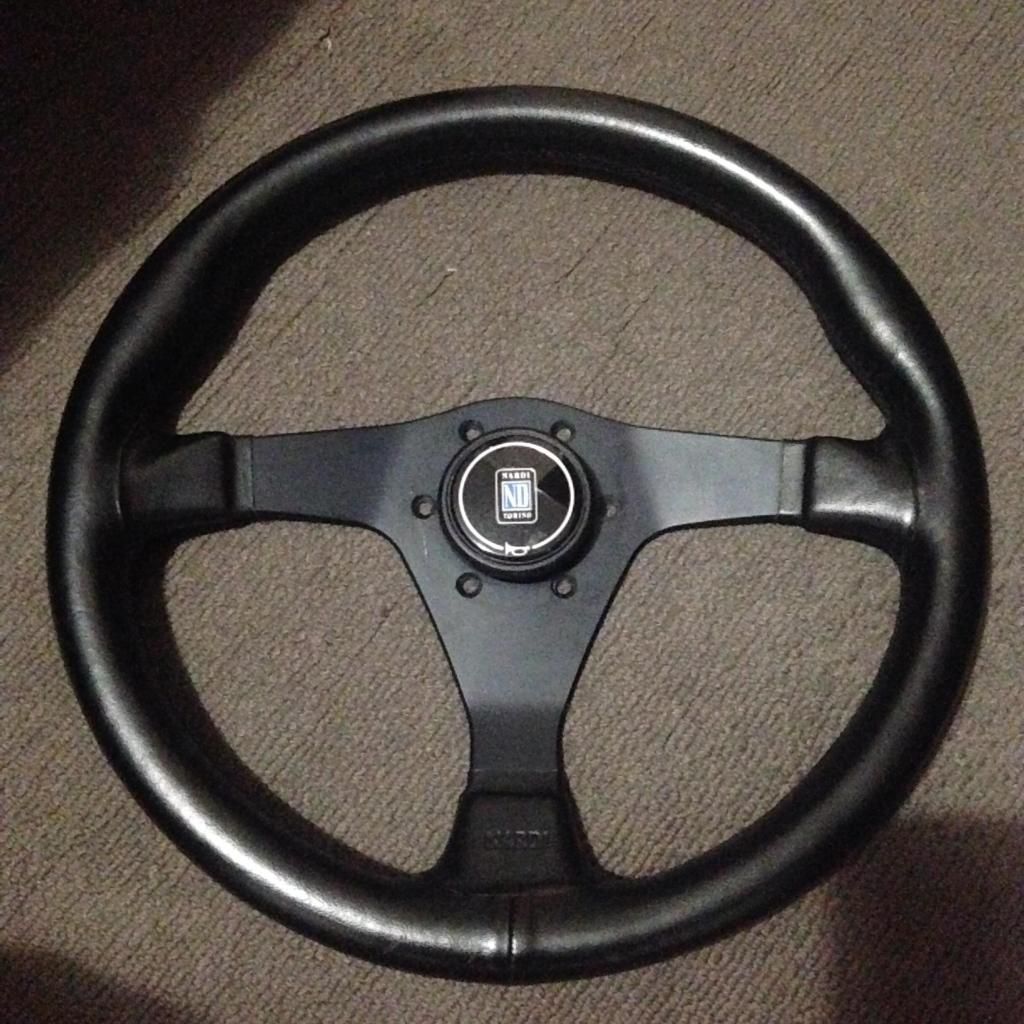
            I finally came across a Nardi gara for a price i could not refuse! it didnt come with a ring to hold the horn button in place, but a little diy took care of that, not that i liked the ring anyway, i attached the horn from the revered side of the steering wheel. A little bit of polish and leather cleaner and interior polisher was needed but it came out very decent!


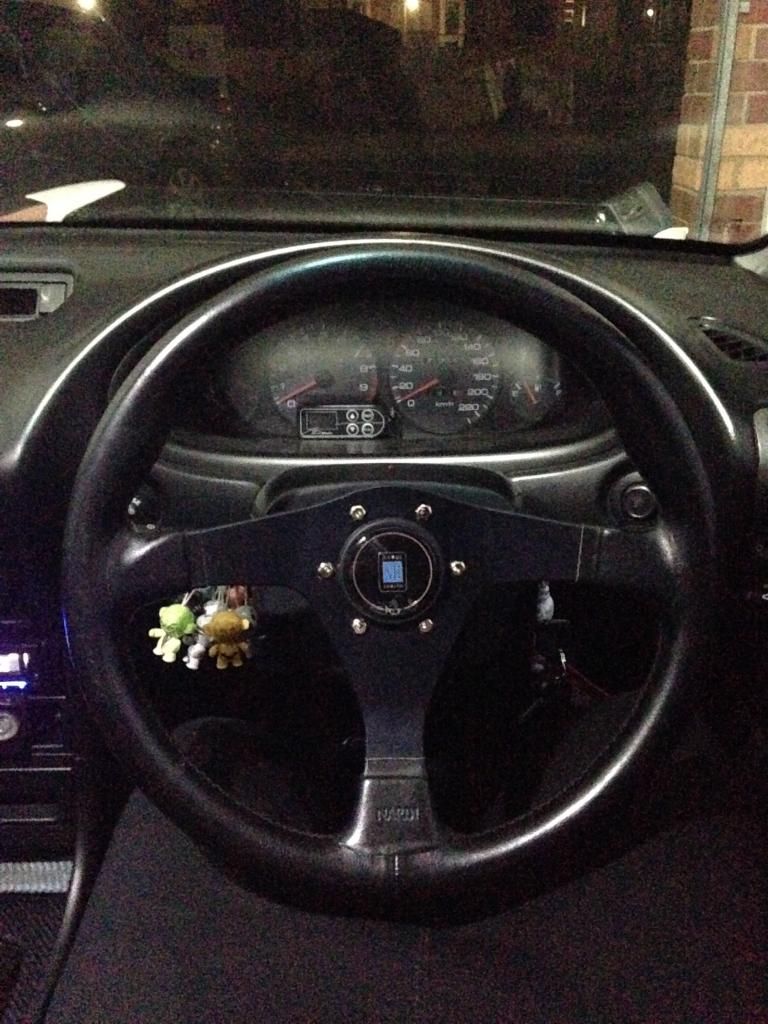
            And Installed! it finally doesnt feeling like im steering a bus! LOL


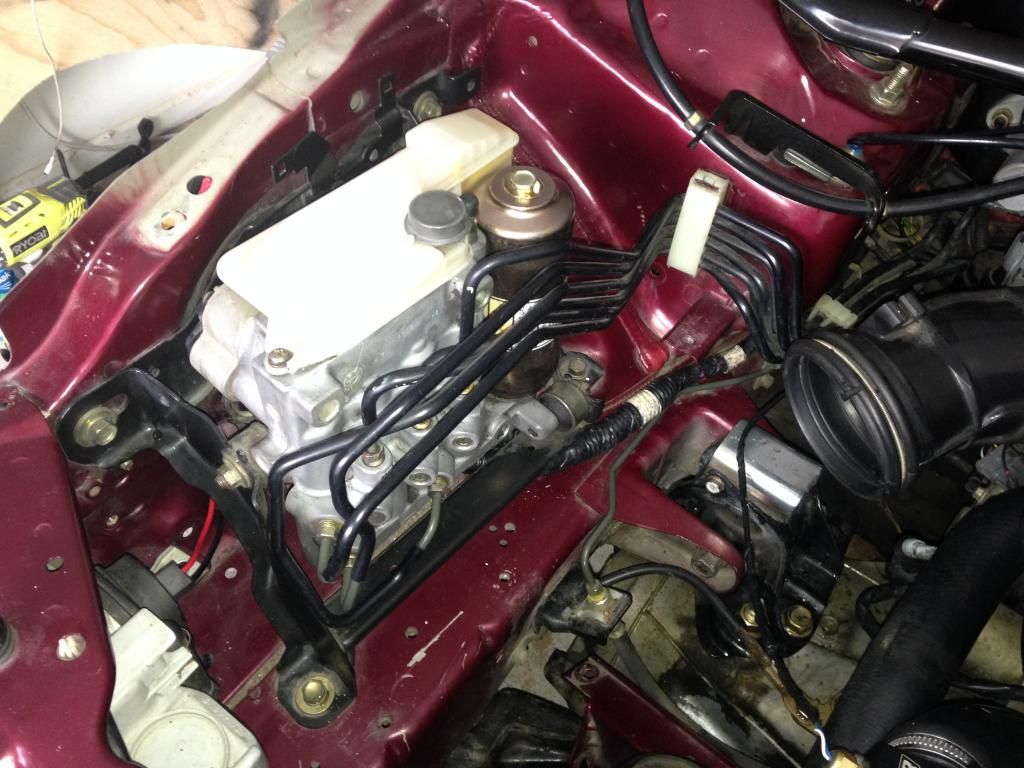
            So as you guys know from previous post i was working on a full wire tuck.. well that went out the window, since i wanted to run abs i realised there was no way i could route the abs wiring without hacking it up, so i opted for a semi tuck. I had the wiring routed through the fender already, but had to pull it all back in to the engine bay and tucked under the abs unit


            The opposite side i had to reroute the washer lines, and a friend of mine was on his way to clark rubber already, so i sourced out some vinyl lines while i was there as well as some gromets for the firewall, id prefer to use rubber lines but this should do fine for now ahaha


            Engine bay is 90% complete so far, still need to mount my Koyorad and source out a Spoon front strut to match the rear strut. I had to extend a few wires such as both high beams and drivers side radiator fan wiring, but otther then that it was a pretty straight forward attempt ahaha


            Build is still in the works for another week or two, still have to bolt on my Prelude calipers and source out rotors to suit. And then Bolt in my ABS 4x114.3 conversion which i got for a bargain price! and which will help me get rid of that annoying wheel bearing issue i was having!

            Thats it for now!
            Last edited by stalis; 07-08-14, 08:30 PM.

            Comment


              #51
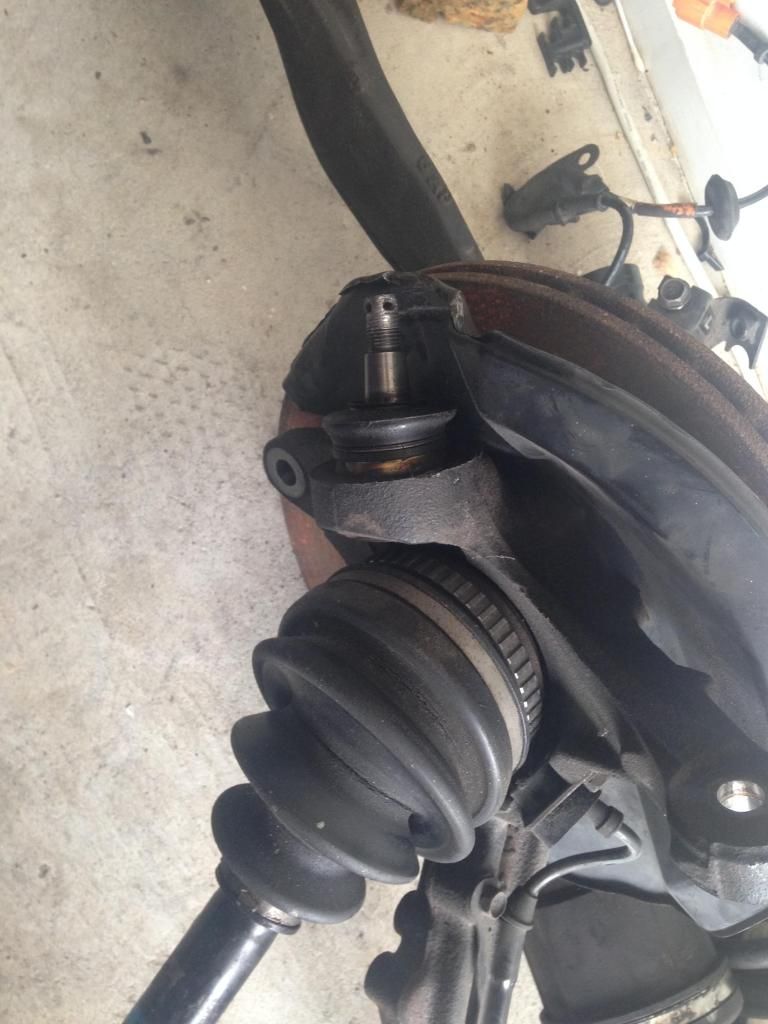
              getting the car back on the road is taking a bit of time due to this suckkaaa, my fault, got pissed of and went ham on the bolt, now to get it pressed out and new one pressed in --'


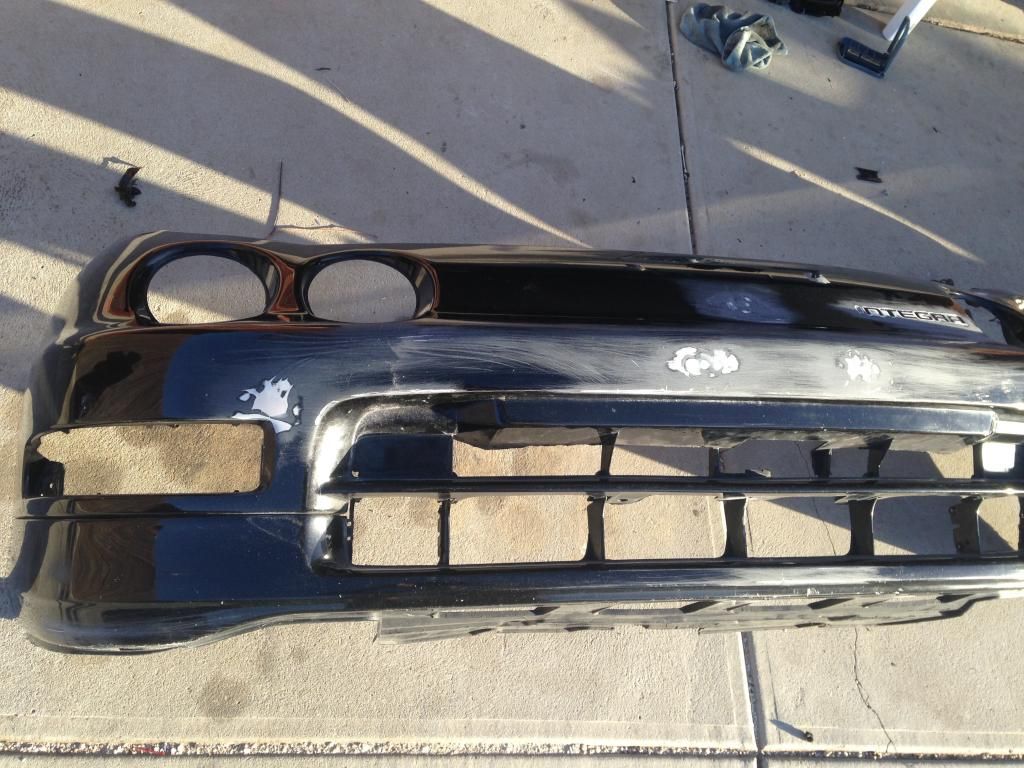
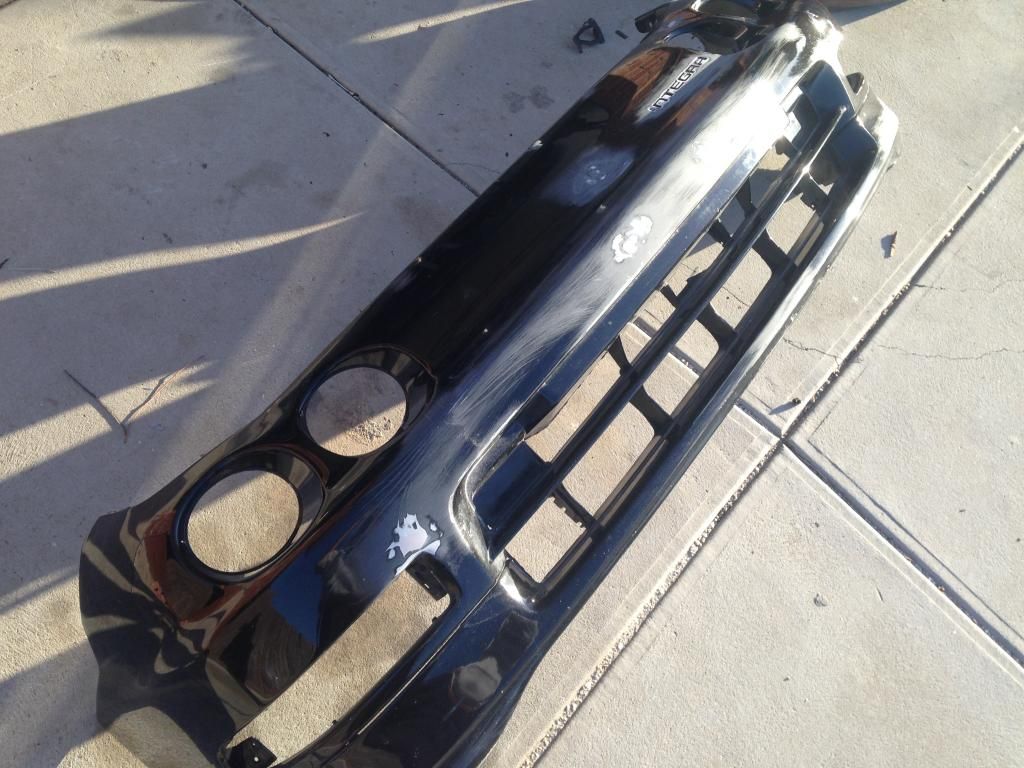
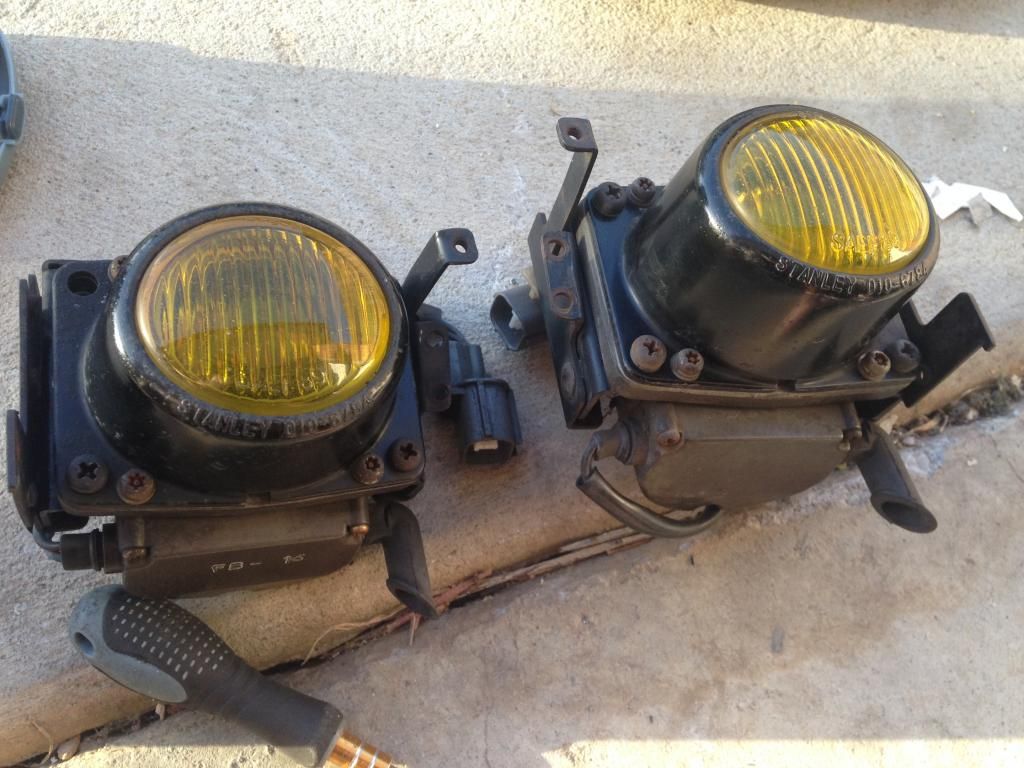
              also picked up a front bar and genuine stanley foglights! need to source out wiring though! got started sanding the bar in prep for paint in the coming week or two, depending on when i can get the car rolling.


              they were in a pretty rough condition, polished the lenses, still deciding if i want to paint the surrounding part or not, didnt come with the shroud either, so may just have to use replica shrouds

              Comment


                #52
                nice build mate!

                Comment


                  #53
                  Originally posted by dylanz94 View Post
                  nice build mate!
                  cheers homie! LOL

                  Comment


                    #54
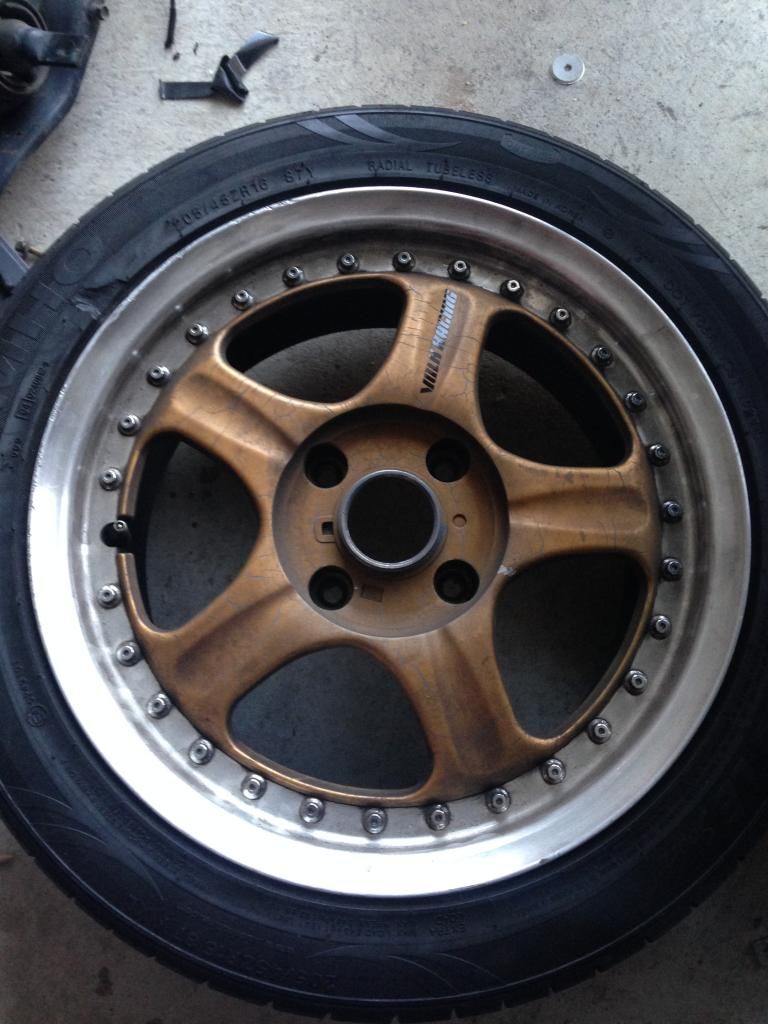
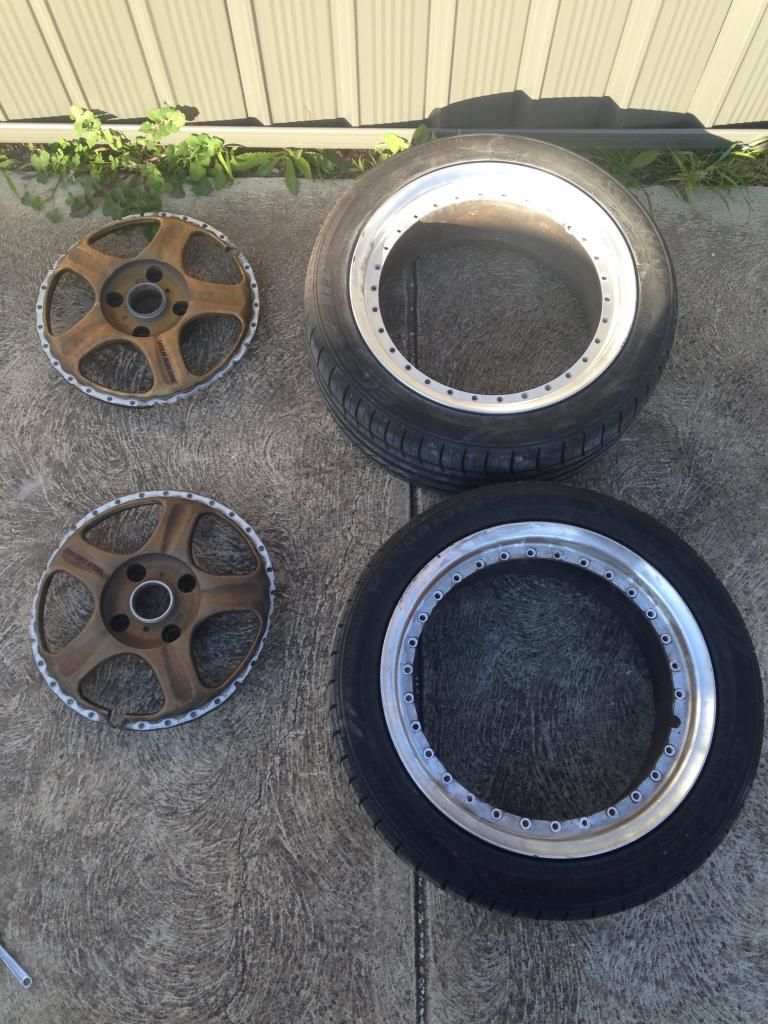
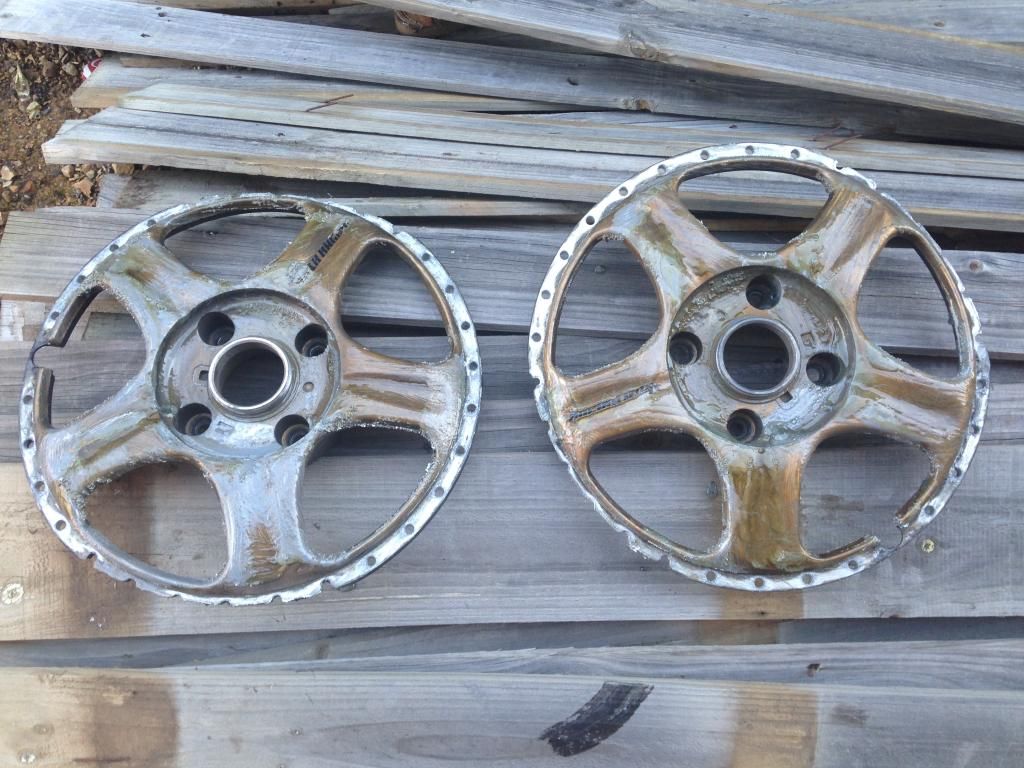
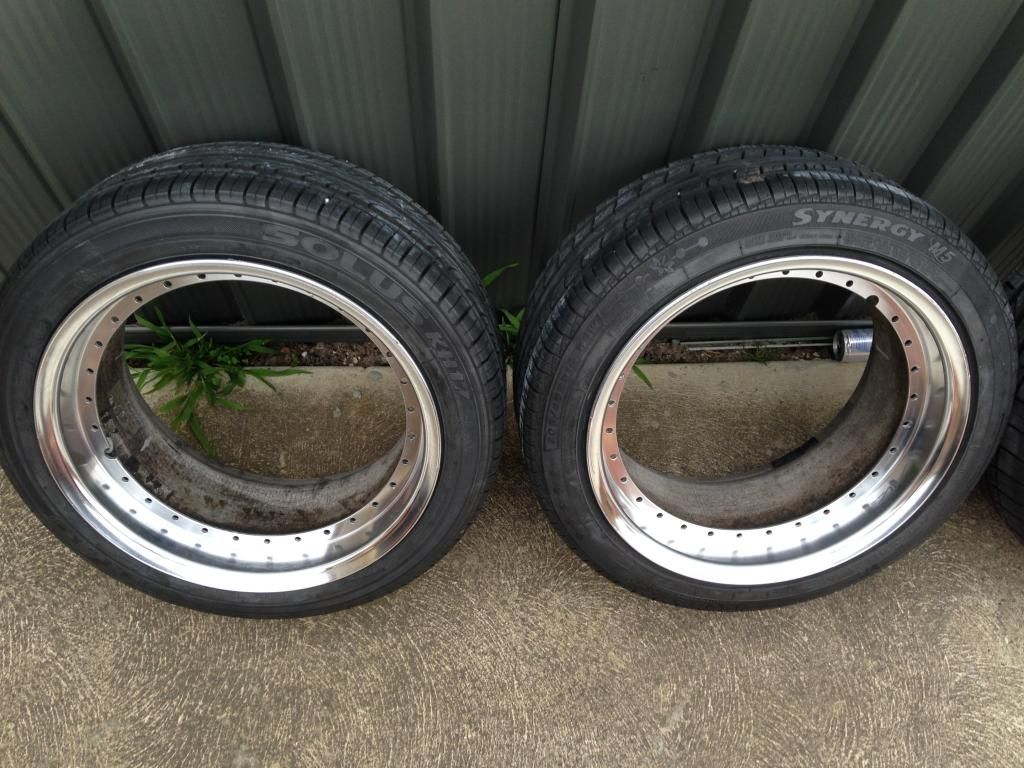
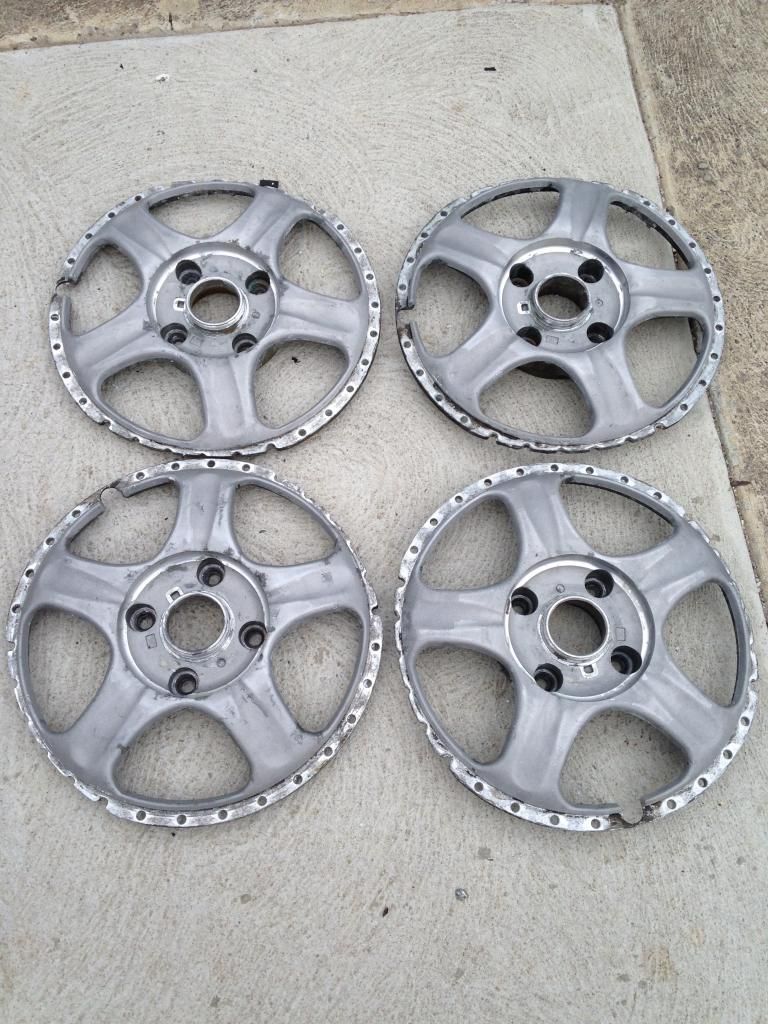
                    while i finished prepping the bar for paint, i went ahead and disassembled my volk racing av-1615's getting that ready for refurbishing. im stuck on what colour to paint the centers, possibly pearl white, but im open to ideas ahaha.

                    i did a crappy job when i first got the wheels at respraying them, i didn't actually take them apart, just masked it and repainted the centres gold with cheap paint. Paint was cracked and lost colour very quickly


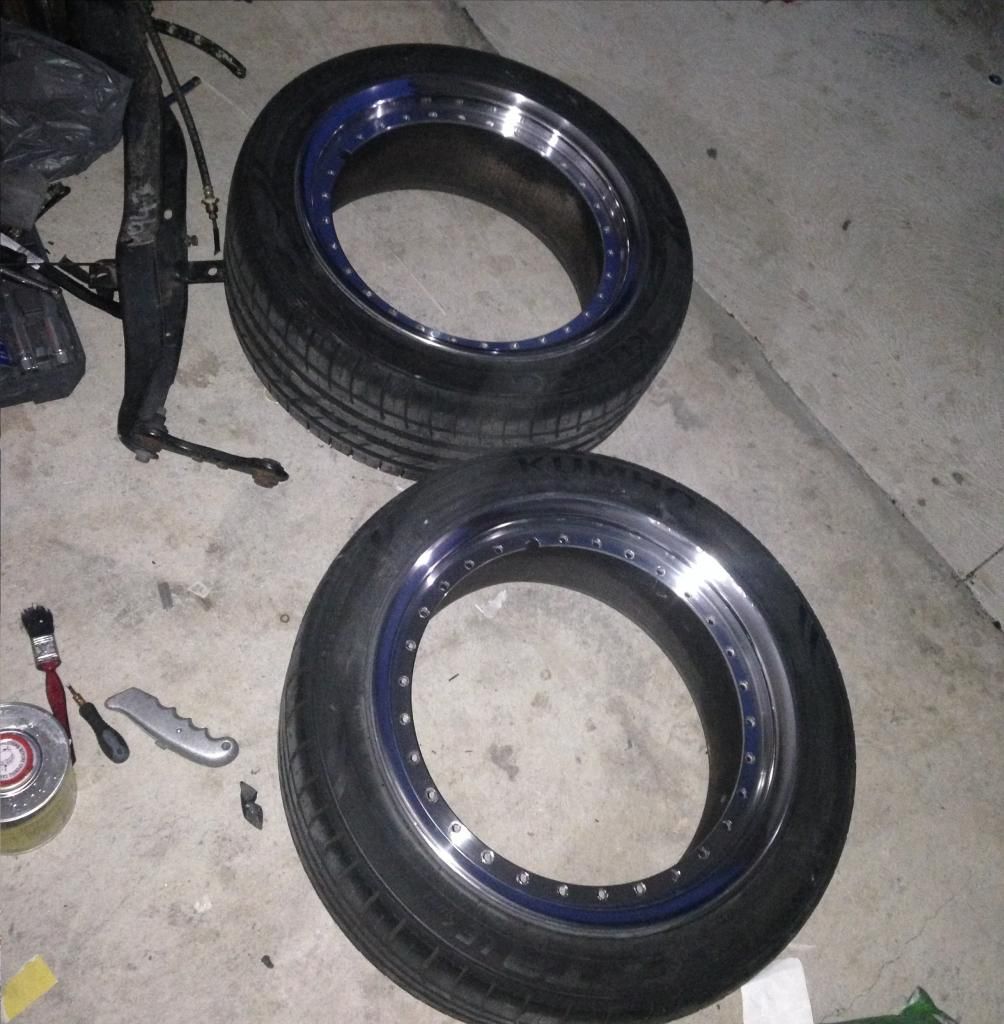
                    took front 2 wheels apart, went ahead and stripped the paint off the centres, and started sanding down the lips, also started the rear's but no photos of that atm


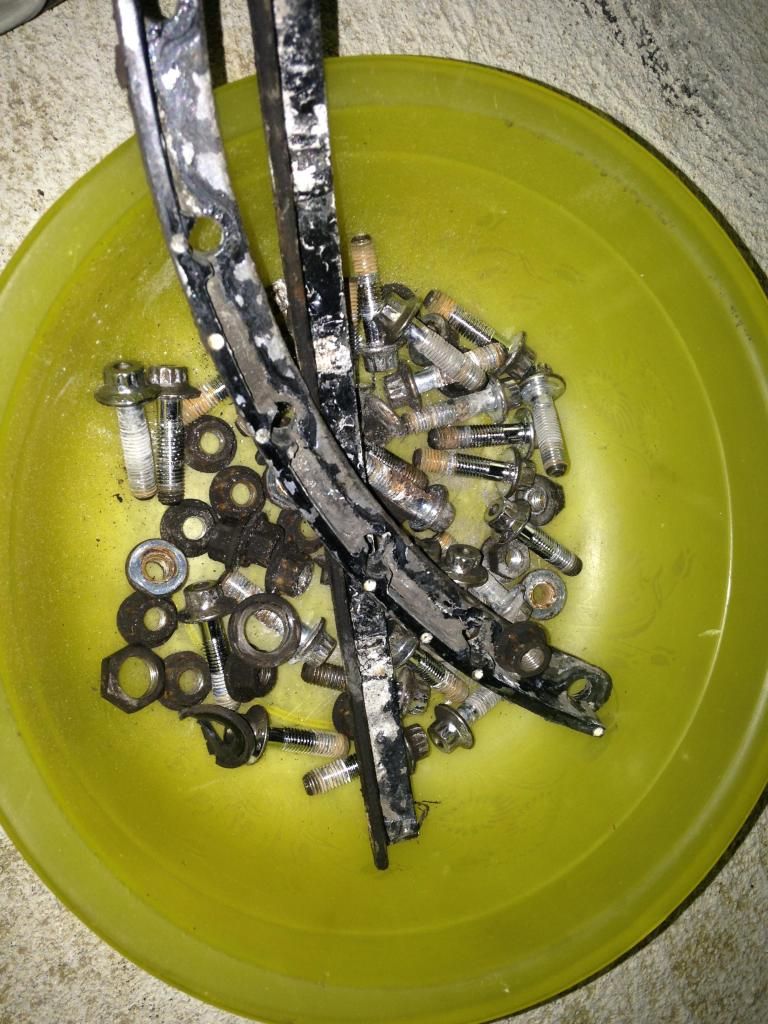
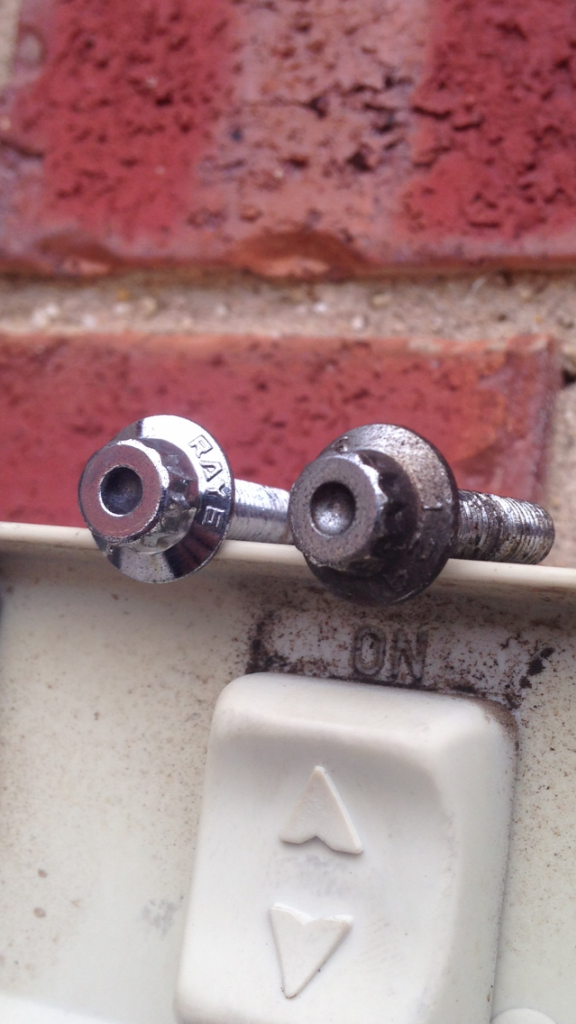
                    bolts were rusted horribly, i put all the bolts in a bowl of coke, hopefully removes most of the corrosion


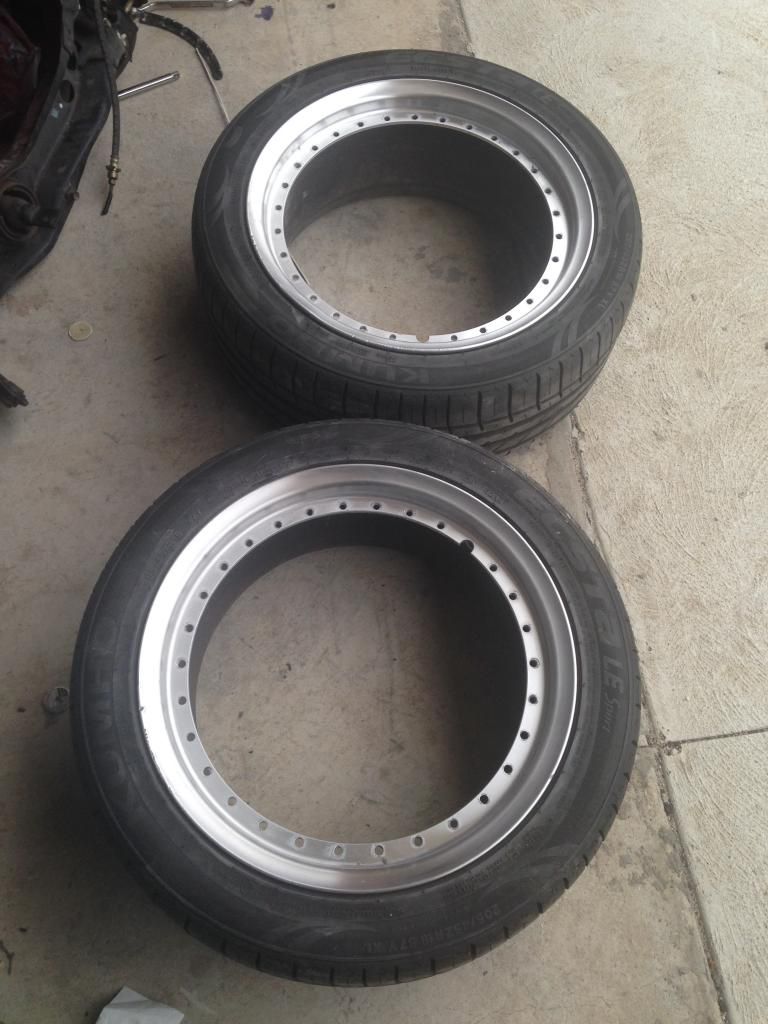
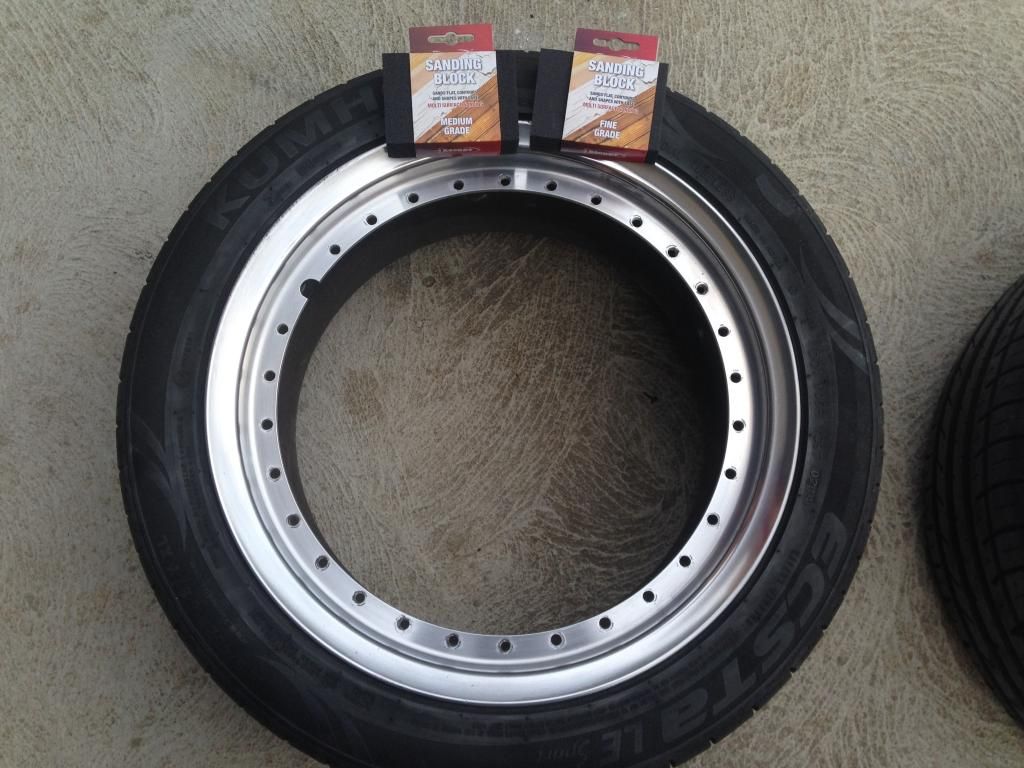
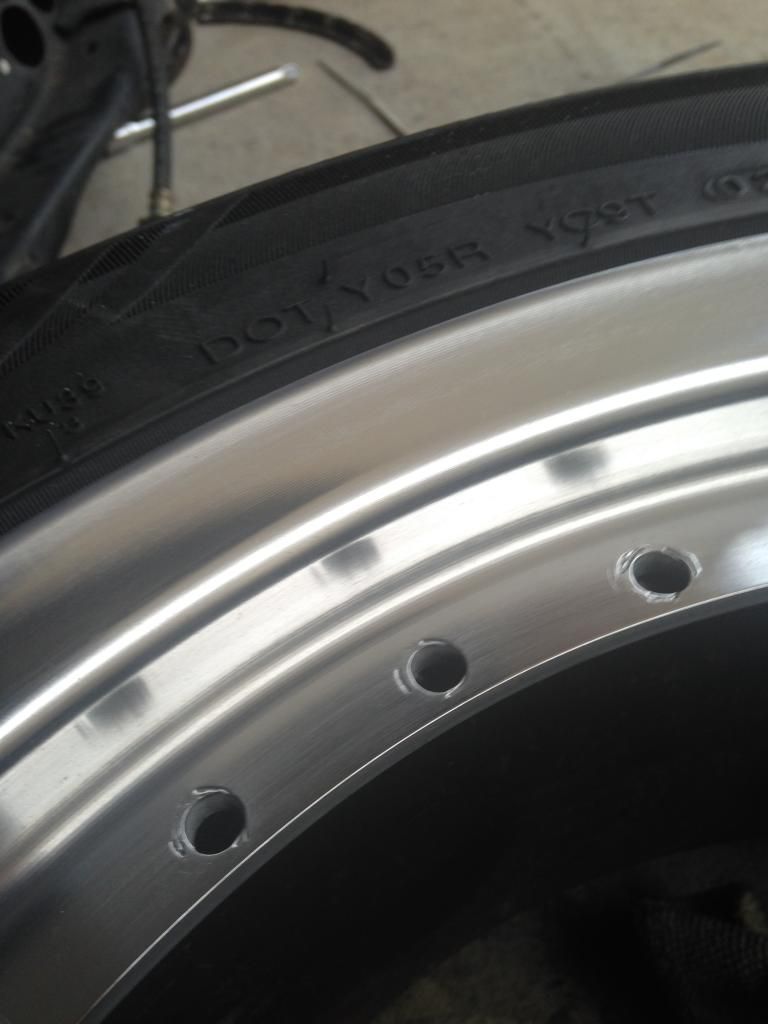
                    the lips came out better than i expected, using only the 'medium grade' of sanding foam blocks i bought, besttttt things ever, they contour to the lips and make life alot easier!


                    and final result, ill probably hit it up with my Autoglym metal polish tomorrow to get that shine even better


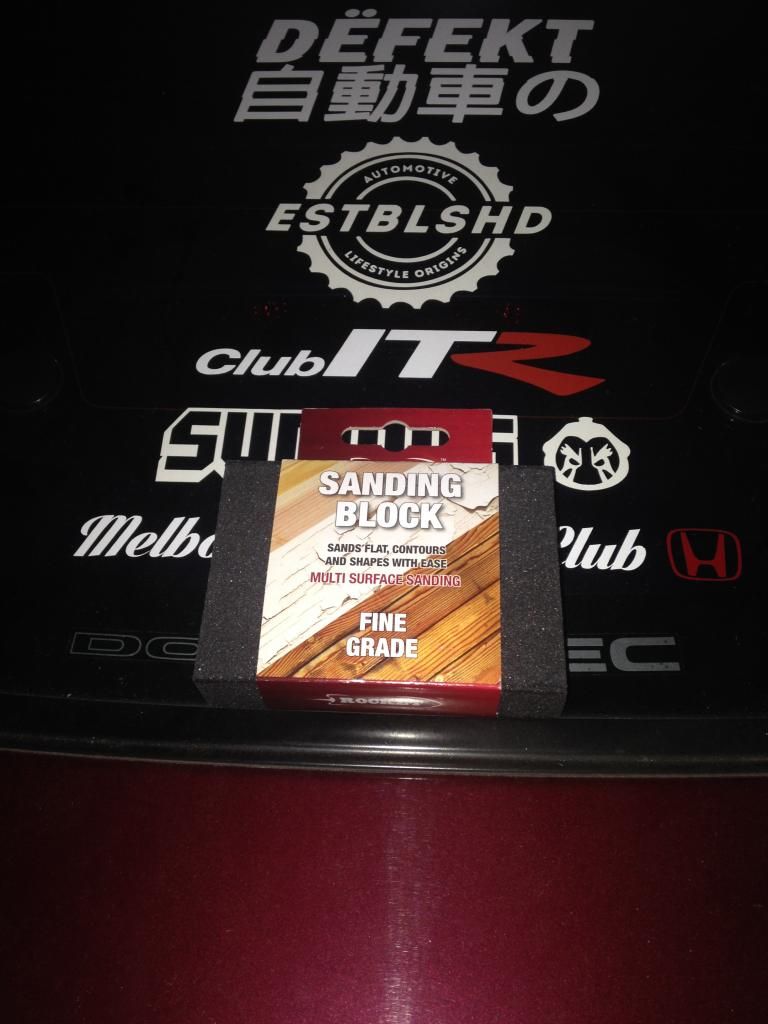
                    for anyone wondering what the blocks i used looked like, brand name is 'rocket' and picked up from bunnings for only 1.50 each, bought a whole bag full of fine and medium grade ahaha


                    Comment


                      #55
                      lmao stalis you gonna actually facelift it this time or gonna sell off the bar again?

                      Comment


                        #56
                        Originally posted by kevinnguyens View Post
                        lmao stalis you gonna actually facelift it this time or gonna sell off the bar again?
                        LOL got a preface bar, keeping it preface
                        Last edited by stalis; 04-06-15, 08:03 PM.

                        Comment


                          #57
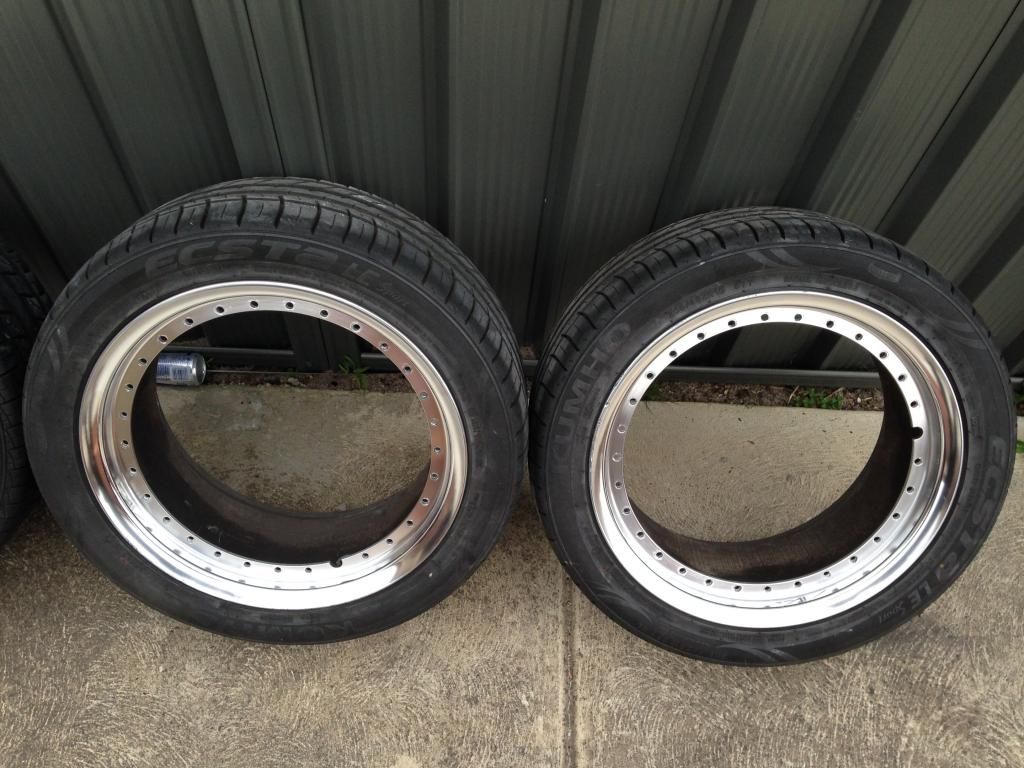
                          got around to polishing all 4 of the lips today, centers have been completely stripped, just needs to be sanded down to get everything a tad bit smoother. Bolts which hold the center to the barrel have also been wire brushed, i was amazed at the results

                          fronts:


                          rears:


                          the centres:


                          andddd comparison before and after of the bolts


                          hope to get the car on the road in a weeks time

                          Comment


                            #58
                            nice work guy.
                            ClubITR | Like

                            Comment


                              #59
                              Originally posted by felixR View Post
                              nice work guy.
                              thanks mate!

                              Comment


                                #60
                                Great work mate. Car has come a long way.
                                1998 Prelude VTi-R, 5 Speed
                                Super Marine Blue
                                X-Force 4-2-1 Stainless Steel Headers, Custom made Mild Steel Catback, 100 Cell Cat, Twinloop Muffler, Machined Flywheel, Injen Cold Air Intake (RD1720P), Skunk2 Weighted Gear Knob, 50mm Shifter Extension

                                Comment

                                Working...
                                X