Hey Peeps 
George here....
Been posting a few pics up on the FB page of club ITR and been getting a few requests to share my story on Club ITR
thought i would give it a go on the forums
Coming from a motorbike background i have always loved that great N/A Rev and sound feeling. Been through quite a few bikes ranging from Yamaha R1 to CBR 600. Unfortunately it got me into alot of trouble and lost my license for a while.
After endless arguments with the oldies it was obvious i was not getting back on one again. It was mainly my decision but that feeling never left me
Which brought me to cars. So i thought and decided what is the best naturally Aspirated car that gives me that little sensation? Honda? Ferrari? Lambo? Lexus LFA?. Honda it was lol
The only issue i had was more power and more power. Basically everybody on this site i would assume. So it was time. Started off with a Delsol CRX and did a JDM b18 conversion. Was fun at the time. But my brother had just purchased a DC5 S. He was faster after Kpro, Which pretty much ended the days of the little crx. Not long after i had purchased a DC5s myself and was ready to go the same way. Was perfect. Loved It. Still Do
Little problem though, No LSD, Pretty Heavy, Weak Engine Mounts and honestly its my daily and i just couldnt modify it by because it just drives so well standard
Which brings me here today.
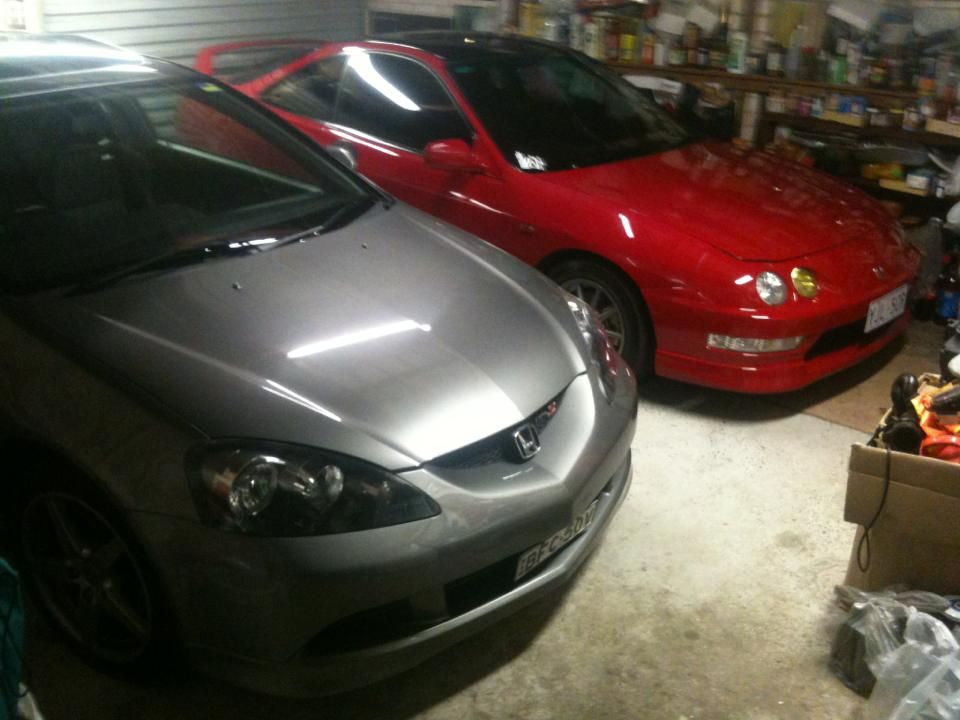
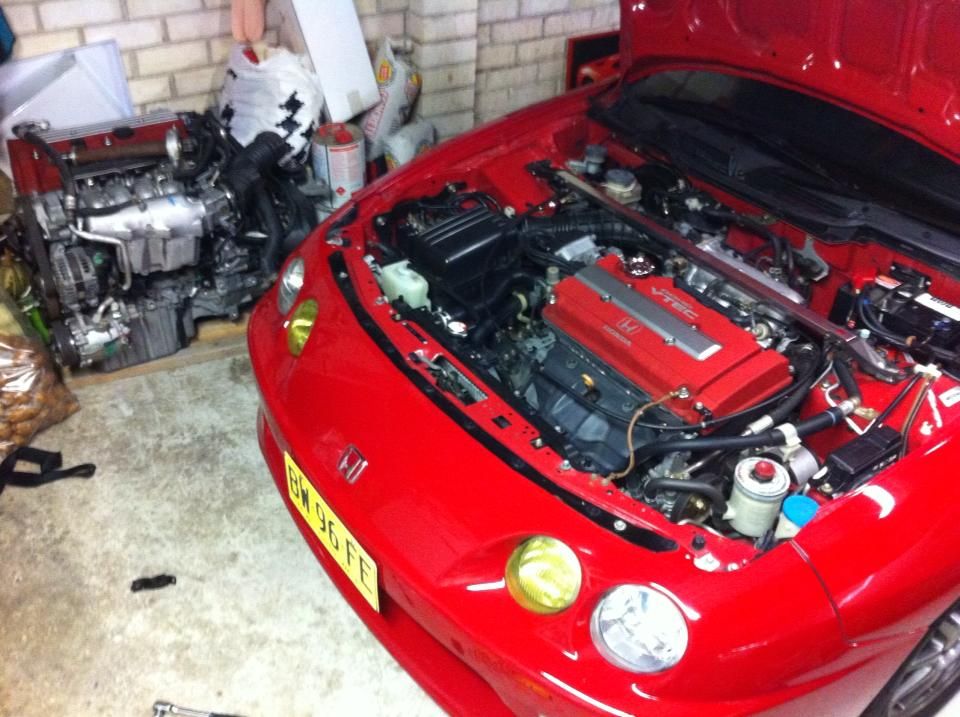
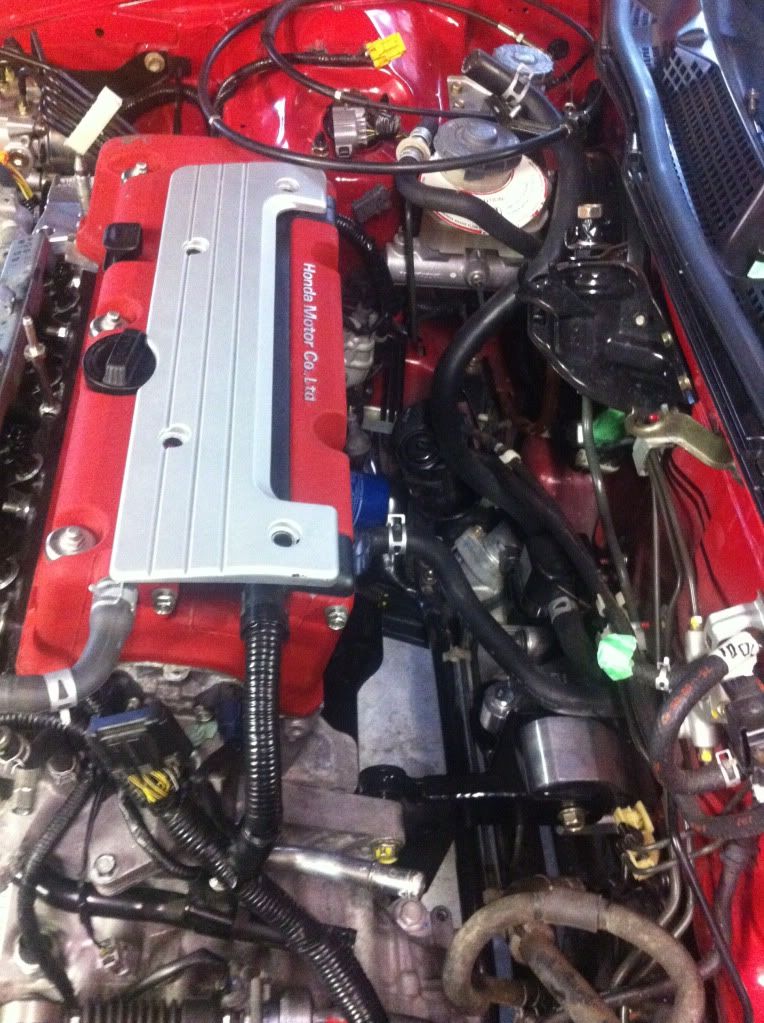
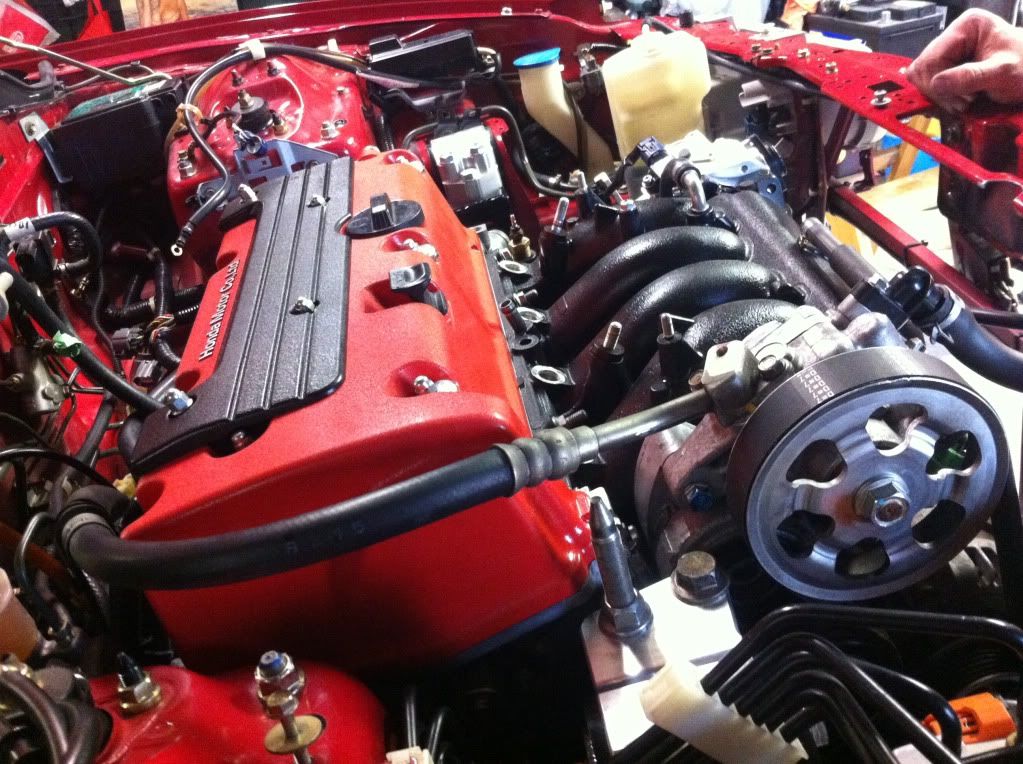
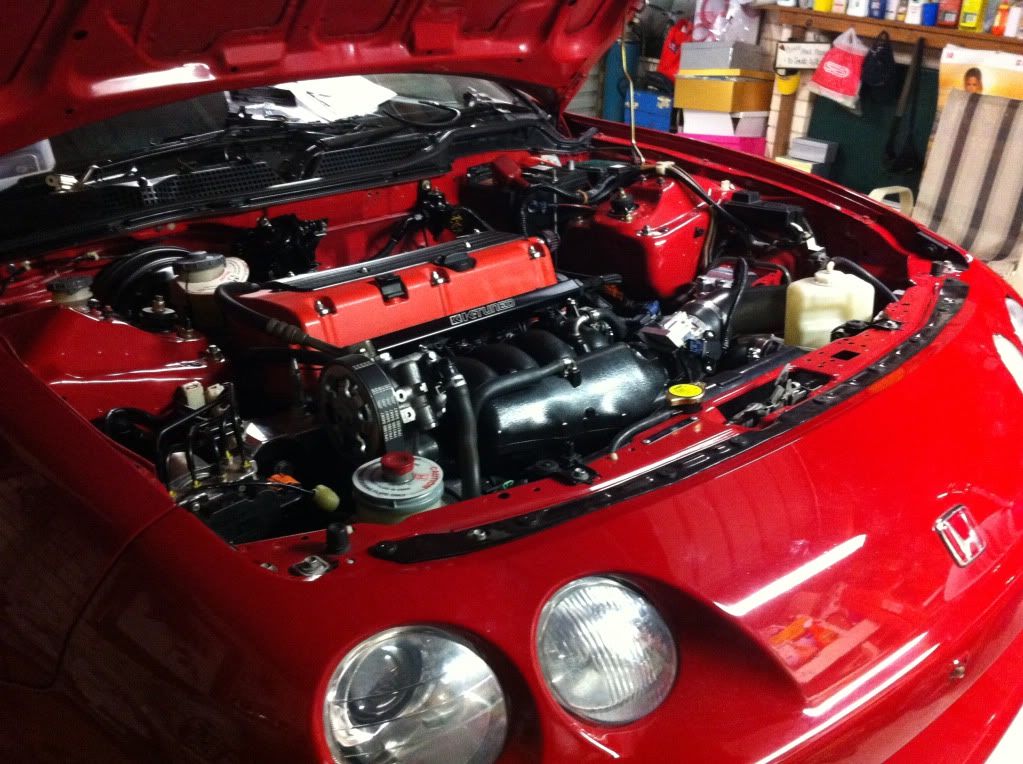
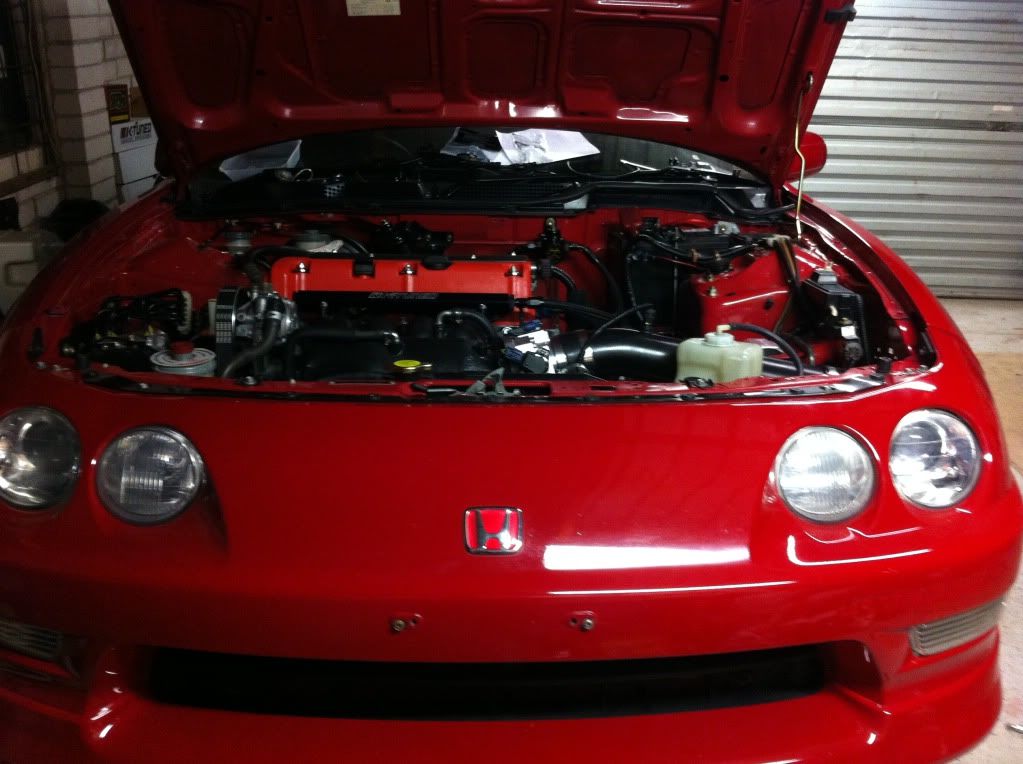
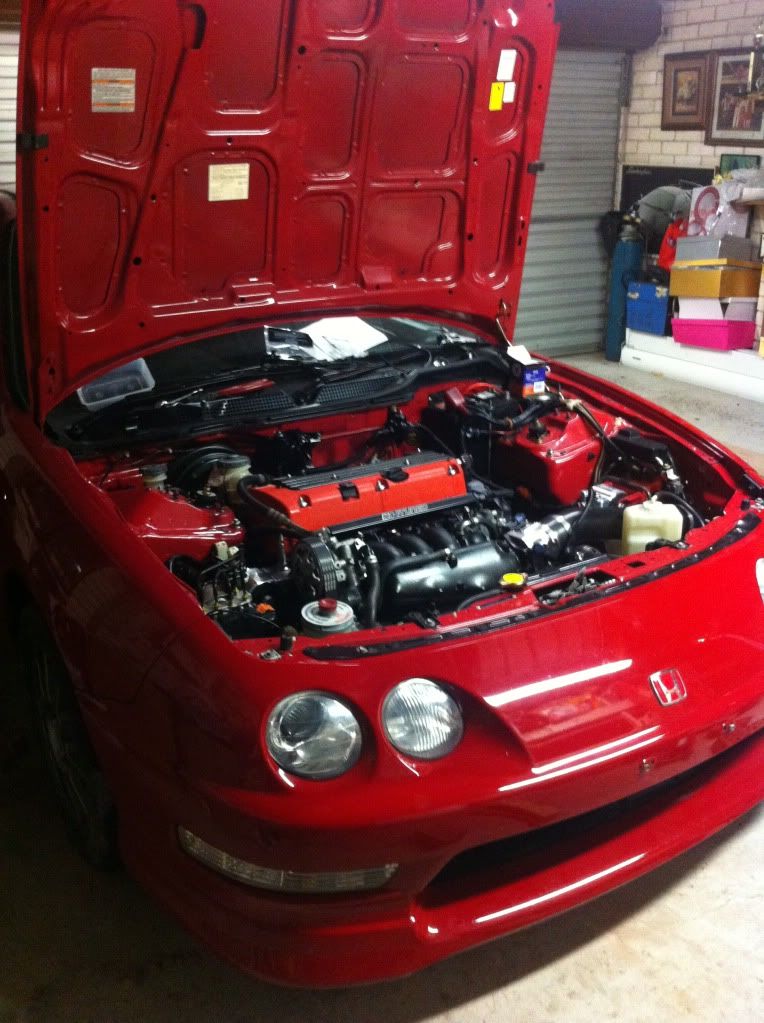
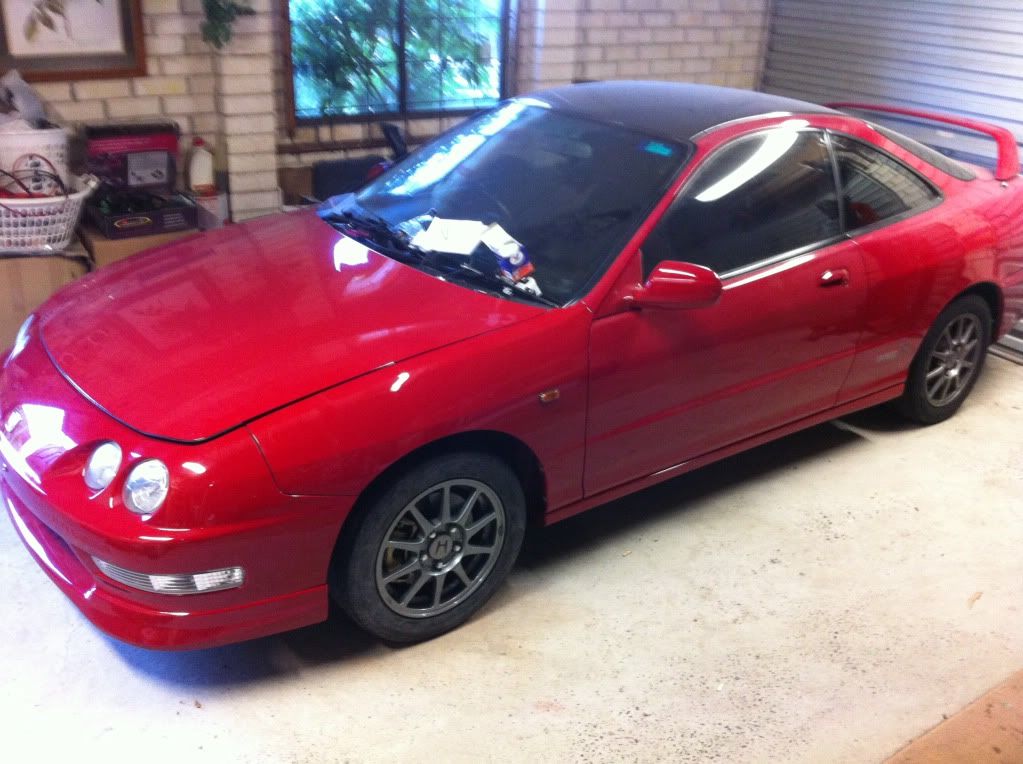
It was time to buy the best shape and car Honda have ever built.. IMO ofcourse
The Dc2 type R
 [/IMG]
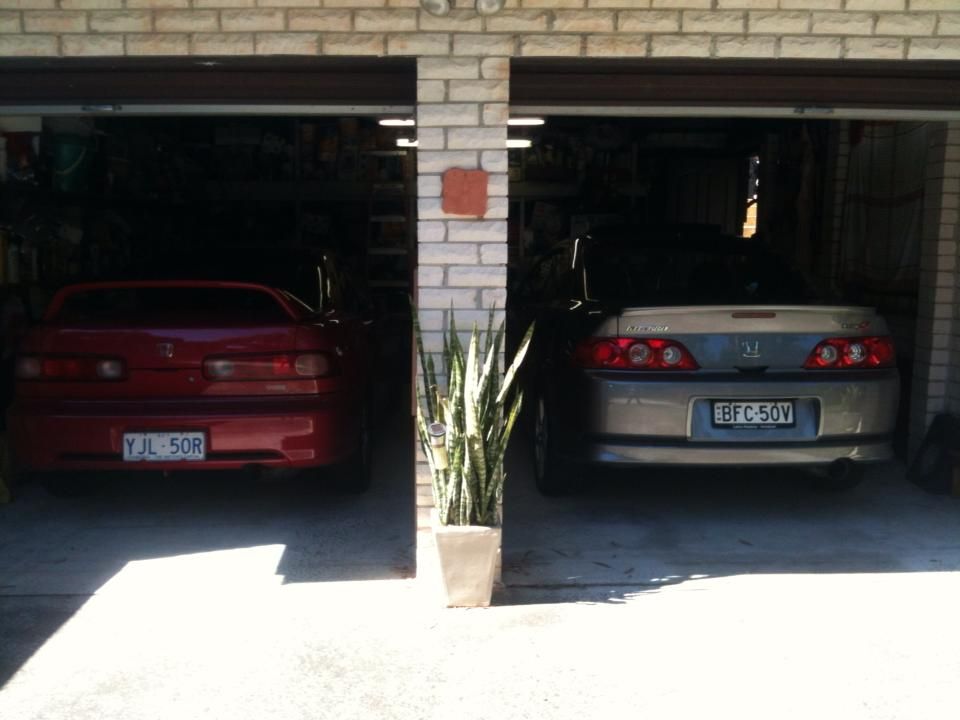
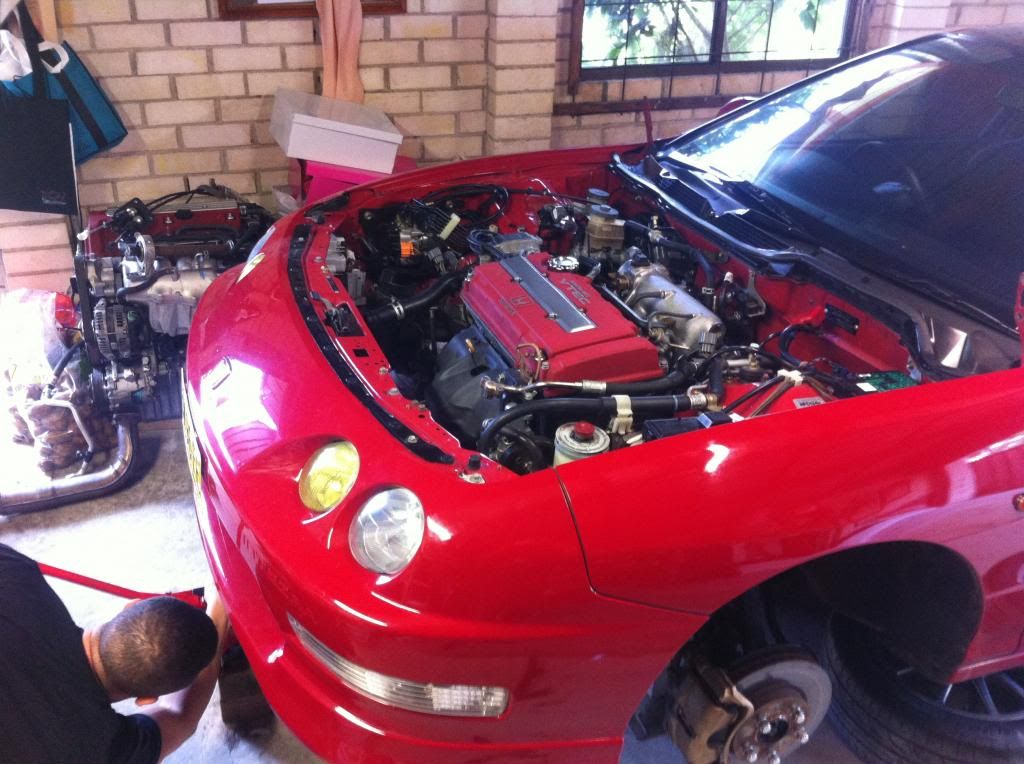
So now i have both cars in the garage and it was an honest struggle to figure out which car i would take to work in the morning.
Something had to happen and change asap because it was honestly driving me crazy on decision making in the morning.
So here Goes
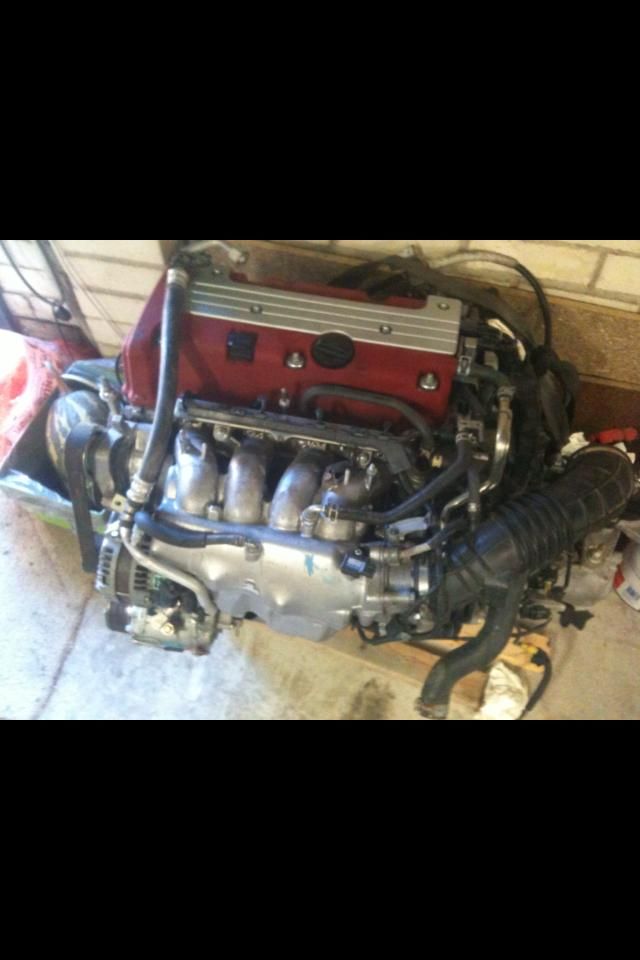
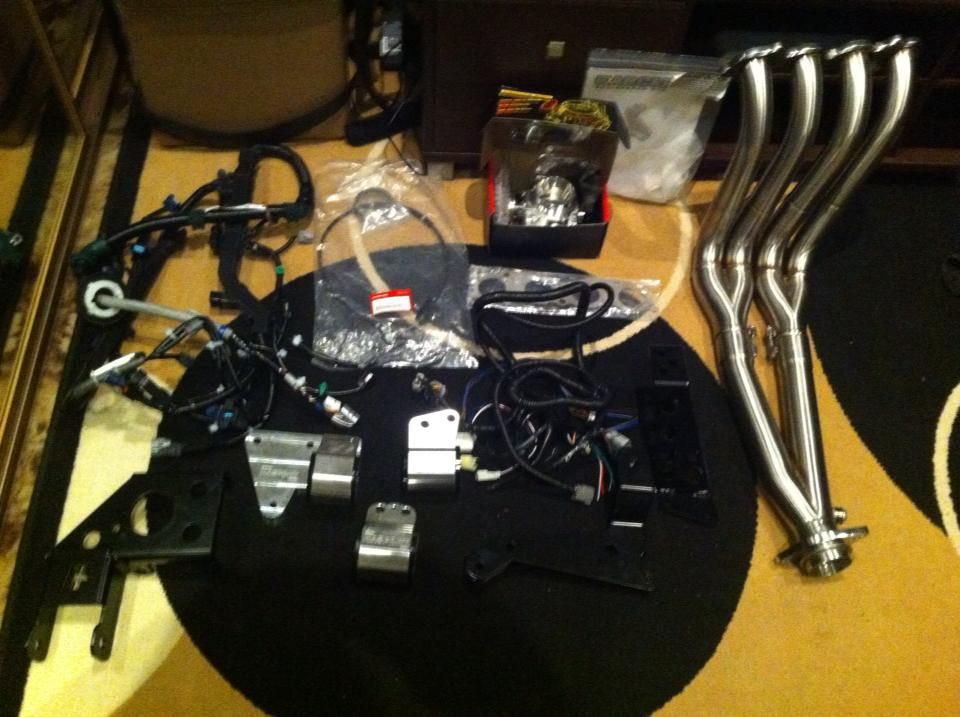
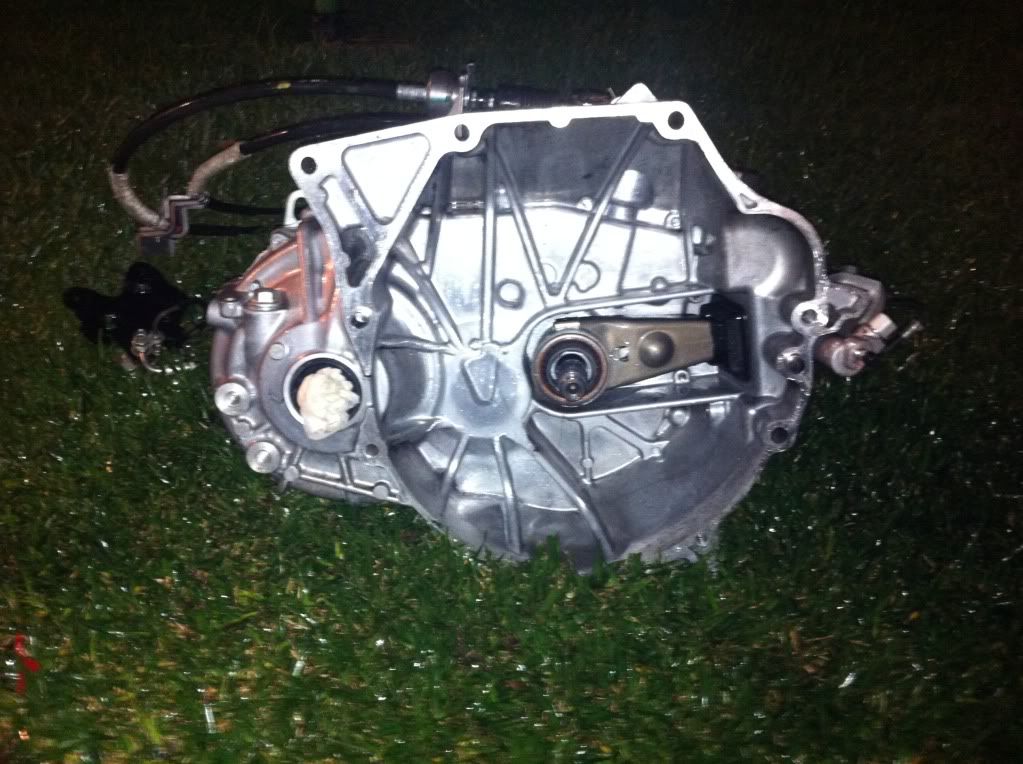
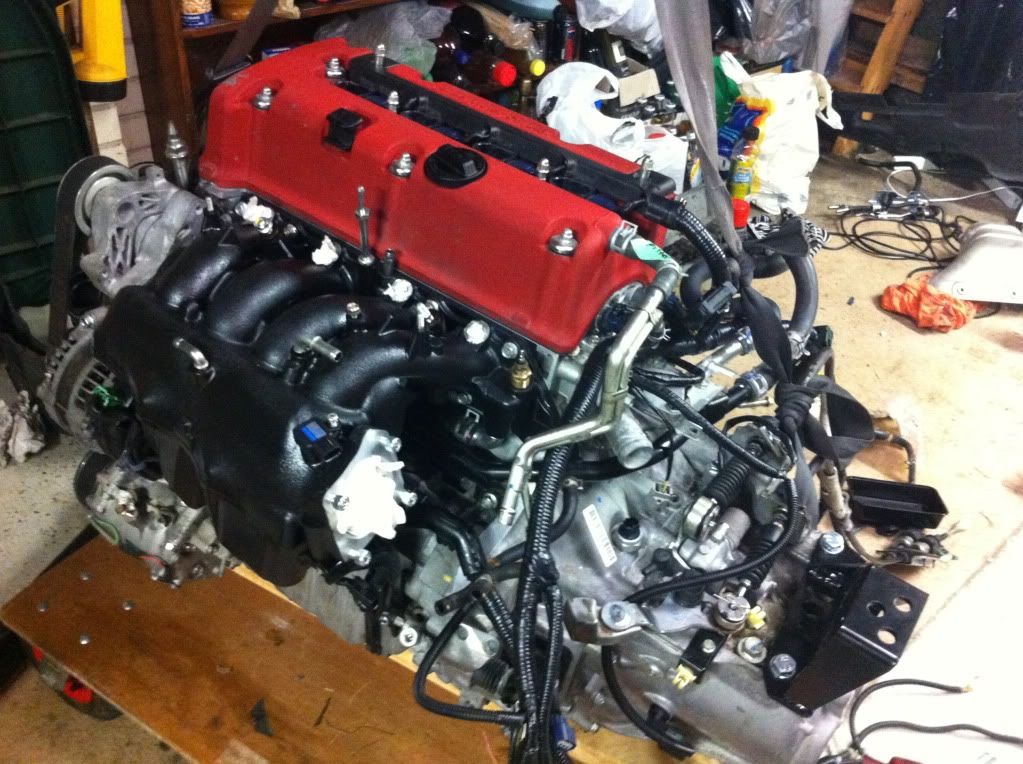
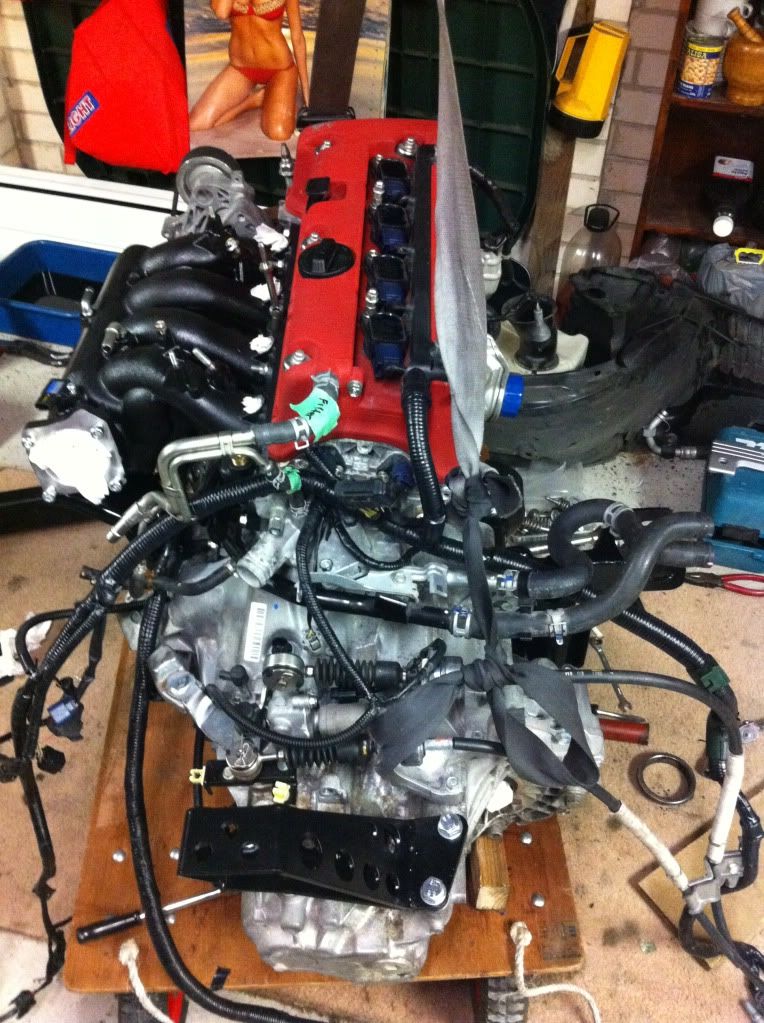
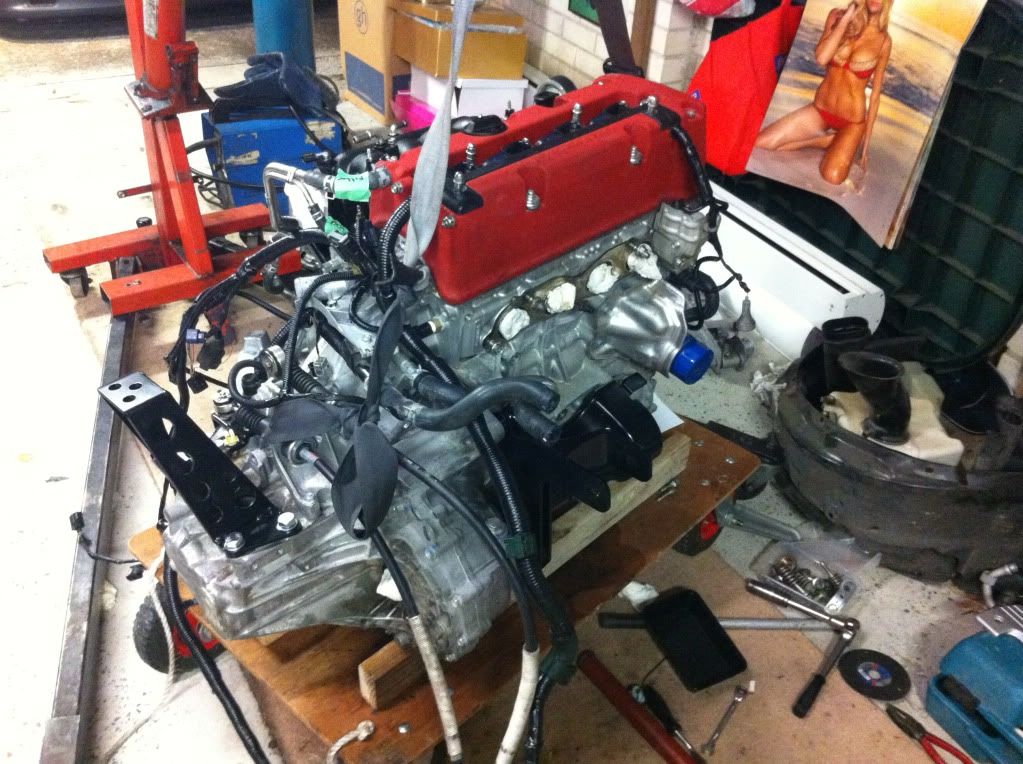
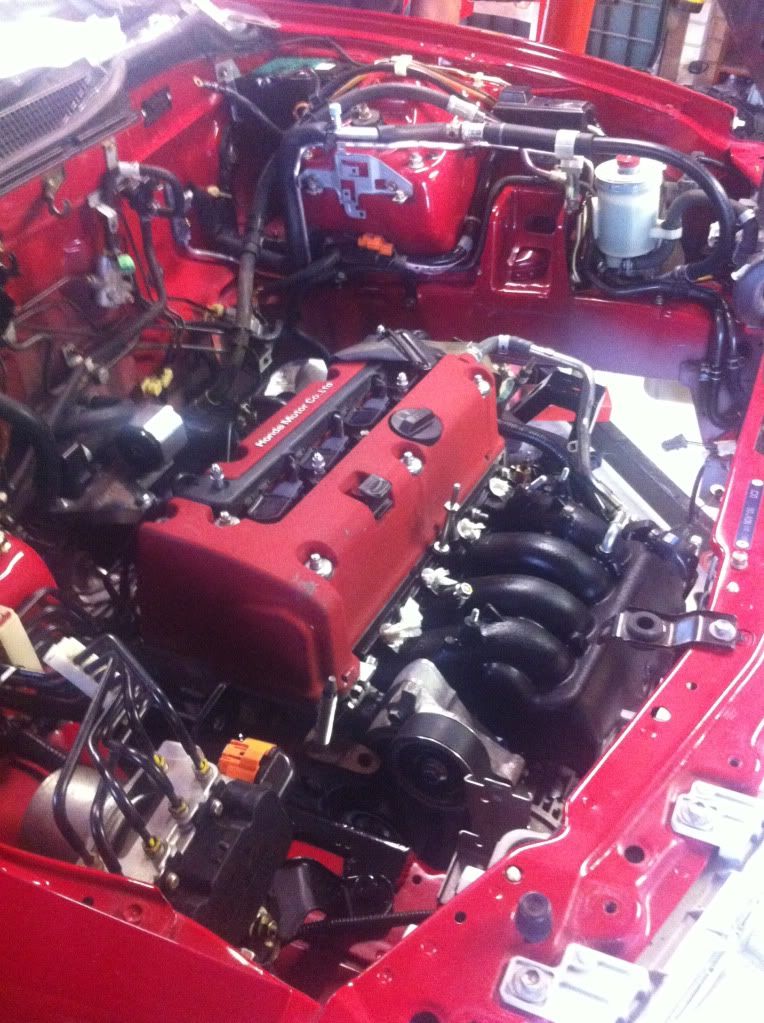
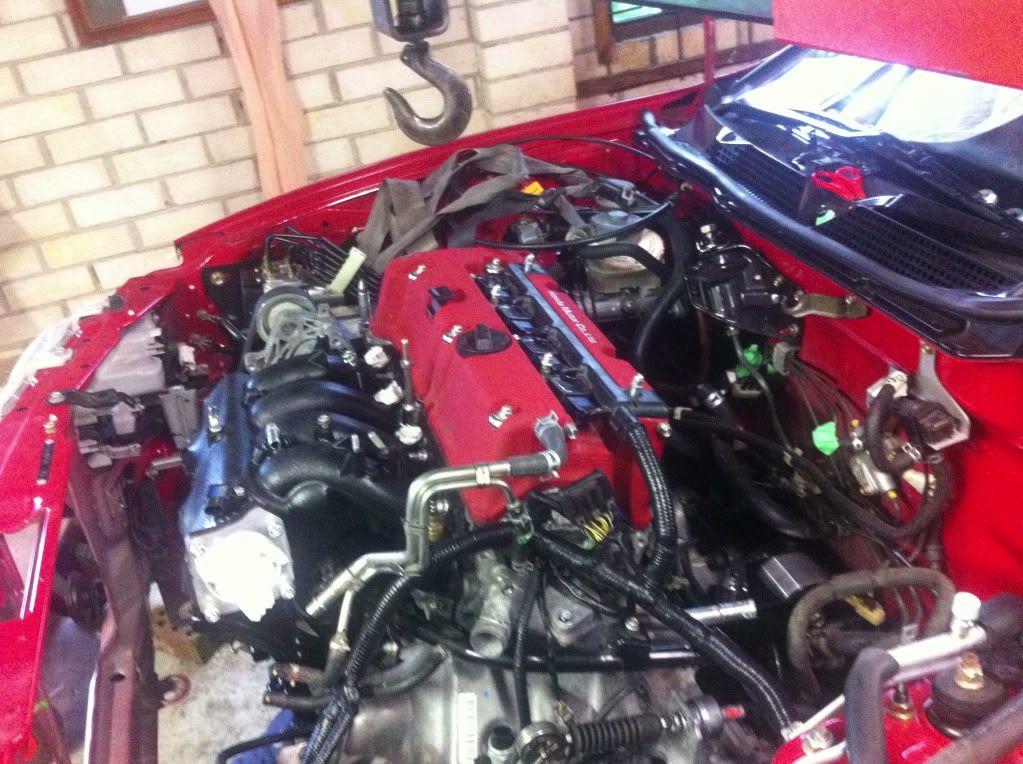
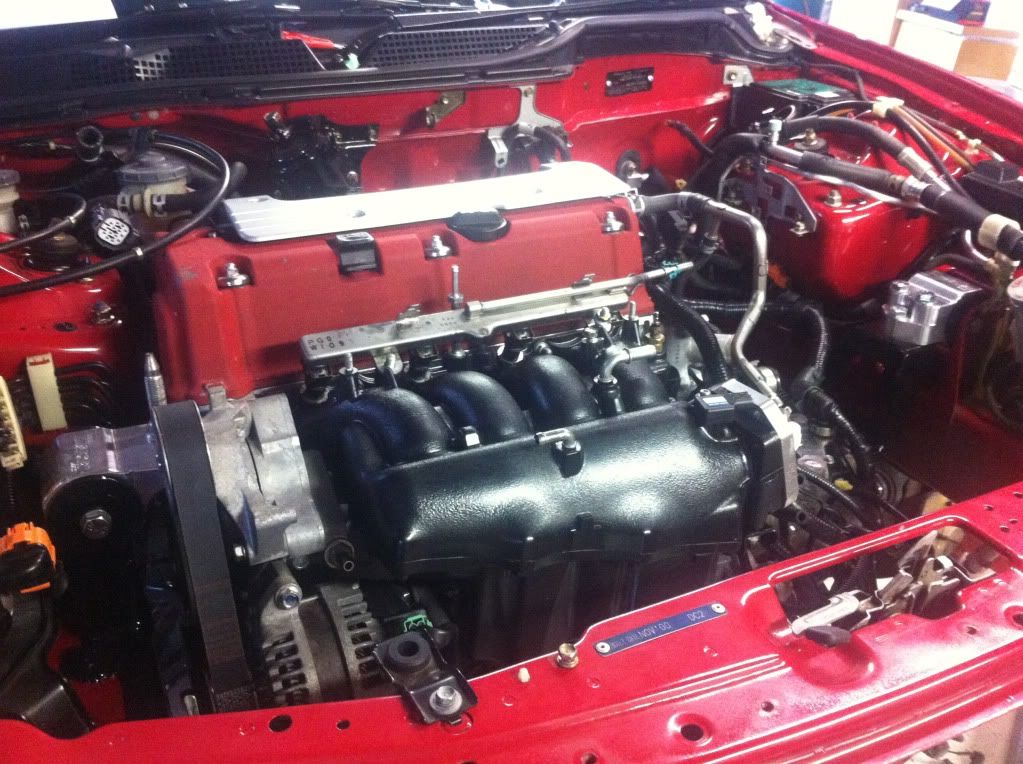
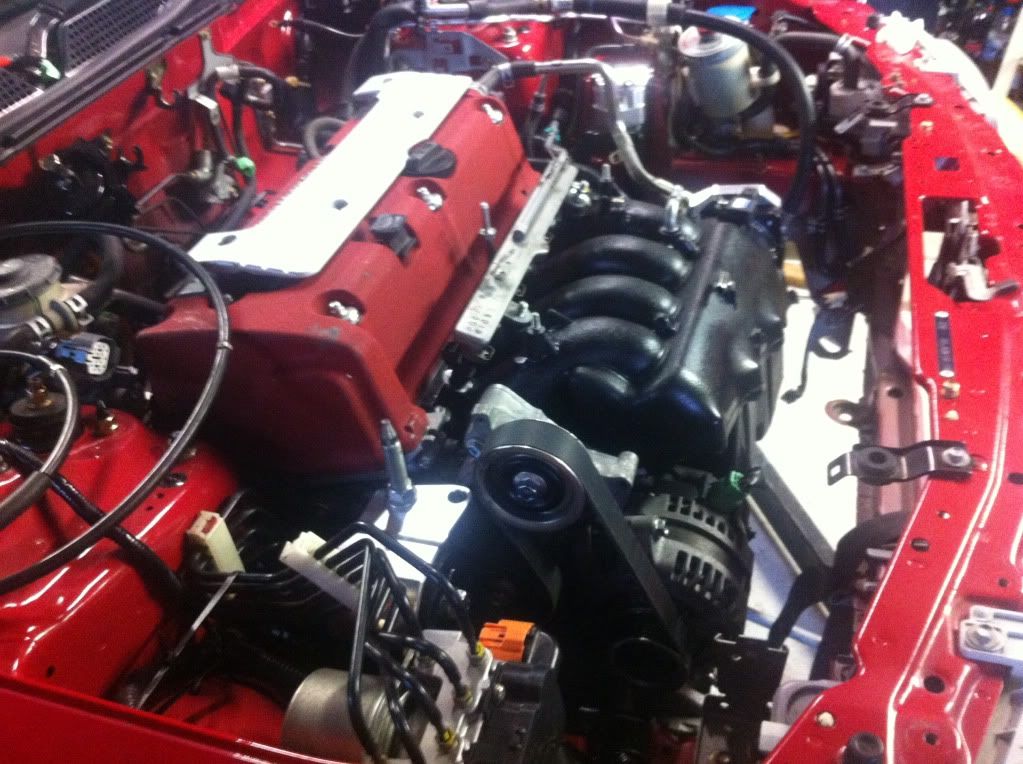
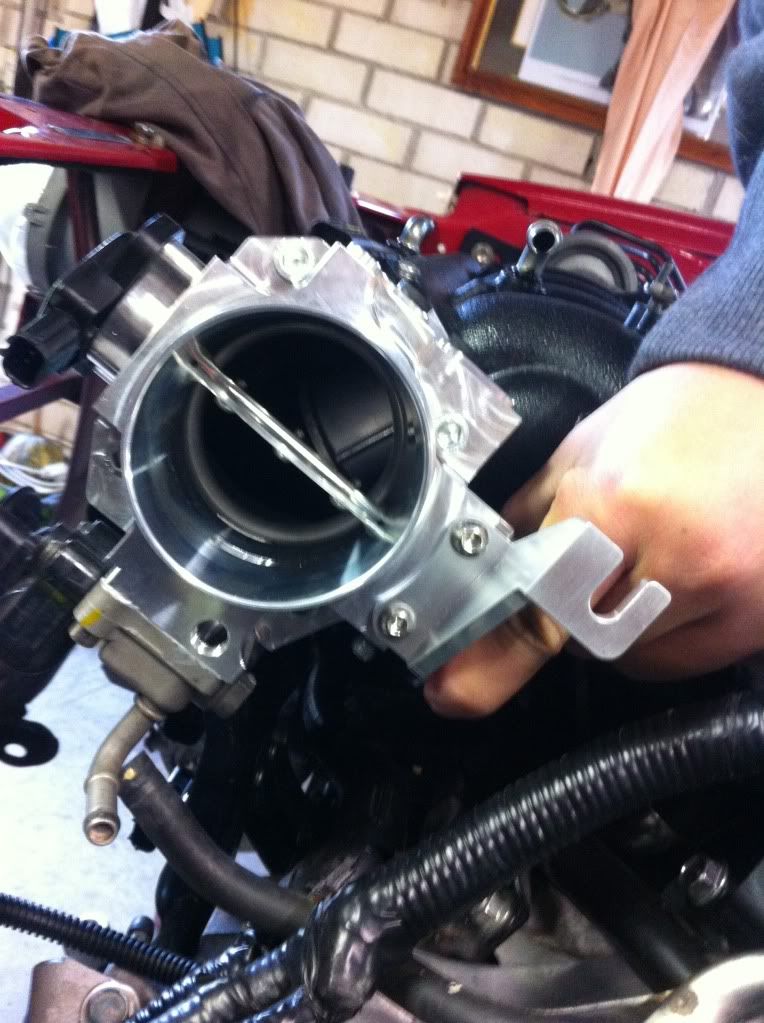
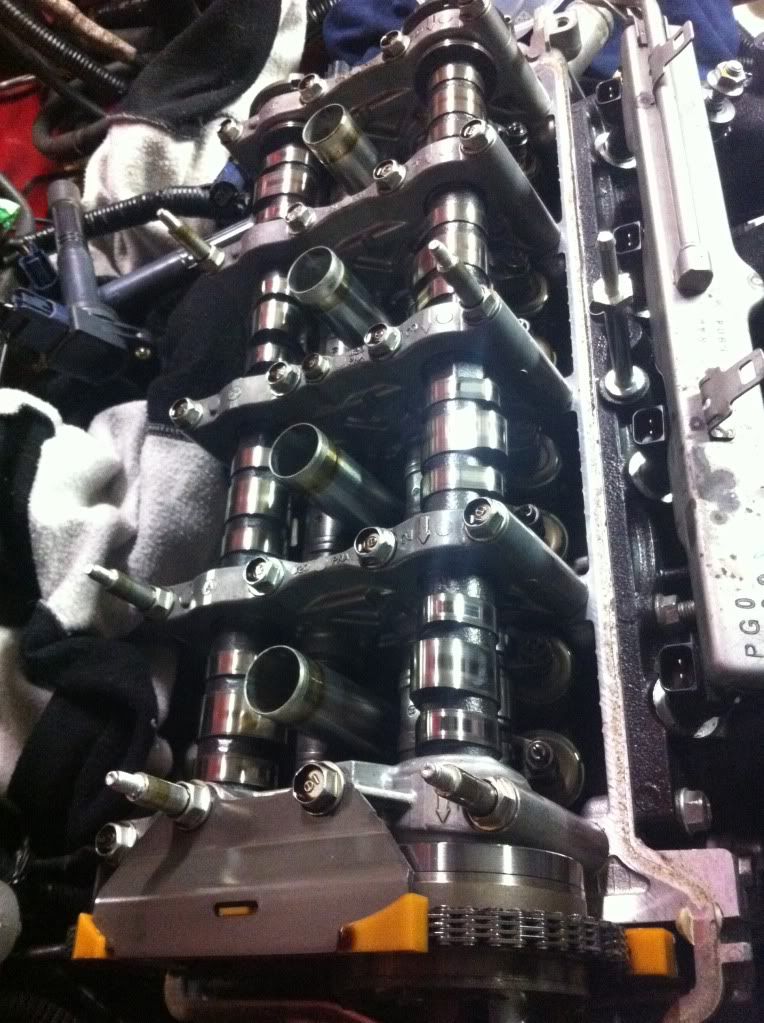
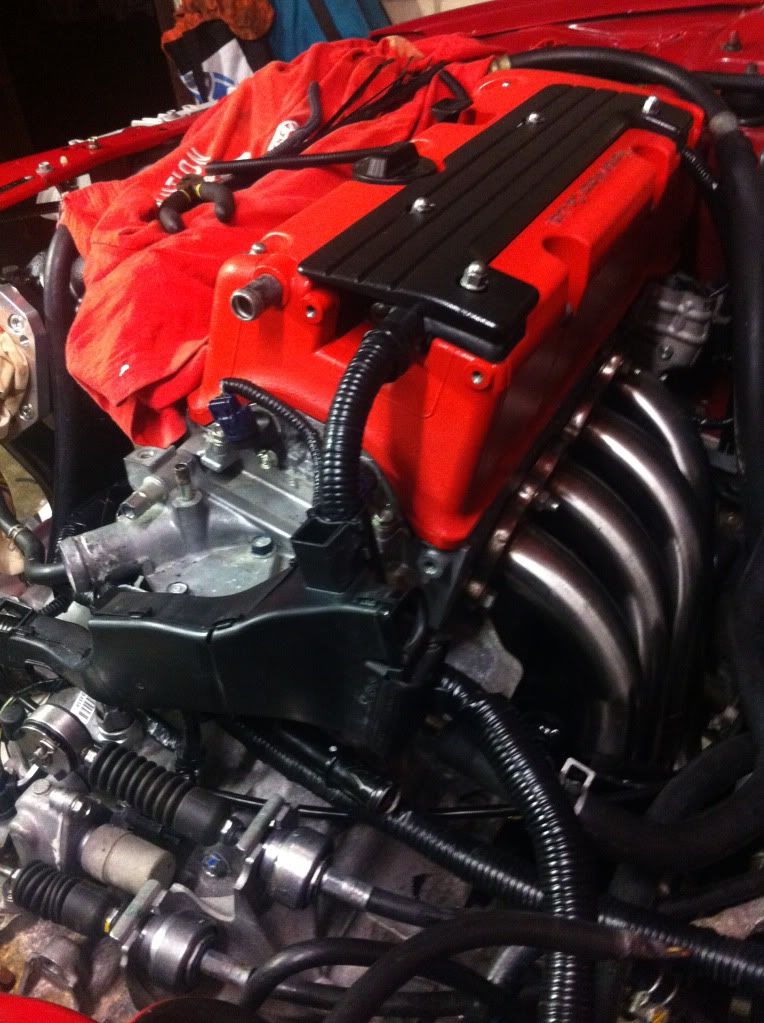
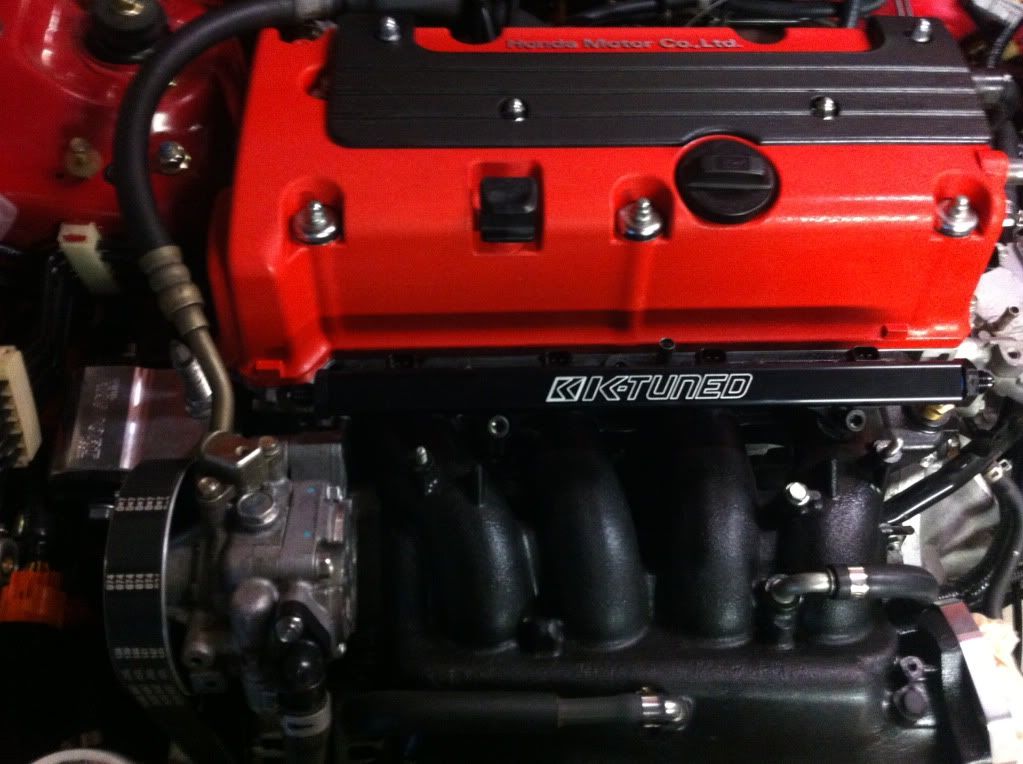
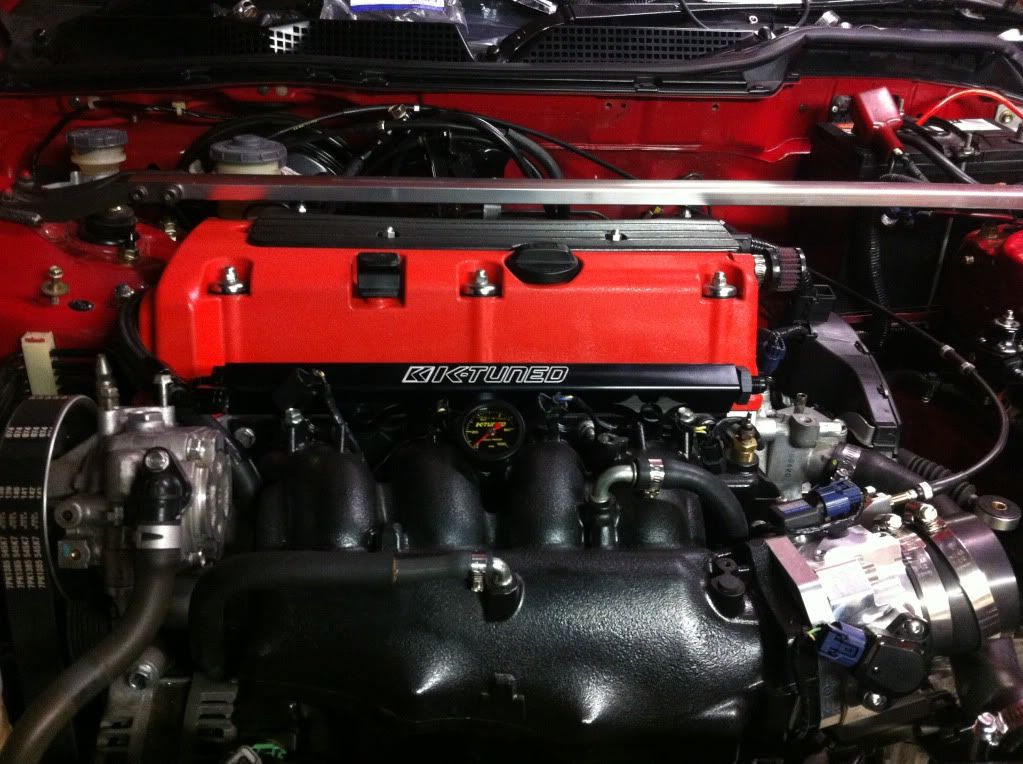
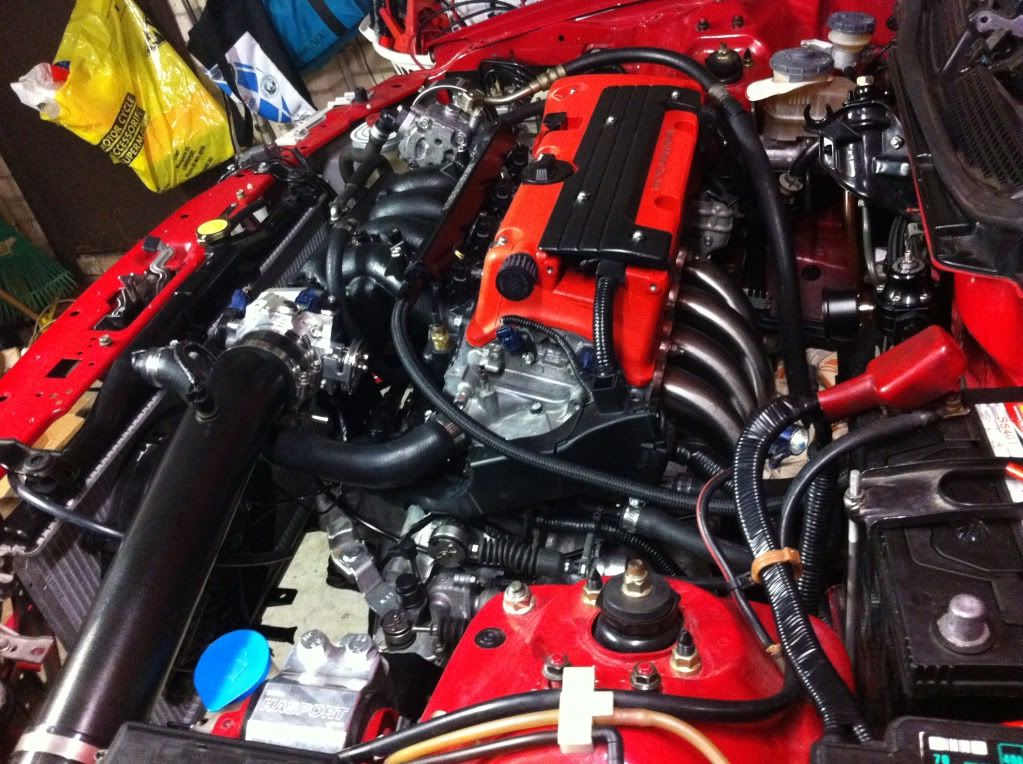
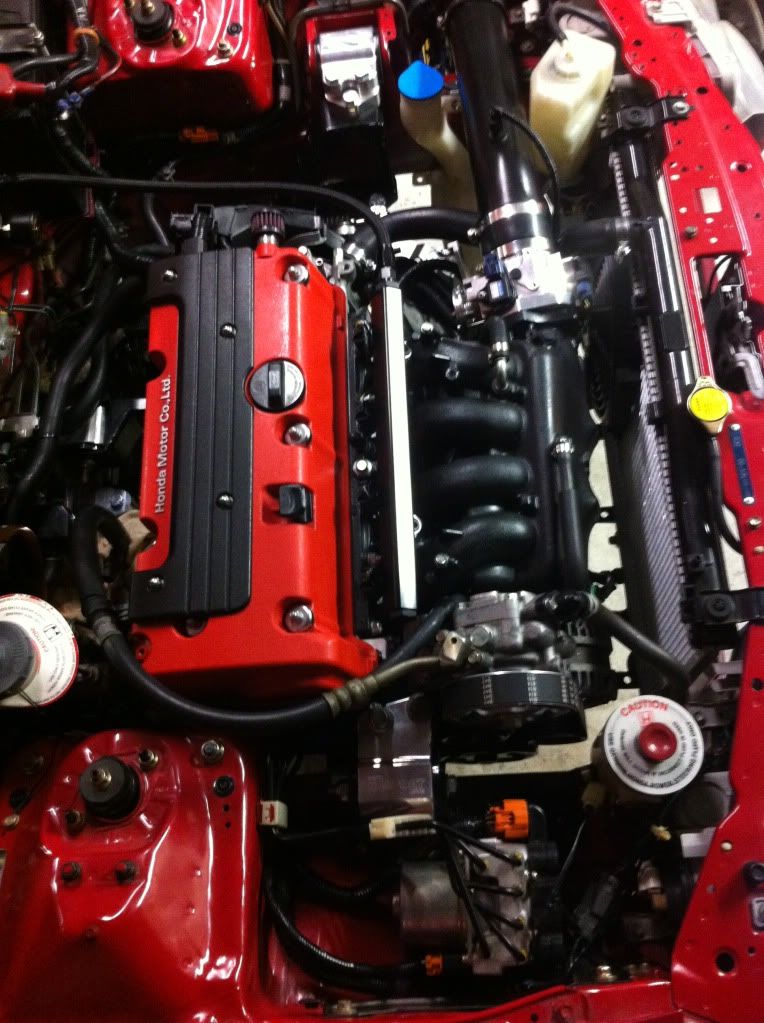
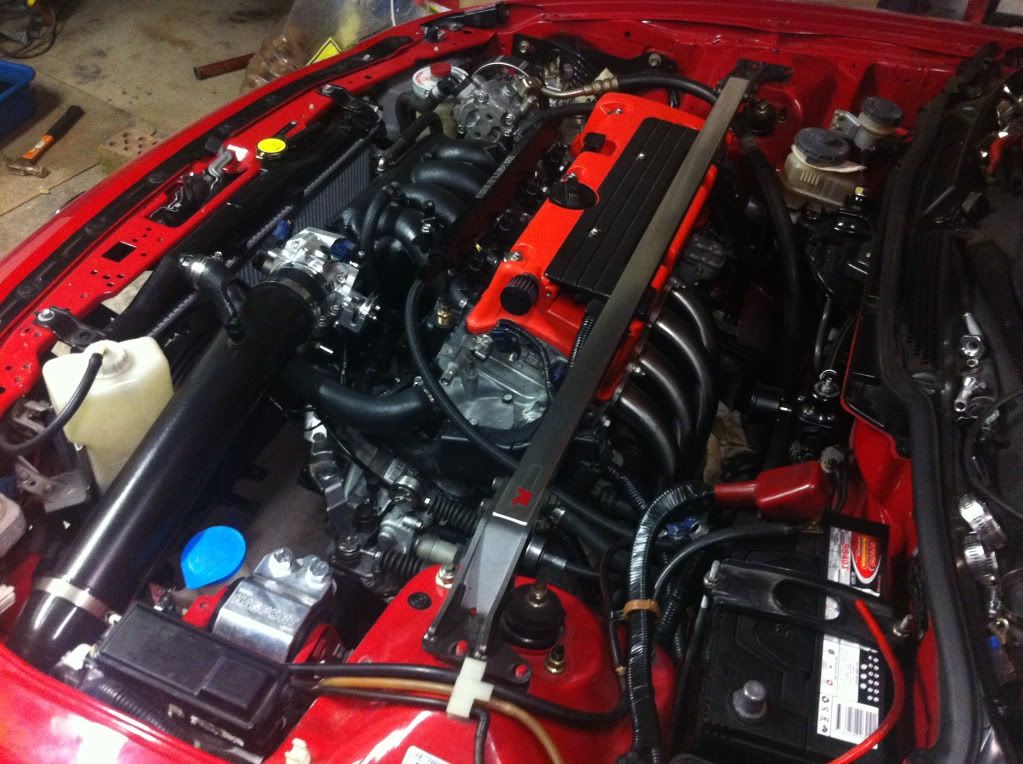
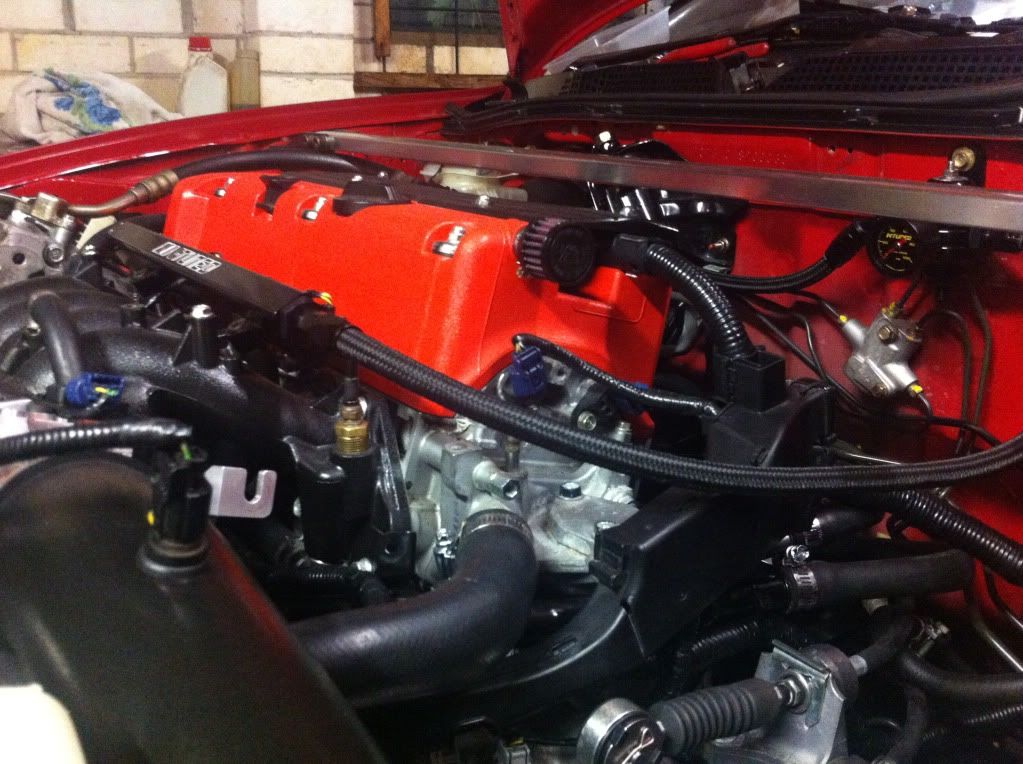
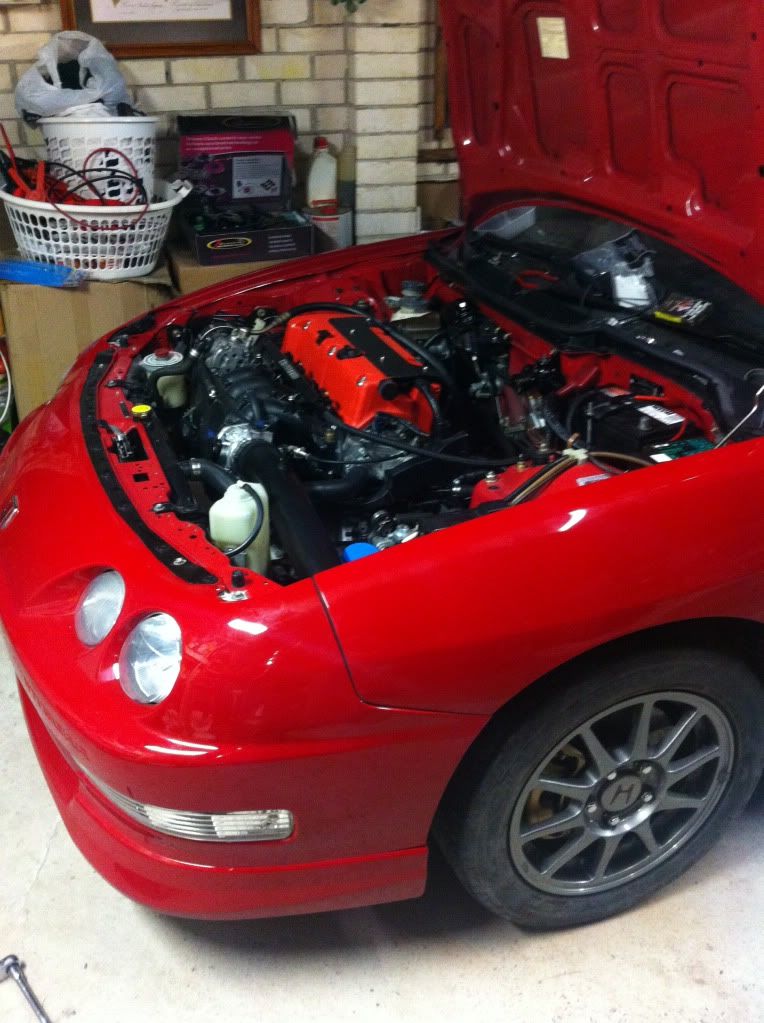
Purchsed a 09 K20z4 with 6speed out of the FN2 Civic for the Teggy's new heart <3
And got pretty lucky aswell with a 6peed LSD

So here i am with a k20 and a dc2 Type R with the biggest grin on my face but at the same time a realisation hits me that the homework has to begin.
First of all.
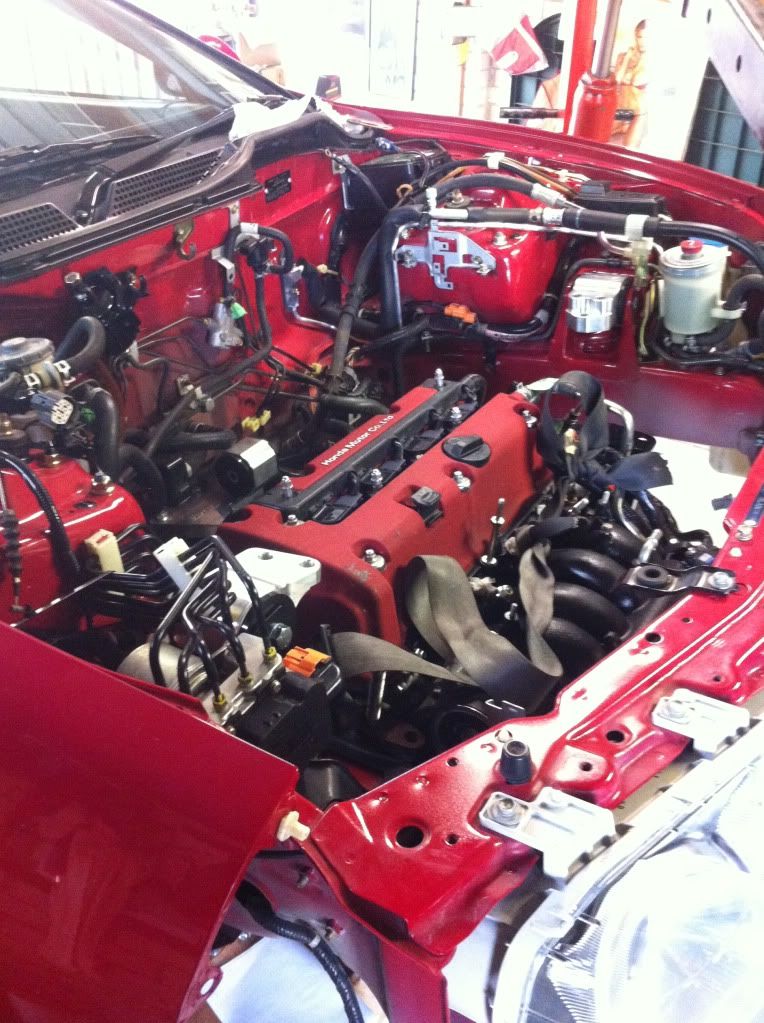
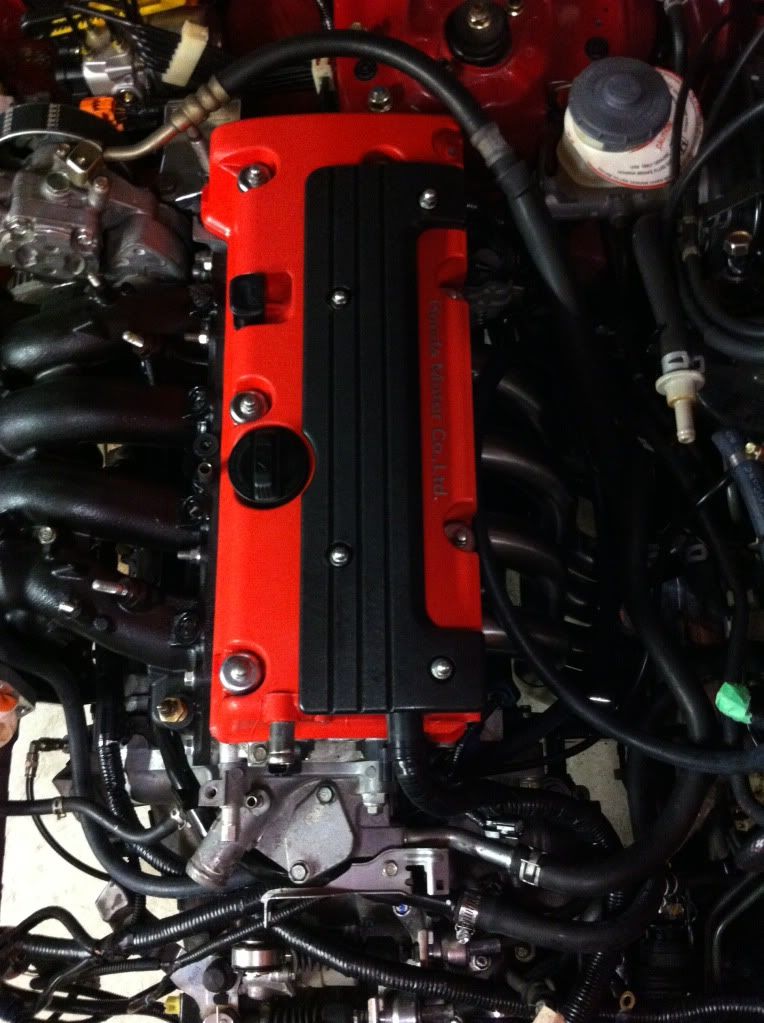
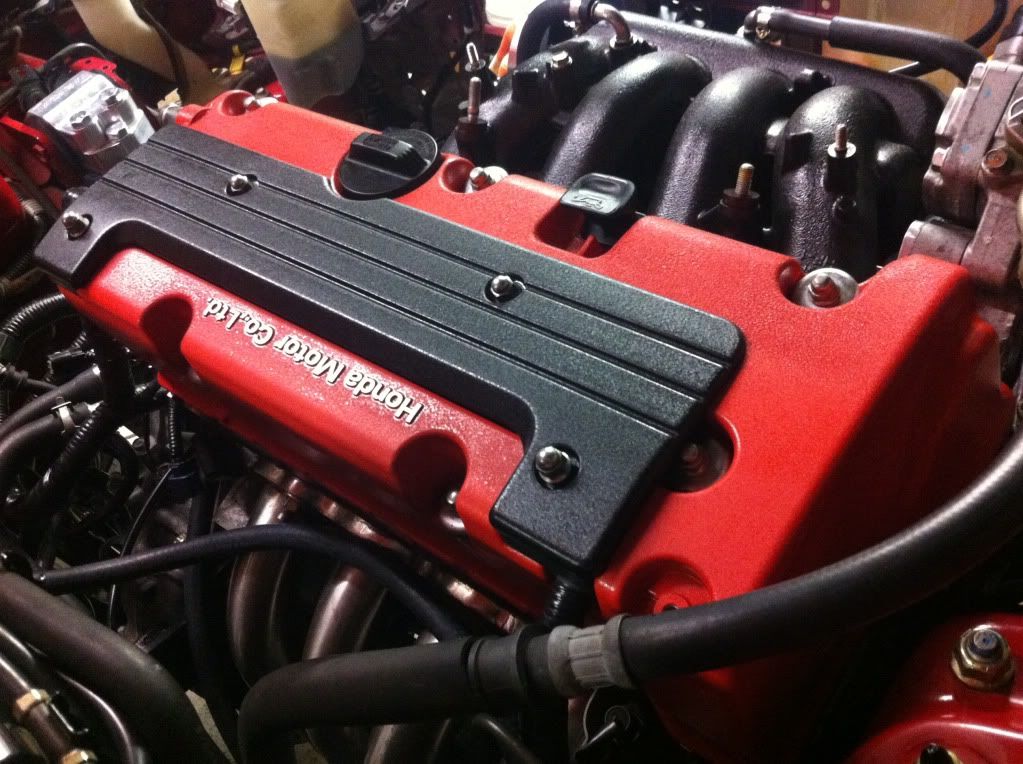
Sell Engine B18c7. Check
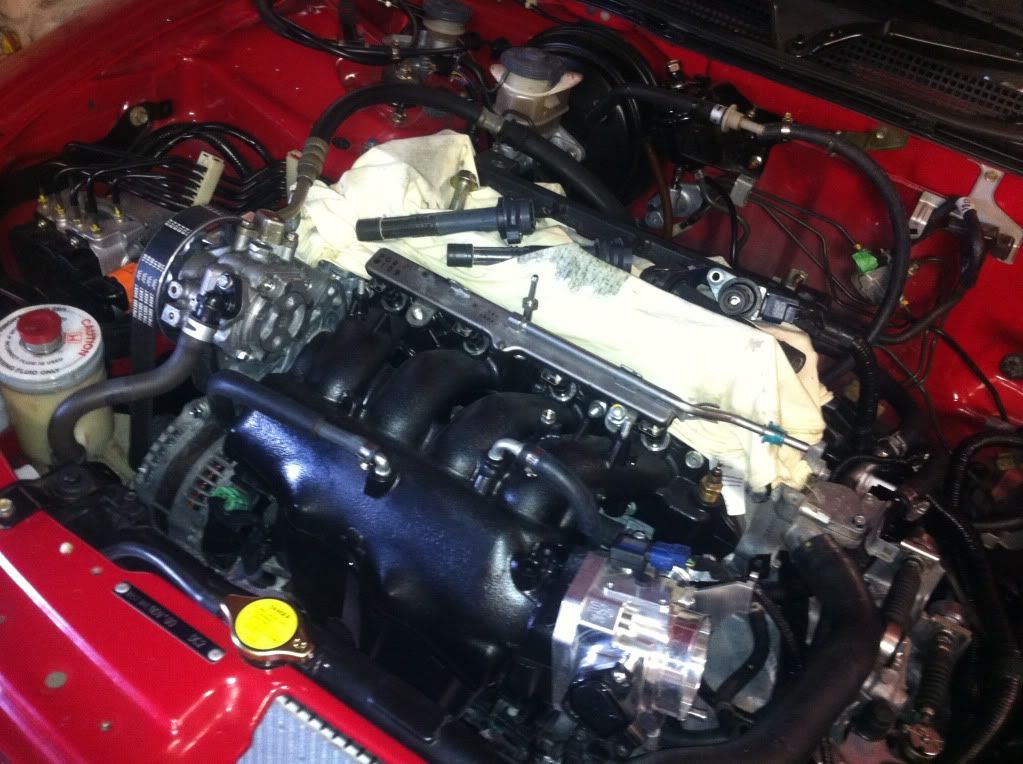
Take out the B18c7 - Its happening this weekend
Do Homework for kswap - Check
Started this 5 weeks ago.
This was on the 1/06/13
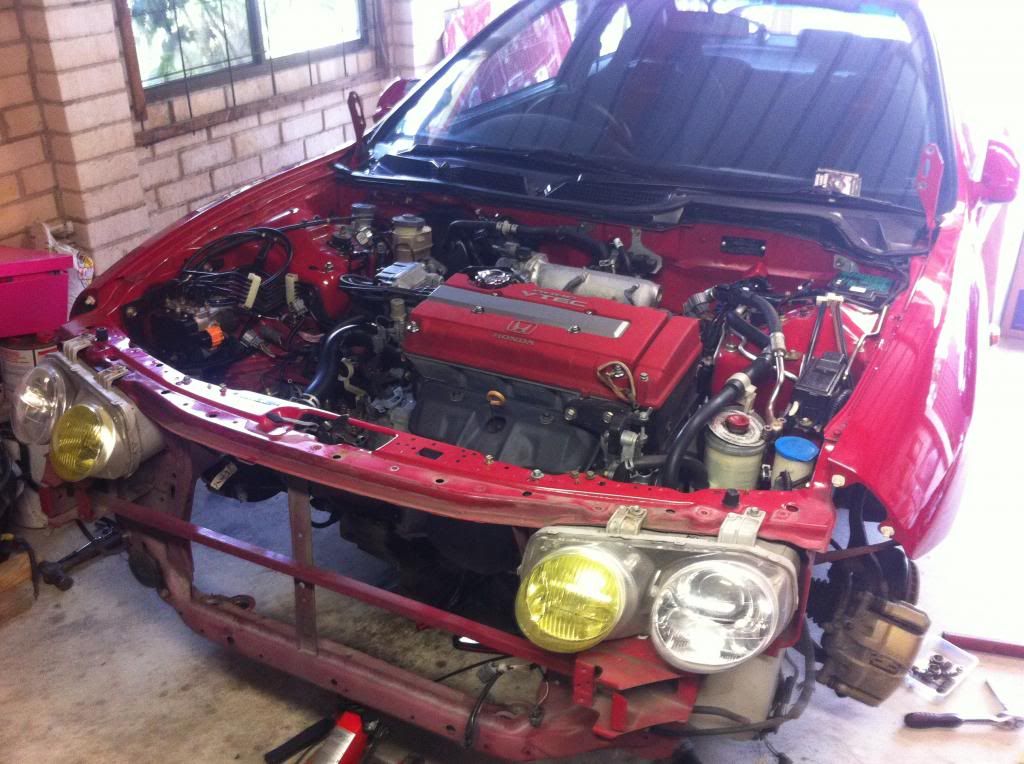
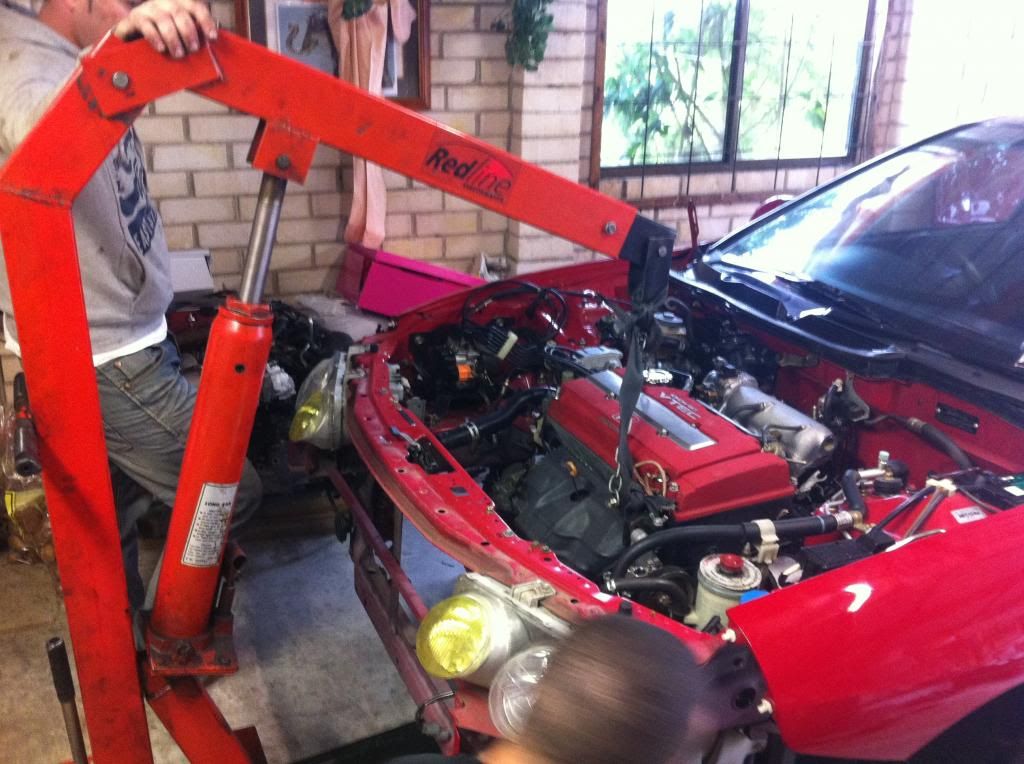
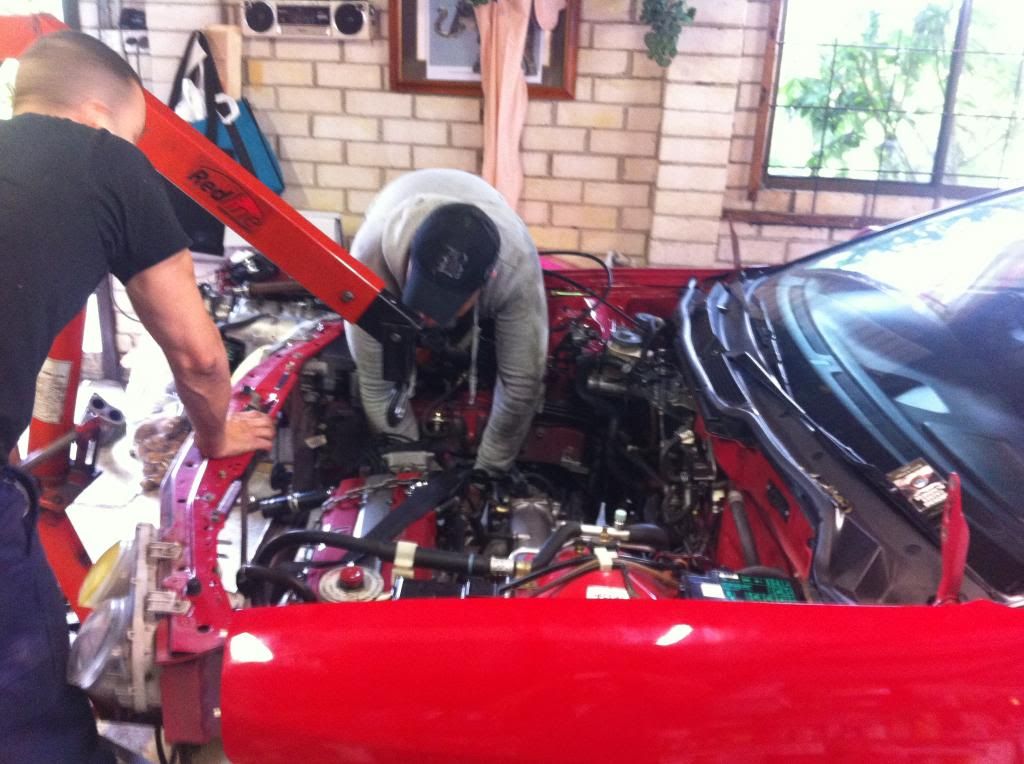
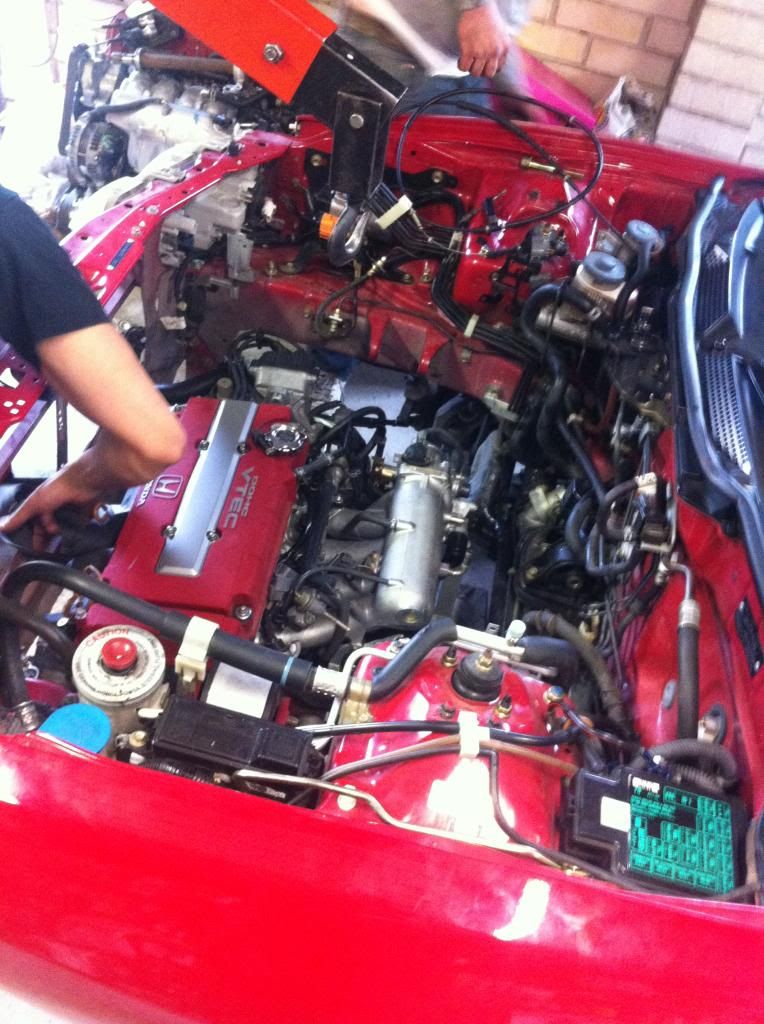
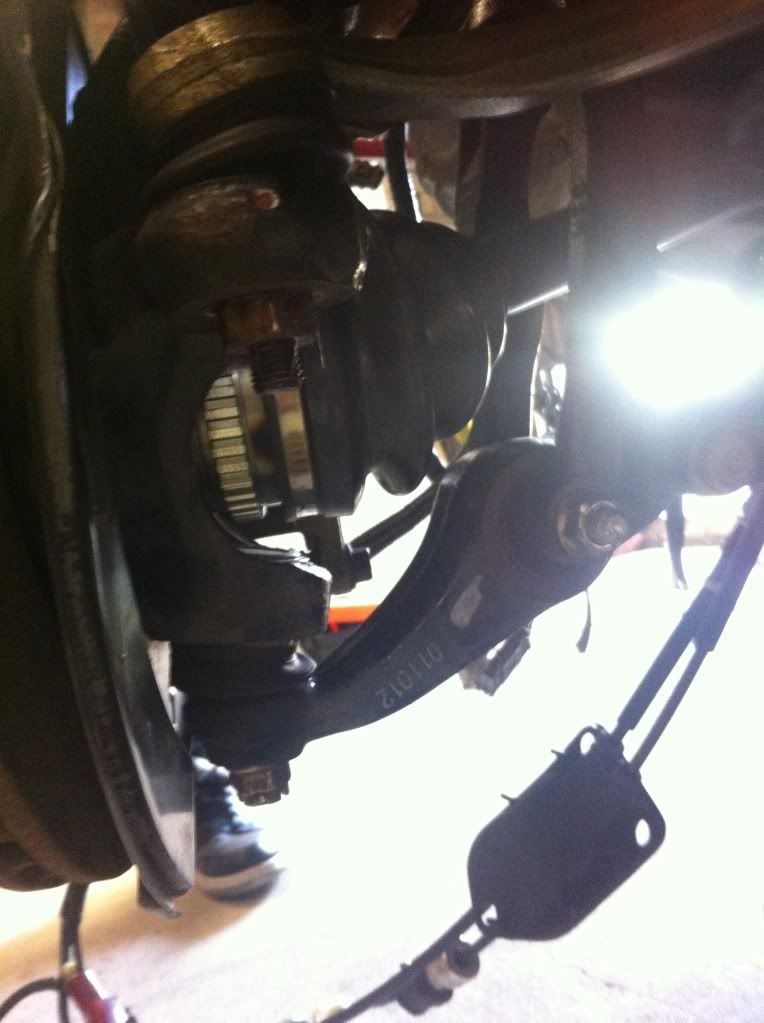
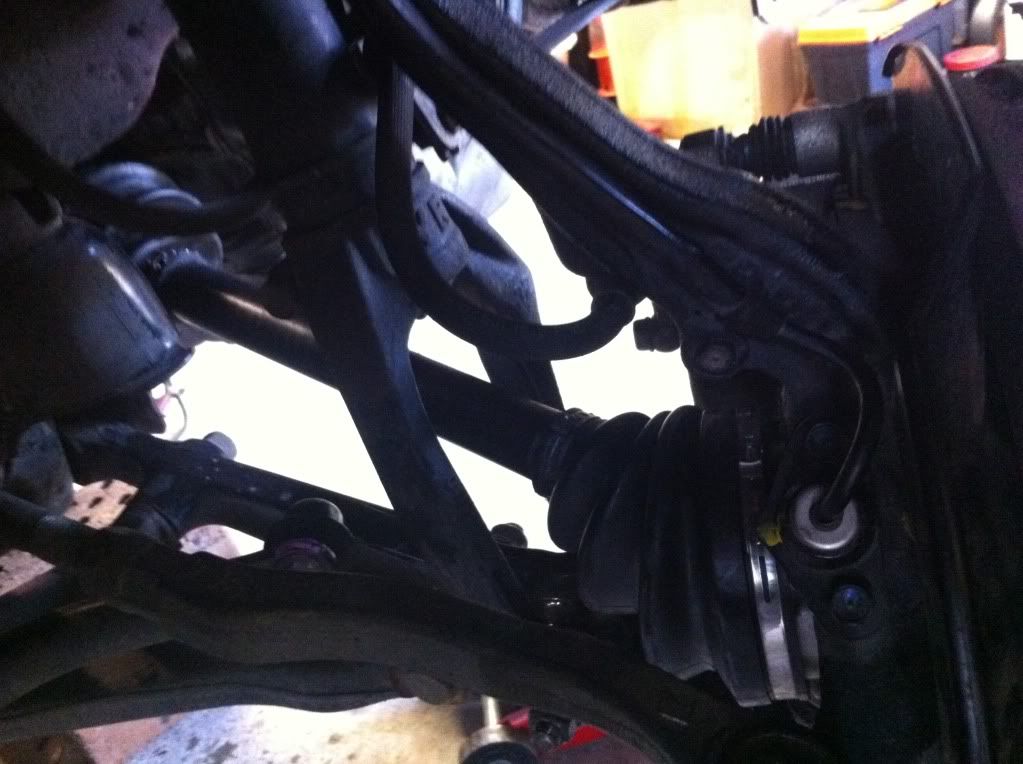
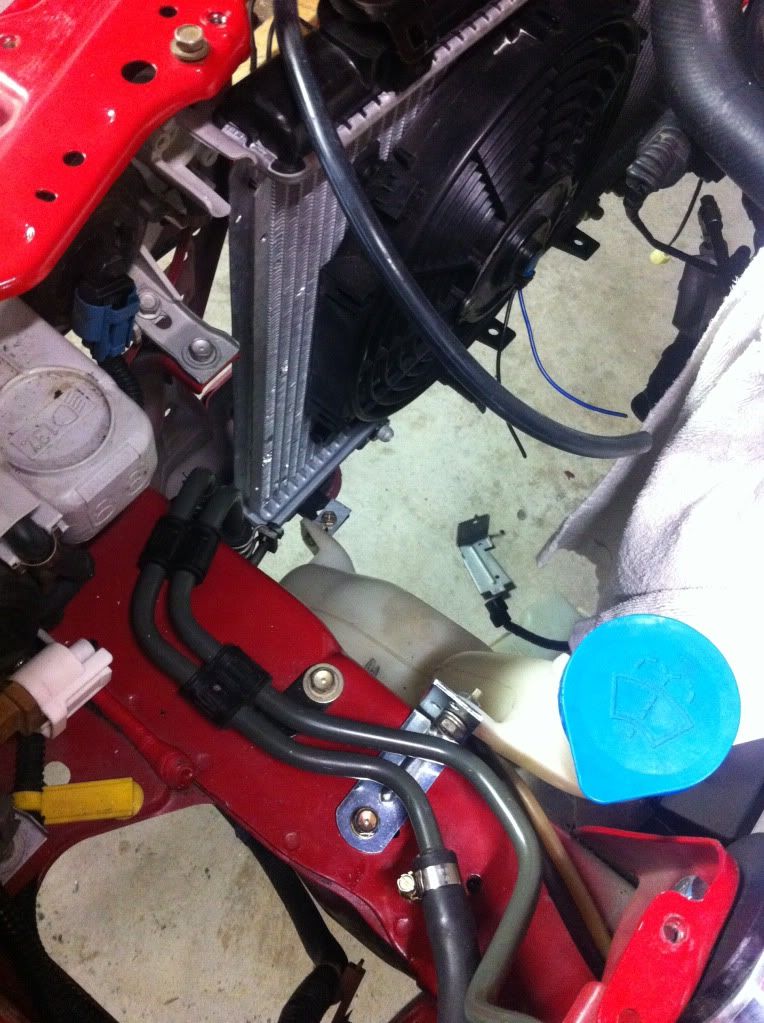
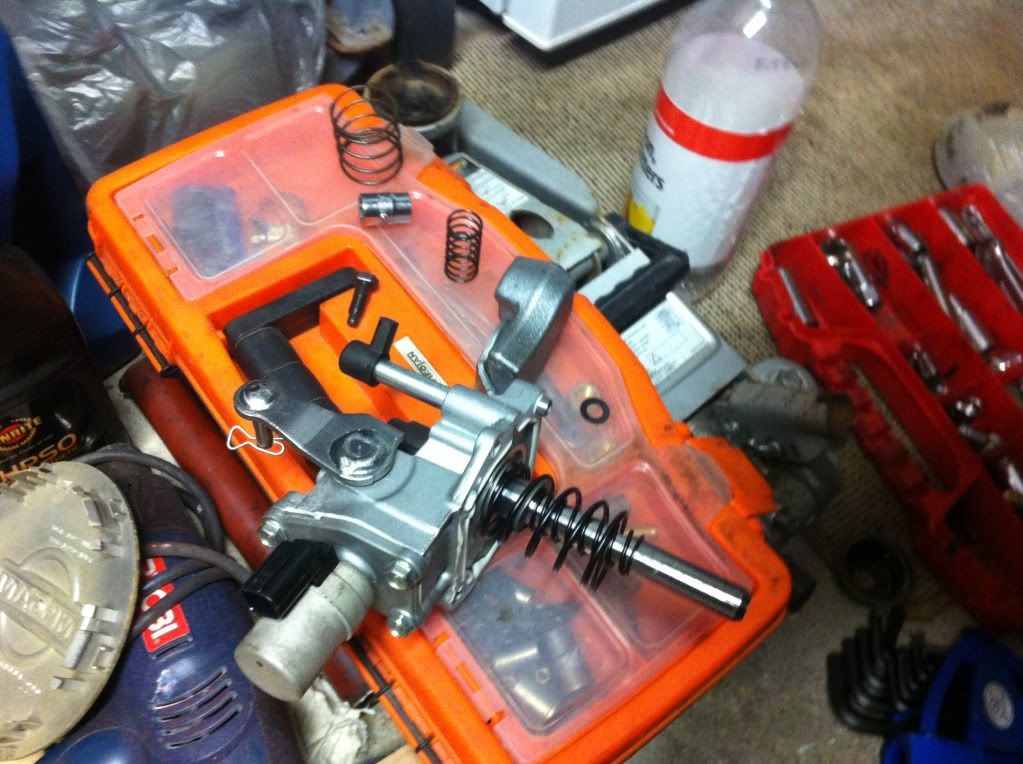
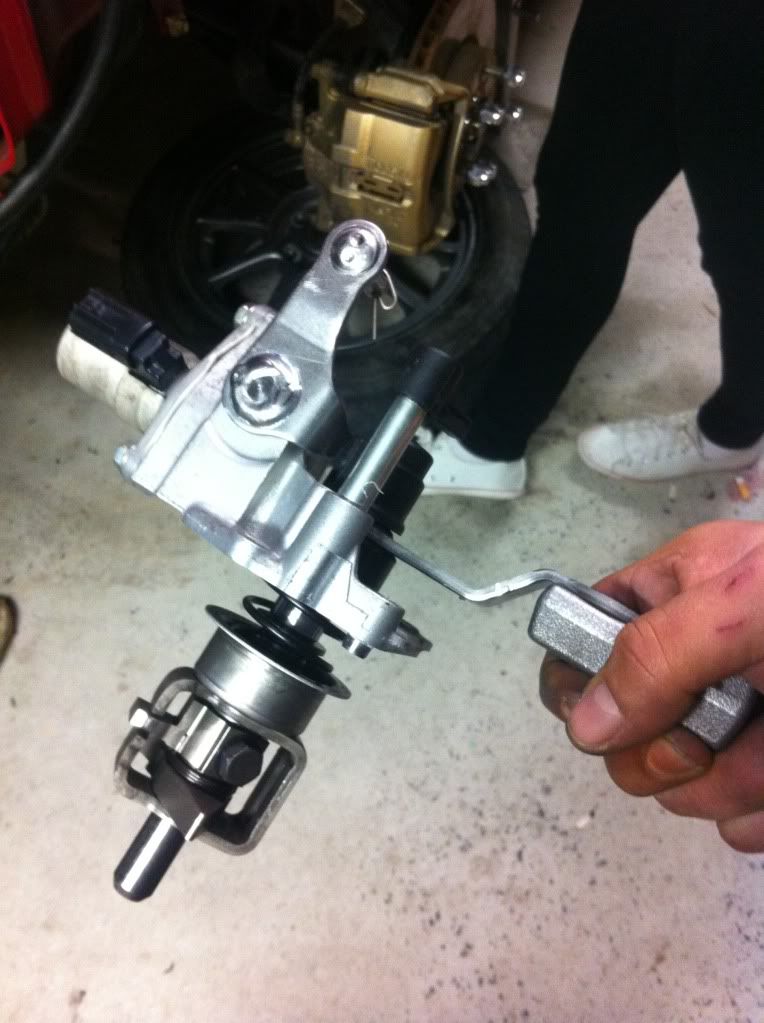
Everything was going perfect, Had the Shafts out and rear Engine Mount, Decided to get stuck on the Shifter arms as we couldn't get the pin out to remove it from the block. Had to resort to excessive force and it came out after an hour..... No idea why they press the end of the pin. Meh
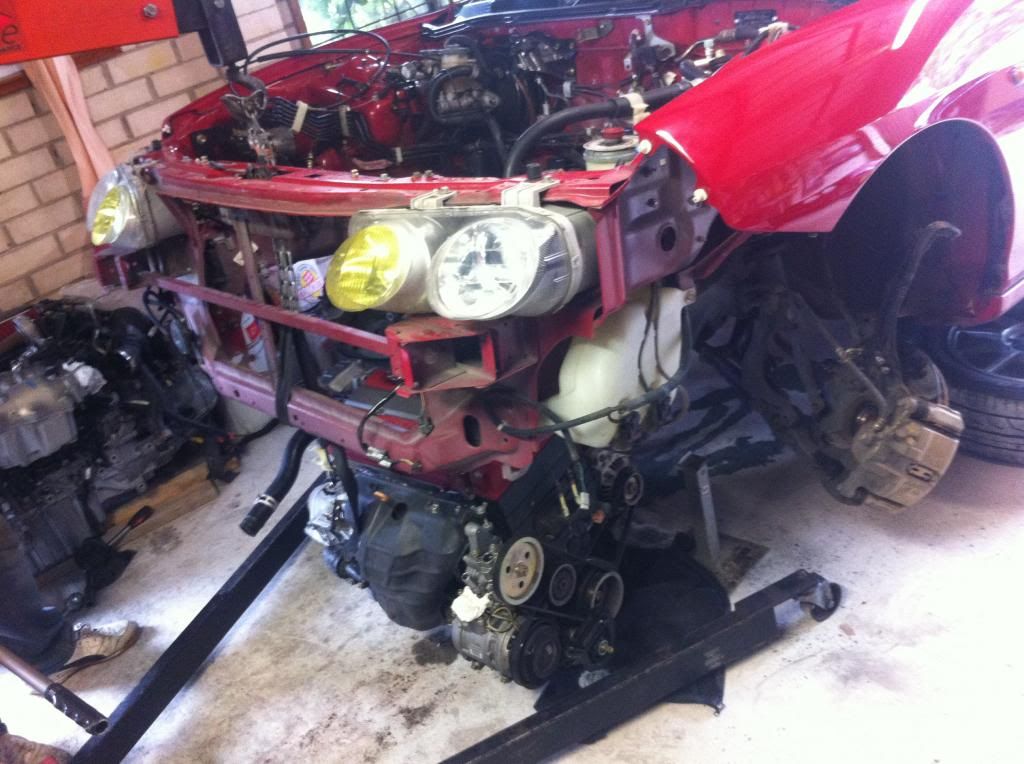
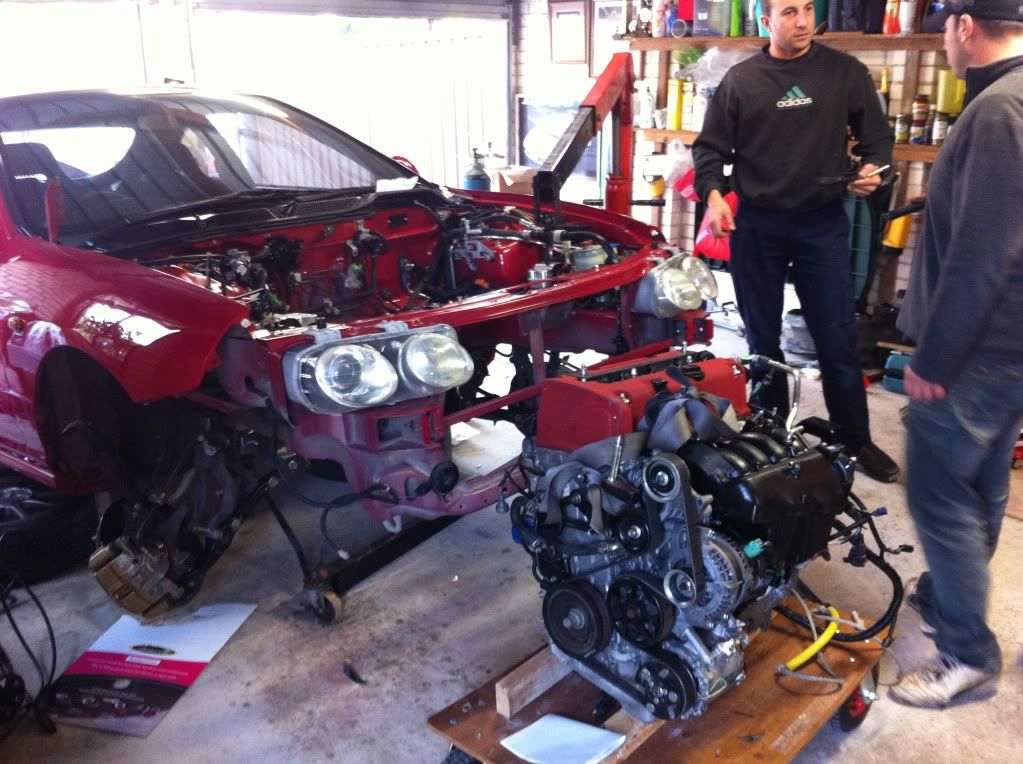
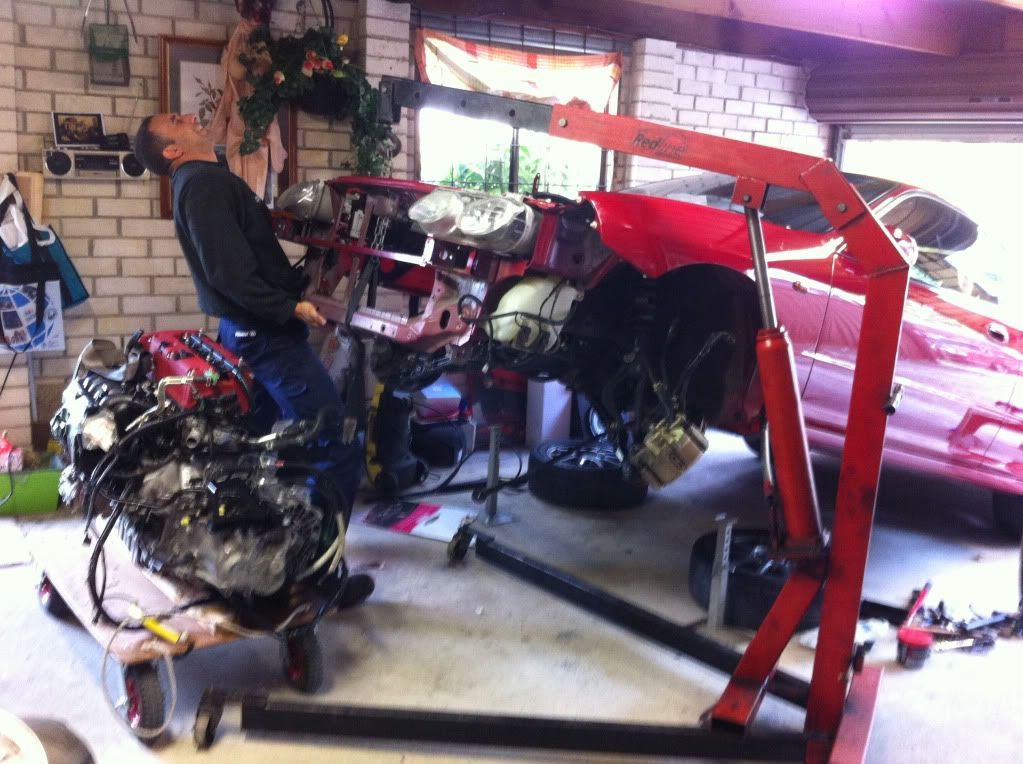
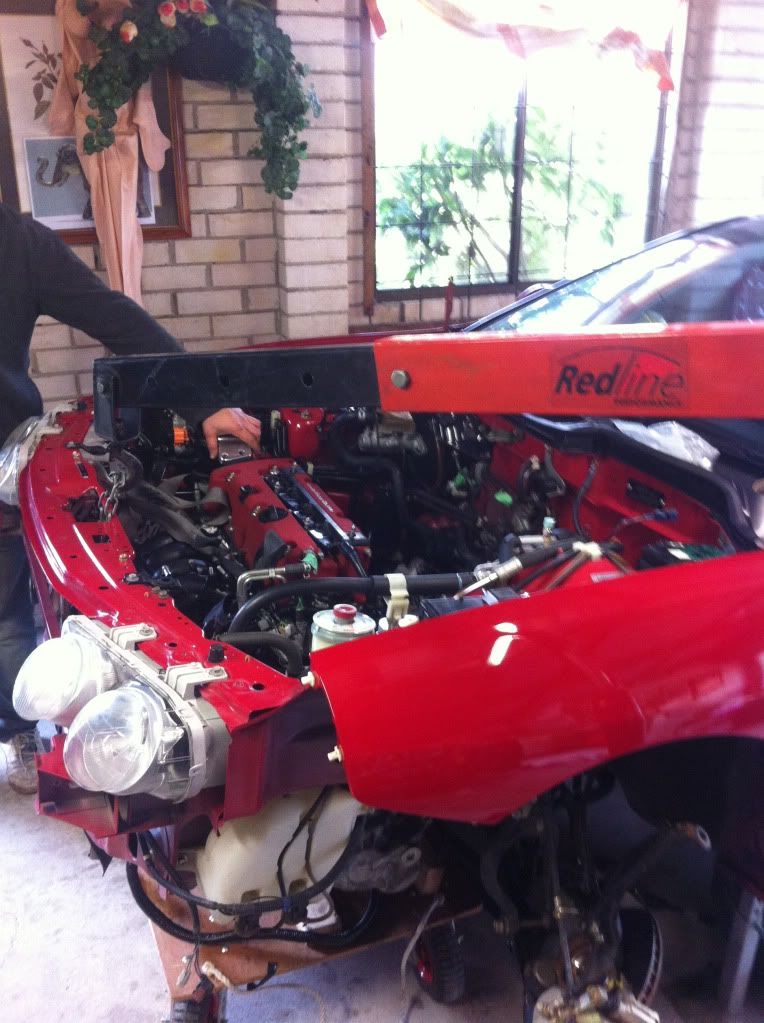
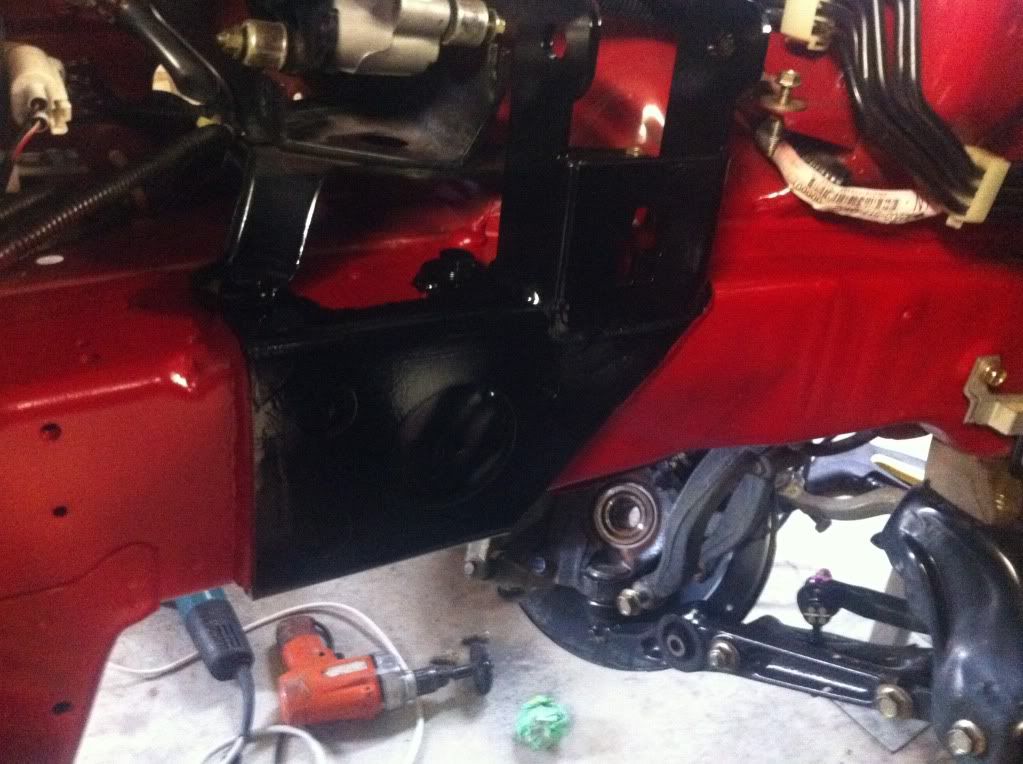
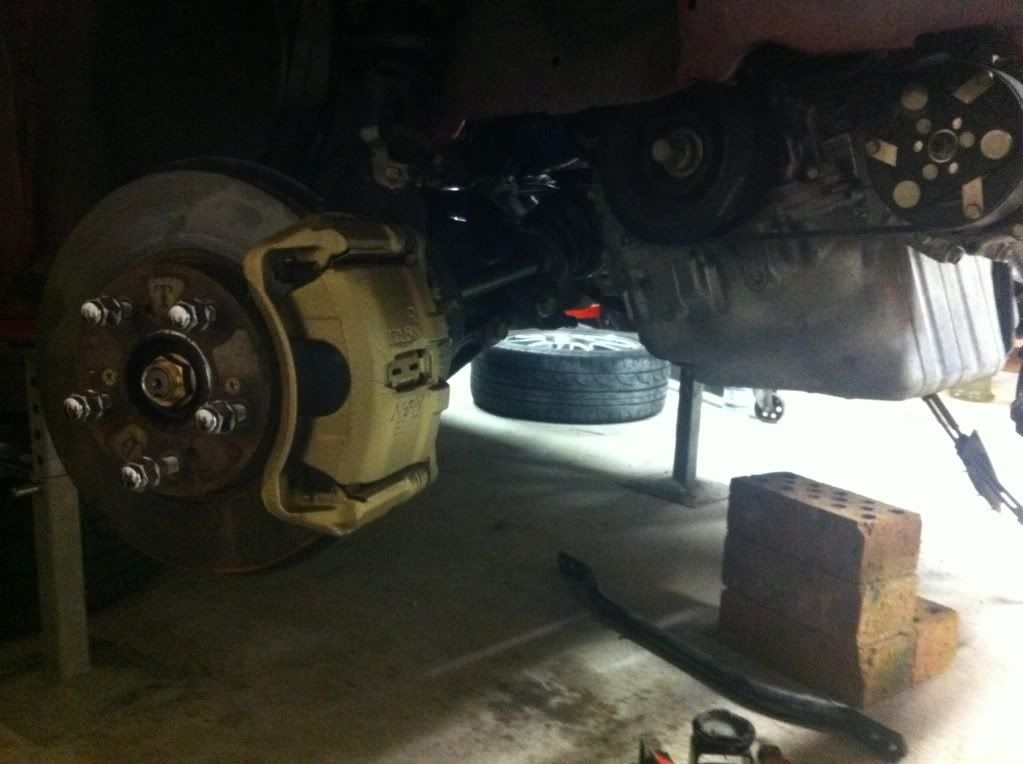
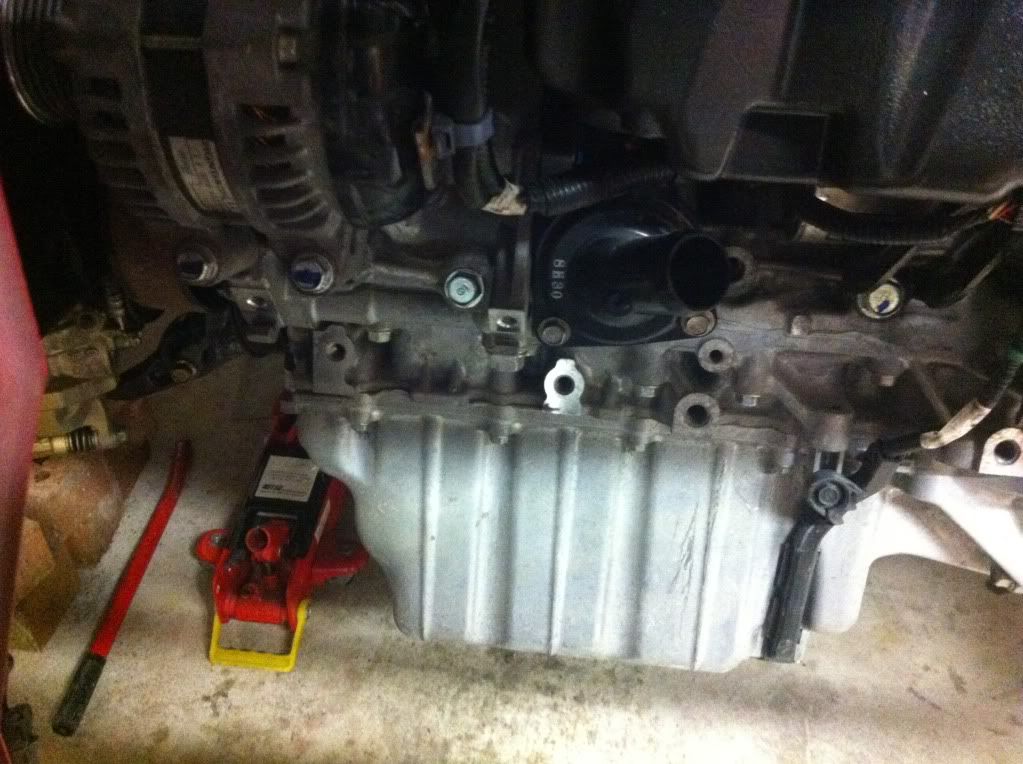
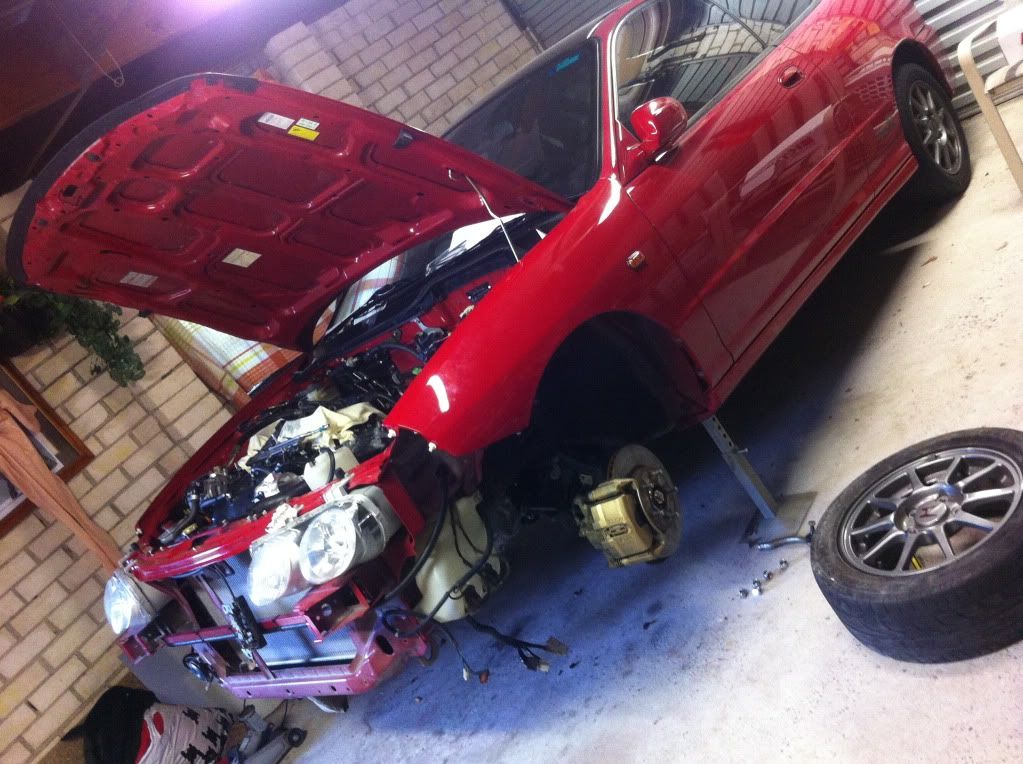
After that was done we came to pulling the motor out and removing the gearbox mount and passengers rail mount, Couldnt decide to put it up in the air or down on the ground.
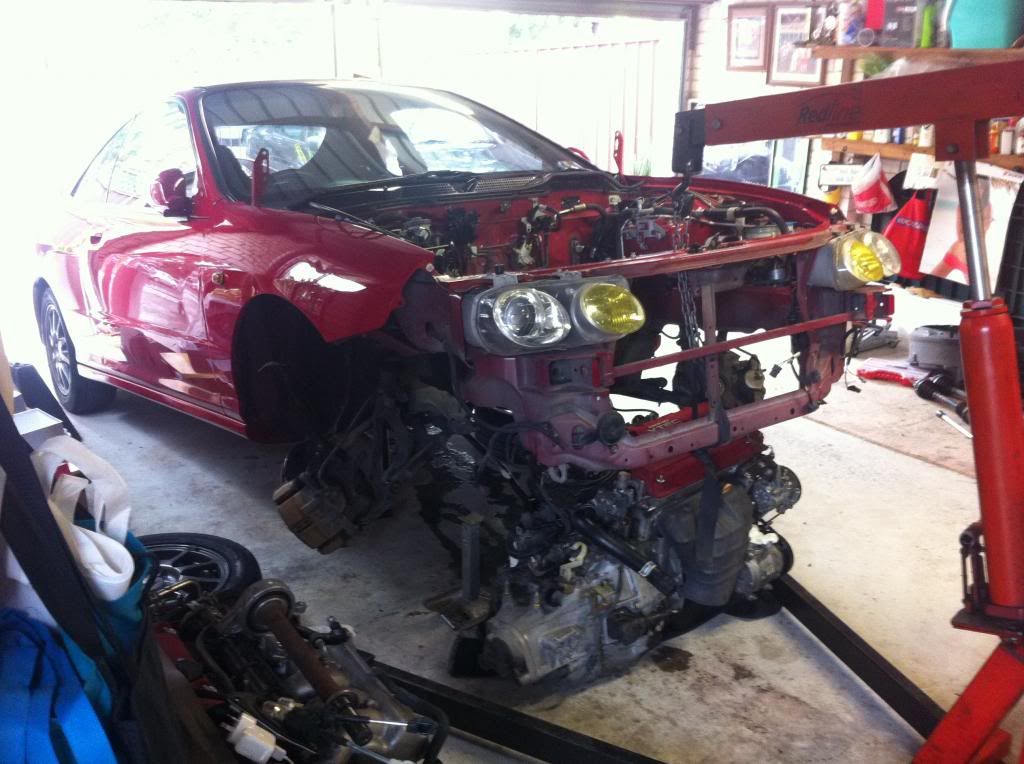
After the rear engine mount bracket decided to be stubborn we opted to drop the motor on the floor and then use the engine stand to lift the car in the air while we simply just slid the motor out from underneath
All was well. The new owner of the motor wanted to take the standard exhaust aswell, My mate decided to start attacking it and after an hour he was ready to kill someone. lol.
Very hard to take the standard exhaust off while the cars bum is on the ground while you are working on the floor. Sorry Anthony
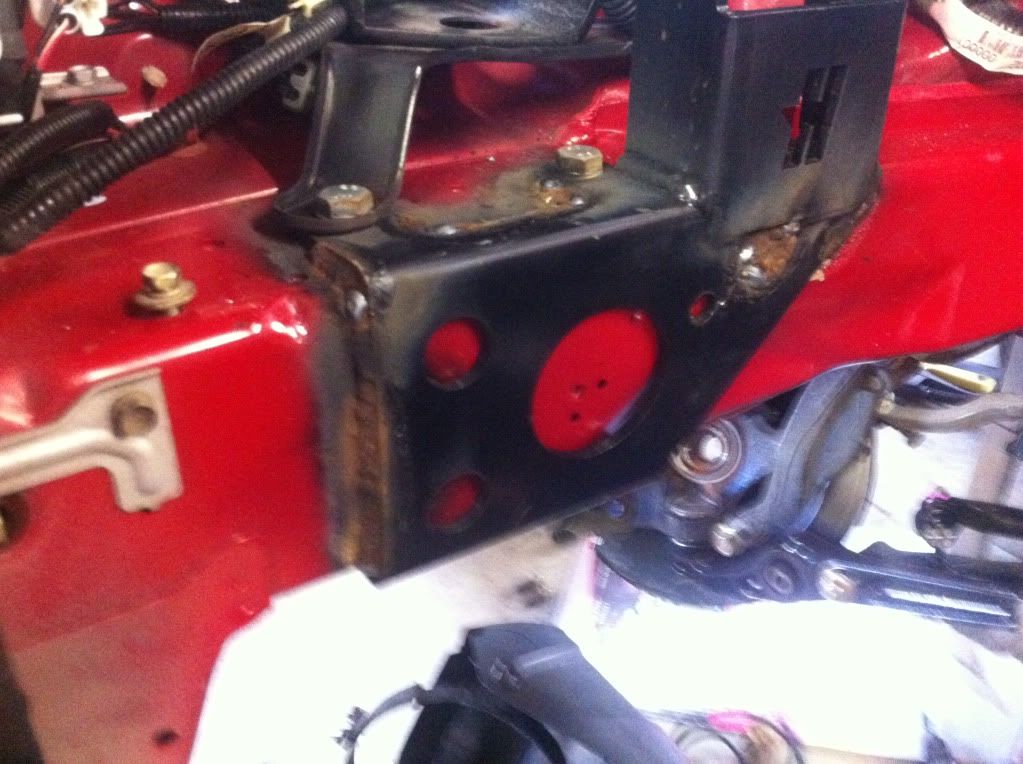
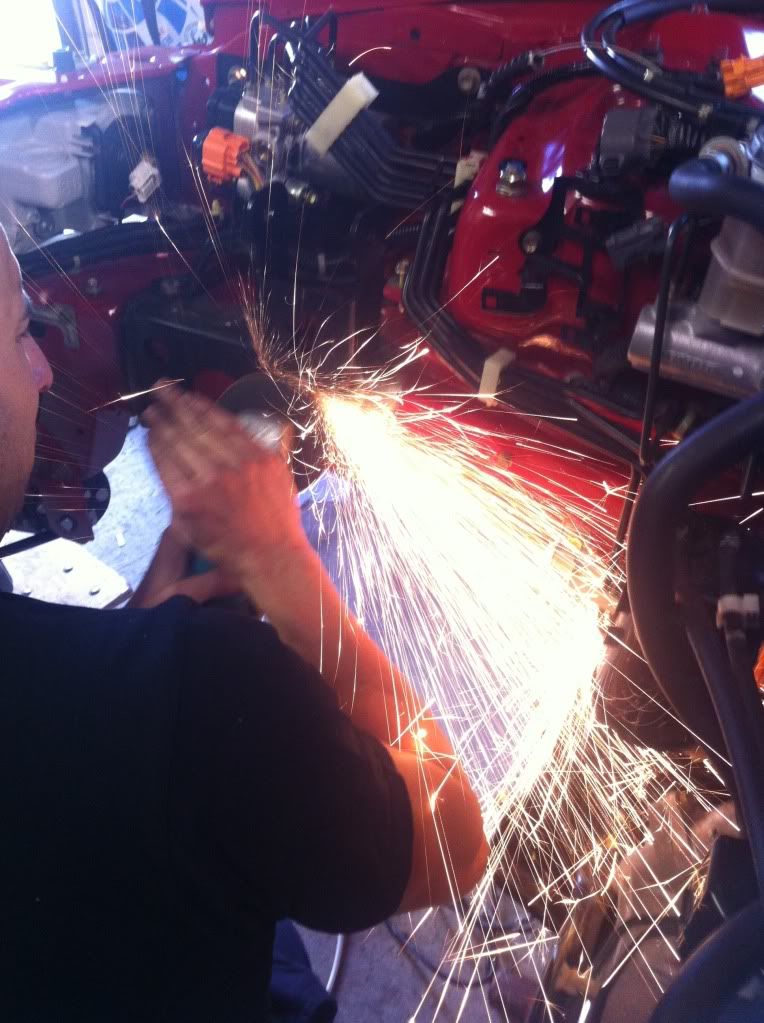
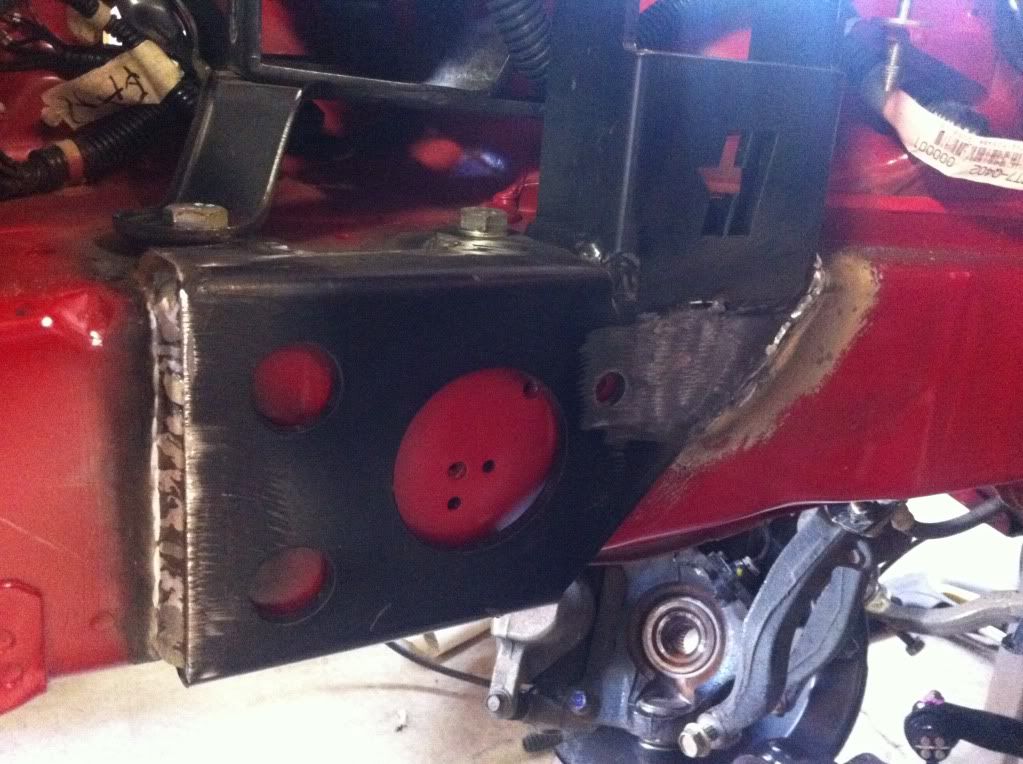
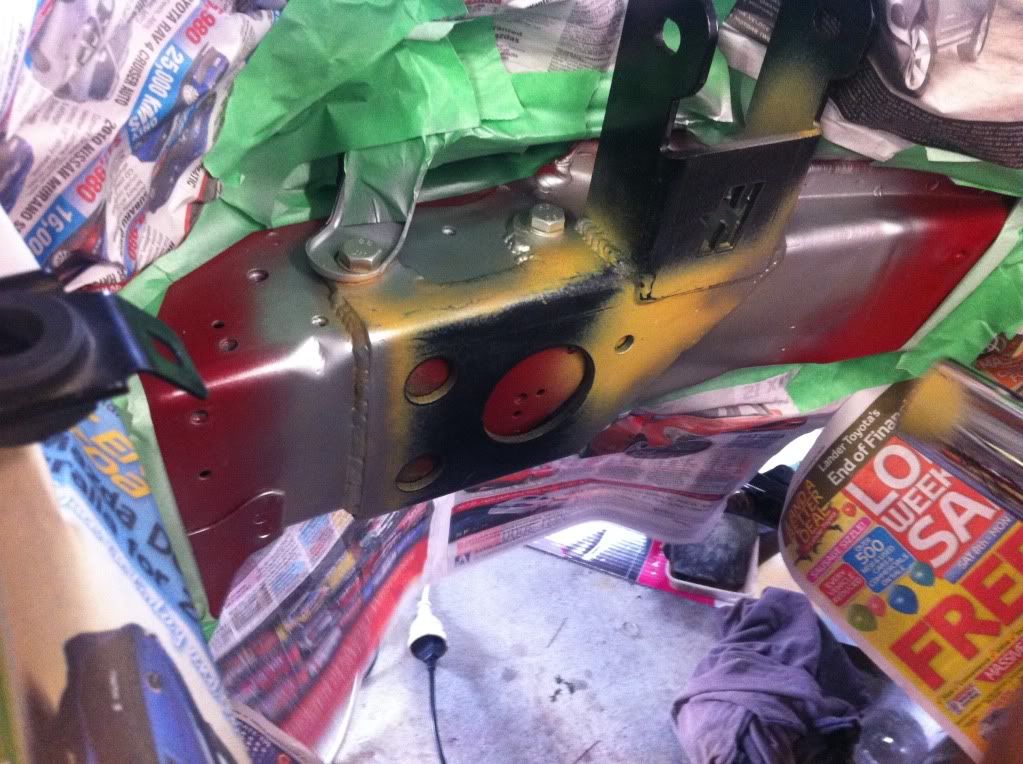
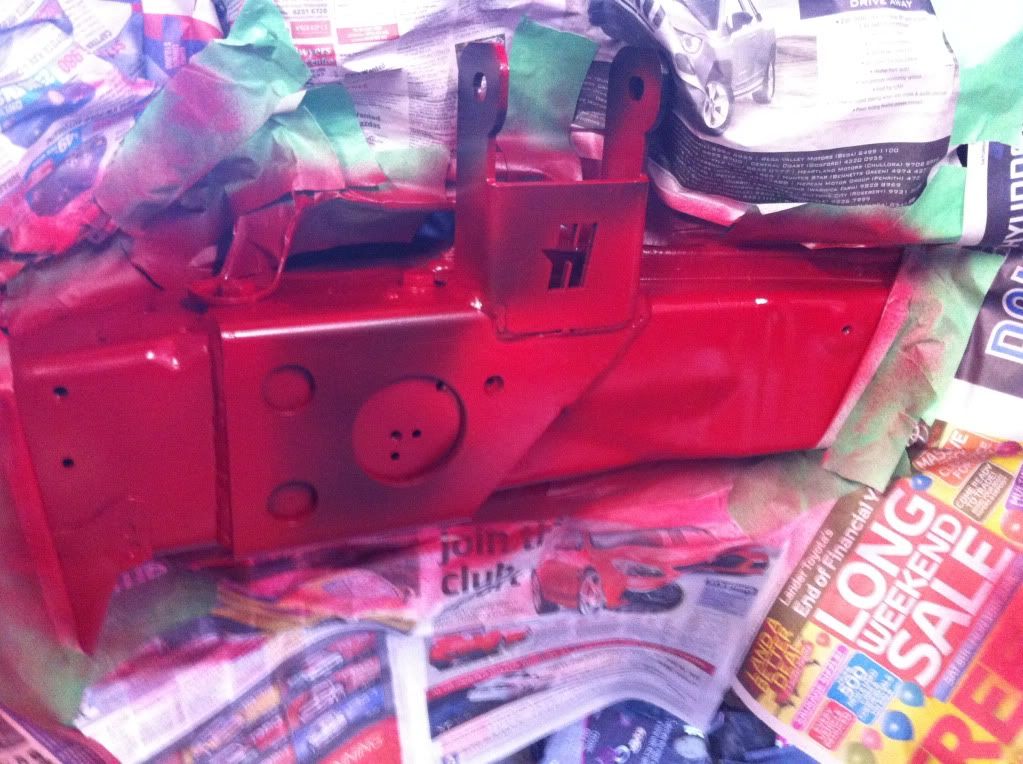
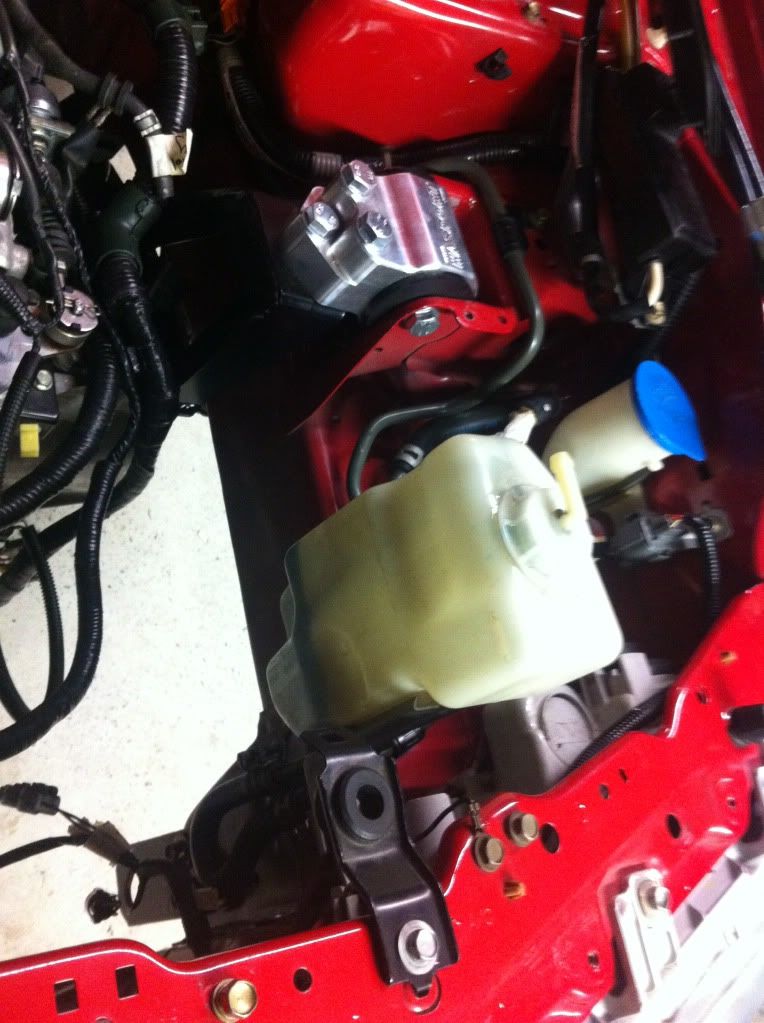
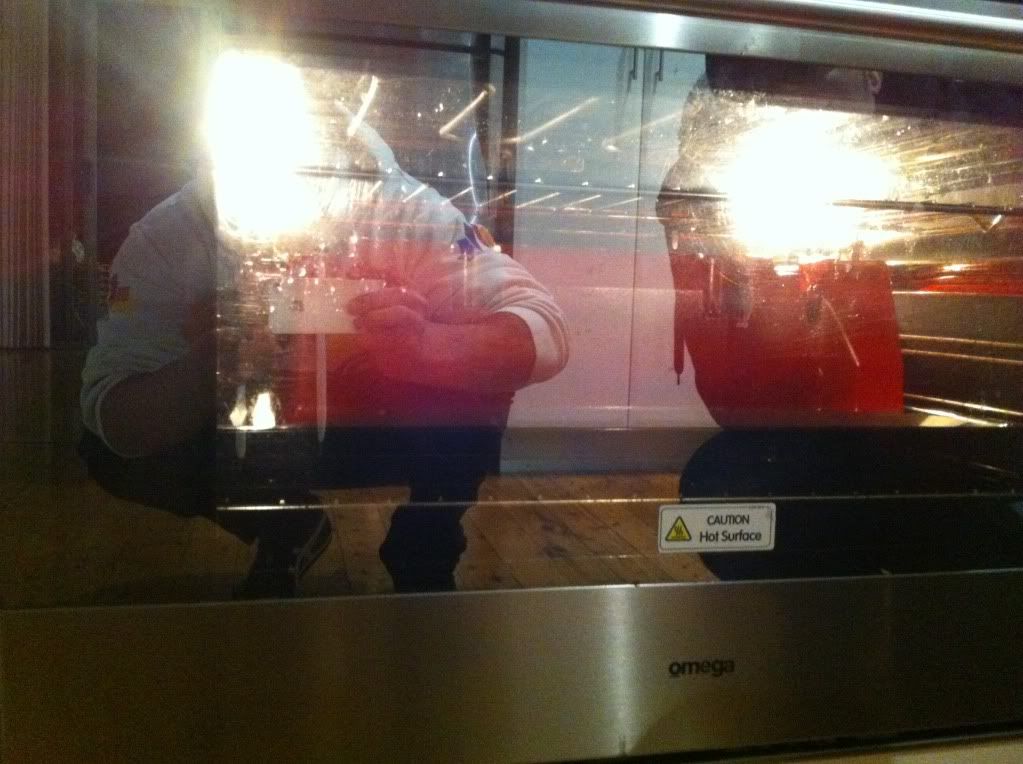
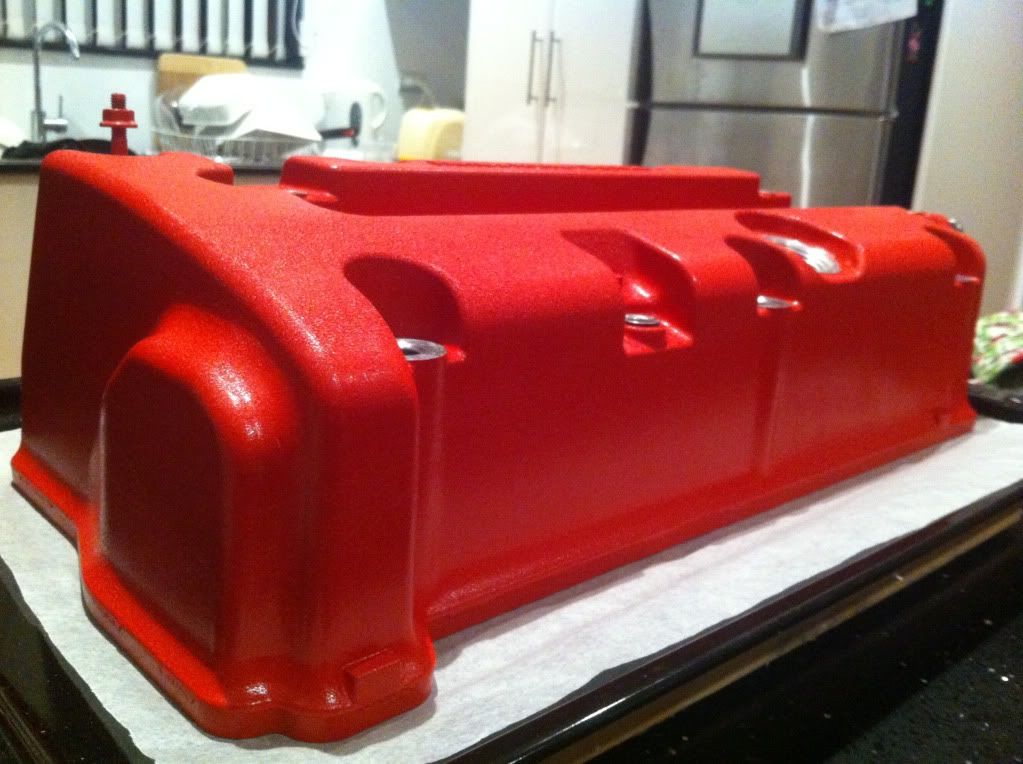
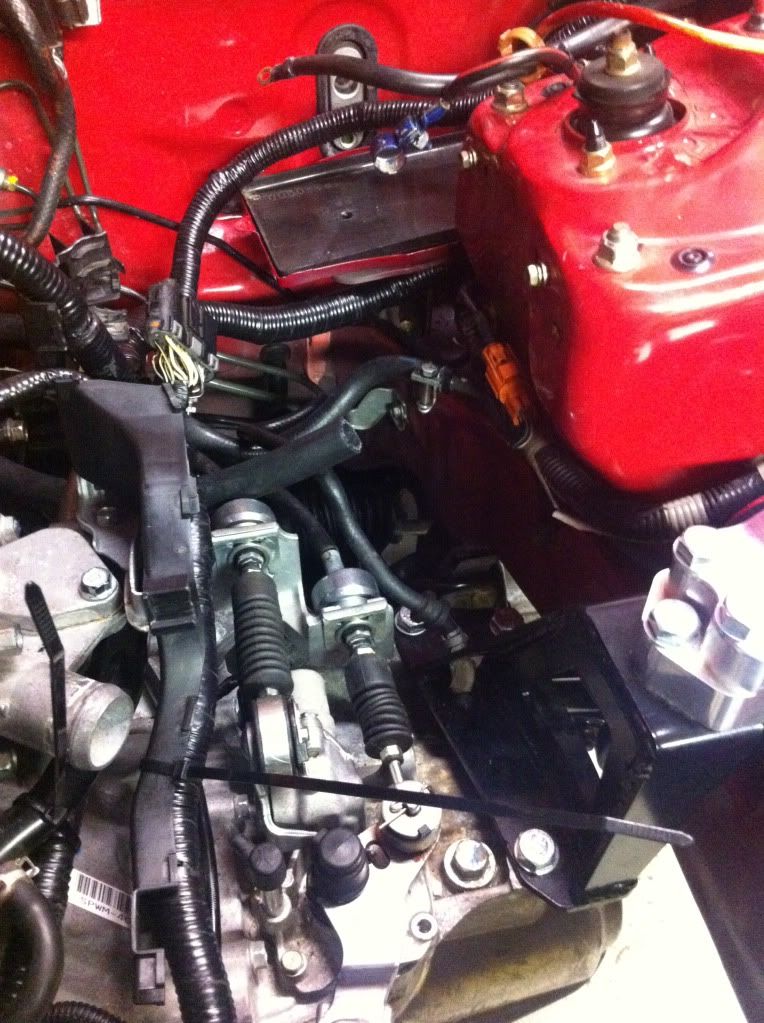
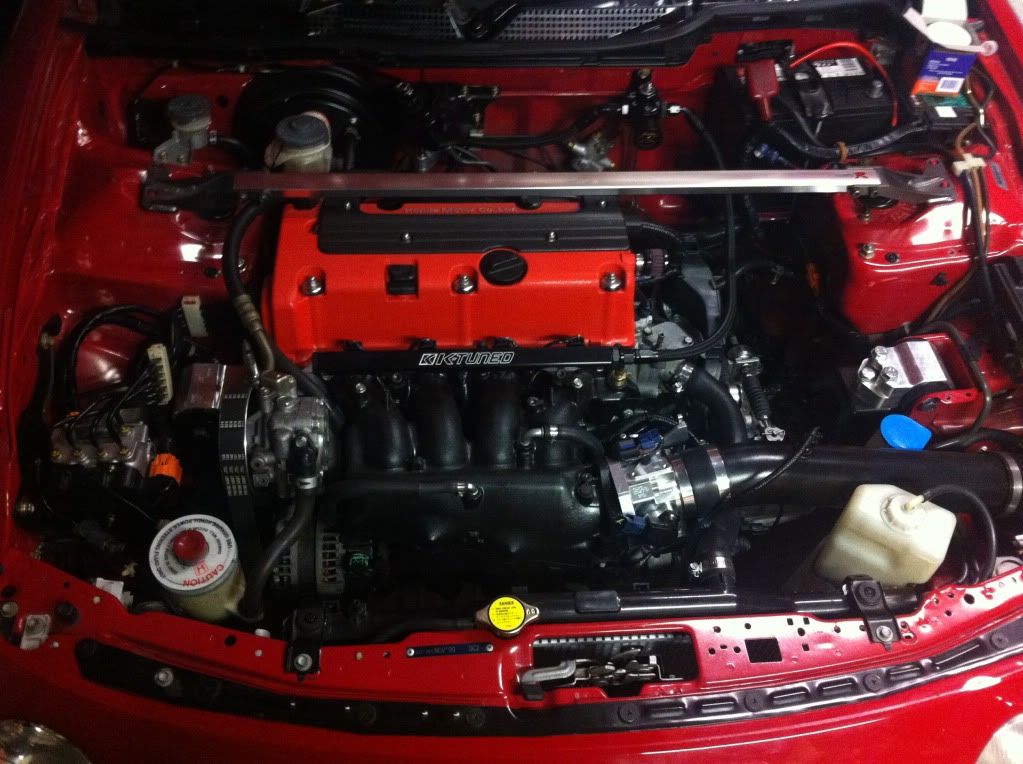
Grabbed the egk1 engine mounts and starting grinding the drivers side mount off, came up really well and i am really happy so far with finish
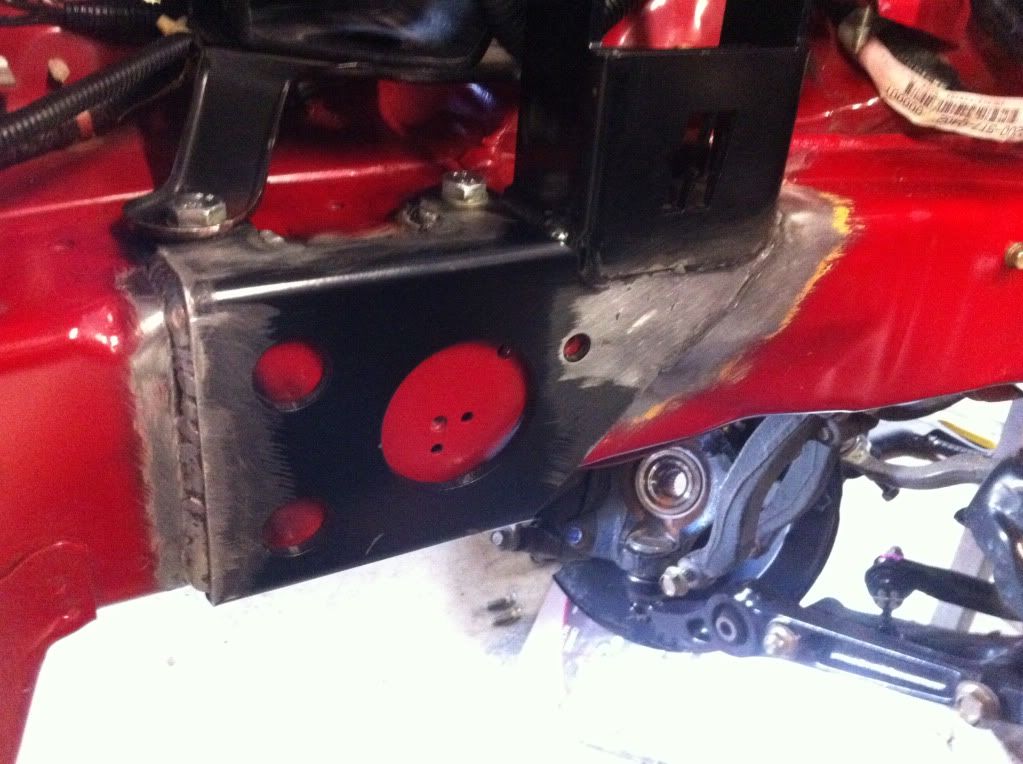
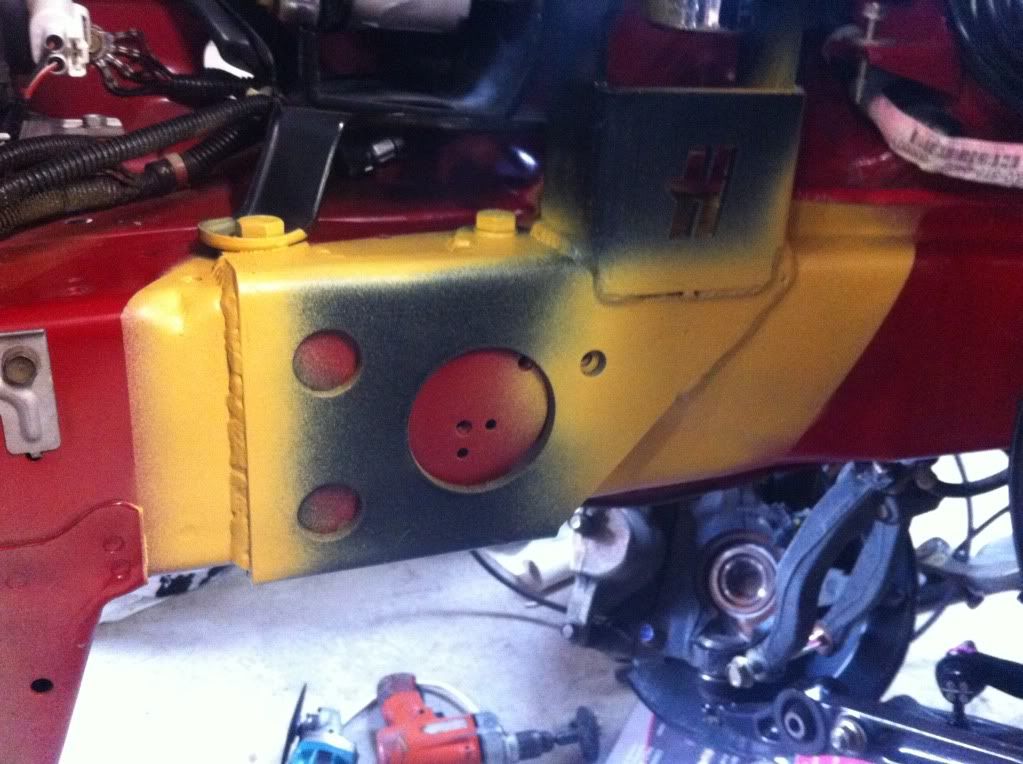
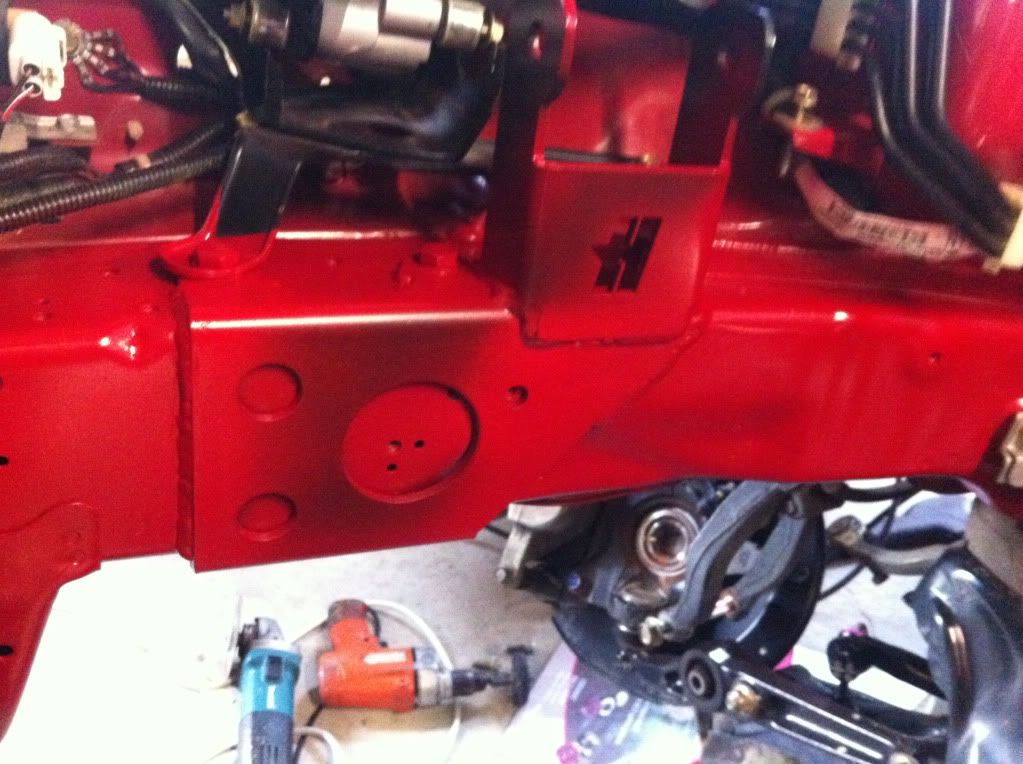
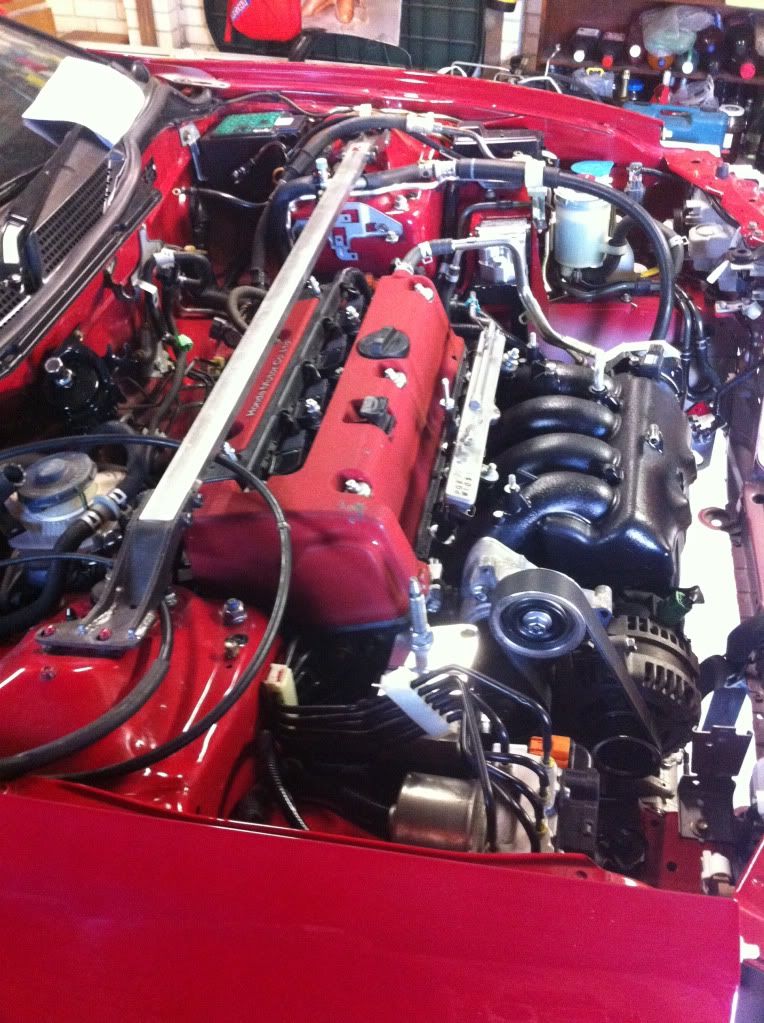
Mocked up the engine mounts and drilled the 1/2 inch holes to drop the bolts down to fit the new hassport mount on.
Came up a treat.

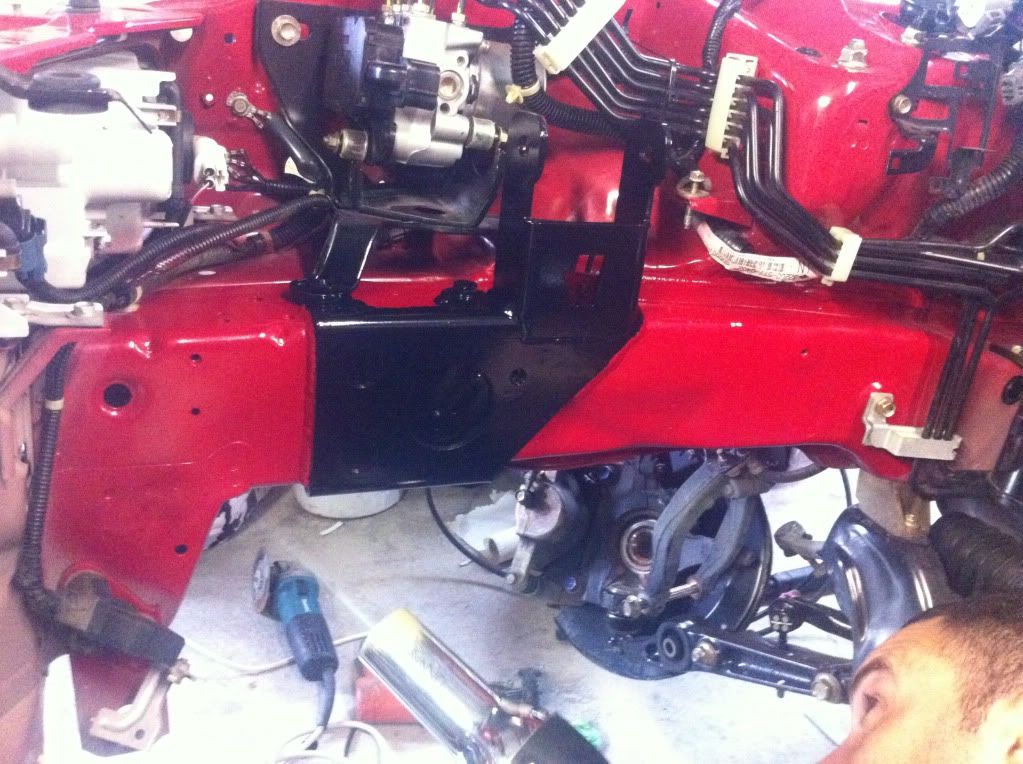
By this time we had the motor out by lunch time and thought to ourselves that we could dummy fit the engine mounts with heaps of time to spare
George here....
Been posting a few pics up on the FB page of club ITR and been getting a few requests to share my story on Club ITR
thought i would give it a go on the forums
Coming from a motorbike background i have always loved that great N/A Rev and sound feeling. Been through quite a few bikes ranging from Yamaha R1 to CBR 600. Unfortunately it got me into alot of trouble and lost my license for a while.
After endless arguments with the oldies it was obvious i was not getting back on one again. It was mainly my decision but that feeling never left me
Which brought me to cars. So i thought and decided what is the best naturally Aspirated car that gives me that little sensation? Honda? Ferrari? Lambo? Lexus LFA?. Honda it was lol
The only issue i had was more power and more power. Basically everybody on this site i would assume. So it was time. Started off with a Delsol CRX and did a JDM b18 conversion. Was fun at the time. But my brother had just purchased a DC5 S. He was faster after Kpro, Which pretty much ended the days of the little crx. Not long after i had purchased a DC5s myself and was ready to go the same way. Was perfect. Loved It. Still Do
Little problem though, No LSD, Pretty Heavy, Weak Engine Mounts and honestly its my daily and i just couldnt modify it by because it just drives so well standard
Which brings me here today.
It was time to buy the best shape and car Honda have ever built.. IMO ofcourse
The Dc2 type R
 [/IMG]
So now i have both cars in the garage and it was an honest struggle to figure out which car i would take to work in the morning.
Something had to happen and change asap because it was honestly driving me crazy on decision making in the morning.
So here Goes

Purchsed a 09 K20z4 with 6speed out of the FN2 Civic for the Teggy's new heart <3
And got pretty lucky aswell with a 6peed LSD


So here i am with a k20 and a dc2 Type R with the biggest grin on my face but at the same time a realisation hits me that the homework has to begin.
First of all.
Sell Engine B18c7. Check
Take out the B18c7 - Its happening this weekend
Do Homework for kswap - Check

Started this 5 weeks ago.
This was on the 1/06/13
Everything was going perfect, Had the Shafts out and rear Engine Mount, Decided to get stuck on the Shifter arms as we couldn't get the pin out to remove it from the block. Had to resort to excessive force and it came out after an hour..... No idea why they press the end of the pin. Meh
After that was done we came to pulling the motor out and removing the gearbox mount and passengers rail mount, Couldnt decide to put it up in the air or down on the ground.
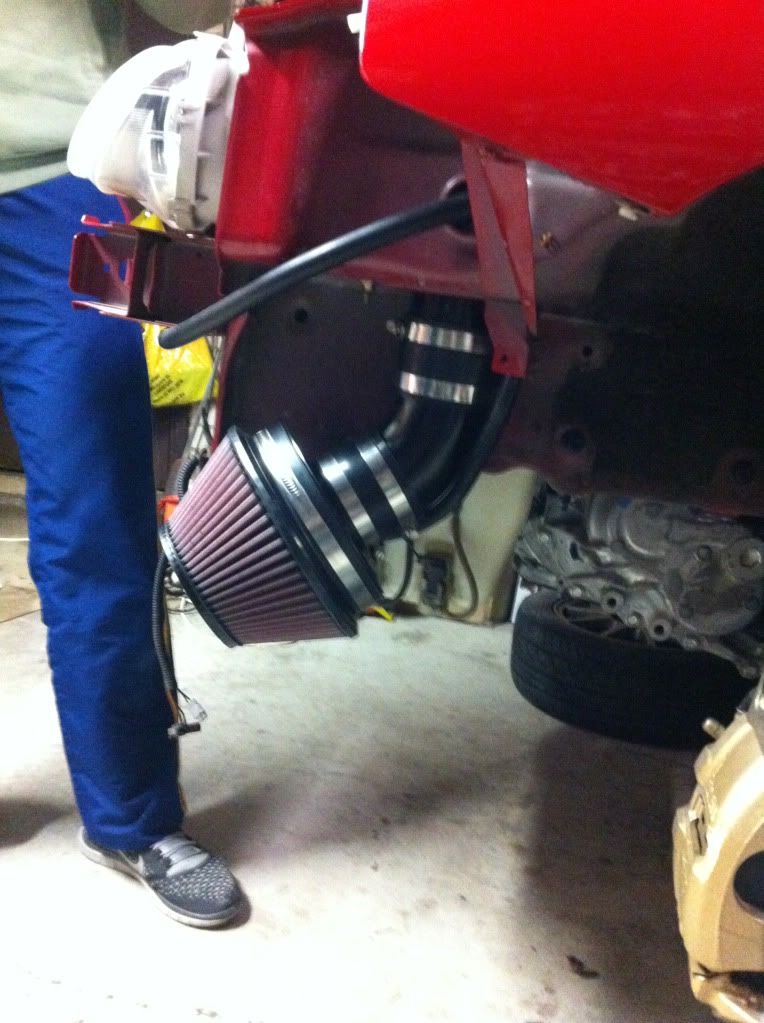
After the rear engine mount bracket decided to be stubborn we opted to drop the motor on the floor and then use the engine stand to lift the car in the air while we simply just slid the motor out from underneath
All was well. The new owner of the motor wanted to take the standard exhaust aswell, My mate decided to start attacking it and after an hour he was ready to kill someone. lol.
Very hard to take the standard exhaust off while the cars bum is on the ground while you are working on the floor. Sorry Anthony
Grabbed the egk1 engine mounts and starting grinding the drivers side mount off, came up really well and i am really happy so far with finish
Mocked up the engine mounts and drilled the 1/2 inch holes to drop the bolts down to fit the new hassport mount on.
Came up a treat.


By this time we had the motor out by lunch time and thought to ourselves that we could dummy fit the engine mounts with heaps of time to spare


Comment