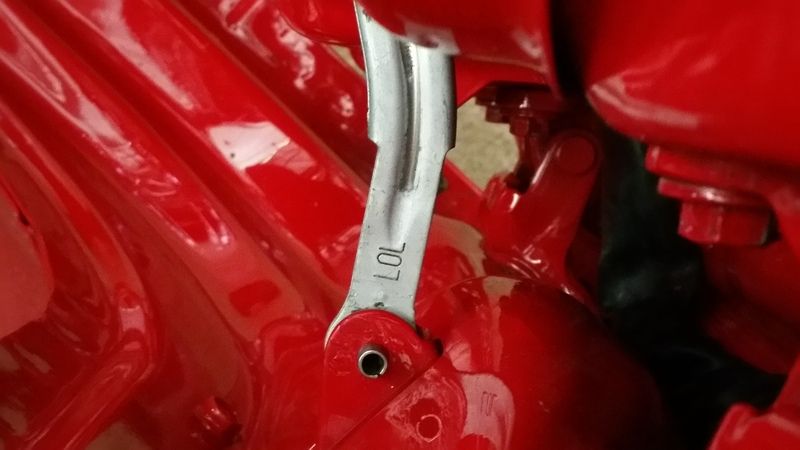
Painted my calipers and went for the machined letters look. Clearcoated in hightemp clear (not done for this pic). Pretty happy with the results!
Announcement
Collapse
No announcement yet.
Freakygeek's new ride - Project: NSX
Collapse
X
-
So lately I have been working on the brake calipers - I rebuilt them with all new OEM seals and dust boots etc. This is a bit of a fiddly job, I got the hang of those damned piston dust boots by the time the last one was done but they really are a pest!
Some pics of the cleanup process and final result below. I used a high temp paint and also a high temp clearcoat to prevent the NSX lettering from rusting as I removed the paint from the lettering for a contrast look.
Baking the high temp clearcoat in the oven, lol... new meaning to "cooked my brakes"
Pistons cleaned up nicely - NA1 NSX use 36mm and 40mm pistons in the front calipers, with a 282mm rotor. NA2 NSX moved to a larger 298mm front rotor but reduced the piston sizes in the caliper. NA2 NSX-R used the larger rotor and large piston caliper, so this is an easy to perform upgrade, only the caliper brackets and rotors need to be changed.
Interestingly, the same pad is used in the DC2 Type R albeit with a single piston caliper.
I cleaned up the stainless steel pad locating clips also. Before...
After...
So with the slide pins re greased and new seals and boots reinstalled here is the finished result:
Got the first side of the rear all back together.
Hoping that tomorrow I can complete the job and actually bleed the brakes! I don't think I've ever looked forward to bleeding brakes so much before.
Comment
-
Late last week I finished rebuilding my steering rack. The rack itself was still quite good so I just cleaned out the old grease and applied some new grease, replaced rack ends and tie rod ends and of course the dust boots.
Reinstalled yesterday with new ScienceofSpeed poly rack bushings.
The car steers and drives!
Refreshed my shifter mechanism with new bushings which had a small amount of play.
Windscreen should be going in this week sometime! Starting to feel like things are coming together.
Comment
-
Originally posted by gunpoons View PostLooking good Cam, when's she booked in for a blue slip?
Sent from snoopnugs ringer
using Tapatalk
Originally posted by felixR View PostSo good.
Originally posted by Beatz View PostIt's so cool to see it slowly coming together, the NSX is such a good looking car
Originally posted by ace167 View PostDam.. just went through this whole thread! Epic work man, your attention to detail is impeccable not to mention the patience you have! No plans to build the motor while it was out? - Unless I missed you covering this question already!Last edited by freakygeek; 07-05-15, 12:05 PM.
Comment
-
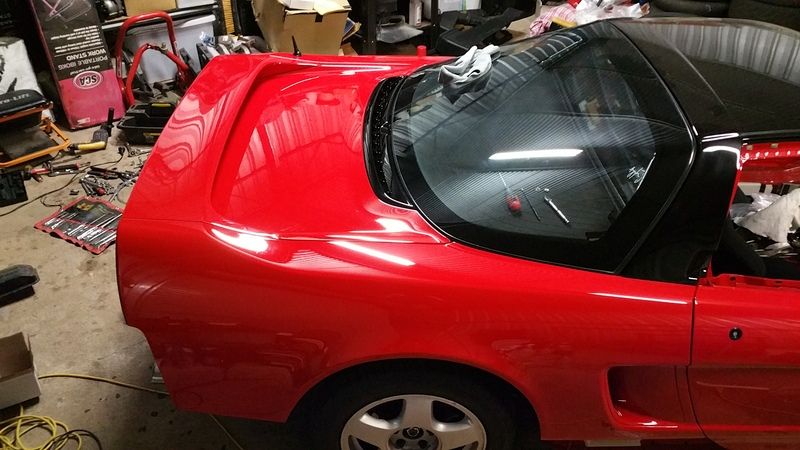
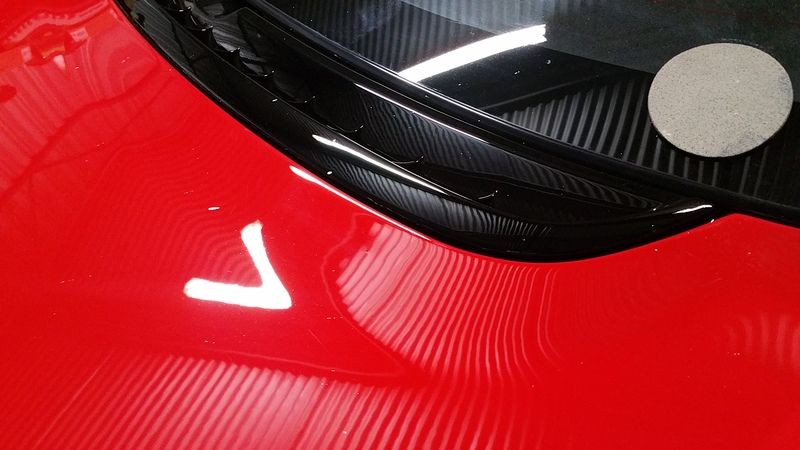
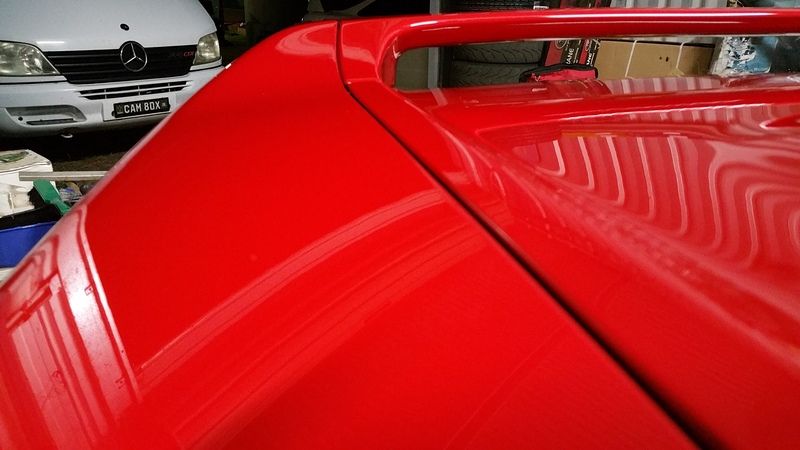
One of the smaller details I had to address was the black area on the rear quarter panel where it meets the engine hatch. We didn't paint this part at the time as it would have been a very fiddly masking job and risked causing imperfections in the finished product. So I decided to get it vinyl wrapped in gloss black.
Vinyl applied.
Rear quarter reinstalled
Very happy with the results.
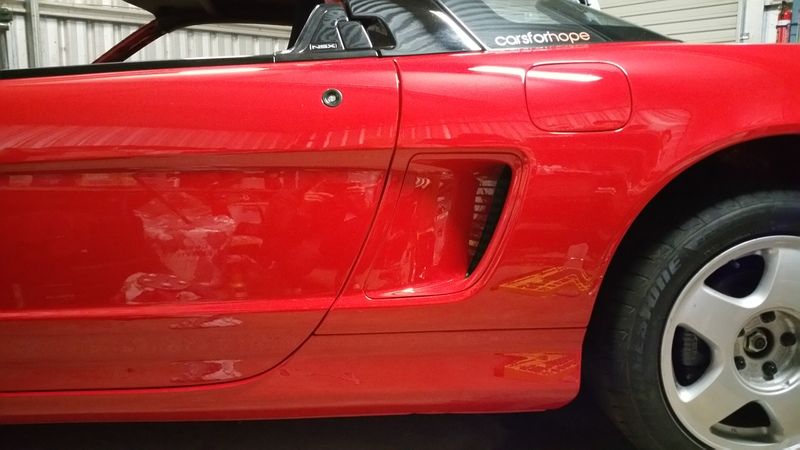
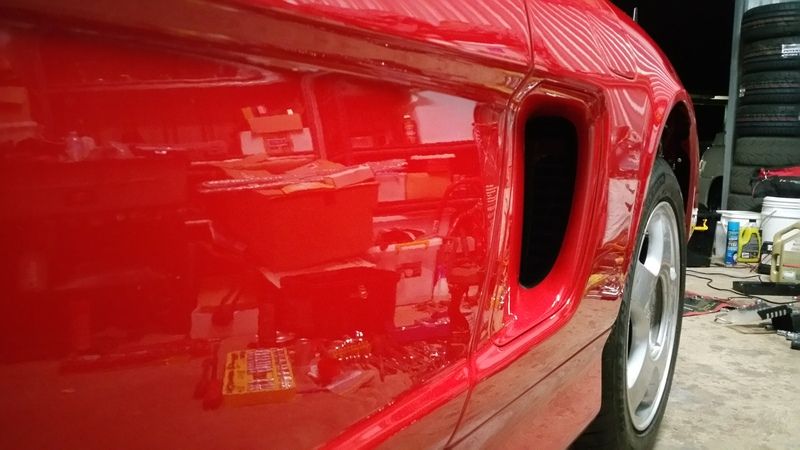
Spent some time on alignment of the passenger door to the rear quarter and got it in place with the B pillar cover and side duct installed. Super happy with the panel fitment!
Oh and how could I forget - reassembled the mirrors! So happy with the results of the CF work done!
Last edited by freakygeek; 07-05-15, 12:55 PM.
Comment
-
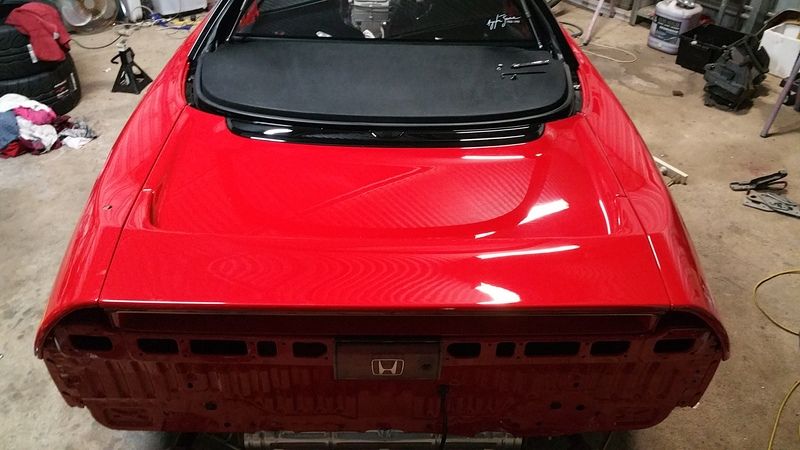
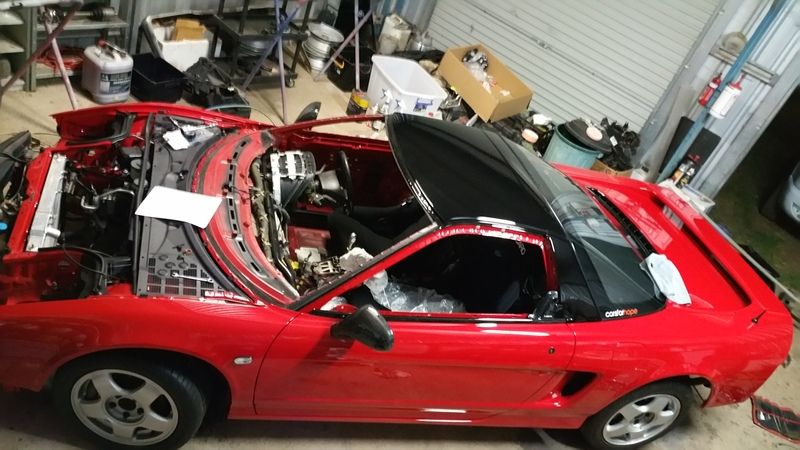
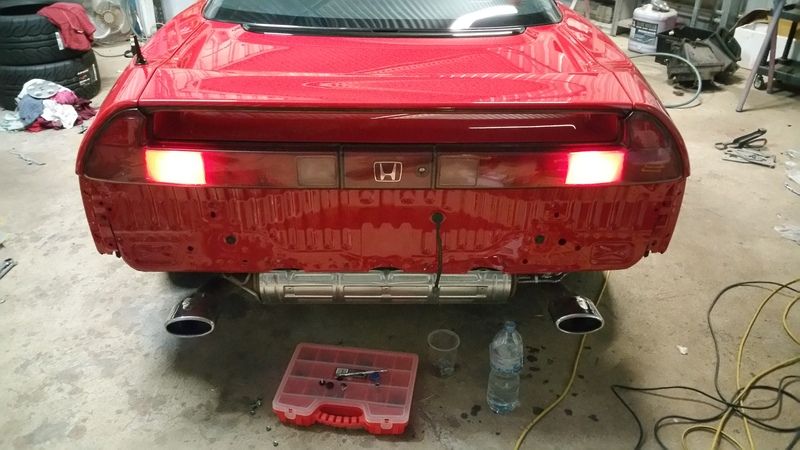
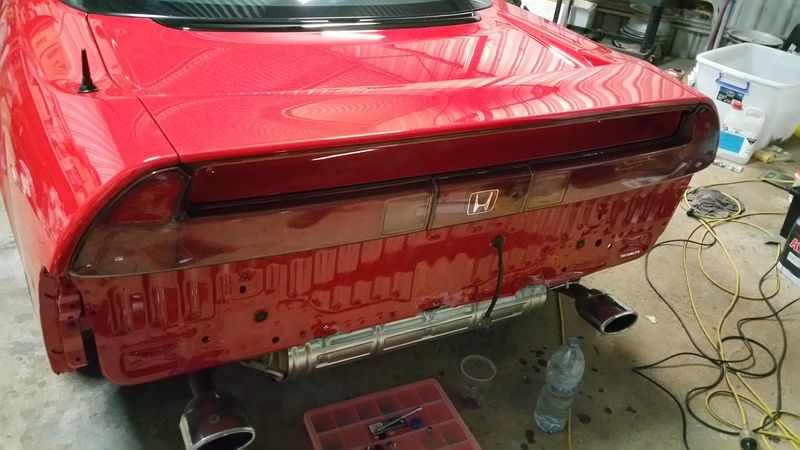
Here's the latest. Got both doors on now and aligned with the rear quarter panels & front fenders. Also got the bootlid / spoiler installed.
Put the passenger sideskirt on, but broke a clip in the process so I've ordered a bunch of new clips before I do the other side.
This is the bootlid & engine vent behind the hatch glass.
Tail lights in!
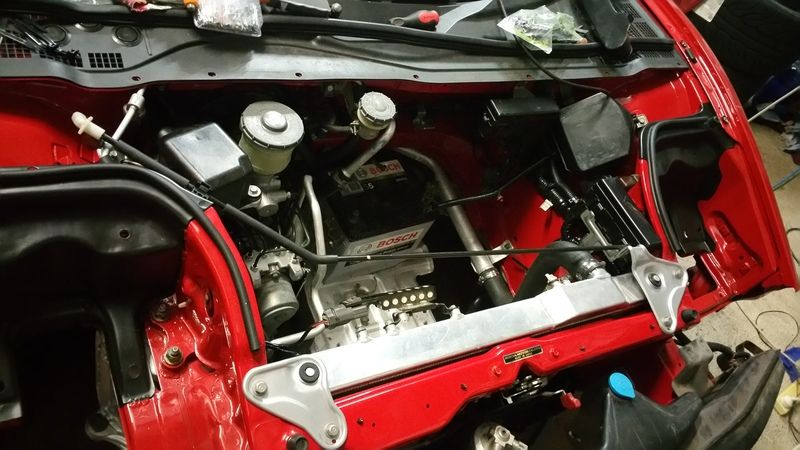
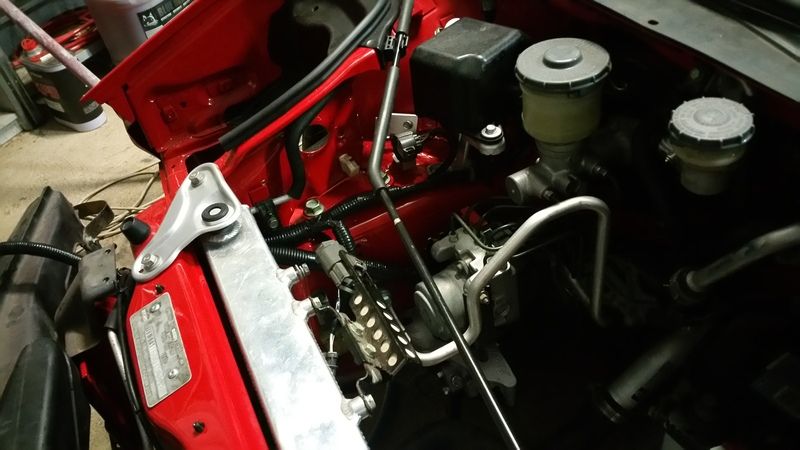
Wiring hardness secured including retrofit ABS harness, fuse & relay boxes mounted, radiator installed.
Honda must think opening the Passenger door is funny?
Comment
Comment