Announcement

Collapse
No announcement yet.

The Knobosaurus DC5R

Collapse
X
 
  • Filter
  • Time
  • Show
Clear All
new posts

    #76
    I think thats how stock K20a2 motors look like Knobby, silver rocker cover with black spark plug cover.

    A dremel or something like that would be the best tool to get into the tiny air box.

    For your visors, OEM is best haha .

    You could try double sided tape or something like sikaflex, just make sure you tape around them tightly for a couple hours so the sikaflex can cure.
    Shak's S2000

    Comment


      #77
      Originally posted by Shakeel View Post
      I think thats how stock K20a2 motors look like Knobby, silver rocker cover with black spark plug cover.

      A dremel or something like that would be the best tool to get into the tiny air box.

      For your visors, OEM is best haha .

      You could try double sided tape or something like sikaflex, just make sure you tape around them tightly for a couple hours so the sikaflex can cure.
      Oh really? The k20a3 is the same colour layout to the a2.

      Dremel? Yeah given that a go a few Weeks ago and snapped one of my cutting disks. Pretty thick plastic to go through on the box

      OEM visors are for high rollers. 200 a set is for those who piss gold. Haha

      Yeah I'm inclined toward another attempt at using double sided tape. Thing is it's just so awkward to get into that space and tape stuff. Near the tweeters.

      Cheers for the ideas shak. Going to try it this weekend
      Lisa is a nut. She has a rubber butt. Everytime she turns around it goes putt putt.

      CW DC5R Build

      Comment


        #78
        Try using 3M tape if you aren't already, should stick fine with those even if they aren't OEM.

        I wonder what performance parts you are getting... hmmm
        Into Gundam and Anime?! Check out my business at www.facebook.com/officialgundamuniverse

        www.gundamuniverse.com.au

        Comment


          #79
          Yeah the visor had 3m double on it already. I might give it another layer.

          Justin man, you can't even begin to imagine what's on that list of parts. perhaps some track ready parts.
          Lisa is a nut. She has a rubber butt. Everytime she turns around it goes putt putt.

          CW DC5R Build

          Comment


            #80
            Update 4/5/13:

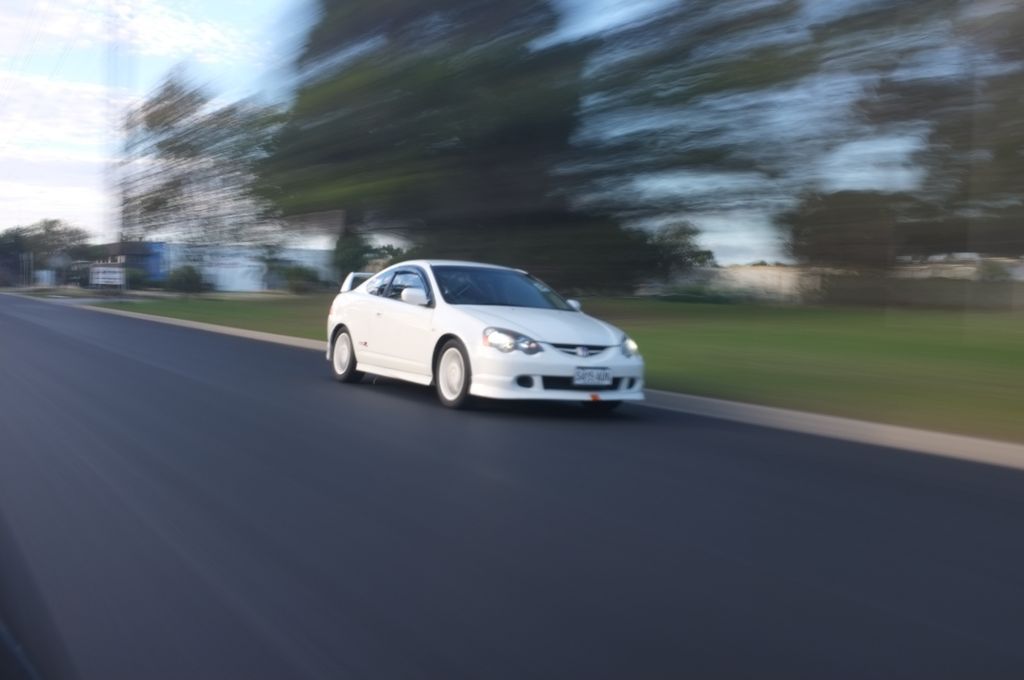
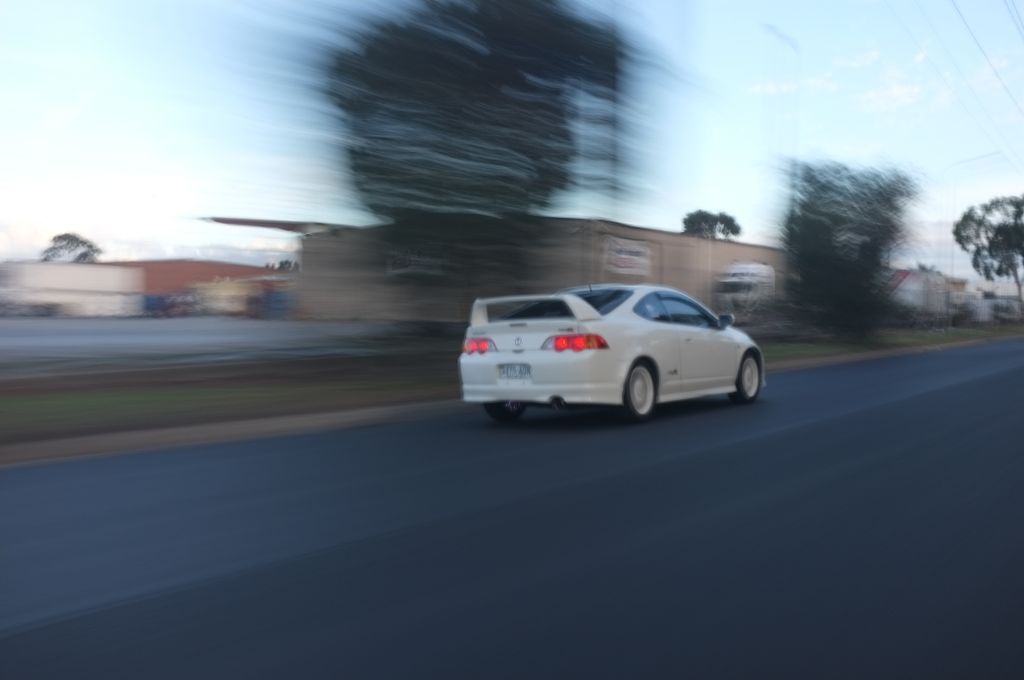
            Small update today. Did a run down to the SA Honda Club Meet a while ago to represent CITR. Met Daniel there and dropped my jaw at his TE37s. About a week later mates wanted to do some rig shots. Since we didn't have any rigs, we did some rolling shots.


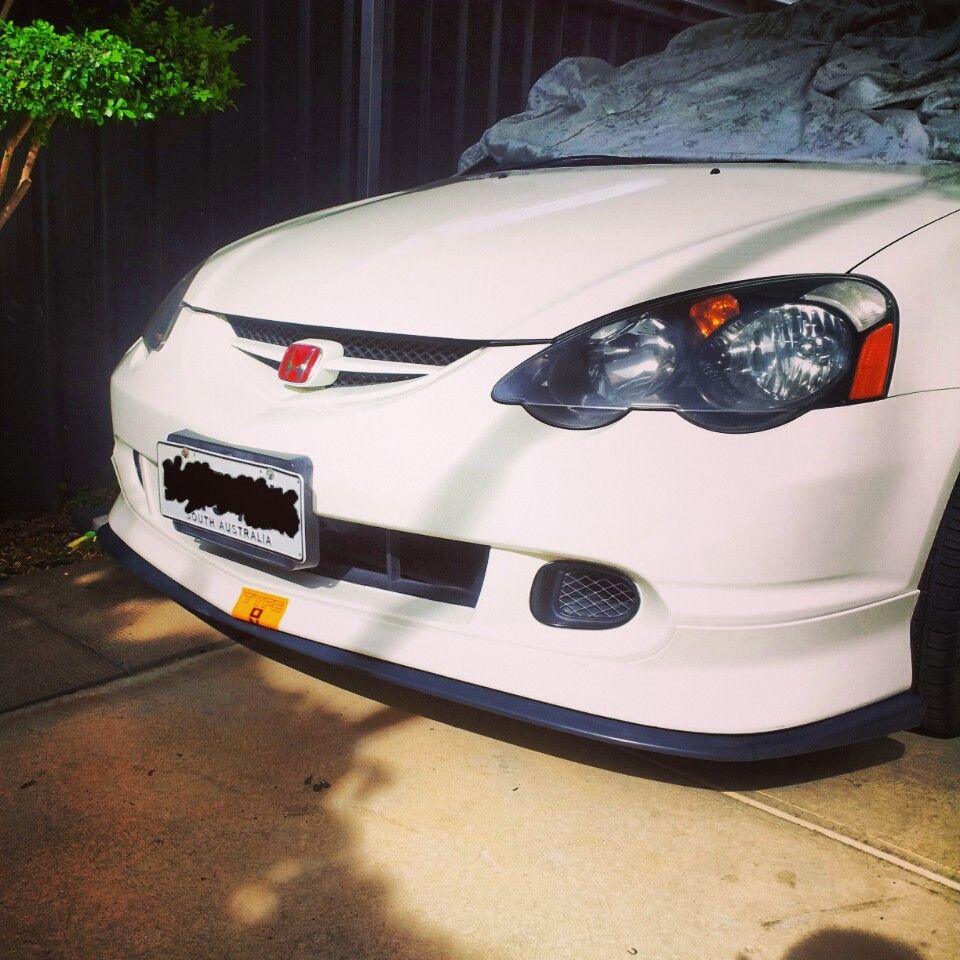
            The only good shots of the day (Out of a possible 50). The other great purchase of the update - my 04-05 Subaru STI V-lip.


            I made the biggest mistake by buying the 04-05 lip. The 06-07 lip has small winglet ends which would have been much better. It also would require less modifcation than the 04-05 lip to fit. Image of the 06-07 shown below.


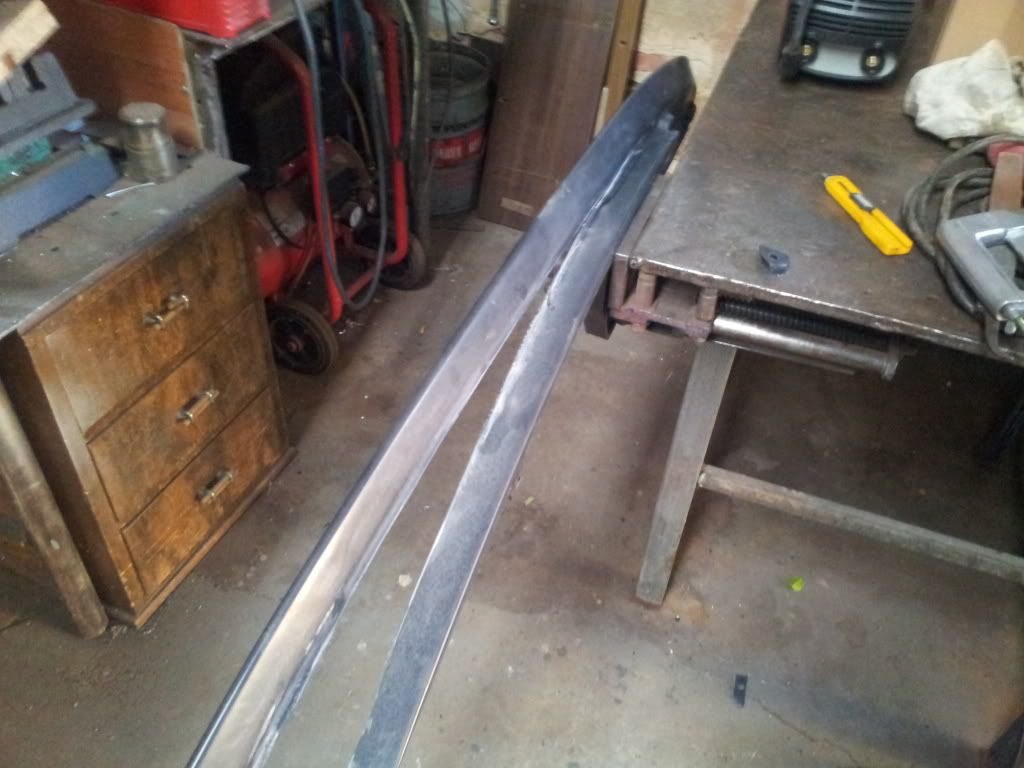
            First line up your lips to admire :P


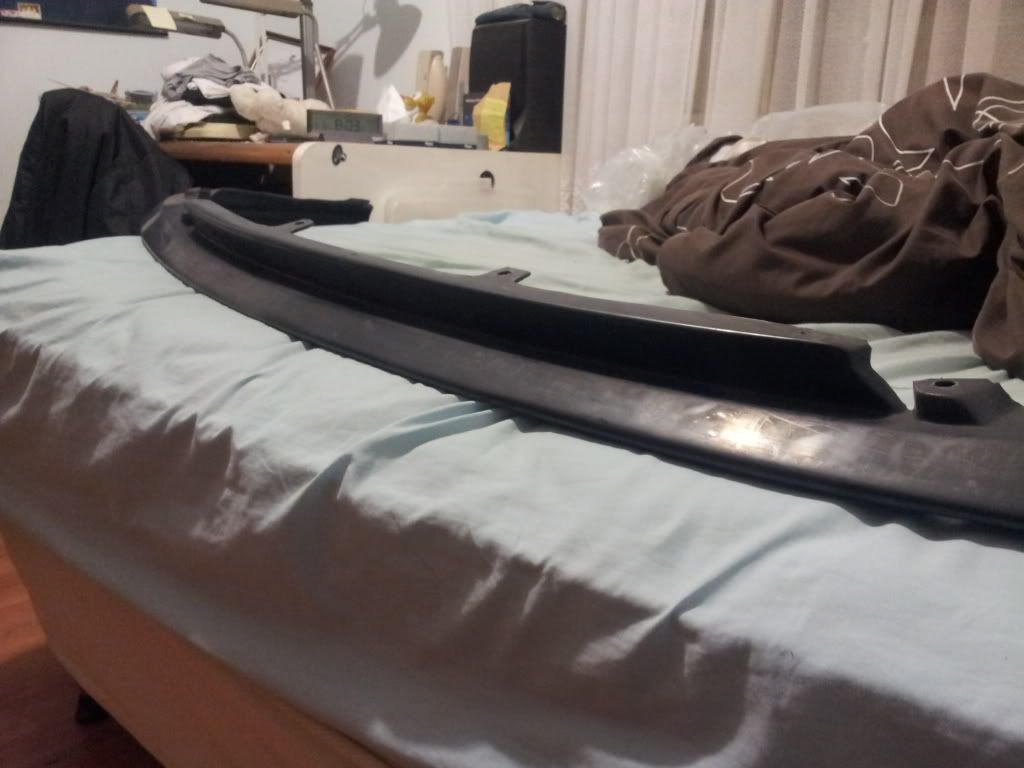
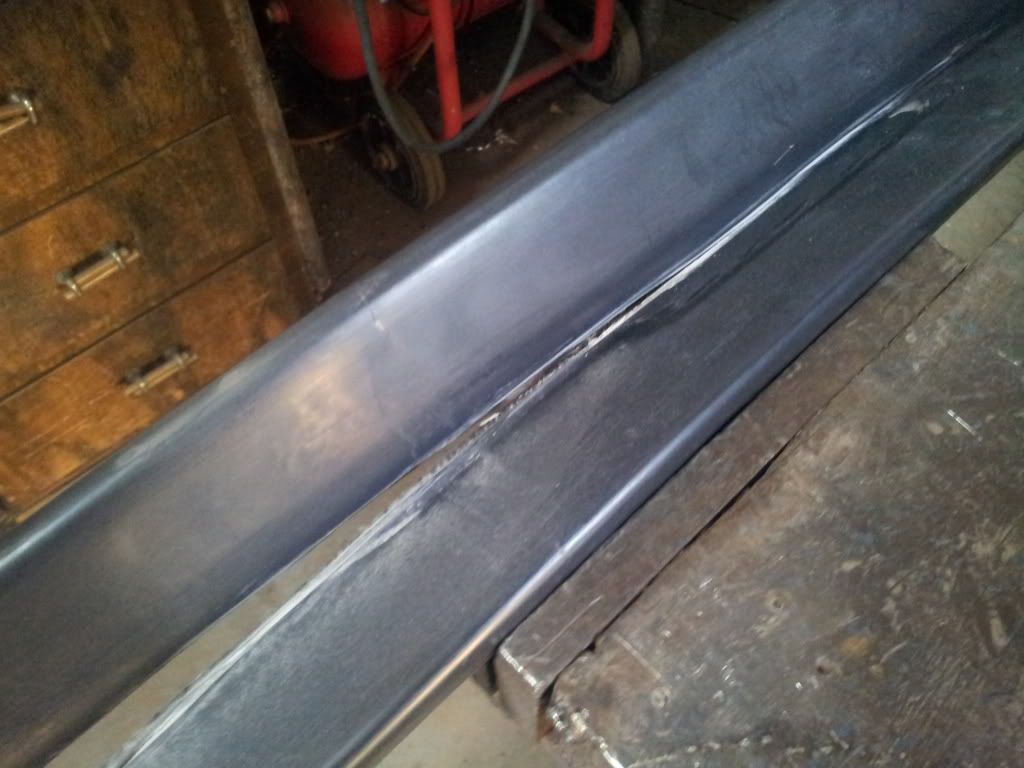
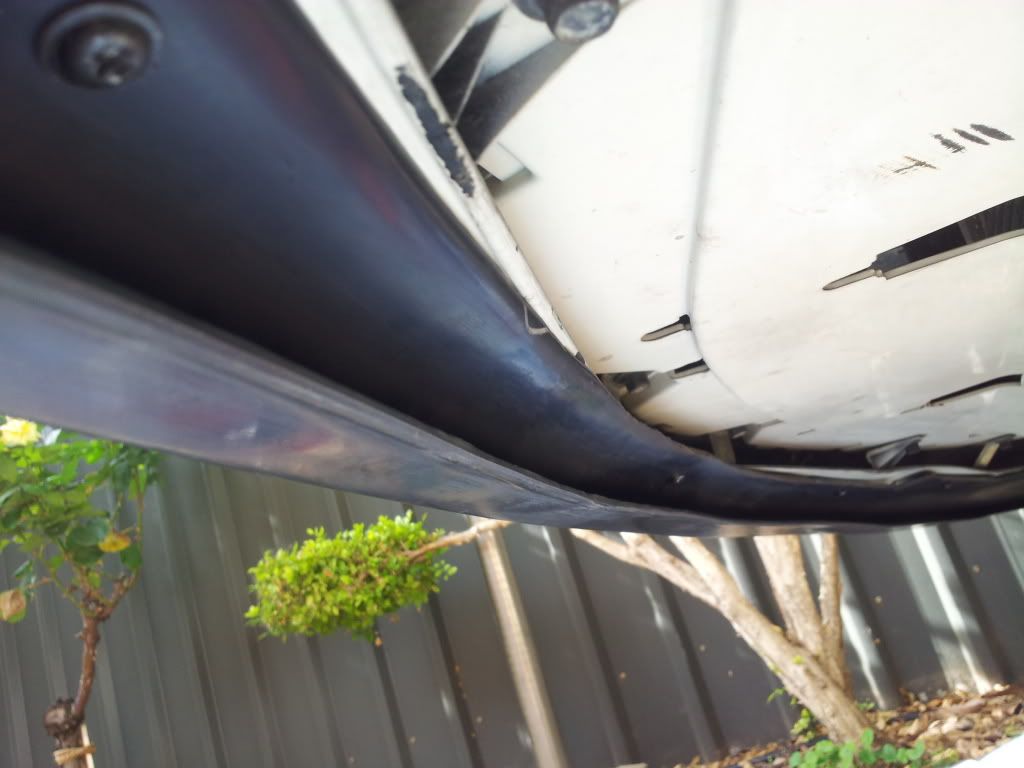
            Anyway, I wanted this to be a mini-guide for those who haven't installed a vlip on their car yet. Be aware that this install isn't as easy as some of you would think since it's a Subaru part going onto a Honda. The 04-05 lip has a raised section in the middle and two small raised tabs on either side of it. To achieve good fitment, these sections have got to go.


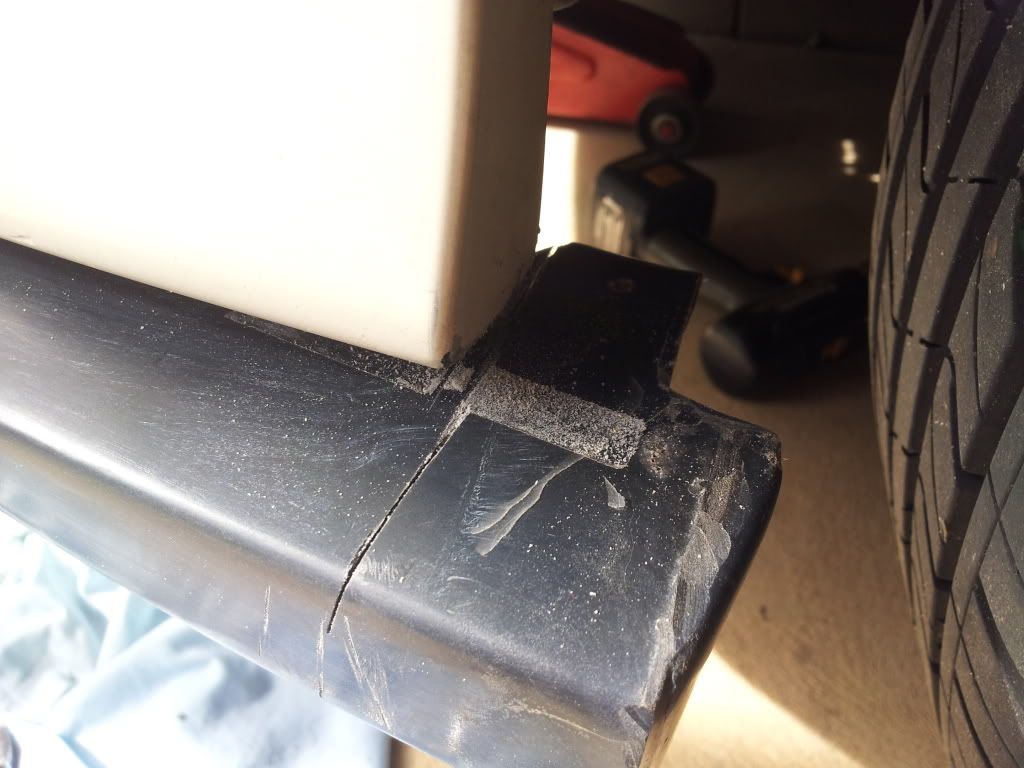
            This was done with an angle grinder to put a ridge to cut along. A stanley knife was then used to cut along these to make a deeper cut seam. At the start of this centre raised section, I sawed into the beginning and then pulled at it to tear it from the lip. It's far cleaner than using a hacksaw and provided, the lip is made from the polyurethane, it'll tear. Using a dremel really was only to smoothen out the minor bumps. Cutting discs snapped so easily and I wouldn't be surprised with thick PU.


            For the smaller raised tabs, a hacksaw can be used with a dremel to create smooth finish. Don't worry about making it look pretty, it's not going to be visible when you attach your lip. Sorry I had no pics.

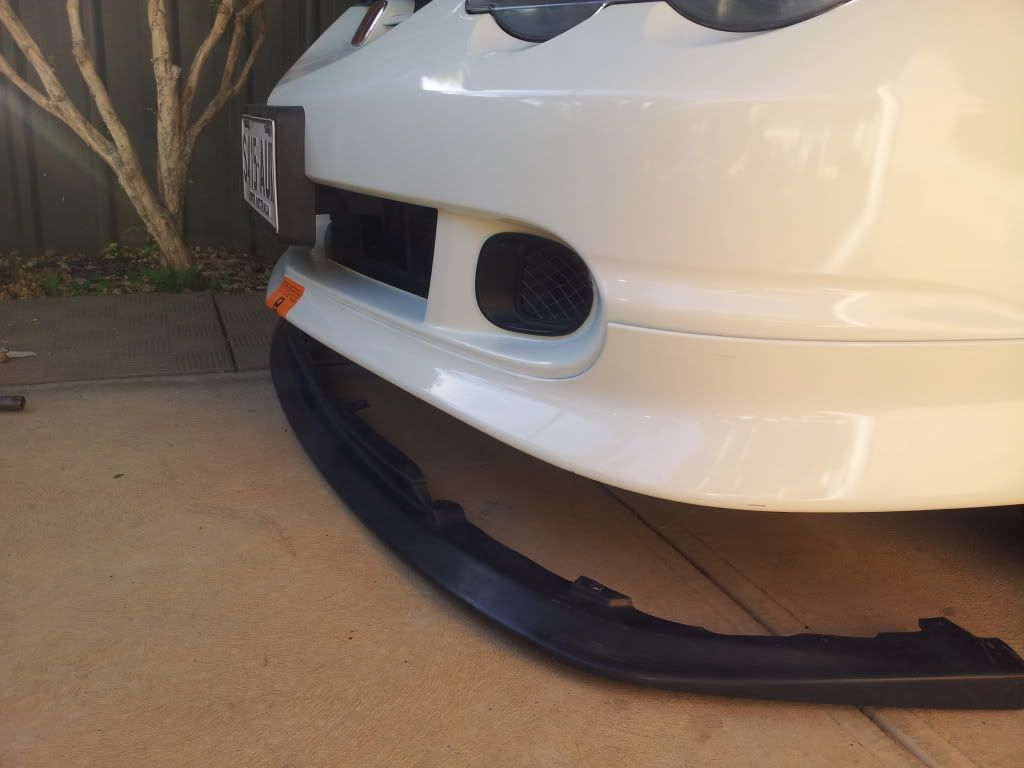
            Next, this is where your helper comes in handy. They hold your lip in place while you screw it in using the 8 supplied screws. I went lone wolf today so I used some duct tape and screwed it on one section going from passenger to driver side.


            Now, with all orders, your lip will be deformed in one way or another. After I I screwed in the ends (middle still a bit loose), run over it with a heat gun evenly. It also helps if you're in the sun too since PU becomes quite ply-able in heat. Don't heat excessively though. Just enough so you can shape it to fit. To form a better seal, you could also use double sided tape. I personally didn't and just added two more screws in the middle sections. In total, I used 10. You may need more depending on the condition of your lip.

            Final step is to examine the side arches and trim off any excess lip. A fine tooth saw should be fine


            Once you're happy with the fitment, give it a hit of degreaser and wipe off any excess crud.

            If you've lowered your car, then you're going to need a combination of jacks to lift your car high enough to work on it.


            I hope this helps others who want to fit the vlip. Wouldn't say this is a small update anymore. But let's hope someone else uses it as a reference. Makes me feel like I've helped someone
            Lisa is a nut. She has a rubber butt. Everytime she turns around it goes putt putt.

            CW DC5R Build

            Comment


              #81
              Looks like my car once upon a time hehe
              Shak's S2000

              Comment


                #82
                just to let you know the there are 2 different vlip in the 05-06 model. theres the one most of us have and the other has the winglets. But the car is coming along very nicely
                sigpic

                Comment


                  #83
                  Originally posted by Shakeel View Post
                  Looks like my car once upon a time hehe
                  It's an honour to be compared to your car Shak. I'm hoping to be similar to yours one day (Minus the facelift)

                  Originally posted by Hau View Post
                  just to let you know the there are 2 different vlip in the 05-06 model. theres the one most of us have and the other has the winglets. But the car is coming along very nicely
                  Oh there's an 05-06 lip? I thought our lips were 04-05. Just did another ebay search and the 06-07 can look like ours. Thanks for the heads up Hau.
                  Lisa is a nut. She has a rubber butt. Everytime she turns around it goes putt putt.

                  CW DC5R Build

                  Comment


                    #84
                    Originally posted by knobosaurus View Post
                    It's an honour to be compared to your car Shak. I'm hoping to be similar to yours one day (Minus the facelift)
                    Oh knobby.. You speak as if my car is/was something godly . I can assure you it's nothing special compared to the other great builds on CITR! Nonetheless I'm very grateful that there are others (especially CW DC5R's) who'd like to follow in my footsteps haha. Also don't ever facelift, you will regret it

                    The car is coming along nicely, hopefully some gold regamasters soon hey?
                    Shak's S2000

                    Comment


                      #85
                      Our lips are the 05-06 lips.
                      sigpic

                      Comment


                        #86
                        pussy lips
                        Integra Type R
                        Integra Type S
                        S2000

                        Comment


                          #87
                          Originally posted by Shakeel View Post
                          Oh knobby.. You speak as if my car is/was something godly . I can assure you it's nothing special compared to the other great builds on CITR! Nonetheless I'm very grateful that there are others (especially CW DC5R's) who'd like to follow in my footsteps haha. Also don't ever facelift, you will regret it

                          The car is coming along nicely, hopefully some gold regamasters soon hey?
                          Your cw was what I looked up to when I first started checking out parts. Hehe. No regas. Too common imo. Going for a more OEM look. Sleepers are my thing

                          Originally posted by plAythiNG View Post
                          pussy lips
                          Haha I don't know what to say to that. No money to afford your lavish dc5 part soundings
                          Lisa is a nut. She has a rubber butt. Everytime she turns around it goes putt putt.

                          CW DC5R Build

                          Comment


                            #88
                            Update 16/06/13

                            Very minor update before some big news in the coming week hopefully

                            Following my idea of building a clean and stealthy car, I've taken a shot at doing ye olde Hondata Airbox mod. After breaking several thin cutting discs on my dremel, I moved to a thicker one and finally started making progress....Until I cut to far and left a hole in the bottom of my airbox Apparently, I had not noticed that the walls of the box came up in ribs.
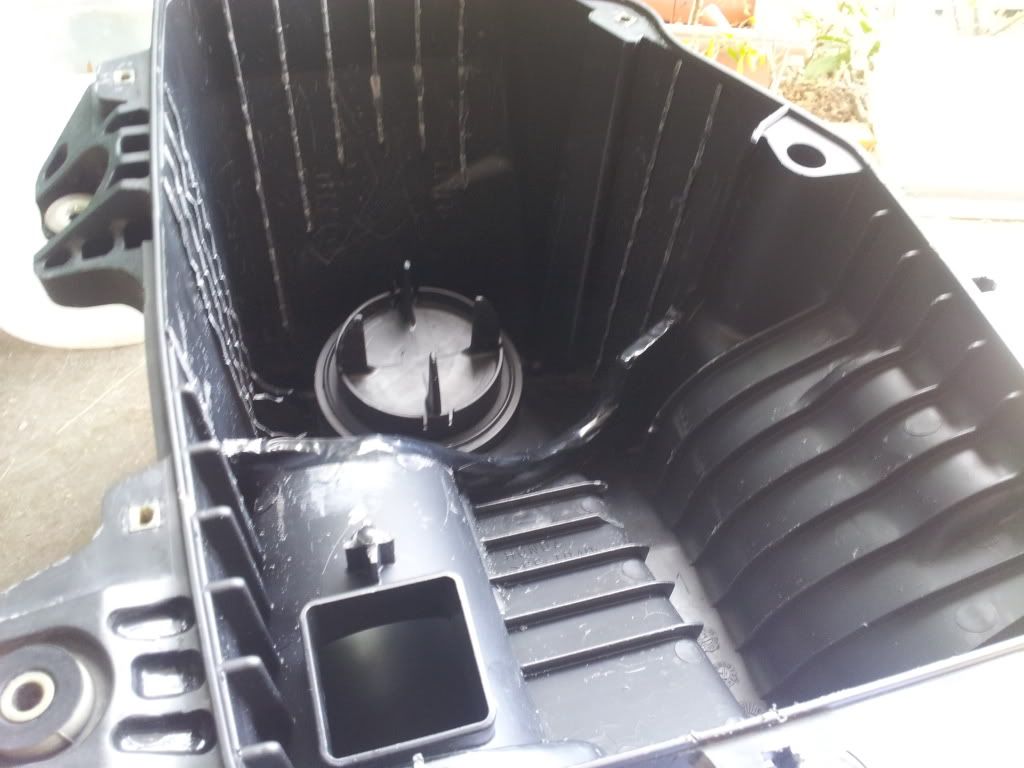
                            Some heatshrink and electrical tape covered up my little problem.


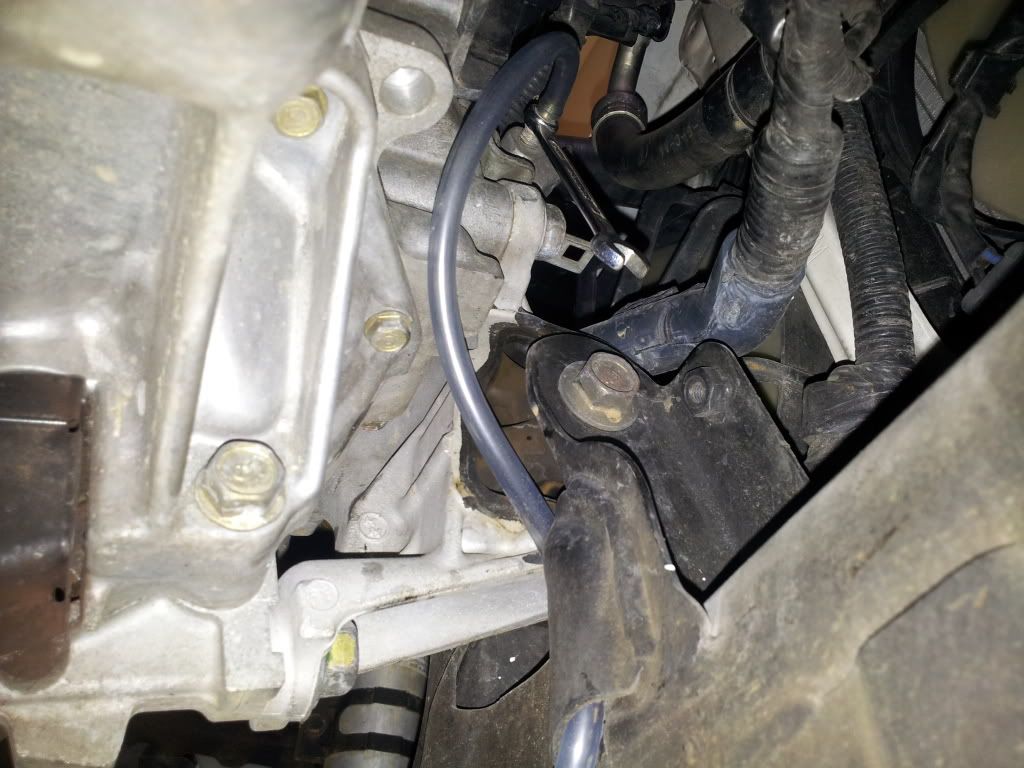
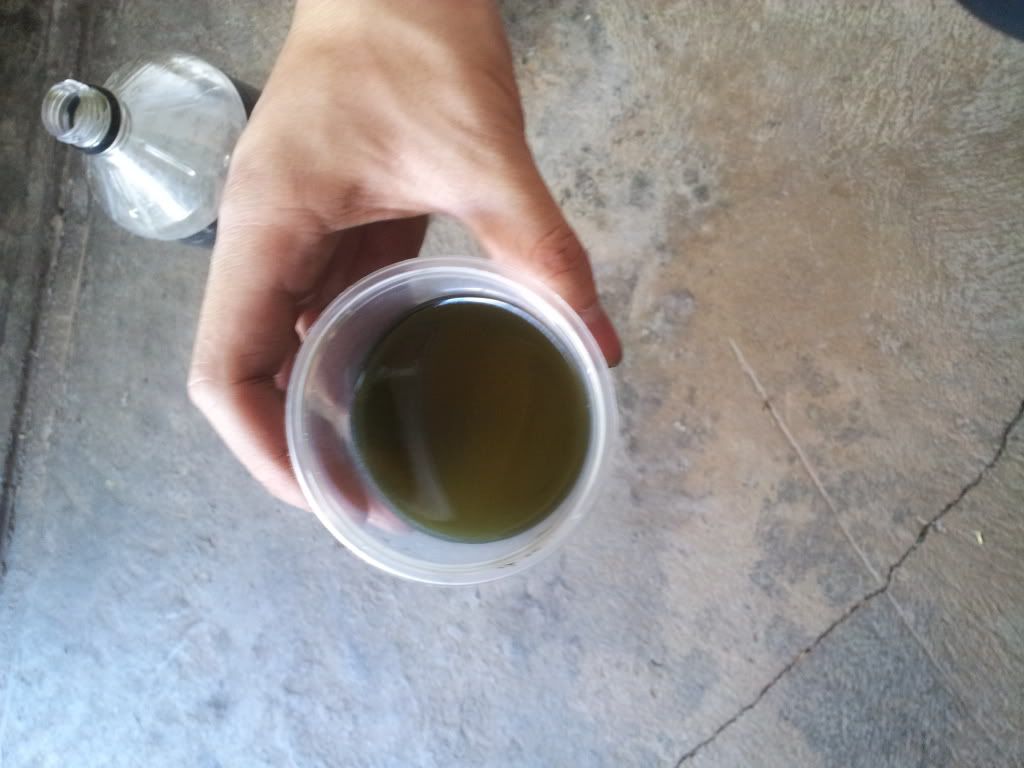
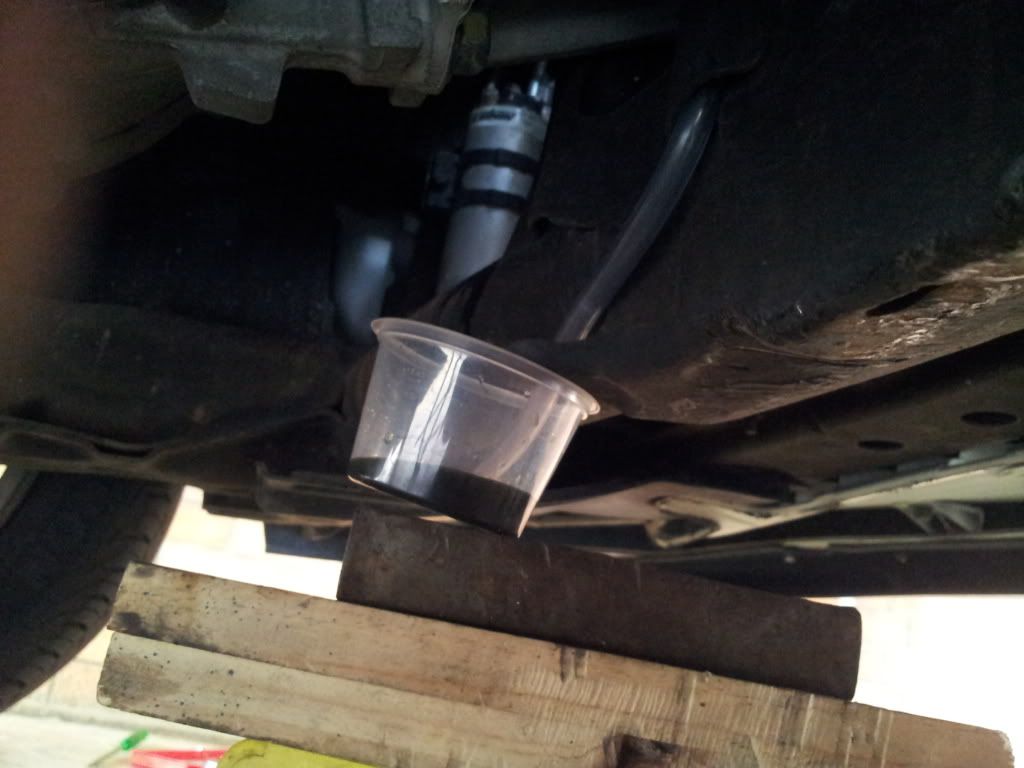
                            Had a look at my clutch master cylinder fluid and it wasn't pretty. Decided to do a clutch flush. Now generally, when people do brake or clutch flushes, they have this nice and neat bottle of fluid which their bleed hose sits in and prevents air from being sucked back through. Being jacked up, I couldn't use my conventional bottle as it didn't reach the slave cylinder bleed nipple. Needing my car depserately that night, I fashioned this bad boy up:


                            Since my bleed tube was relatively stiff and always trying to go back into its original form, I ran it through some holes on the subframe and it fitted up nicely.


                            That was a nightmare to do though. I had to hold the tube and container to make sure there were no spills so I asked the missus to jump in the car and pump the clutch while I loosened and tightened the bleed nut. This was the old fluid (Which I replaced with RBF600).


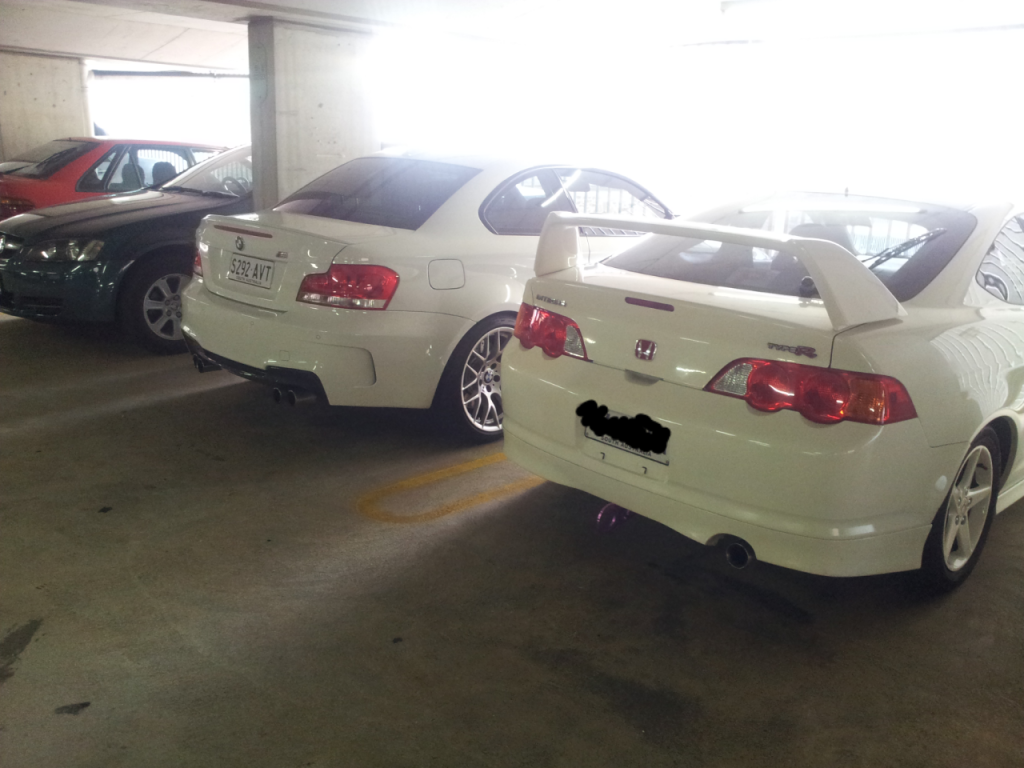
                            I drive in to work occasionally and one day, this extravagant M parked next to me. What an honour it must have been for them :P


                            Something for CrashPrash to ogle now that he runs with the Euro cars hehe.
                            Lisa is a nut. She has a rubber butt. Everytime she turns around it goes putt putt.

                            CW DC5R Build

                            Comment


                              #89
                              Been thinking about doing my airbox until i get a gruppe m intake.. Did you notice a difference with the gutted airbox??
                              sigpic MRDC5S

                              Comment


                                #90
                                To be honest, no noticeable gains in power or induction noise. I did it more so for peace of mind that I'm doing everything I can to maximize my gains. I'm expecting a slight increase in airflow but won't make much more than 1 kw (Again, very subjective).
                                Lisa is a nut. She has a rubber butt. Everytime she turns around it goes putt putt.

                                CW DC5R Build

                                Comment

                                Working...
                                X