Announcement

Collapse
No announcement yet.

DanR's DC5S

Collapse
X
 
  • Filter
  • Time
  • Show
Clear All
new posts

    #16
    I only ask because I found a website that has it in stock. Considering purchasing a few things from there, was looking to see if you were interested in combining orders!

    Looking forward to the updates.

    Comment


      #17
      Originally posted by butter View Post
      I only ask because I found a website that has it in stock. Considering purchasing a few things from there, was looking to see if you were interested in combining orders!

      Looking forward to the updates.
      What are you looking at getting? PM me the website.
      My Dc5s thread

      Comment


        #18
        Today I decided to install my new SFS Intake hose. My OEM hose had taken a beating from the GruppeM and developed a rather large hole.

        The old OEM hose with said hole.


        The new SFS hose


        New hose Installed


        The install takes max 20 minutes and the hose makes removing/installing the GruppeM very easy 
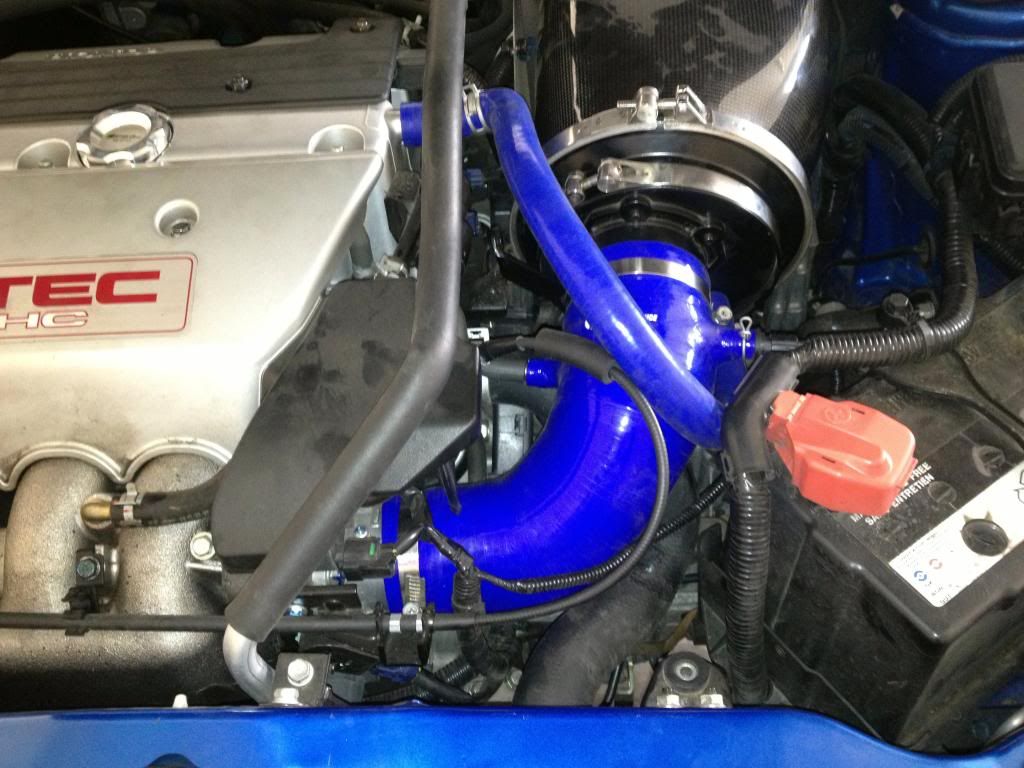
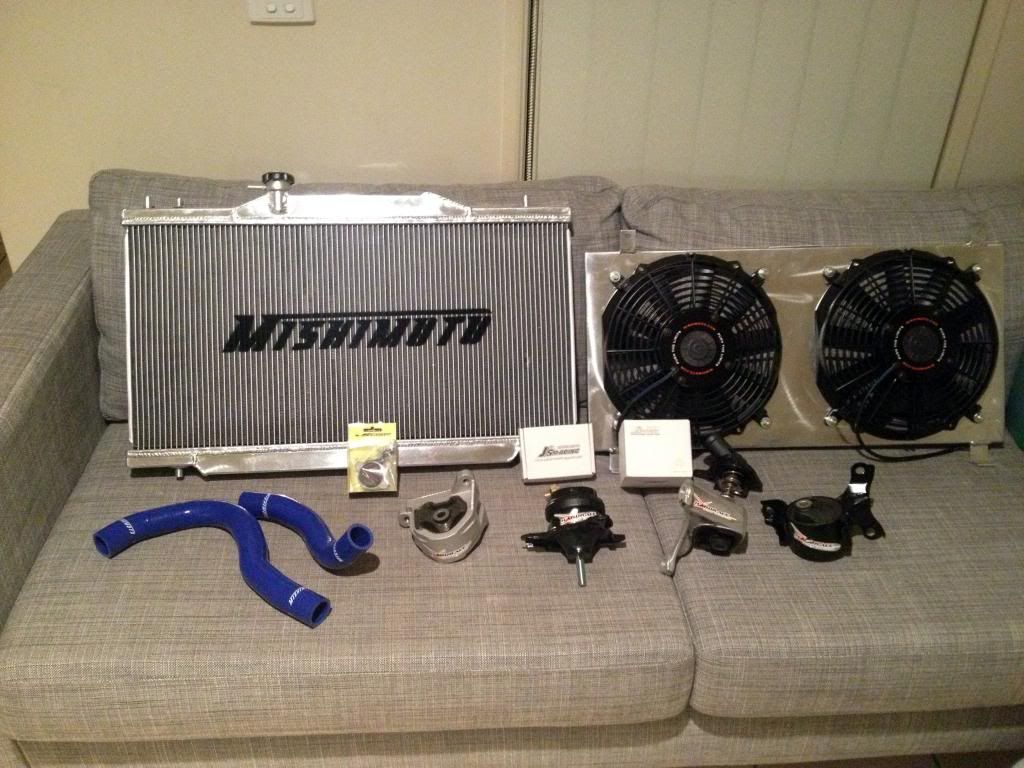
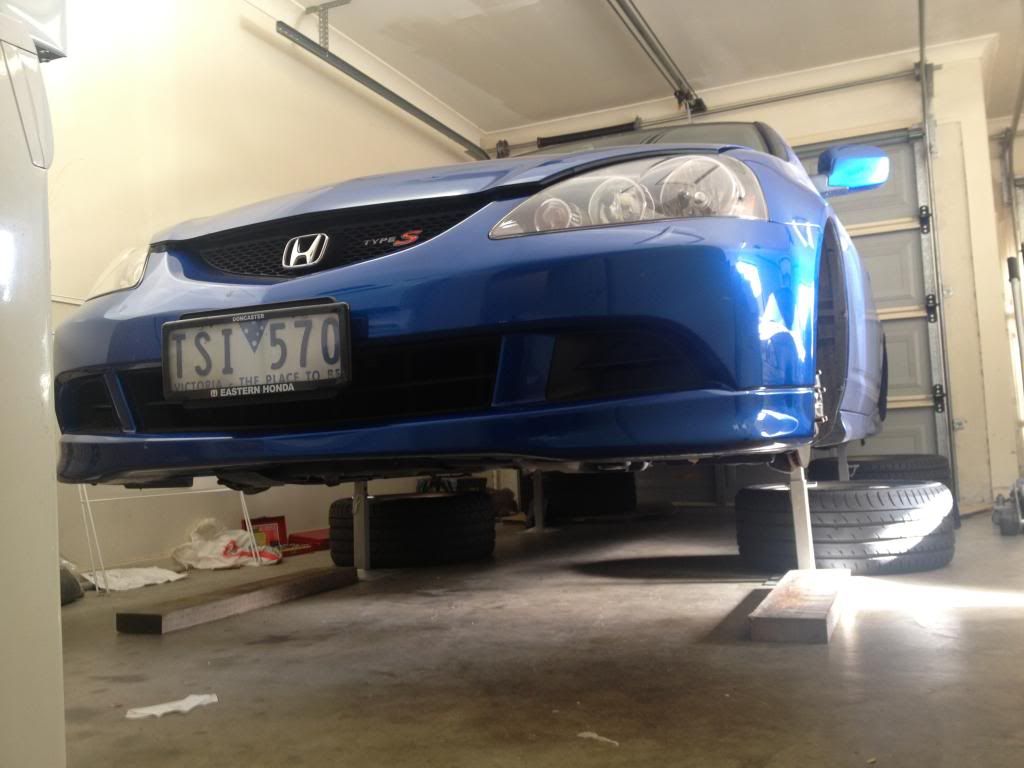
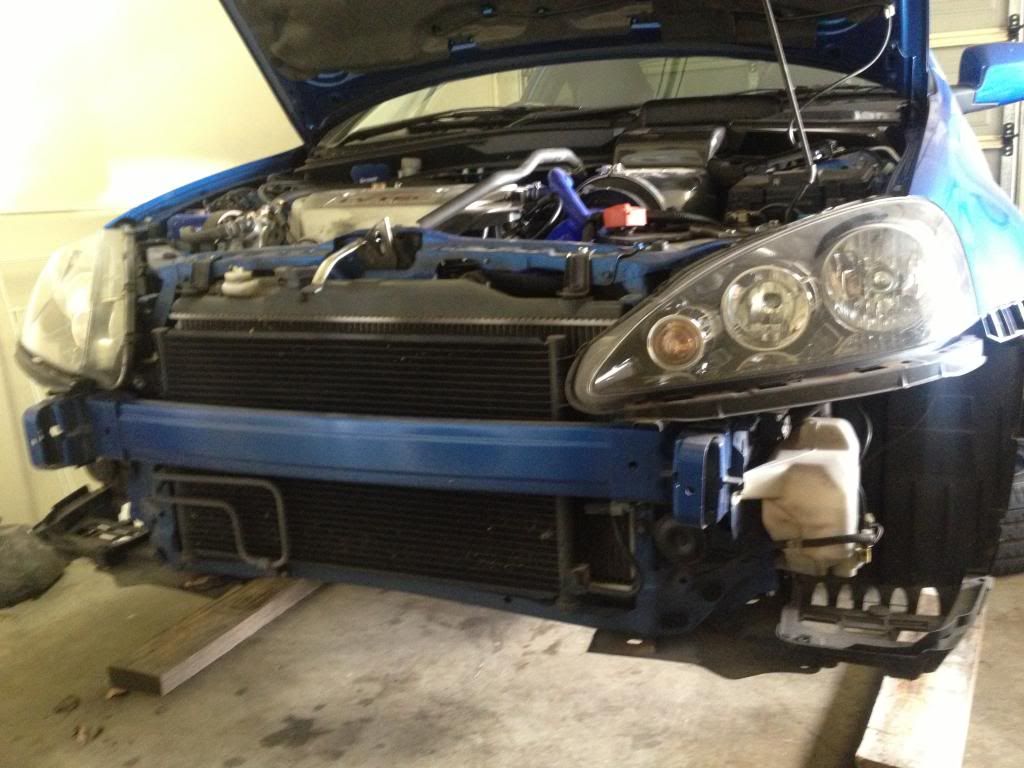
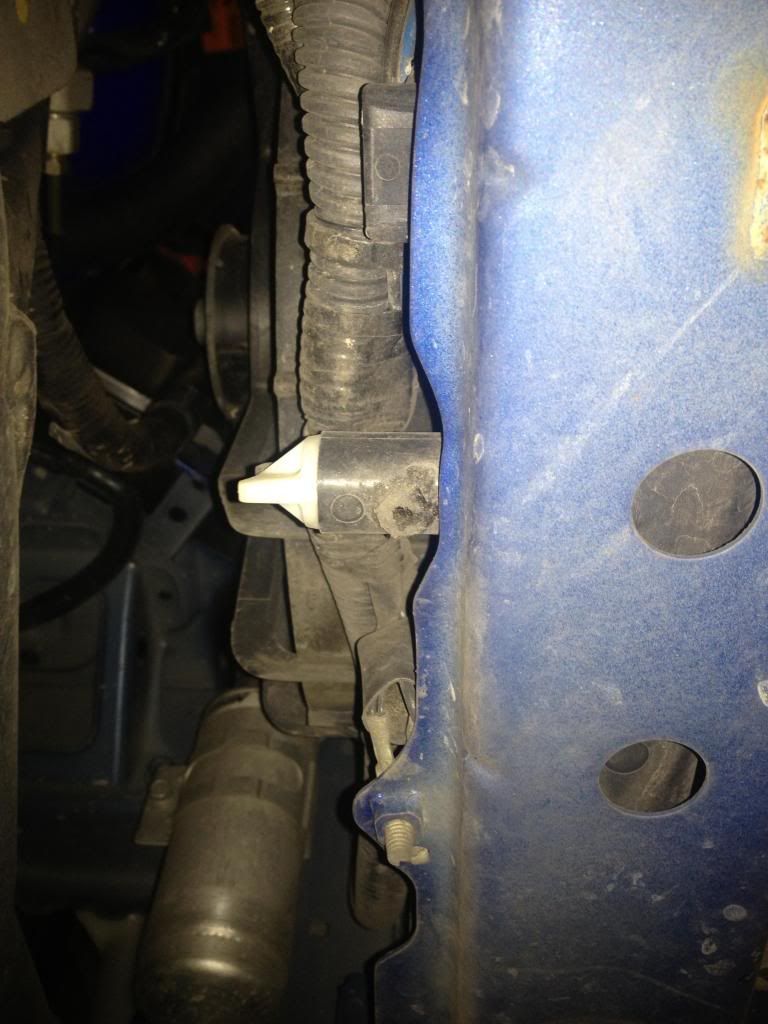
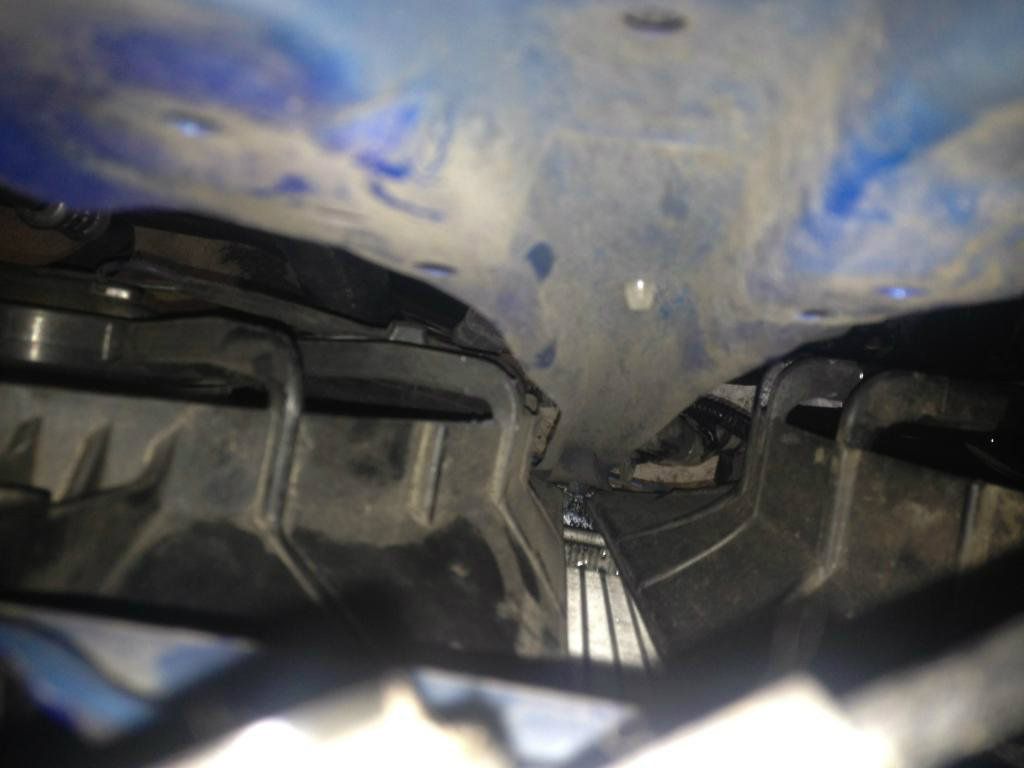
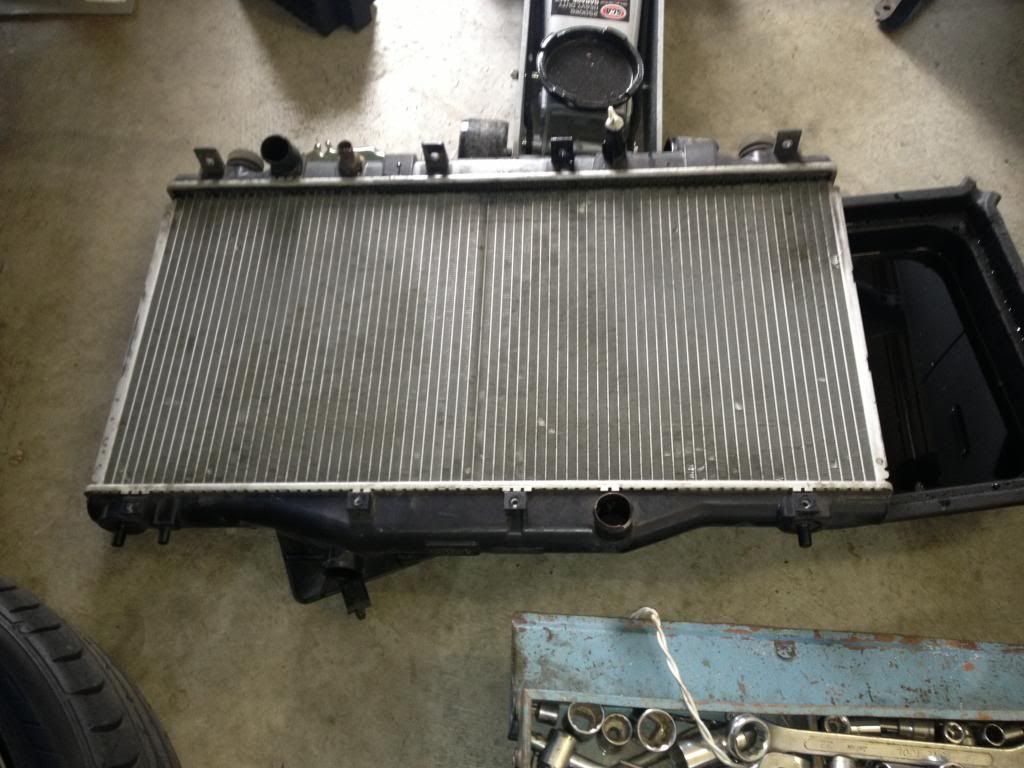
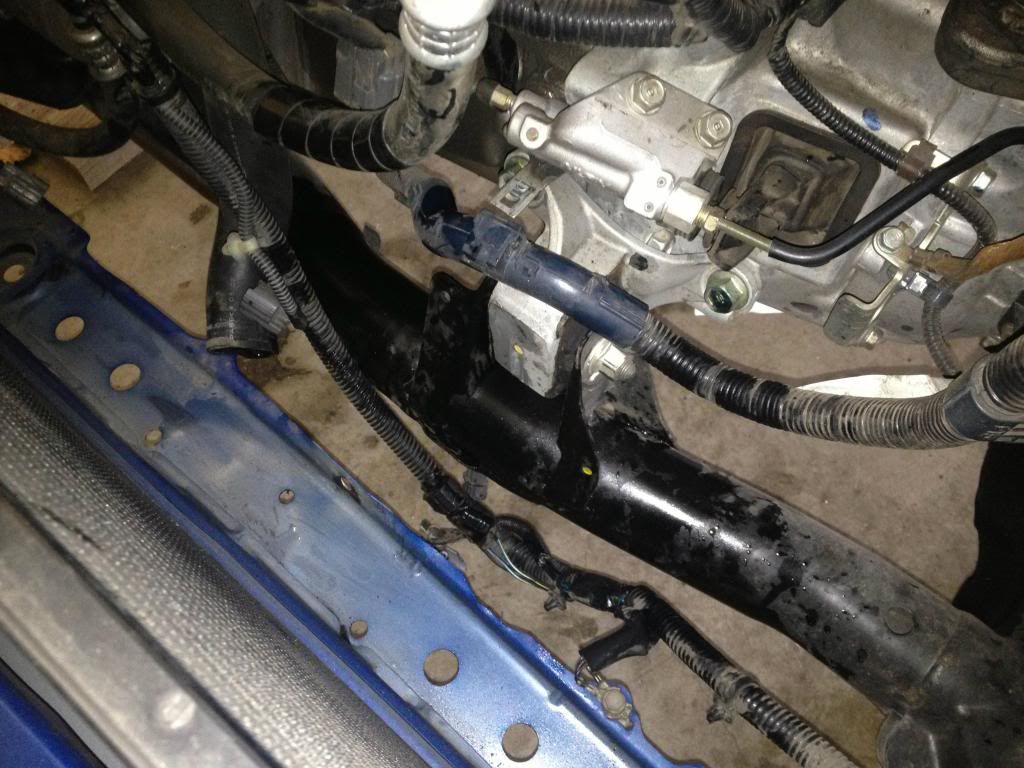
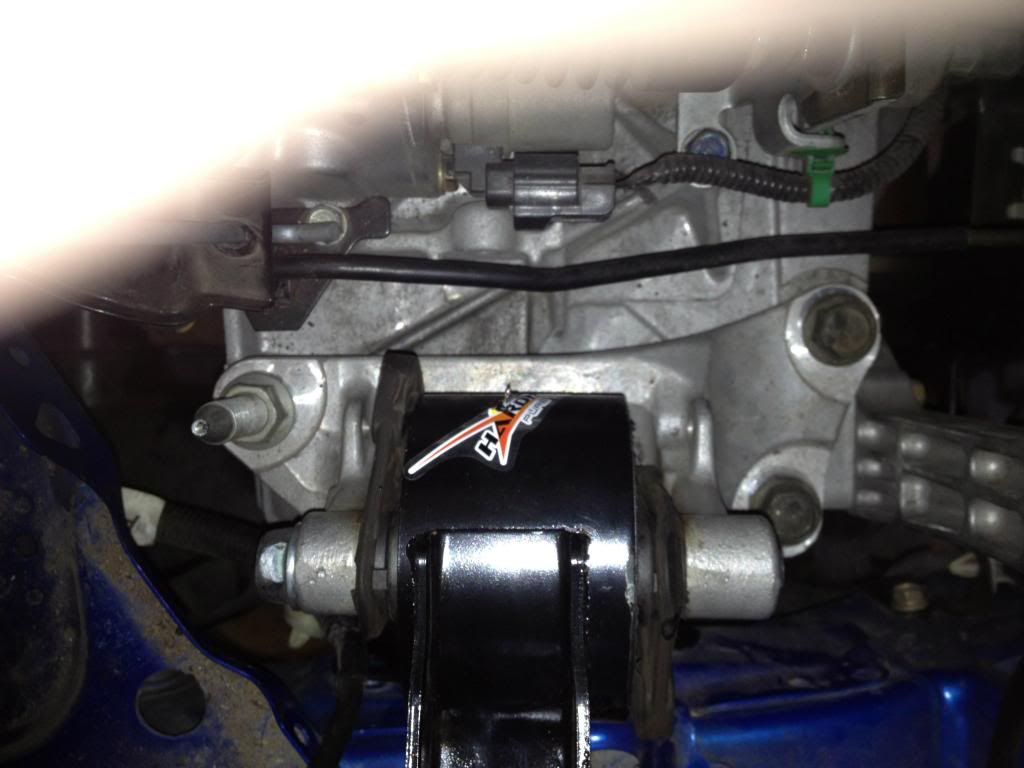
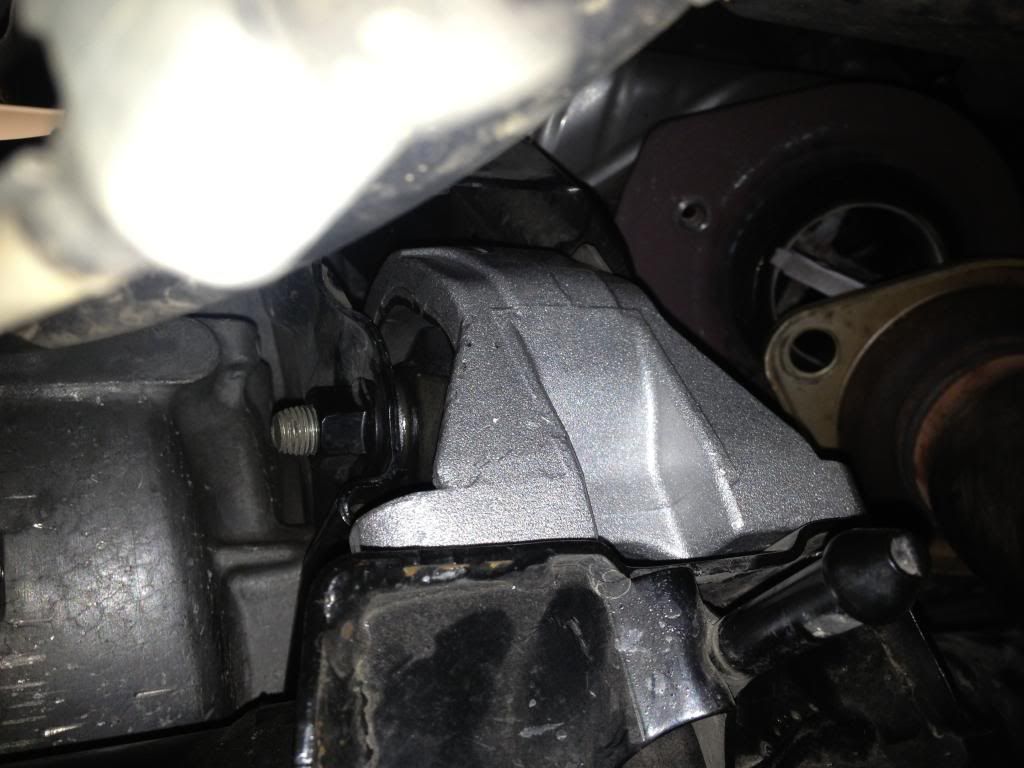
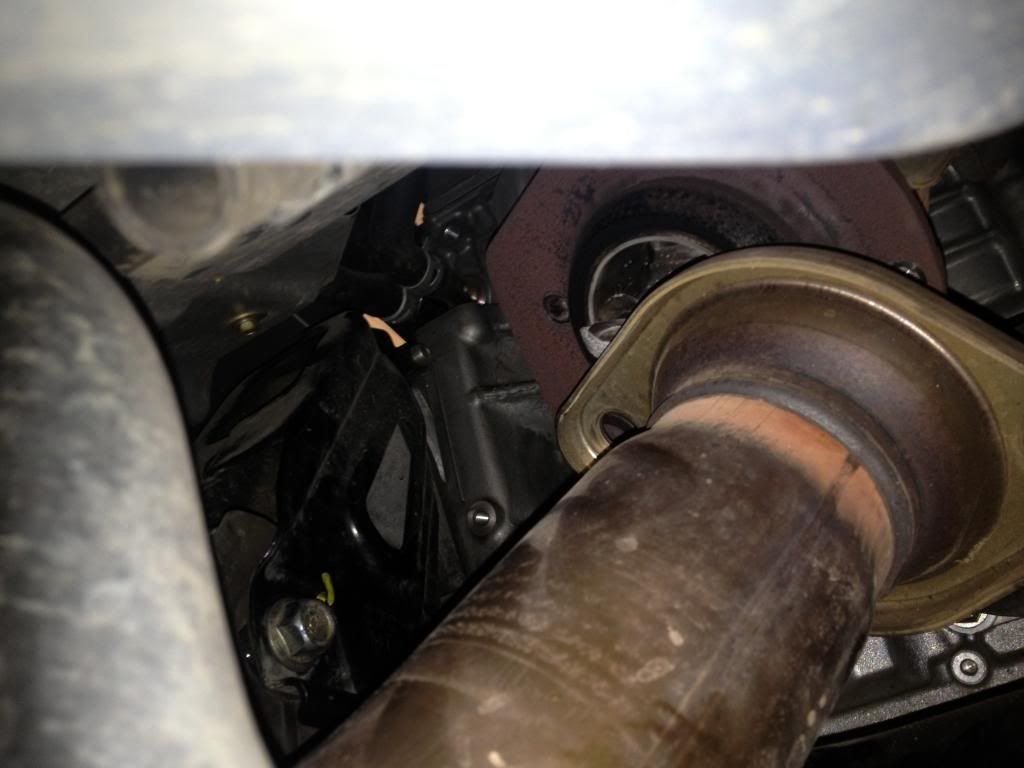
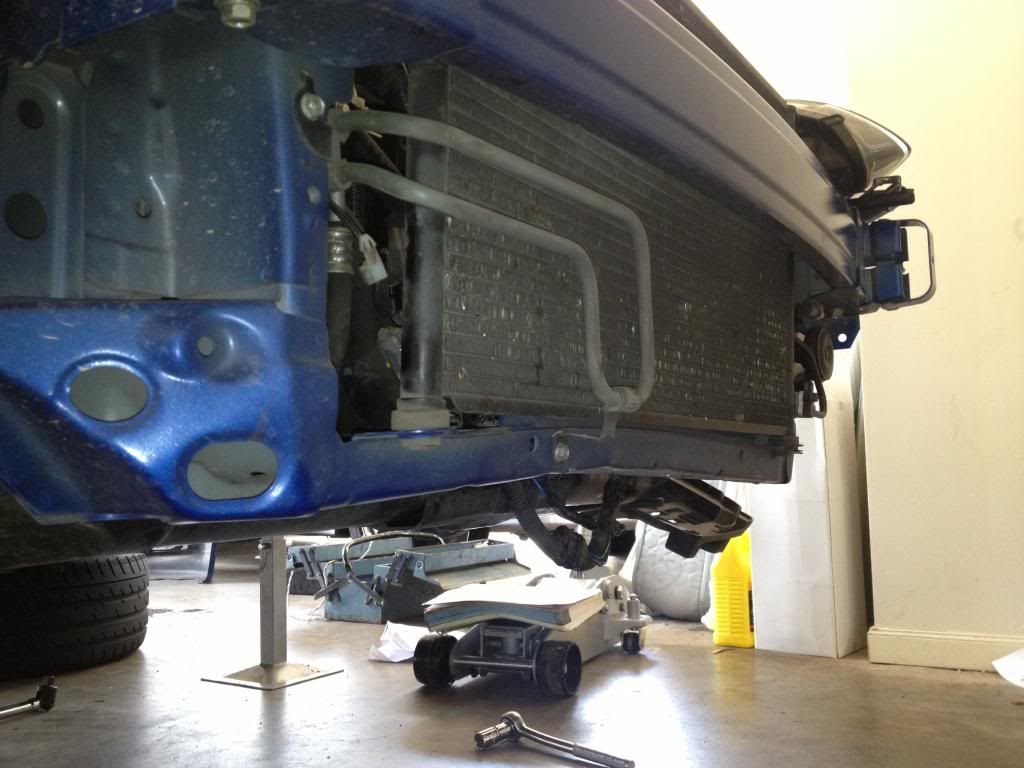
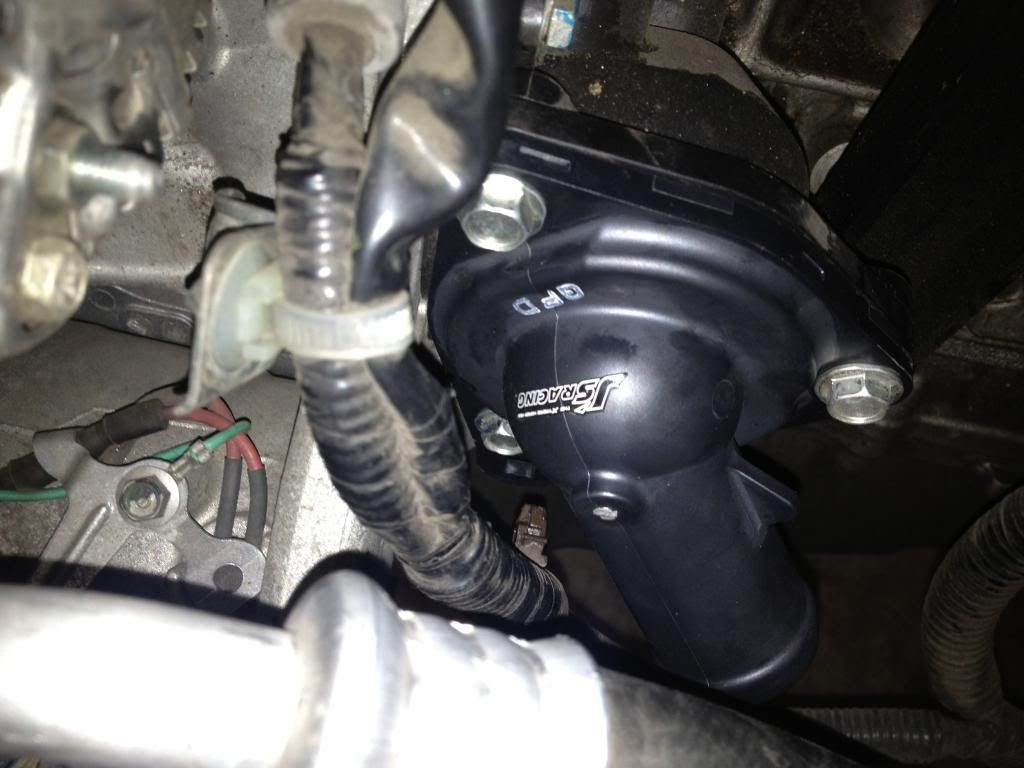
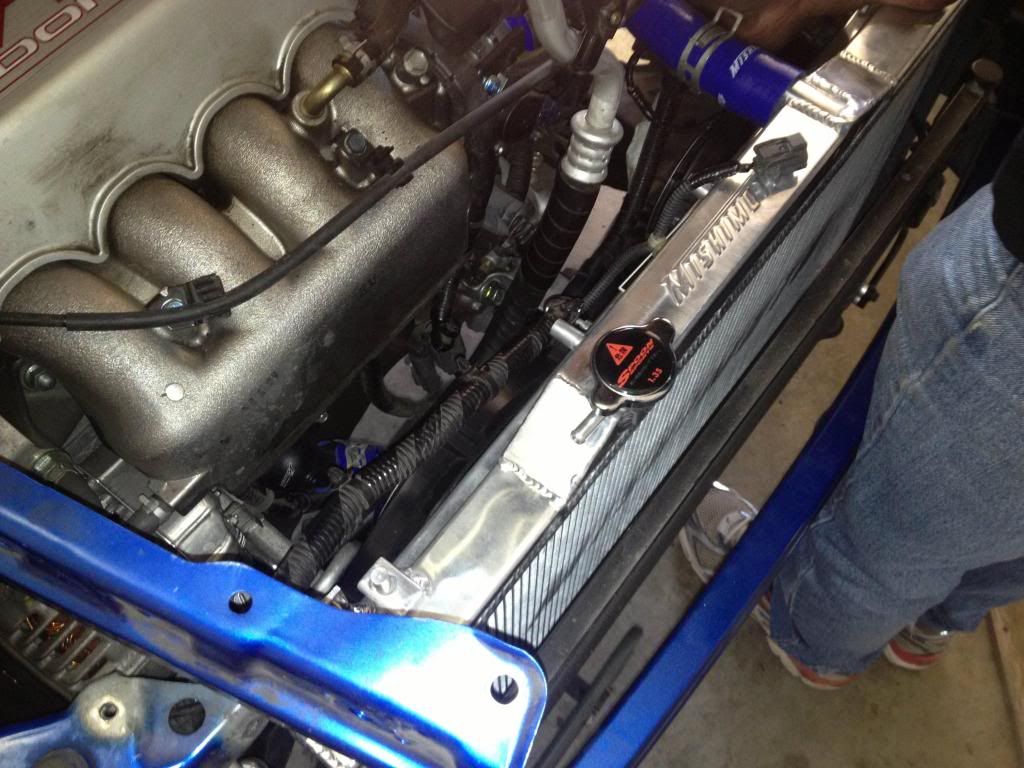
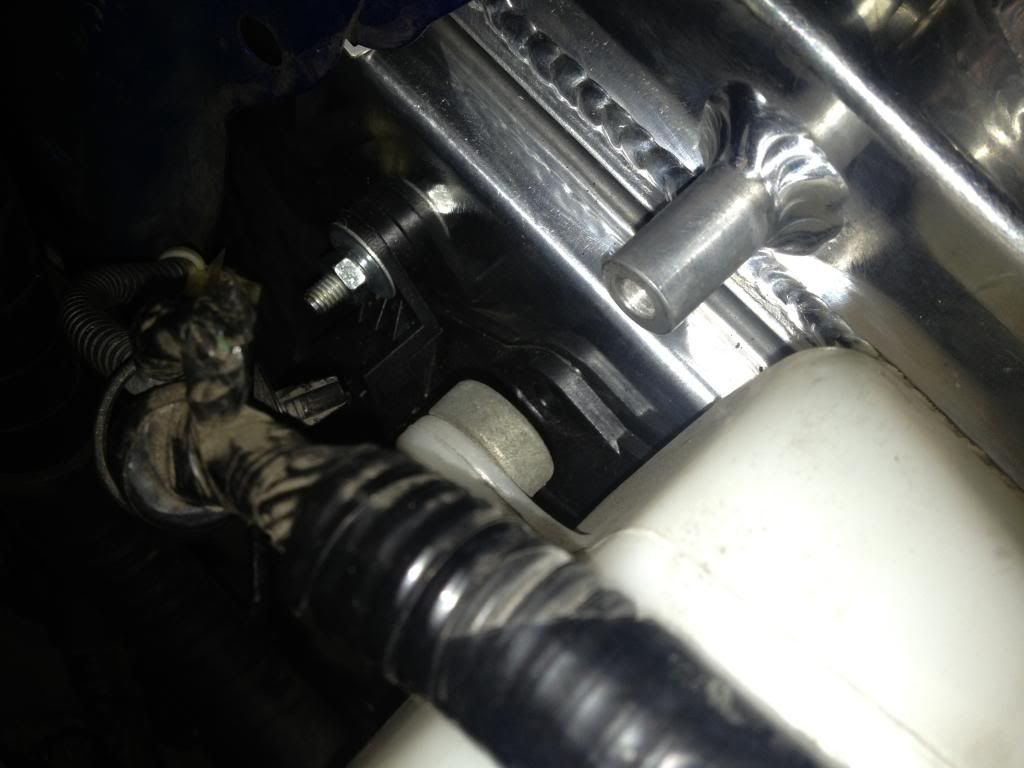
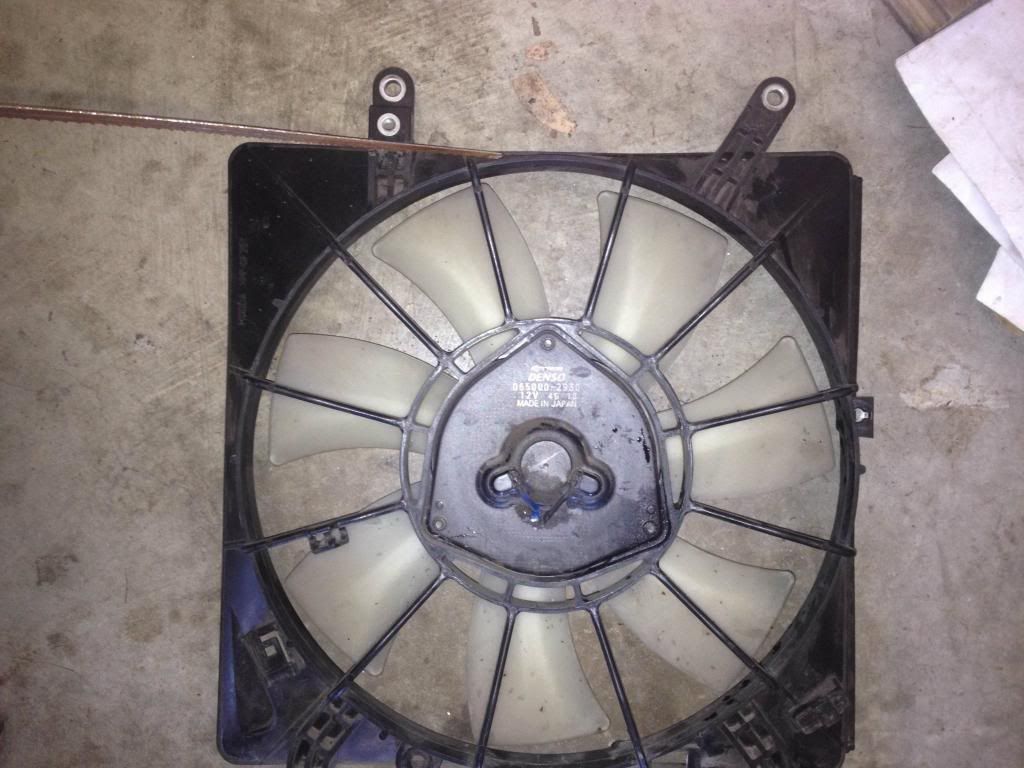
I was contemplating installing my new Hardrace engine mounts today, but decided to leave that until next week when my Mishimoto Radiator and fan shroud should arrive. Next update will be the Radiator, fan shroud, thermostat, fan switch and engine mount install. Stay tuned
        My Dc5s thread

        Comment


          #19
          Parts have all arrived for install on Saturday!

          Hardrace Engine Mounts
          J's Racing Thermostat
          J's Racing Thermofan switch
          Mishimoto Radiator
          Mishimoto Radiator Hose
          Mishimoto Fan Shroud kit
          Spoon radiator Cap
          My Dc5s thread

          Comment


            #20
            Woohoo! Good luck with the mount install. I'm sure you'll breeze through it.

            Btw, I don't think your hose to the motor is connected in the previous post.
            Official ClubITR Sponsor: www.autosphere.com.au - For all your maintenance, oils and track needs.

            Comment


              #21
              Originally posted by mugsee View Post
              Woohoo! Good luck with the mount install. I'm sure you'll breeze through it.

              Btw, I don't think your hose to the motor is connected in the previous post.
              Haha yeah I noticed that a couple of minutes after I took that pic and repositioned the clamp

              I was actually waiting for someone to point that out hehe
              My Dc5s thread

              Comment


                #22
                Nice update with the cooling mods. I ended up ordering Koyo and samco hoses. But nonetheless both are great and you can't go wrong with Mishimoto's lifetime warranty.

                Comment


                  #23
                  Originally posted by Norm View Post
                  Nice update with the cooling mods. I ended up ordering Koyo and samco hoses. But nonetheless both are great and you can't go wrong with Mishimoto's lifetime warranty.
                  Yeah I looked into getting a koyo as well, but the Mishimoto with fan shroud can be had for a good price delivered from the US and claims an OEM fit with no cutting

                  Probably it's cheaper to buy this than a brand new OEM one but I could be wrong.
                  My Dc5s thread

                  Comment


                    #24
                    Correct me if i'm wrong, but the OEM fans fit fine with the koyo radiator. You are right though, its cheaper to buy this than OEM.

                    Norm

                    Comment


                      #25
                      Sunday is going to be an epic day! Don't forget lots of photos!

                      Comment


                        #26
                        Originally posted by Norm View Post
                        Correct me if i'm wrong, but the OEM fans fit fine with the koyo radiator. You are right though, its cheaper to buy this than OEM.

                        Norm
                        I'm not sure about this. Koyo probably does fit the OEM fan but im not sure about the clearance if you have an RBC which I don't yet.

                        To be honest I just went with the Mishimoto because the company itself claims OEM fitment, so that was good enough for me
                        My Dc5s thread

                        Comment


                          #27
                          That's a cool shroud kit!

                          Nice parts.
                          ClubITR | Like

                          Comment


                            #28
                            ]Radiator + Fans + Engine mounts install

                            Today I went ahead with the install of my new Mishimoto Radiator + Mishimoto fan shroud, Hardrace engine mounts, and J's Racing Thermostat and thermo-fan switch.

                            On a whole the install went relatively smooth and can be achieved in a day or less. I will try to upload as many pics as I can as a very rough guide to how the day panned out.

                            Step 1: Jack the car up using designated jacking points. Note my not so flush bonnet


                            Step 2: Remove the front bumper and splash shield.
                            The bumper is held in place with 6 clips on the top and 4 at the bottom. Use a small flat head screw driver to pop them off. There are also a few screws underneith at the sides, and two hidden within the wheel arches up the top.
                            There are hooks under the lights so easiest way to get bumper off is hold the front with one hand and hit the bumper inside the wheel arches to get bumper off the hooks.


                            Step 3: Turn on the engine and set the heater onto high in order to open thermostats. Turn the ignition off and wait until the car cools down.
                            Once cool remove the radiator cap and loosen the drain plug (pictured) to drain the fluid. If you have waited long enough you will not scald yourself with hot radiator fluid


                            Step 4: Disconnect the hood latch connector, remove the A/C line bracket mounting bolt and harness clamps.
                            The bulkhead needs to be removed in order to create enough space. The harness clamps can be a bitch to disengage from the bulkhead as you need to shove some needle nose pliers down there (pictured). The bulkhead is connected with 4 bolts above and one below.


                            Step 5: Remove the radiator reserve tank (White tank on the front left side of engine bay), loosen the AC condenser in front of radiator, and unscrew fans from radiator.
                            Remove the lower and upper radiator hoses, disconnect the thermofan switch connector (next to the lower rad hose) and with a bit of luck this should happen....


                            I also removed the OEM fans in my install with involves disconnecting all the harness connections.

                            Step 6: And now for the engine mounts!! The front mount was a lot easier than i have heard when no radiator is involved. Place a jack with malways/phonebook under the engine. Remove the bolt through the center of the mount first. The other two top bolts can be attacked with a socket and wrench by moving the harness pictured out of the way. The third bottom bolt needs to be loosened with a spanner due to lack of space for a socket wrench.


                            Step 7: Passenger side mount. This mount requires removal of the battery for space to remove the center bolt. Also as a tip when aligning the new mount you can loosen the three nuts of the silver plate under the mount (pictured) in order to give some wriggle room.


                            Step 8: Driver side mount. Unfortunately I did not get a pic of this one. You have to loosen the power steering reservoir, and ABS unit in order to gain access to all the bolts. The main bolt requires a spanner or long socket due to the height of the thread. It can be a bit of a challenge to get off but it will come.

                            Step 9
                            : Rear mount. This one is fun as with a stock exhaust you can't get the mount off due to the downpipe being in the way. To remove the downpipe you need to use a 12mm socket with long extensions and a breaker bar attached to remove the two screws and drop the pipe. Once out of the way you should have enough room to remove the center bolt and mount.


                            Now with enough wriggle room.


                            Thats all the mounts in!!!

                            Here is a quick pick of why my bonnet was not sitting flush. This is what happens when you jack up on the radiator support (not a good idea).
                            The support can be bent back very easy. Once the radiator was out me and my dad used a piece of wood and mallet to bend back down. The result is my bonnet almost looks like factory fitment now


                            Step 10: Thermostat fitment. The thermostat is at the end of the bottom radiator hose. Three bolts and its out nice and simple. My new J's Racing one kicks in at 65C instead of OEM 78C


                            Step 11: The Mishimoto fan shroud does not come with proper fan connectors so we chopped the OEM fan connectors off and butt connected the wires together and wrapped them in electrical tape.


                            Step 12 The J's Racing thermo-fan switch was connected up to the Mishimoto Radiator and the radiator was bolted up to the fan shroud. Mishimoto does not supply lower bolts so we had to improvise with some spare ones we had in the garage. The radiator definitely goes in a lot easier then it comes out!! The mishimoto combo is a little thinner than stock dispight the radiator being a two row configuration.


                            Step 13: The Mishimoto fan shroud does not line up with the stock reserve tank upper bolt. As such we took a hack saw to the stock fan and did a little DIY


                            Cut this piece off


                            DIY bracket!


                            Step 14: Once all the hoses and harness connections are in place its time to fill her up. It will take approx 5 litres or so.
                            I purchased two 5L bottles of premix Tectatoly performance 100 coolant but only ended up using one so far.. Once its full keep the radiator cap off and turn the engine on with heater on full and burp out any air in the system. Squeeze the hoses to make sure no air is trapped in the system. Watch the temp in the car and look for any leaks in the system Refit the bumper and you are good to go


                            Initial impressions
                            I took the car for a quick spin and immediately noticed more engine noise in the cabin due to the mounts. So far i'm pretty impressed with them as the vibrations are not as bad as I thought they might be. My glovebox is buzzing a little, i can here something in the back rattling, under 3k the rear mirror is a little blurry. But seriously if all im getting is a free massage in my seat and relatively minimal vibs at idle then I think these mounts are quite good.

                            The water temps stayed low on my spin and I got to hear the fans come into action. These fans are a fair bit louder than stock and sound a little like a jet engine haha, but they aren't too bad. The good thing about the Mishimoto is if you want you can use the OEM fans with the Mishimoto Radiator if you so desire.

                            Dan
                            My Dc5s thread

                            Comment


                              #29
                              Great work on the D.I.Y!
                              Shak's S2000

                              Comment


                                #30
                                Re: DanR's DC5S

                                Nice simple DIY mate!

                                Comment

                                Working...
                                X