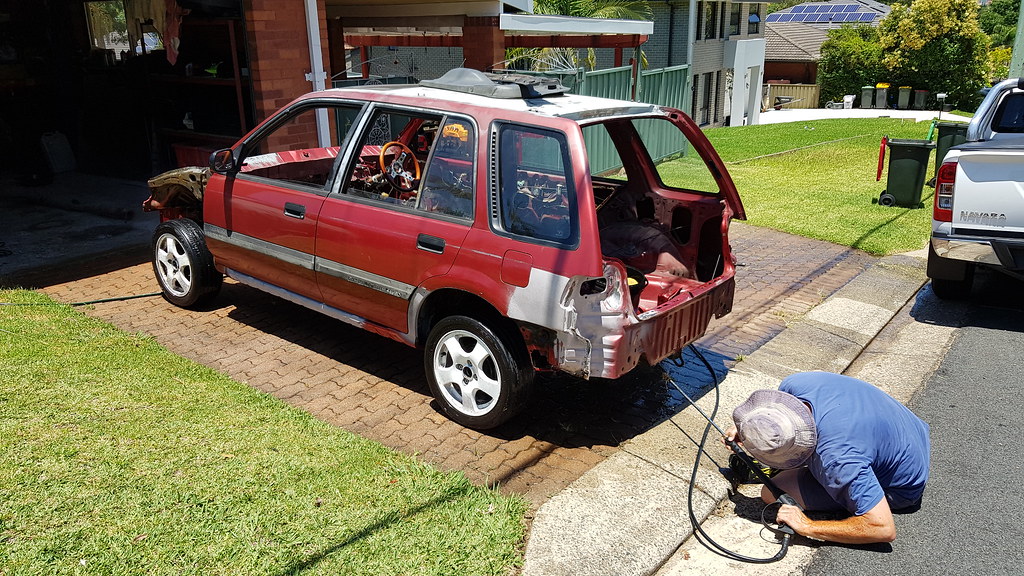
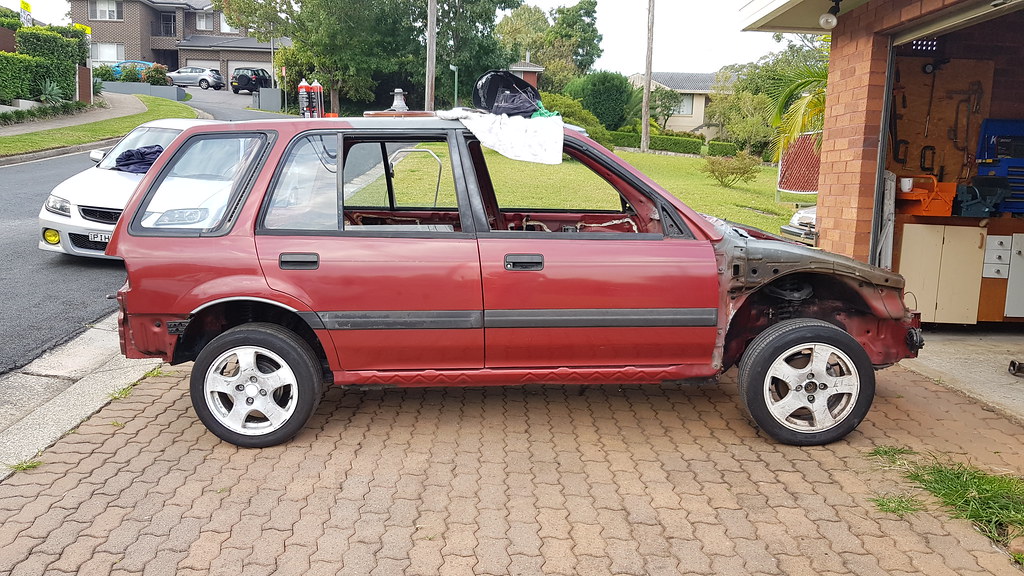
So the garage got a brand new 2 stroke pressure cleaner for Christmas, so to start off the day we decided to clean the entire car, so much crap in the wheel weels and engine bay! Some of the paint even came off from the chassis behind bumper bars etc
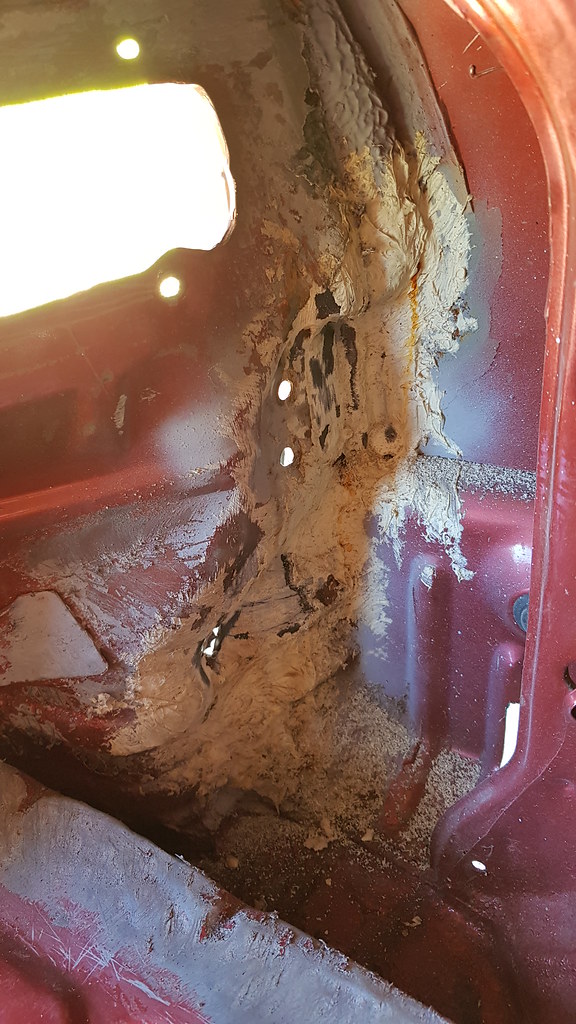
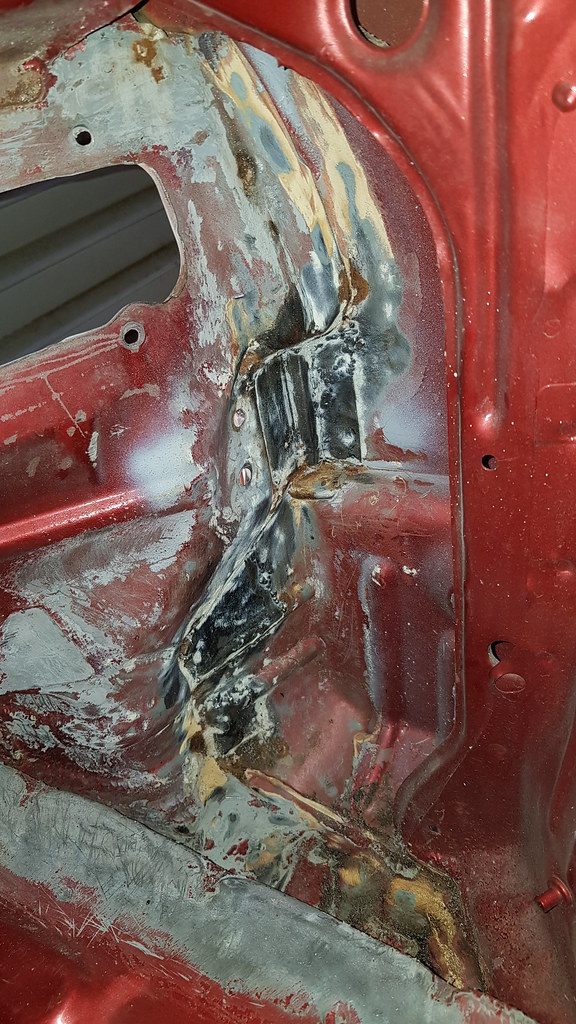
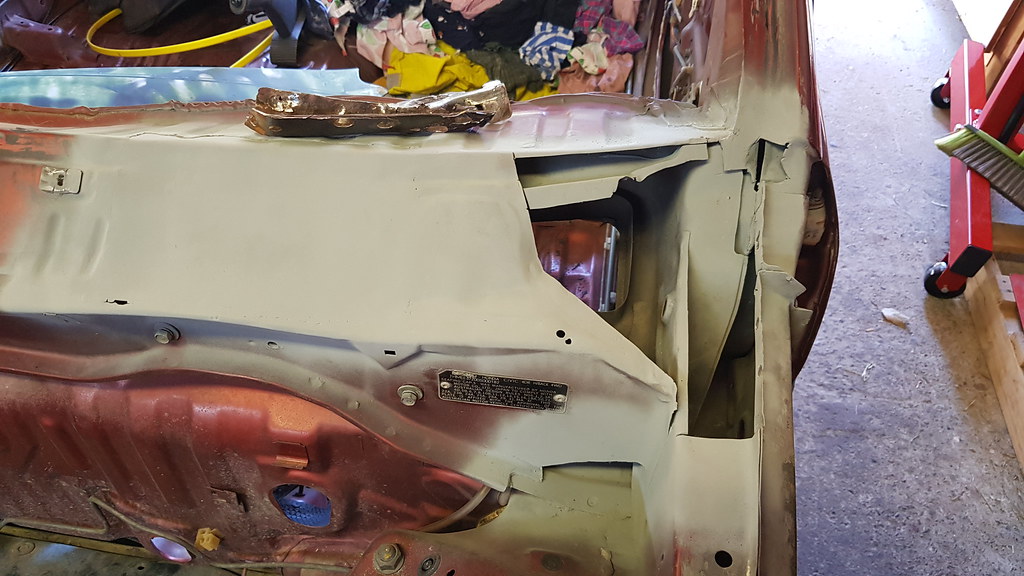
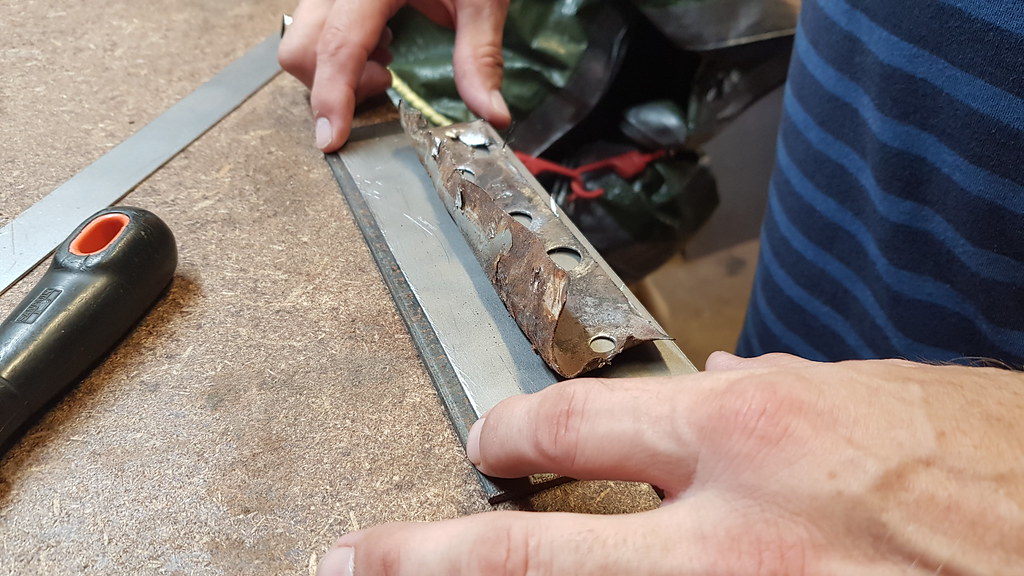
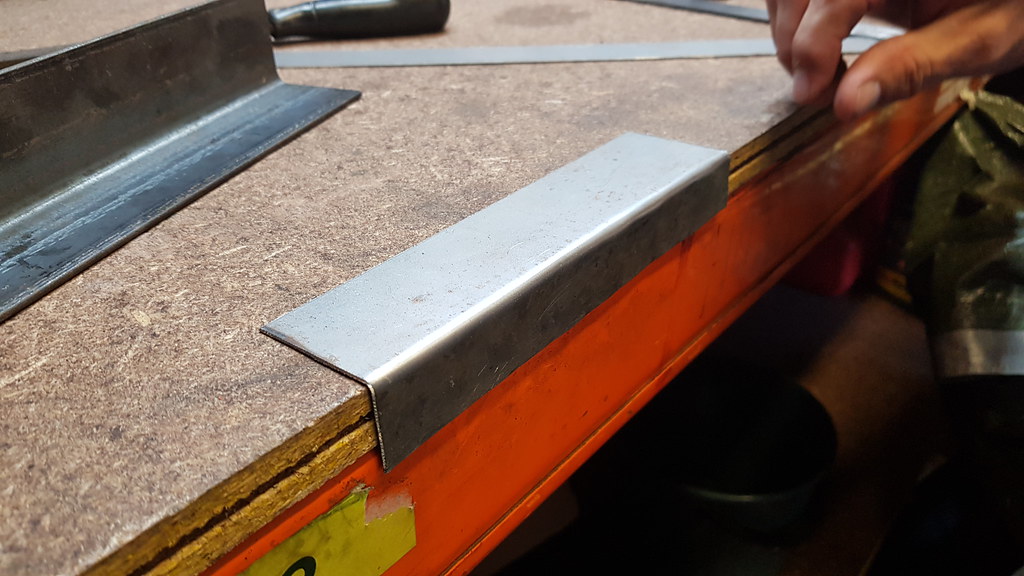
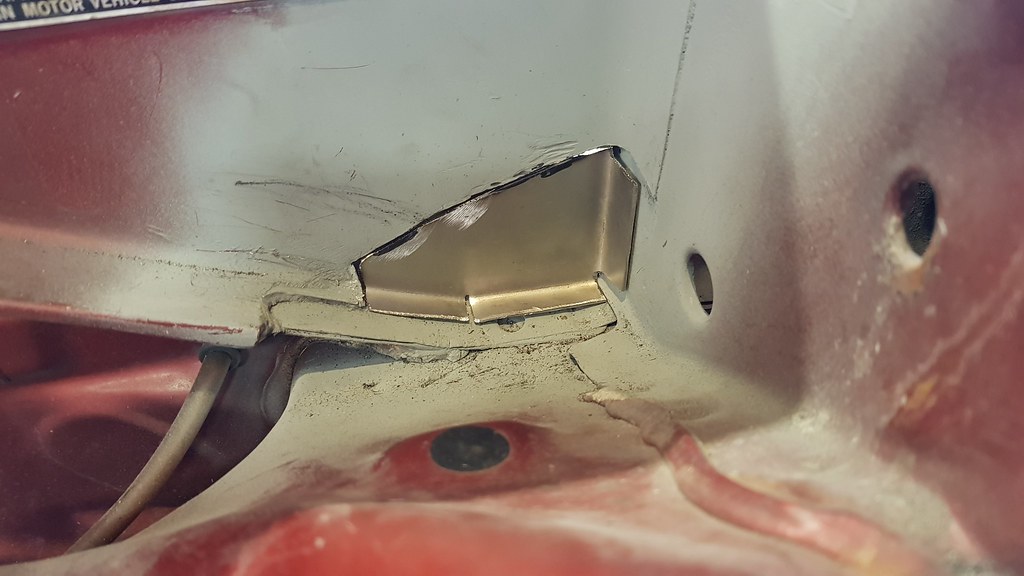
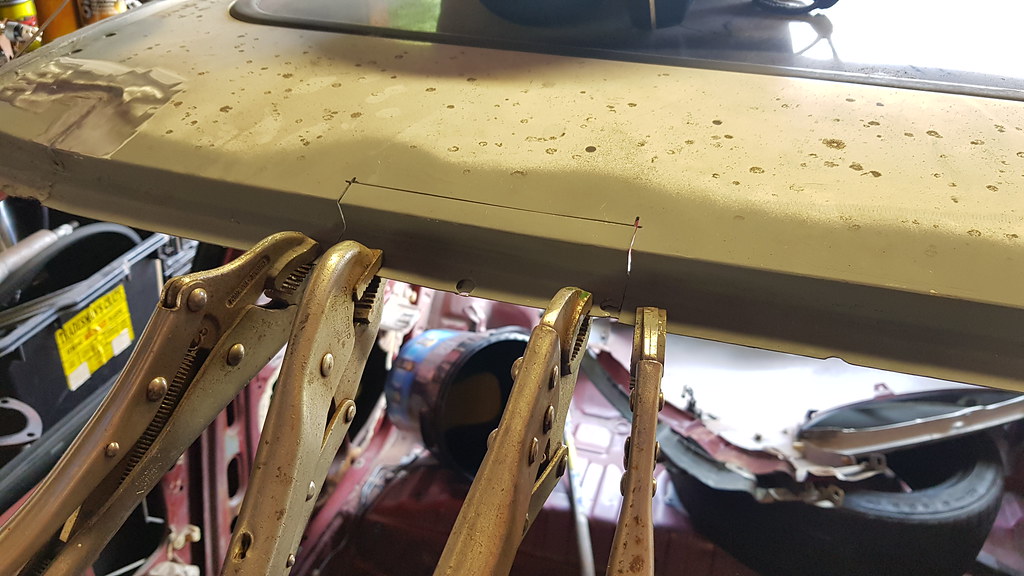
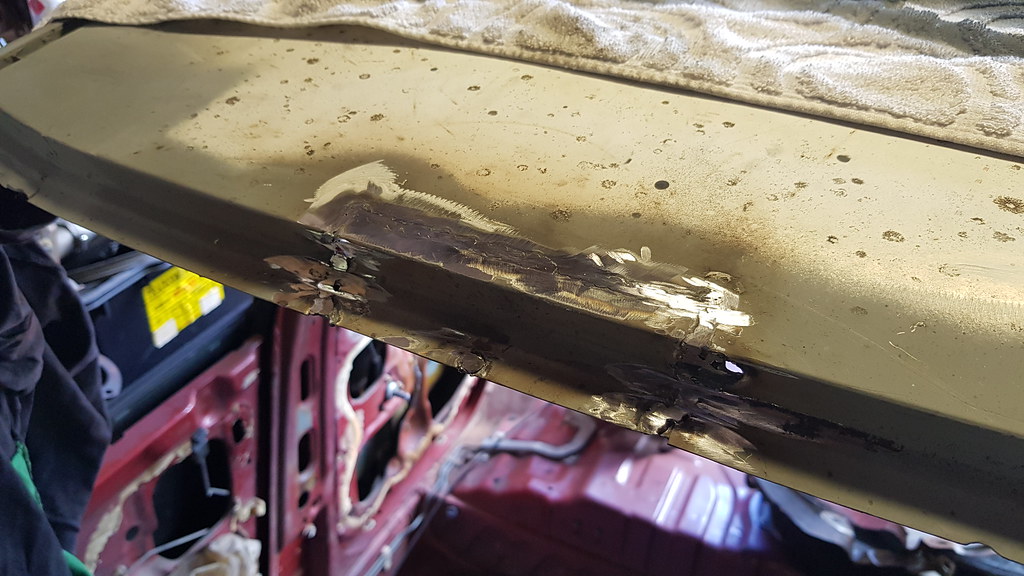
As I'm going away to Japan next Wednesday for 3 weeks we decided to just cut out any rust we could find as I got a new dremel for Christmas to get into those tight corners, and then spray in the weld through primer to protect it until I'm back, first off was the corner behind the passenger shock tower:
Before:
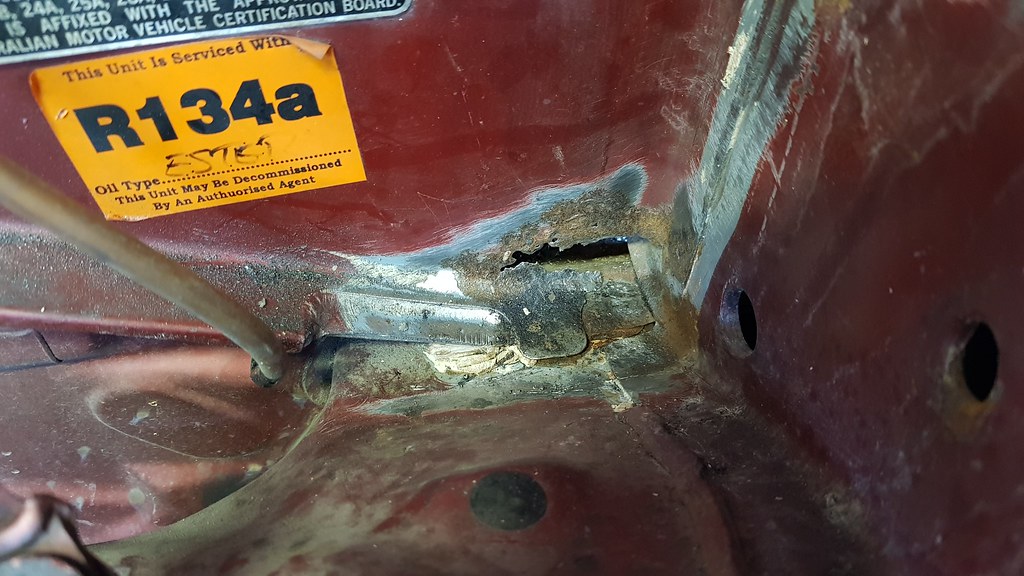
After:

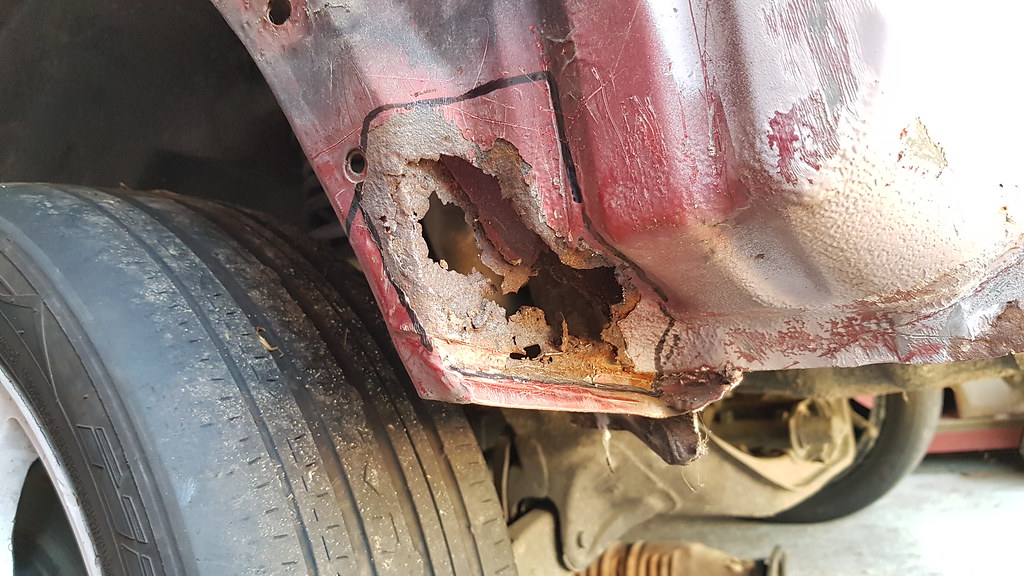
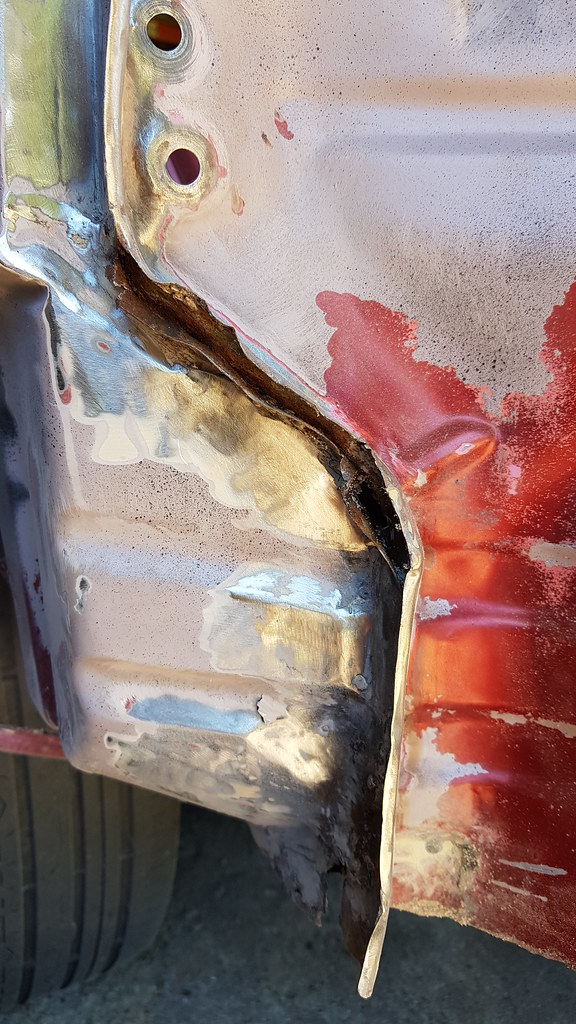
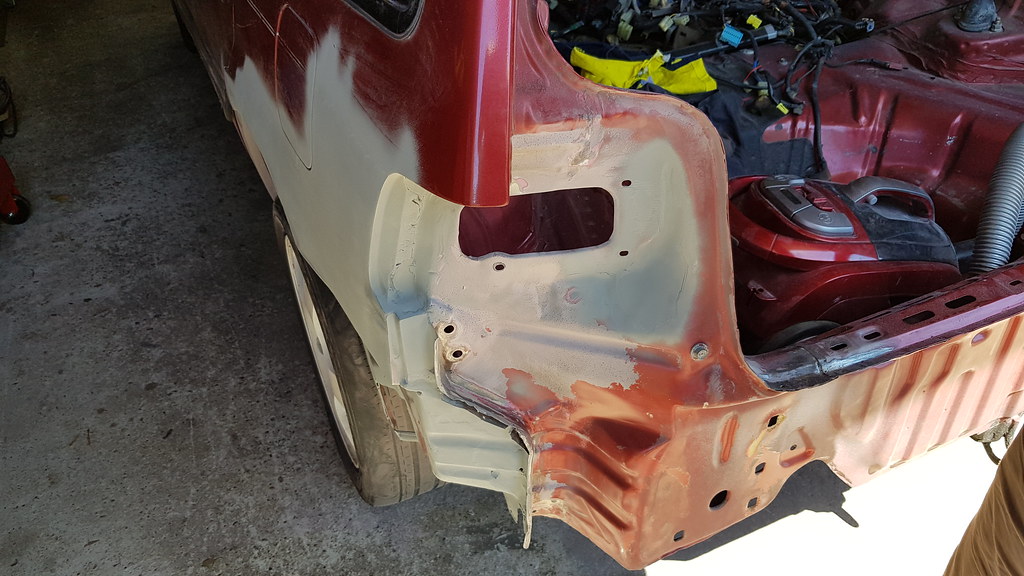
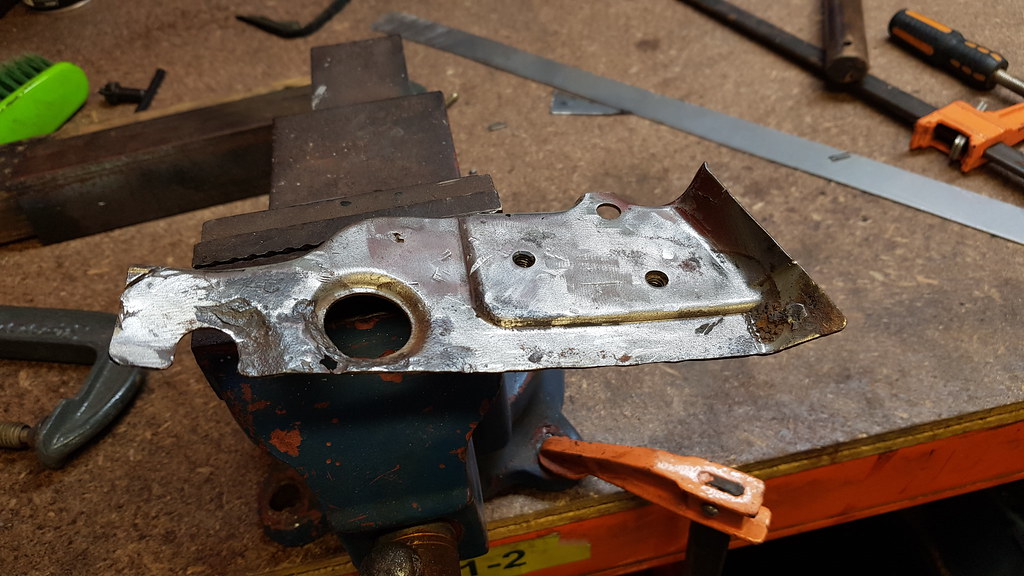
Behind the rear wheel, passenger side
Before:
After:

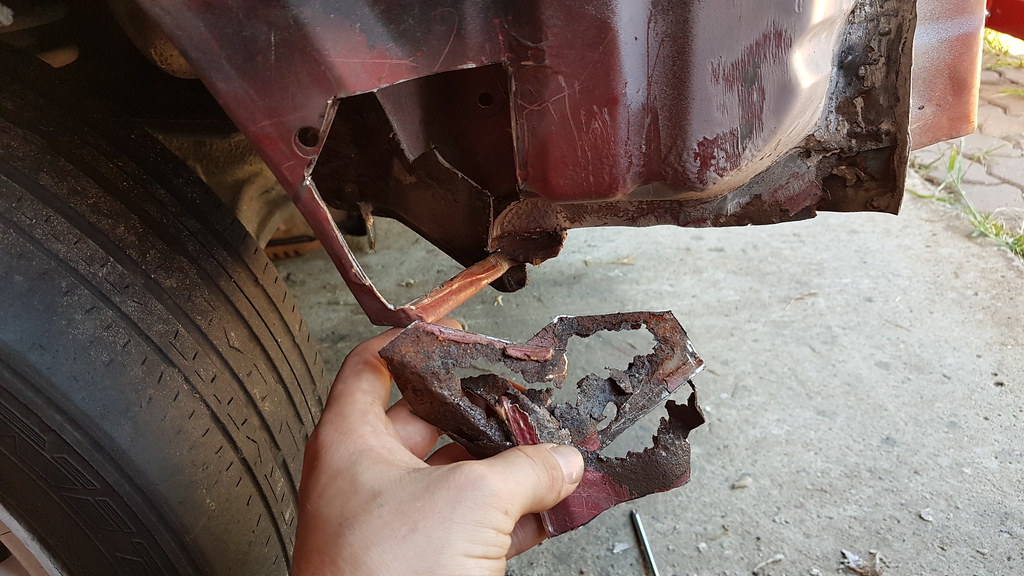
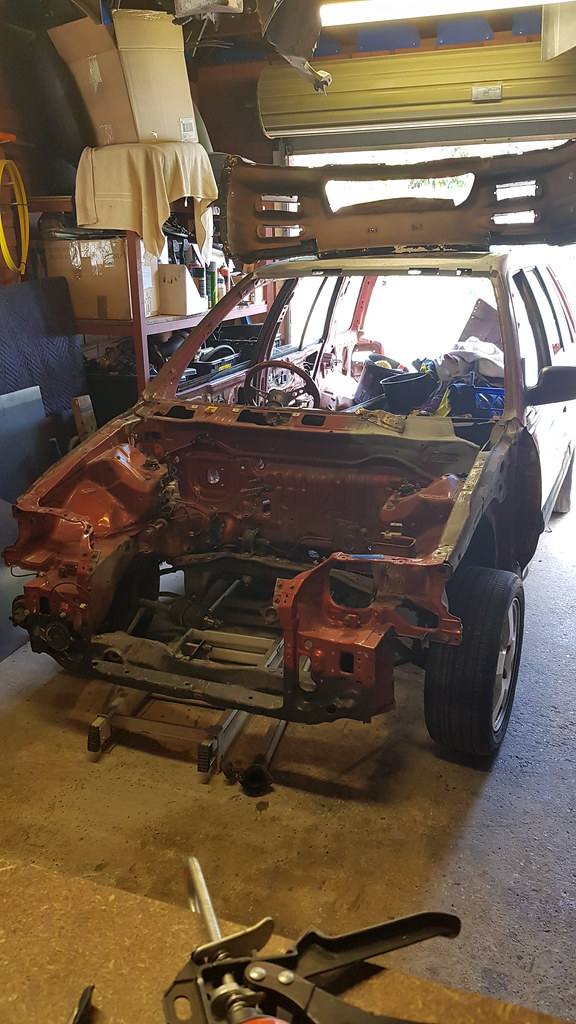
Next up was this crusty rear passenger corner, previous owner mentioned a rust repair around the tail light area (common rust spot) however it looks like whichever dodgy/useless 'panel beater' did this did a peasant job, and yes, now even worse with more rust.. Yep this one is interesting, kinda don't want to think about it until after Japan
Before:
After:
Outside view:
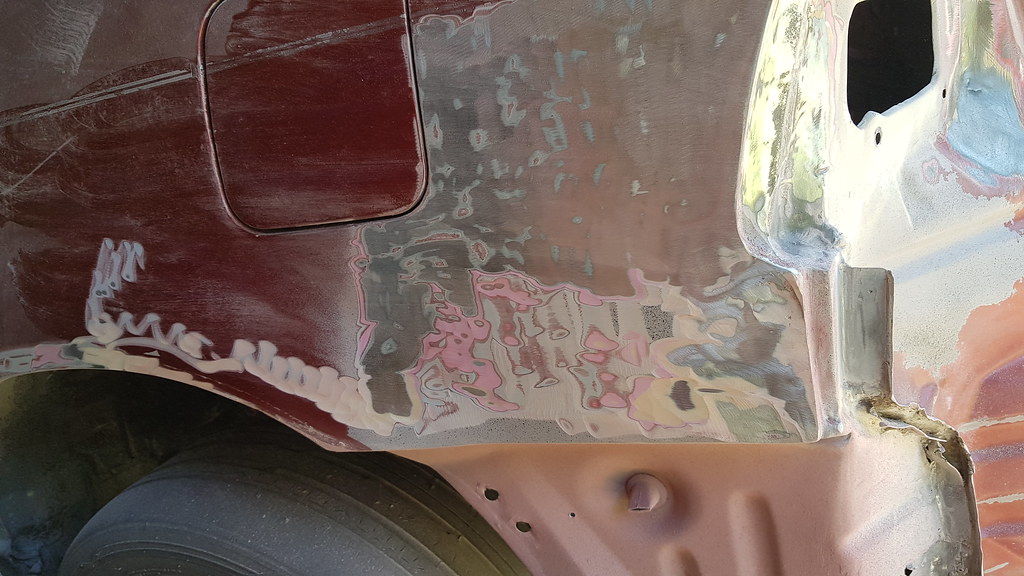
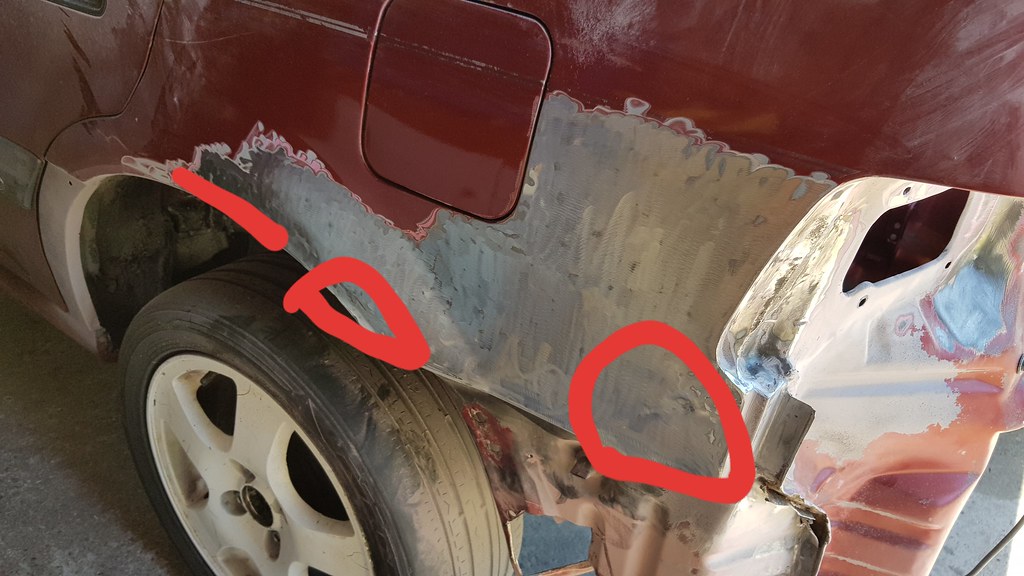
Annnnnnnd then the icing on the cake. You may have seen in previous photos, the passenger rear corner had primer on it from the previous tail light rust repair job, I decided to take back the primer to see why they sprayed so far up the panel.. sigh definitely a big toll to the build.


The circled areas are where the damage is, unsure what caused it but dented in panels, not going to lie when I found this I thought to myself why am I even bothering with this, but I'm not quitting on this so my father and I will sit down and look at it when back from Japan and go from there, try our best to pull it and fix it properly. I'm sure some bog will be required for the finishing touches, so with this I decided to just spray everything in primer and leave it at that.
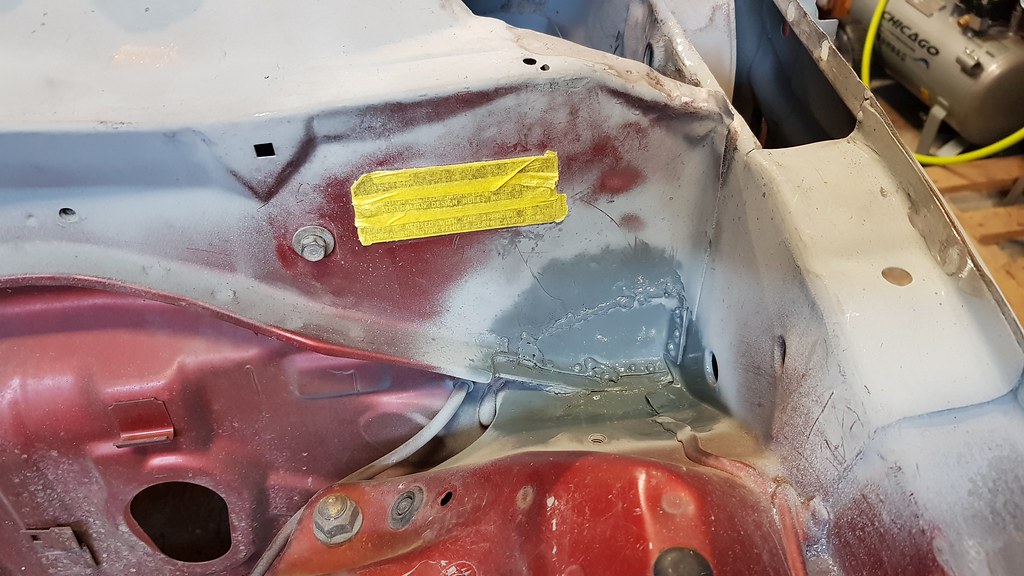
As I'm going away to Japan next Wednesday for 3 weeks we decided to just cut out any rust we could find as I got a new dremel for Christmas to get into those tight corners, and then spray in the weld through primer to protect it until I'm back, first off was the corner behind the passenger shock tower:
Before:
After:
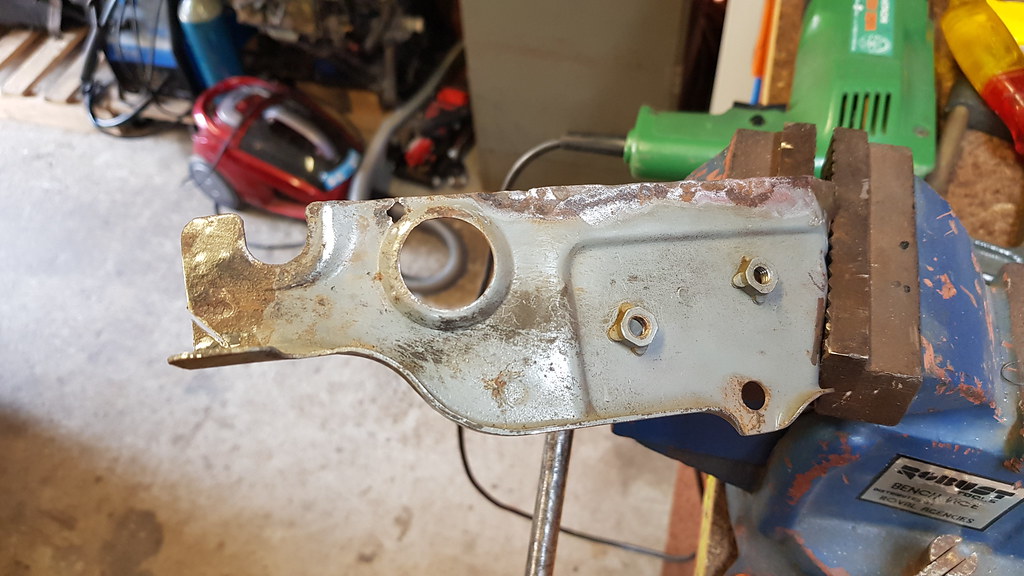
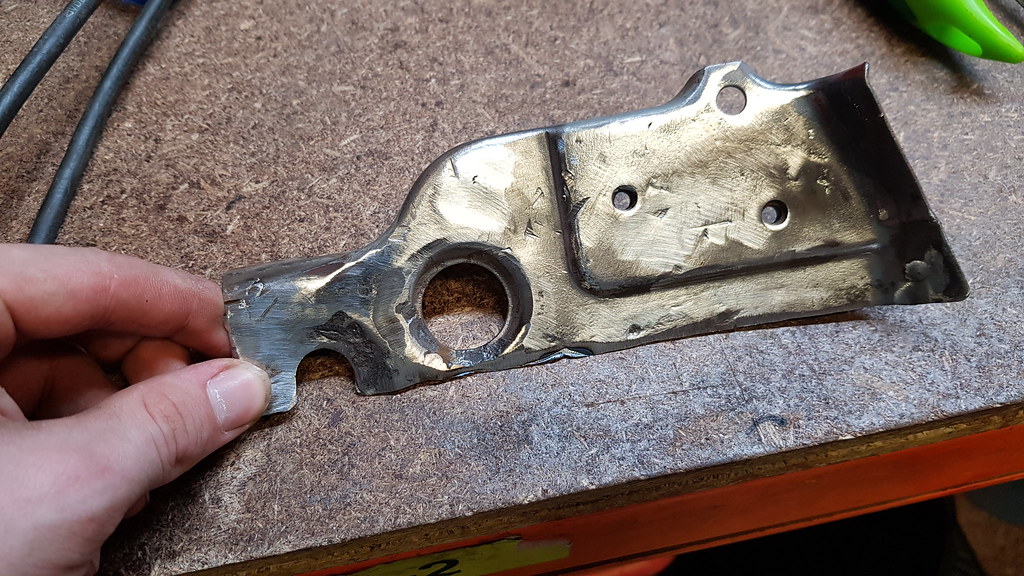
Behind the rear wheel, passenger side
Before:
After:
Next up was this crusty rear passenger corner, previous owner mentioned a rust repair around the tail light area (common rust spot) however it looks like whichever dodgy/useless 'panel beater' did this did a peasant job, and yes, now even worse with more rust.. Yep this one is interesting, kinda don't want to think about it until after Japan
Before:
After:
Outside view:
Annnnnnnd then the icing on the cake. You may have seen in previous photos, the passenger rear corner had primer on it from the previous tail light rust repair job, I decided to take back the primer to see why they sprayed so far up the panel.. sigh definitely a big toll to the build.
The circled areas are where the damage is, unsure what caused it but dented in panels, not going to lie when I found this I thought to myself why am I even bothering with this, but I'm not quitting on this so my father and I will sit down and look at it when back from Japan and go from there, try our best to pull it and fix it properly. I'm sure some bog will be required for the finishing touches, so with this I decided to just spray everything in primer and leave it at that.


Comment