Great work on the rust repair sections. Definitely tedious work and requires a lot of patience and skill!
Announcement
Collapse
No announcement yet.
The RT4WD Wagon!
Collapse
X
-
Cheers mate! Definitely no panel beating skills here so should be intersting to see how everything turns out. I still have to update from last weekend, good news is the roof should be getting welded back on this Saturday!Originally posted by freakygeek View PostGreat work on the rust repair sections. Definitely tedious work and requires a lot of patience and skill!Check out my 89' hatch track build!
http://forum.clubitr.com.au/showthre...856#post295856
Check out my RT4WD Wagon Resto/Turbo project!
http://forum.clubitr.com.au/showthre...951#post295951
Check out my EF9 SiR Resto build!
http://forum.clubitr.com.au/showthre...?16994-The-EF9
Comment
-
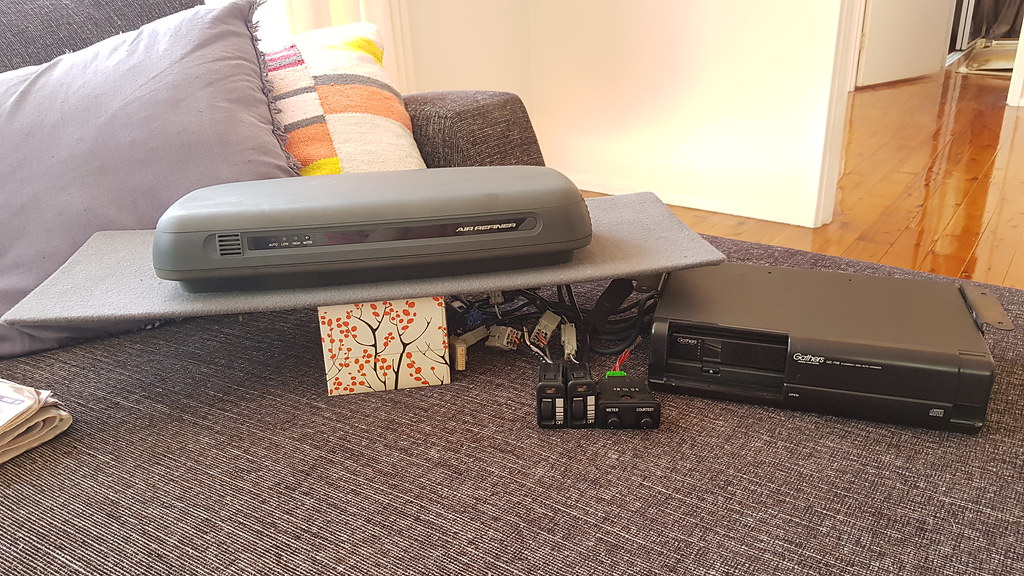
Weekend that just passed we made some big progress, to the point where the roof is now ready to be welded back on. However just as I was making a coffee before looking at the wagon my mate Ram messaged me 'DROP EVERYTHING RIGHT NOW!' with a link to Pick N Payless (wreckers), with the link containing a JDM import Honda Legend, with some goodies. $59 AUD later :P
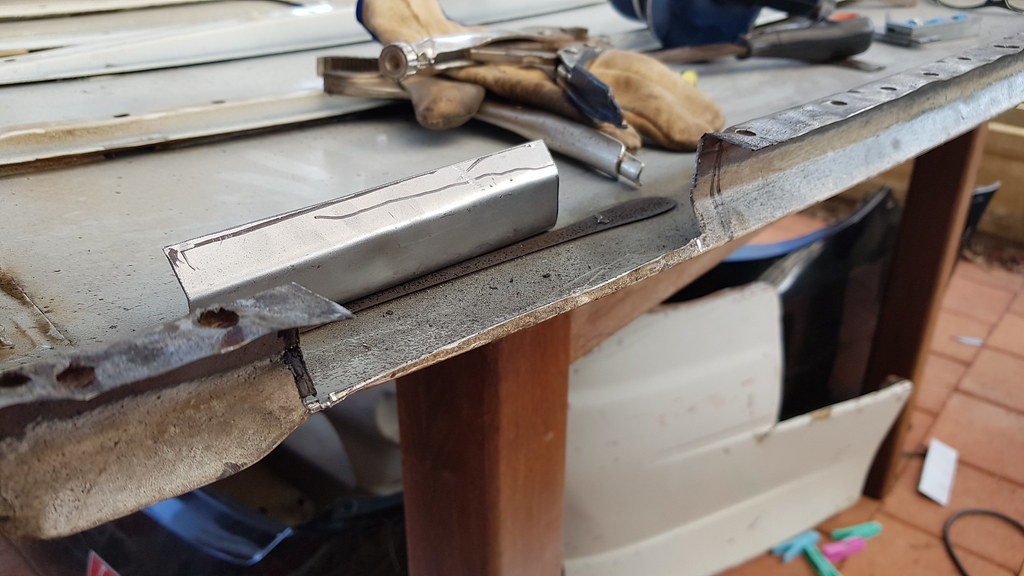
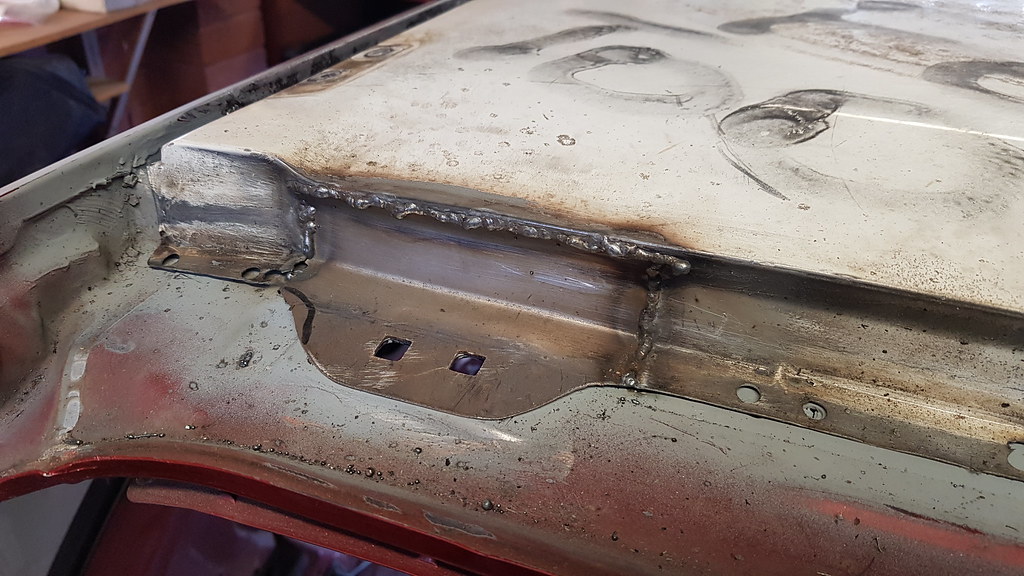
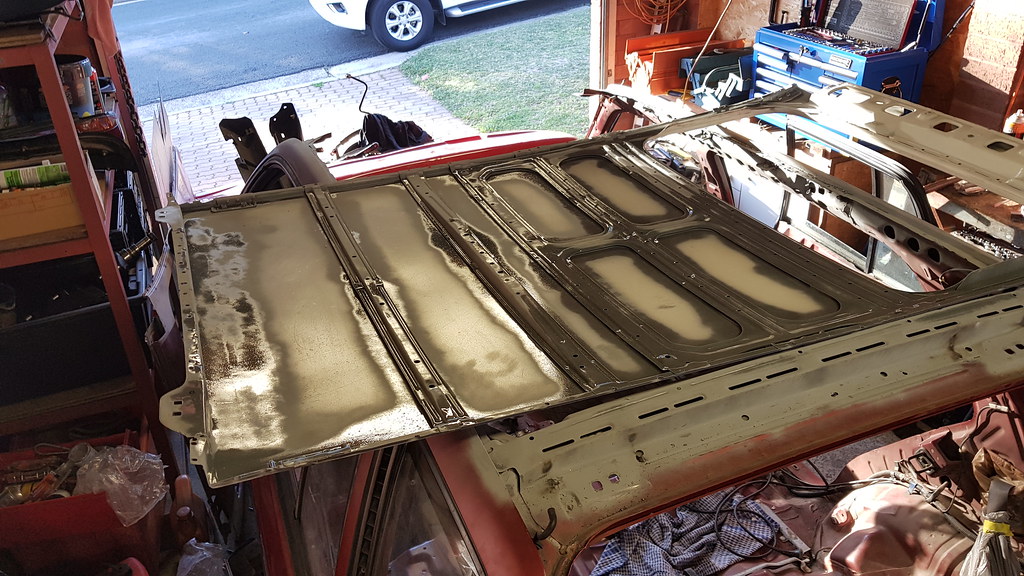
For the actual wagon work, the day started off with bending up another piece of sheet metal for the roof skin hinge section on the other side. Same process as the other sode, just obivously flipped. Once this was done I went about running the wire wheel over the underneath of the roof as surface rust had started to appear around the edges of the webbing.

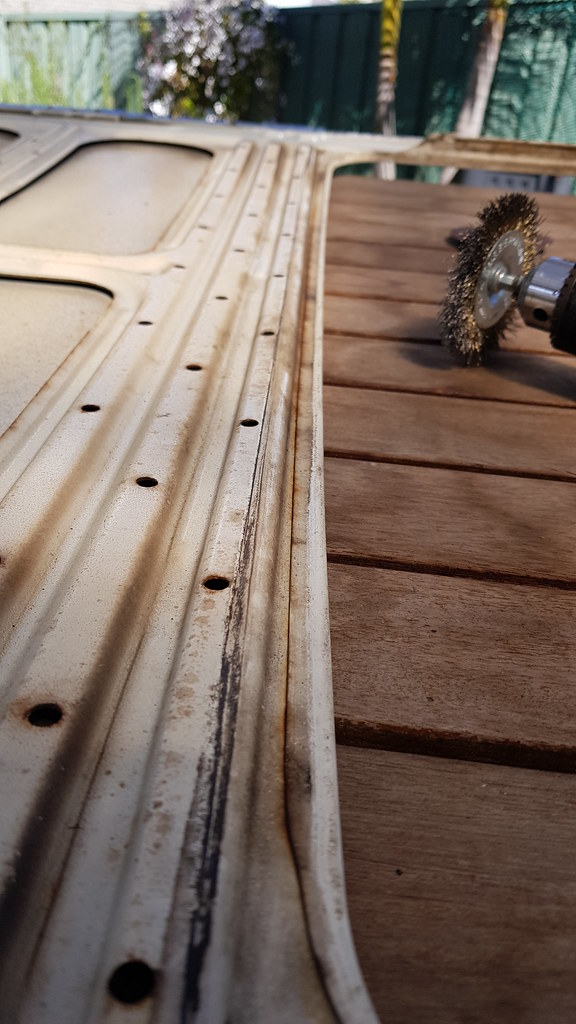
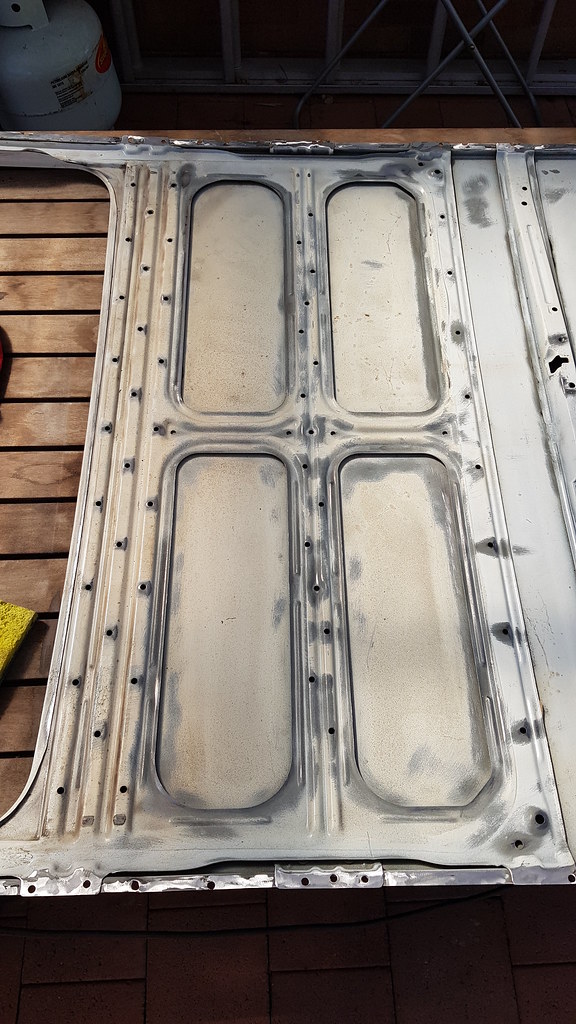
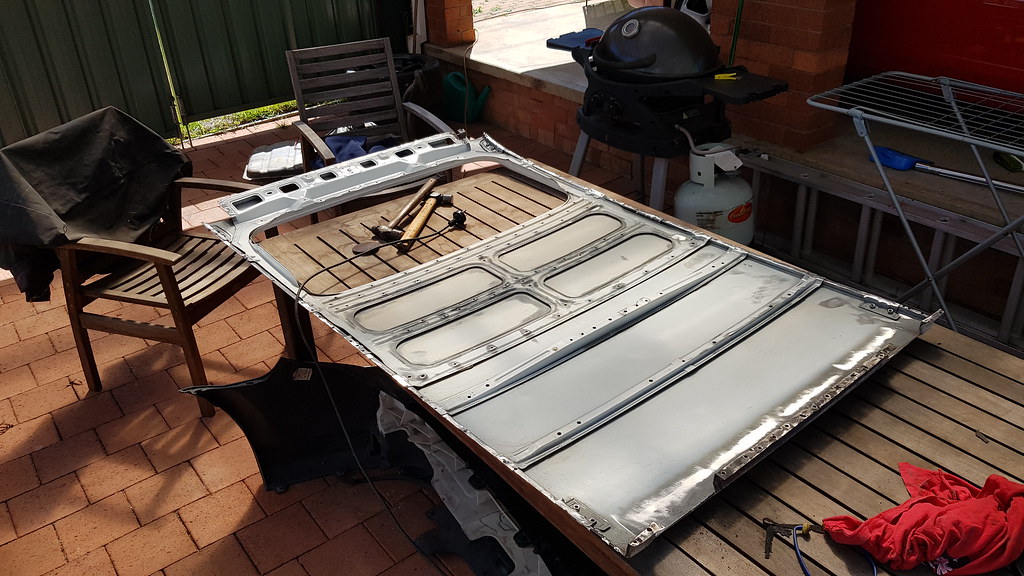
Next up we placed the roof skin back onto the chassis and positioned the 2 tabs so the 2 square holes for the hinge could be marked from underneath. Once drilled a square file was used to achieve the square hole.
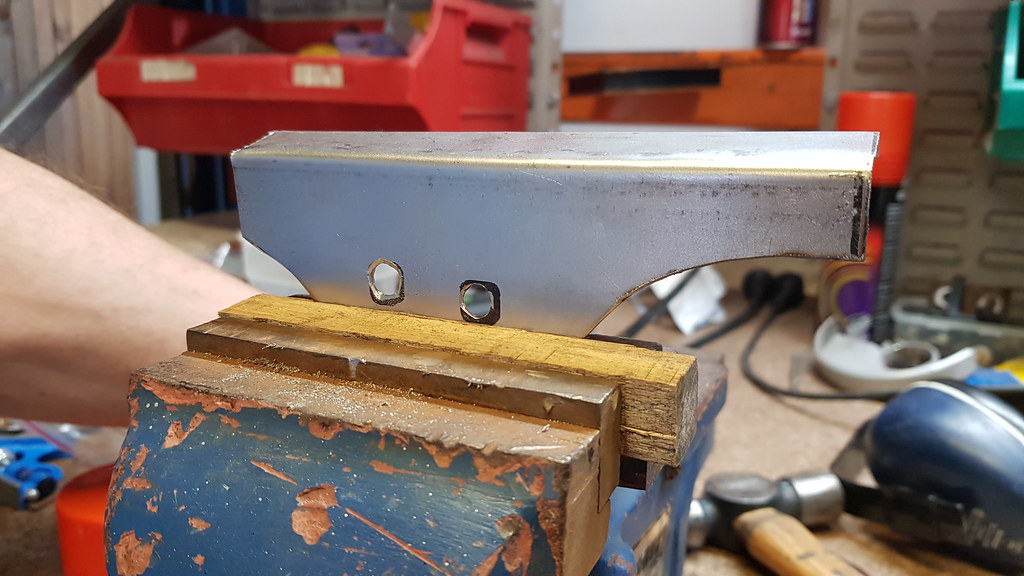

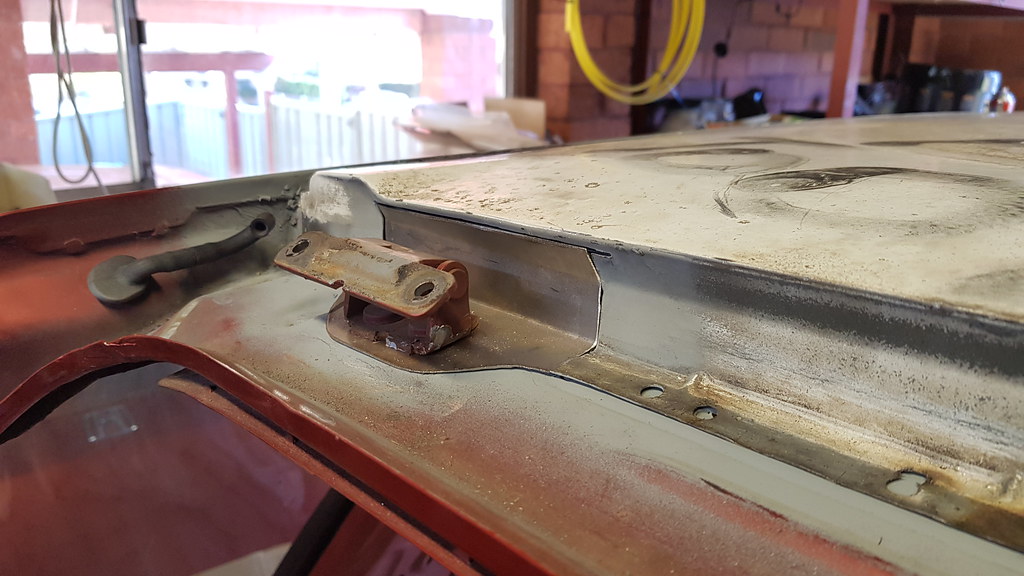
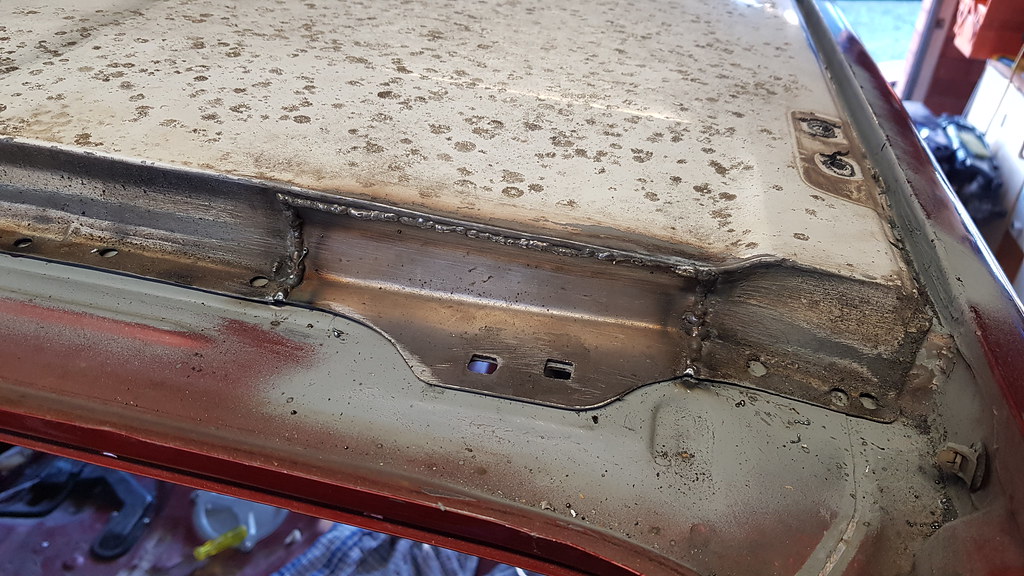
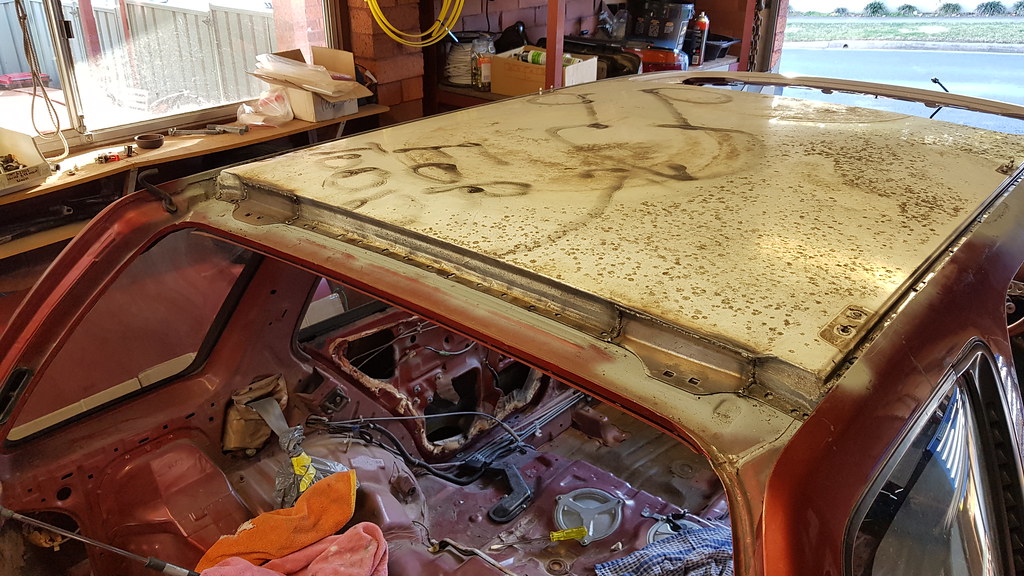
With these 2 tabs ready, we left them bolted in on the hinges and went around tacking them, followed by completely welding it up off the car. We stood the roof up vertically where there was a step in the back yard so I could weld the area flat.
Came out quite nice, one or two small holes blew through so a little extra welding was required! And the roof is ready to be welded on! I'll have to grind down the welds first obviously but apart from that we are looking good!
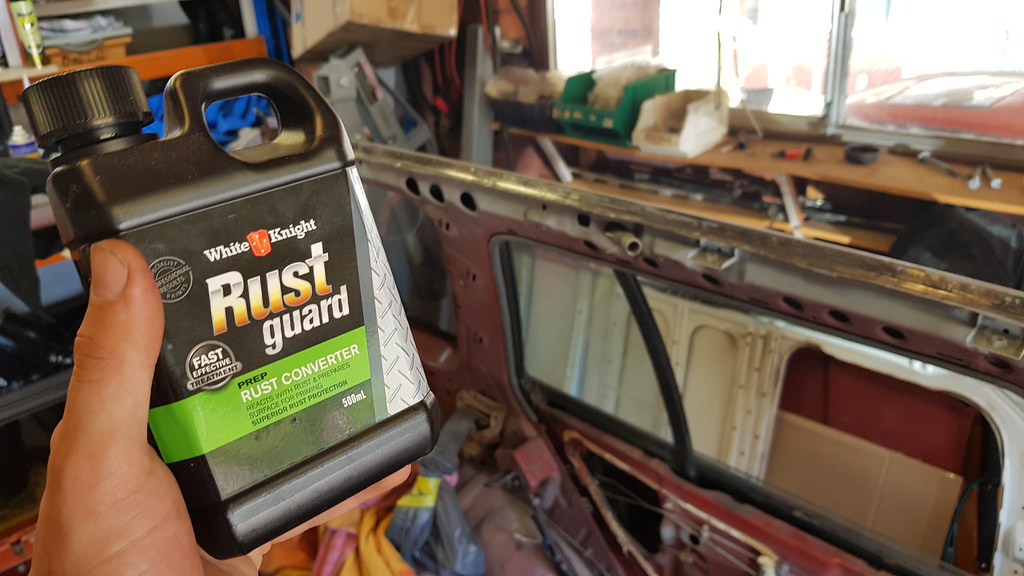
The roof skin was then laid upside down on top of the car and I sprayed the areas I wire wheeled with some weld through primer, same same. I also put down some rust convert on the chassis side where the roof lays, passenger side as there was still some small areas of pitting, any further wire wheeling and there will be no metal left.
 Last edited by Afx31; 13-02-23, 09:21 PM.Check out my 89' hatch track build!
http://forum.clubitr.com.au/showthre...856#post295856
Check out my RT4WD Wagon Resto/Turbo project!
http://forum.clubitr.com.au/showthre...951#post295951
Check out my EF9 SiR Resto build!
http://forum.clubitr.com.au/showthre...?16994-The-EF9
Comment
-
Haha yeh still need to take that offOriginally posted by Apu View PostSome fine artwork on the roof too!Check out my 89' hatch track build!
http://forum.clubitr.com.au/showthre...856#post295856
Check out my RT4WD Wagon Resto/Turbo project!
http://forum.clubitr.com.au/showthre...951#post295951
Check out my EF9 SiR Resto build!
http://forum.clubitr.com.au/showthre...?16994-The-EF9
Comment
-
Some good progress was made this weekend, so happy! Saturday started off with grinding down the 2 tabs I welded onto the rear of the roof skin (replacing rust) so they were flush with the rest of the roof, one or two minor holes were found, re-welded and grinded down again.
With this done we placed the roof skin onto the car, bolted in the sunroof and the factory roof racks as well. We did this as the sunroof and roof racks would allow use to position the roof to where it should sit, as if it's welded in the incorrect position the sunroof won't line up, along with things like the windscreen etc
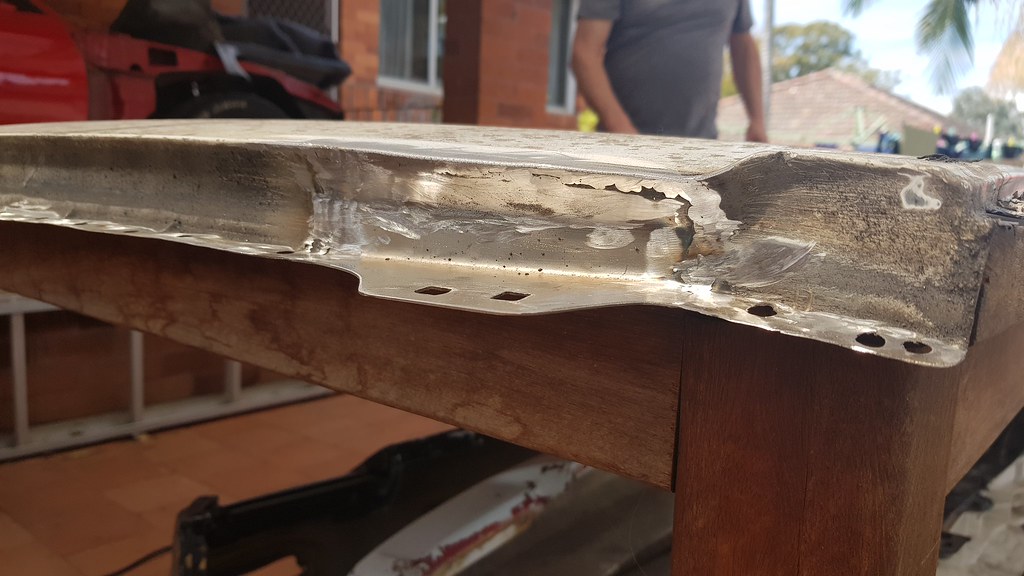
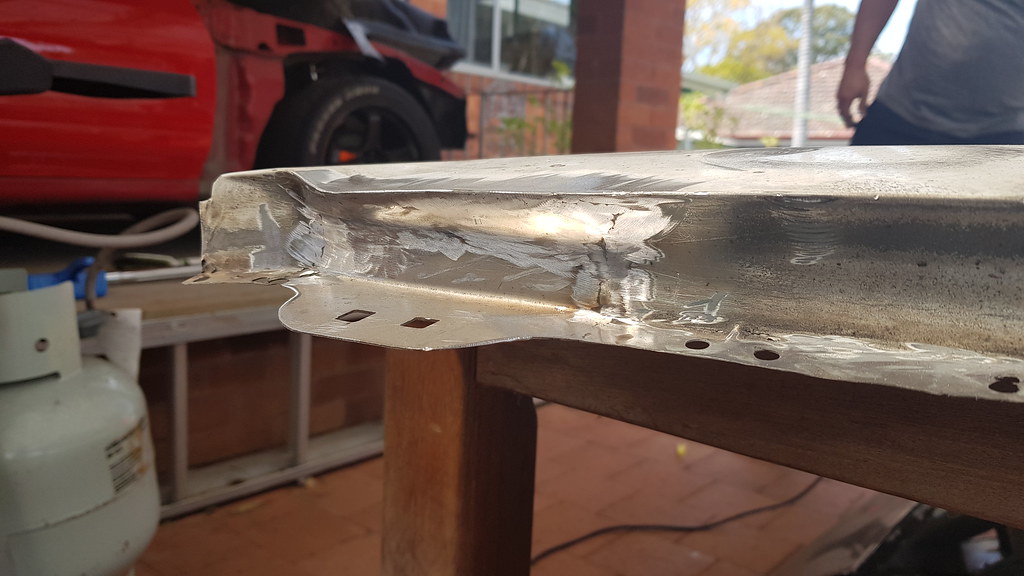
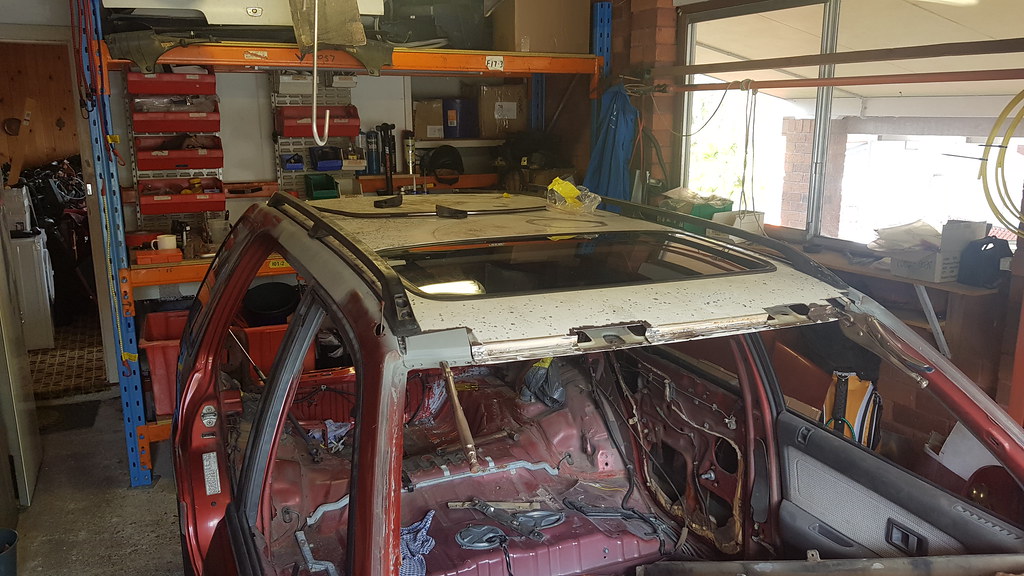
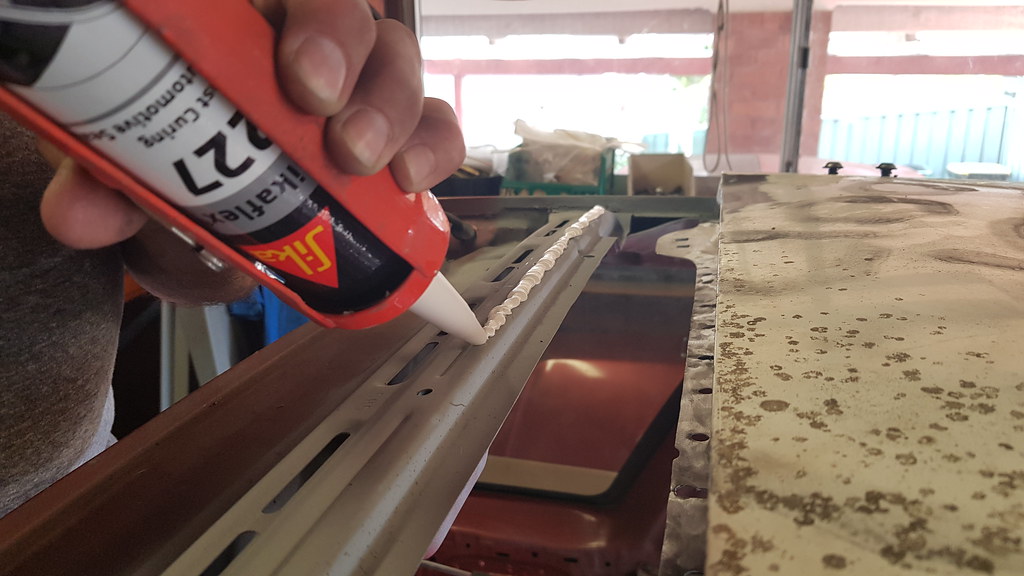
With this sorted we lifted the rear of the roof skin to lay down some sealant, from factory theres an expanding foam placed here to hold the roof skin down to the back of the chassis, just in front of the boot hinges.
Wasn't sure where to get this expanding foam, to be honest I didn't really look but decided to go ahead with some Sika automotive sealant, she'll be right. The roof was then placed back into position and everything realigned, ready for welding.
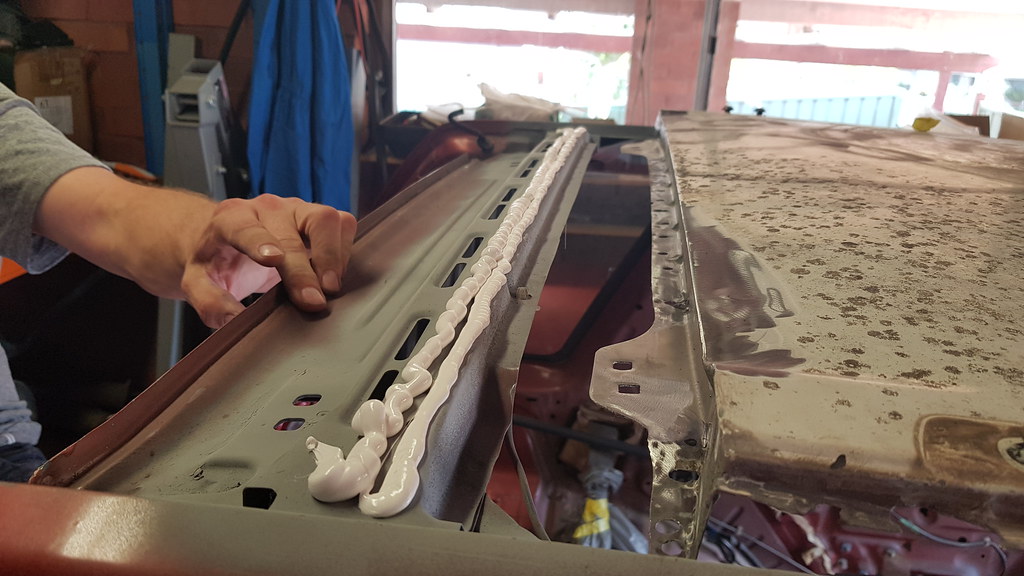
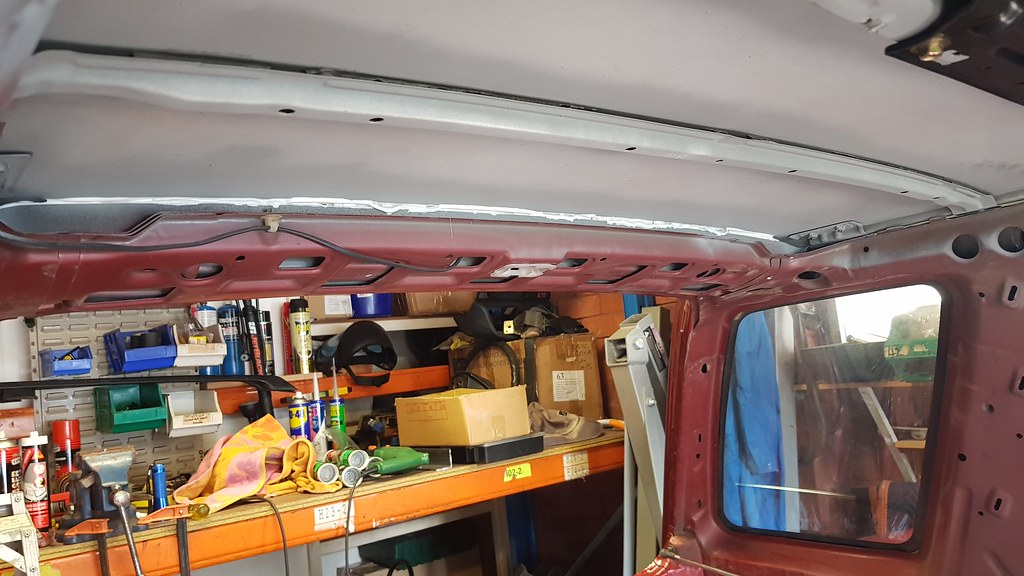
It was a scary process at first, little nervous the weld wouldn't go all the way through/hold but after the first weld drivers side in the middle, I shortly realised this would actually be fairly simple.
I pumped the weld in, holding the welder on the spot weld location and moved it around, trying to get a lot of heat into it so it would sink through all the layers to the bottom. Went around the roof with dad holding down the roof skin next to each spot weld with a flat head and yeah, its done!
Beers were cracked during the process and after when completed, to finally have it welded in is so satisfying, the roof has been off the car for quite a few months, now with it back on I can move the car around and try to start it/drive it!
I do still need to grind down the welds and prep it for body sealant, also need to weld the 4 tabs in across the front of the roof as you'll see in one of the photos below, but that will be easy. We are very happy with our work, considering we have never done something like this, to see the roof sitting there now is a good feeling. Can't wait to drive this!
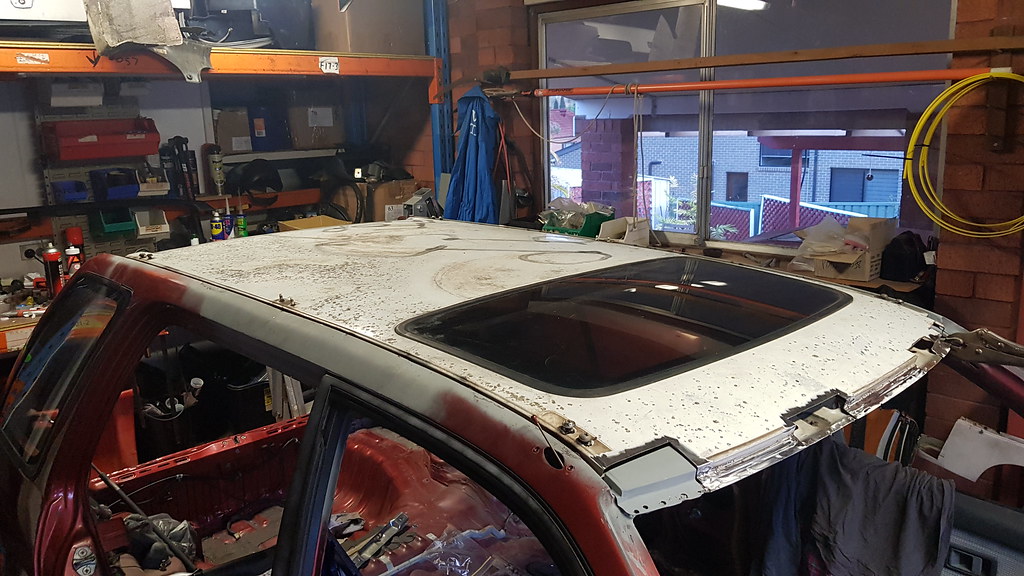
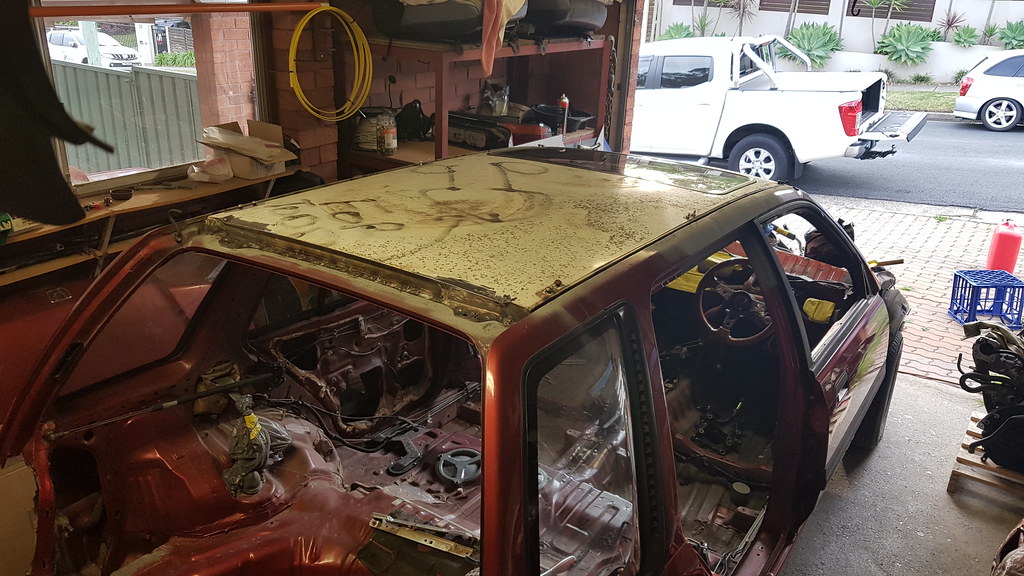
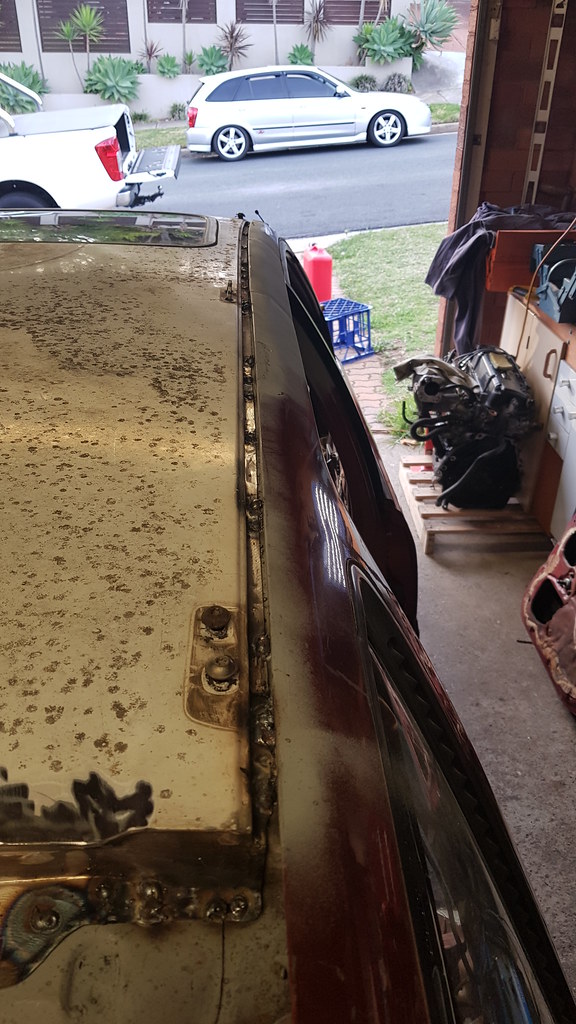
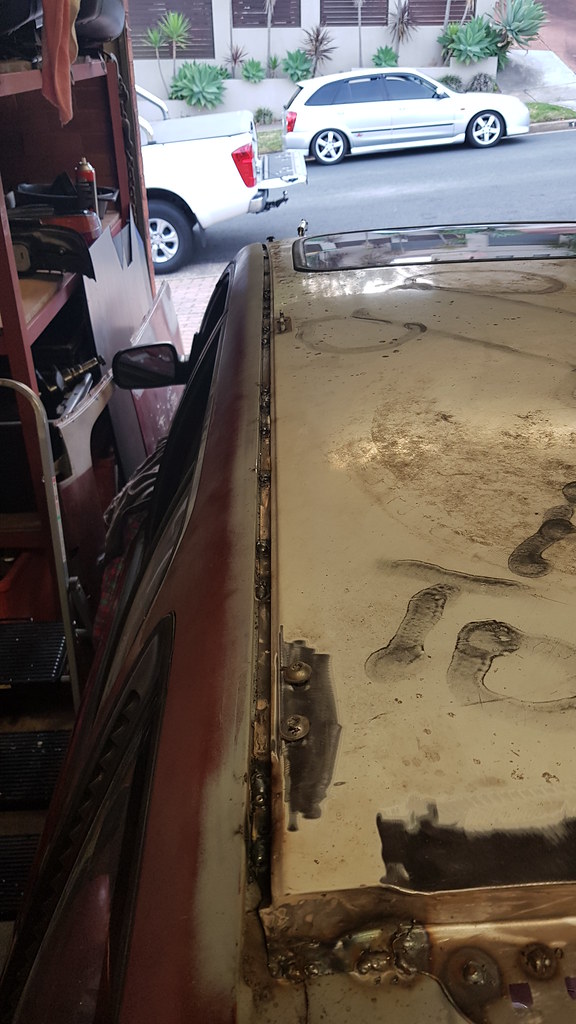 Last edited by Afx31; 13-02-23, 09:31 PM.Check out my 89' hatch track build!
http://forum.clubitr.com.au/showthre...856#post295856
Check out my RT4WD Wagon Resto/Turbo project!
http://forum.clubitr.com.au/showthre...951#post295951
Check out my EF9 SiR Resto build!
http://forum.clubitr.com.au/showthre...?16994-The-EF9
Comment
-
Damn, did you try the cam angle sensor as well?Originally posted by Apu View PostGood stuff! Also nice to take a peek at it in the flesh every now and then.
BTW...coil packs fitted, but problem still there
Sent from my SM-N950F using TapatalkCheck out my 89' hatch track build!
http://forum.clubitr.com.au/showthre...856#post295856
Check out my RT4WD Wagon Resto/Turbo project!
http://forum.clubitr.com.au/showthre...951#post295951
Check out my EF9 SiR Resto build!
http://forum.clubitr.com.au/showthre...?16994-The-EF9
Comment
-
Seems like you'll have to go through and replace each component at a time to figure out the cause
How new is the battery? Chance it's old and has lost some CCACheck out my 89' hatch track build!
http://forum.clubitr.com.au/showthre...856#post295856
Check out my RT4WD Wagon Resto/Turbo project!
http://forum.clubitr.com.au/showthre...951#post295951
Check out my EF9 SiR Resto build!
http://forum.clubitr.com.au/showthre...?16994-The-EF9
Comment
-
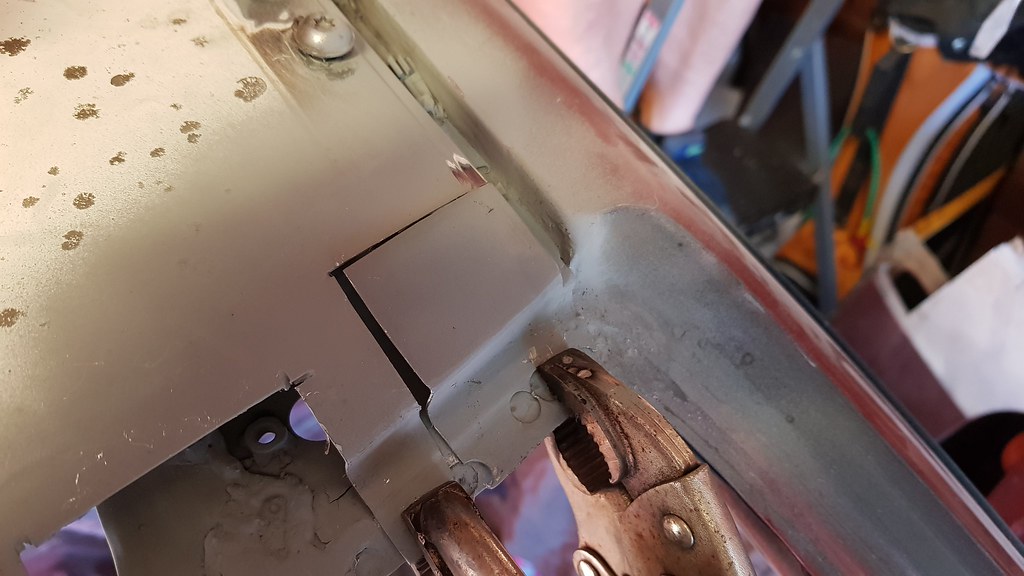
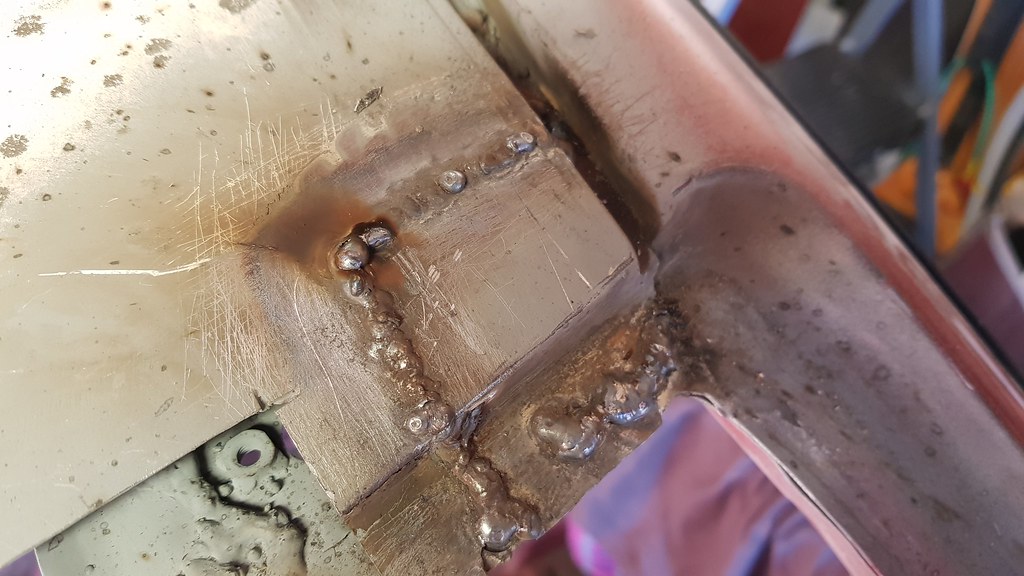
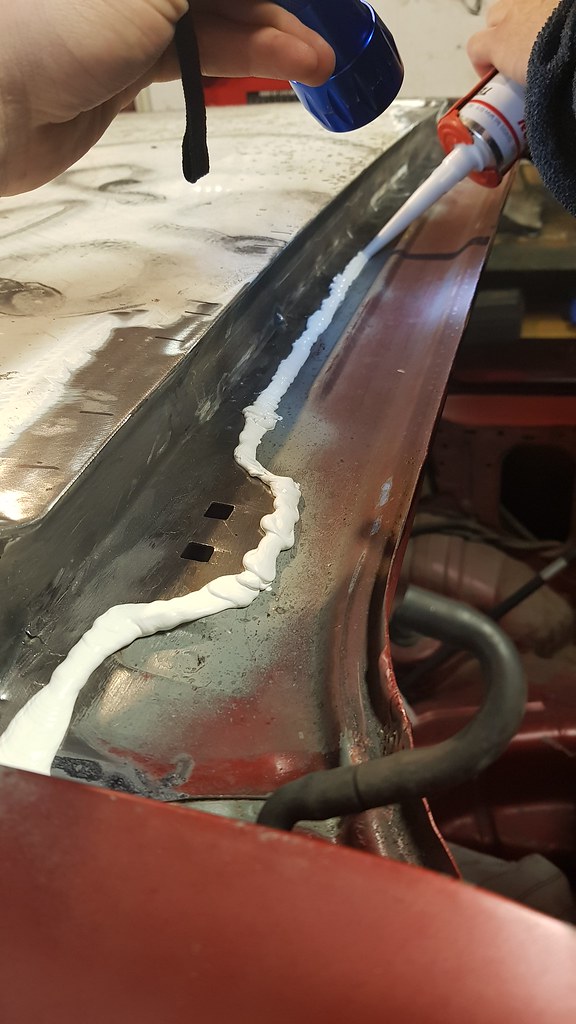
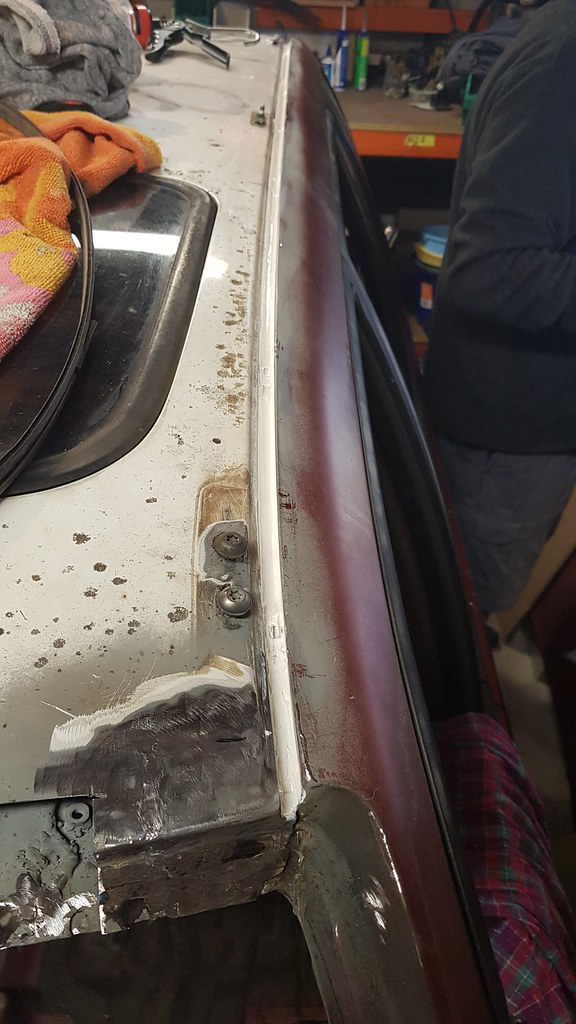
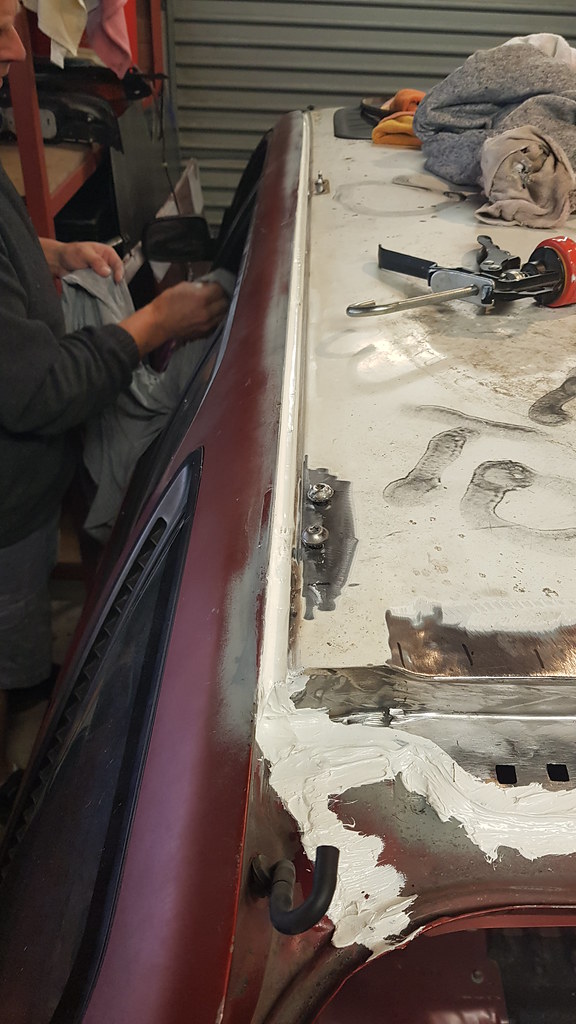
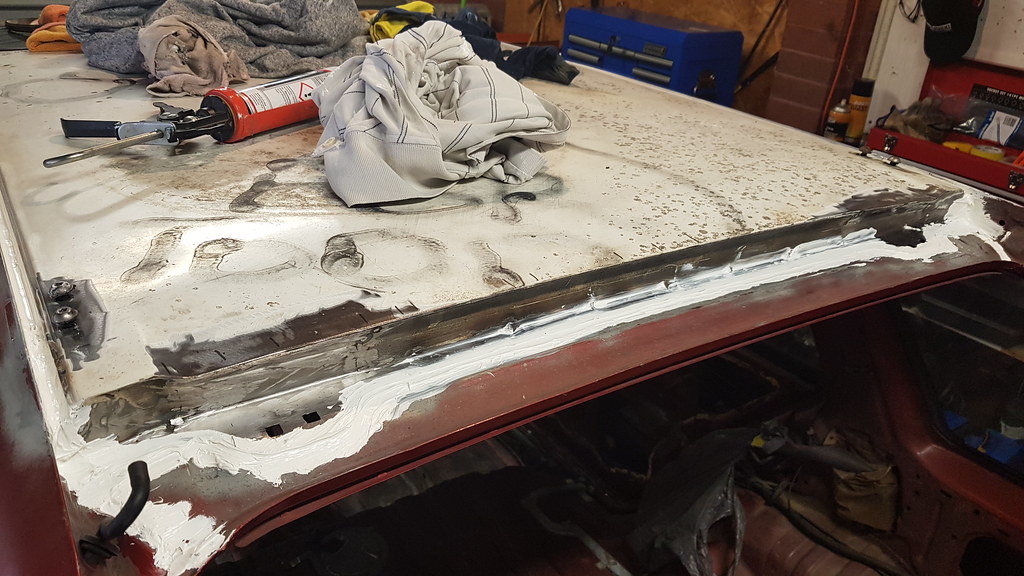
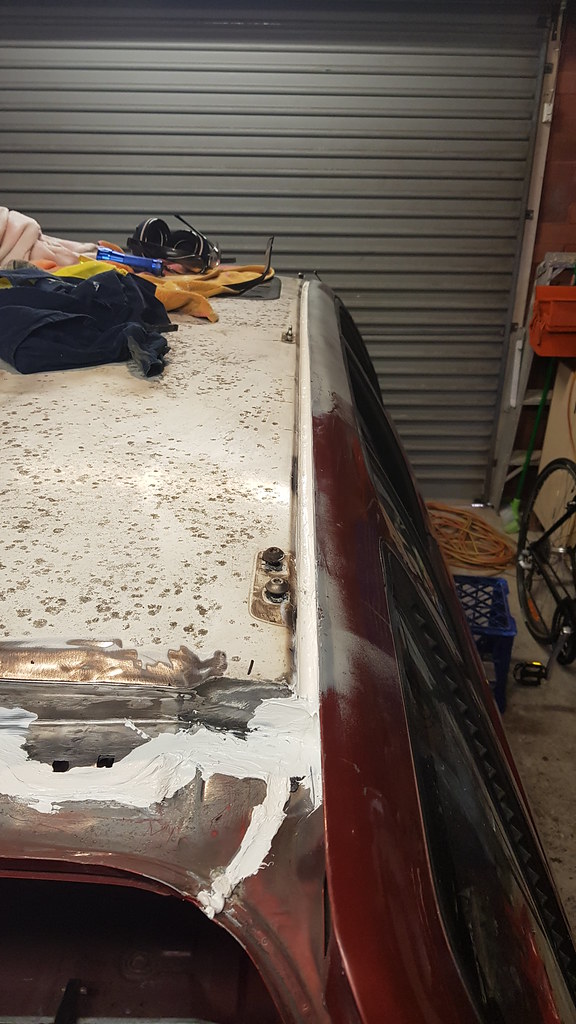
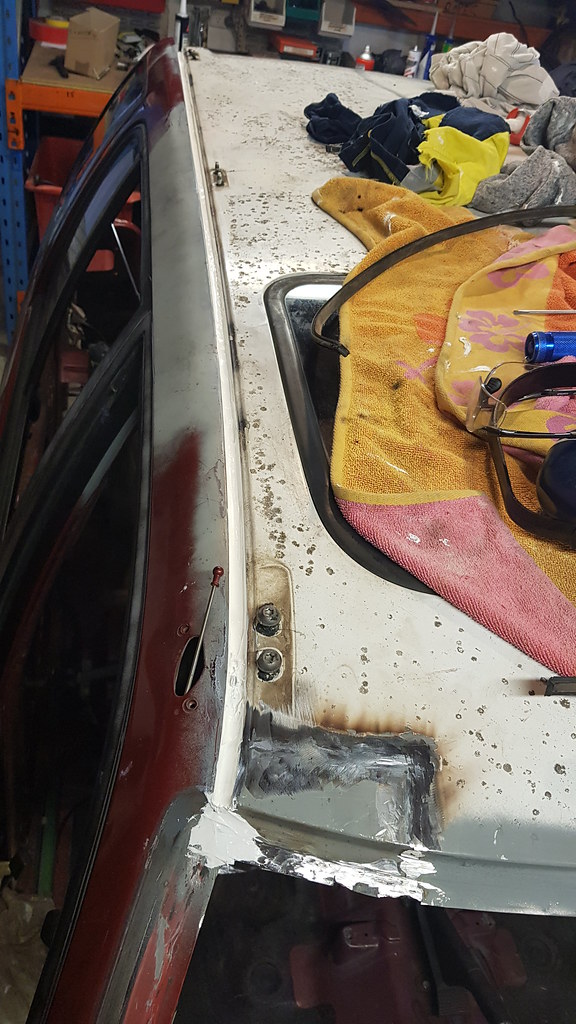
Been a few weeks since last update, been very busy with uni assignments and now studying for my final exams next week. 2 weeks ago we grinded down the spot welds around the roof. Also went ahead and welded in the 2 corners on the front of the roof. Once all this was down, grinded back smooth we then went ahead and applied the sealant to finally finish off the roof install. I bought 2 tubes but only needed 1, can't complain with spares! So happy the roof is now finally sealed, it means I can try to start the car for the first time and drive it!
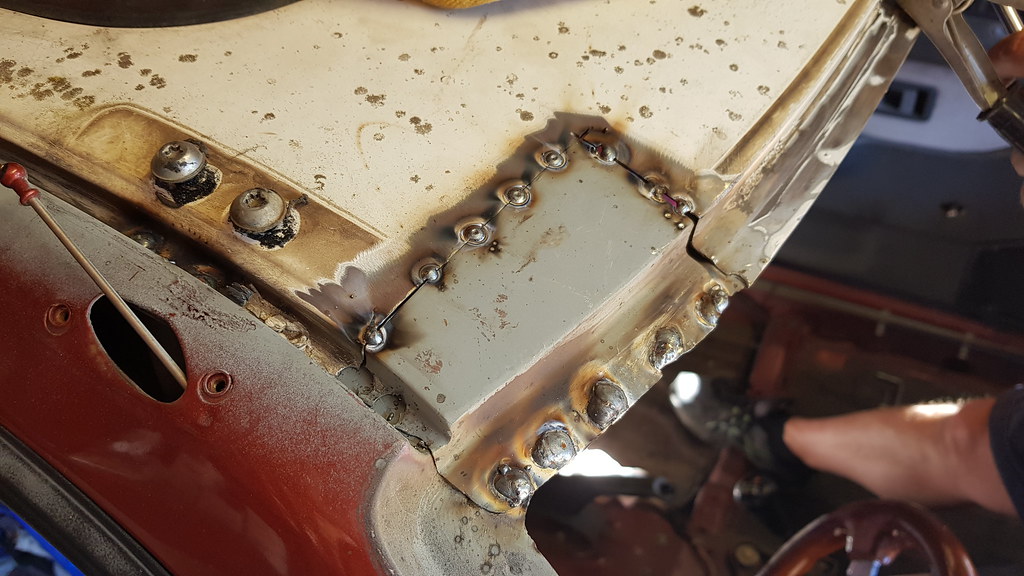
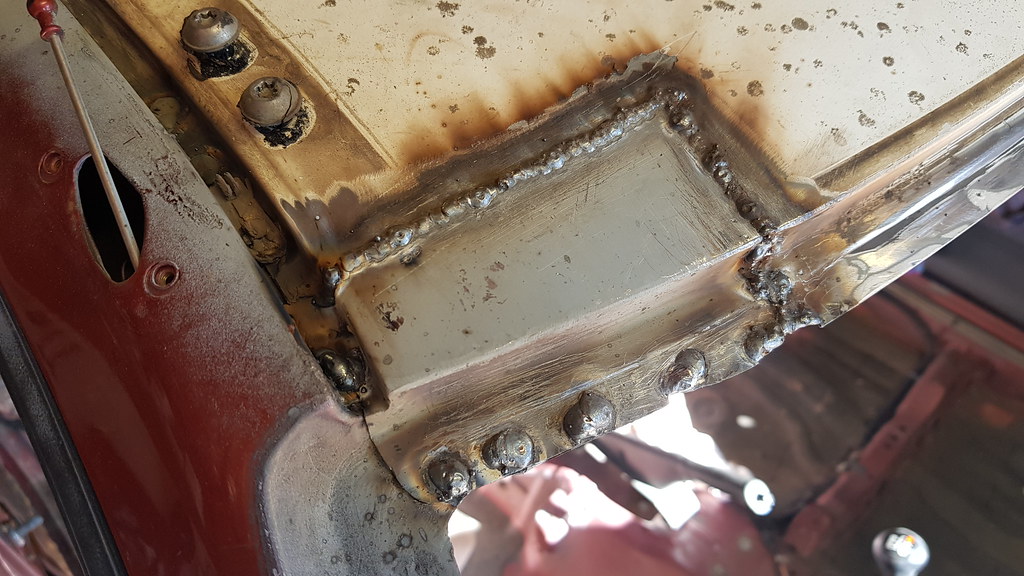
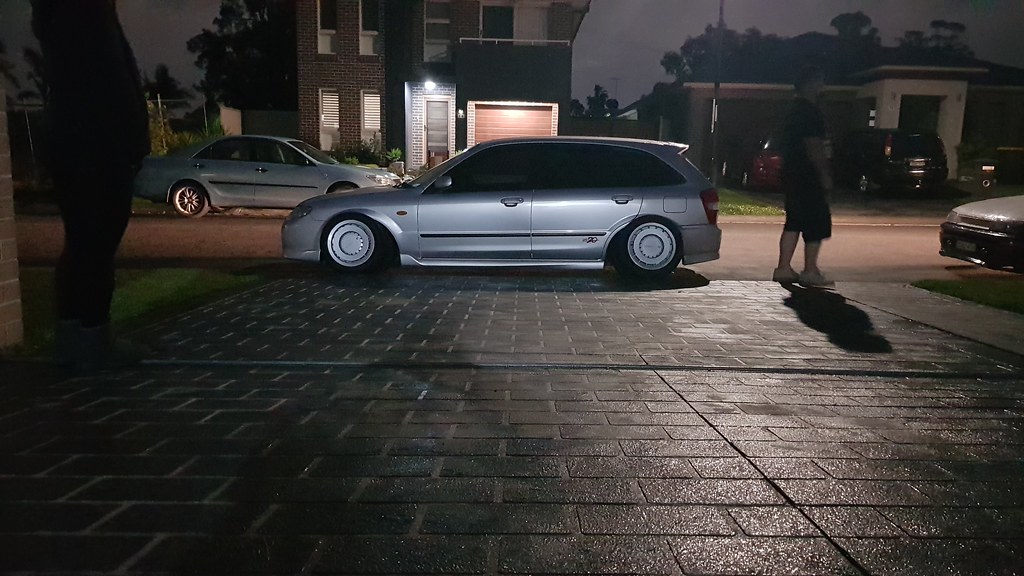
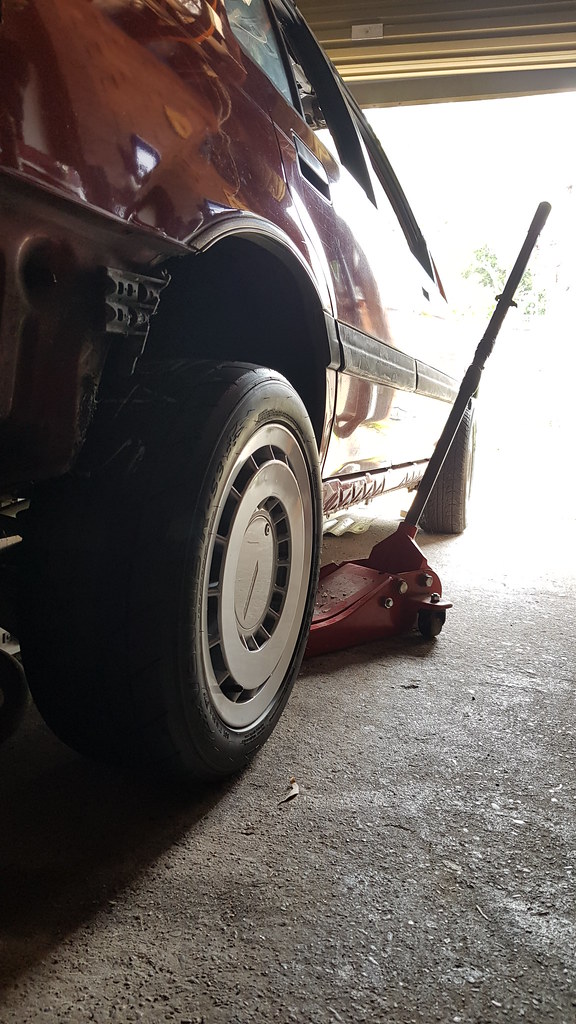
My buddy Kev got my old RS3's from my track wheels on my ED hatch mounted onto the zender turbos I bought for the wagon. Can say they would look dope on the daily SP20!
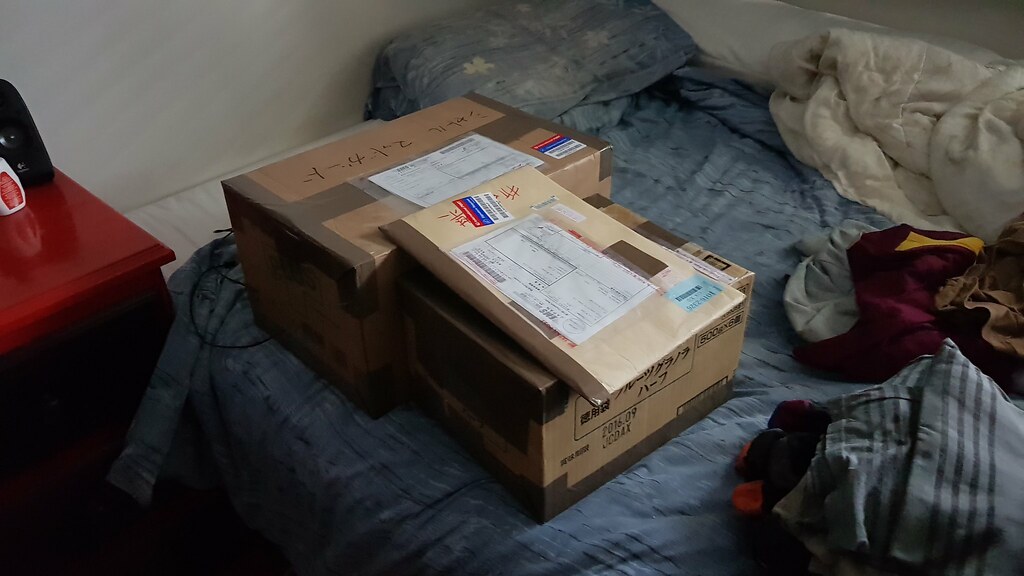
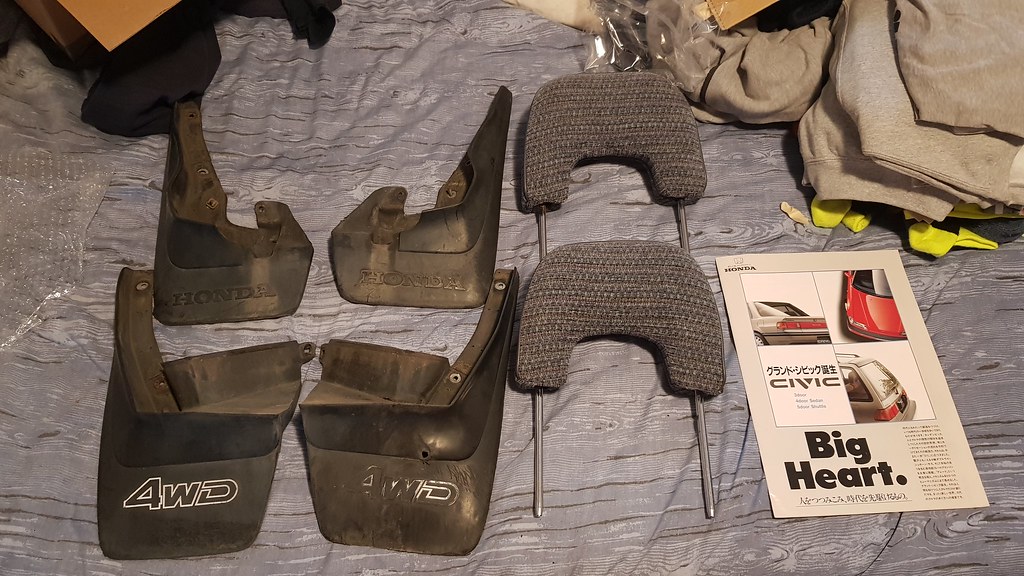
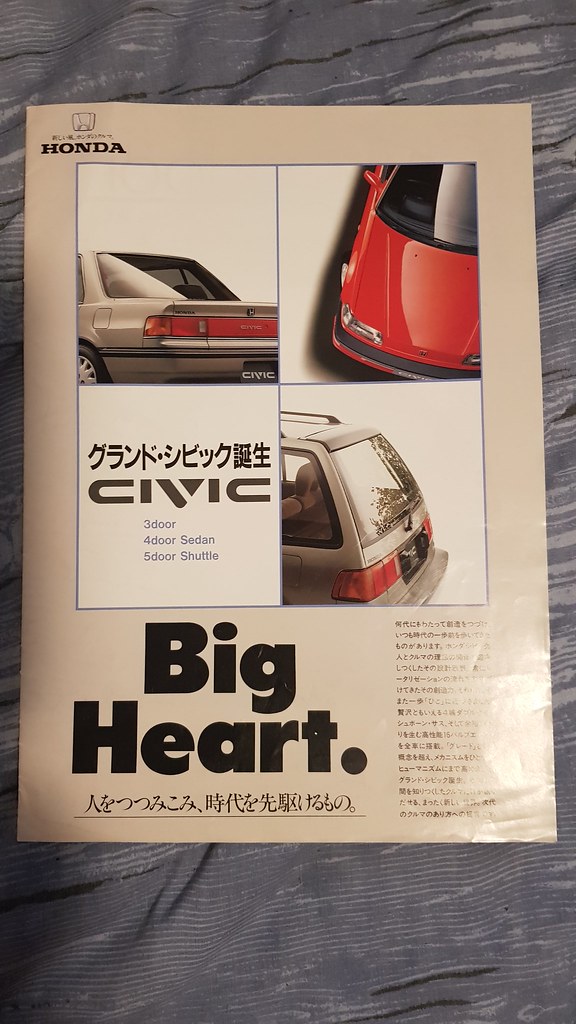
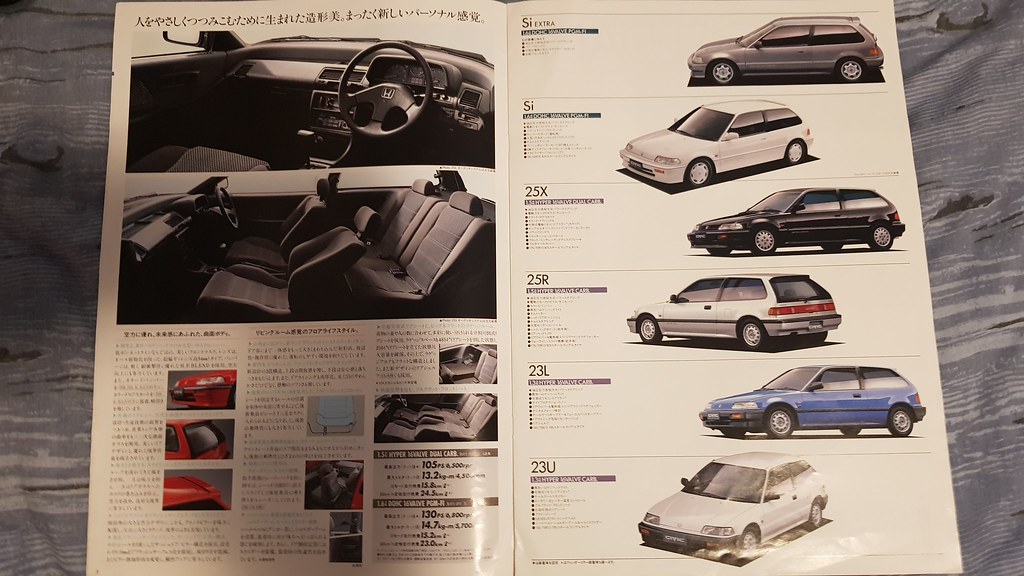
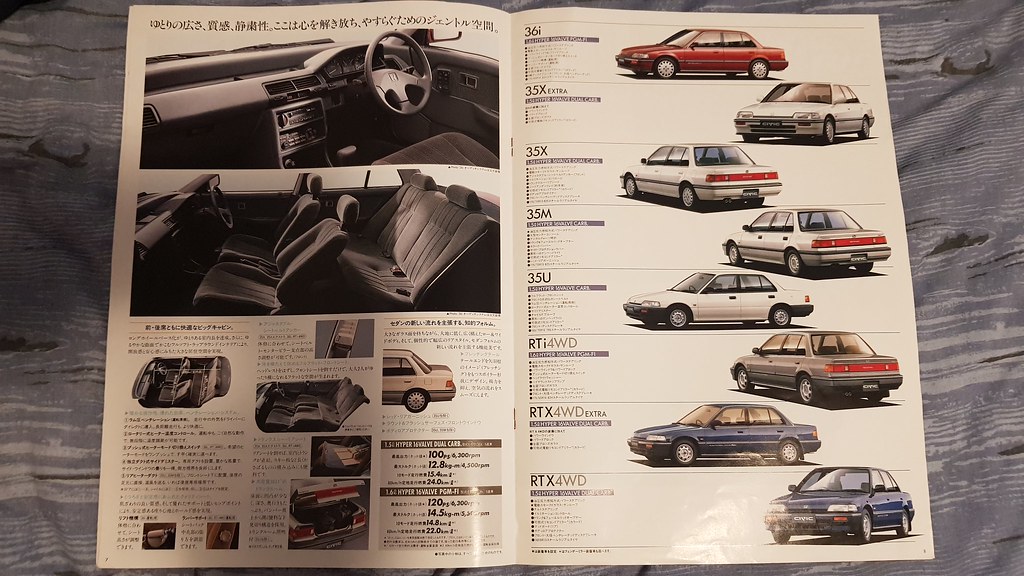
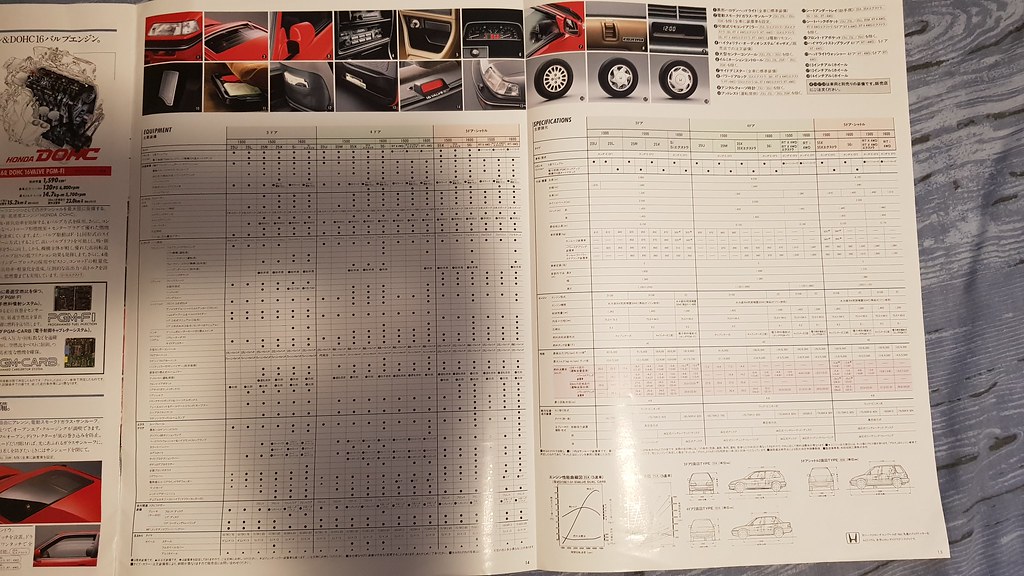
Annnnd I came home today to these 3 parcels from Japan, yes I've been doing some Yahoo Auctions shopping lately! 4WD mud flaps, beagle front head rests and another catalogue to add to the collection!


 Check out my 89' hatch track build!
http://forum.clubitr.com.au/showthre...856#post295856
Check out my RT4WD Wagon Resto/Turbo project!
http://forum.clubitr.com.au/showthre...951#post295951
Check out my EF9 SiR Resto build!
http://forum.clubitr.com.au/showthre...?16994-The-EF9
Comment
-
So not much has happened on the wago as the past 3 weeks was the end of uni semester and then exams straight away, so I was jam packed finishing off assignments/studying for exams. With uni semester & exams completed, it's all guns blazing on the wagon.
First off however I needed to sort out the parts wagon so we can scrap it and get it out of the way. The motor was unbolted and resting on chassis, unbolted a few brackets and then.. just lifted the car over the motor lol..
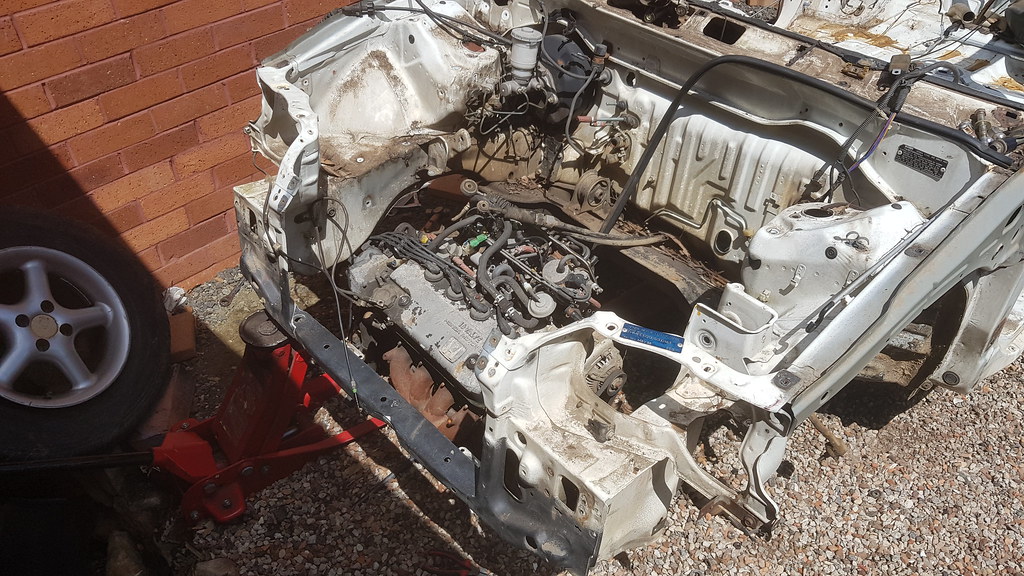
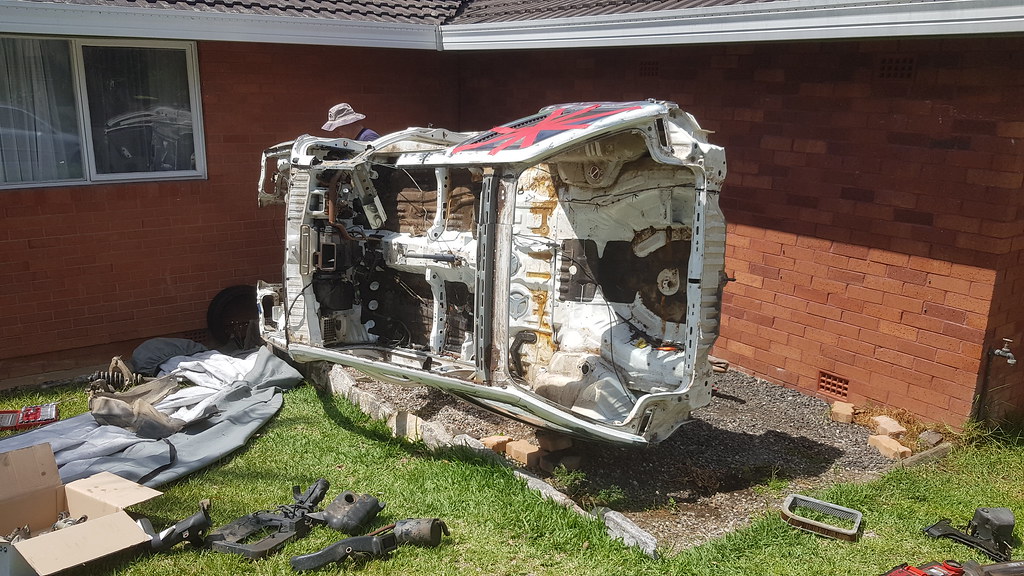

Then dragged the motor out and onto the crane to drop the box as I'll keep it for spares, rare RT4WD box. Also it's quite easy to drop the subframe/steering rack assembly with the car like this, should do more often on other cars..
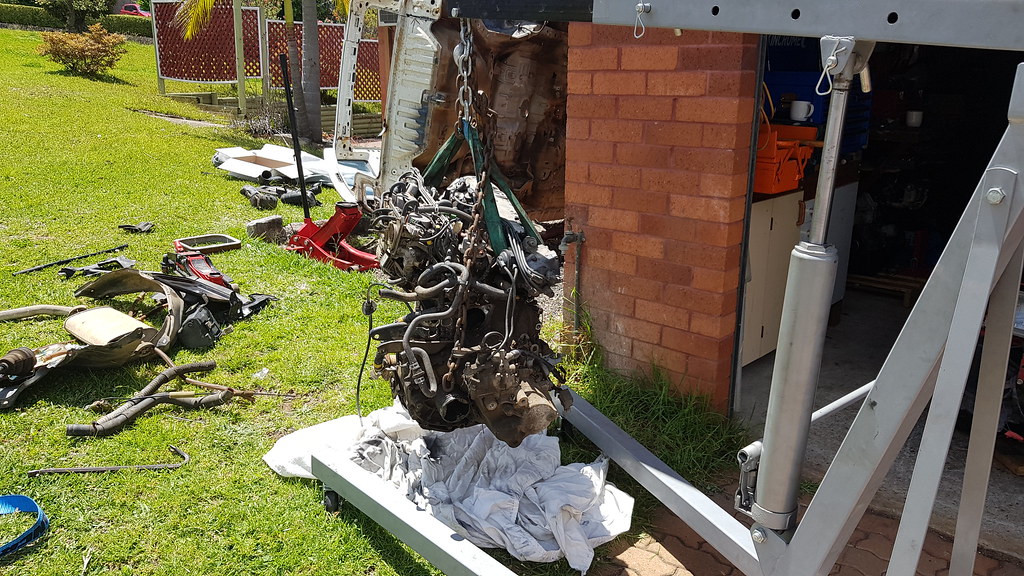
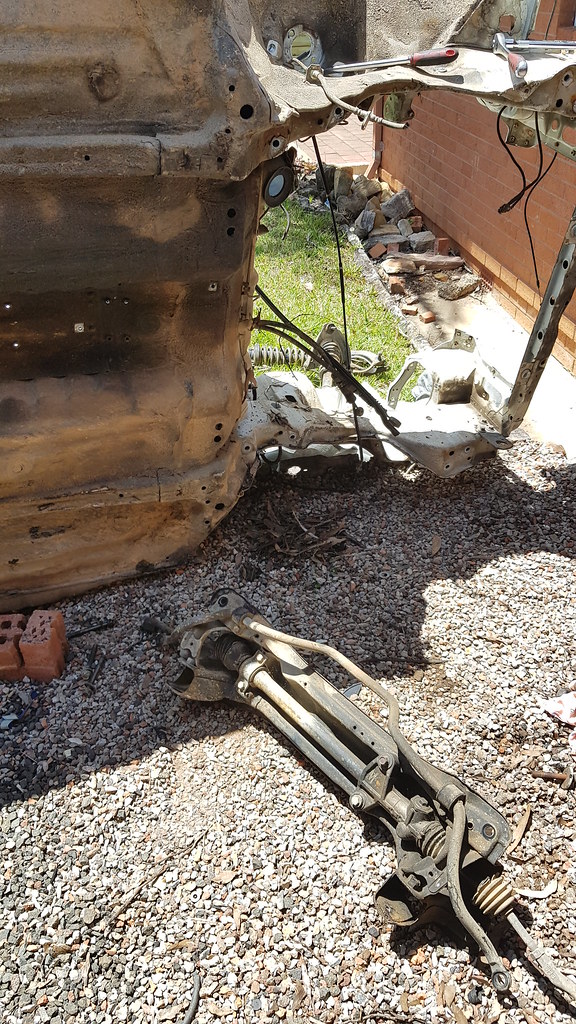
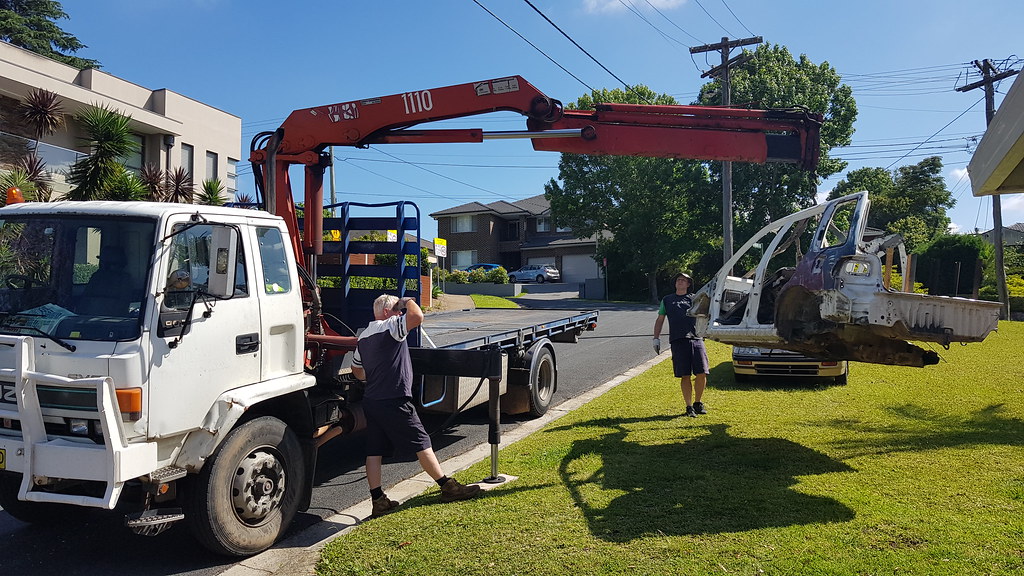
A fellow wagon owner in VIC has a spare wagon which took a hit to the drivers rear corner, for him to source that section would be impossible as these cars are so hard to find, luckily I have this scrapping wagon. Weather was too hot for me so I let mi old man go ham with the grinder.
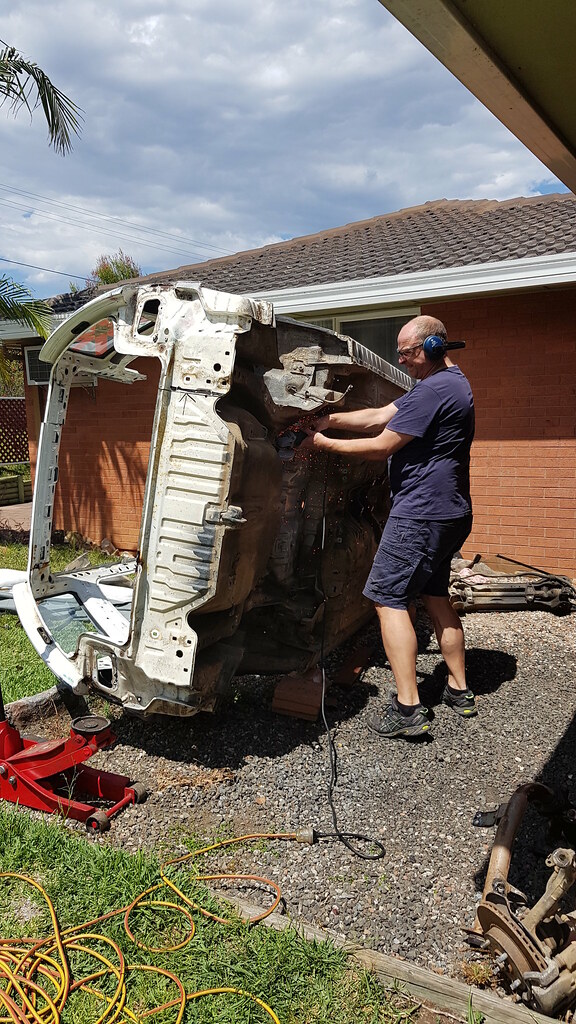
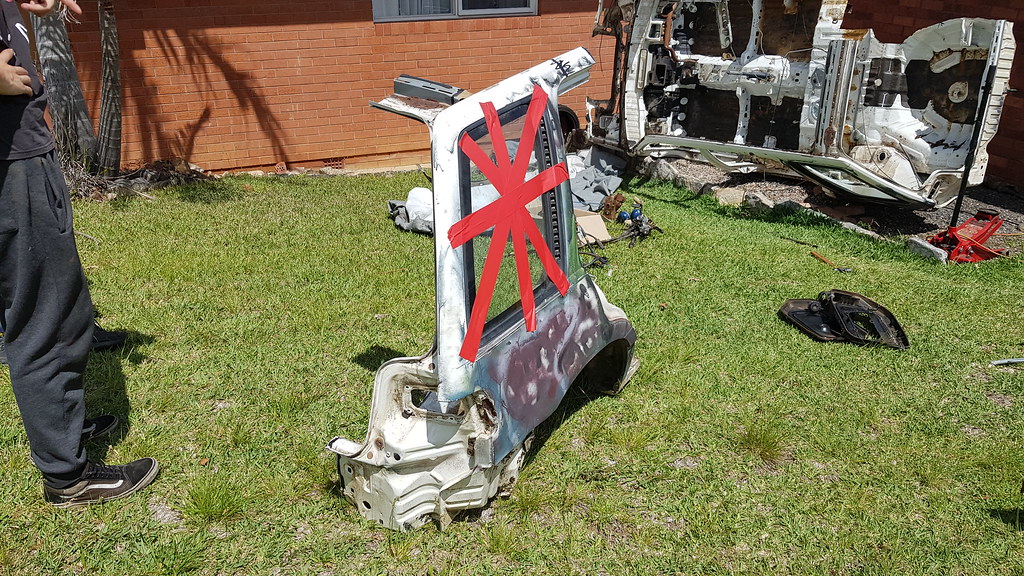
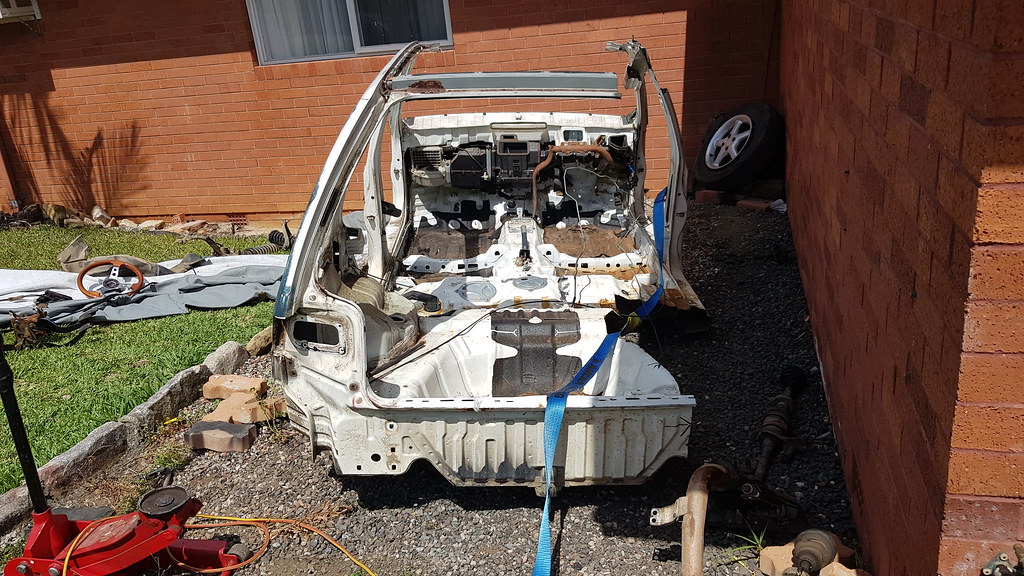
Just waiting for a mate..
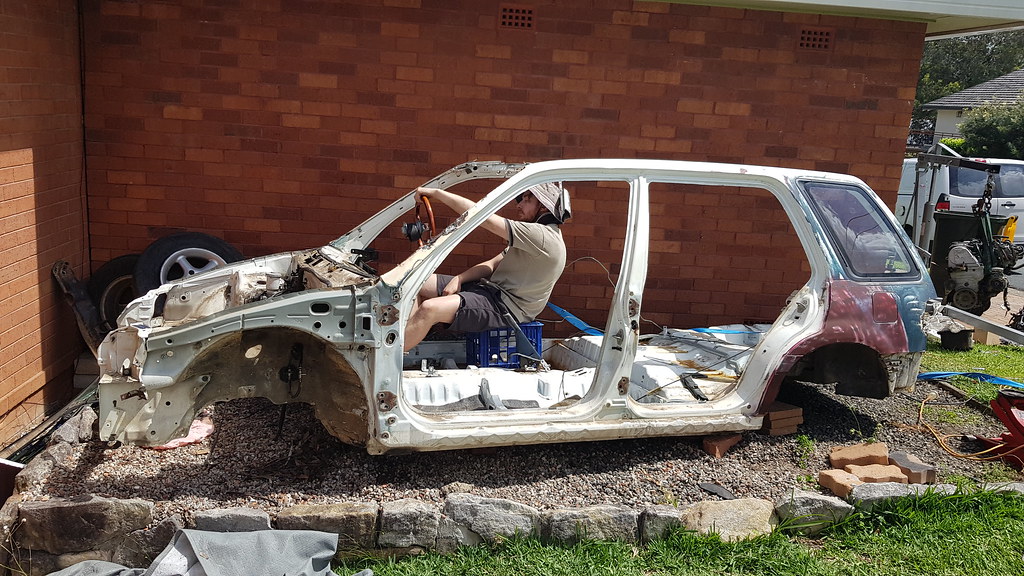
And that was that. Got some other random bits of metal lying around, the motor that came in this and a broken gearbox or two and chucked it all in, ready for scrap later this week. Next Saturday I'll hopefully do a little bit of work on the wagon however Sunday I have a track day at Wakefield so no wago on that day. I'm really going to push for all rust to be repaired by the time I go to Japan next January 8th, as when I'm back I want to register it and drive it, even with the paint as is.
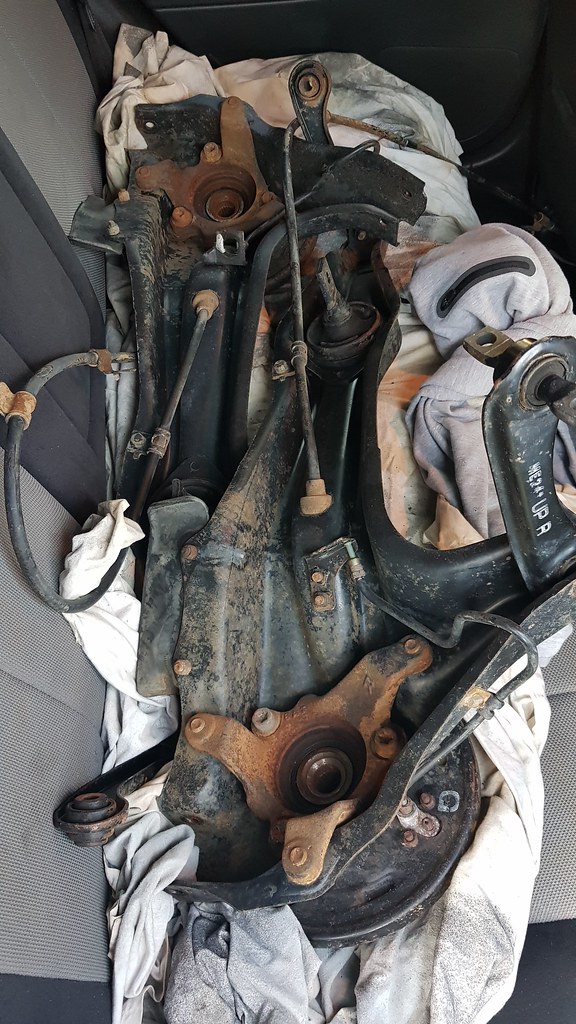
Also picked up some spare RT4WD rear trailing arms tonight off the guy I bought the scrap wagon off, he decided he didn't need them no more and yeah.. I like spares.
 Last edited by Afx31; 15-02-23, 05:08 PM.Check out my 89' hatch track build!
http://forum.clubitr.com.au/showthre...856#post295856
Check out my RT4WD Wagon Resto/Turbo project!
http://forum.clubitr.com.au/showthre...951#post295951
Check out my EF9 SiR Resto build!
http://forum.clubitr.com.au/showthre...?16994-The-EF9
Comment
-
So got some progress done last weekend, not a lot but it has directed our future steps with what to do.
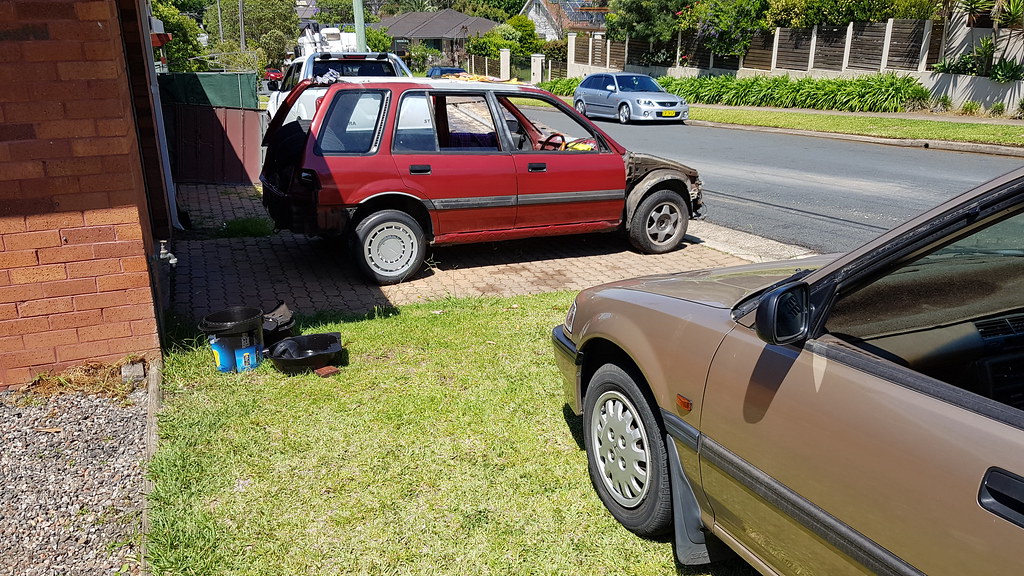
First off to start the Saturday was to get rid of the scrap wagon, had our new pommy scrapper come pick it up. Now the sedan can go back to its resting spot on the gravel next to the garage. The wagon then finally came out of the garage, it's been quite a while since it's moved, as with the roof off it's not ideal to move it around, the chassis could possibly flex out of alignment.
I brought it out to put on my spare Honda Fat 5's so I could sell the wheels which came on the wagon for some extra spending money for Japan at the start of 2019!
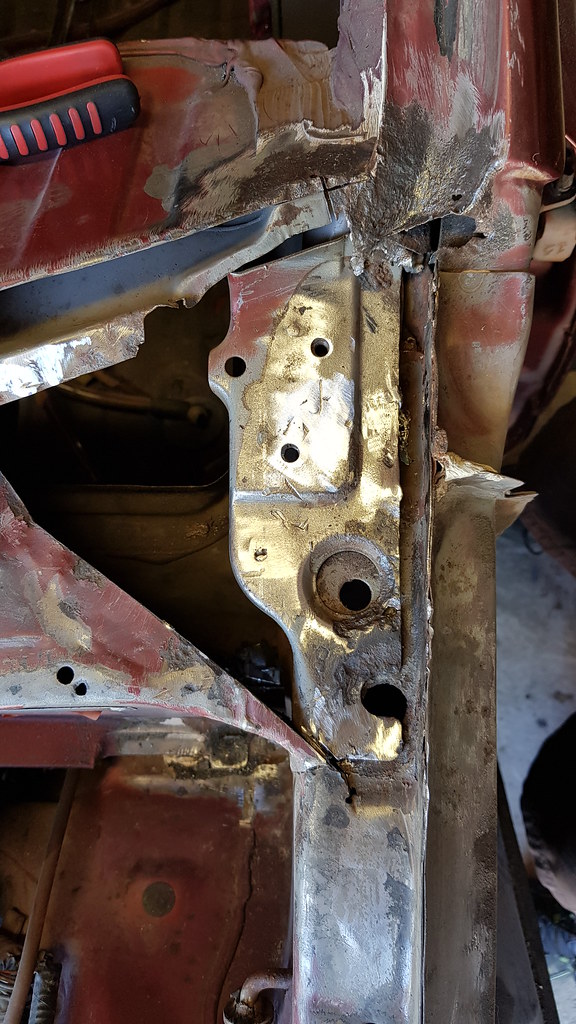
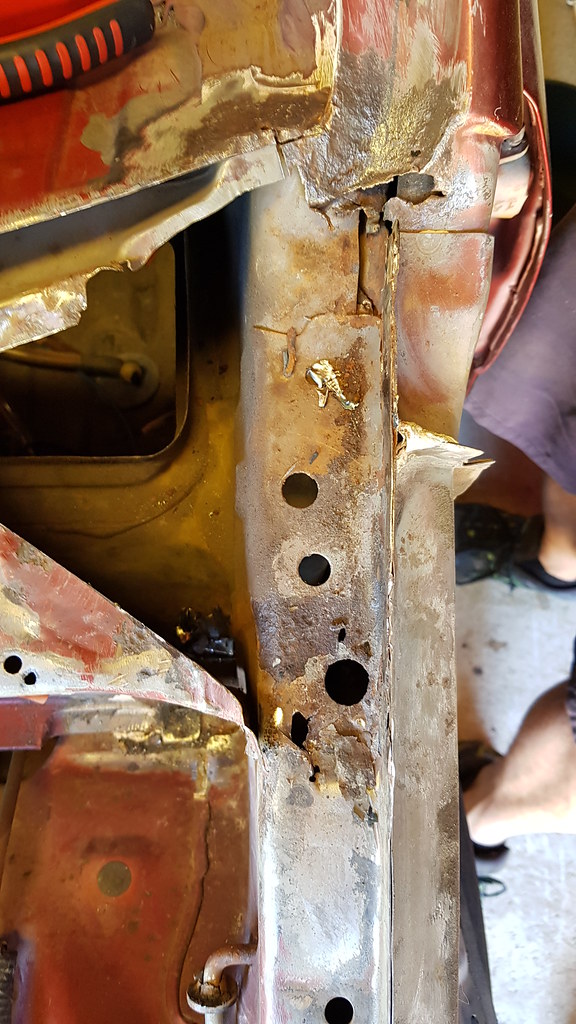
Here is a bit of ramble in regards to our next steps. It was time to tackle the rust spots under the windscreen on the crowl. In the photo below you'll see what we have already cut out with a piece still there where the hinges for the bonnet bolt down to. There is usually a think layer over this to cover it, which was rusted away completely, as in it was a huge hole when we got it. You can see on the top of the photo, where it would be the bottom corner of the windscreen, passenger side that there is still pitted metal. Underneath that there is rust of a lower layer of metal, however the piece on top is quite solid still which we didn't want to cut.
However, all rust needs to come out, so what we plan to do is cut off that top pitted layer completely and replace, it will be tricky trying to fab up a piece to the correct shape, especially as its where the windscreen lays. It needs to be spot on. At the bottom corner of where the engine bay is behind the shock tower is also rust from wheres its run down on top, you can kinda see it in the photos. This too needs to be cut open and replaced.
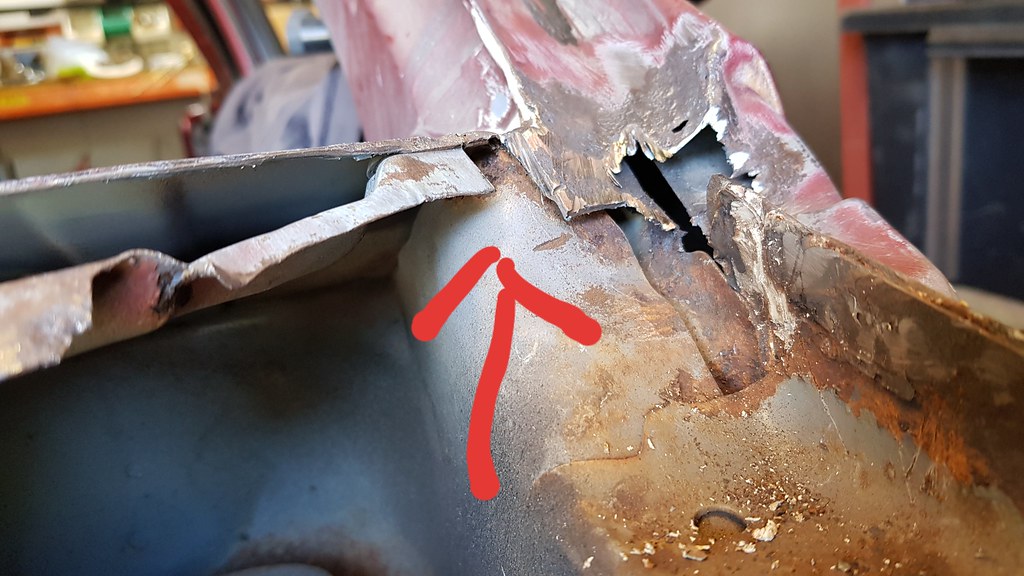
Heres a temp repair piece we mocked up to see what we would be working with. Can't remember if we used this piece or not (writting this in the future on 15/02/2023)

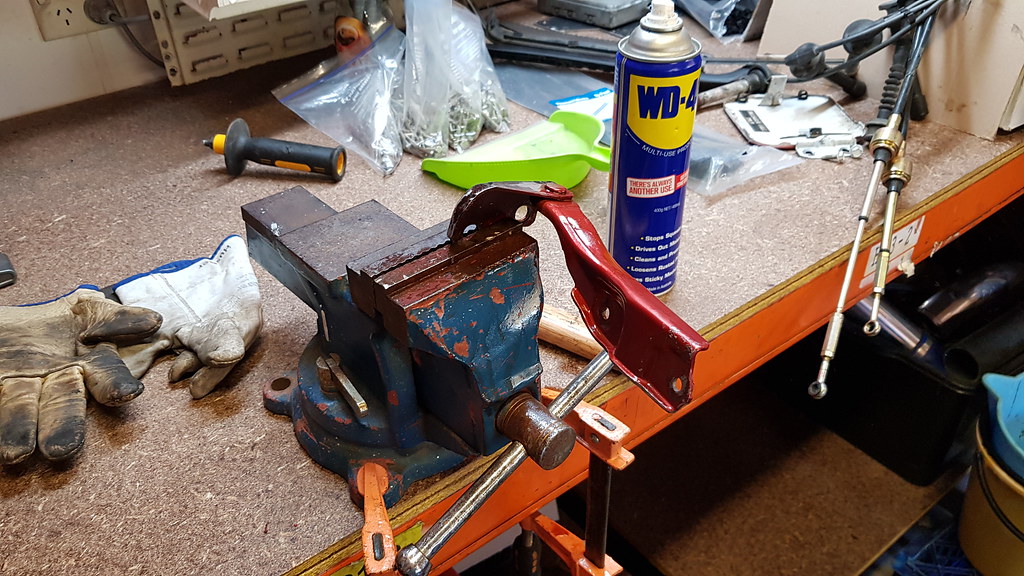
To finish off the day I soaked the hinges in WD-40 as they were seized up and kept moving back and forth until they freely moved, and started wire brushing away the rear passenger corner. It was covered in primer, which contained a lot of body filler under neath, not sure why. Previous owner had mentioned there was rust repairs done there (still rust there from incorrect rust repairs) however the filler makes me a little confused as its over perfeclty fine metal... oh well
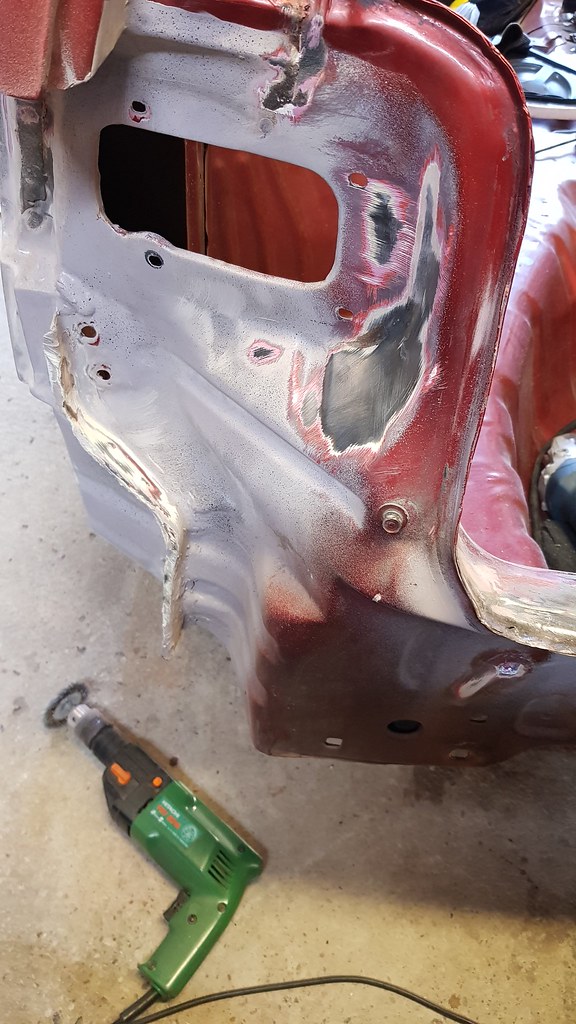
So yeah we have quite a fair bit of work for these sections. Monday night I went over to my fathers (where the wagon is stored) for dinner and so we could just look into what needs to be done with this front windscreen area.
My dad suggested we remove the motor was well so we can stand in the engine bay especially for those corners behind the shock tower, just for some ease of movement and to confirm any rust in the engine bay lower down.
Saturday I will buy some new battery terminals from SuperCheap Auto and use my hatch battery to try start it. I want to jack the wago up and test the 4WD system to ensure it works, would also be cool to see if the wago even starts as I havn't tried that since I've bought it. Stay tuned!Last edited by Afx31; 15-02-23, 05:29 PM.Check out my 89' hatch track build!
http://forum.clubitr.com.au/showthre...856#post295856
Check out my RT4WD Wagon Resto/Turbo project!
http://forum.clubitr.com.au/showthre...951#post295951
Check out my EF9 SiR Resto build!
http://forum.clubitr.com.au/showthre...?16994-The-EF9
Comment
-
Damn it's that time, end of the year, everything is so jam packed with birthdays and Christmas coming up. Finally had some free time today to work on the wagon. Last Wednesday I had my RDO and my dad left work a tad early so we could drop the motor out of the wagon.
The previous weekend we were mucking around on the wagon and cleaning things up, finding a little bit more rust under the windscreen on the passenger side in the section we are already working on. We decided to go ahead and drop the motor so we could stand in the engine bay to give us some more room, and lets face it, it was going to come out anyways.

Why is the driver CV still in there? It's ceased and rusted up, used the worlds biggest breaker bar and still no luck, need a rattle gun. However we still wanted that motor out, a wee bit of an angle and she still popped out.
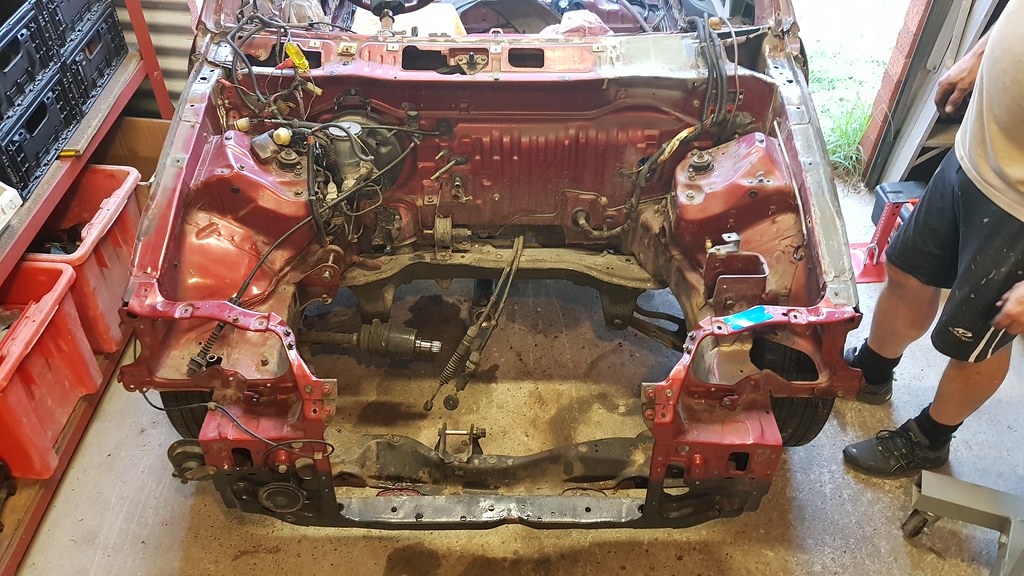
So with our time today, we decided to strip the rest of the inside out, everything thats normally behind the dash like AC, heater core, loom etc, came out. The pedal assembly is super crusty, looks like it's a replacement from the wreckers before and they've also rewelded it as well for some strength/to fix a previous break.
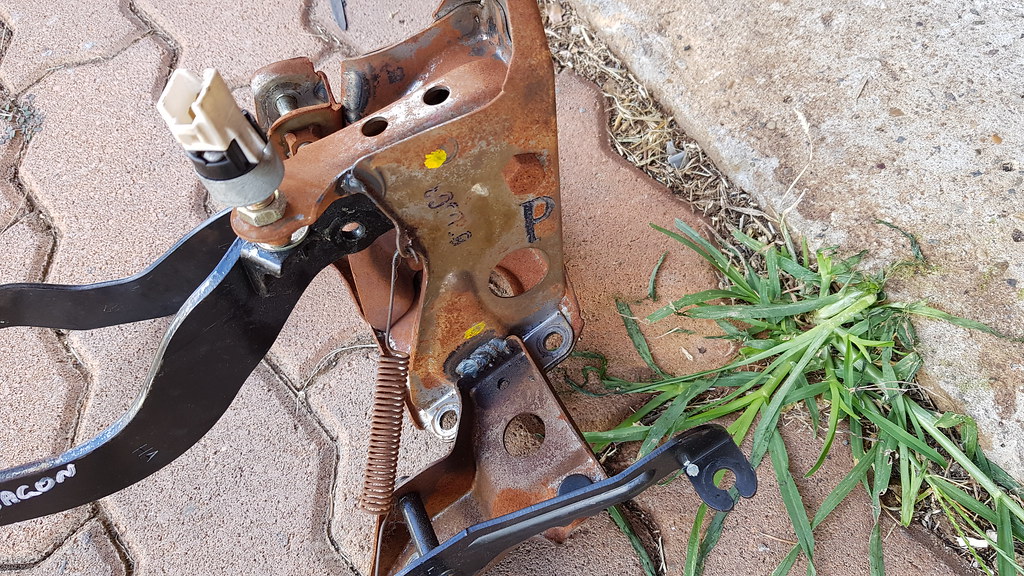
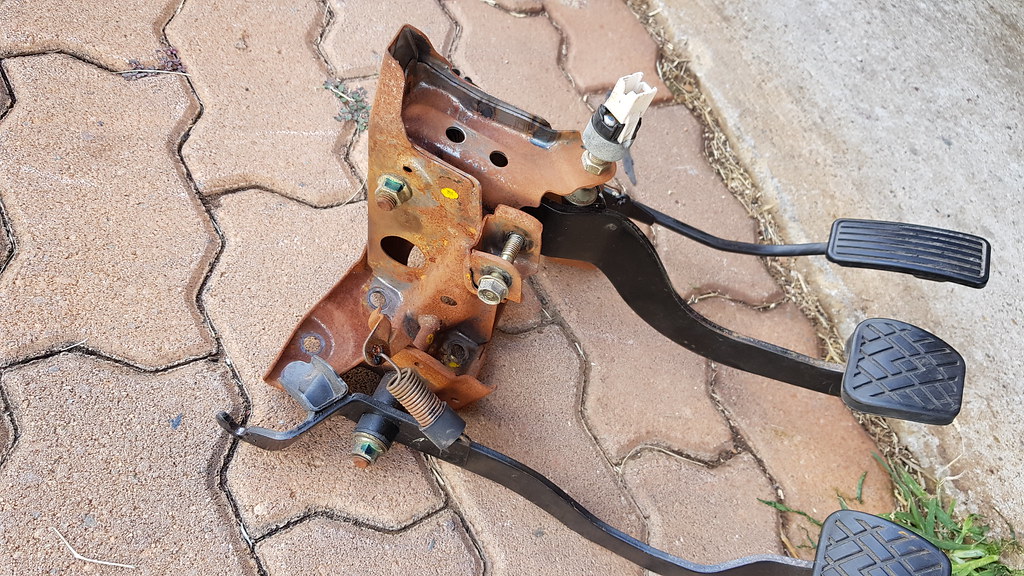
Annnd she's stripped. I started vacuuming the inside and noticed the sound deadening was already loose and coming up with ease, so for the next 1hr with a hammer and flat head me and dad got most of it out, the sun was shining on the front section thats left, it got hot and wouldn't pop off.
Was very suprised how easy it came out without dry ice, which I had to use on my hatch. I'm planning to lay dynamat throughout the entire car in the future as well before the interior goes back in.
BEFORE

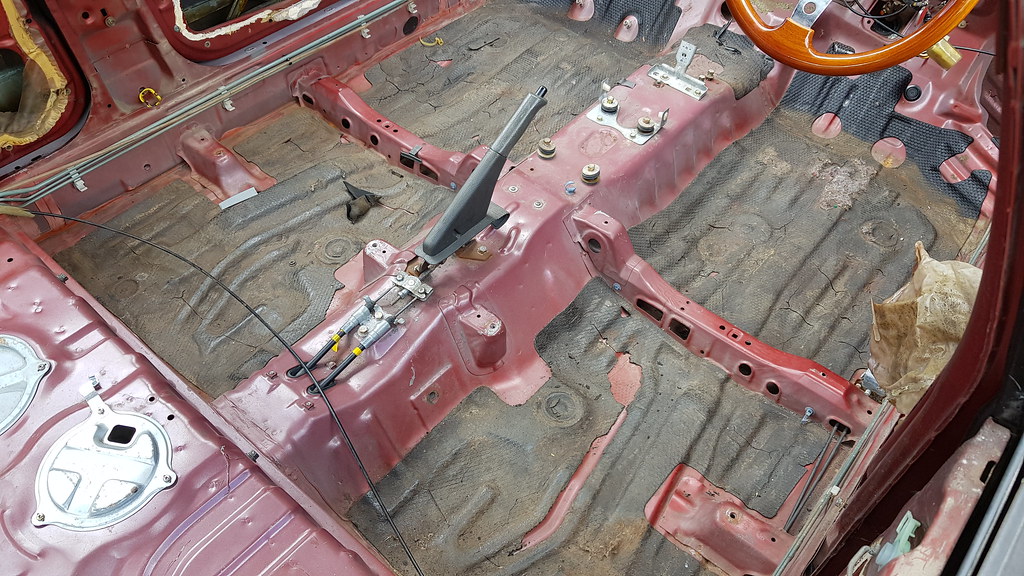
AFTER
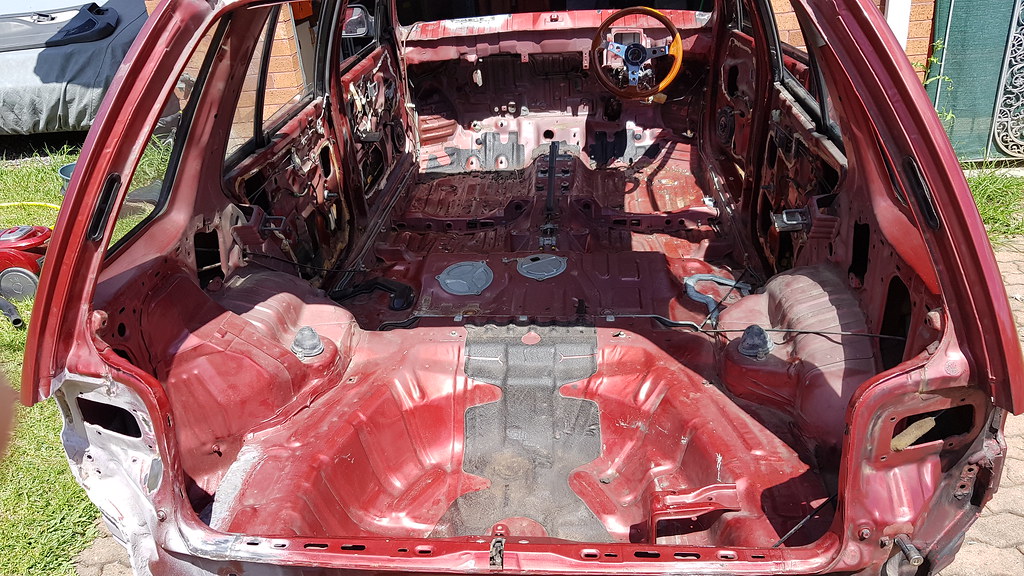
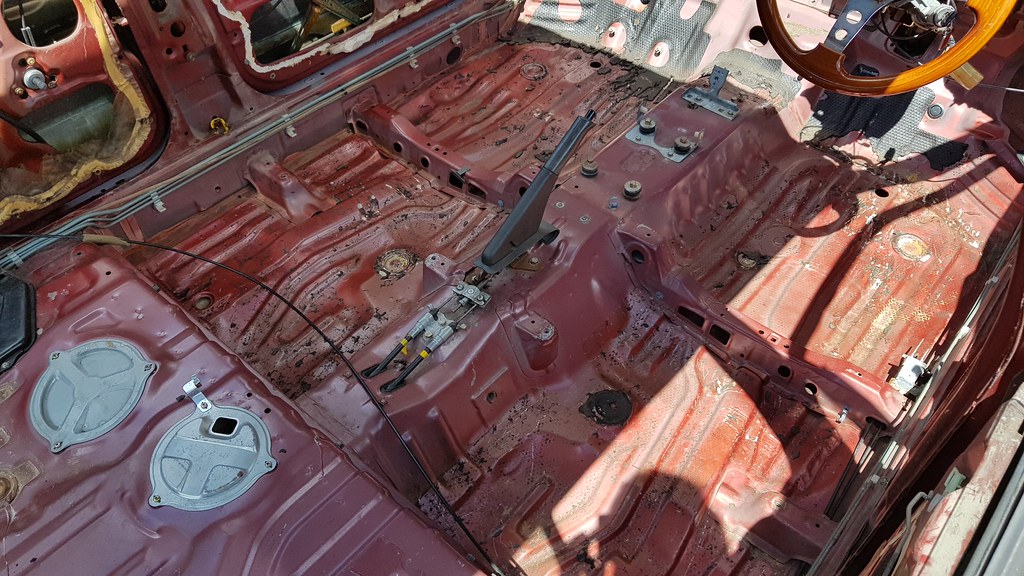
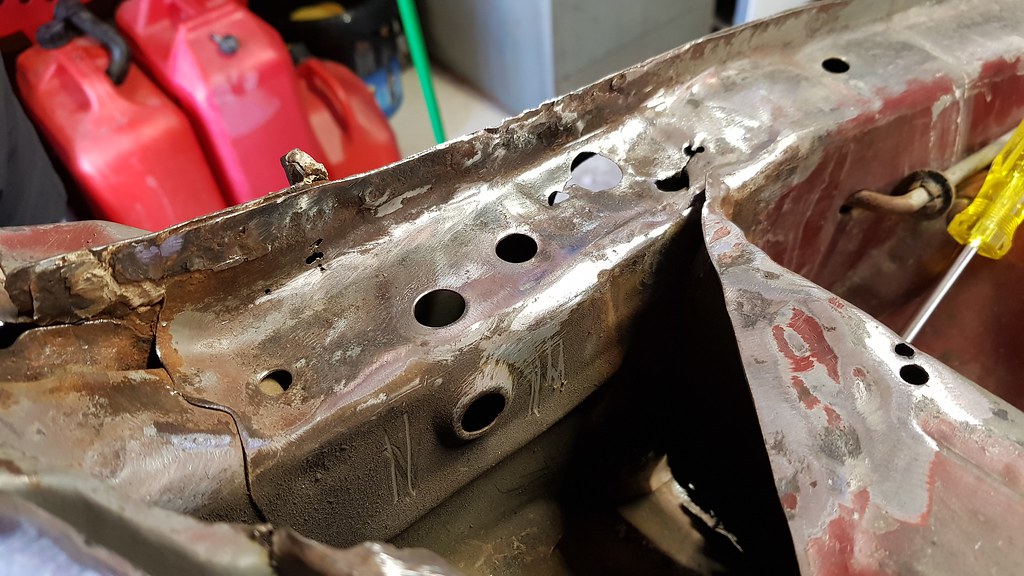
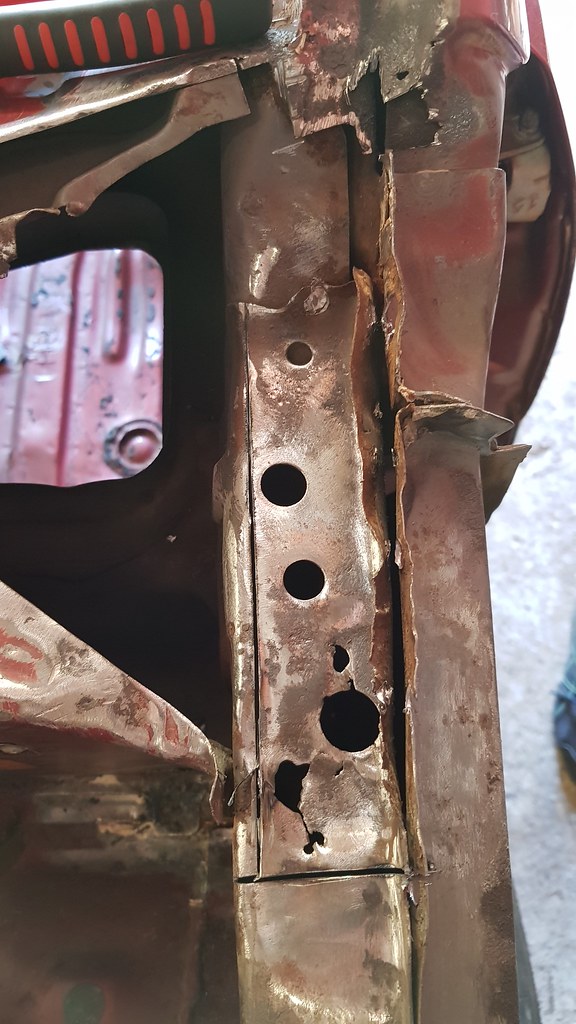
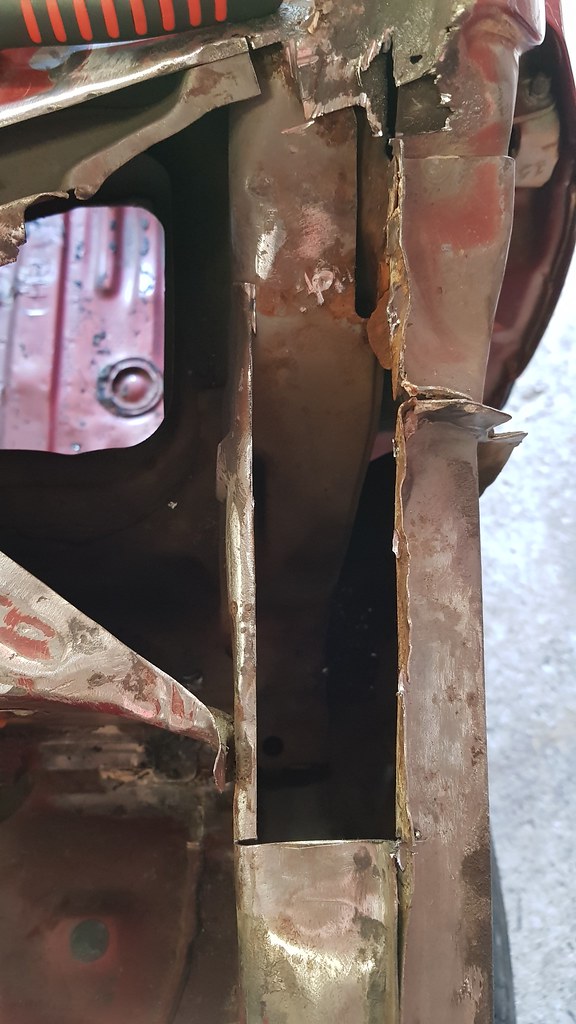
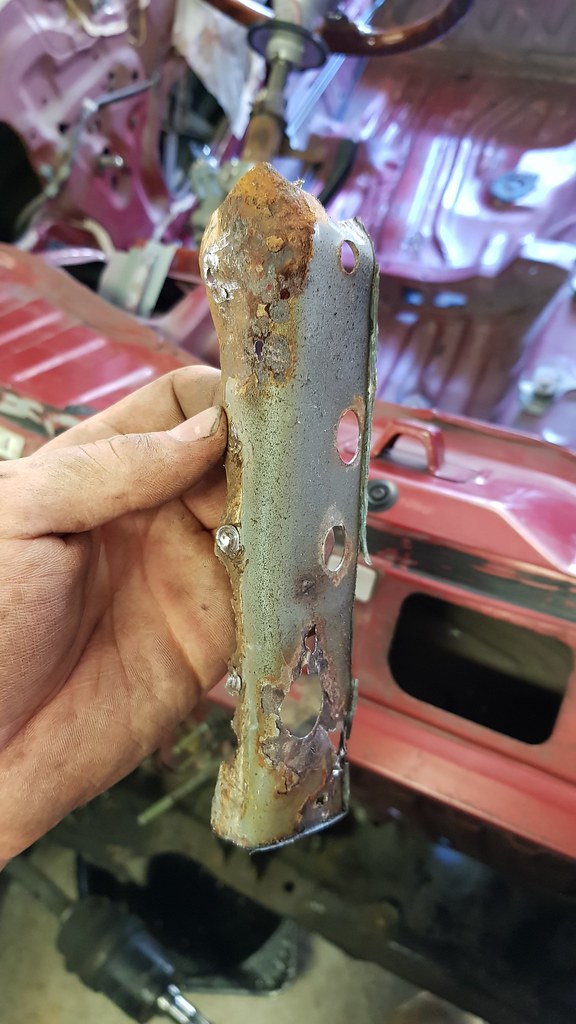
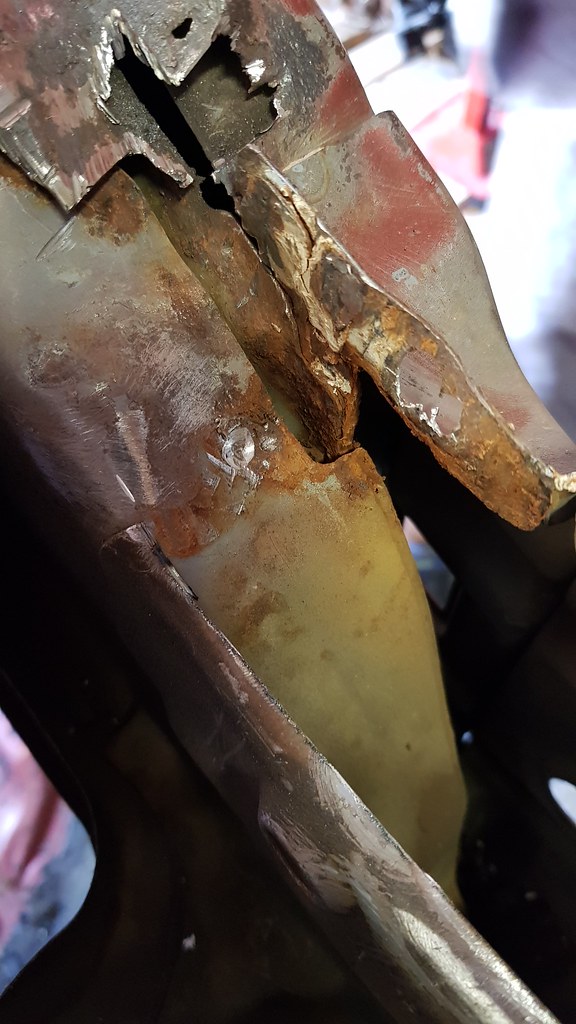
Back to rust, passenger side windscreen. The chassis part in the picture below is a little crusty where it goes up the side, so we decided we will just cut it out and replace. Upon cutting we were presented with where rust has run down the side of this join, wire brushed a little and only looks like surface rust. Will need an actual wired brush we can shove down the small hole, clean it up and then lay down some rust converter and paint. Will continue on Boxing day after some lunch I believe!
My latest purchase, a mint Honda Motocompo
 Last edited by Afx31; 15-02-23, 06:24 PM.Check out my 89' hatch track build!
http://forum.clubitr.com.au/showthre...856#post295856
Check out my RT4WD Wagon Resto/Turbo project!
http://forum.clubitr.com.au/showthre...951#post295951
Check out my EF9 SiR Resto build!
http://forum.clubitr.com.au/showthre...?16994-The-EF9
Comment

Comment