I really look forward to your updates having sold my NB. I always wanted an NA and mod it like yours, or keep it really stock...I might just end up getting one again
Announcement
Collapse
No announcement yet.
1996 NA MX-5 Build Thread
Collapse
X
-
19/12/2017
MOMO Futura 350mm Wood Steering Wheel
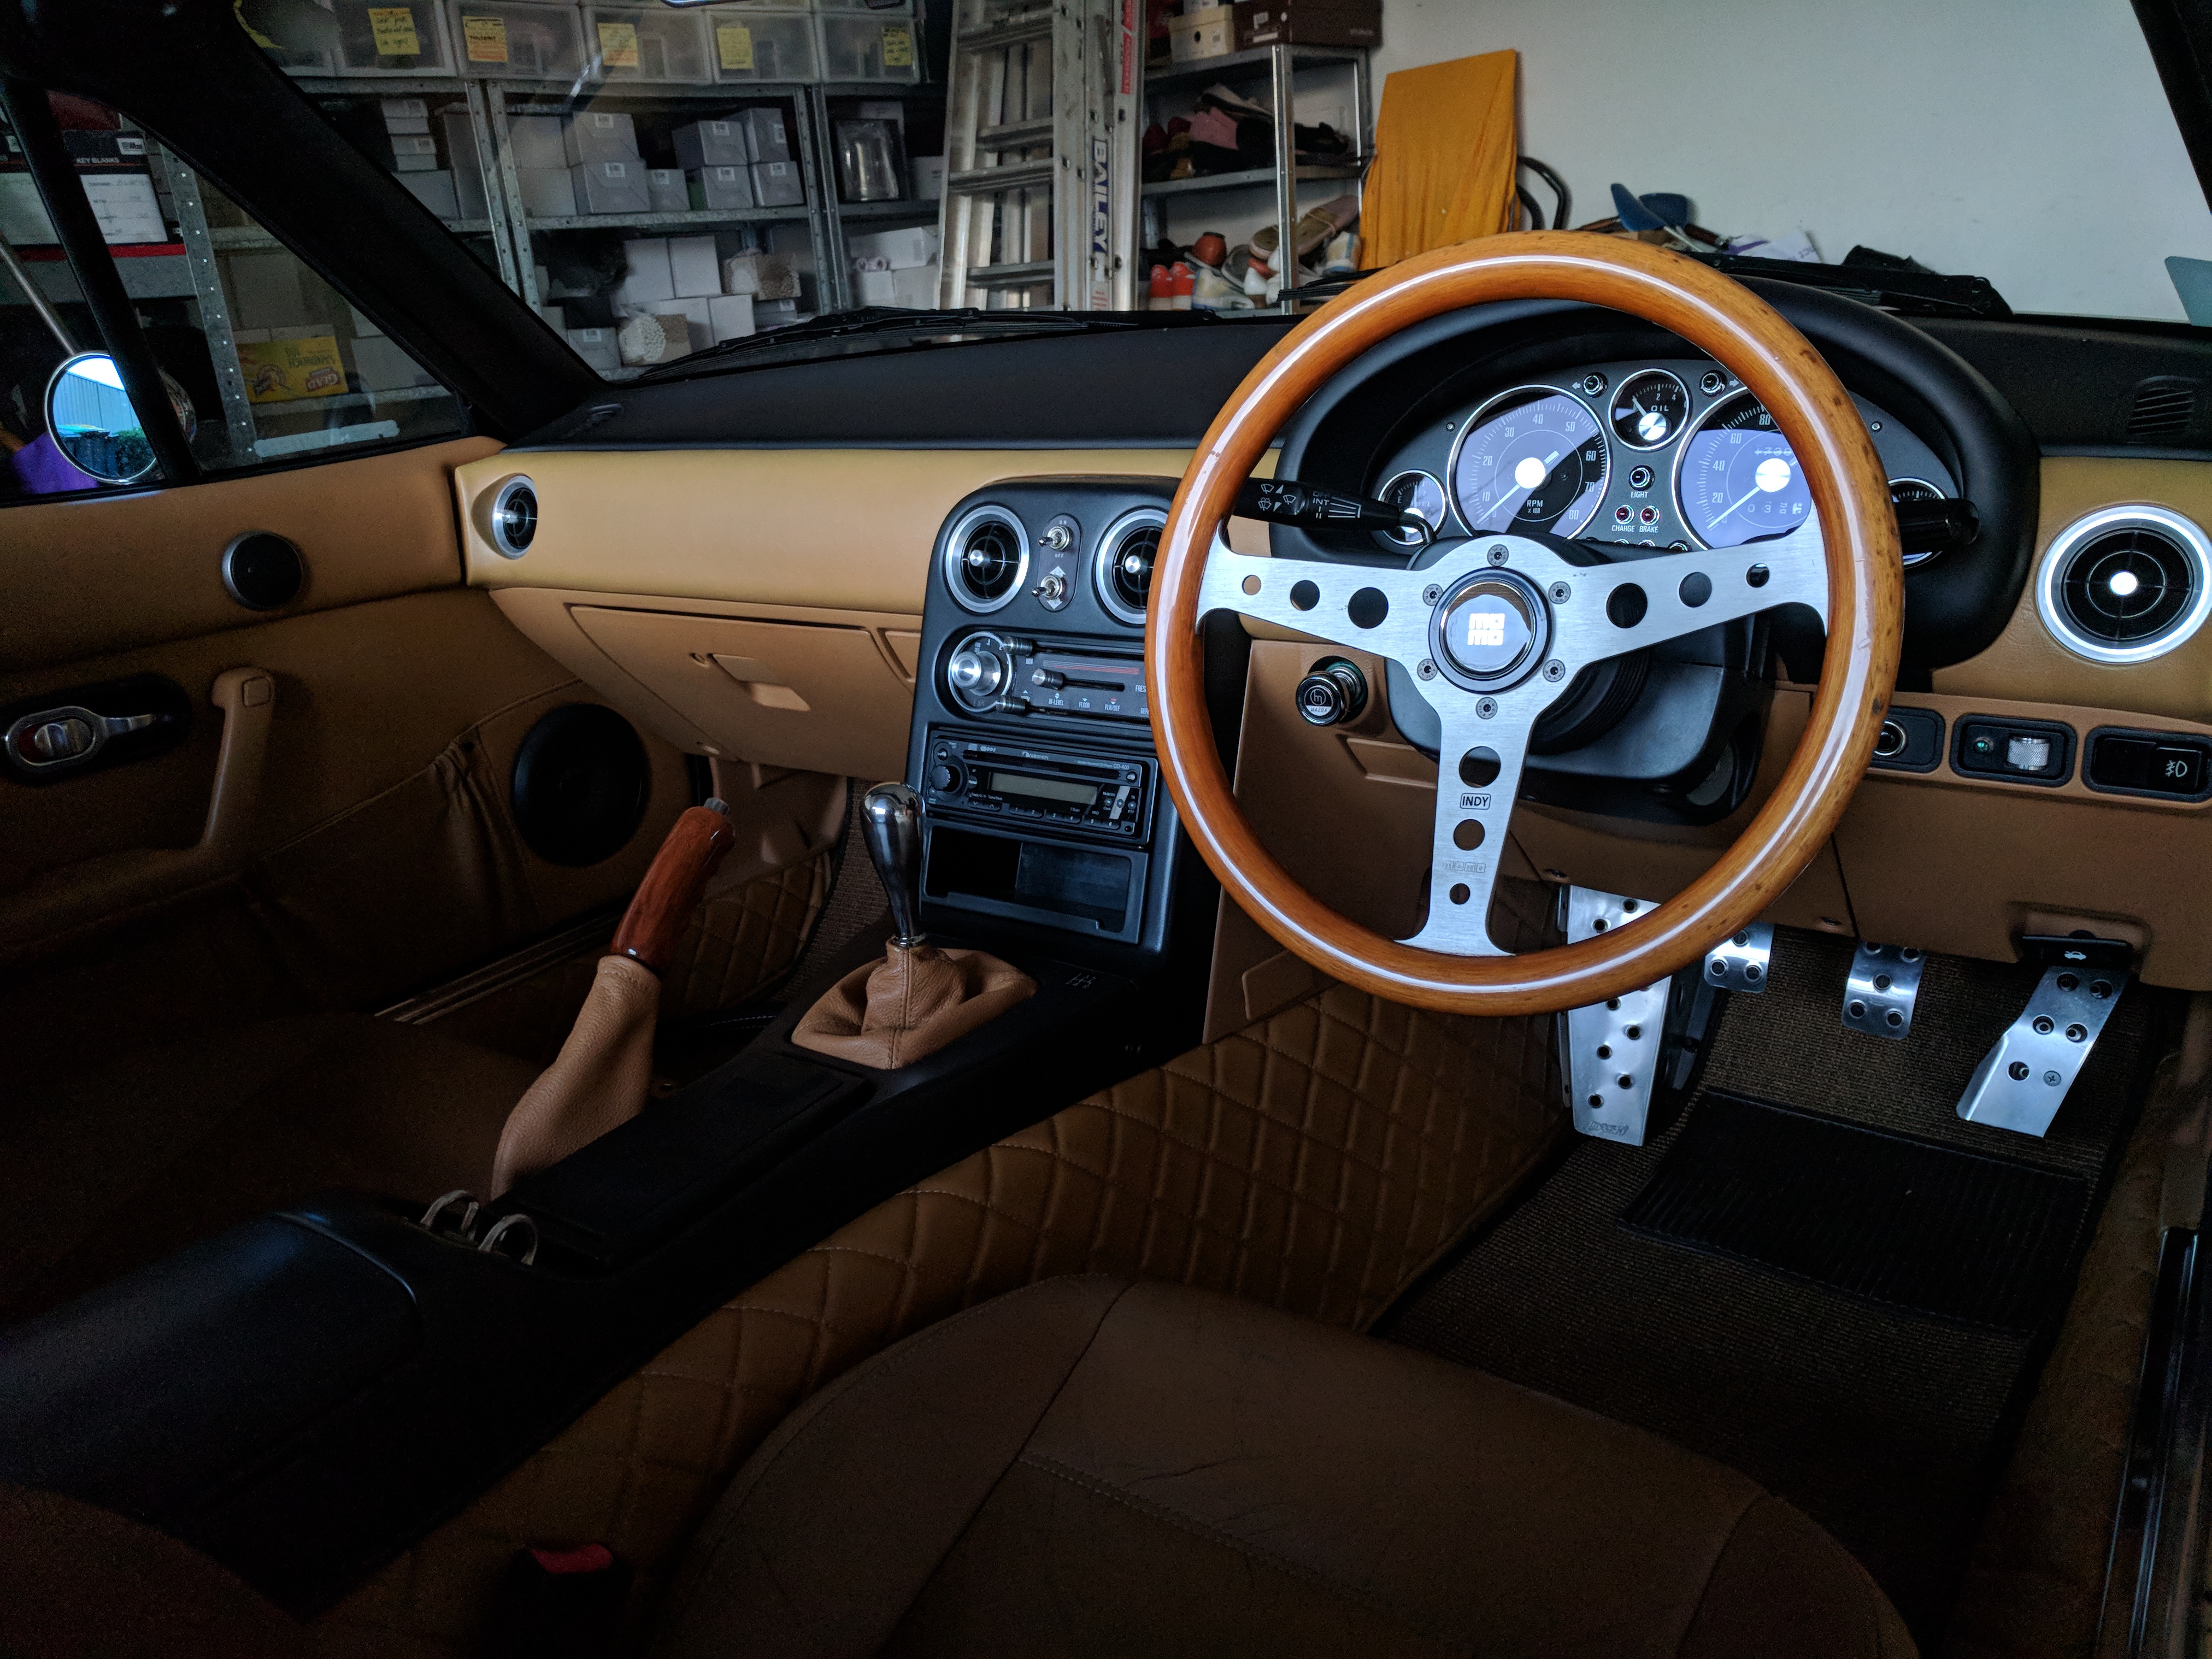
For some reason, the NA8 BRG's came with a black leather MOMO steering wheel and matching black handbrake. Ever since I saw my friends NA6 BRG which had the wood Nardi and wood hand brake handle, I wanted them and was kind of bummed that mine didn't come with it. So when I began modifying, I got my hands on a Nardi Classic wood steering wheel and an Arrive mahogany hand brake handle. I loved it. I loved the look of it and to me, given that the car had a tan interior and BRG paint job, it felt...complete.
One day, my friend Dan tagged me in an instagram post of a car which has a particular steering wheel he thought would look great with my MX-5. It was a wood MOMO wheel, but at the time I had no idea what it was called. After some research, I found out that it was called a "MOMO Futura" steering wheel. It looked retro and to me it looked very cool. Naturally, the next step would be to see who sells it and where to get one from. Turns out that this particular wheel had been discontinued a while ago and it was becoming harder to source one. I looked on YJA and other places but to no avail.
Then one day as I was scrolling through some instagram photos, this person had posted that they were selling a MOMO Futura steering wheel. It looked to be in great condition for a second hand wheel and the price was reasonable. After some messages back and forth, we agreed on a price and soon enough the wheel was in my hands, all the way from the UK.
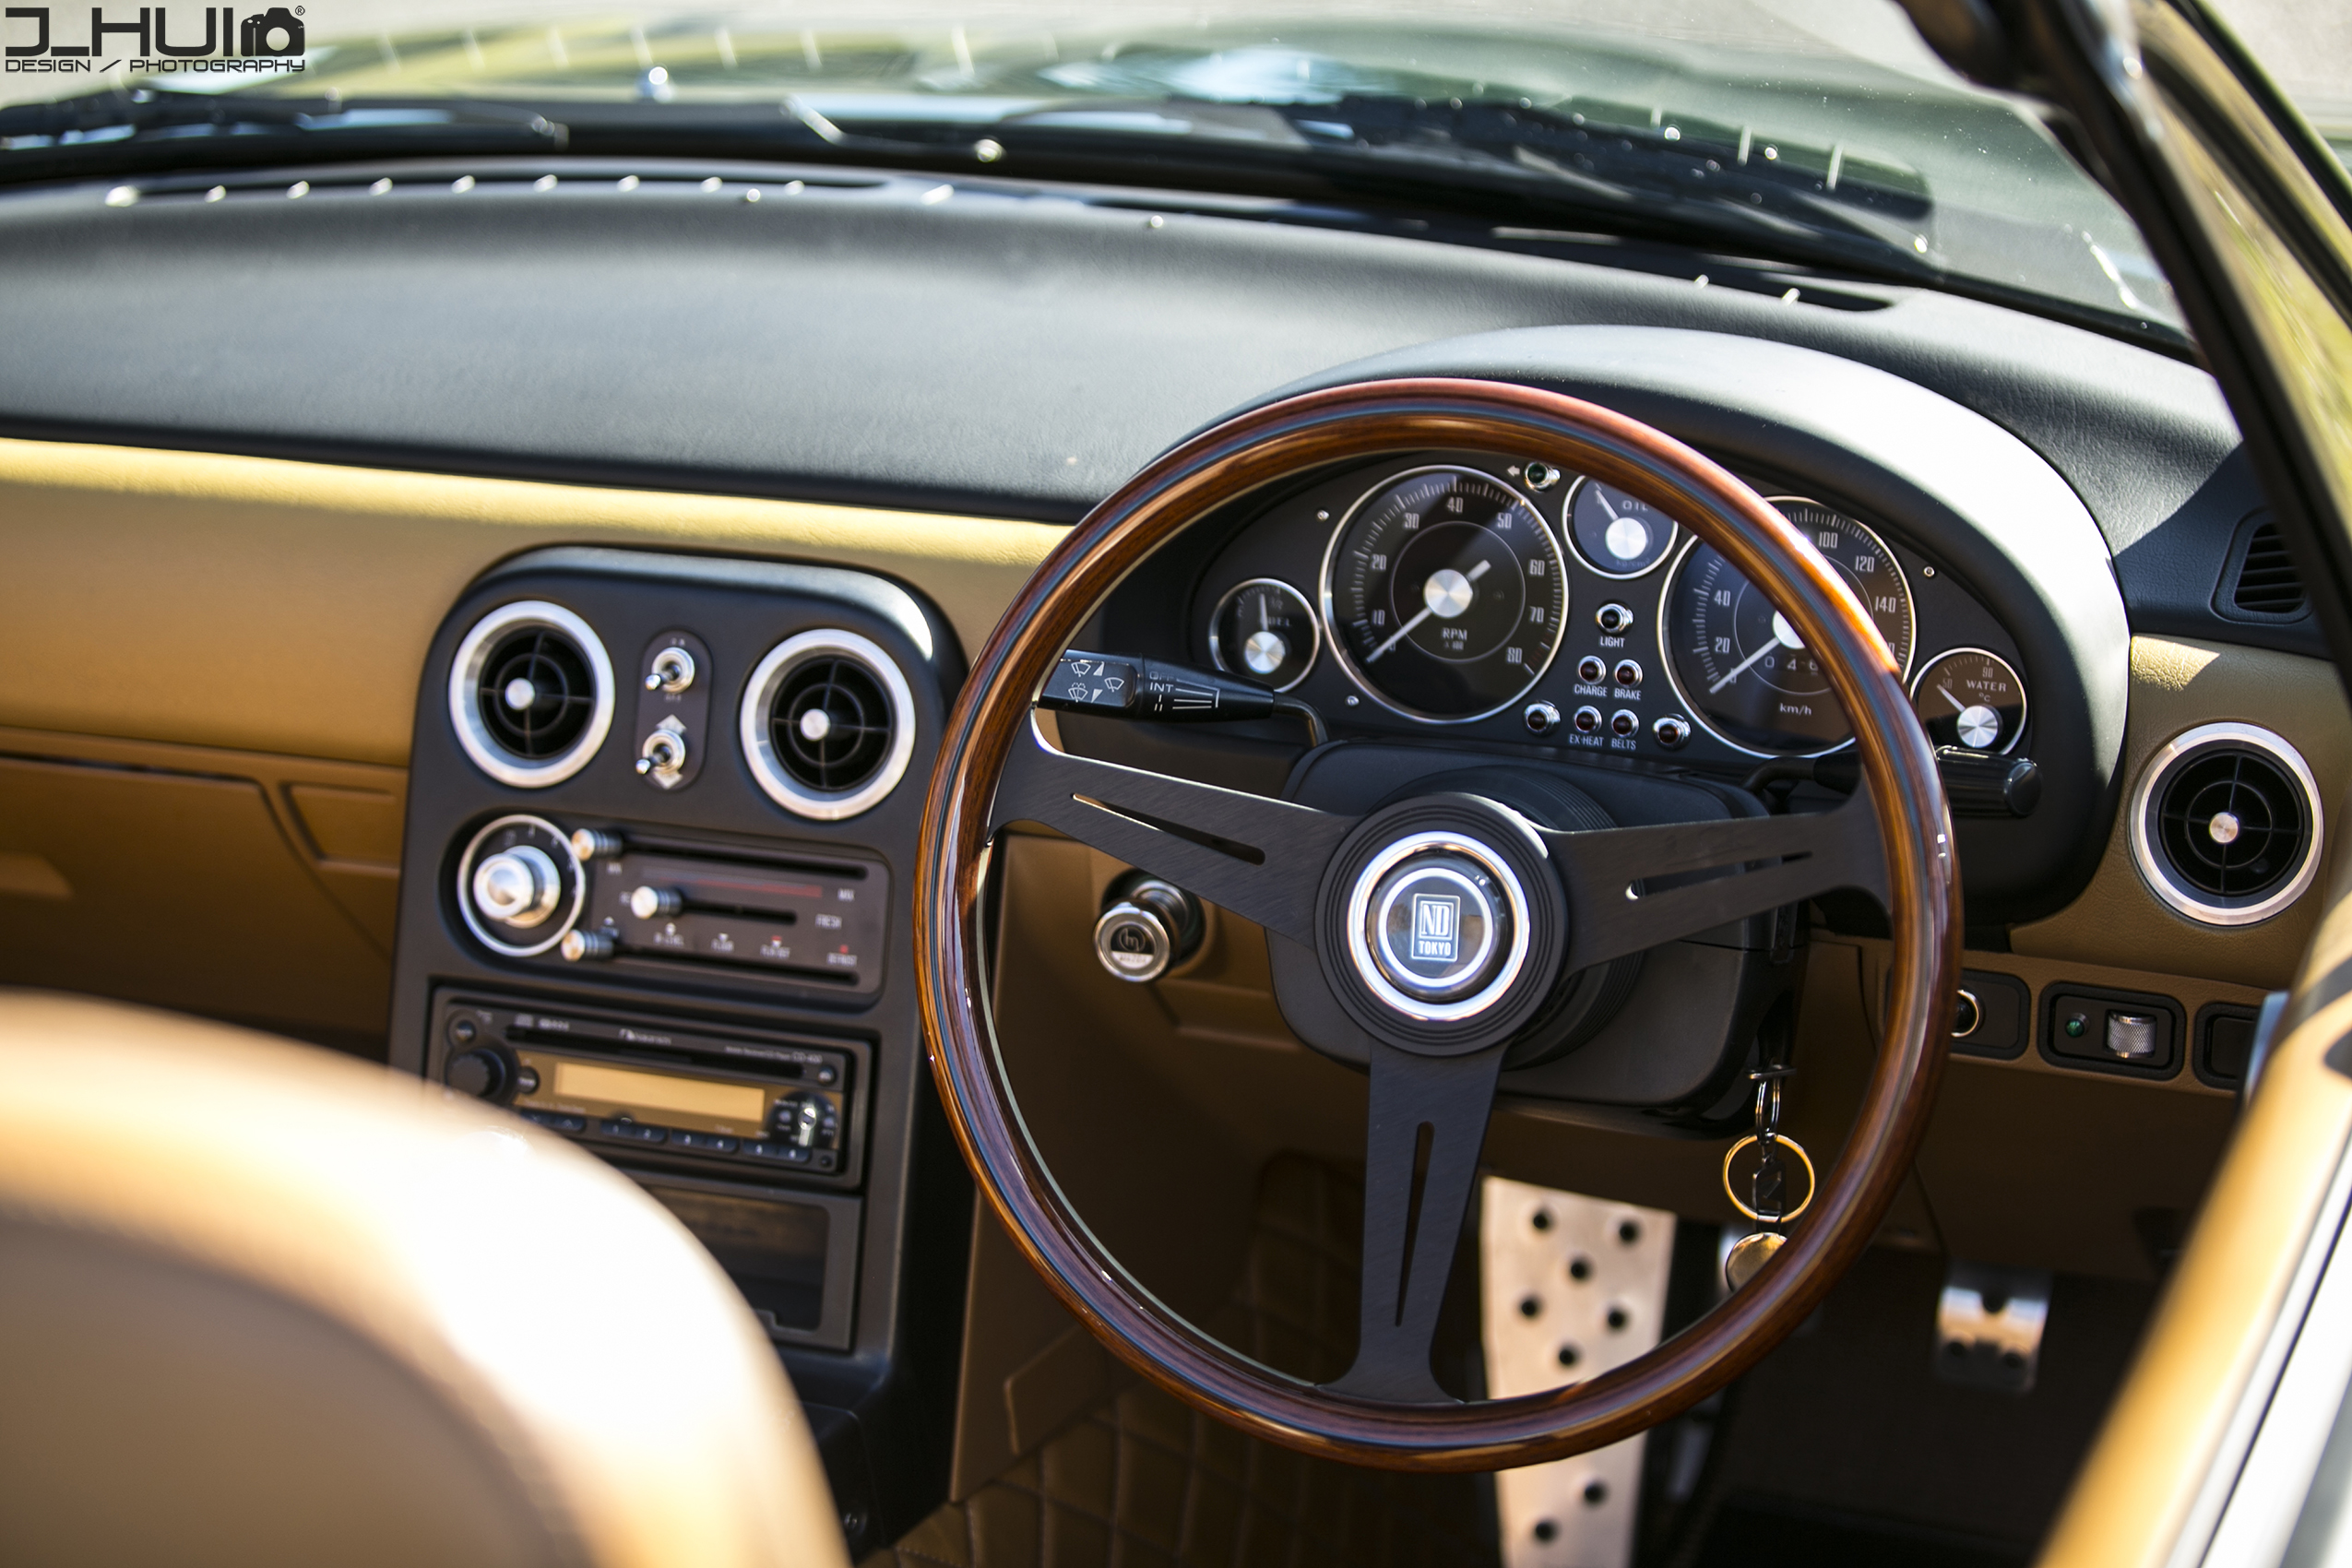
Upon receiving the wheel, I realised that there was a little bit of wear on the 2:00 position compared to the rest of the wheel but that wasn't too bad. A little bit of the wood had also split near the spokes but again, nothing major. The really impressive thing was that the wood colour was pretty much a perfect match with my hand brake handle. The MOMO is a 350mm compared to the 360mm on my Nardi so now it's a little harder to see the top of the cluster (i.e indicator lights) compared to before, but the grip is definitely a lot thicker than the thin grip of the Nardi and it feels really good. Plus, the 10mm difference in diameter surprisingly made a pretty big difference!
Overall, I'm very pleased with steering wheel. I do plan on restoring the wheel very soon by sanding the grip and reapplying the varnish to restore the nice gloss the wheel once had. Also, I'm currently borrowing a MOMO horn button from Dan for the time being but I also plan on getting a new customised horn button for the wheel from Adam. Stay tuned!
MOMO Futura 350mm wood steering wheel.

Slight colour difference between the Nardi Classic and the Arrive hand brake cover.
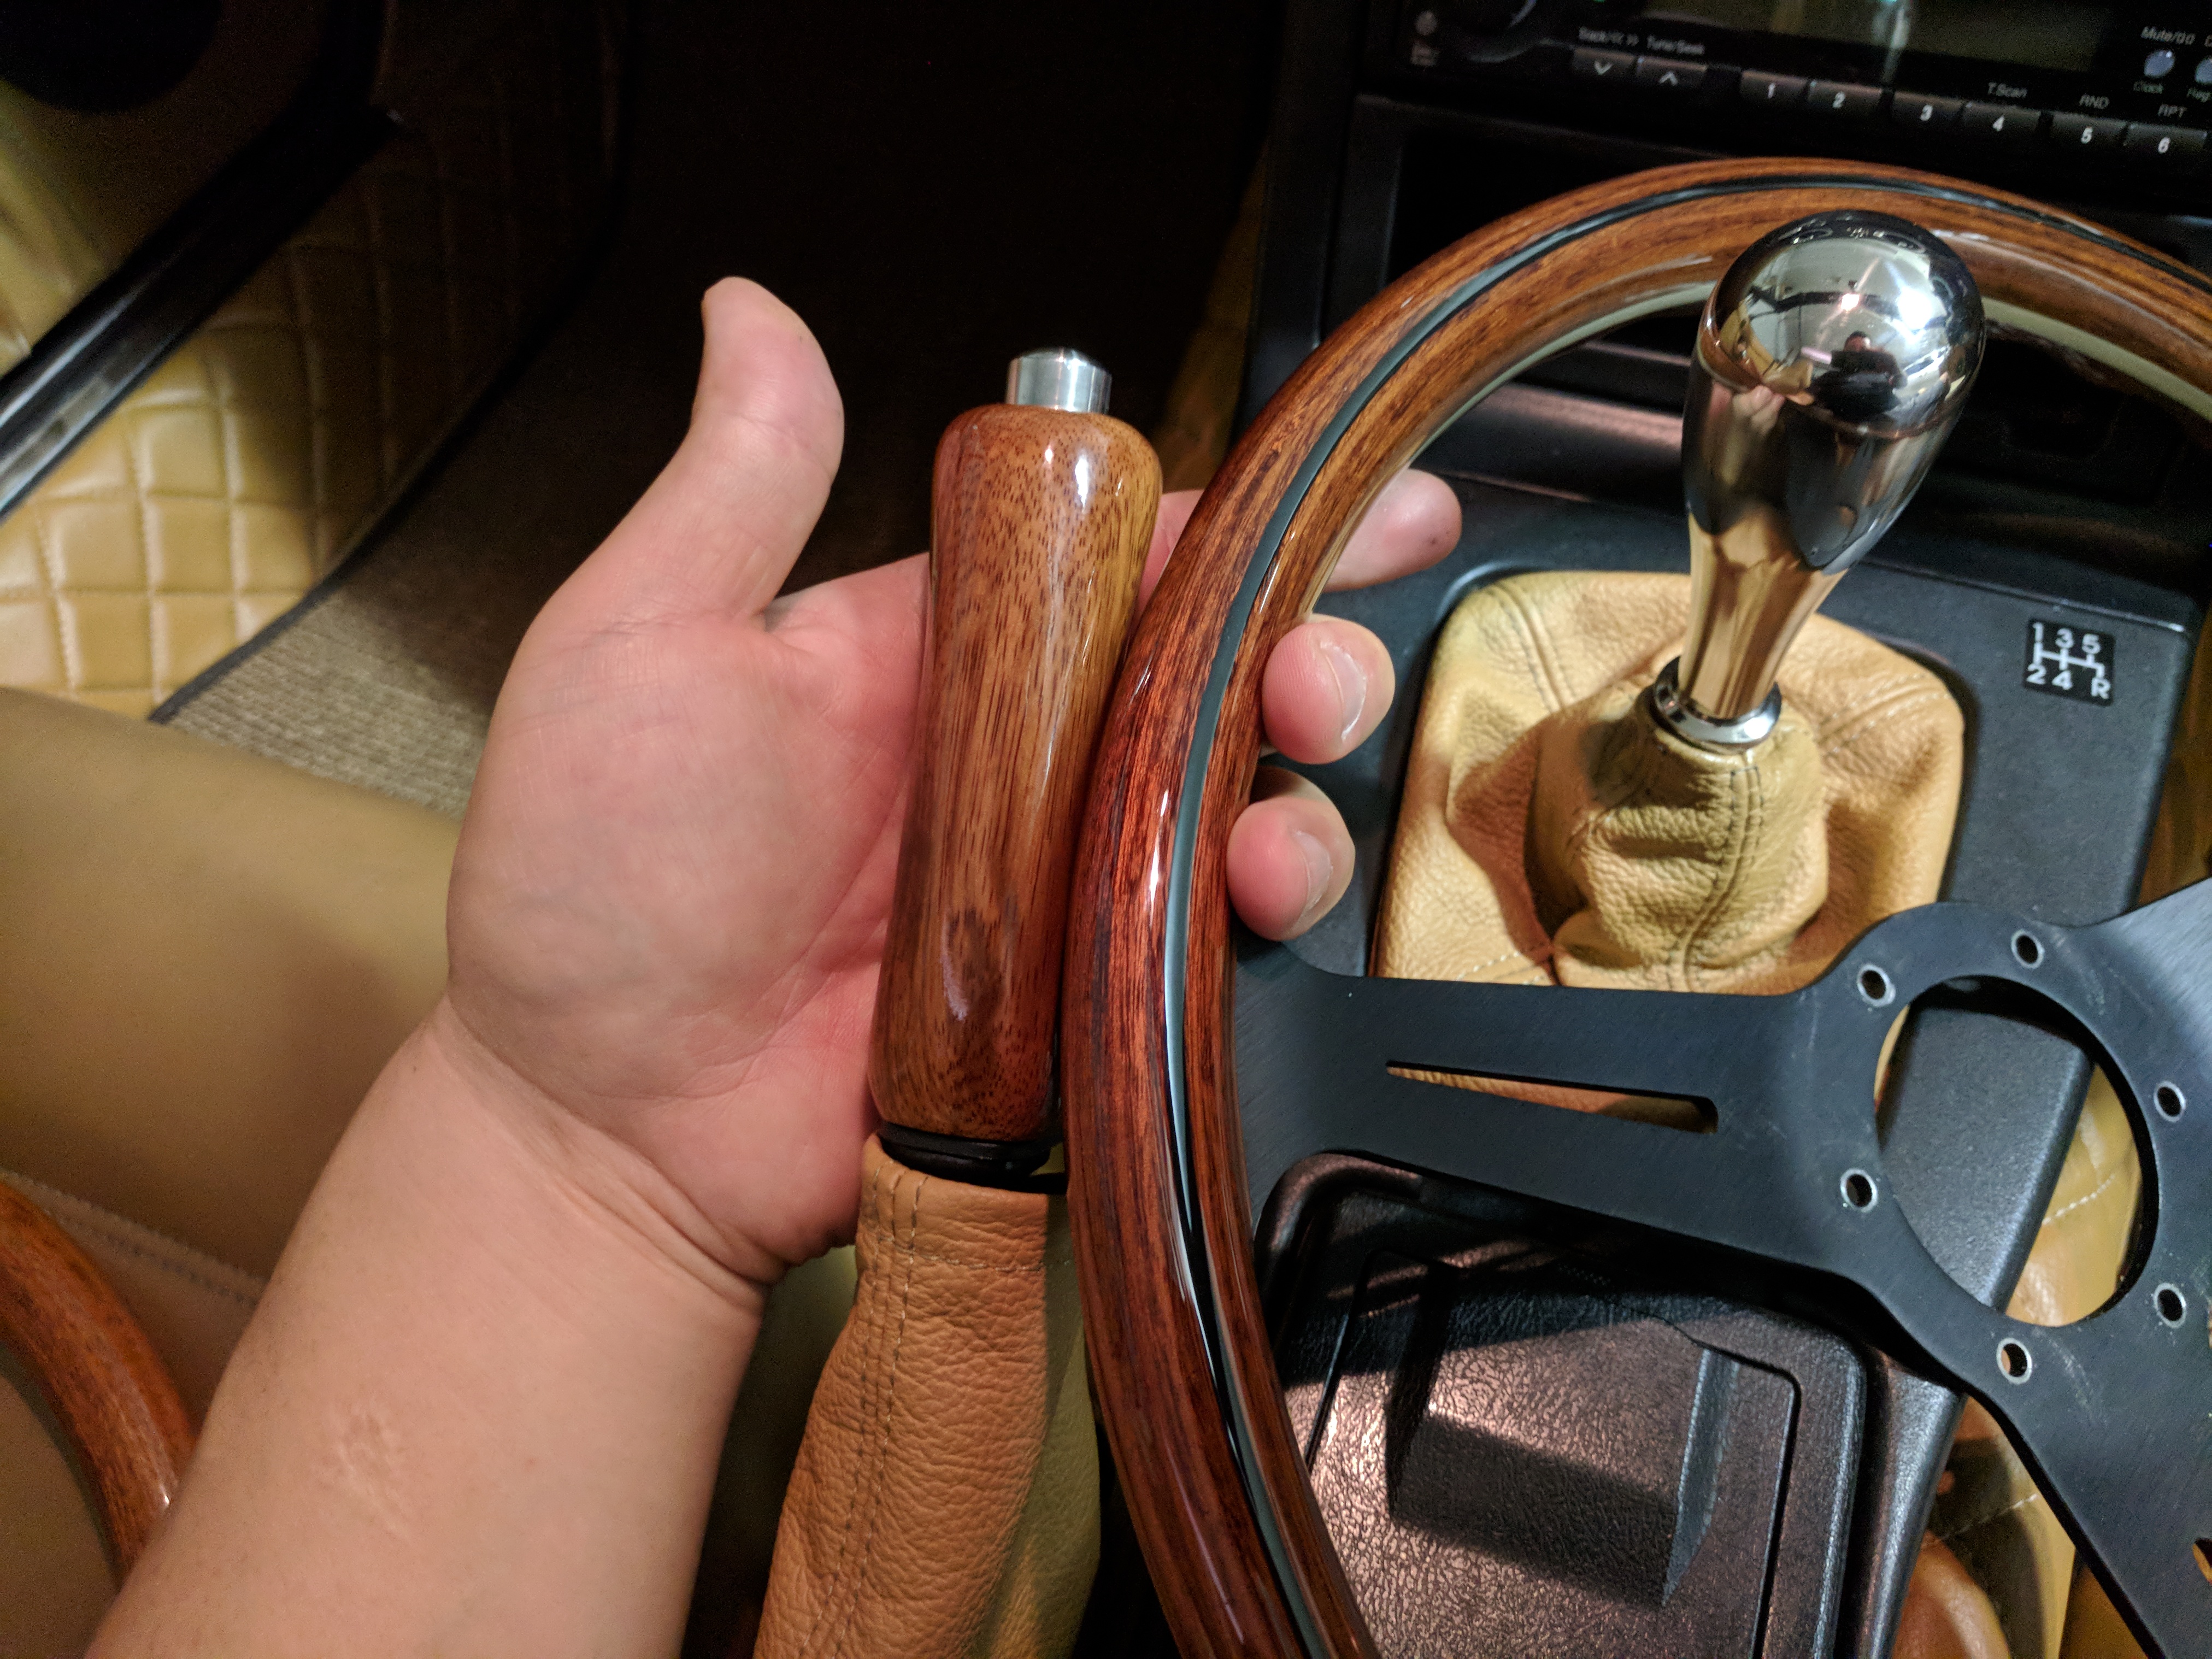
Pretty much a perfect match with the MOMO and the hand brake cover.
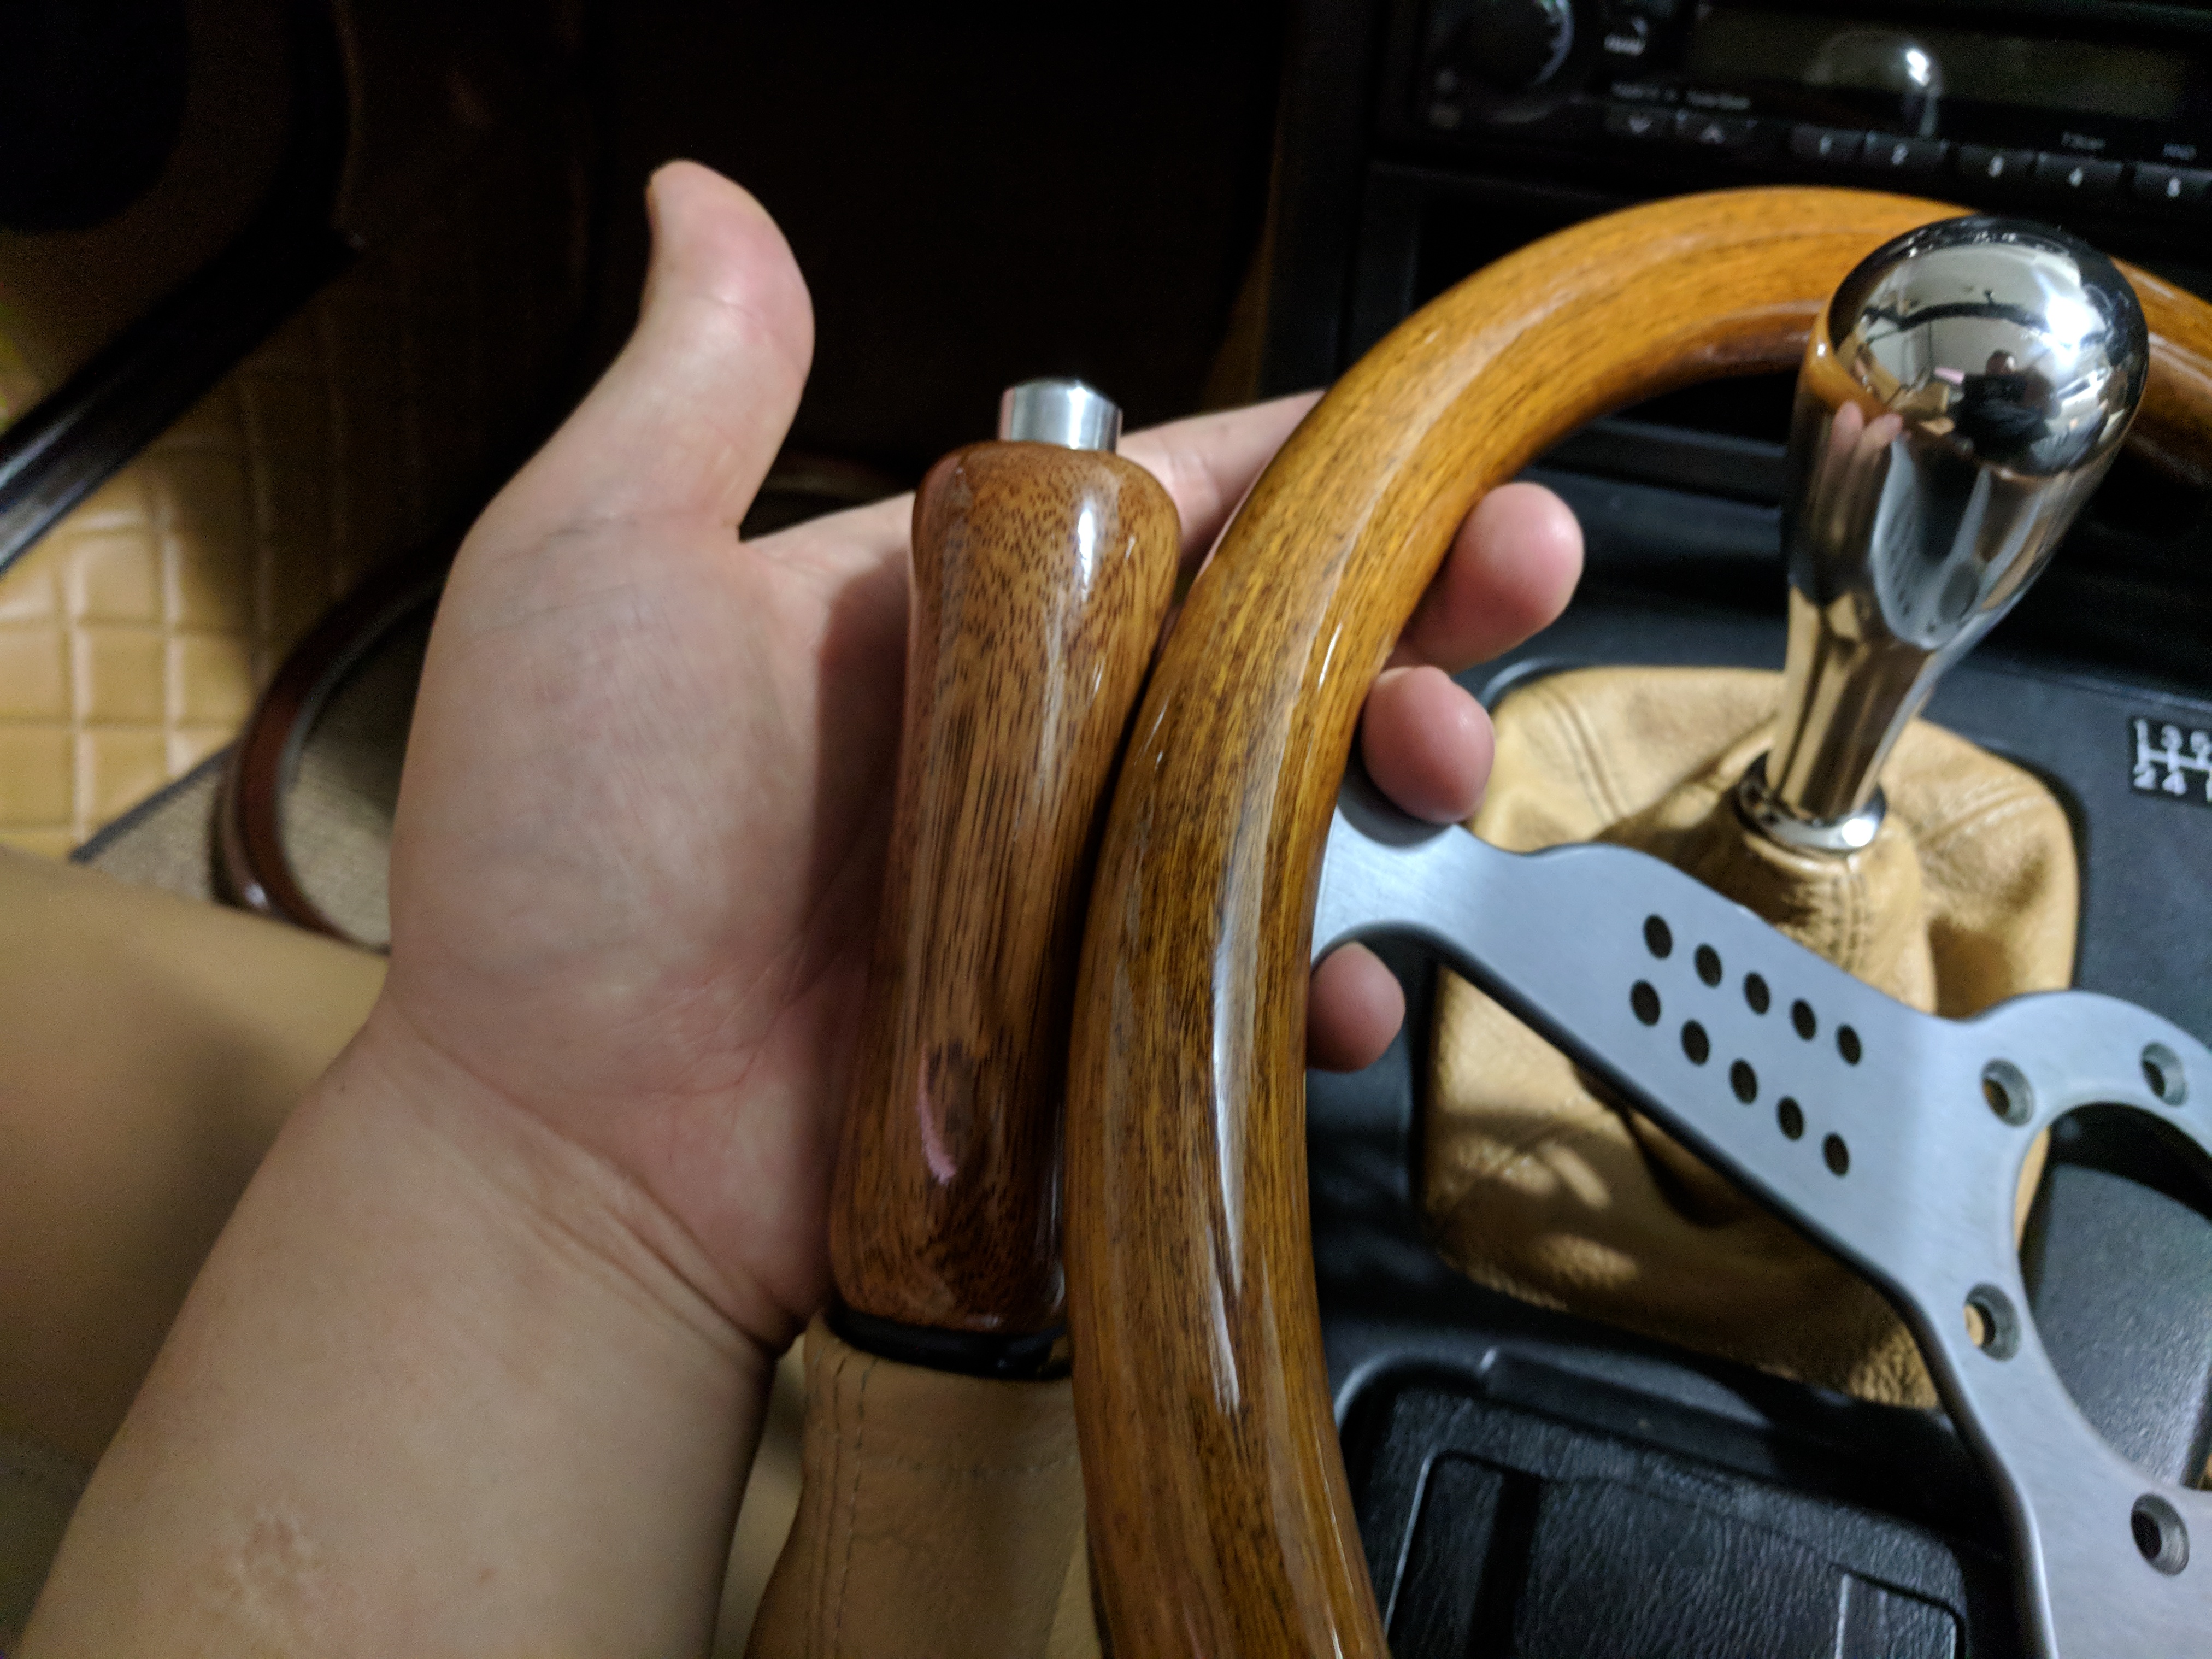
Before : Nardi Classico 360mm wood steering wheel with ND Tokyo horn button.
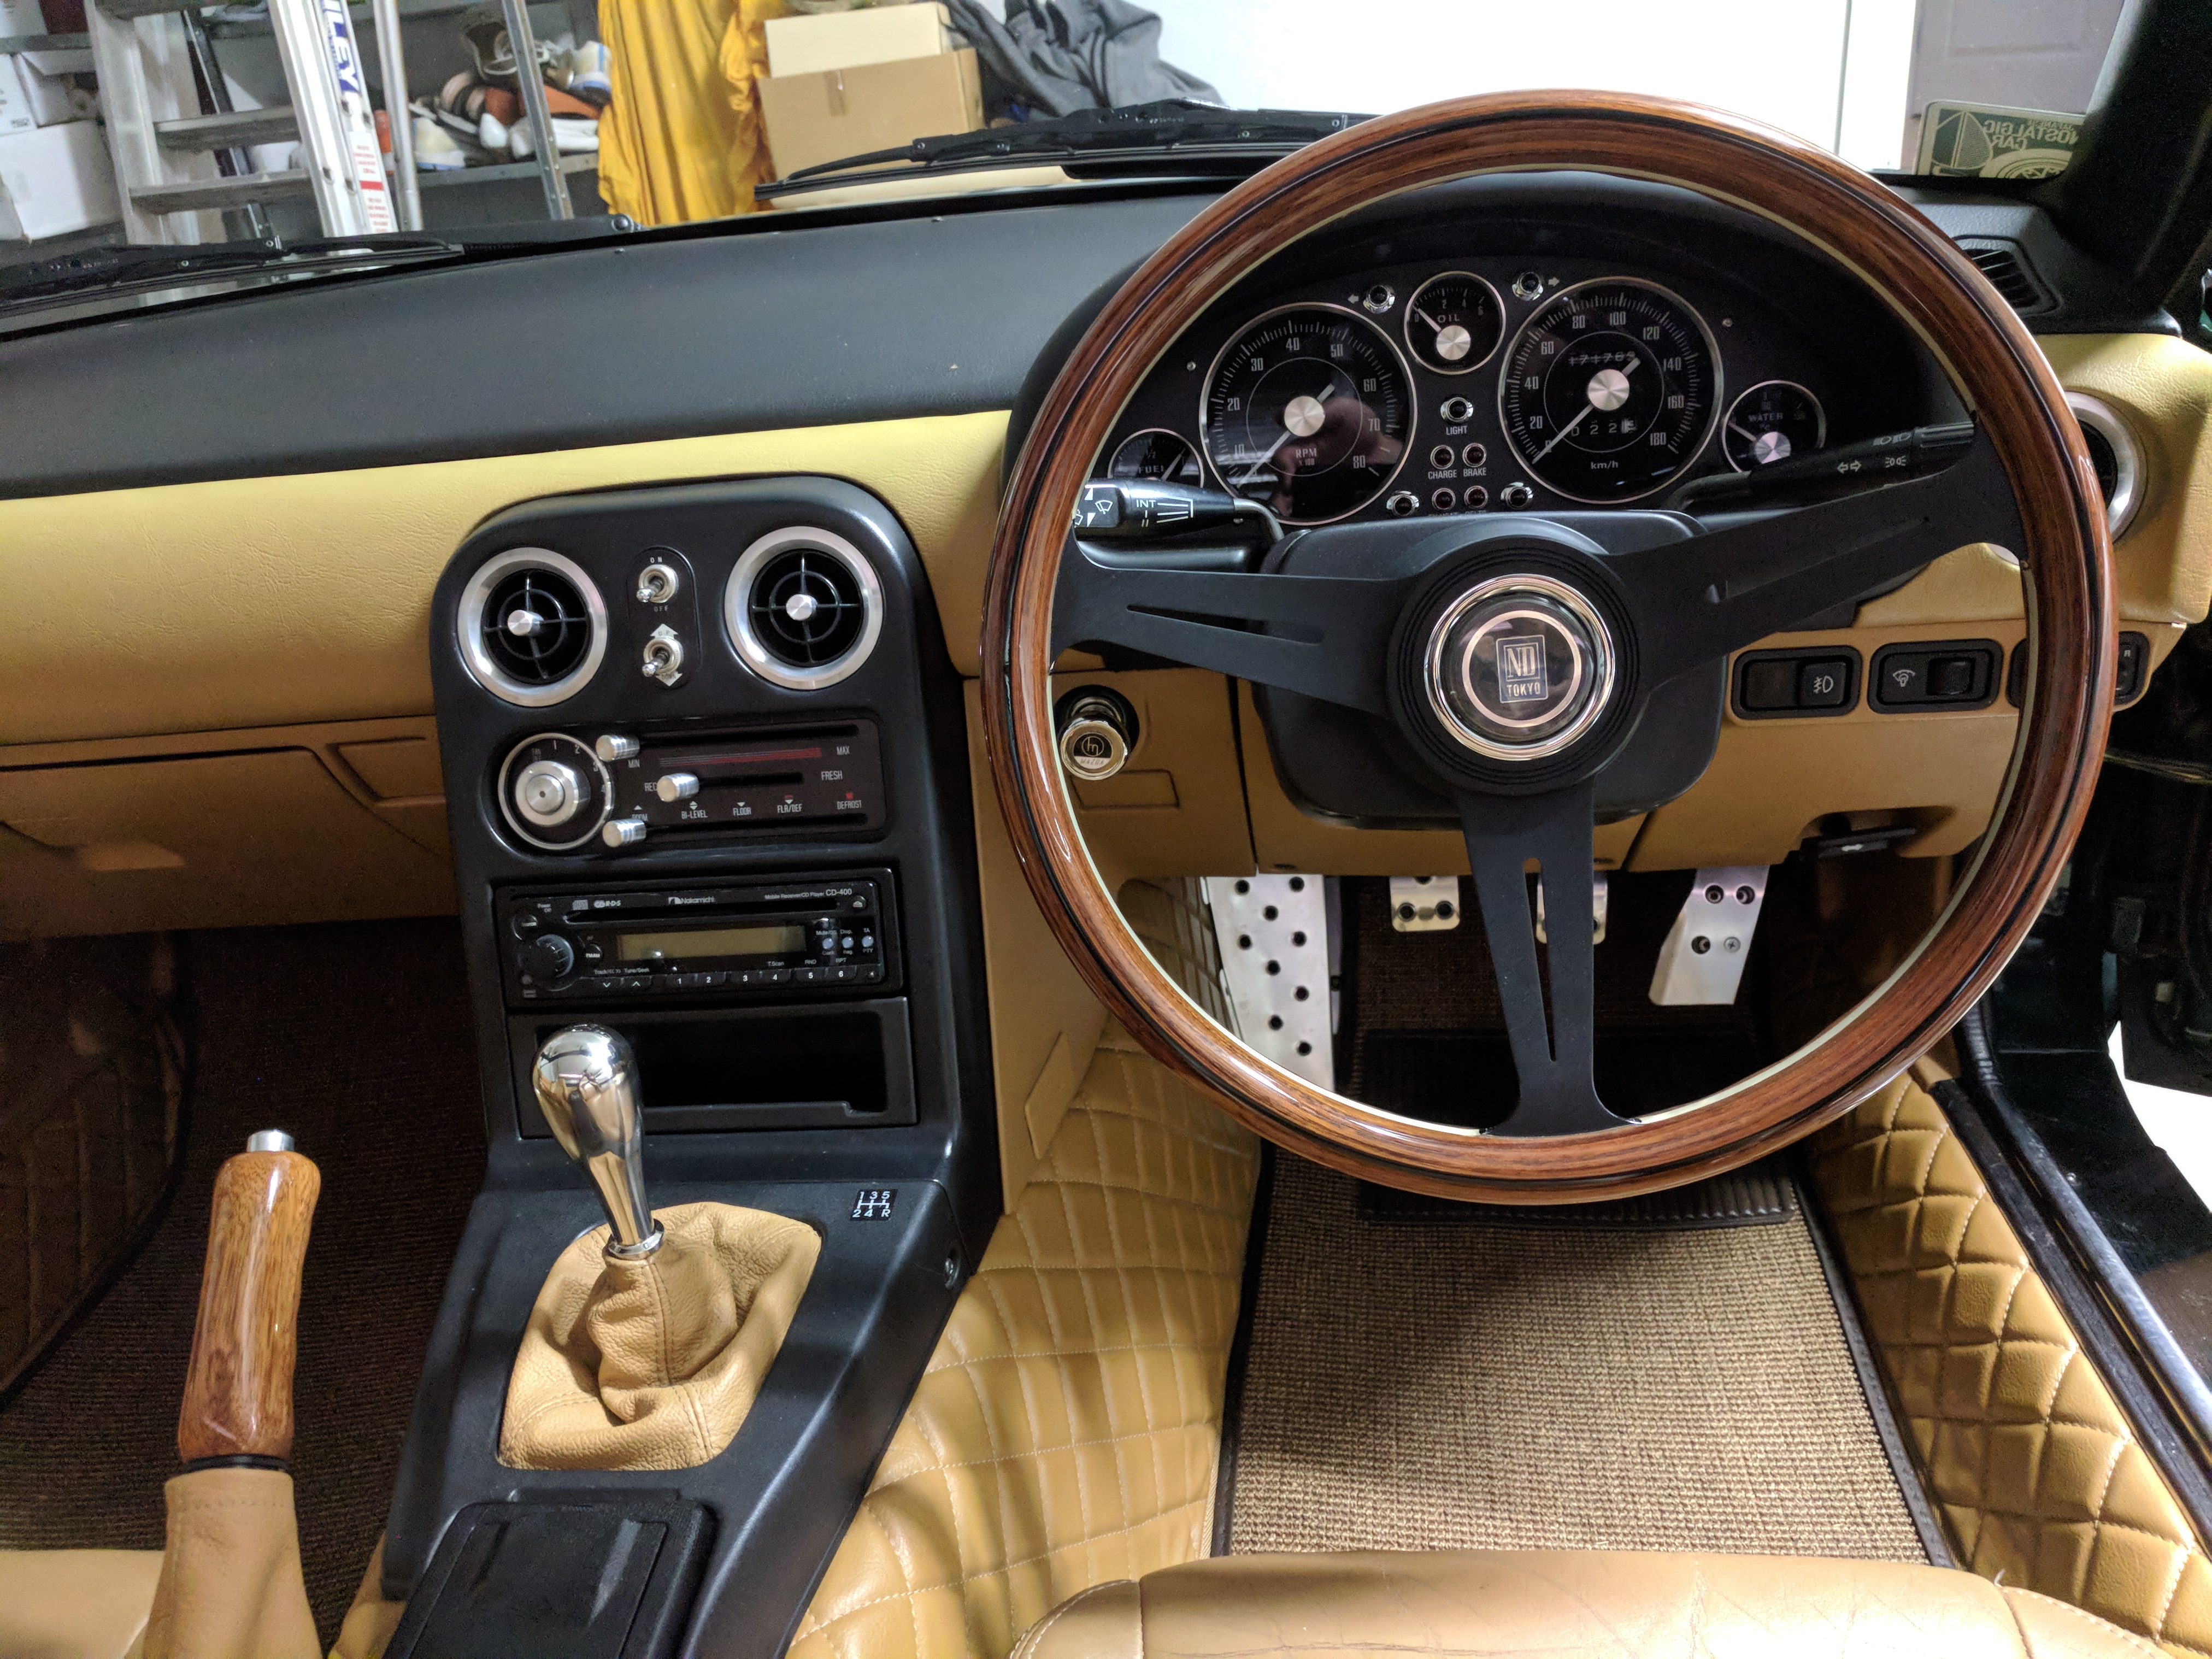
After : MOMO Futura 350mm wood steering wheel with MOMO classic horn button.

Comment
-
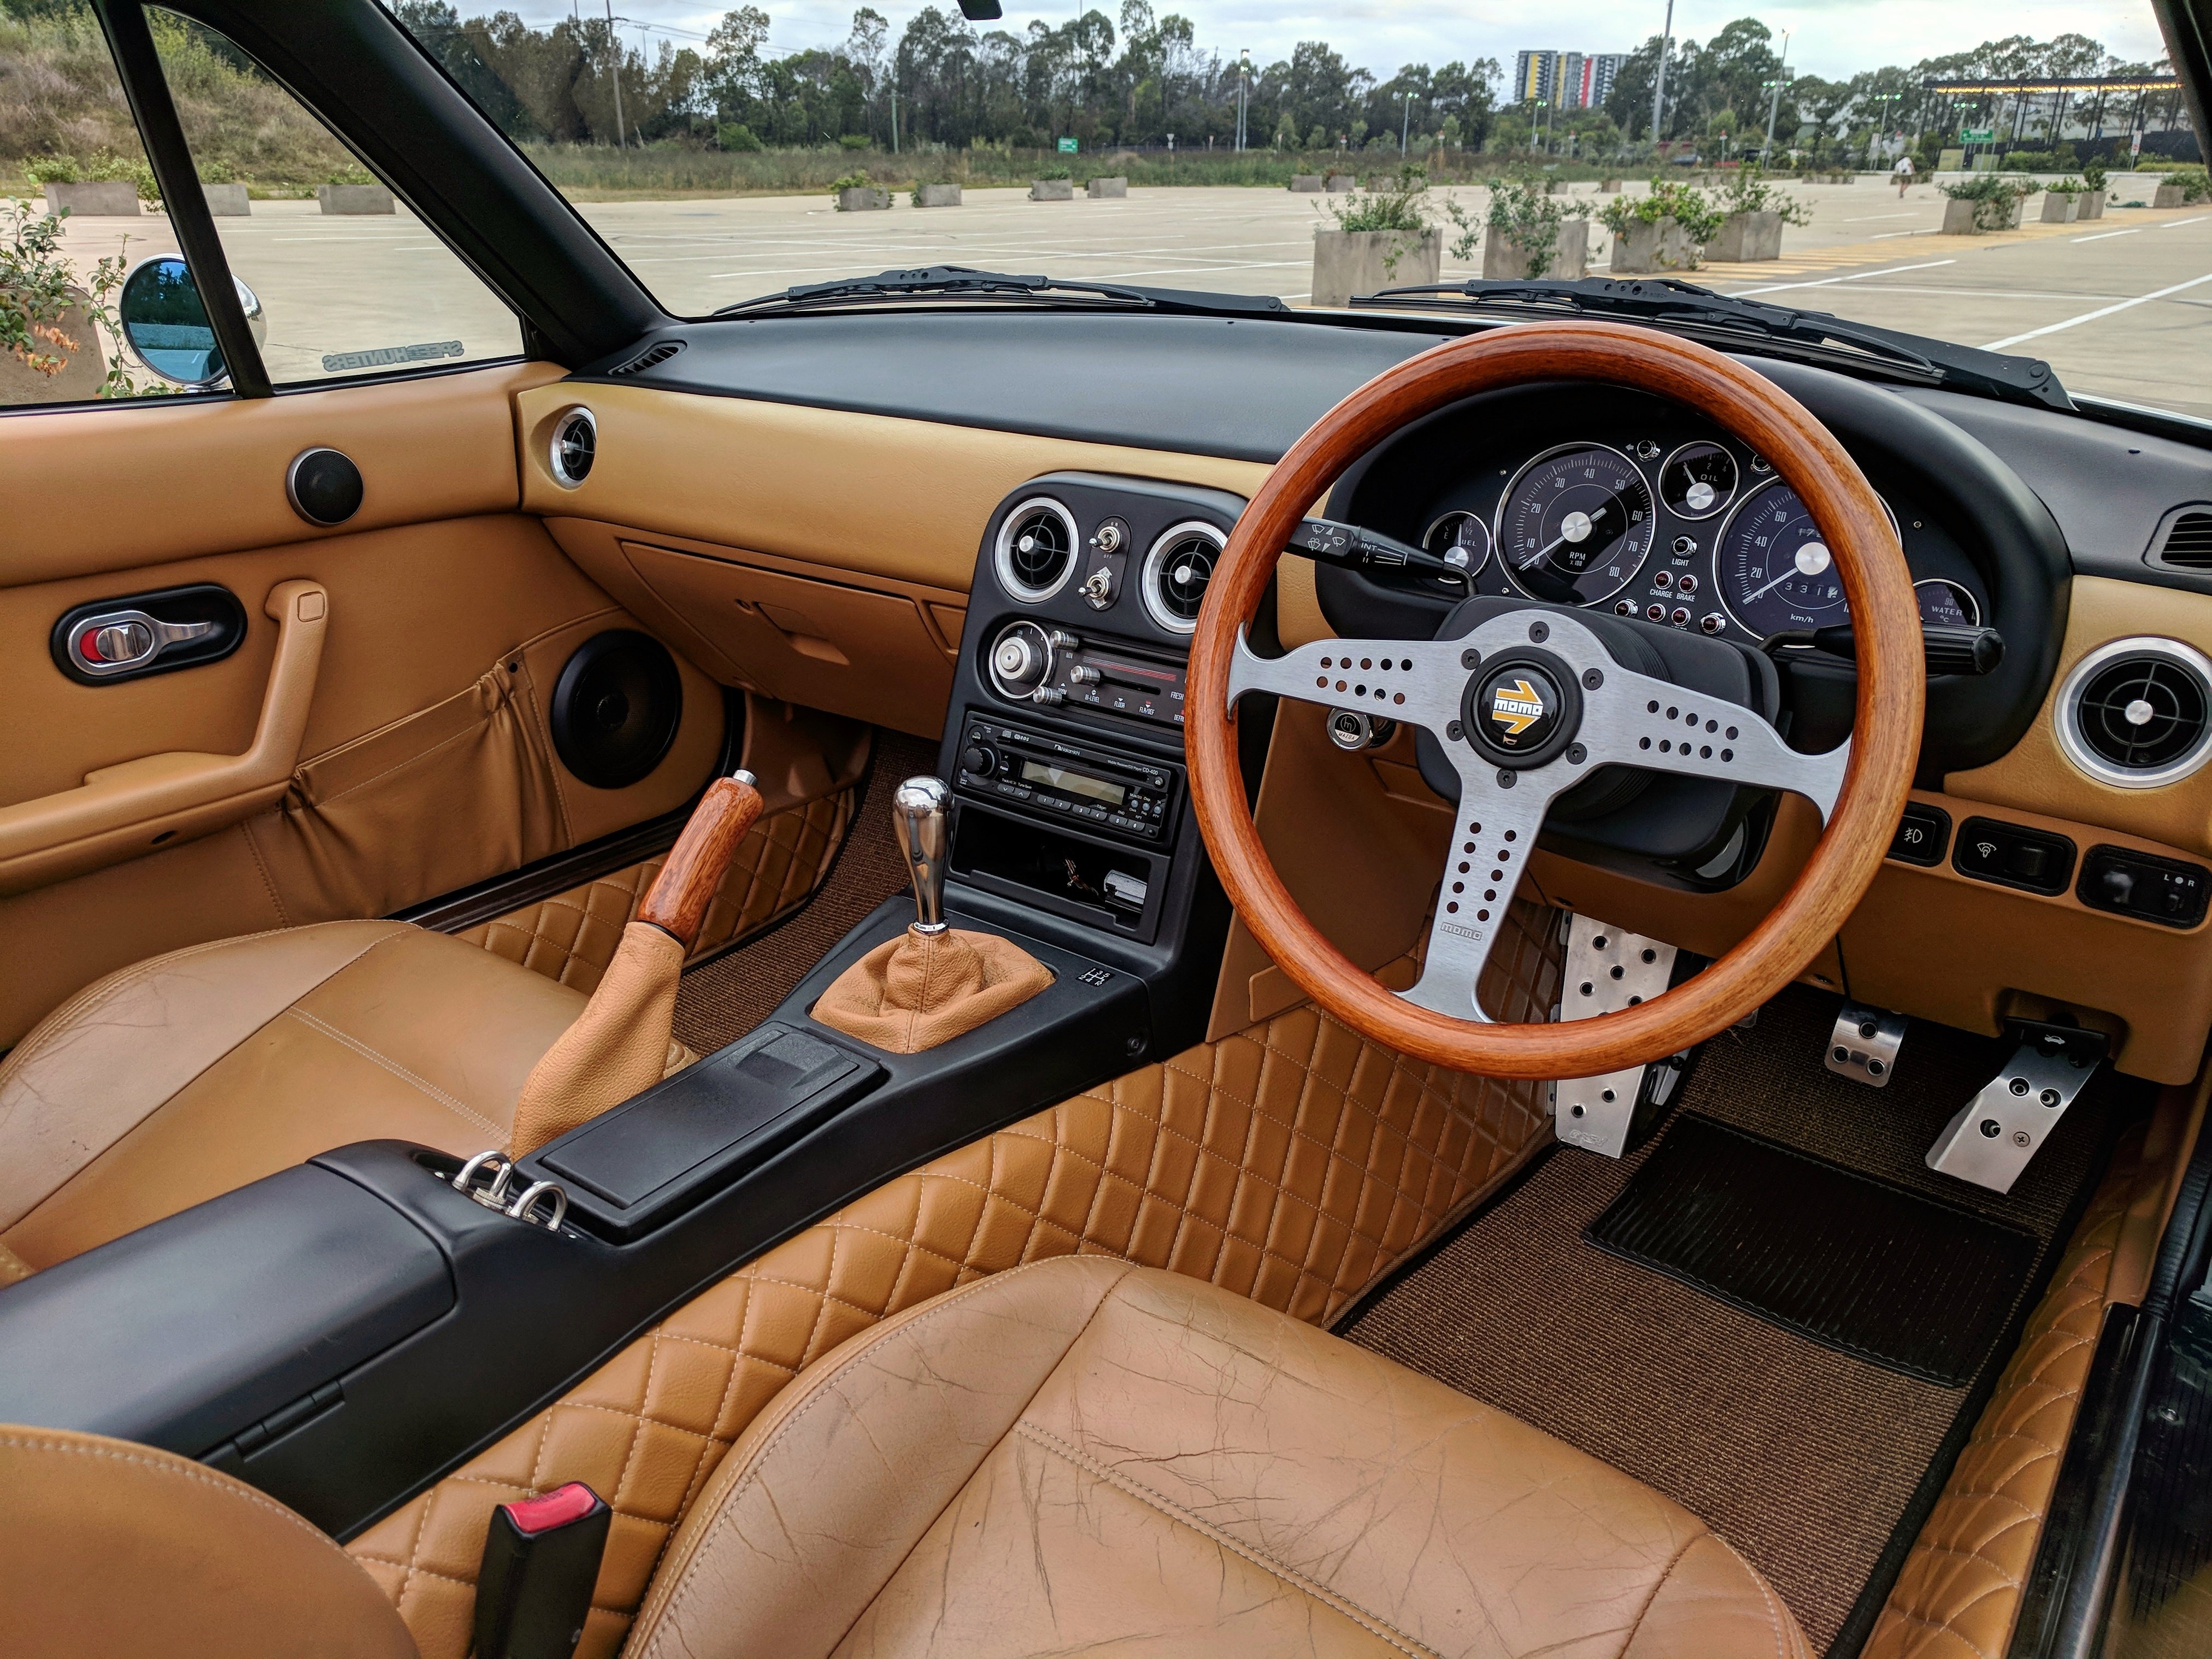
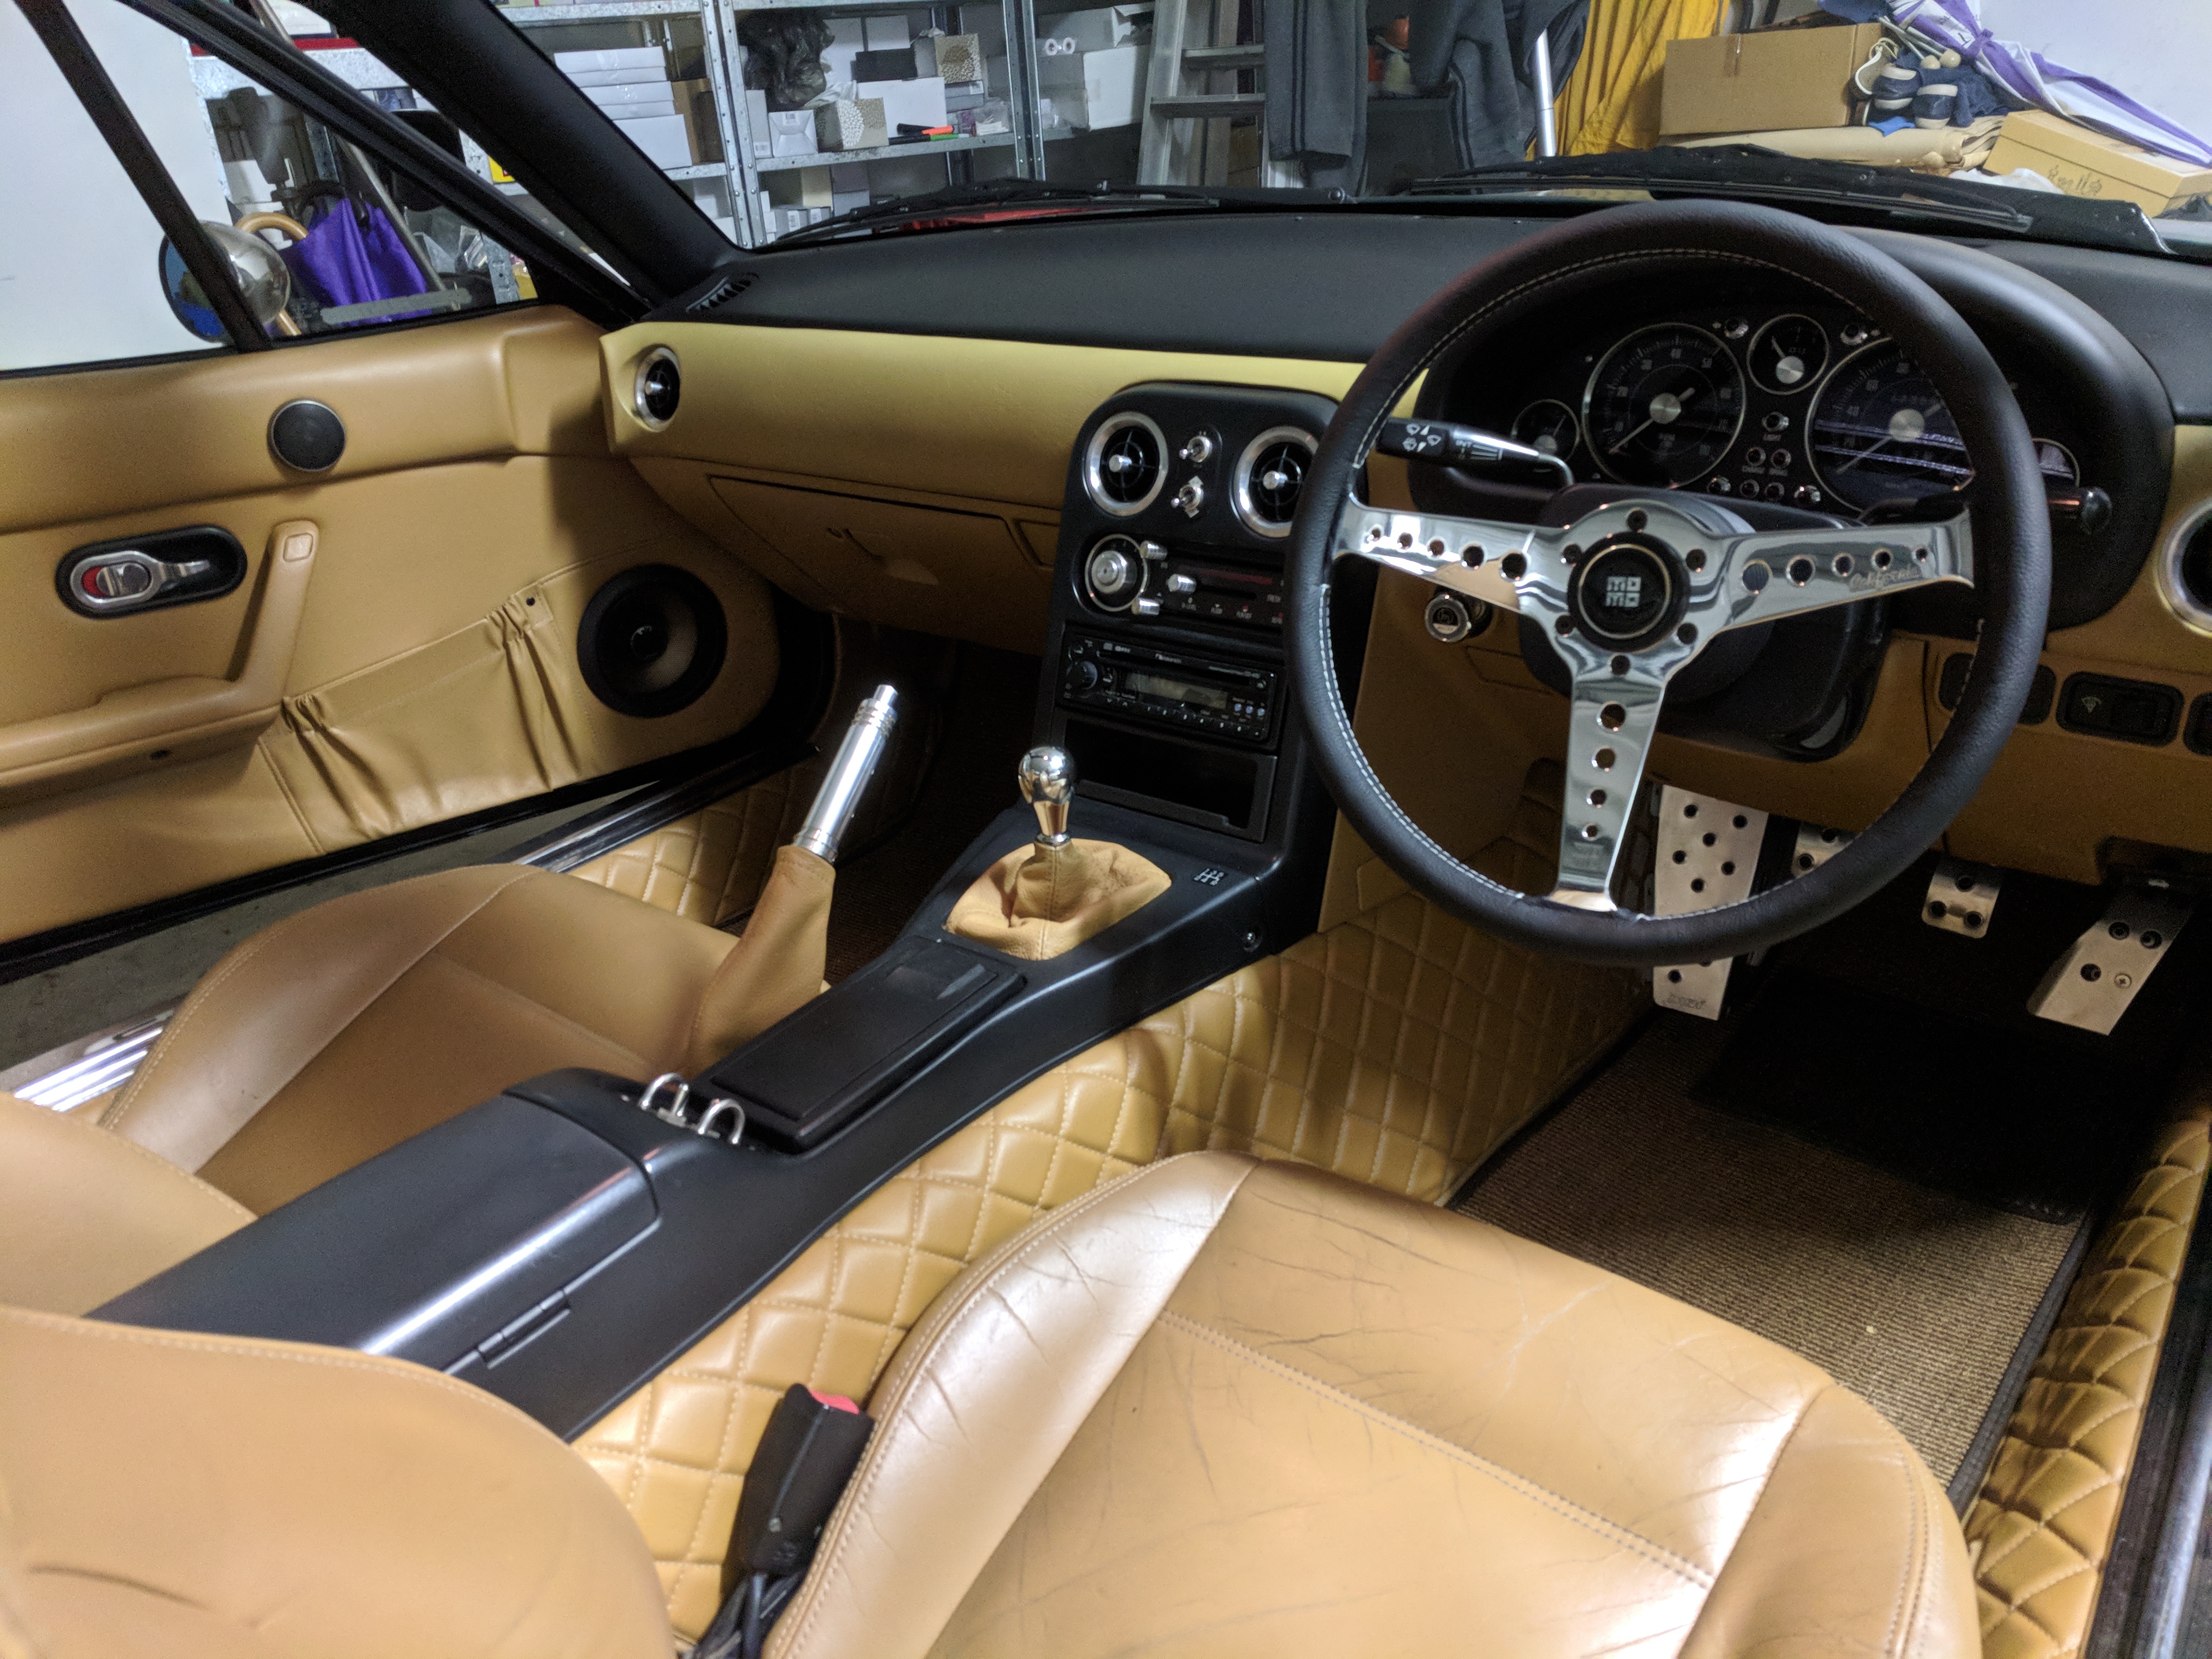
Back to your regularly scheduled programme! In the 96-BRG and the first shot of 2018: the interior as it currently stands. Re-upholstering the seats will be next. New foam, speakers in headrest in Nakamae tan leather, quilted to match.
The wooden MOMO steering wheel will also be getting a restoration later on too by following the guide posted by Revlimiter.
Comment
-
04/02/2018
Haven't had much of a chance to drive the MX-5 lately as life stuff got in the way as it usually does. However, I did receive a package the other day and it was for my Pit Crew Racing high rise 4-1 headers, my replacement soft top latches and the inner door-to-glass inner rubber weather strips.
First up: Pit Crew Racing high rise 4-1 headers. Will be installed when I install the ITB's in the future.
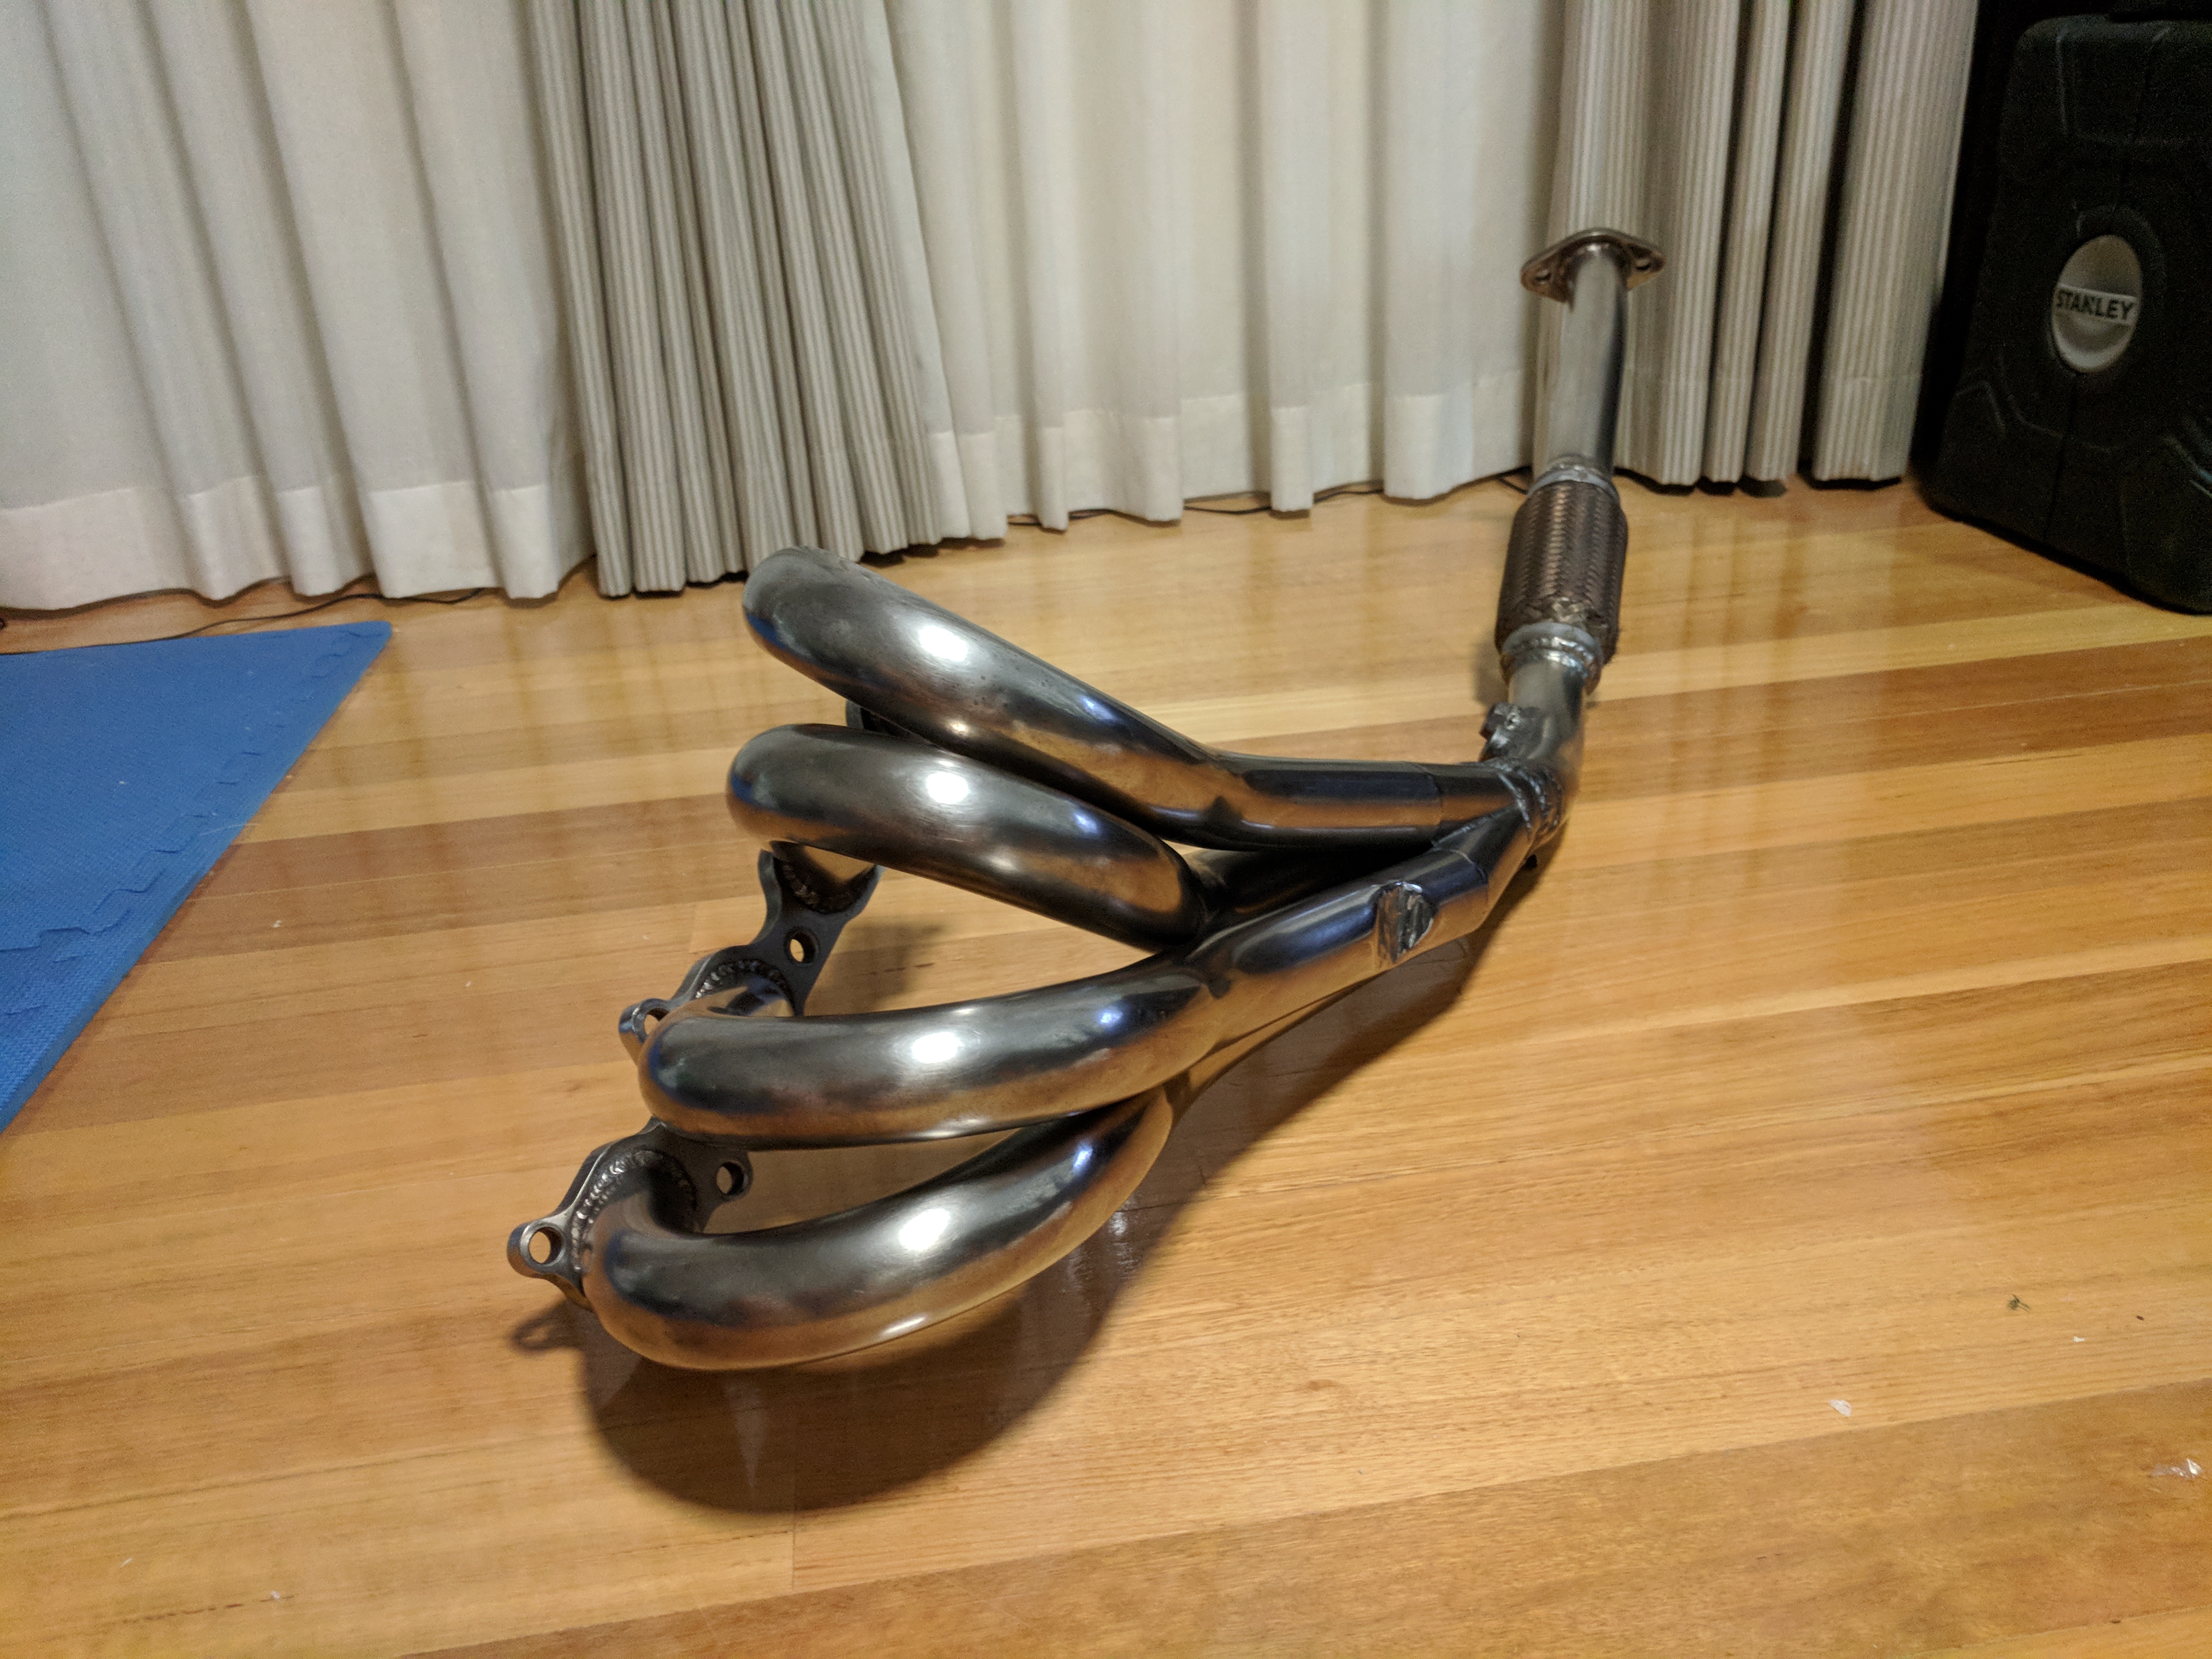
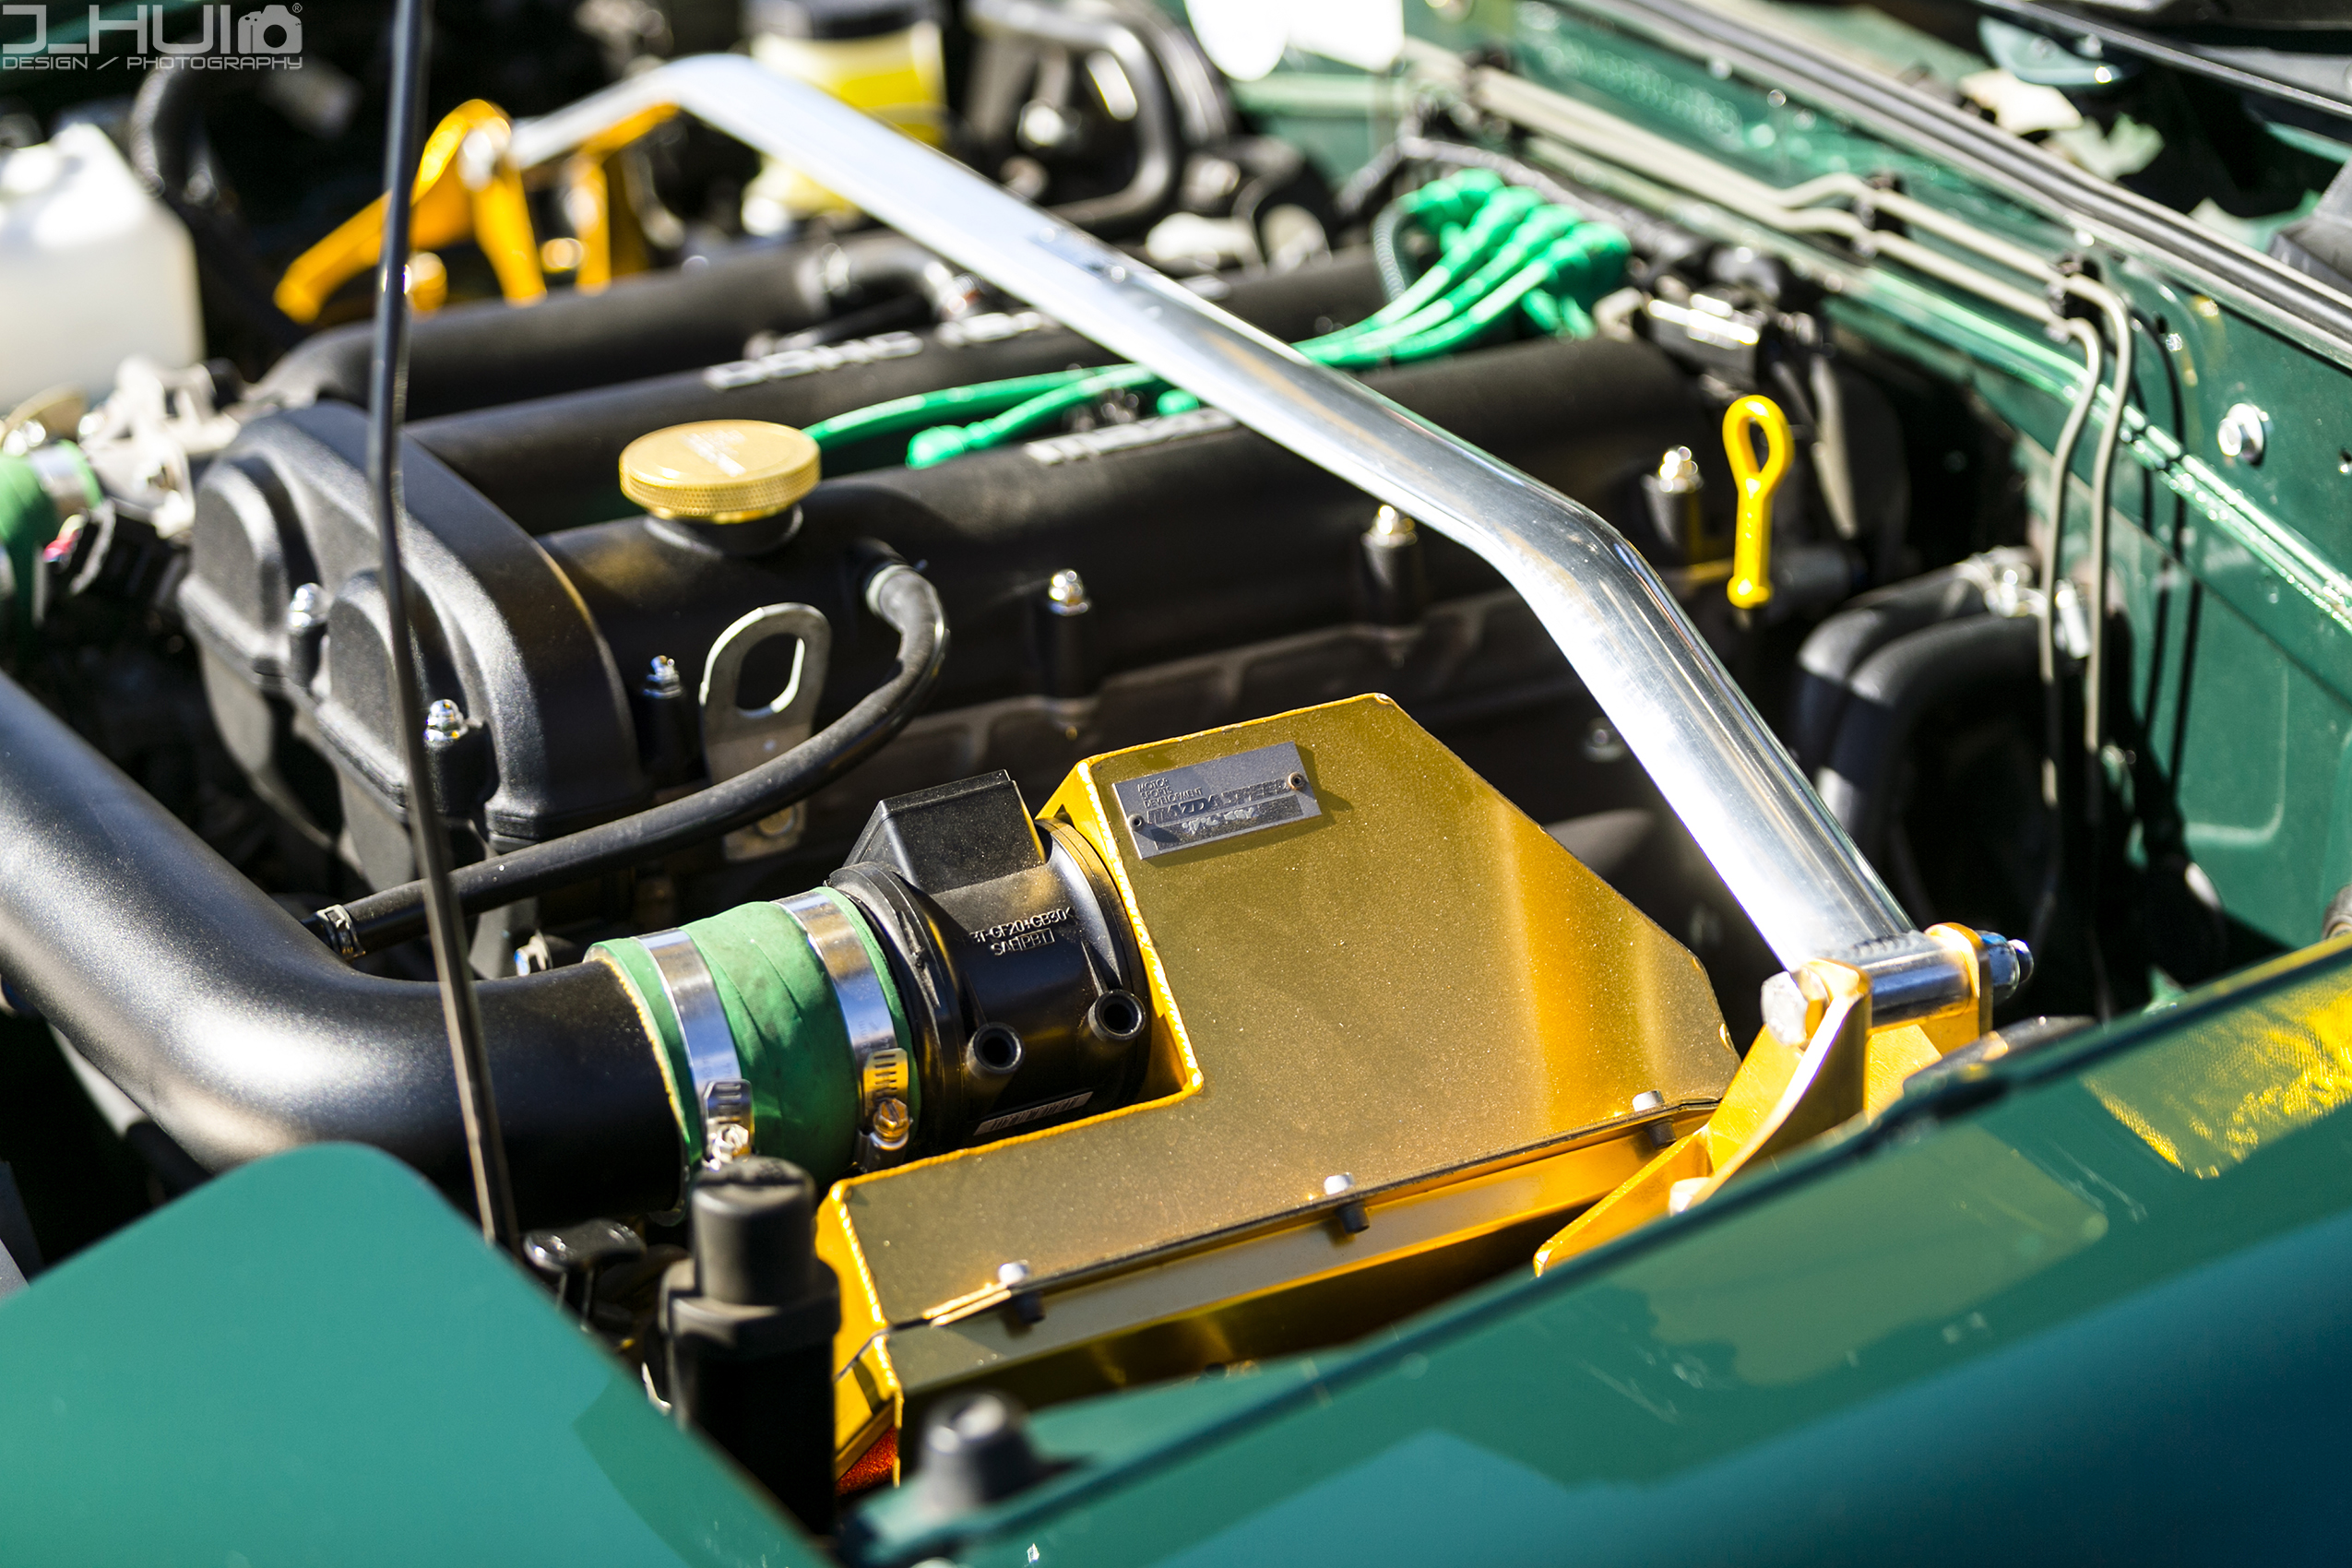
I managed to get a really good deal on the these headers. I have yet to install the Maxim-Works 4-2-1 headers but I will be getting around to that very, very soon. You may ask why then did I get the Pit Crew Racing headers? Well, again, I got it second hand at a price I couldn't refuse and plus, it was a bit of forward thinking because when I eventually go ITB's, I am wanting to change the headers over to the high rise headers as I think they will look amazing in the engine bay. I'm not putting them on just yet because I'm afraid of the headers fouling against the Mazdaspeed airbox I am currently running. Thus, once the ITB's are in, that airbox will be redundant, therefore there should be more clearance on the passenger side for the high rise headers.
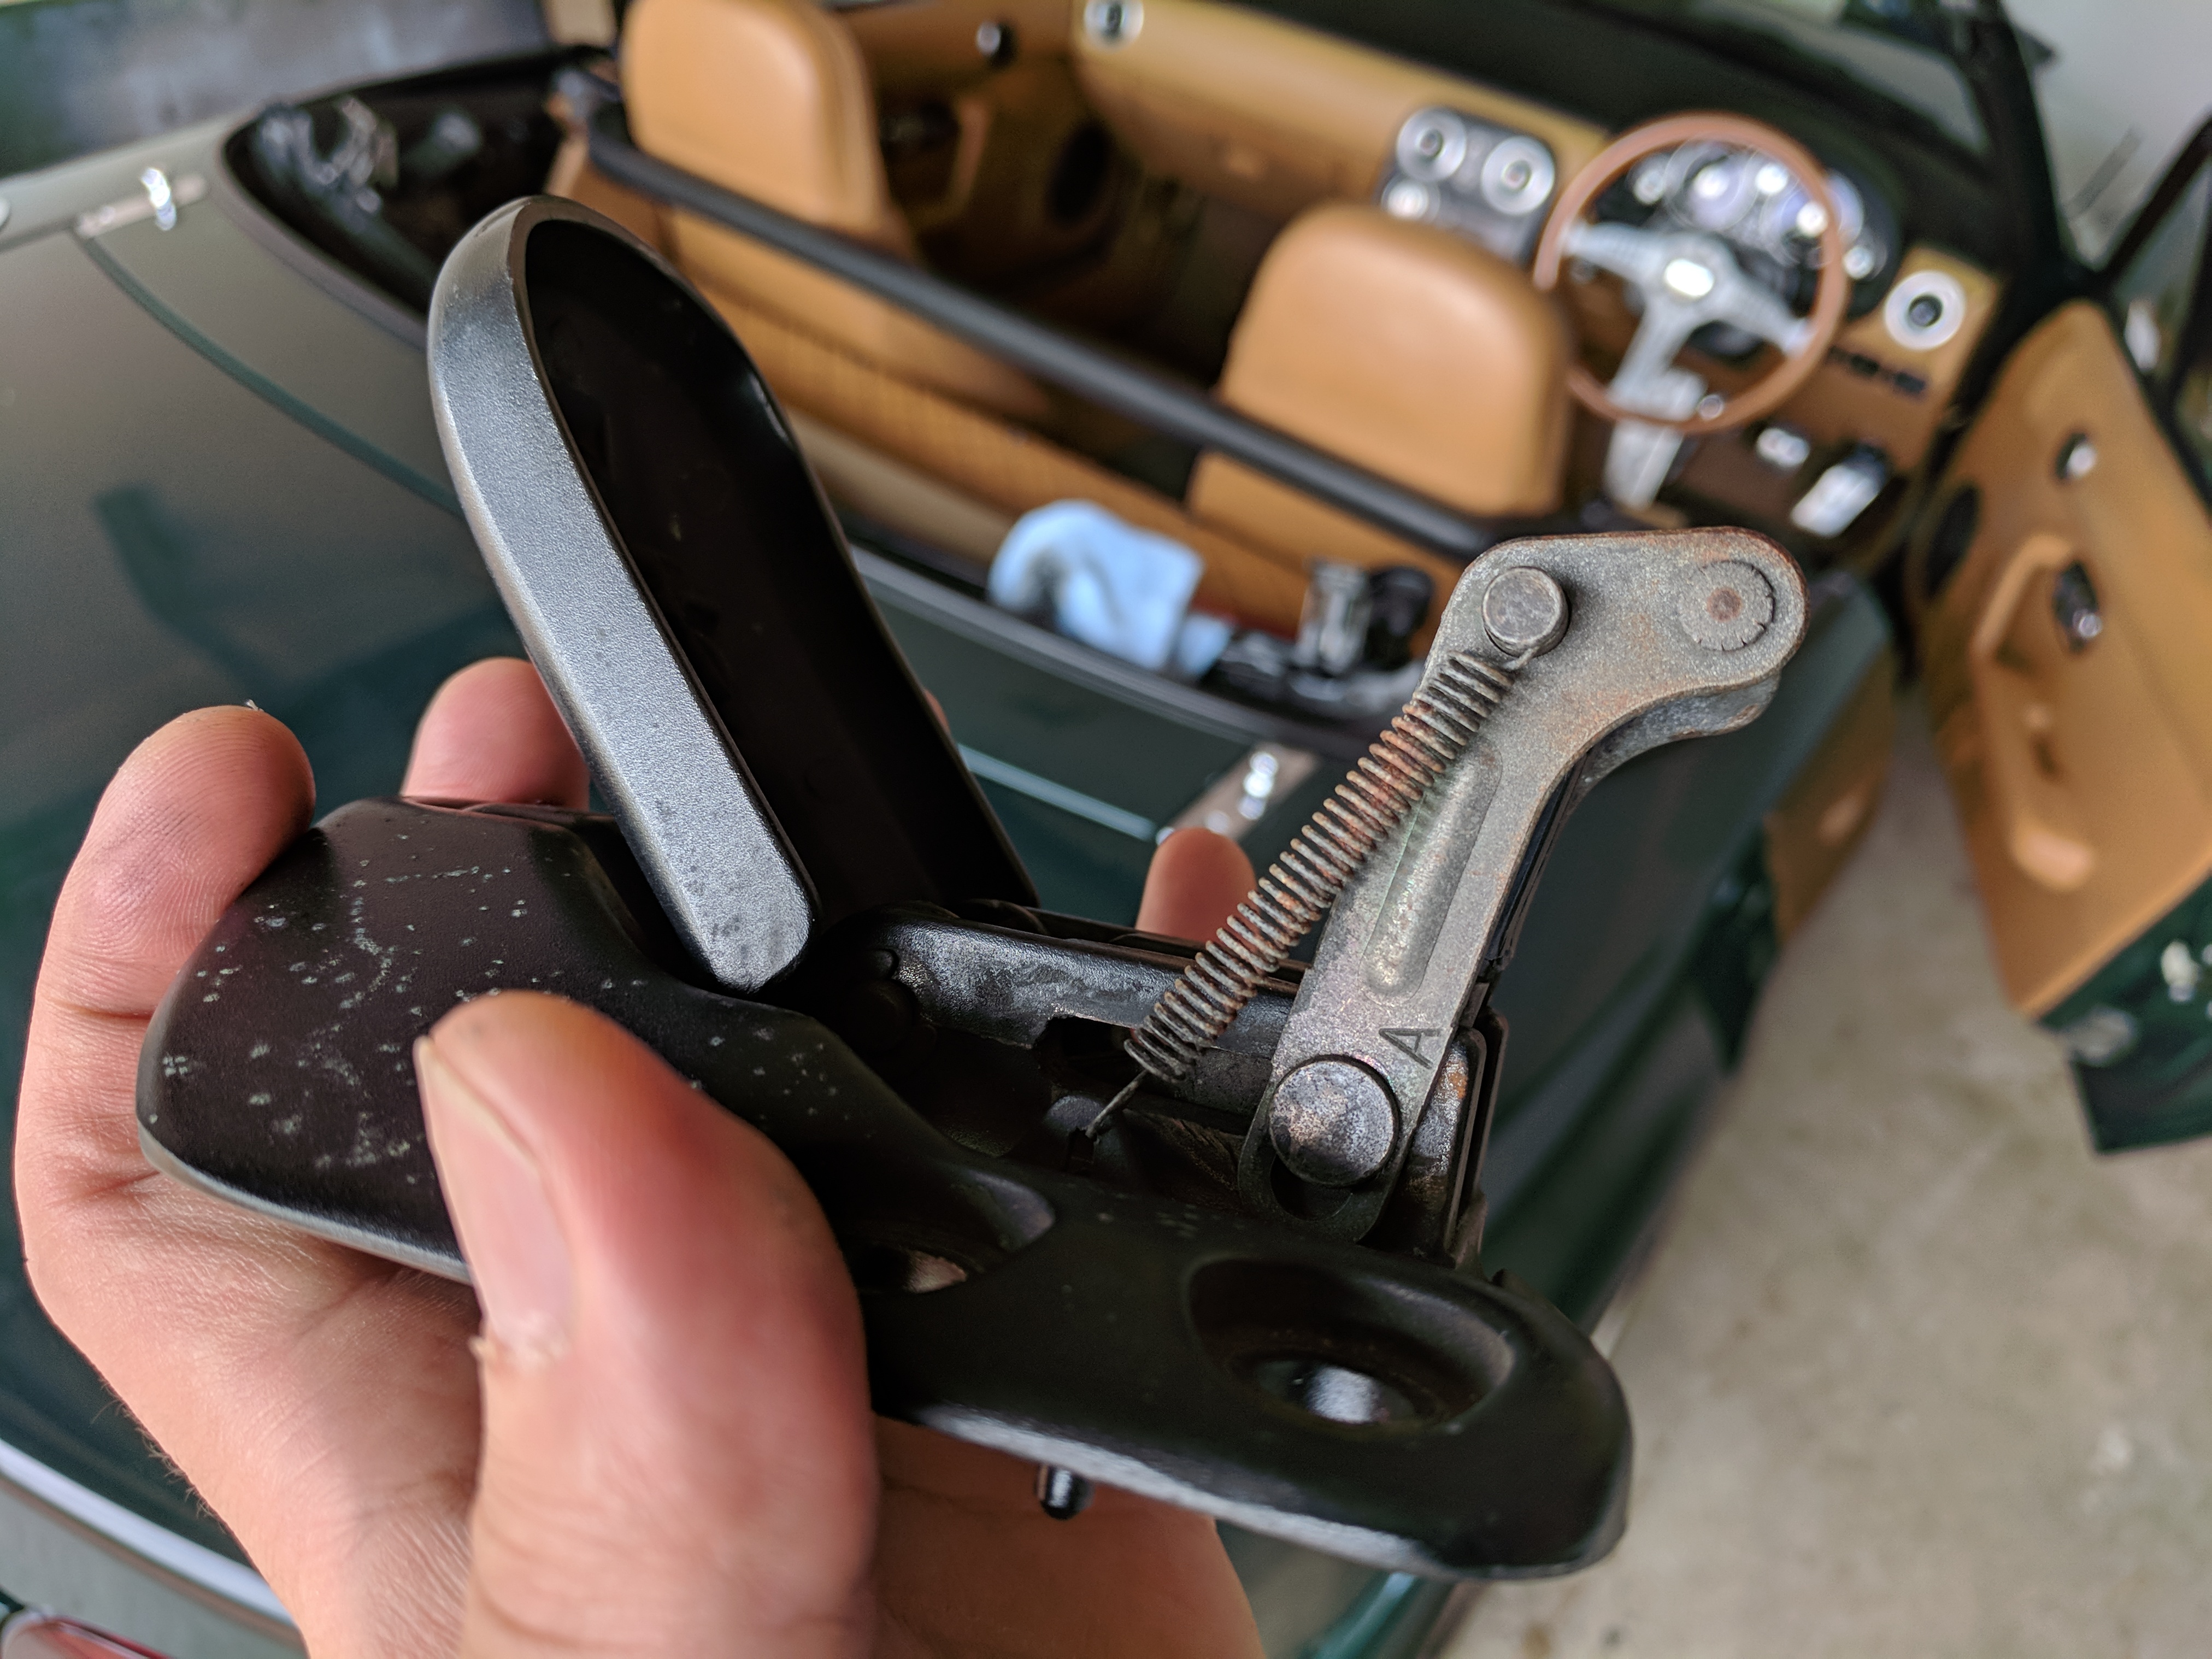
I decided to change out my soft top latches for brand new OEM items. The old latches were fine but it was getting on a bit, looking a bit worn, a bit tired, a bit rusty in the spring, etc. I'm planning on giving the old latches a refurbish and going to do a DIY on them and see if I can get the latch polished. I've seen it done before and it seems tedious with all the sanding and polishing, but it's doable so it'll be a little project. The new OEM replacements are factory fresh and feel amazing. They latch on much nicer and gives a solid "click" when you close the soft top. A very simple install. Three screws on each side holding the latches to the soft top.
OEM goodies. Inner weather strips and soft top latches.

Old latch. The foam cushion underneath the actual latch has deteriorated, the plastic covering for the latch adjustment has cracked and generally, looking very old and tired.
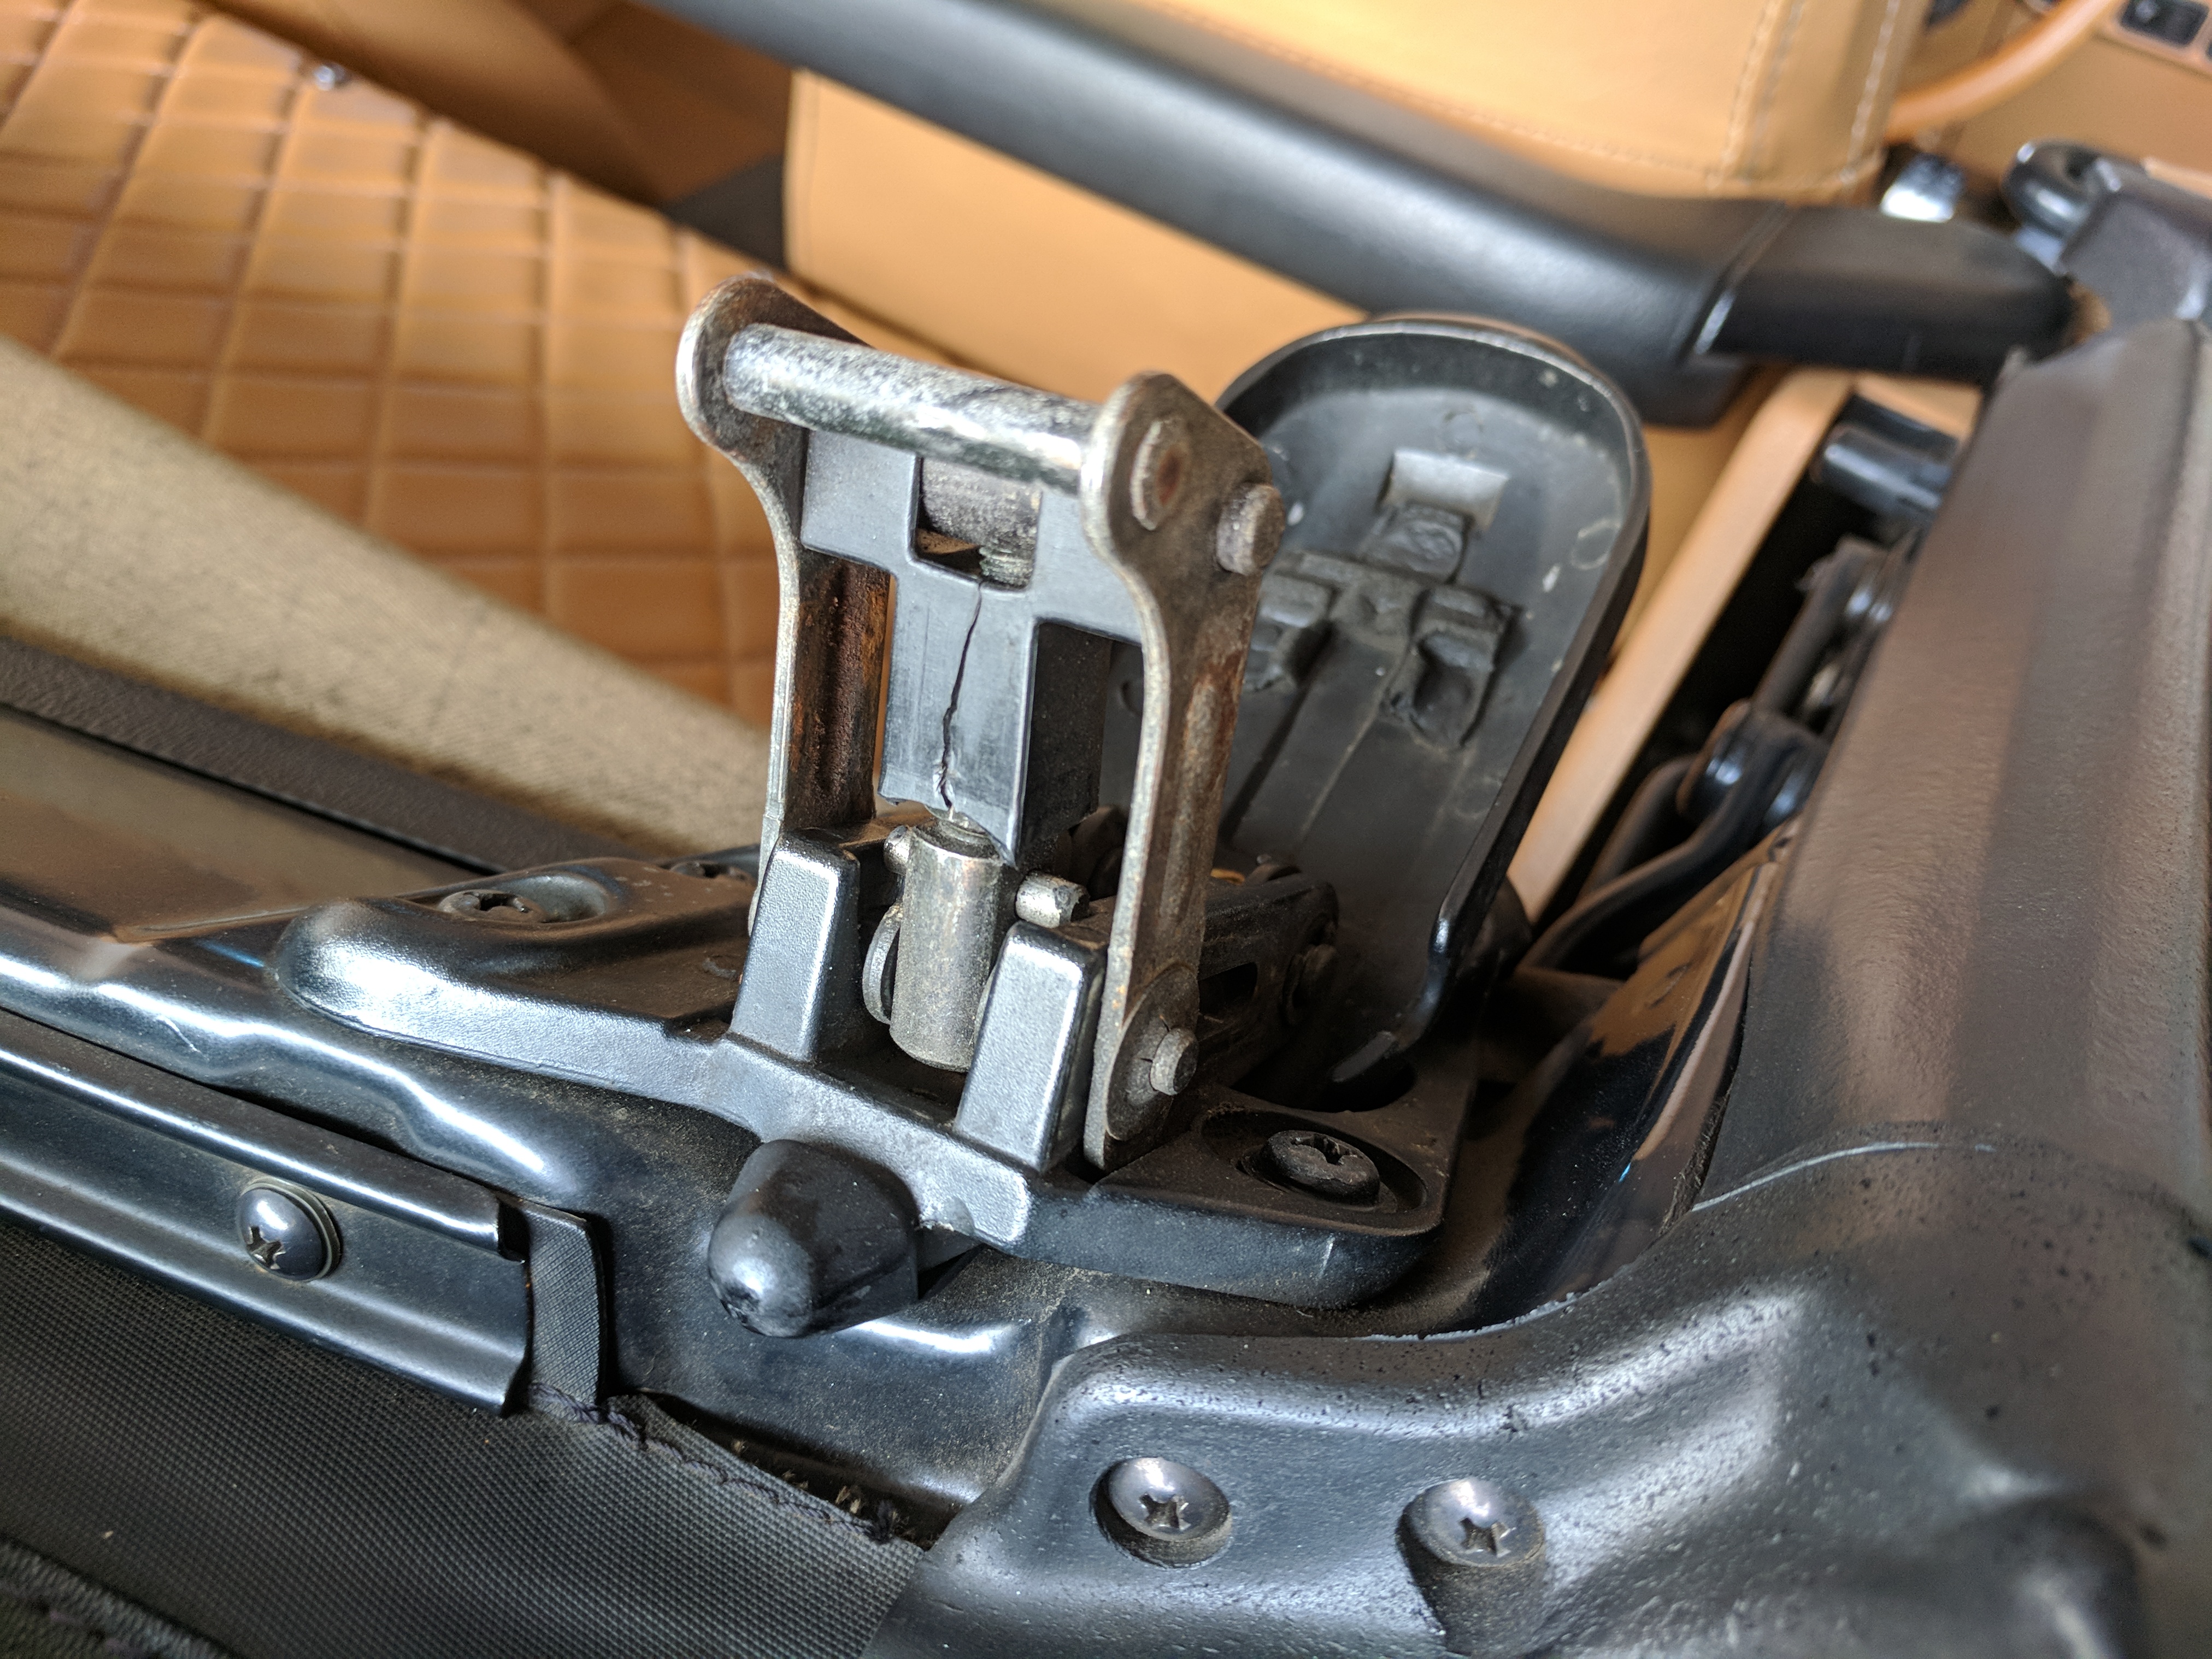
Closer look at the latch. Going to do a DIY project on this.
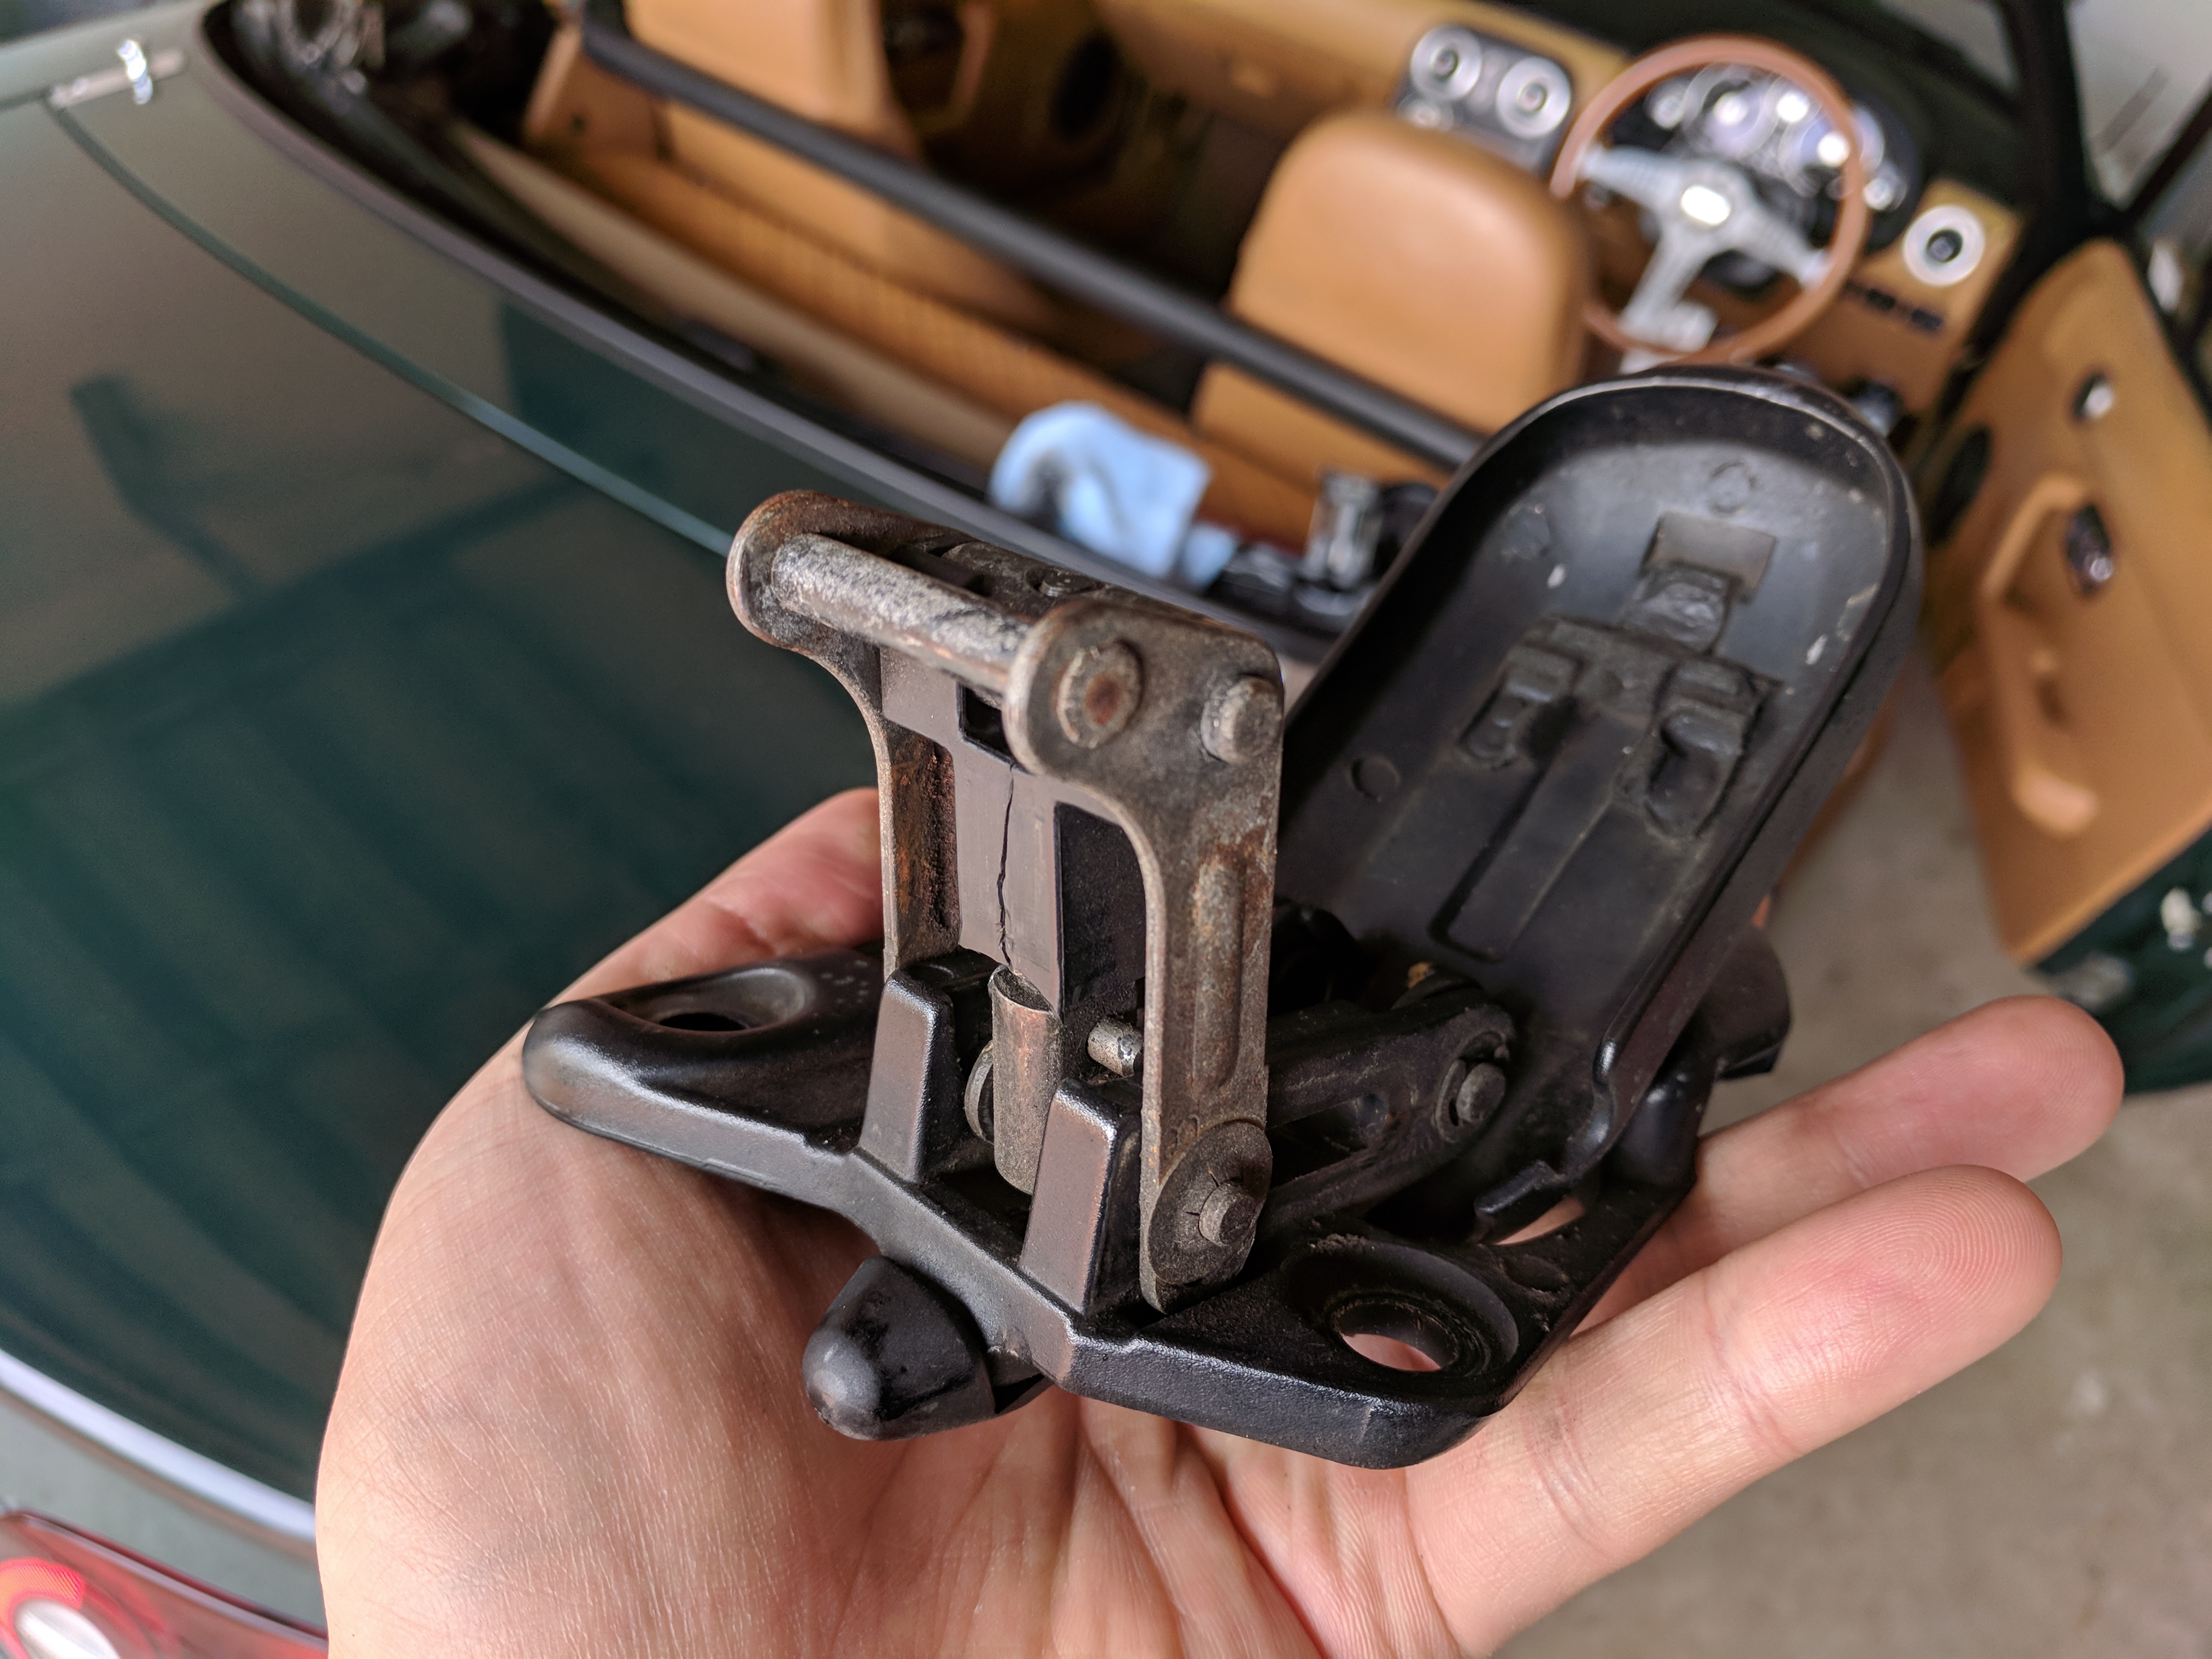
Pitting corrosion on the latch. Have seen a lot worse in other MX-5's though.
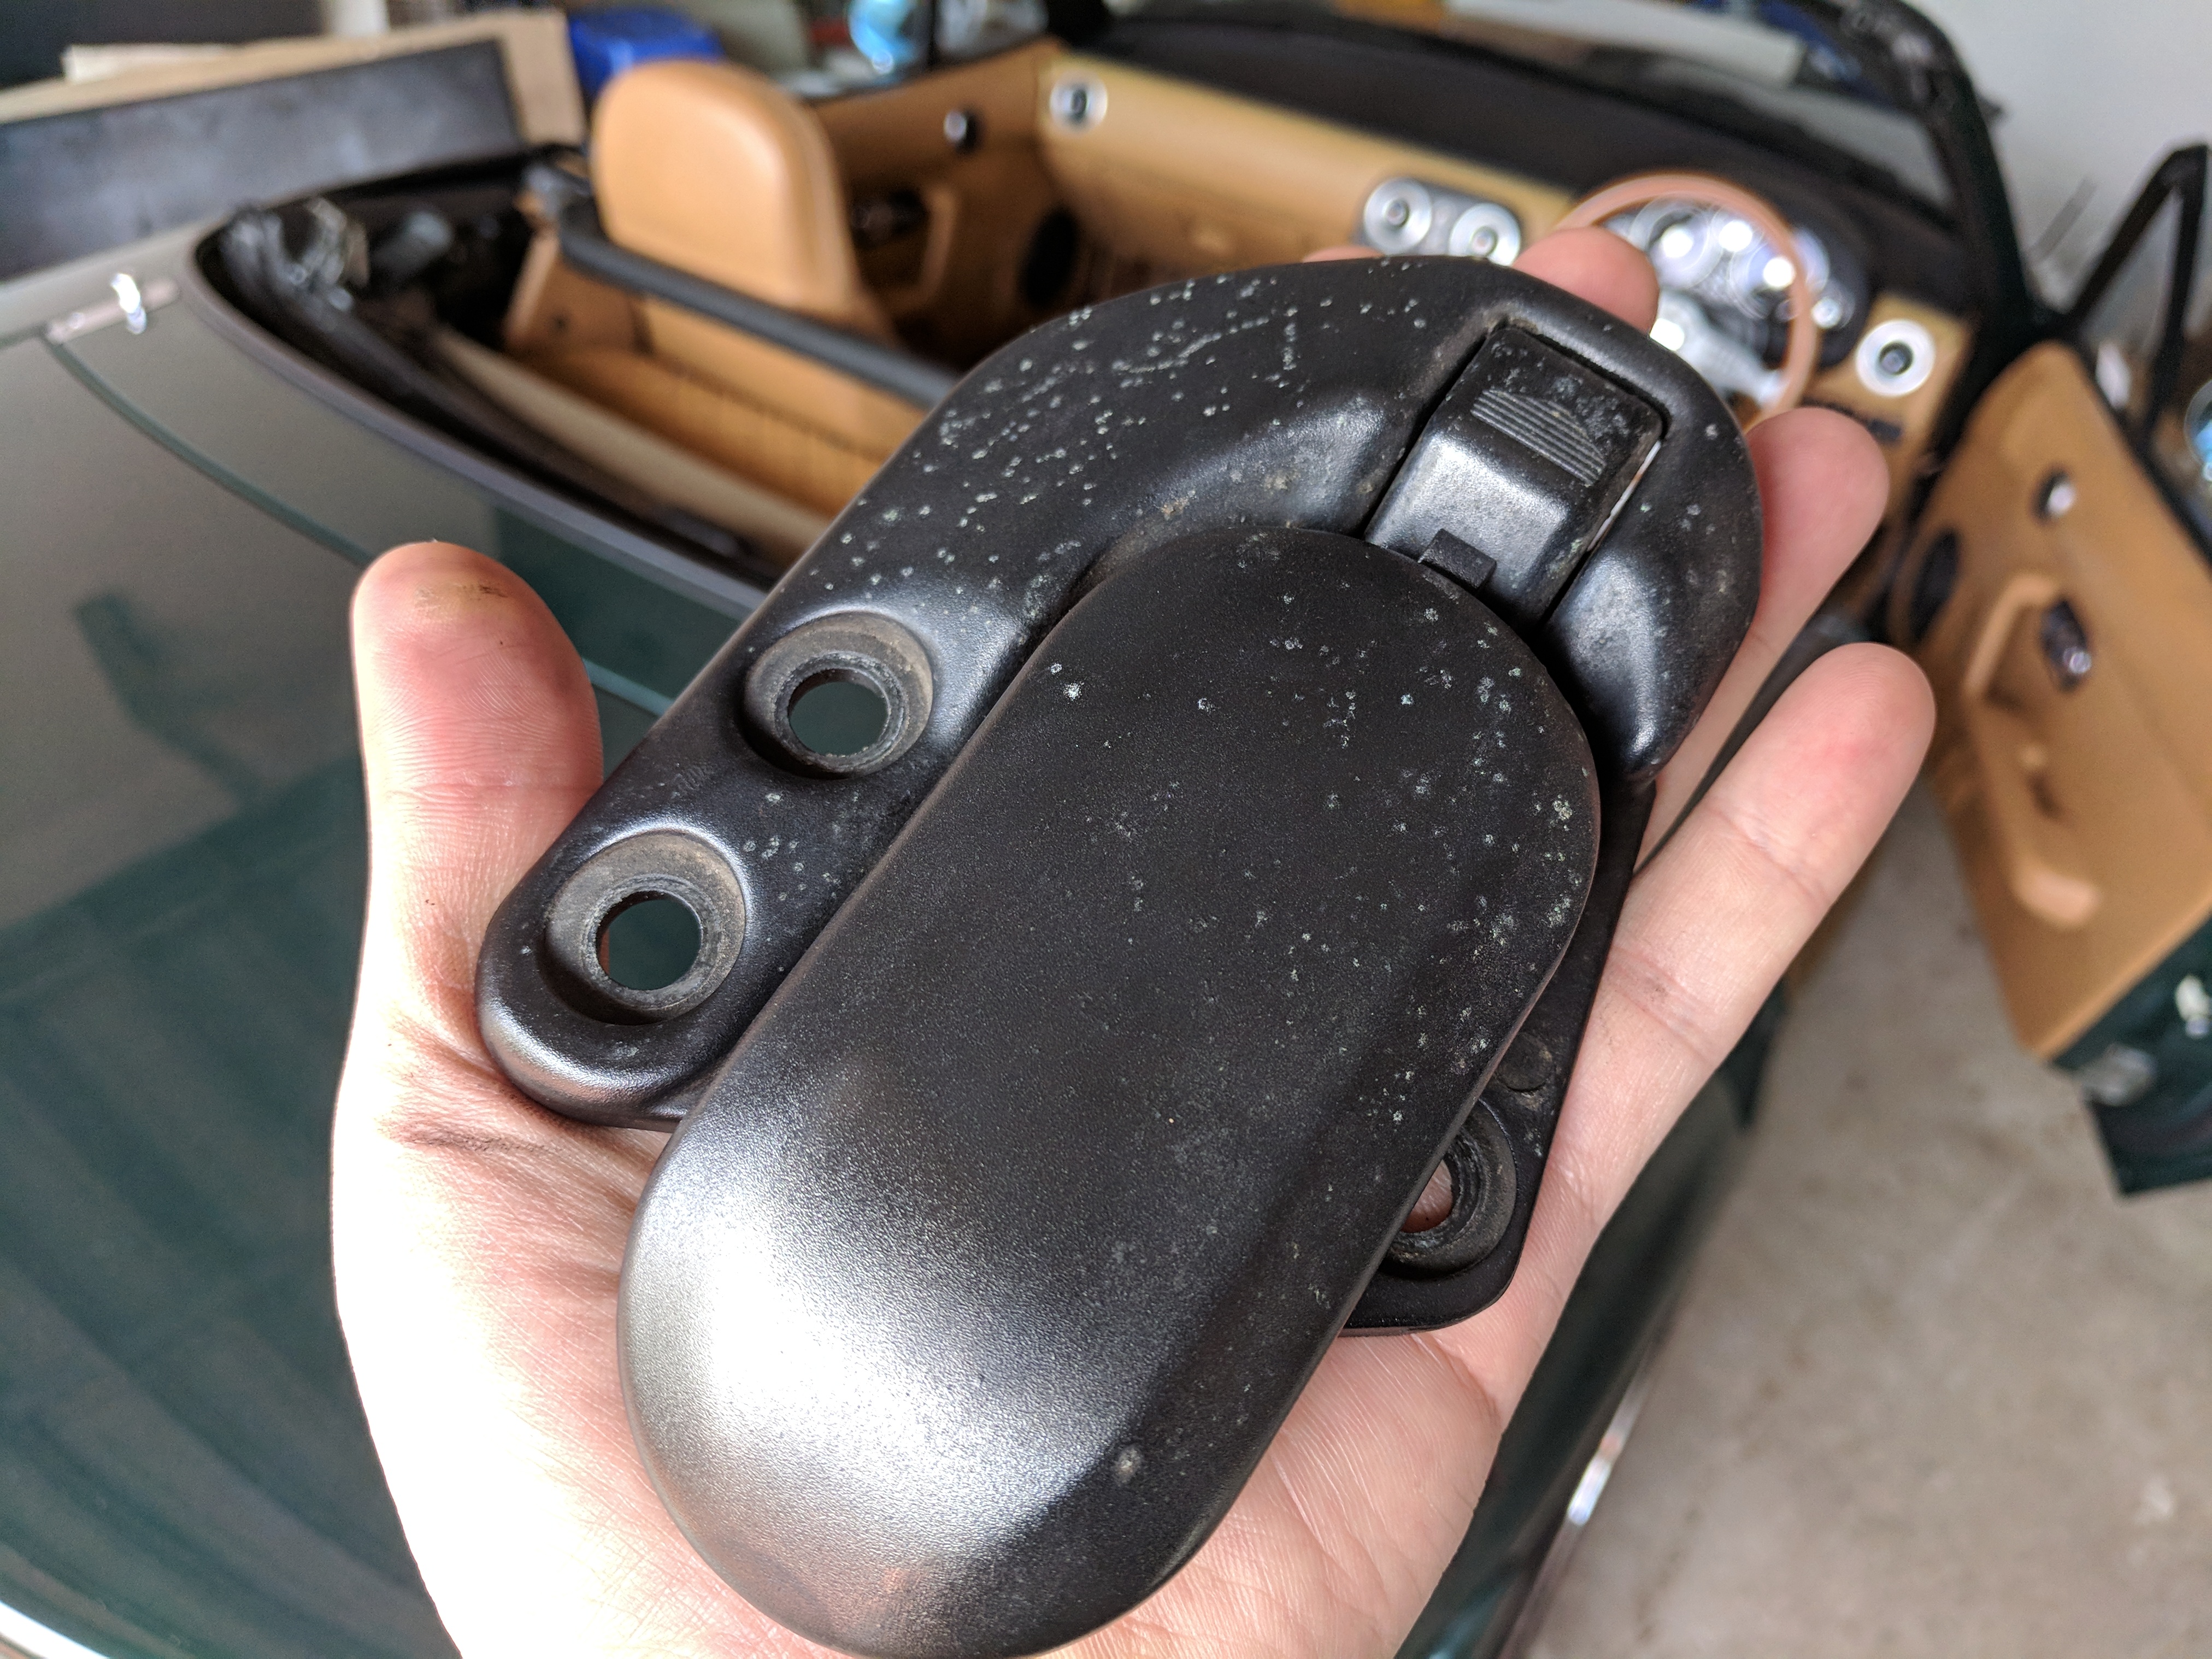
Still functional and operates as intended. Just needs a bit of TLC.
New OEM latches installed. Feels wonderful with a very reassuring "click" when closing the soft top.
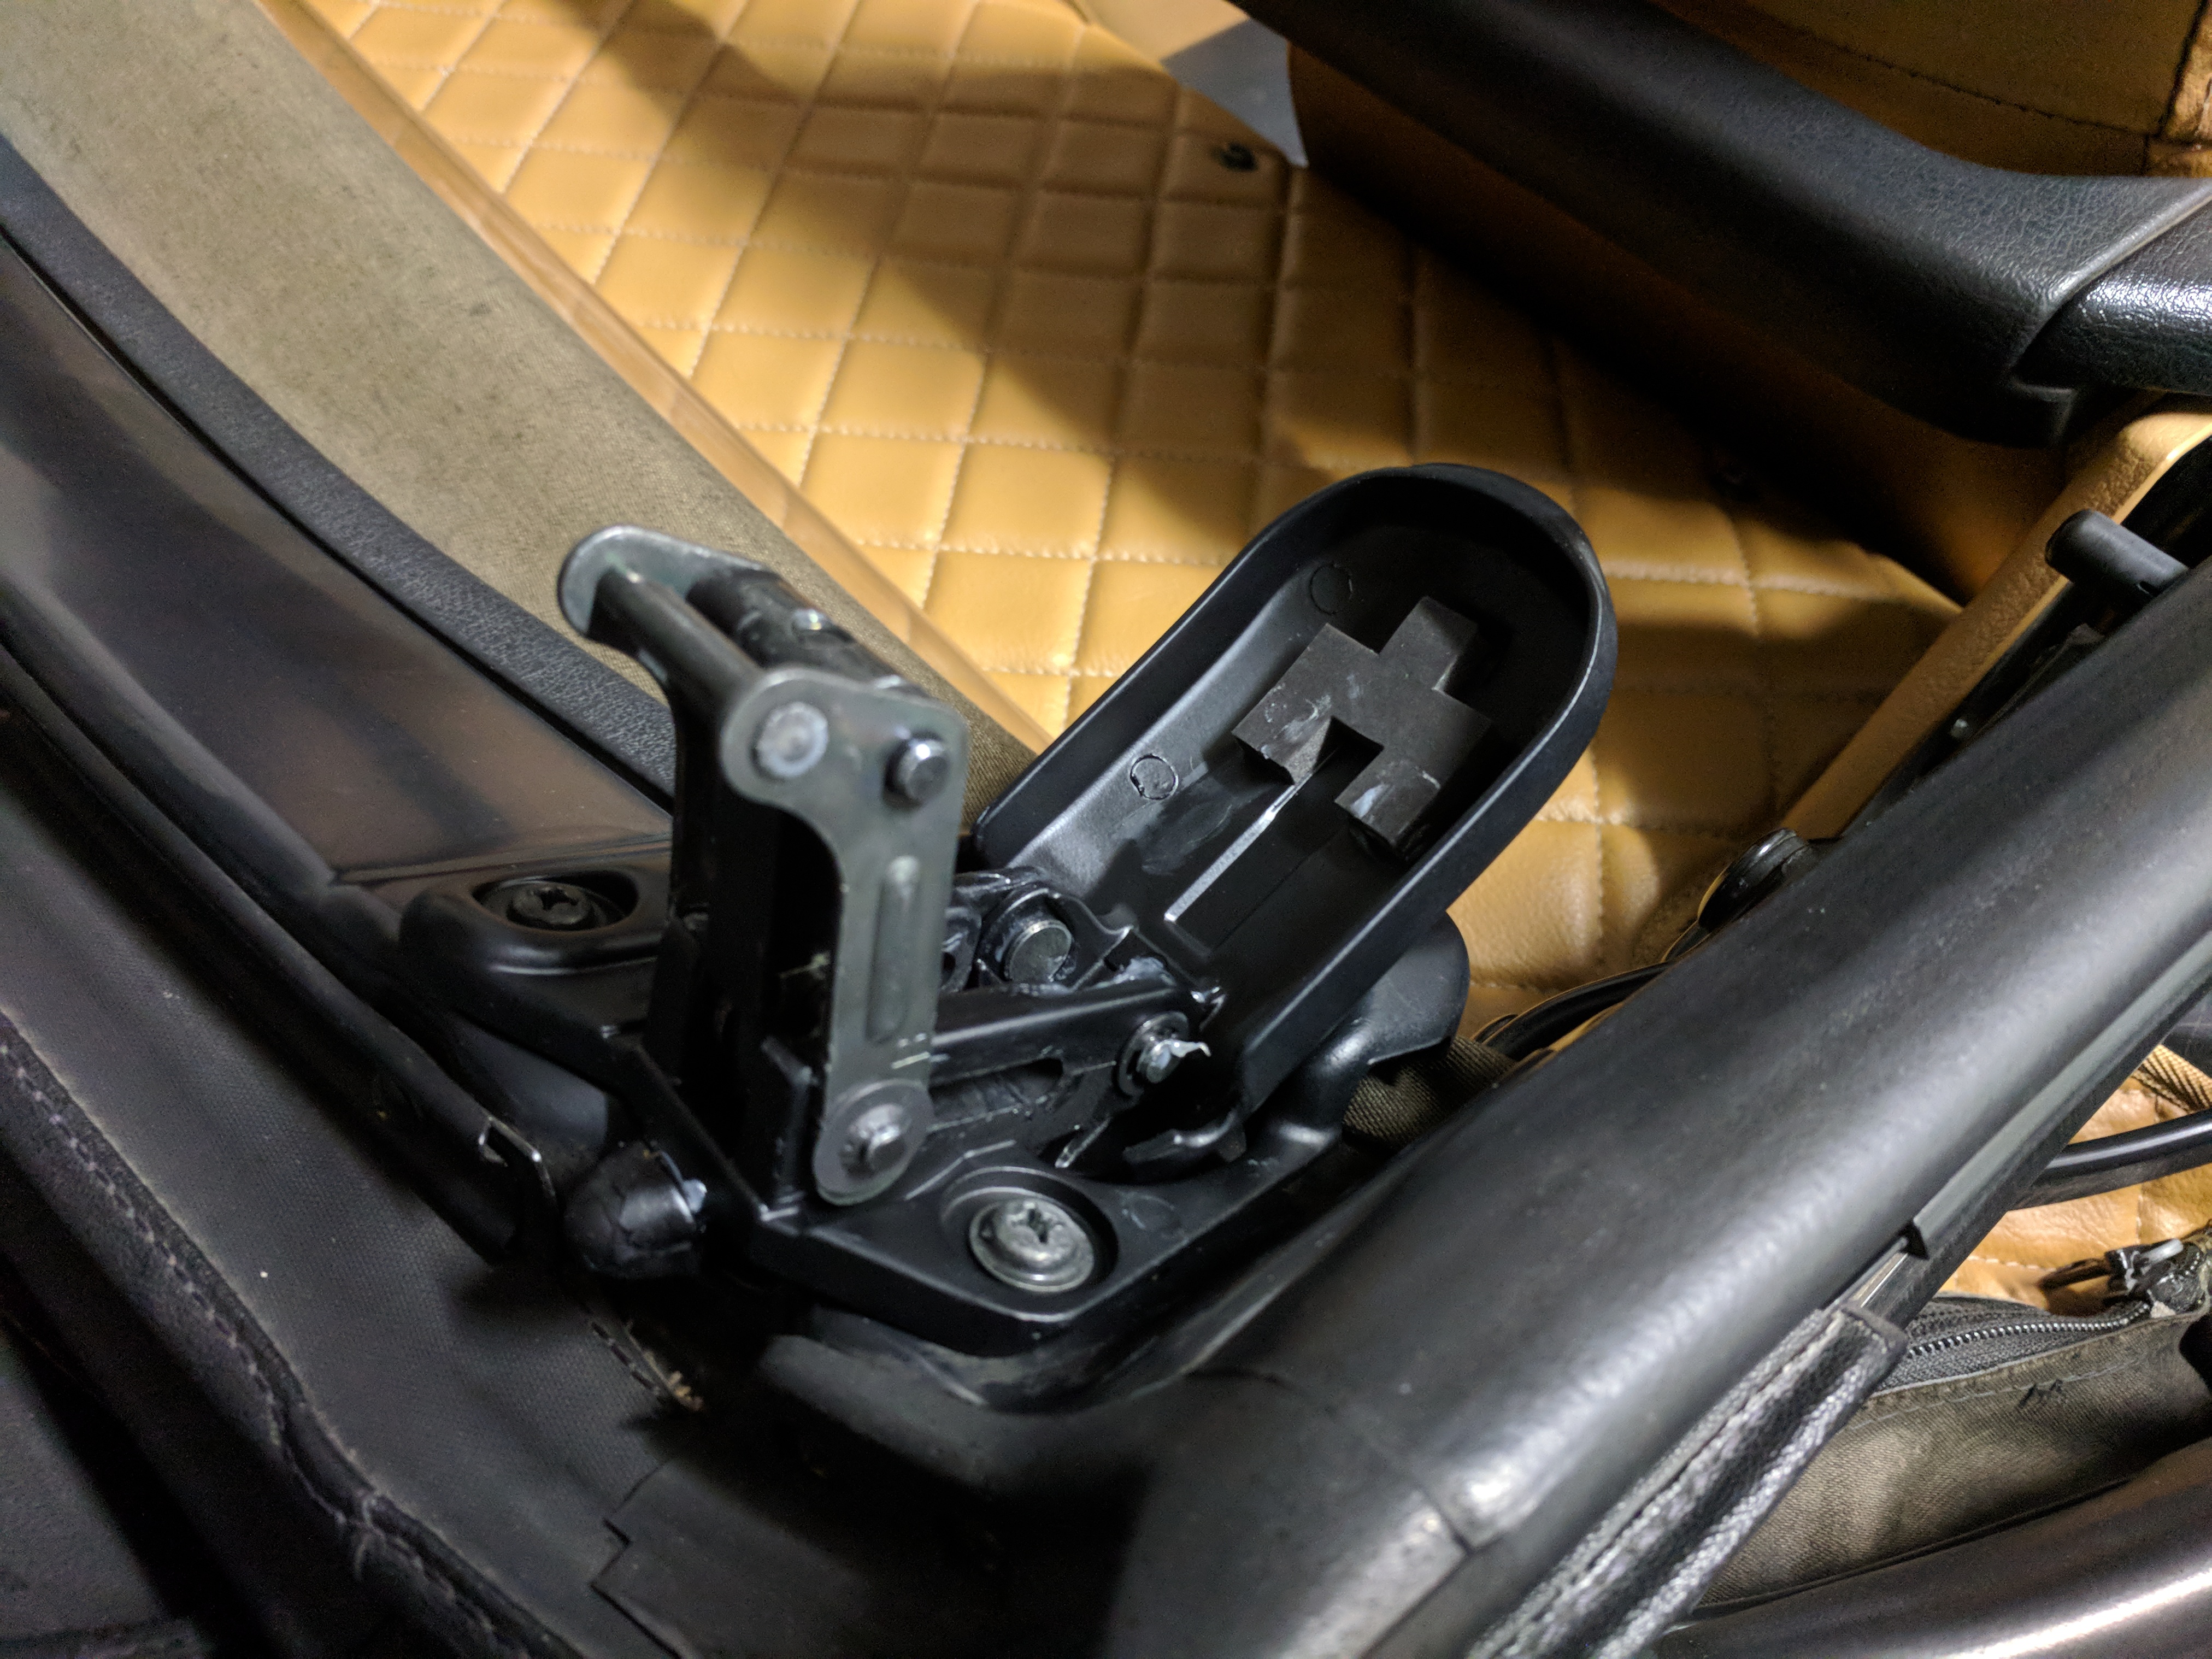
So smooth.

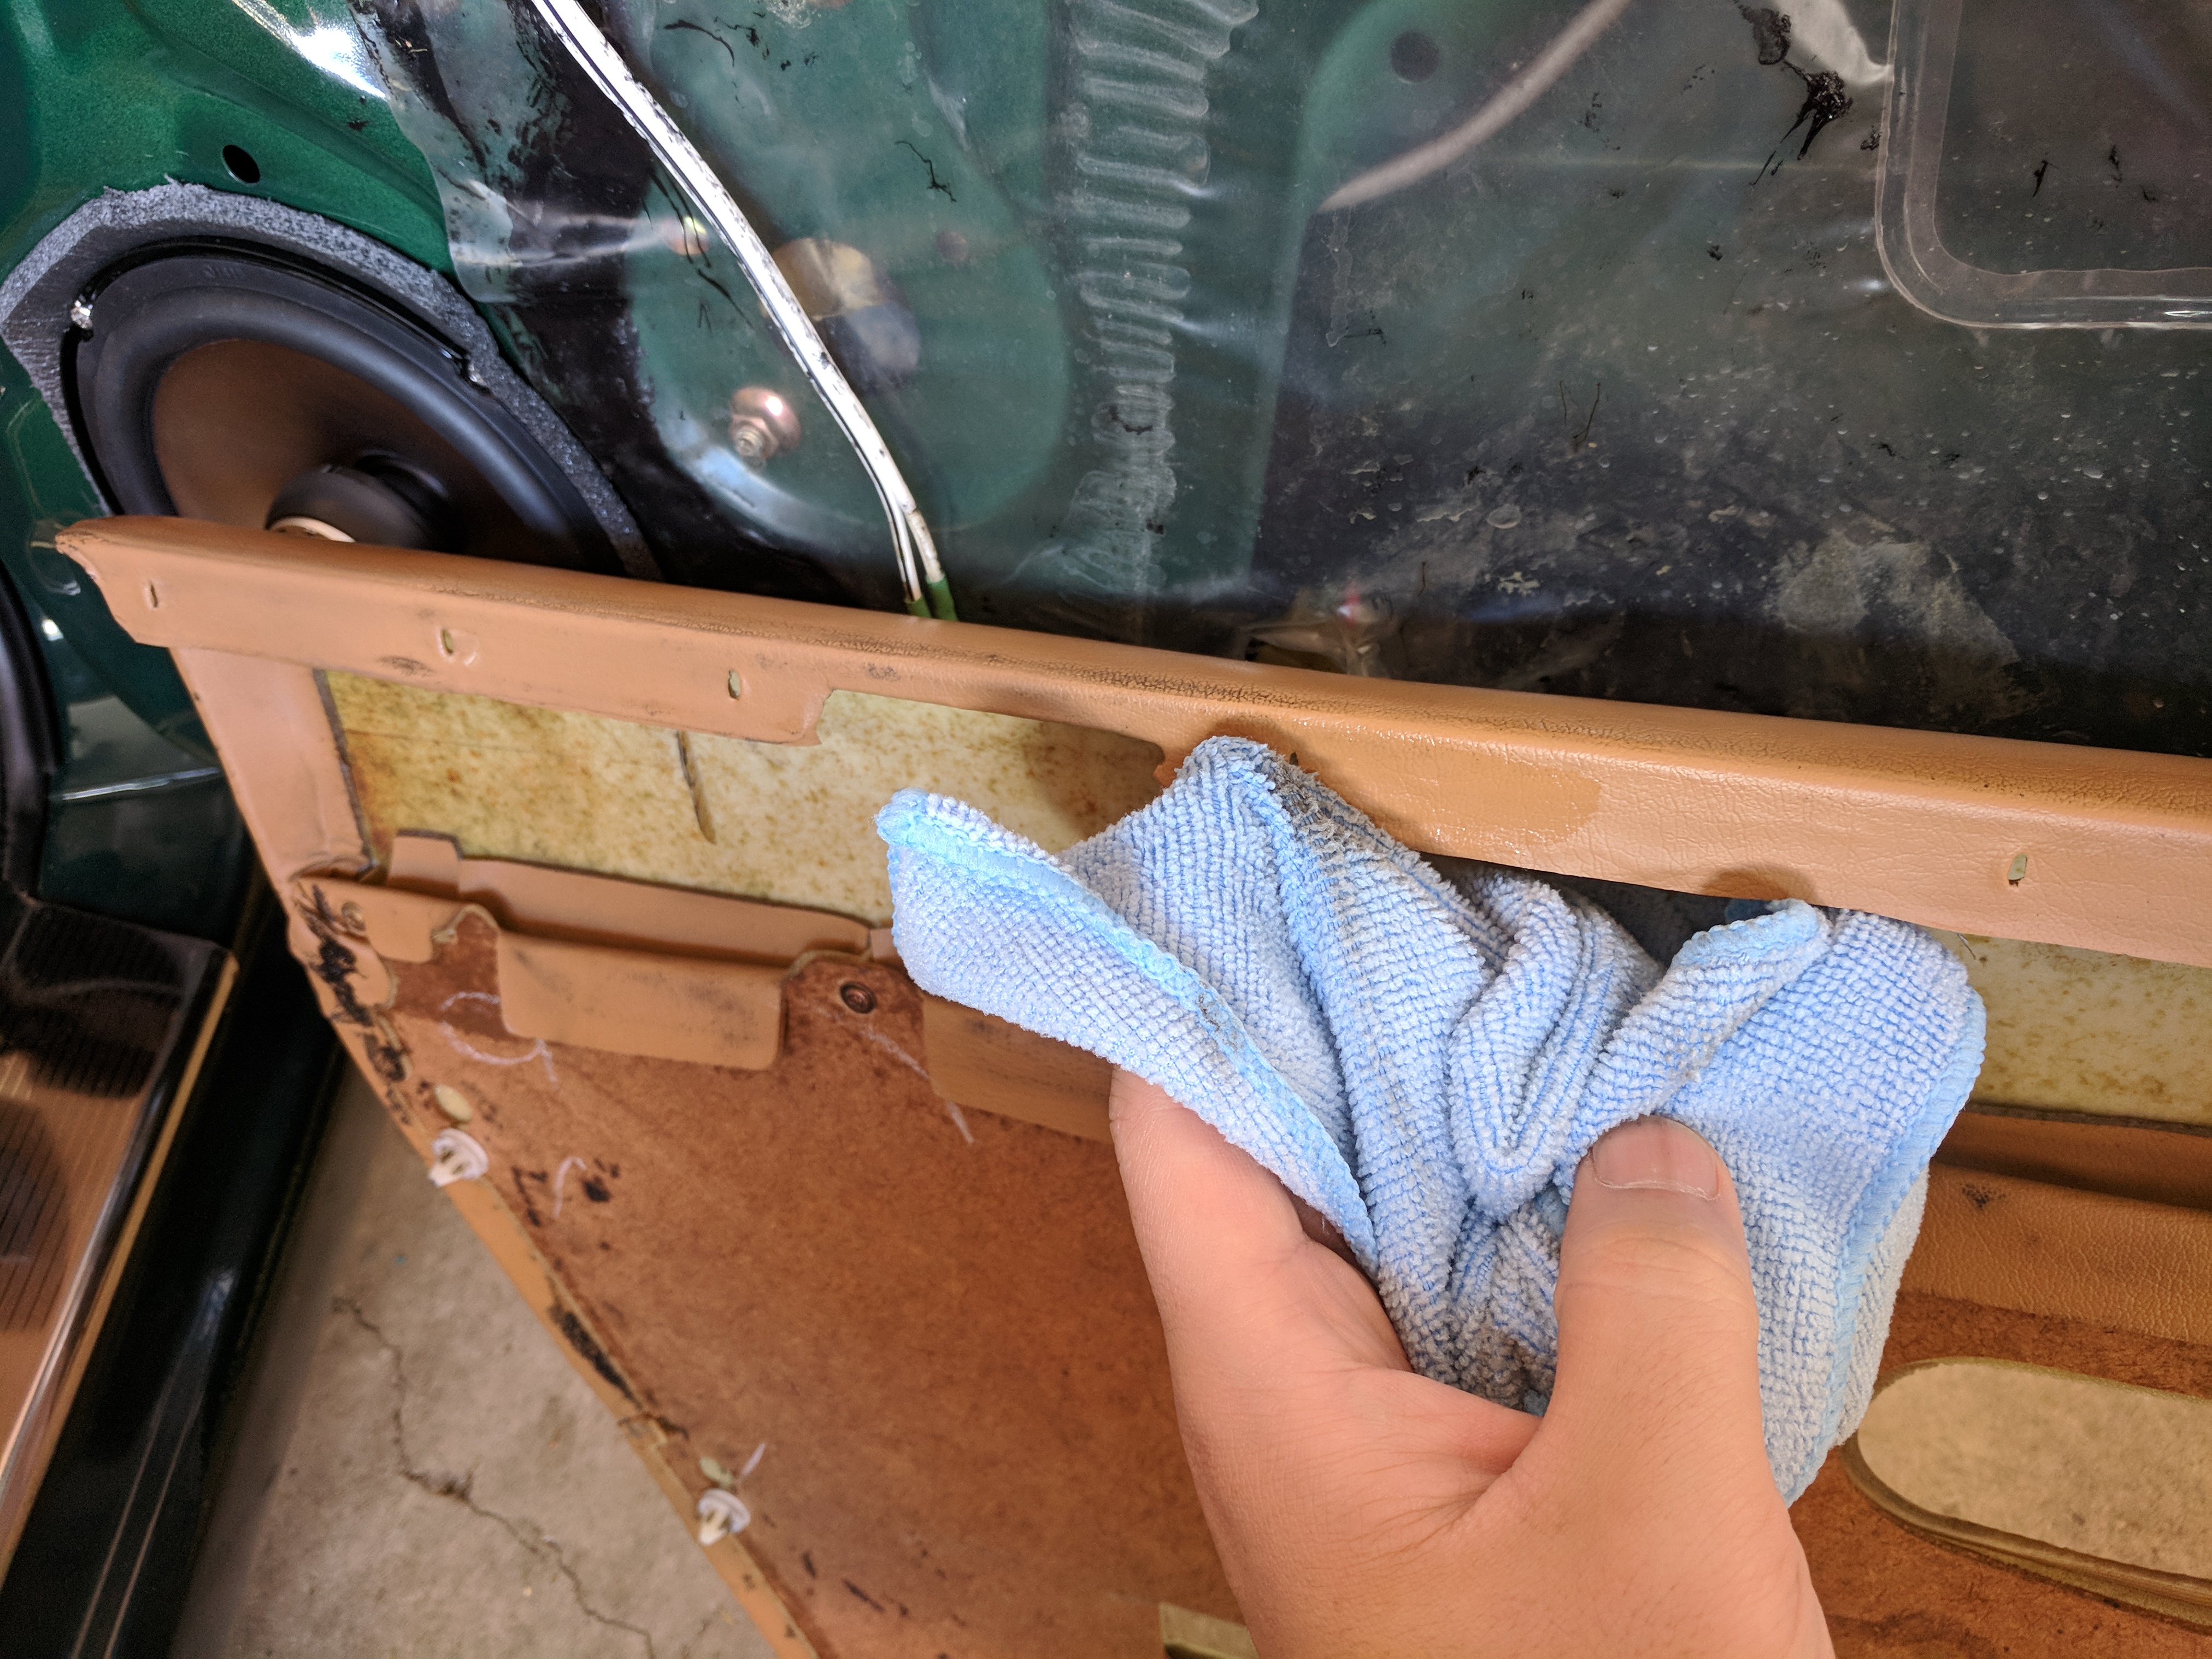
The inner rubber weather strips were also given a refresh. I swapped out the outer weather strips already a couple of months ago and albeit the inners are usually in better condition than the outers, it is still the same strips when the car left the factory floor some 22 years ago. It was certainly not in bad condition but you could feel the rubber being a bit hard in certain places and not as flexible as it should be. Again, another simple install. Take the door card off and the strips are held down by bending the tabs.
Taking off the door card and the inner weather strips. You can see the holes where the tabs are meant to be inserted and then bent to keep them in place.
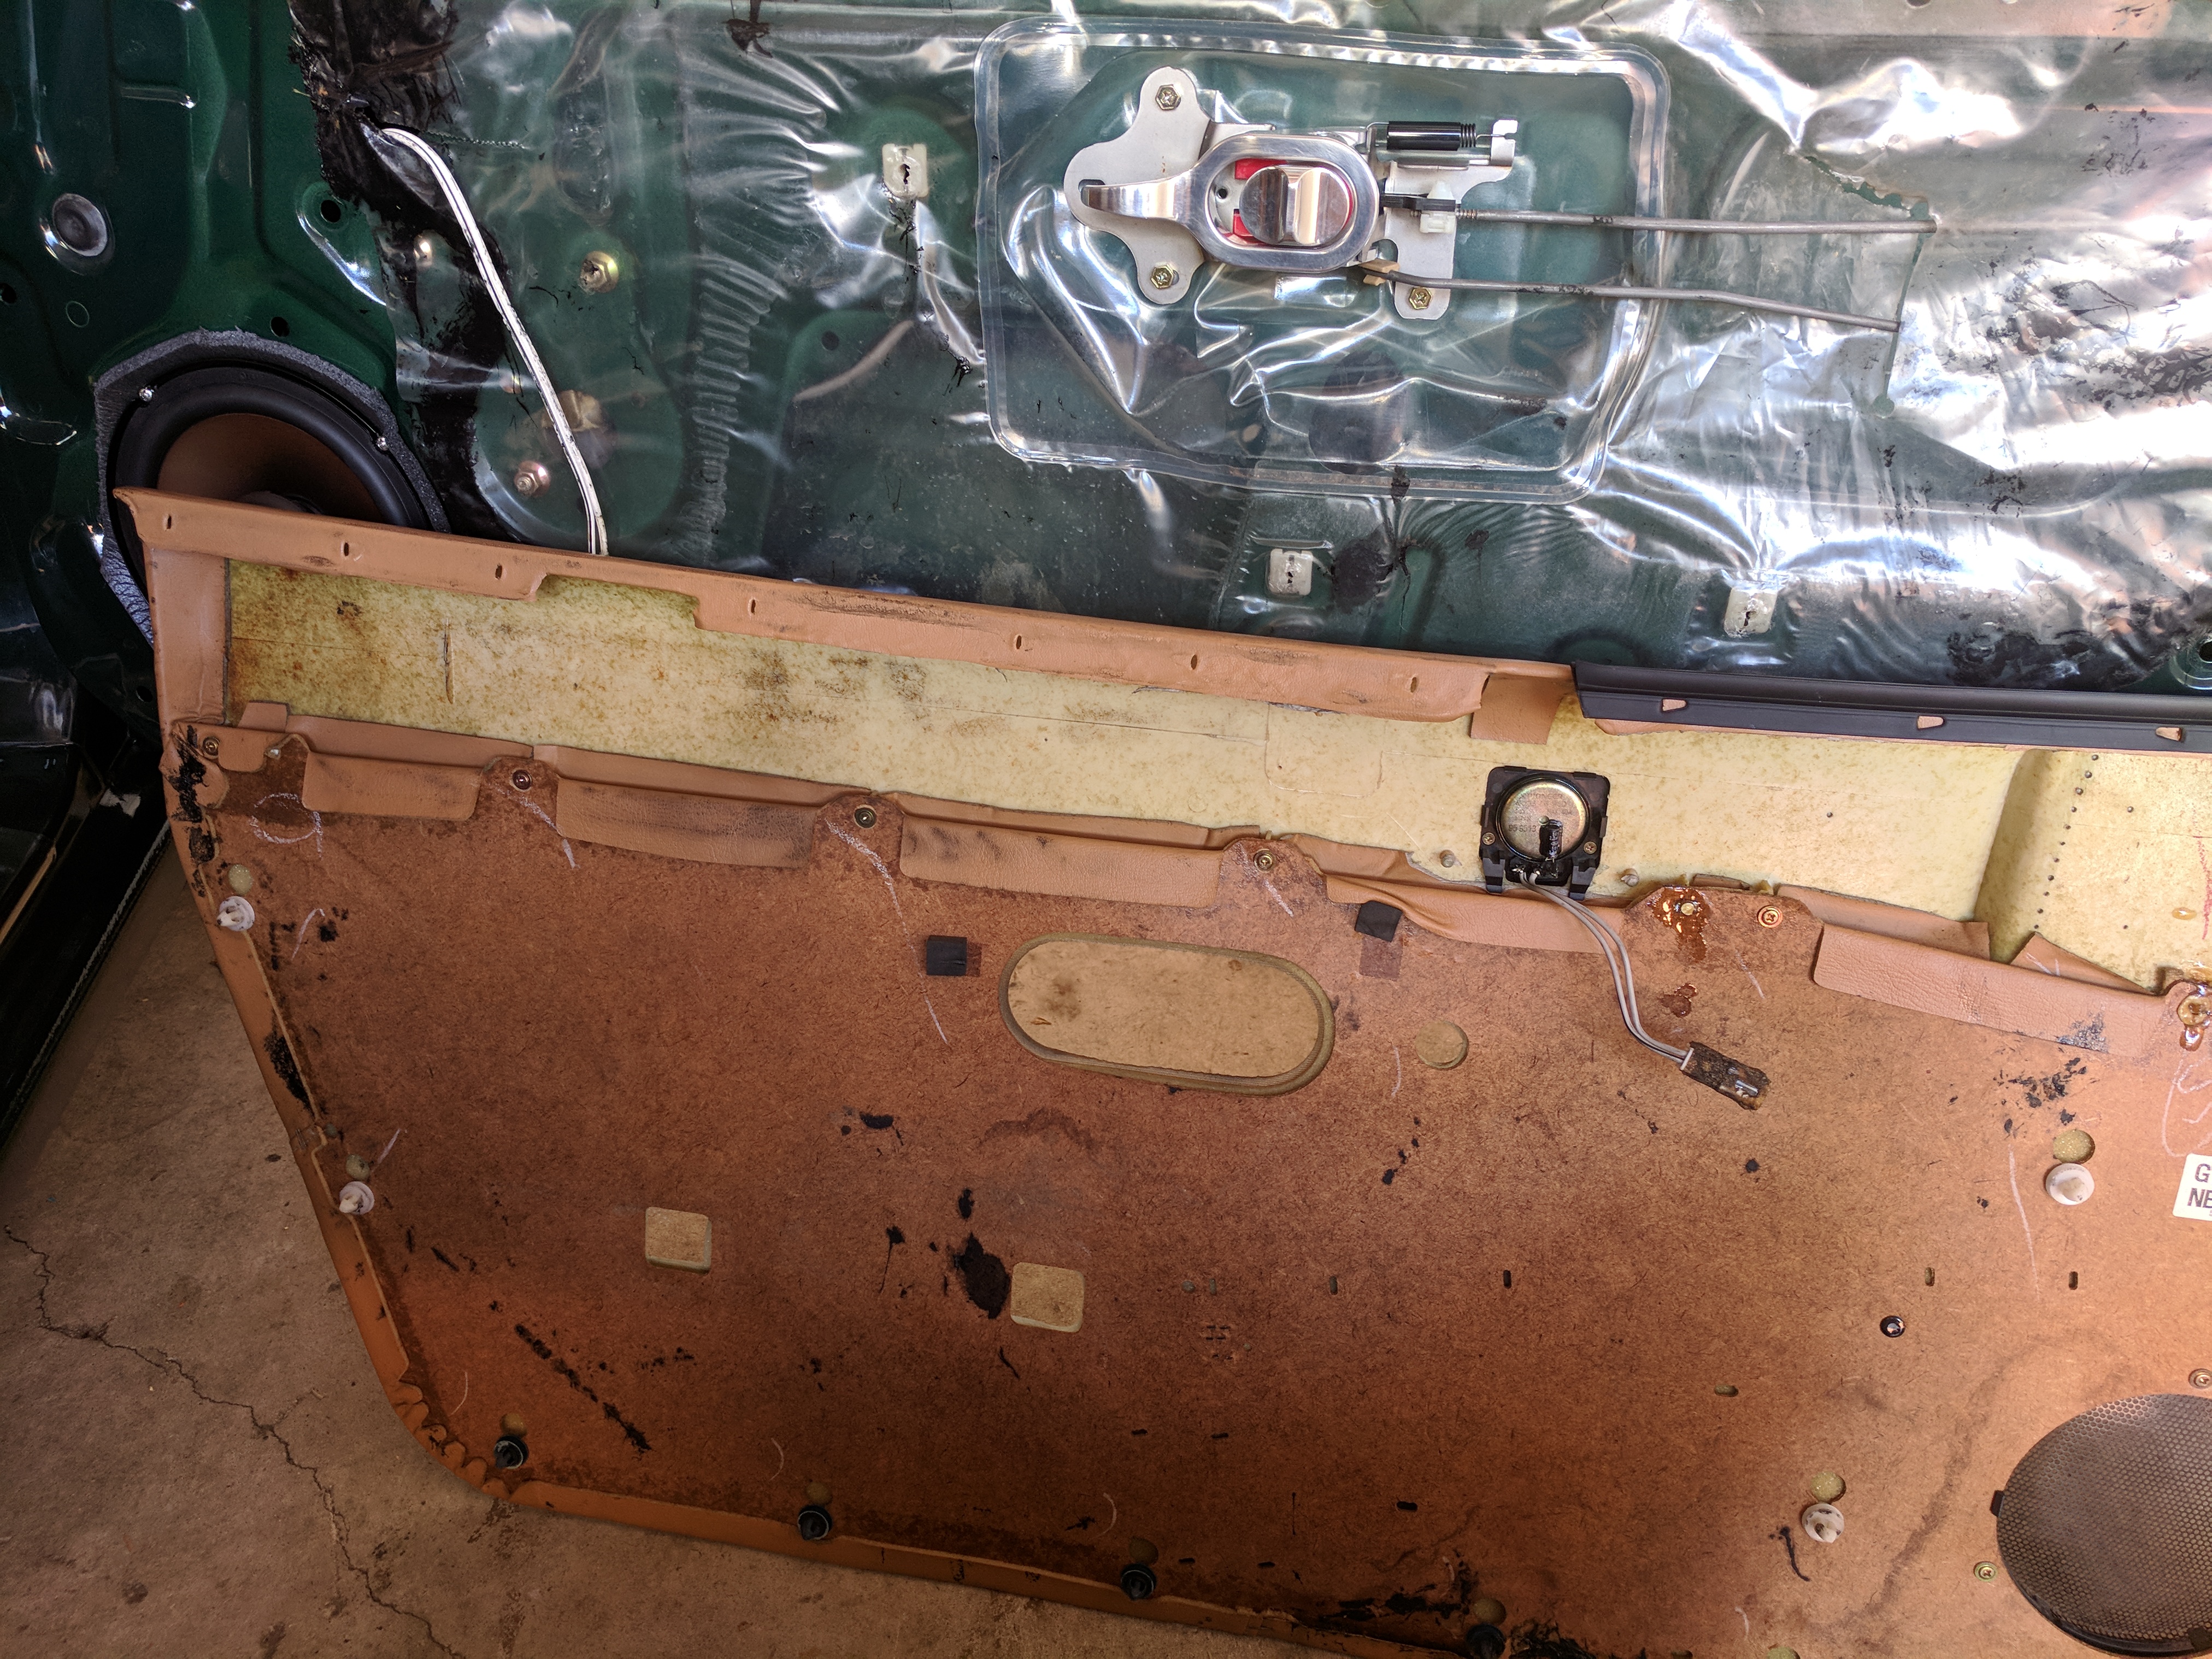
Giving the top of the door card a good clean to get rid of dirt and grime which had accumulated over 22 years.
Old strip on the top, new one on the bottom.
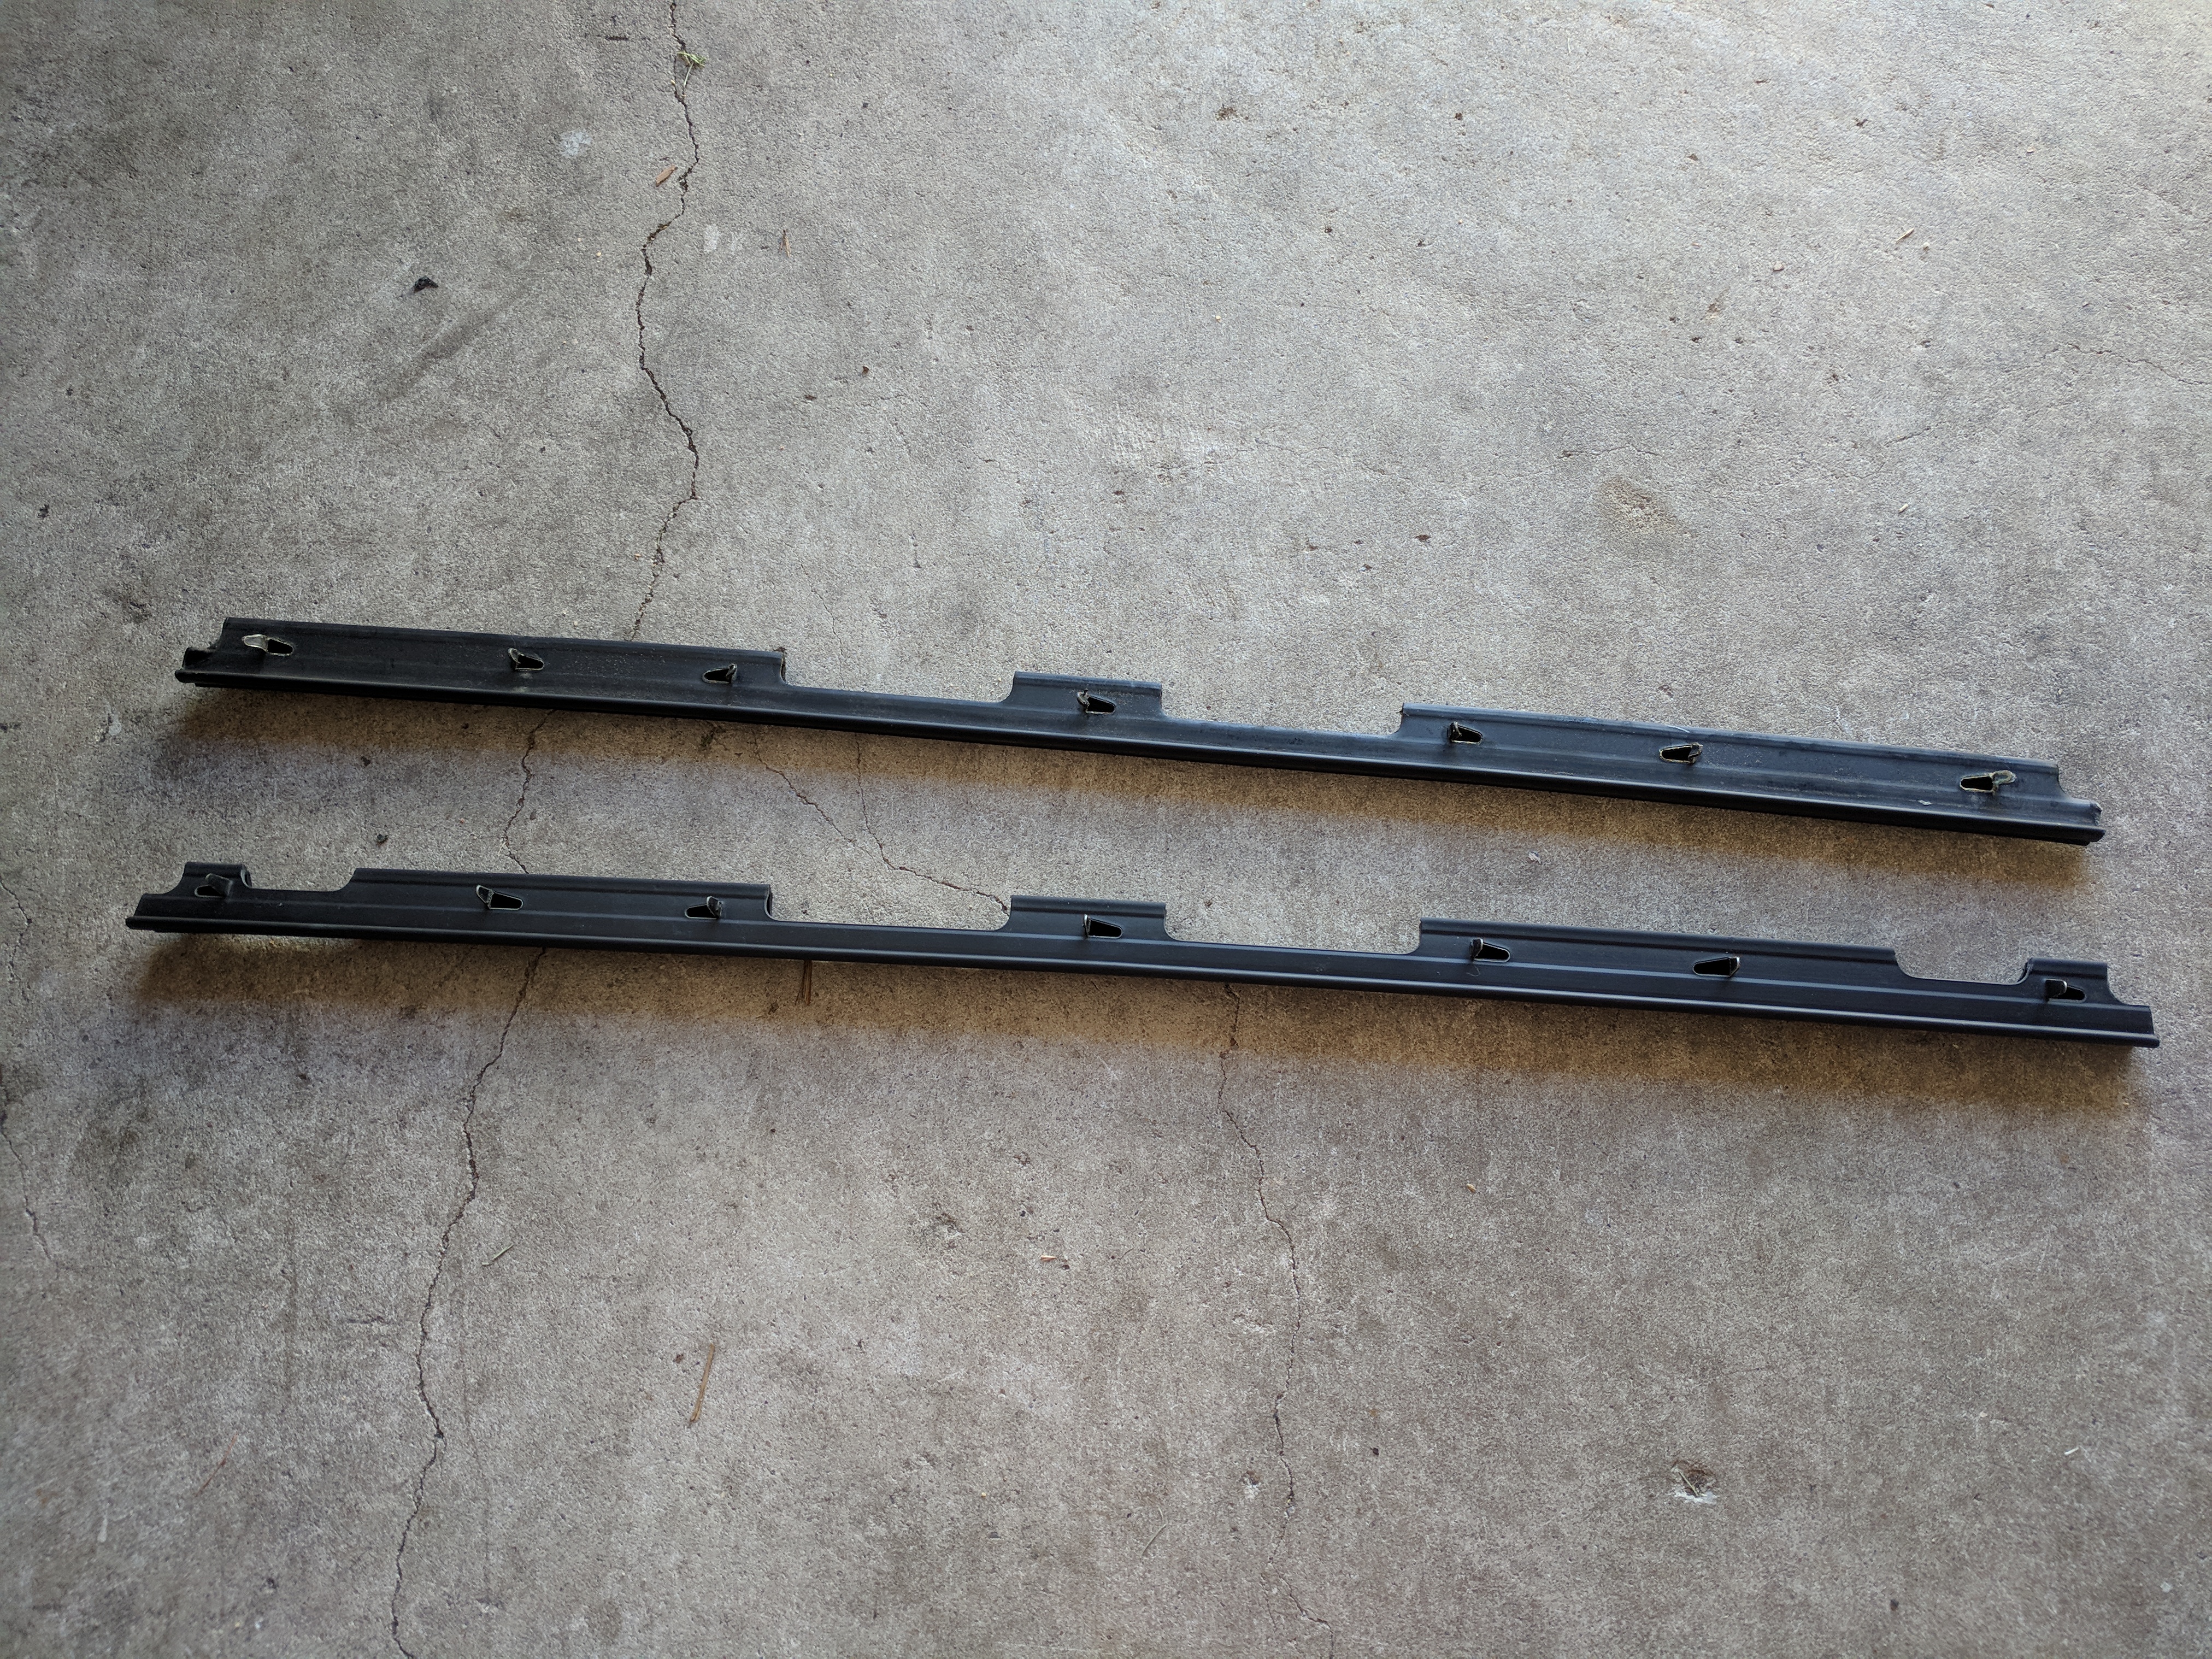
I can safely assume that this has never been cleaned ever since the car rolled off the factory floor.
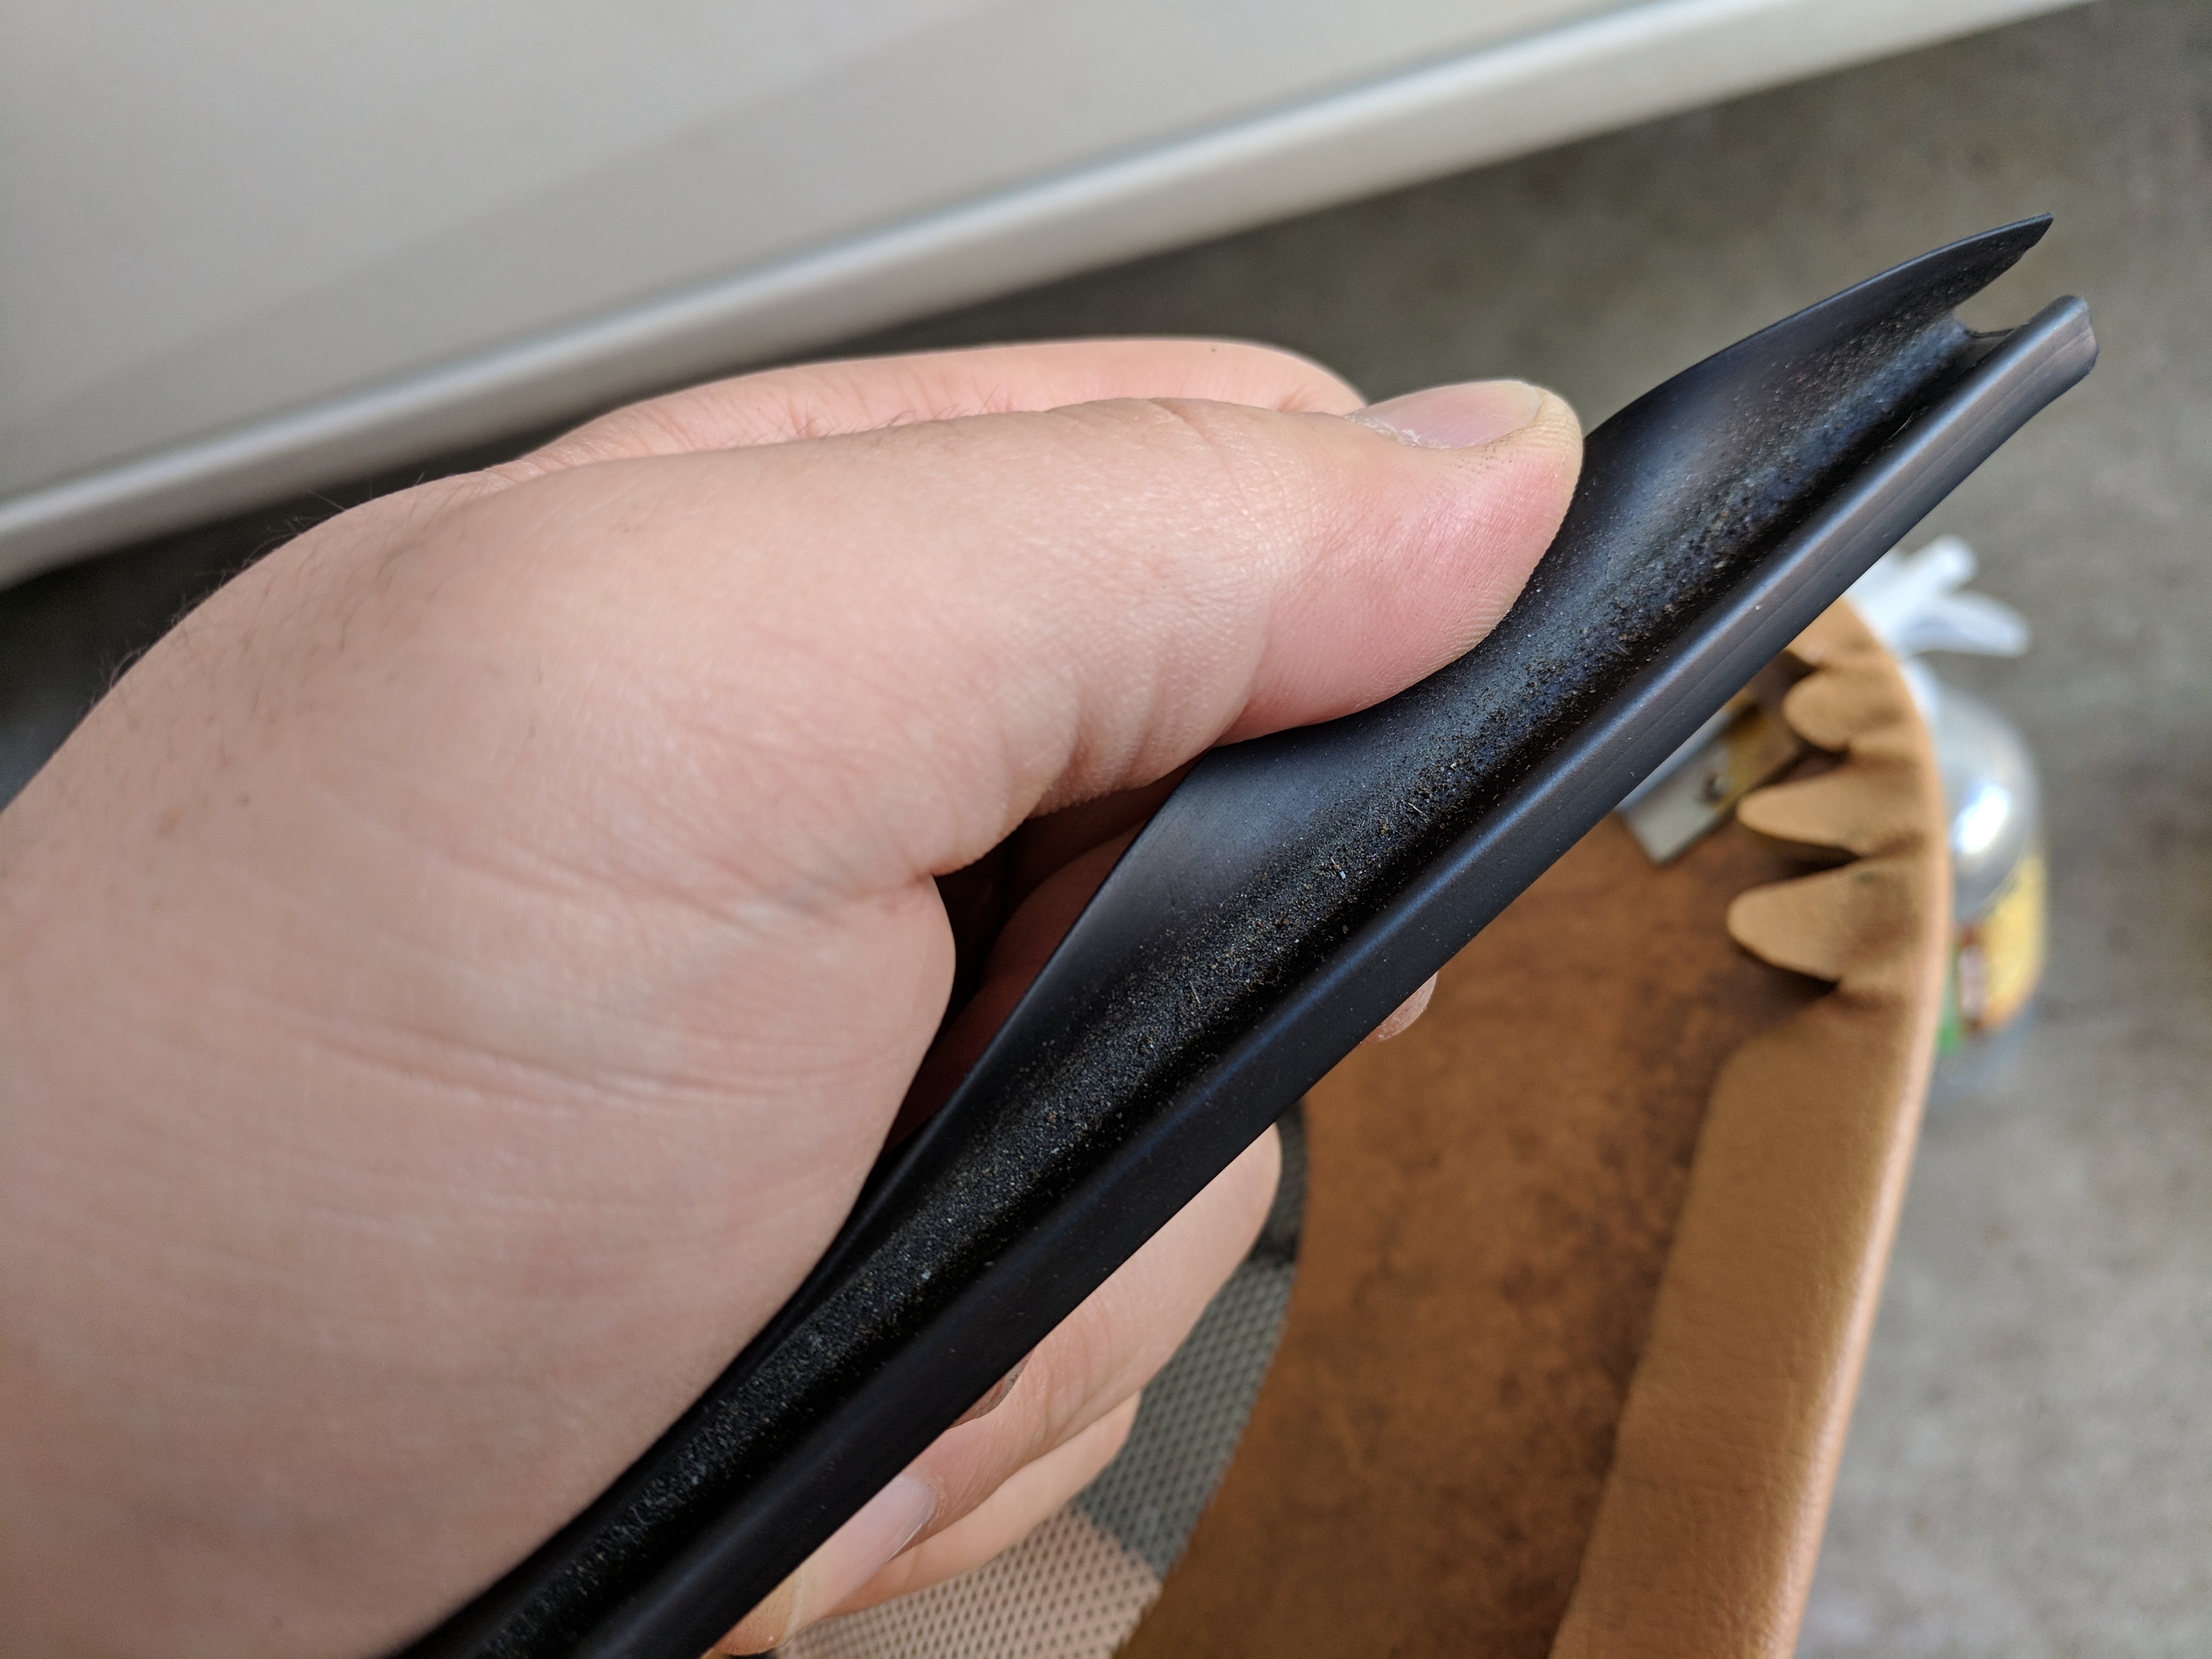
Couple more updates coming very soon. Maxim-Works headers will be installed very shortly, followed by a set of Flyin' Miata frame rails, Paco Motorsports fender braces, Torsen LSD and brand new Mazdaspeed bushings with refurbished control arms. Stay tuned...
Comment
-
We've had a couple of Maxim Works headers in for customers over the years and maaaan they're so goodWebsite: www.moonlightracing.com.au
Email: info@moonlightracing.com.au
Facebook:https://www.facebook.com/moonlightracingaus/
Supplying the best parts from all around the globe. Whatever you need, Moonlight's got it!
Comment
-
Last year, my good friend Daniel was approached by Turtle Wax to see if he could do a video for them for what was their "Worldwide" series. The series was to showcase cars and car culture from all 7 continents and Turtle Wax got a videographer from each continent to showcase the car scene where they are. Dan was given the task to do Australia. The video turned out great and although I may sound biased, I feel as though it's probably the best one from the series.
So fast forward a few months, Dan was approached by Turtle Wax again to see if he would be interested in making around 10 videos which showcases his journey with the car he currently owns, which is an NA6CE supercharged MX5. The whole concept of the series is that he would be gathering ideas on how to mod his MX-5 from like-minded individuals and asking the owners how they modified their cars. It's about finding people with the same passion and taking inspiration from different owners who belong to the different car subcultures, whether the car is a muscle car, JDM, oldschool classic, Euro, or anything else in between.
For the first episode of the series, he asked if he could interview me. Initially I told him that I didn't wan to be in front of the camera, but he really wanted me to be a part of it so I agreed. The setting was at Wise Guys Barbershop, with two MX-5 owners getting their hair cut whilst talking about cars. Cliche, really...
Check out the video.
Comment
-
31/05/2018
ZOOM Engine Start Push Button
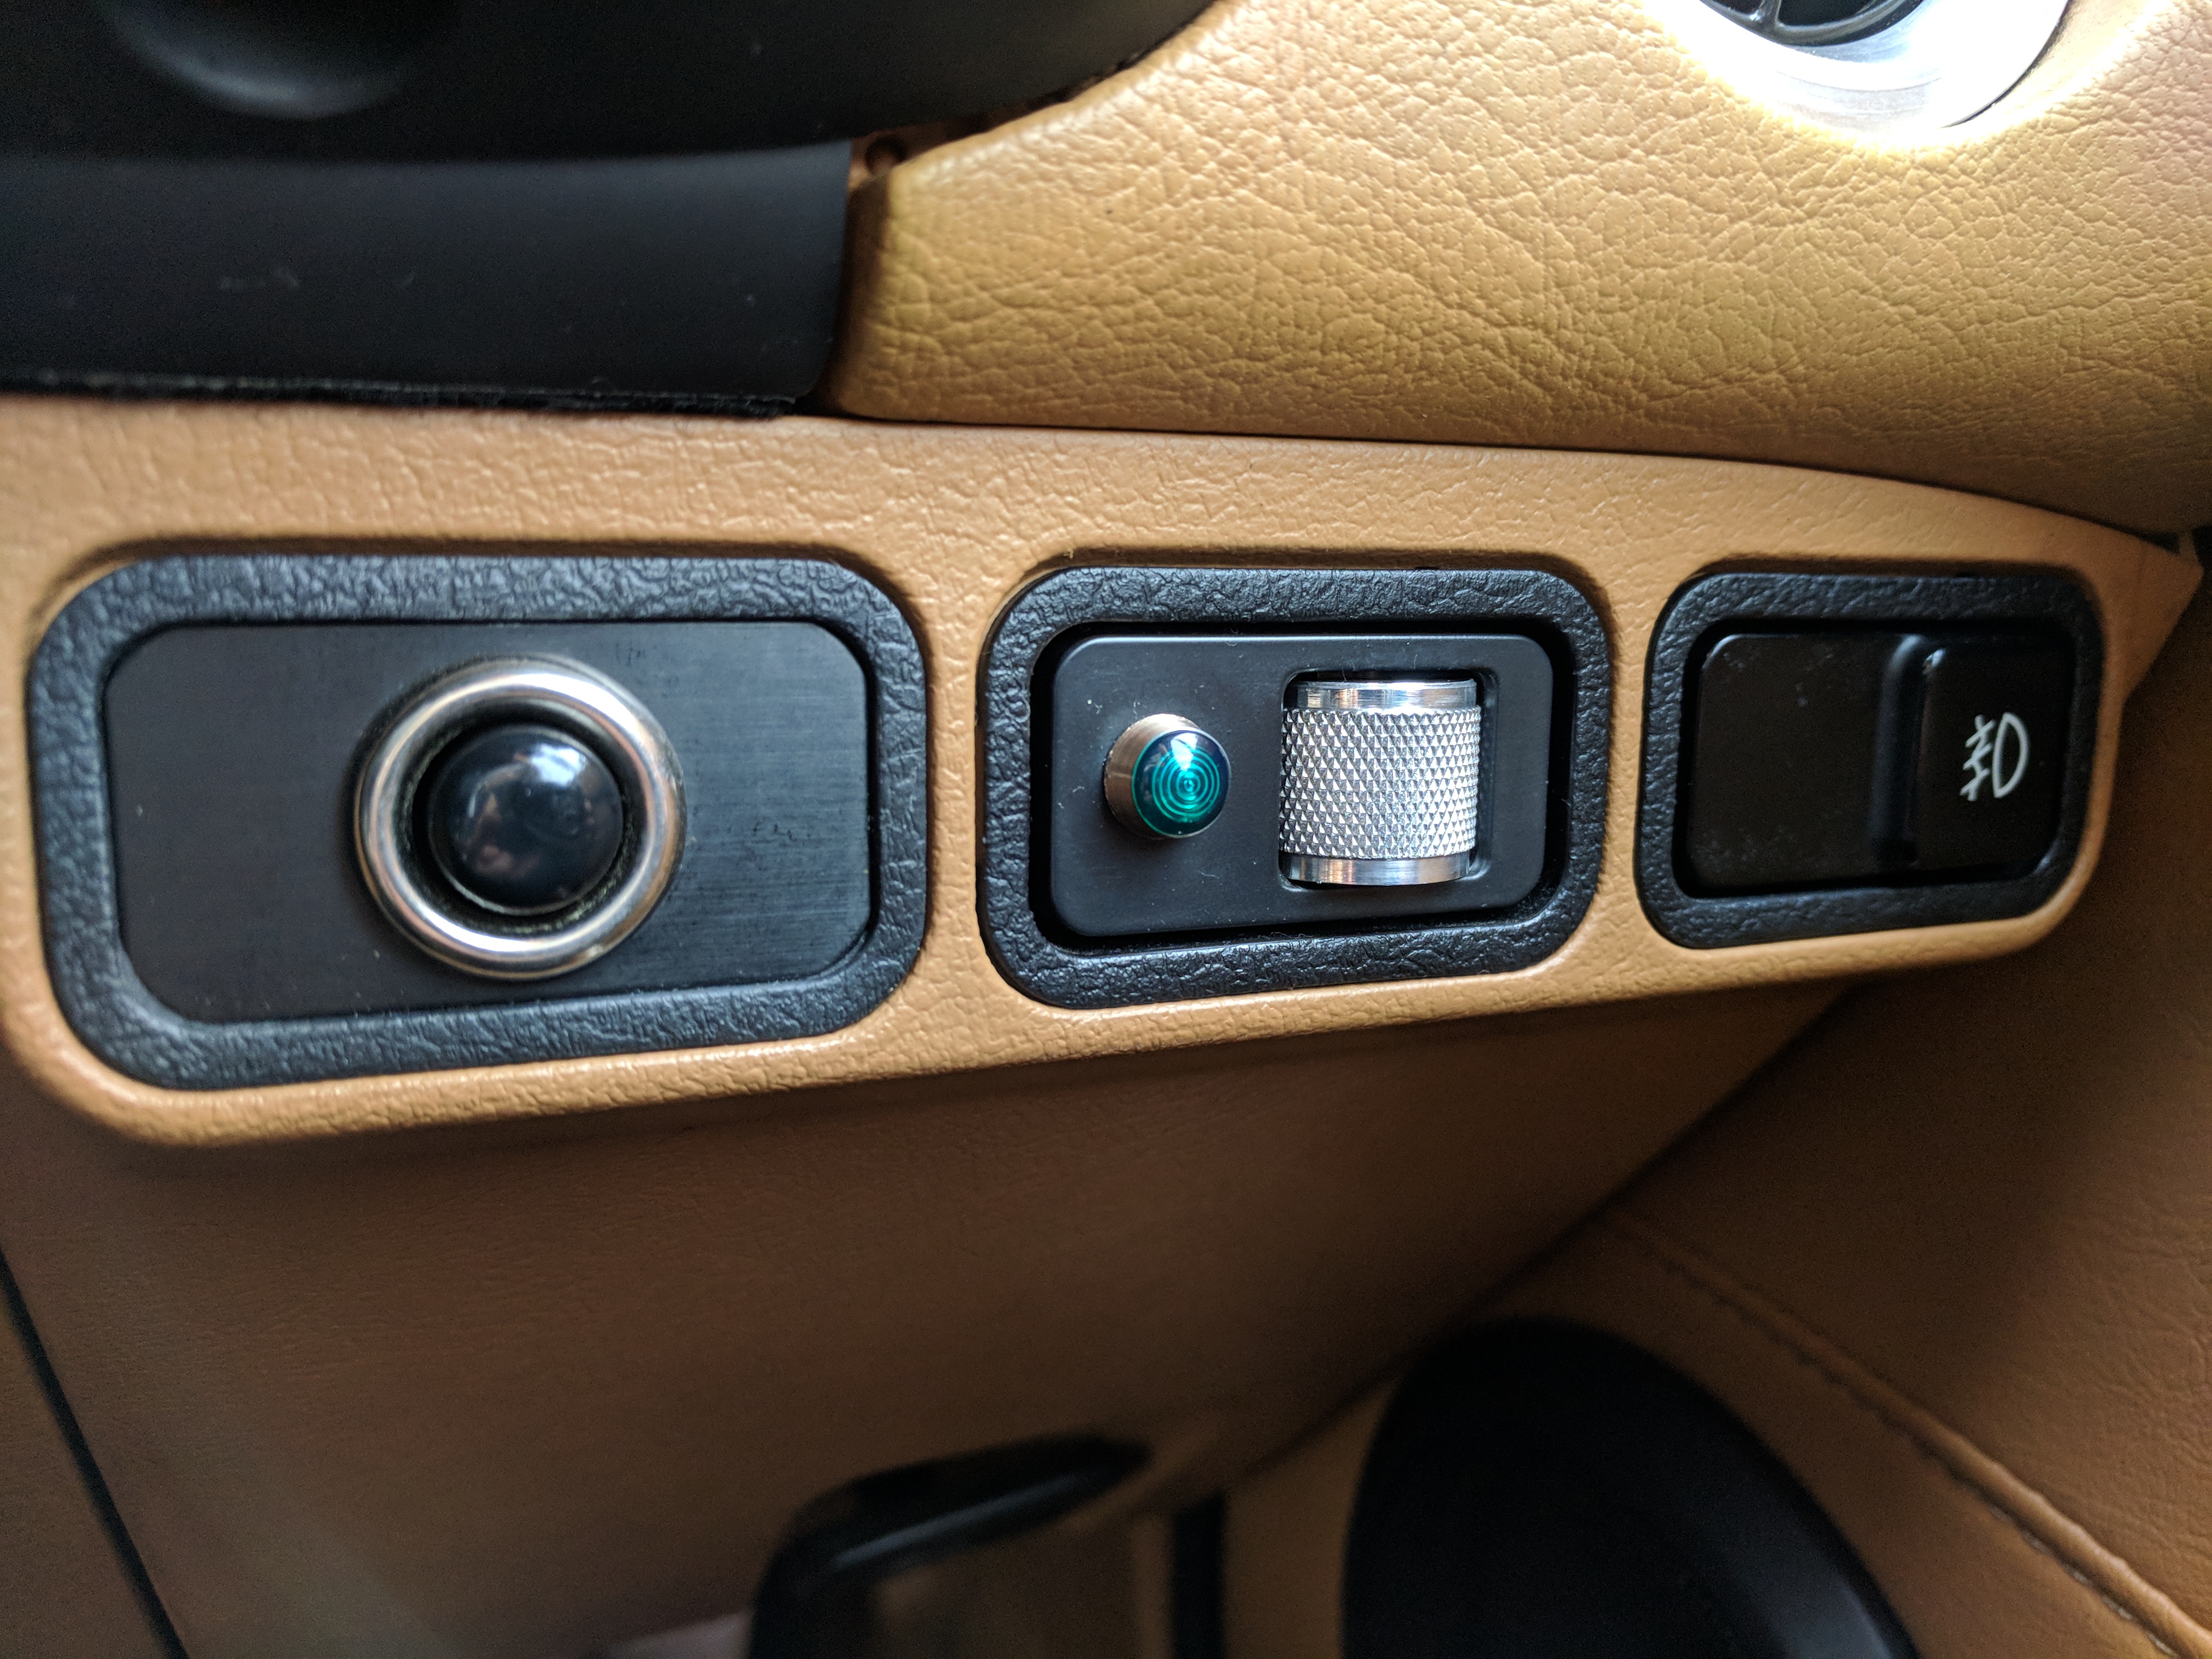
There were a few redundant items in my car. One of them was the power mirror adjust switch. Ever since I swapped over to the Runabout M2 mirrors, this switch was no longer being used. After seeing how good it looked on Ben's (bcpopham) NA8, I decided to take the plunge and get the Zoom engine start push button. A little gimmicky, but hey, it's all in good fun.
ZOOM push button.

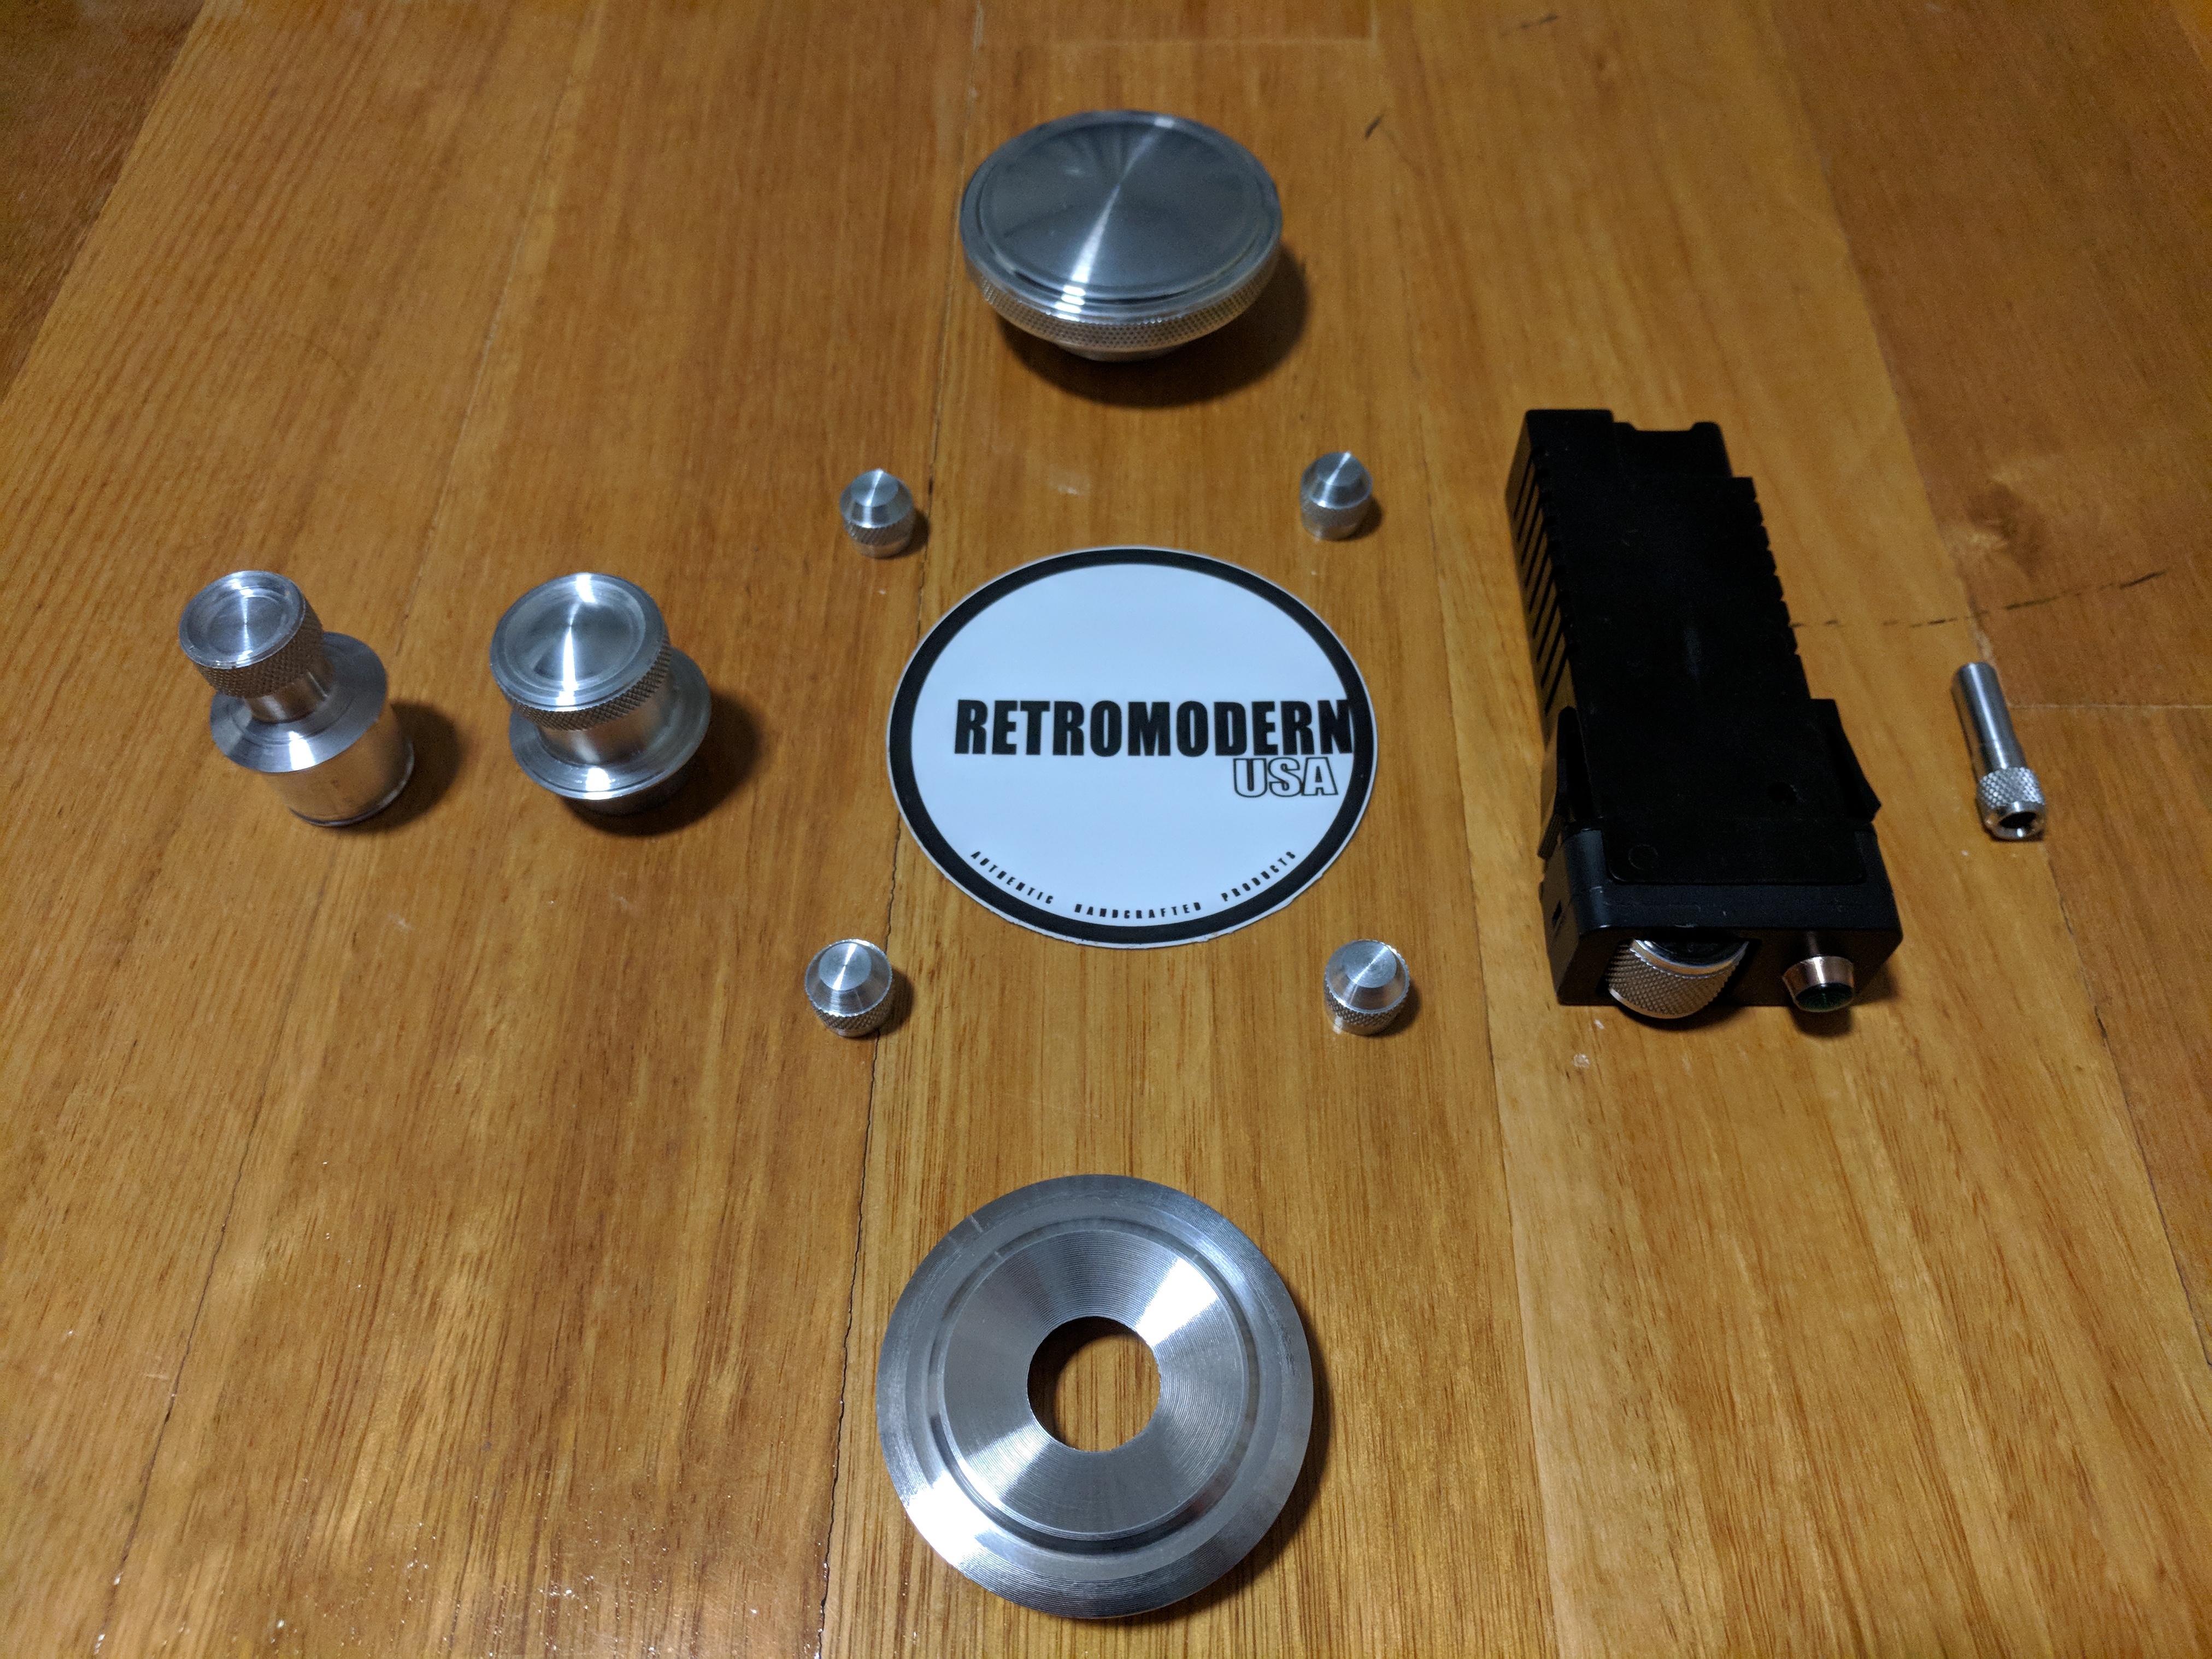
RetroModern items
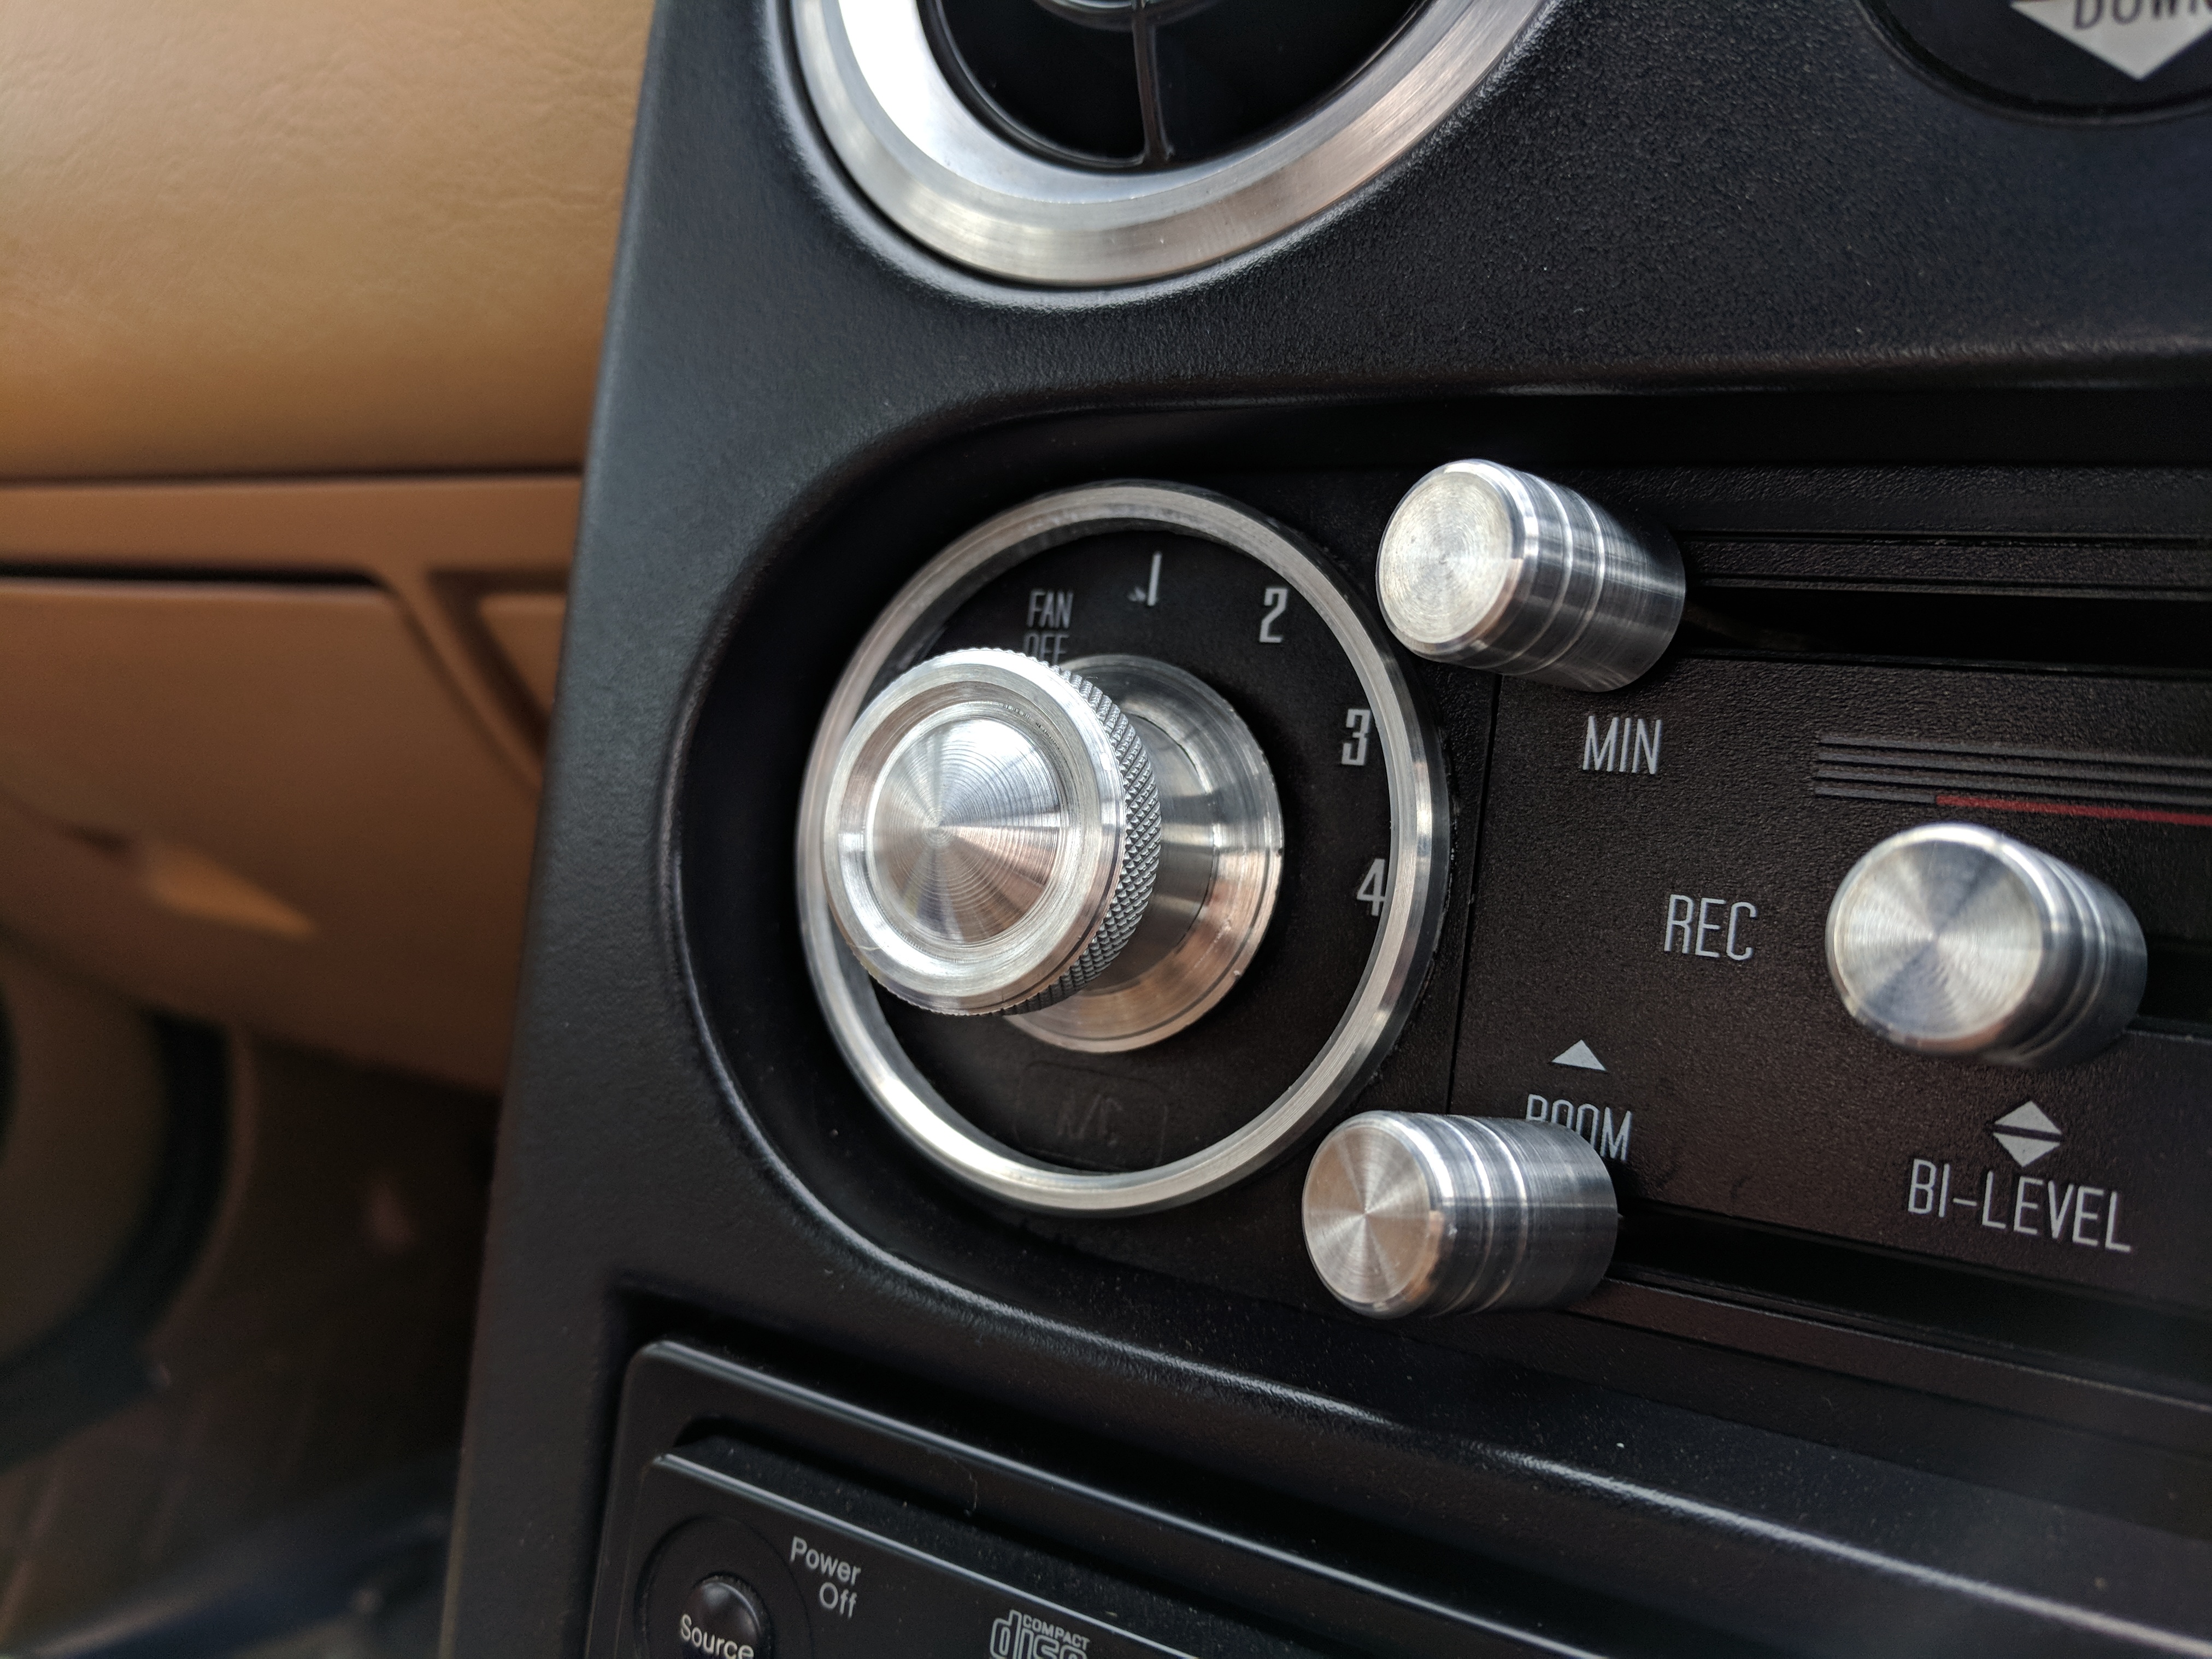
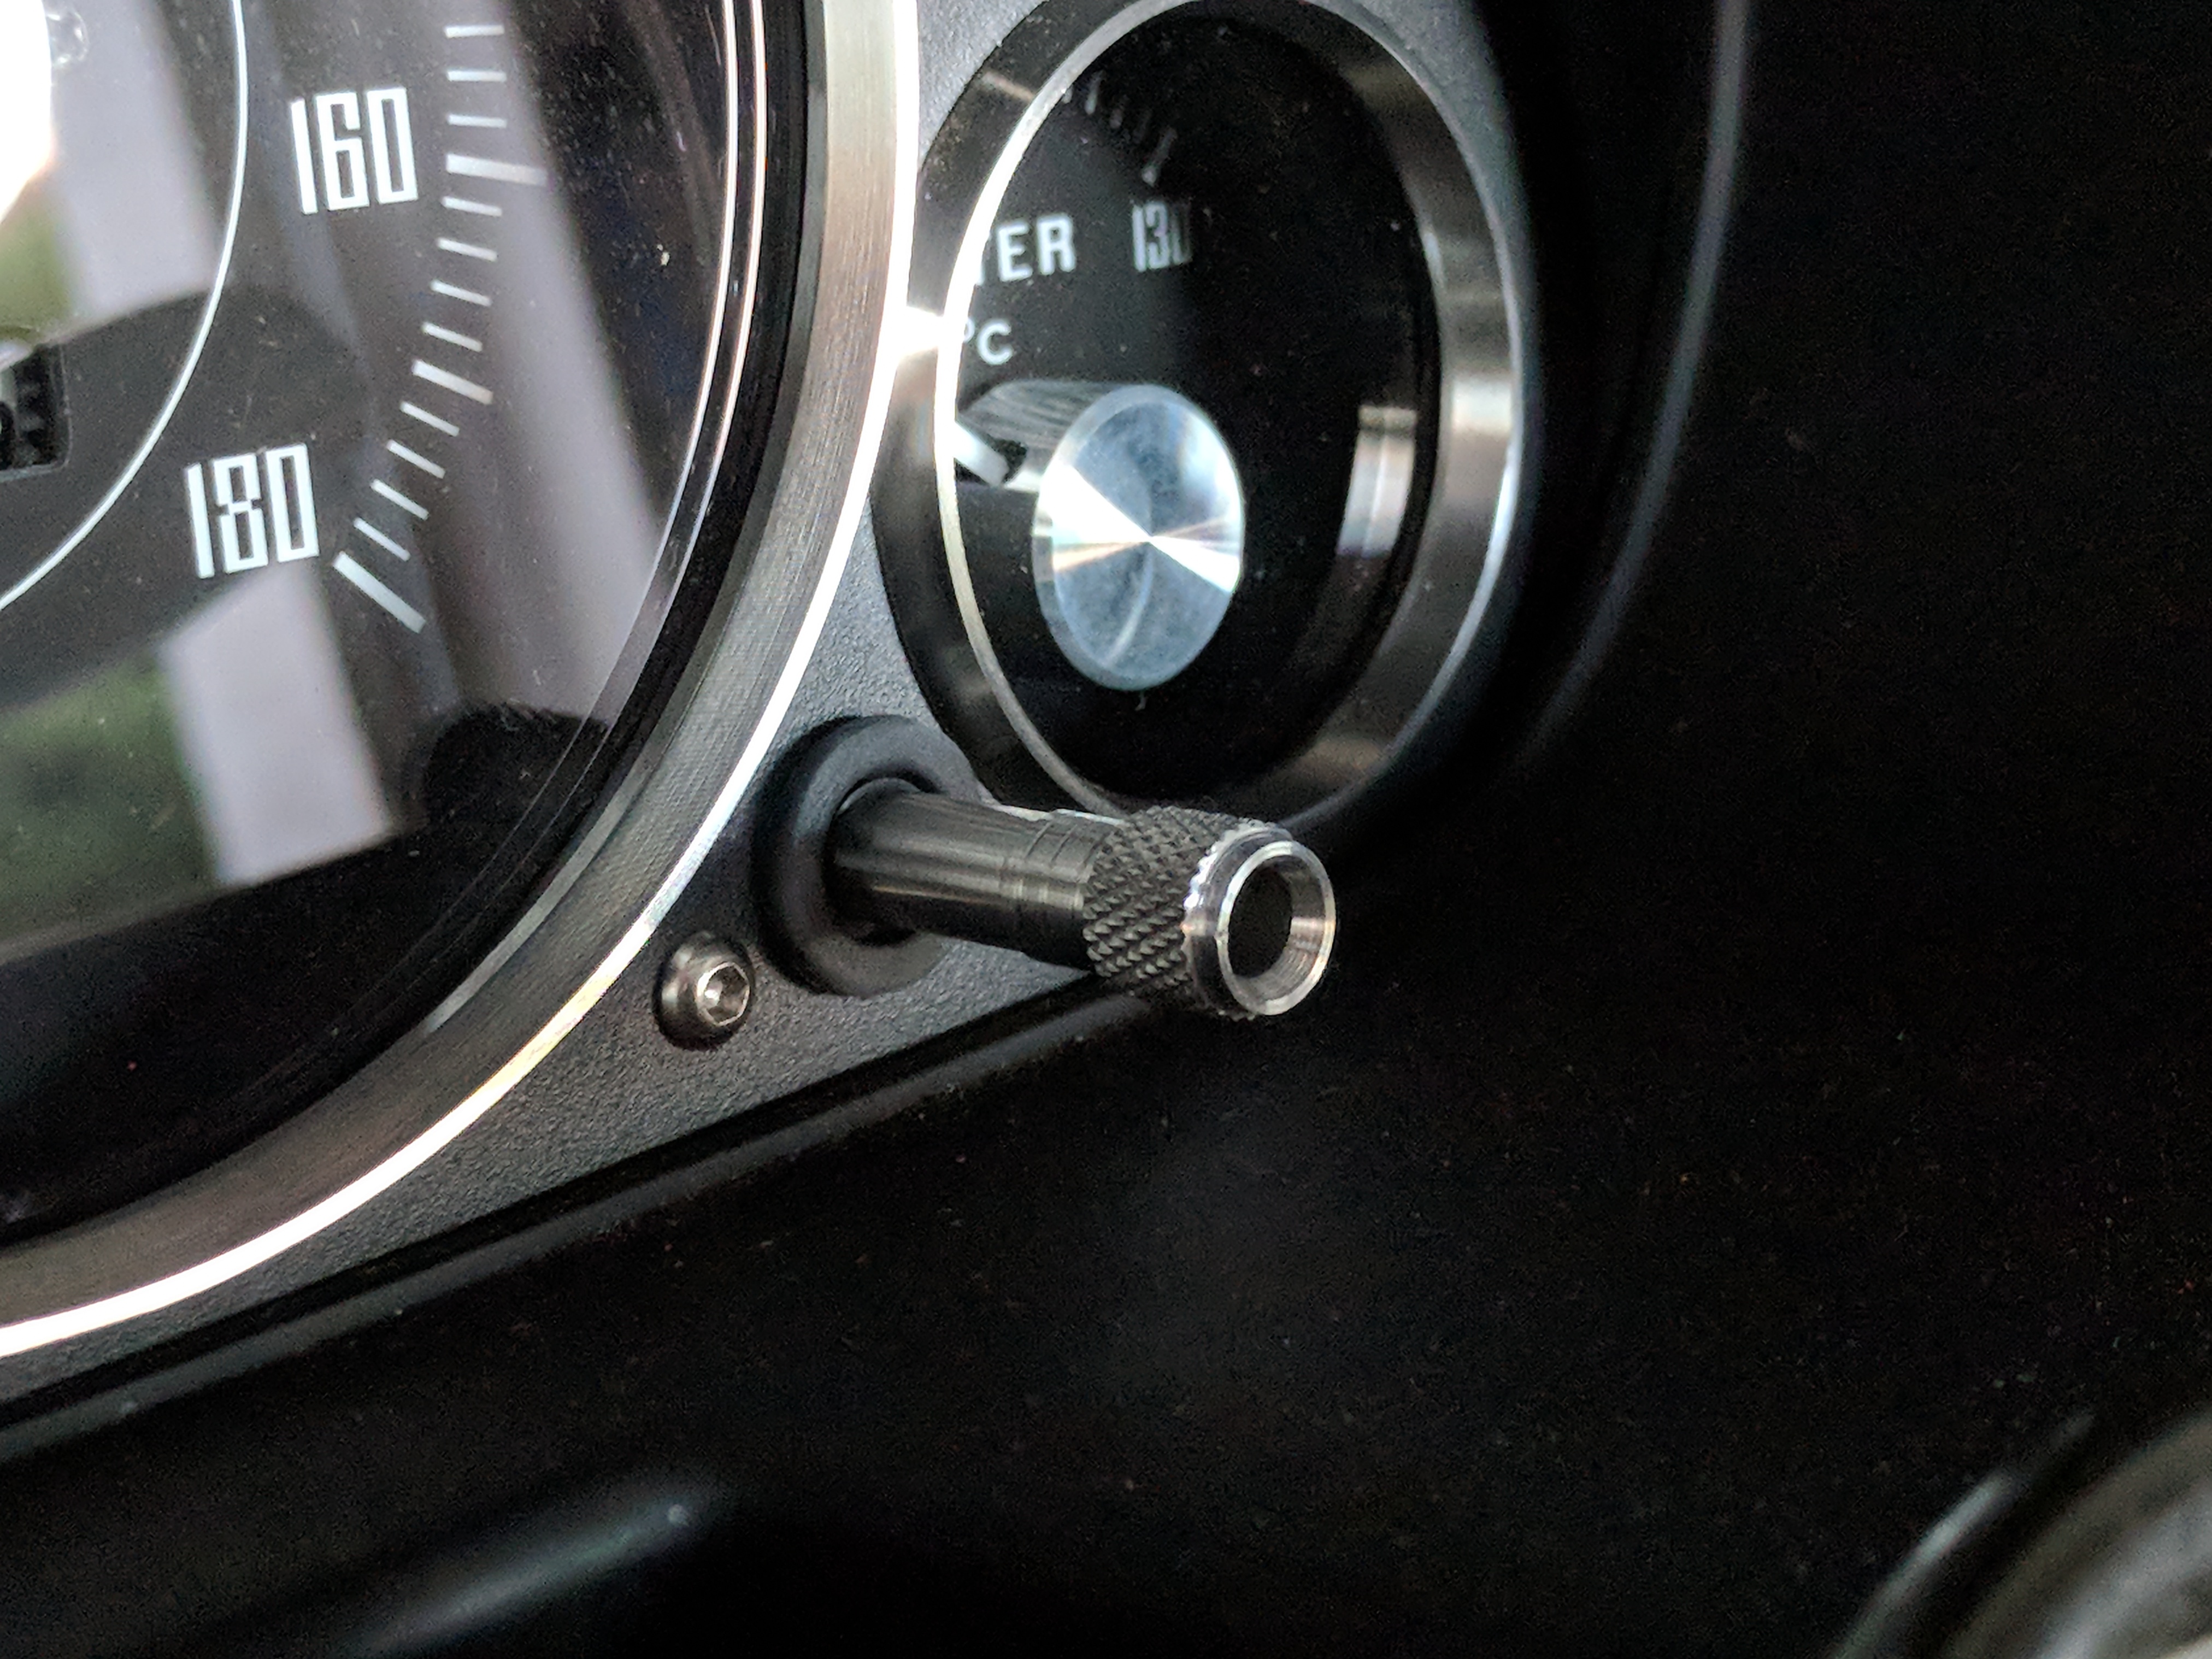
Ken from RetroModern sent over a care package. I've always liked his stuff and especially wanted to get a knurled dimmer switch. He said he had one in stock so I jumped on it. He also sent over his knurled trip meter reset stalk, knurled vent ring nipped and knurled A/C fan knob. It should tie in with the rest of the car.
RetroModern goodness.
Knurled dimmer switch with Zoom engine start push button.
Knurled A/C Fan Knob.
Knurled A/C Trip Reset Stalk.
Also, tried something different. Swapped wheels with my friend Dan for a short term to see how 15's would look on my car. 15x8 +25 Enkei Apache II's wrapped on 205/55/15 Bridgestone RE003's. As much as I love my 14" Watanabe's, it's always good to try something different.
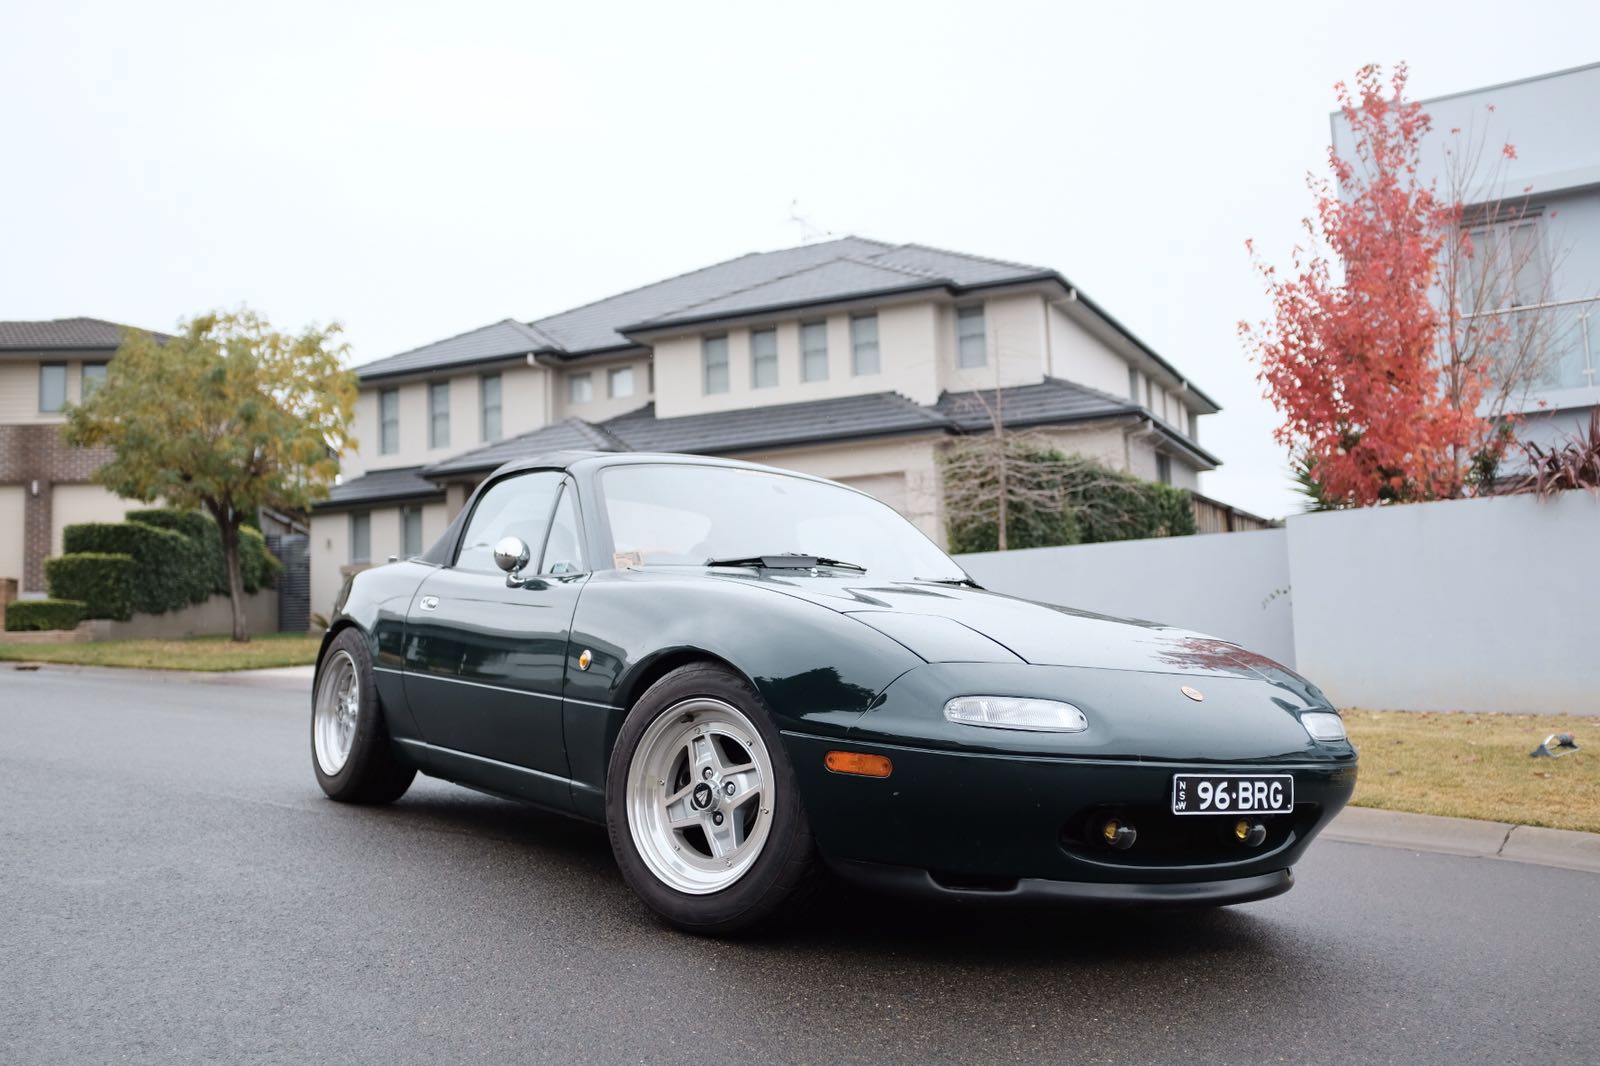
Love the fatness.

Also, trying out new steering wheels and colour combinations. Momo California 360mm and Garagestar Handbrake handle.
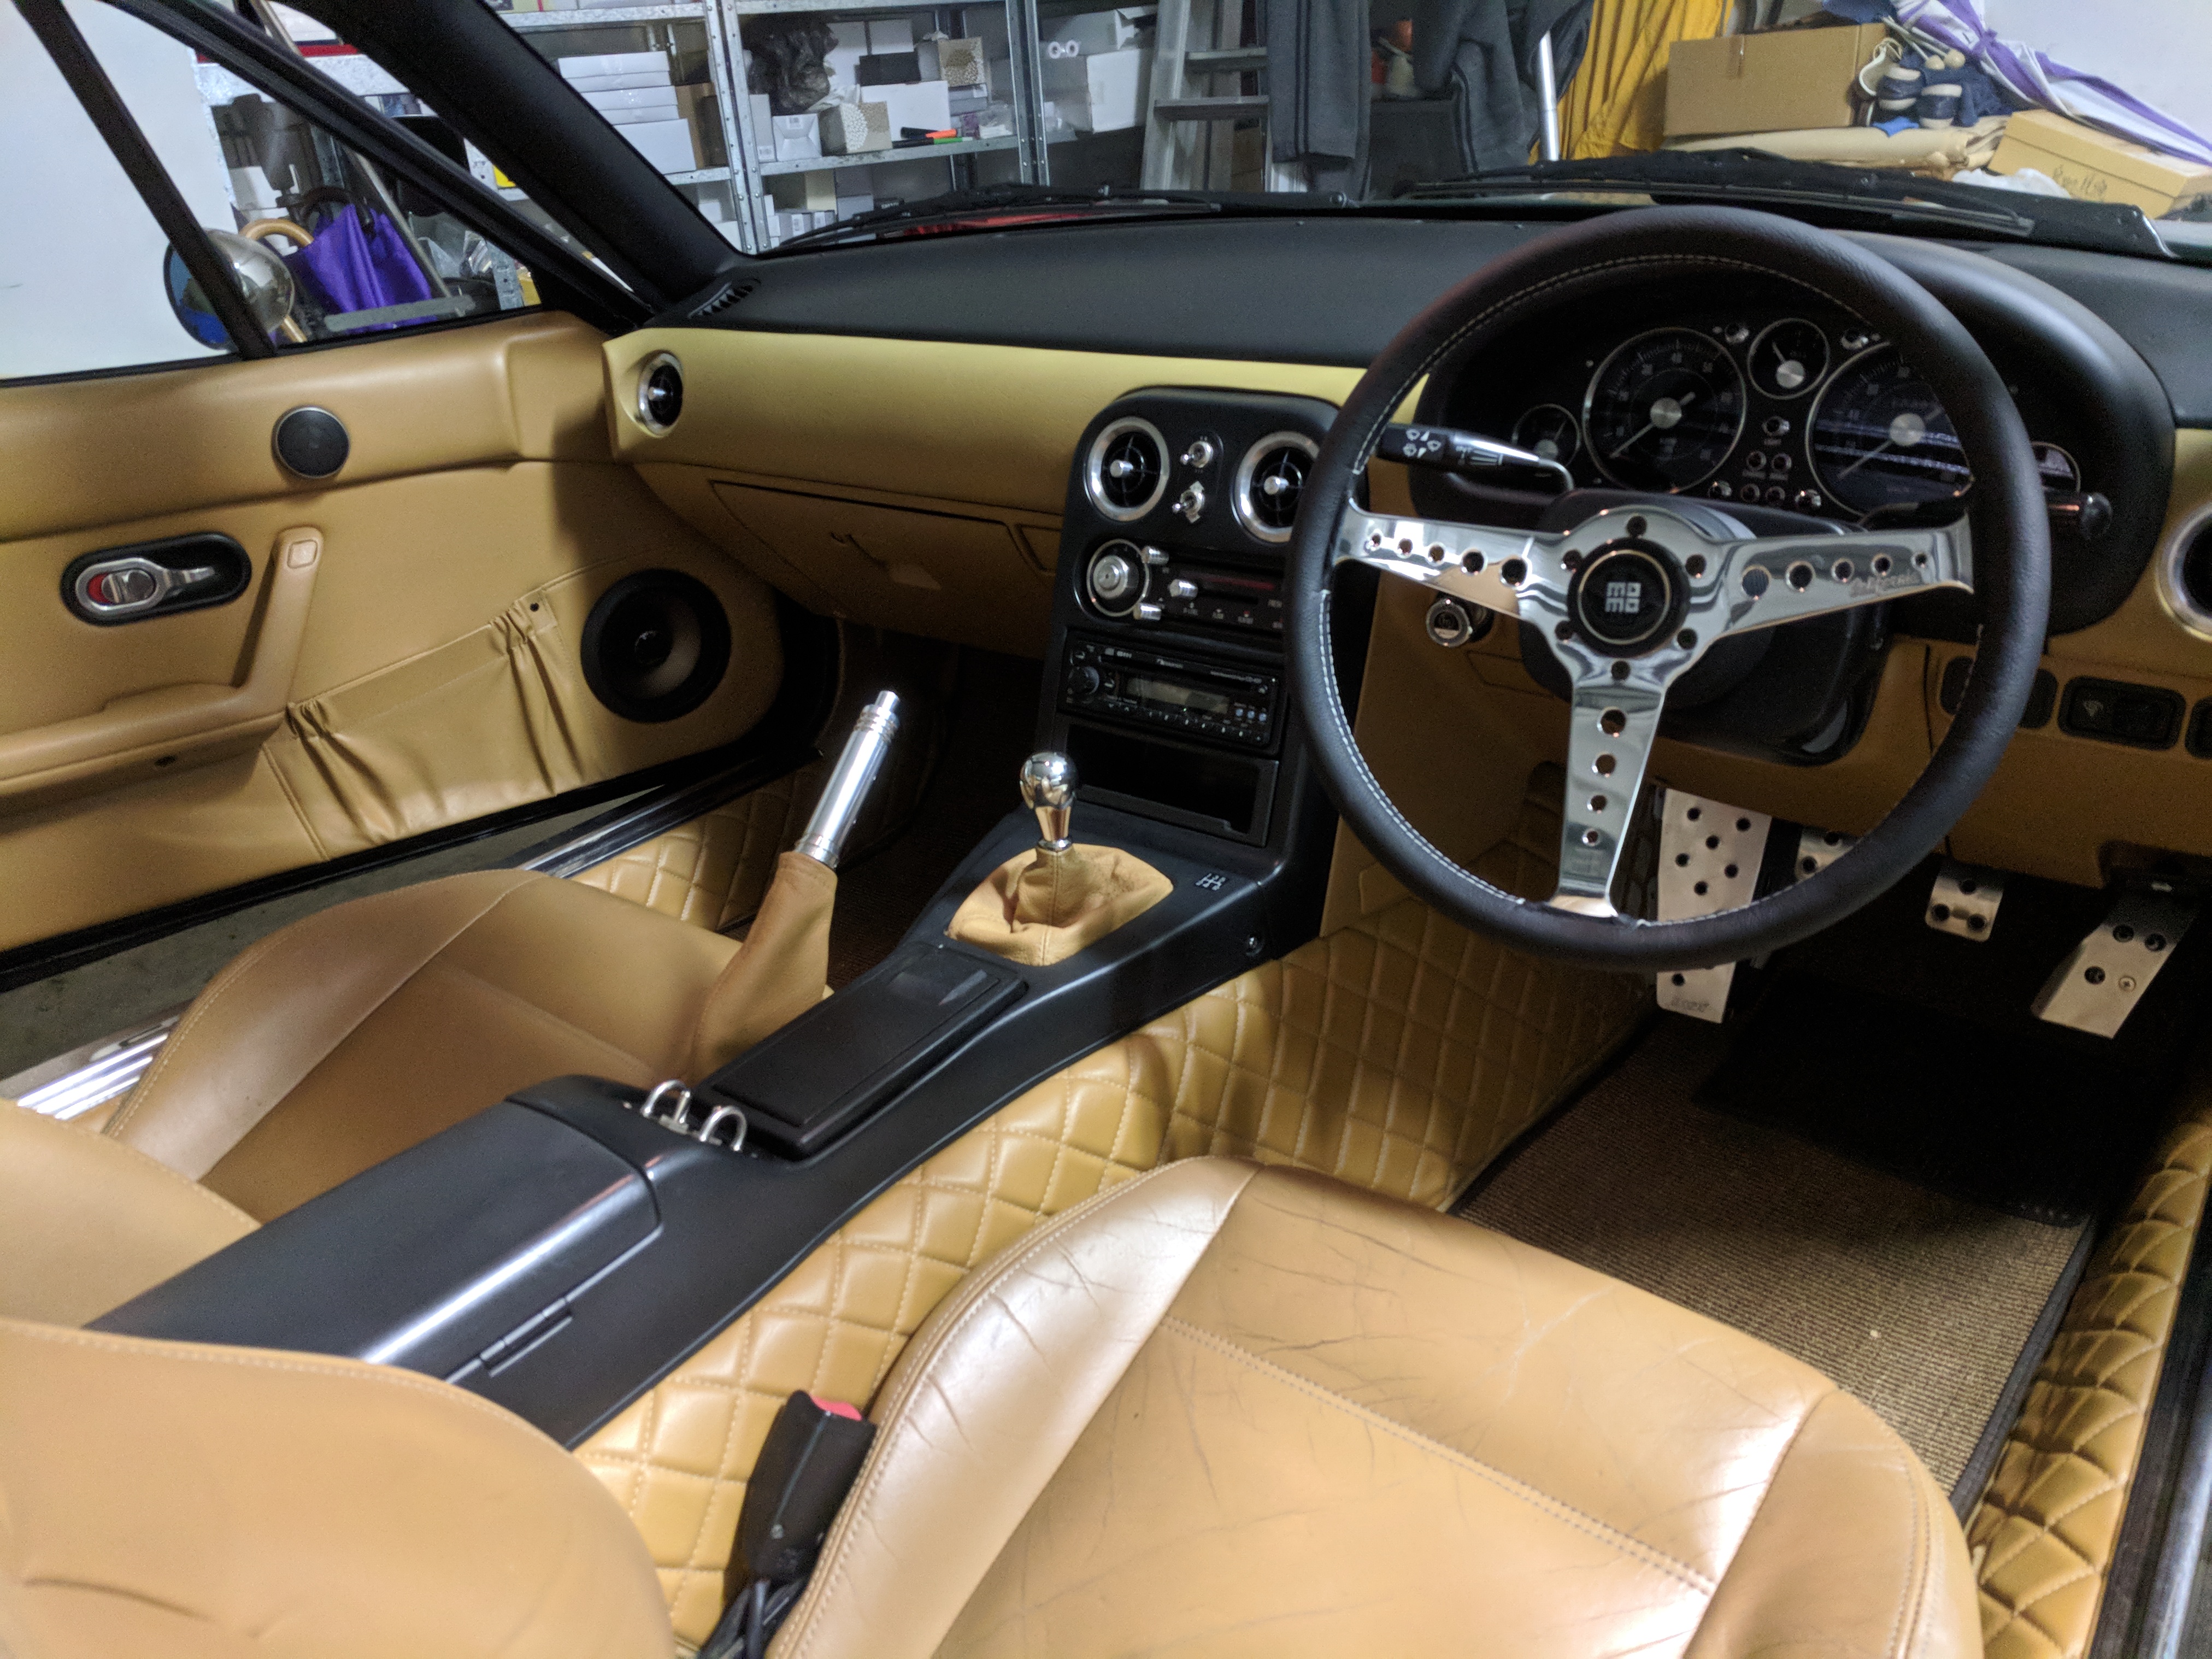
Picked up an '88 Momo Indy 350mm for cheap. Going to refurb it with the Momo Futura.
Keep in mind, this is all short term. Just trying things out for now. But I've decided my next set of wheels will be a set of 15's. Keeping the Watanabe's though, but having an extra set is always nice.
Comment
-
Equip 40s look super good on these, could be an option for your next wheelsWebsite: www.moonlightracing.com.au
Email: info@moonlightracing.com.au
Facebook:https://www.facebook.com/moonlightracingaus/
Supplying the best parts from all around the globe. Whatever you need, Moonlight's got it!
Comment
-
definitely an option, but i found that they look much better on a wider rim, which means it should be at least a 15x8 or 15x9, which would then mean flares, which I'm not so keen on.Originally posted by mlracing View PostEquip 40s look super good on these, could be an option for your next wheels
Looking at rebuilding a set of classic BBS RS's with all new hardware and barrels to a 15x7.5 with an offset between 10 and 15
Comment
-
03/08/2018
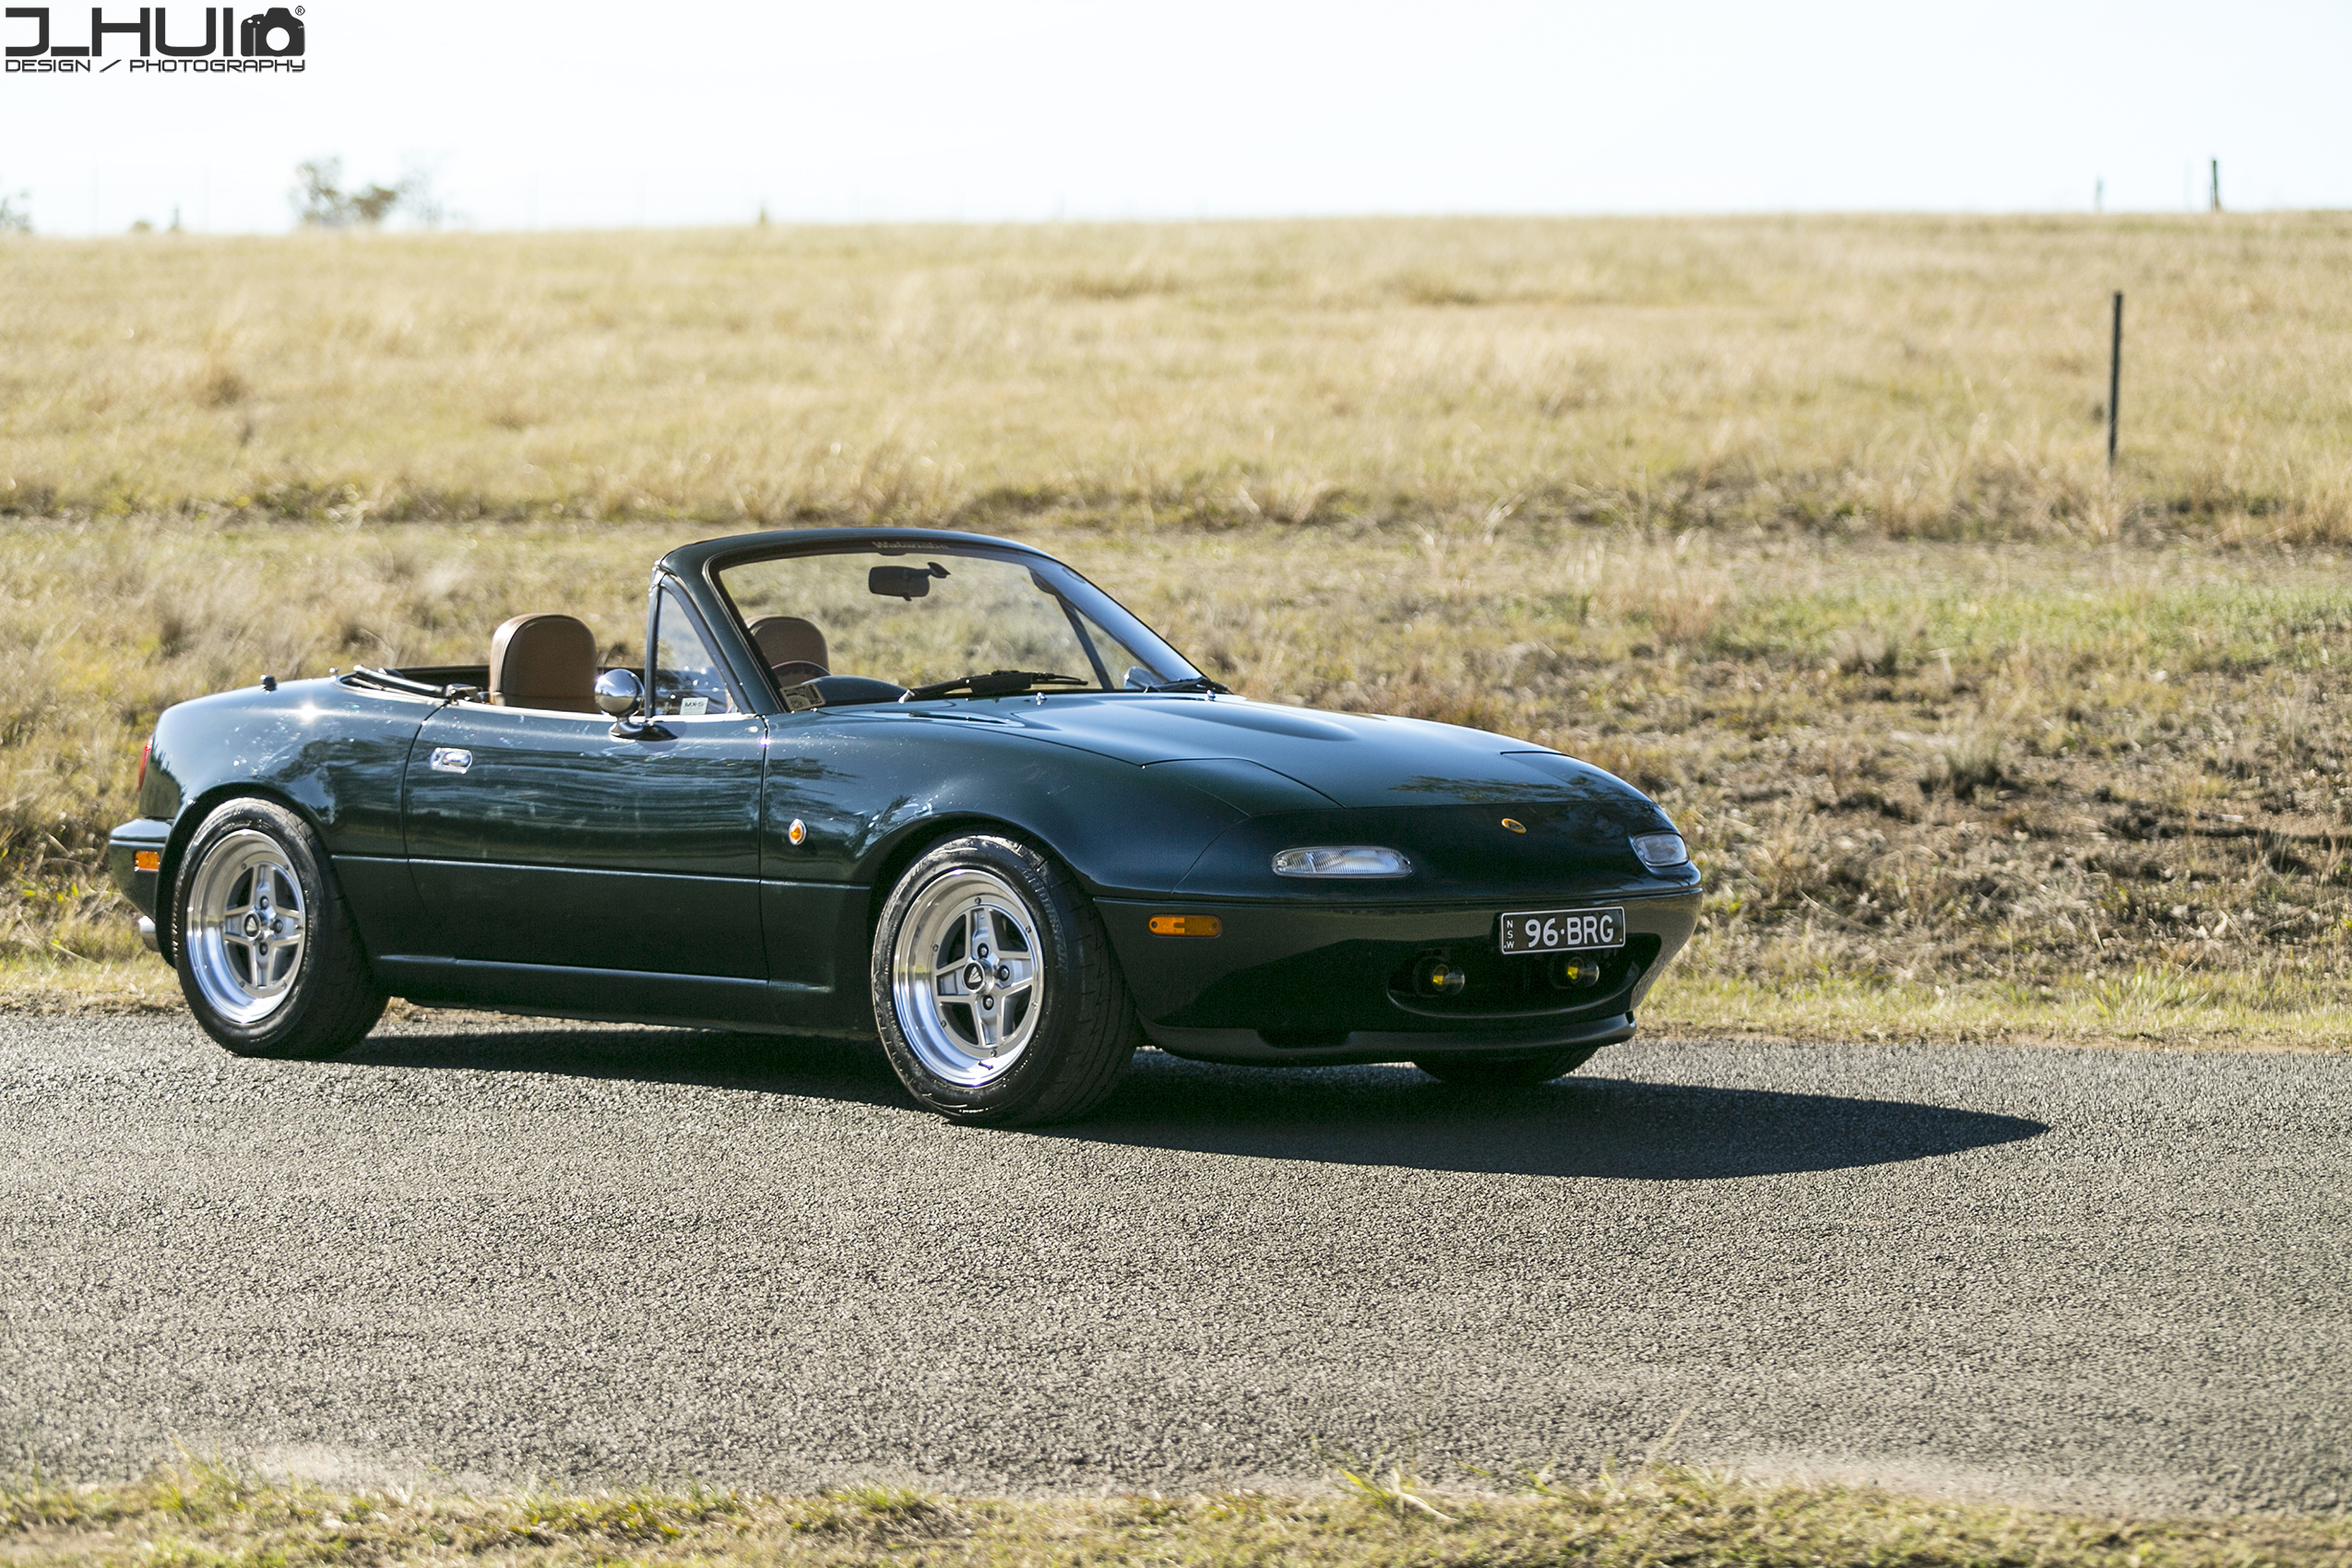
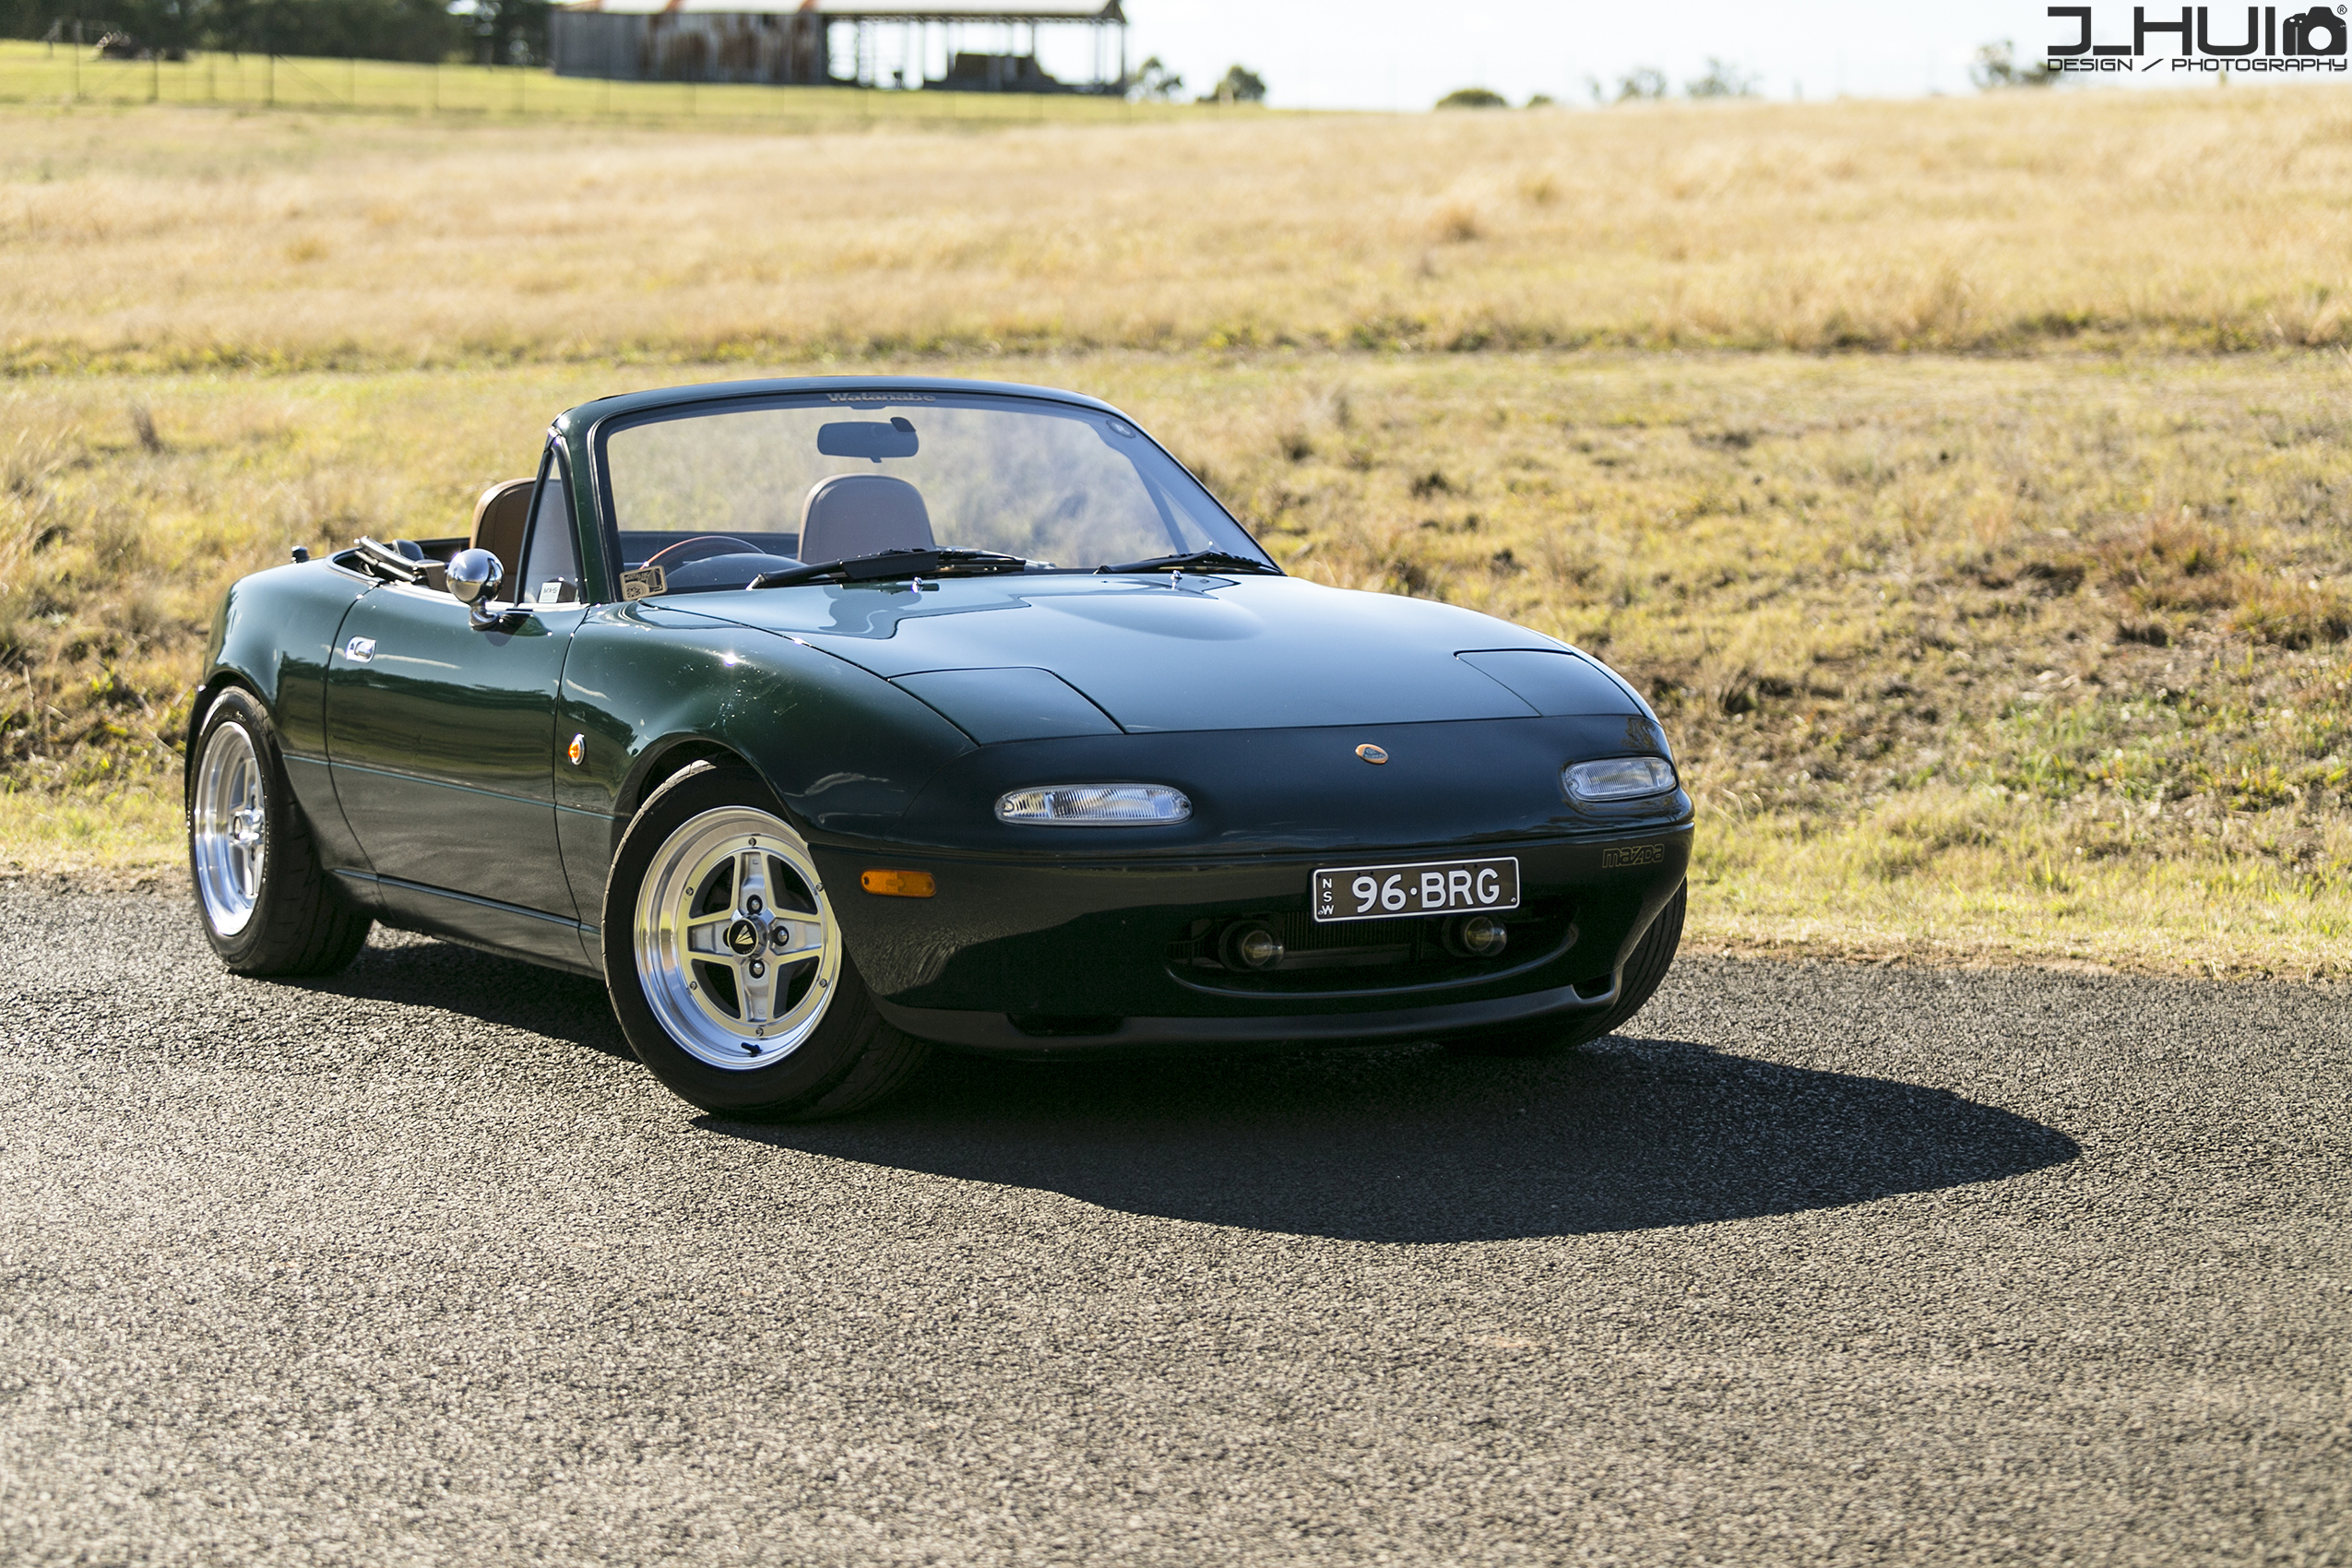
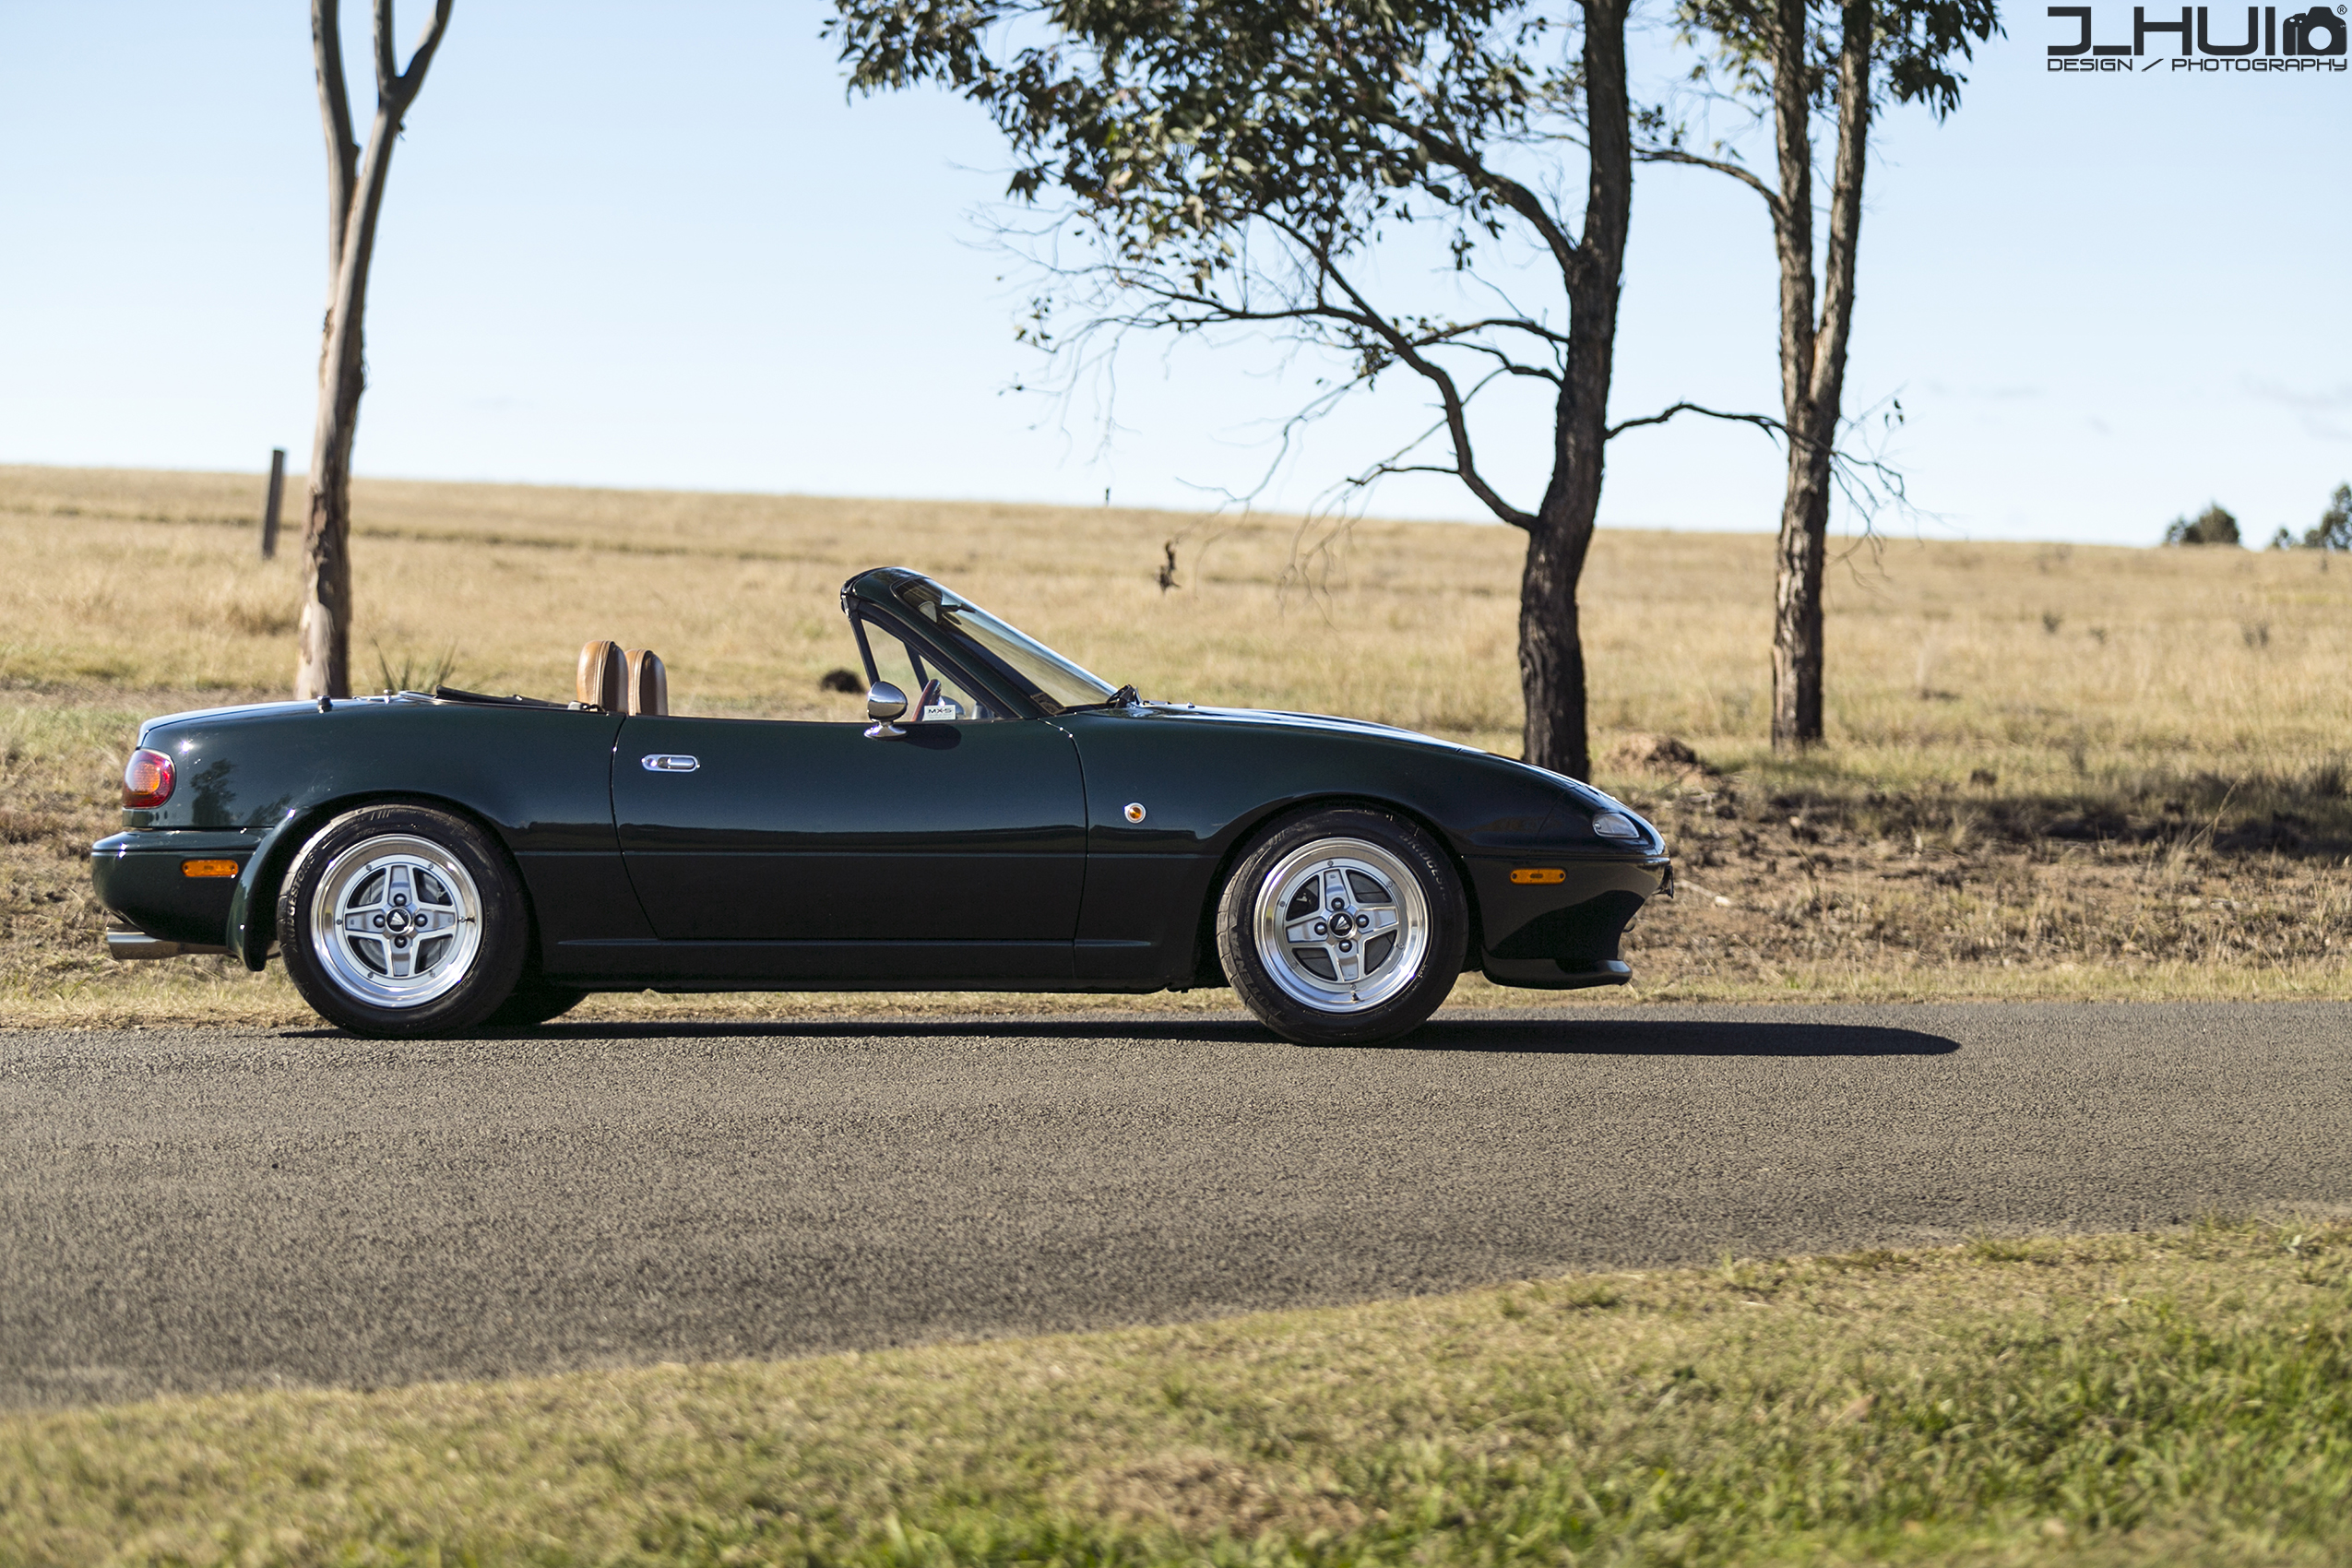
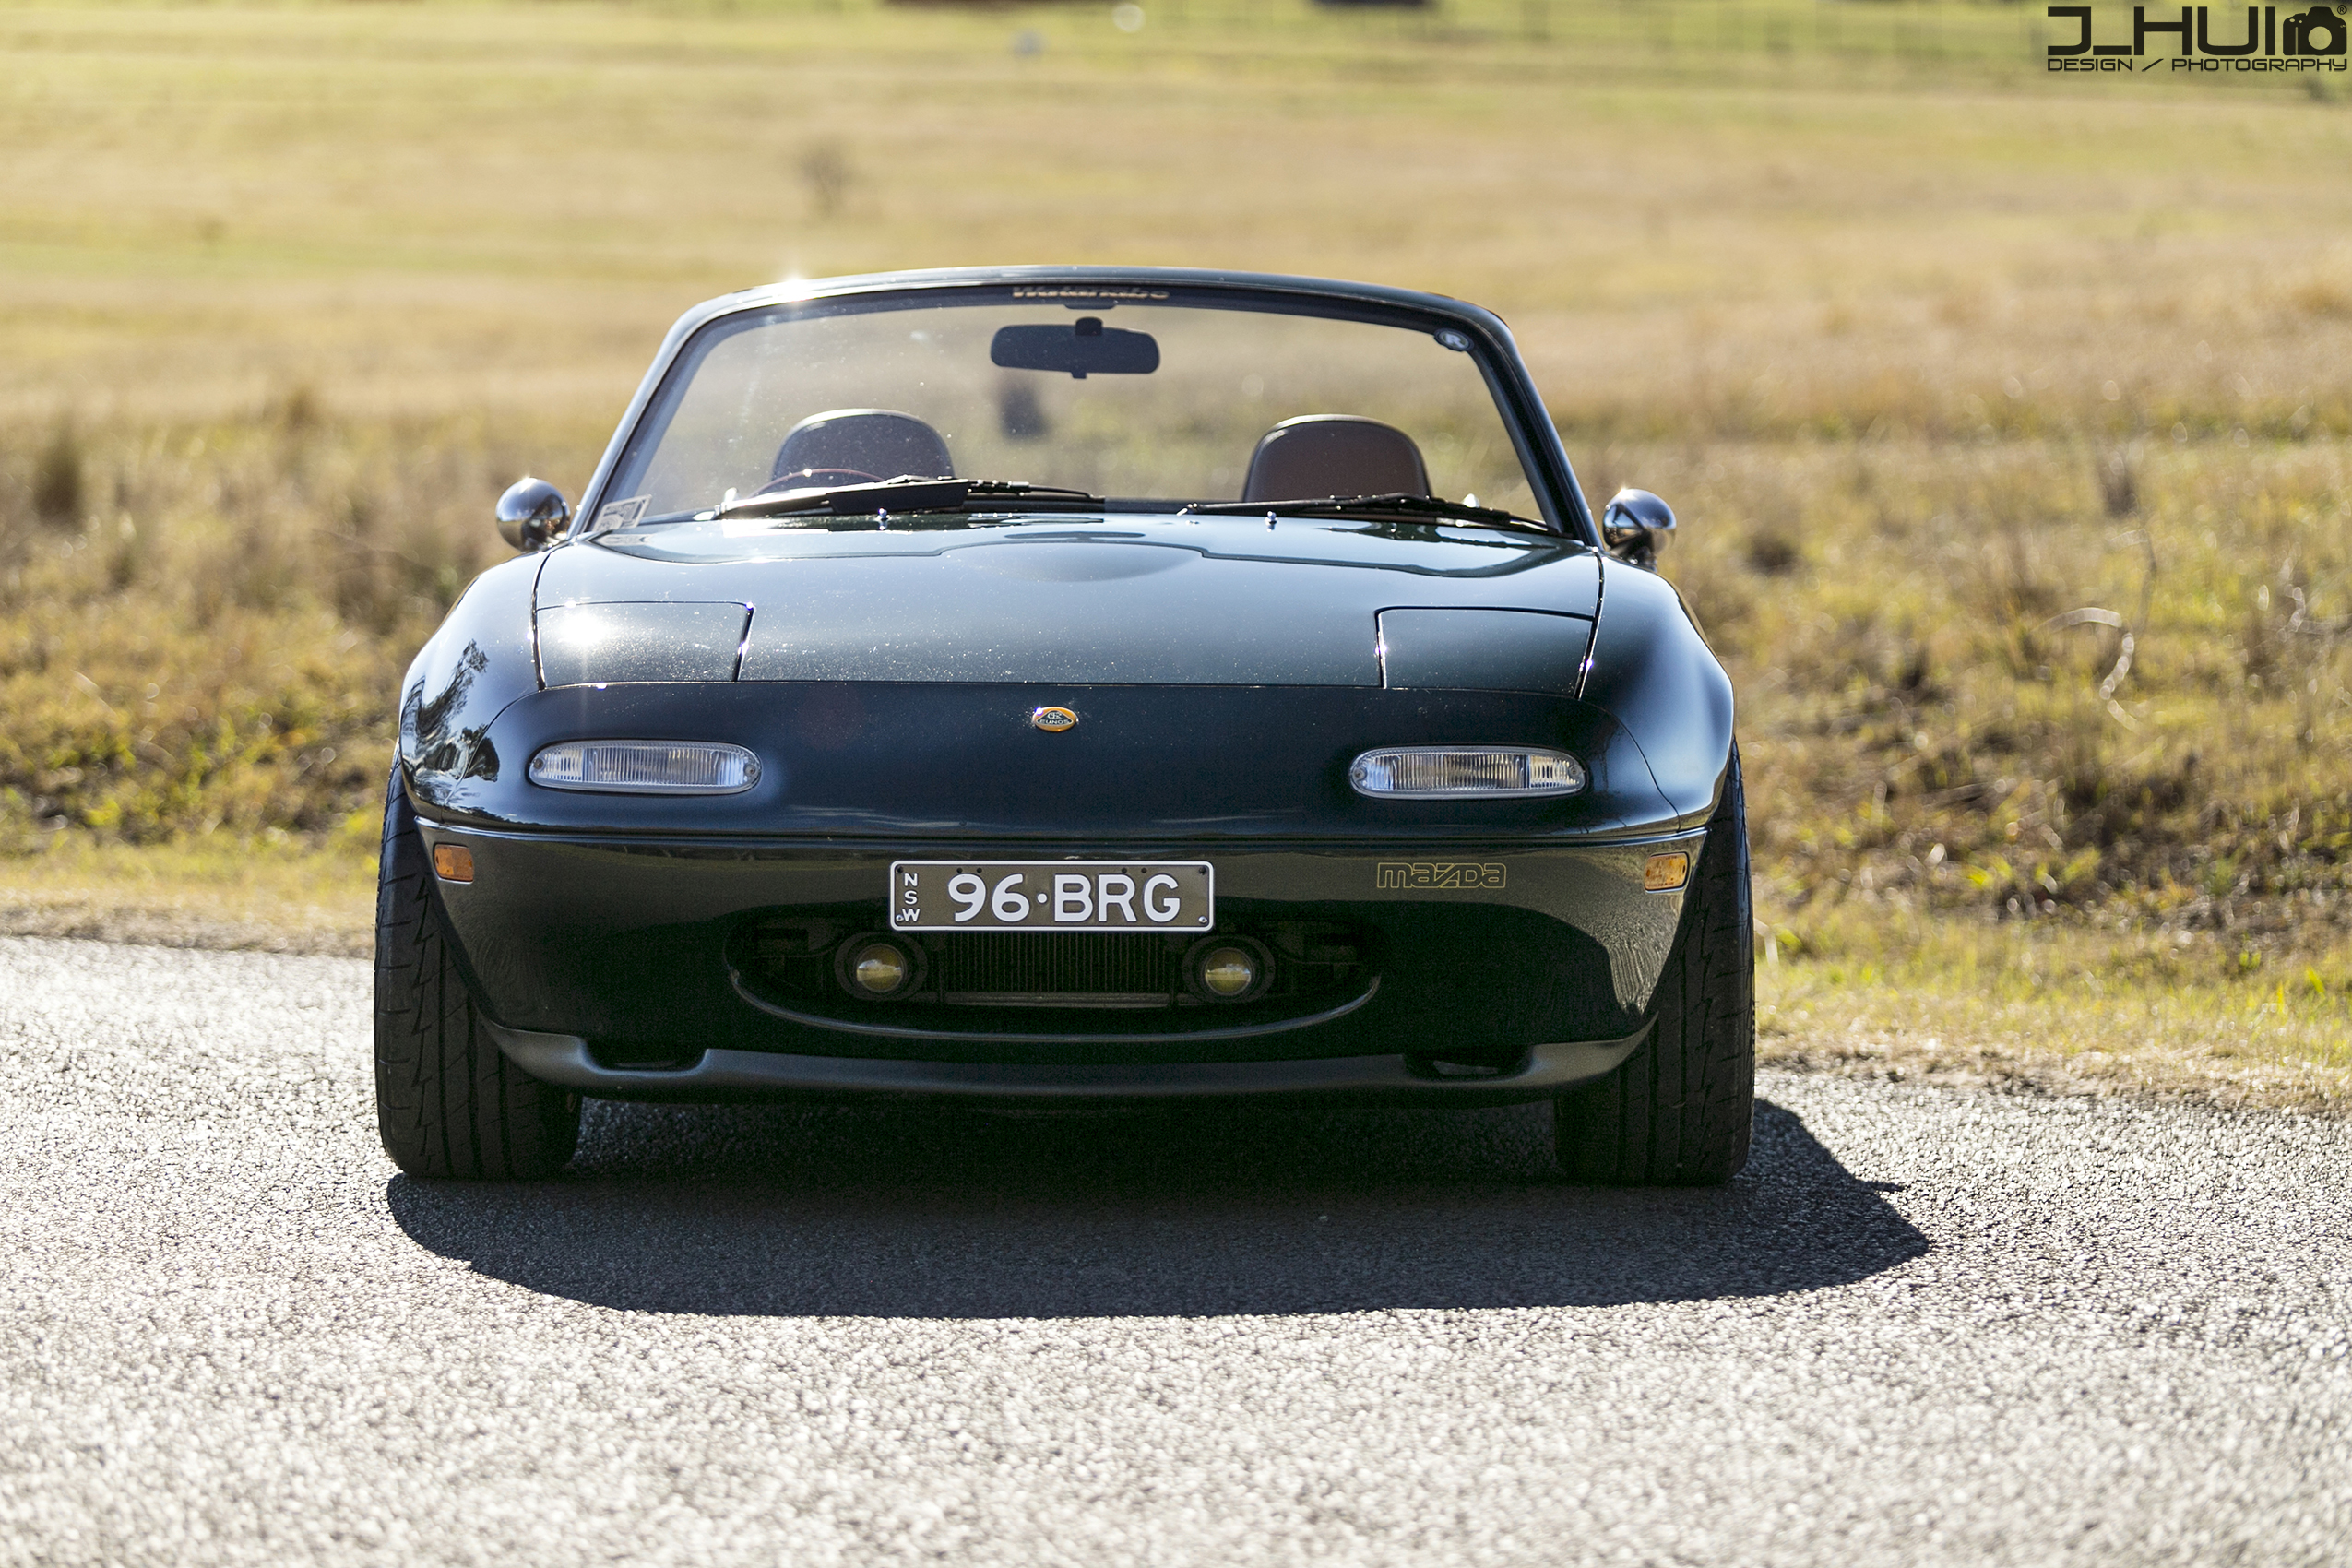
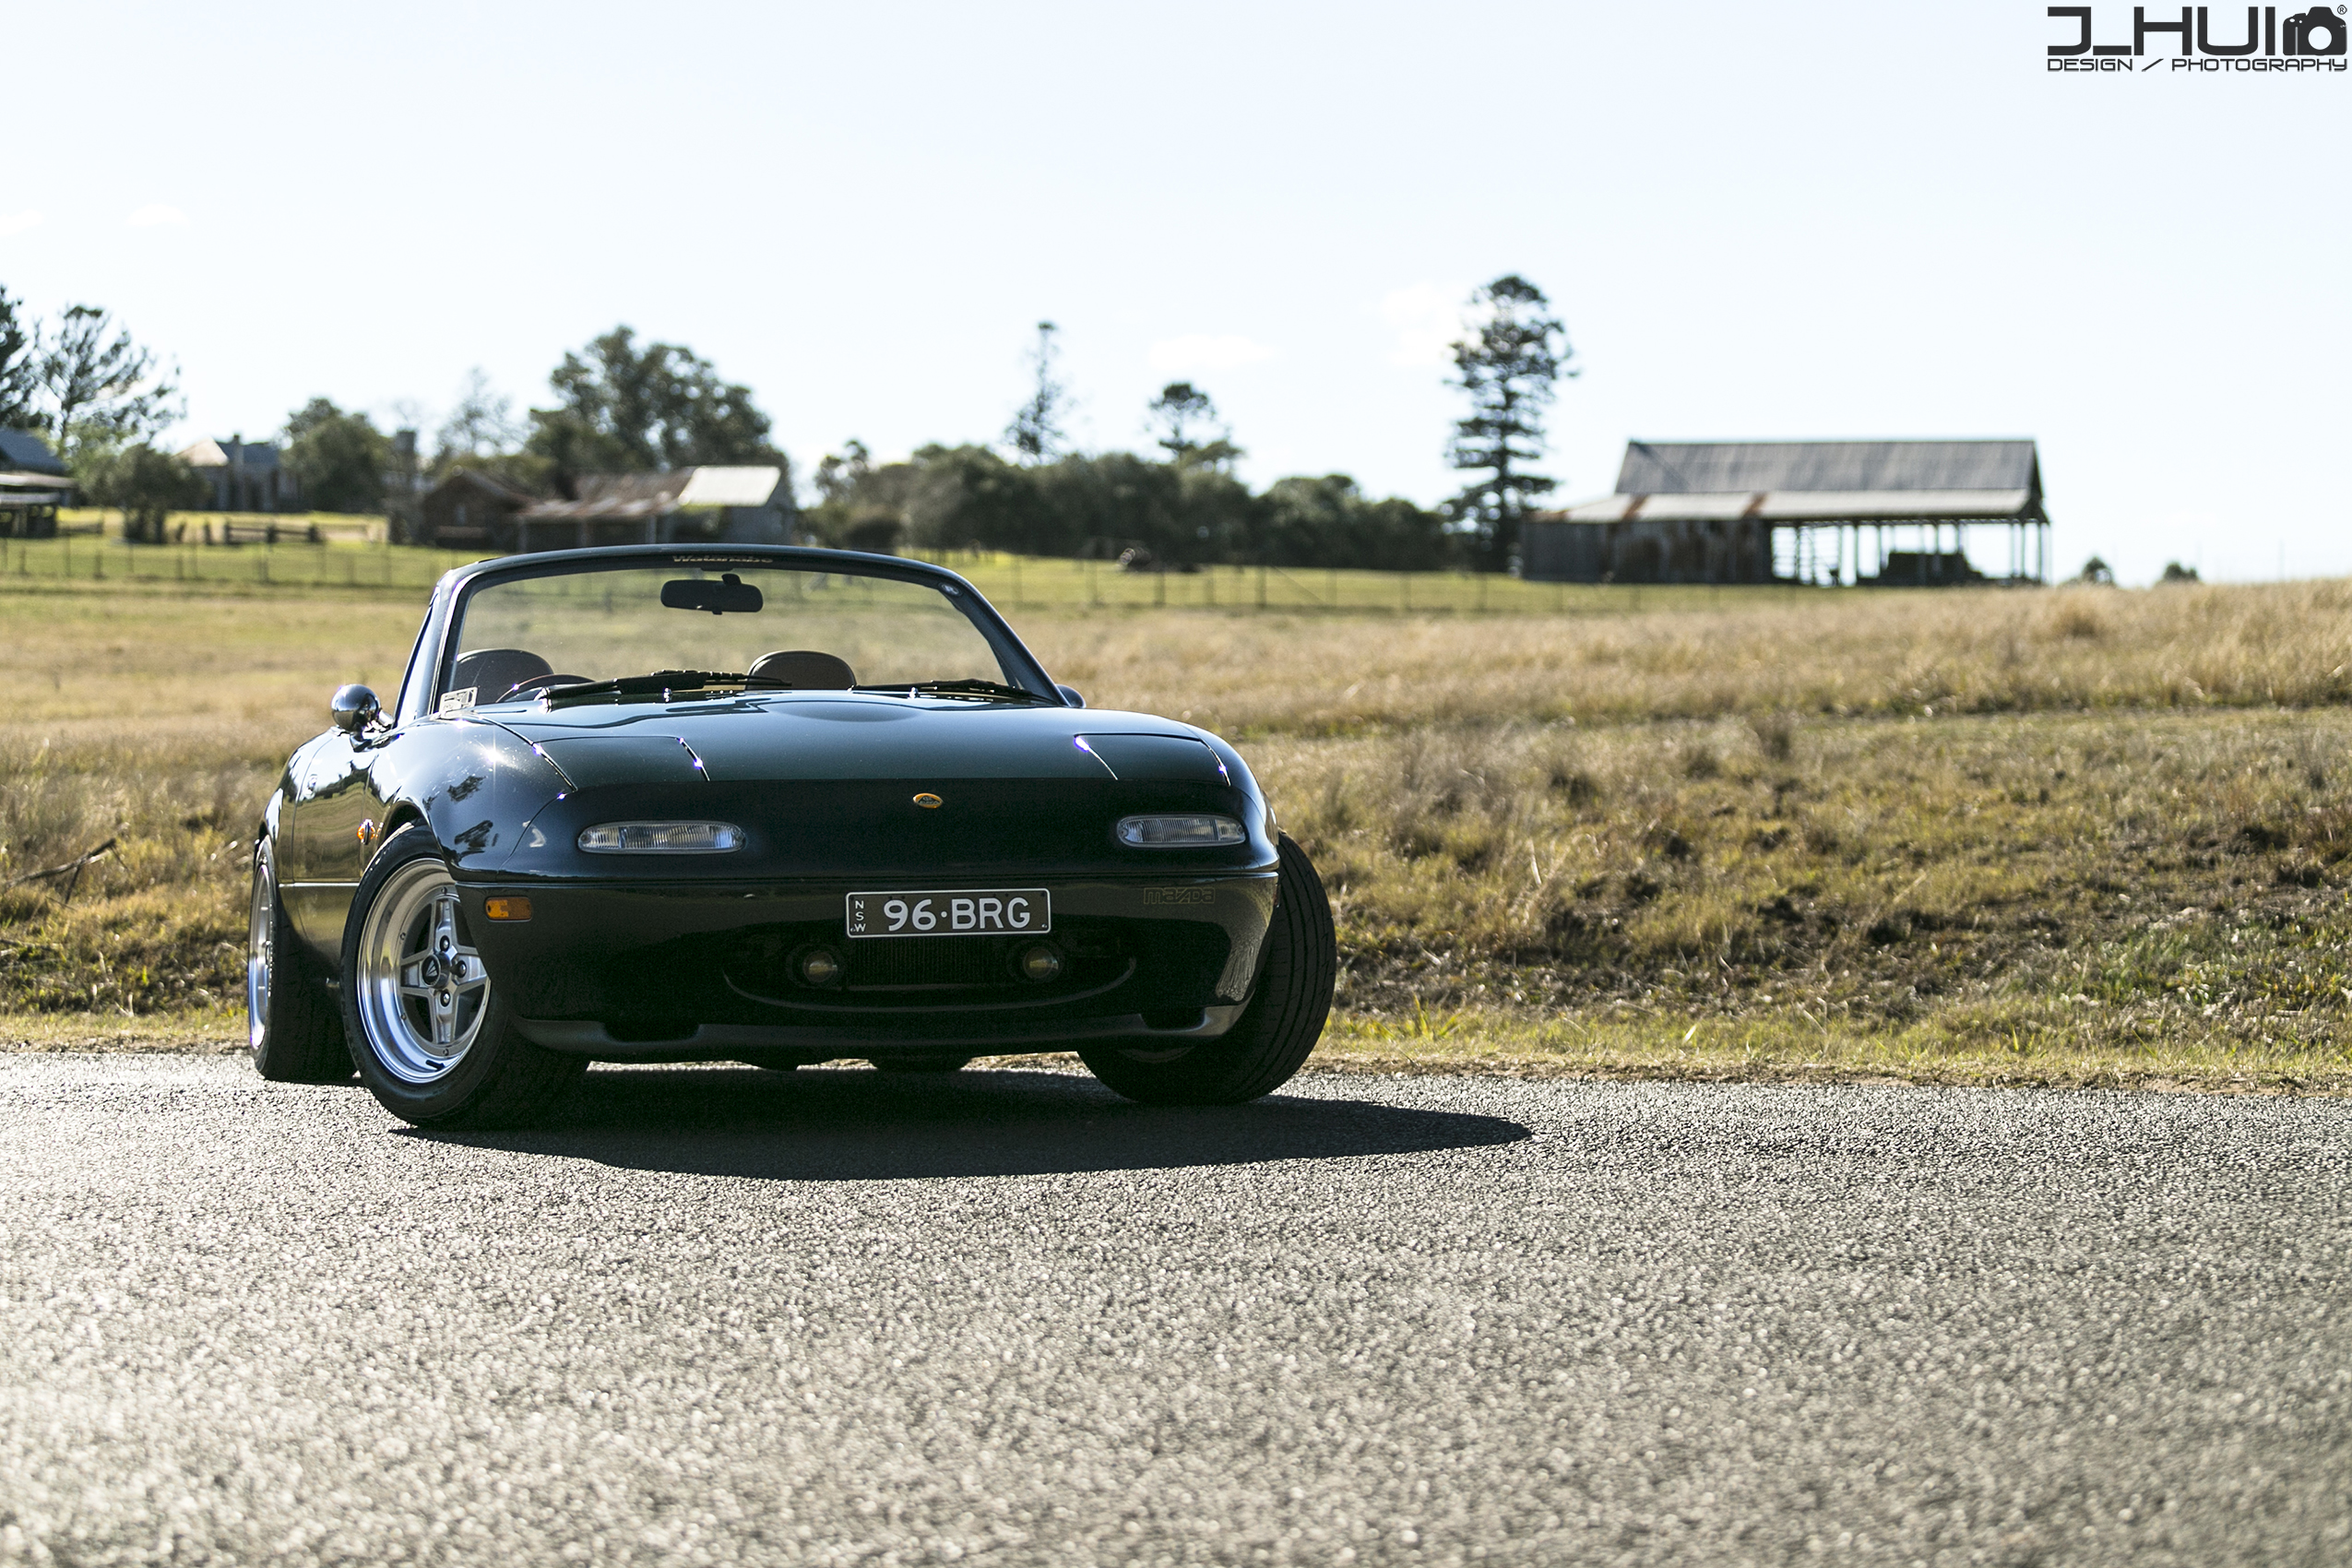
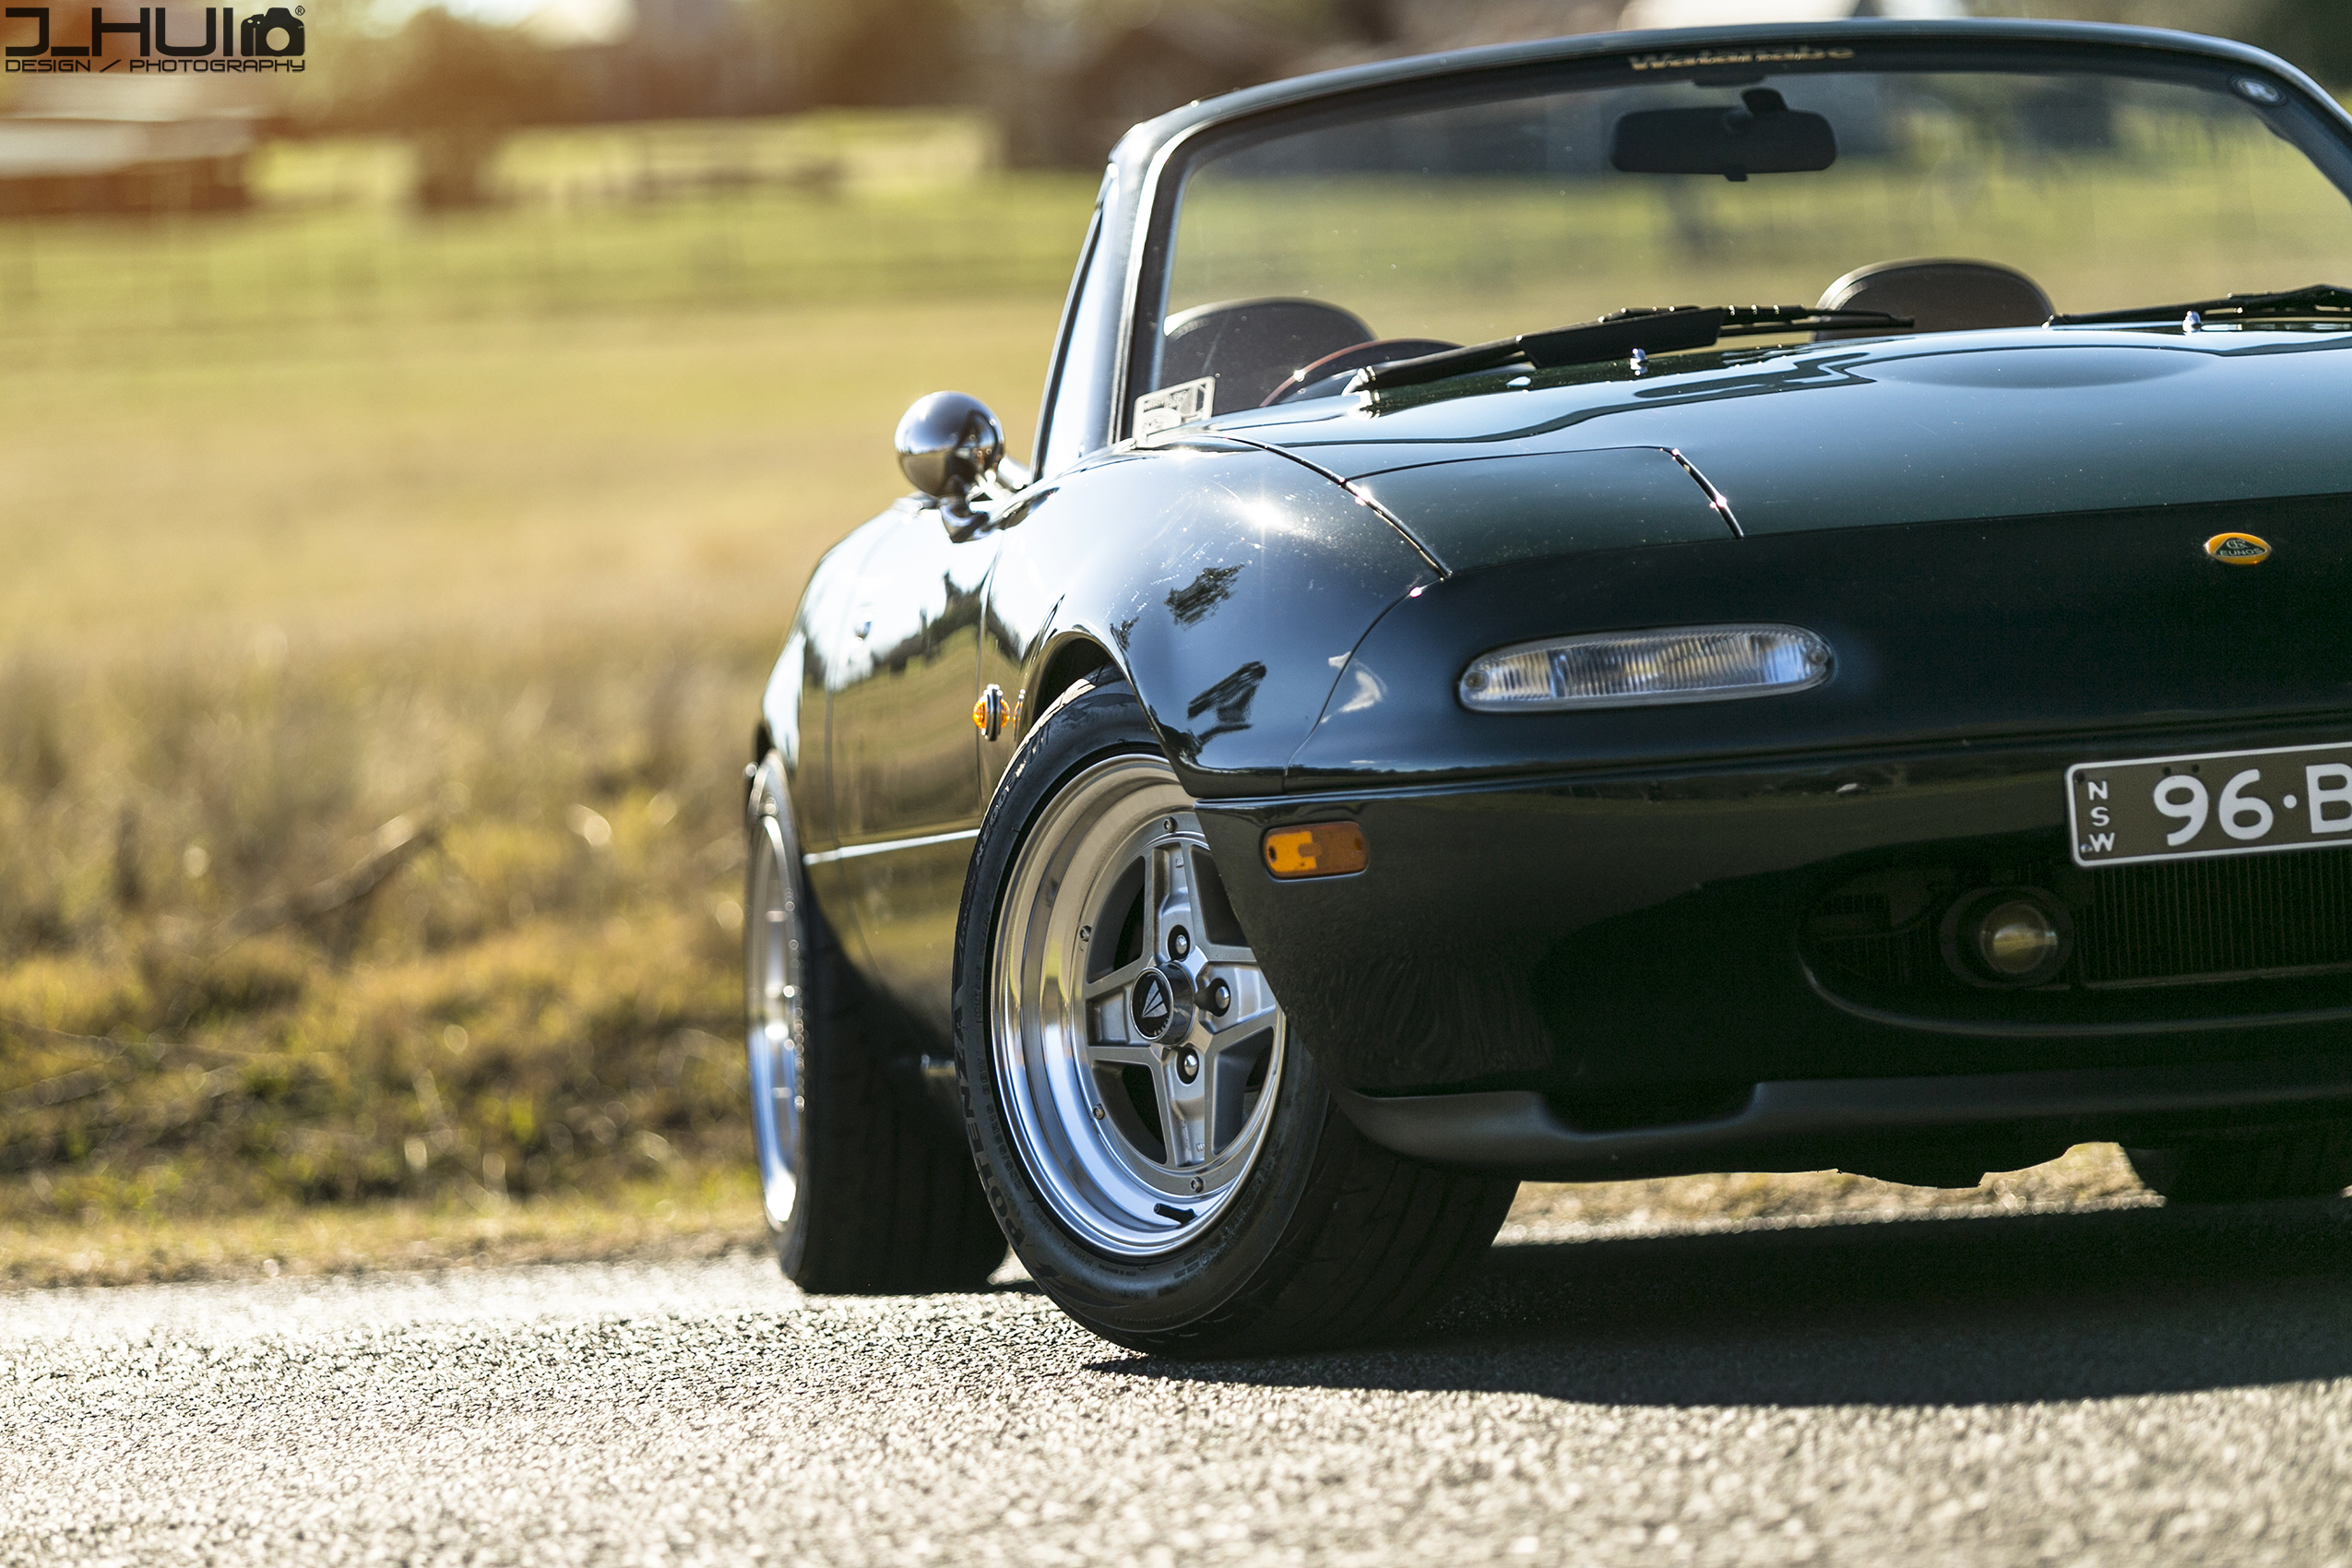
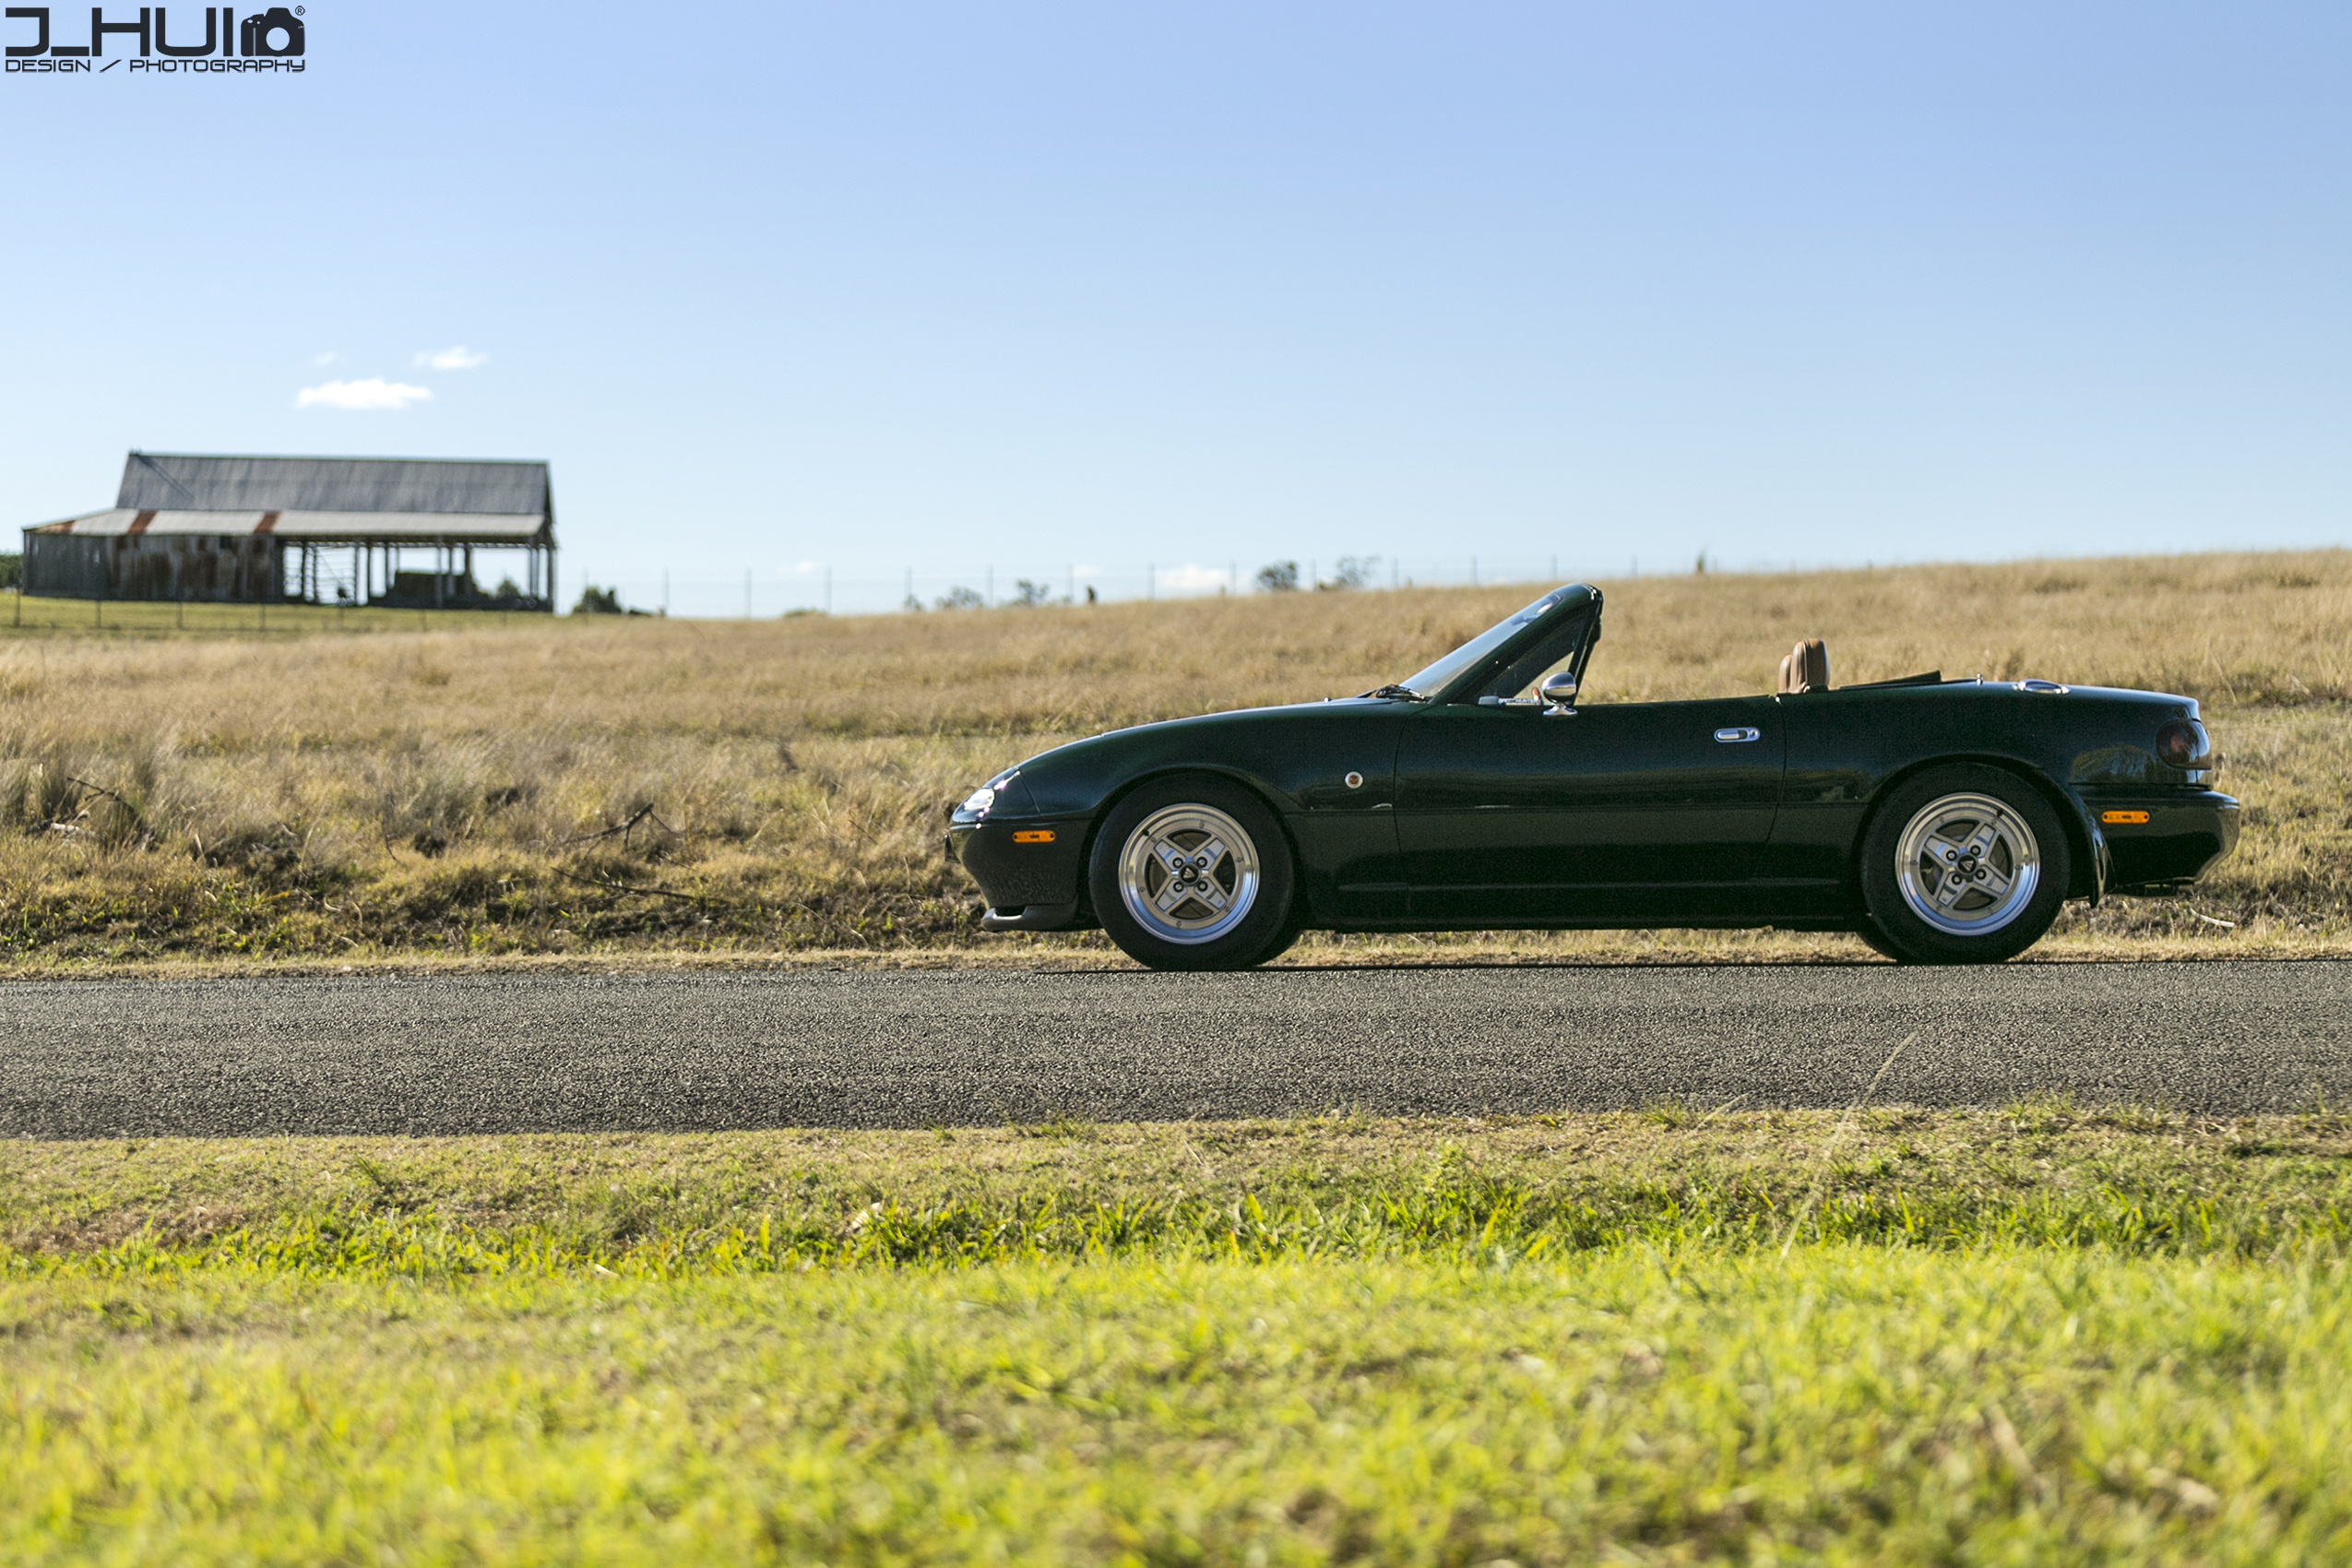
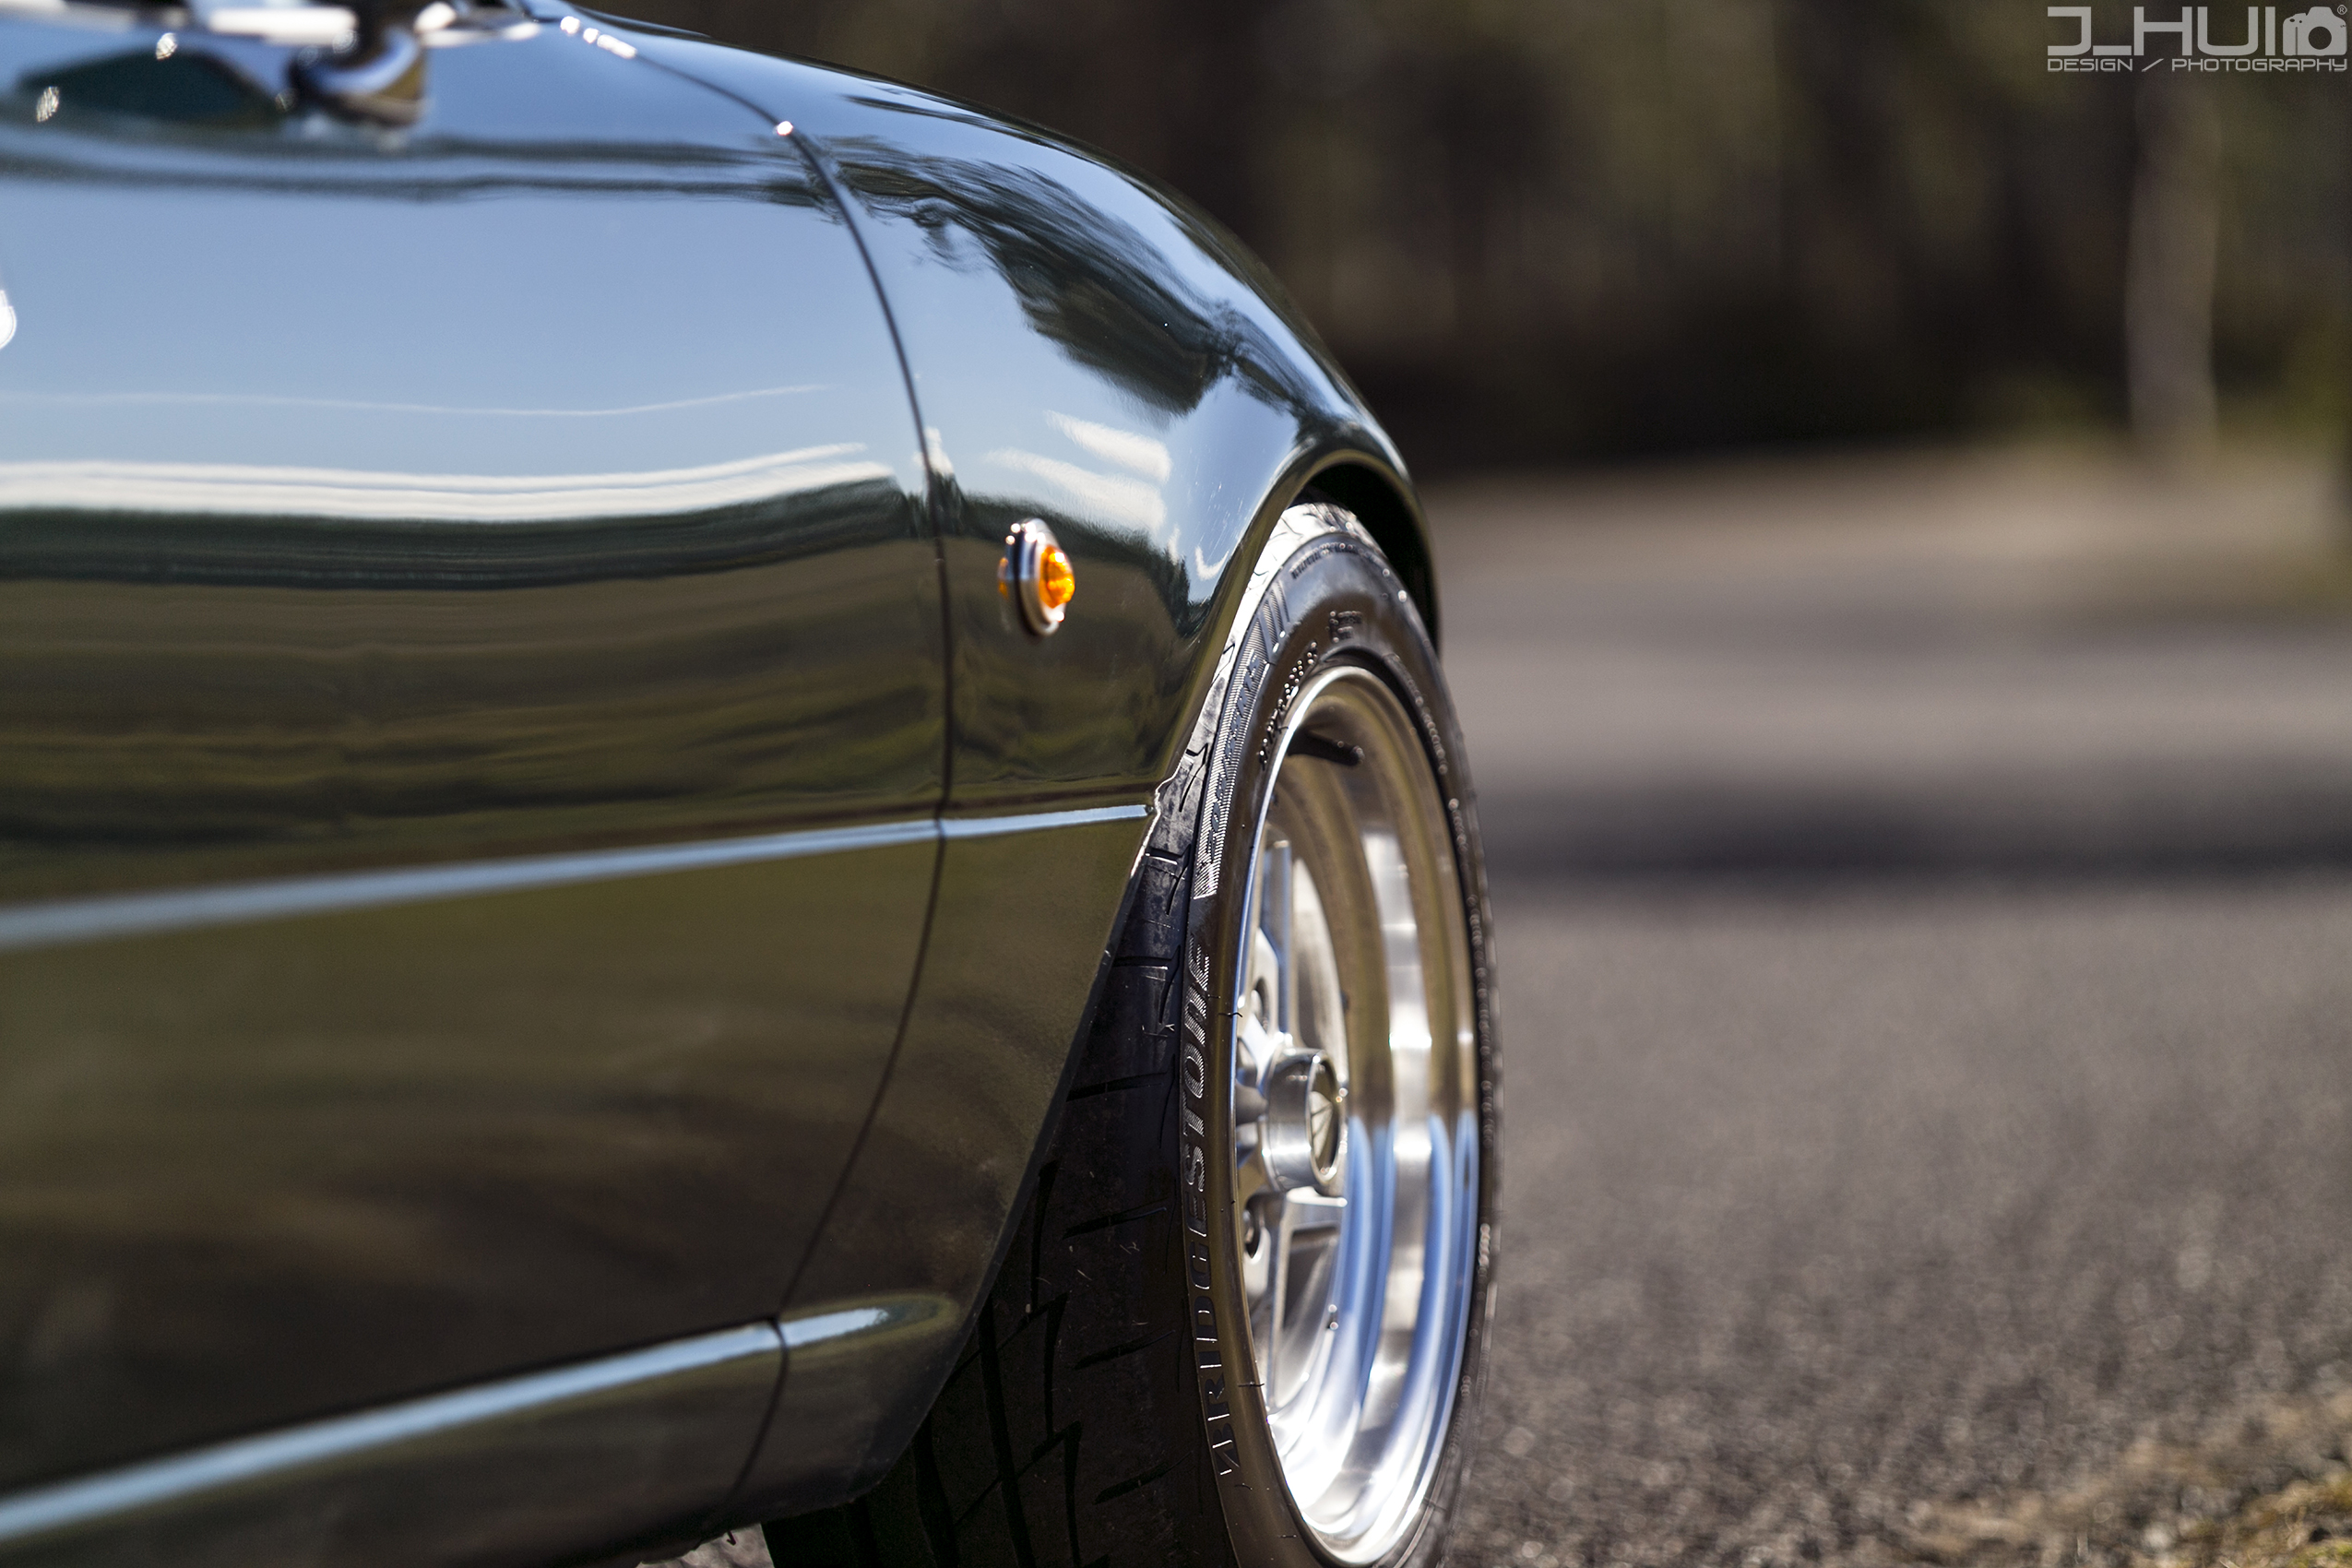
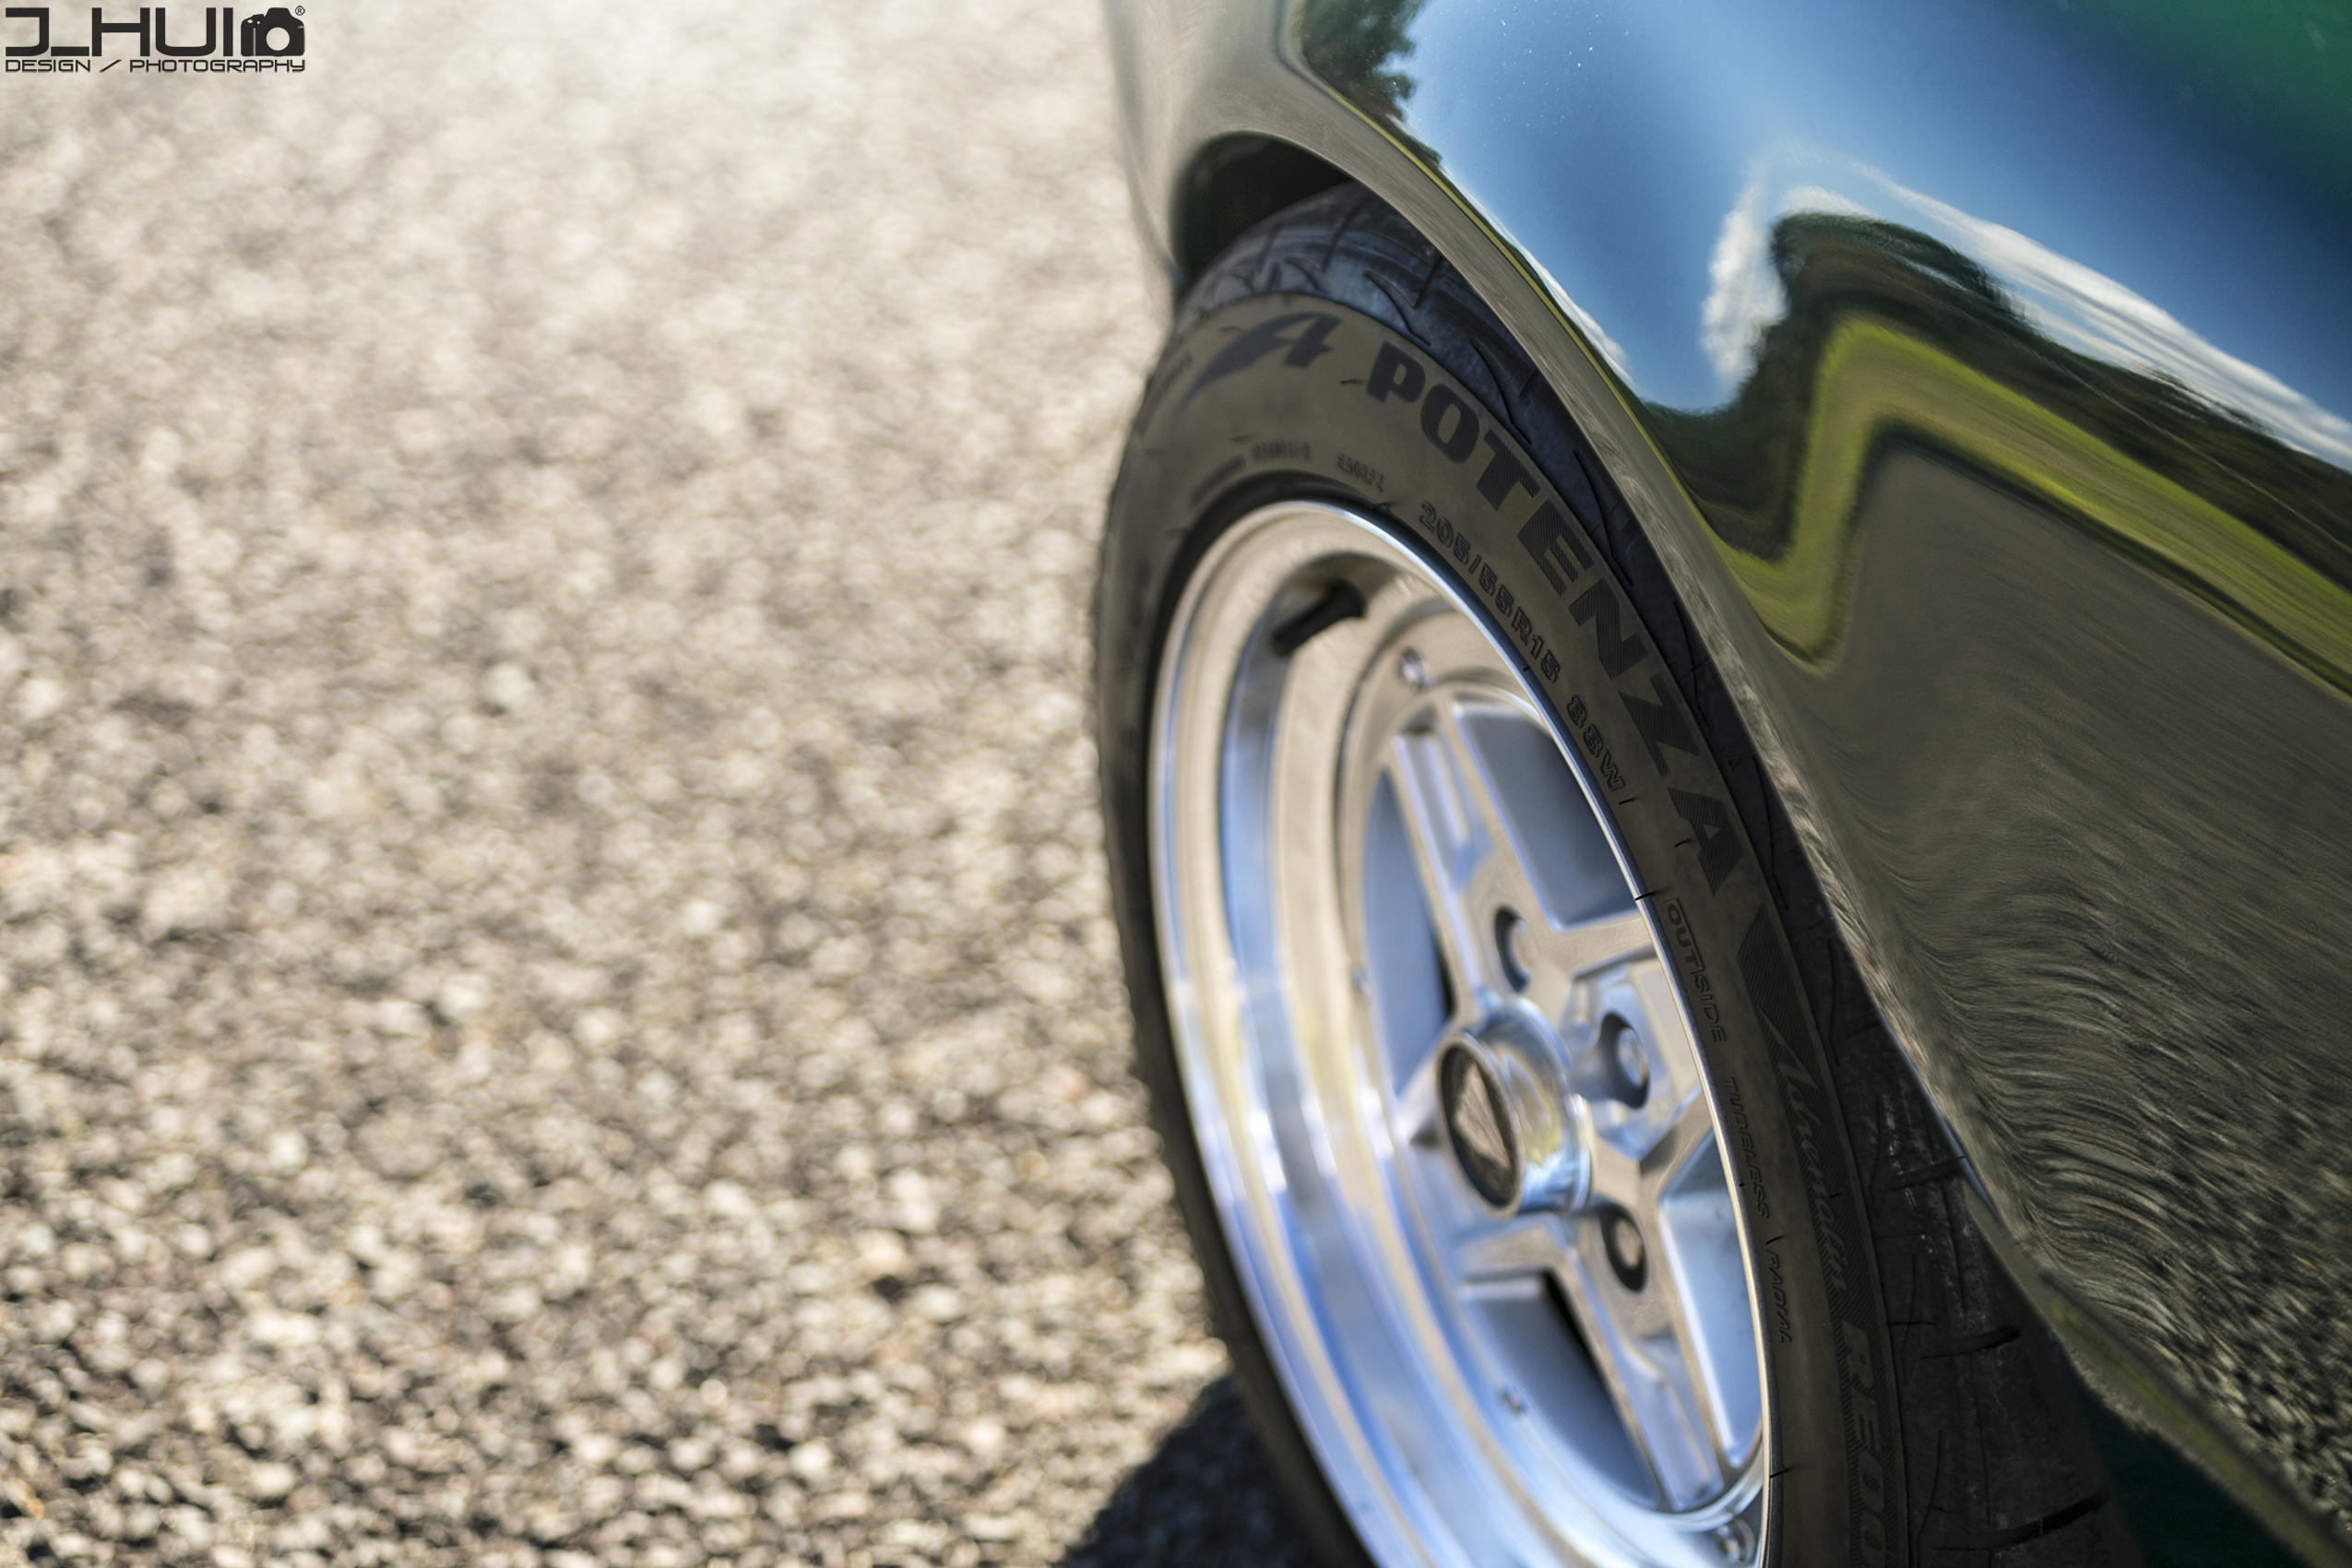
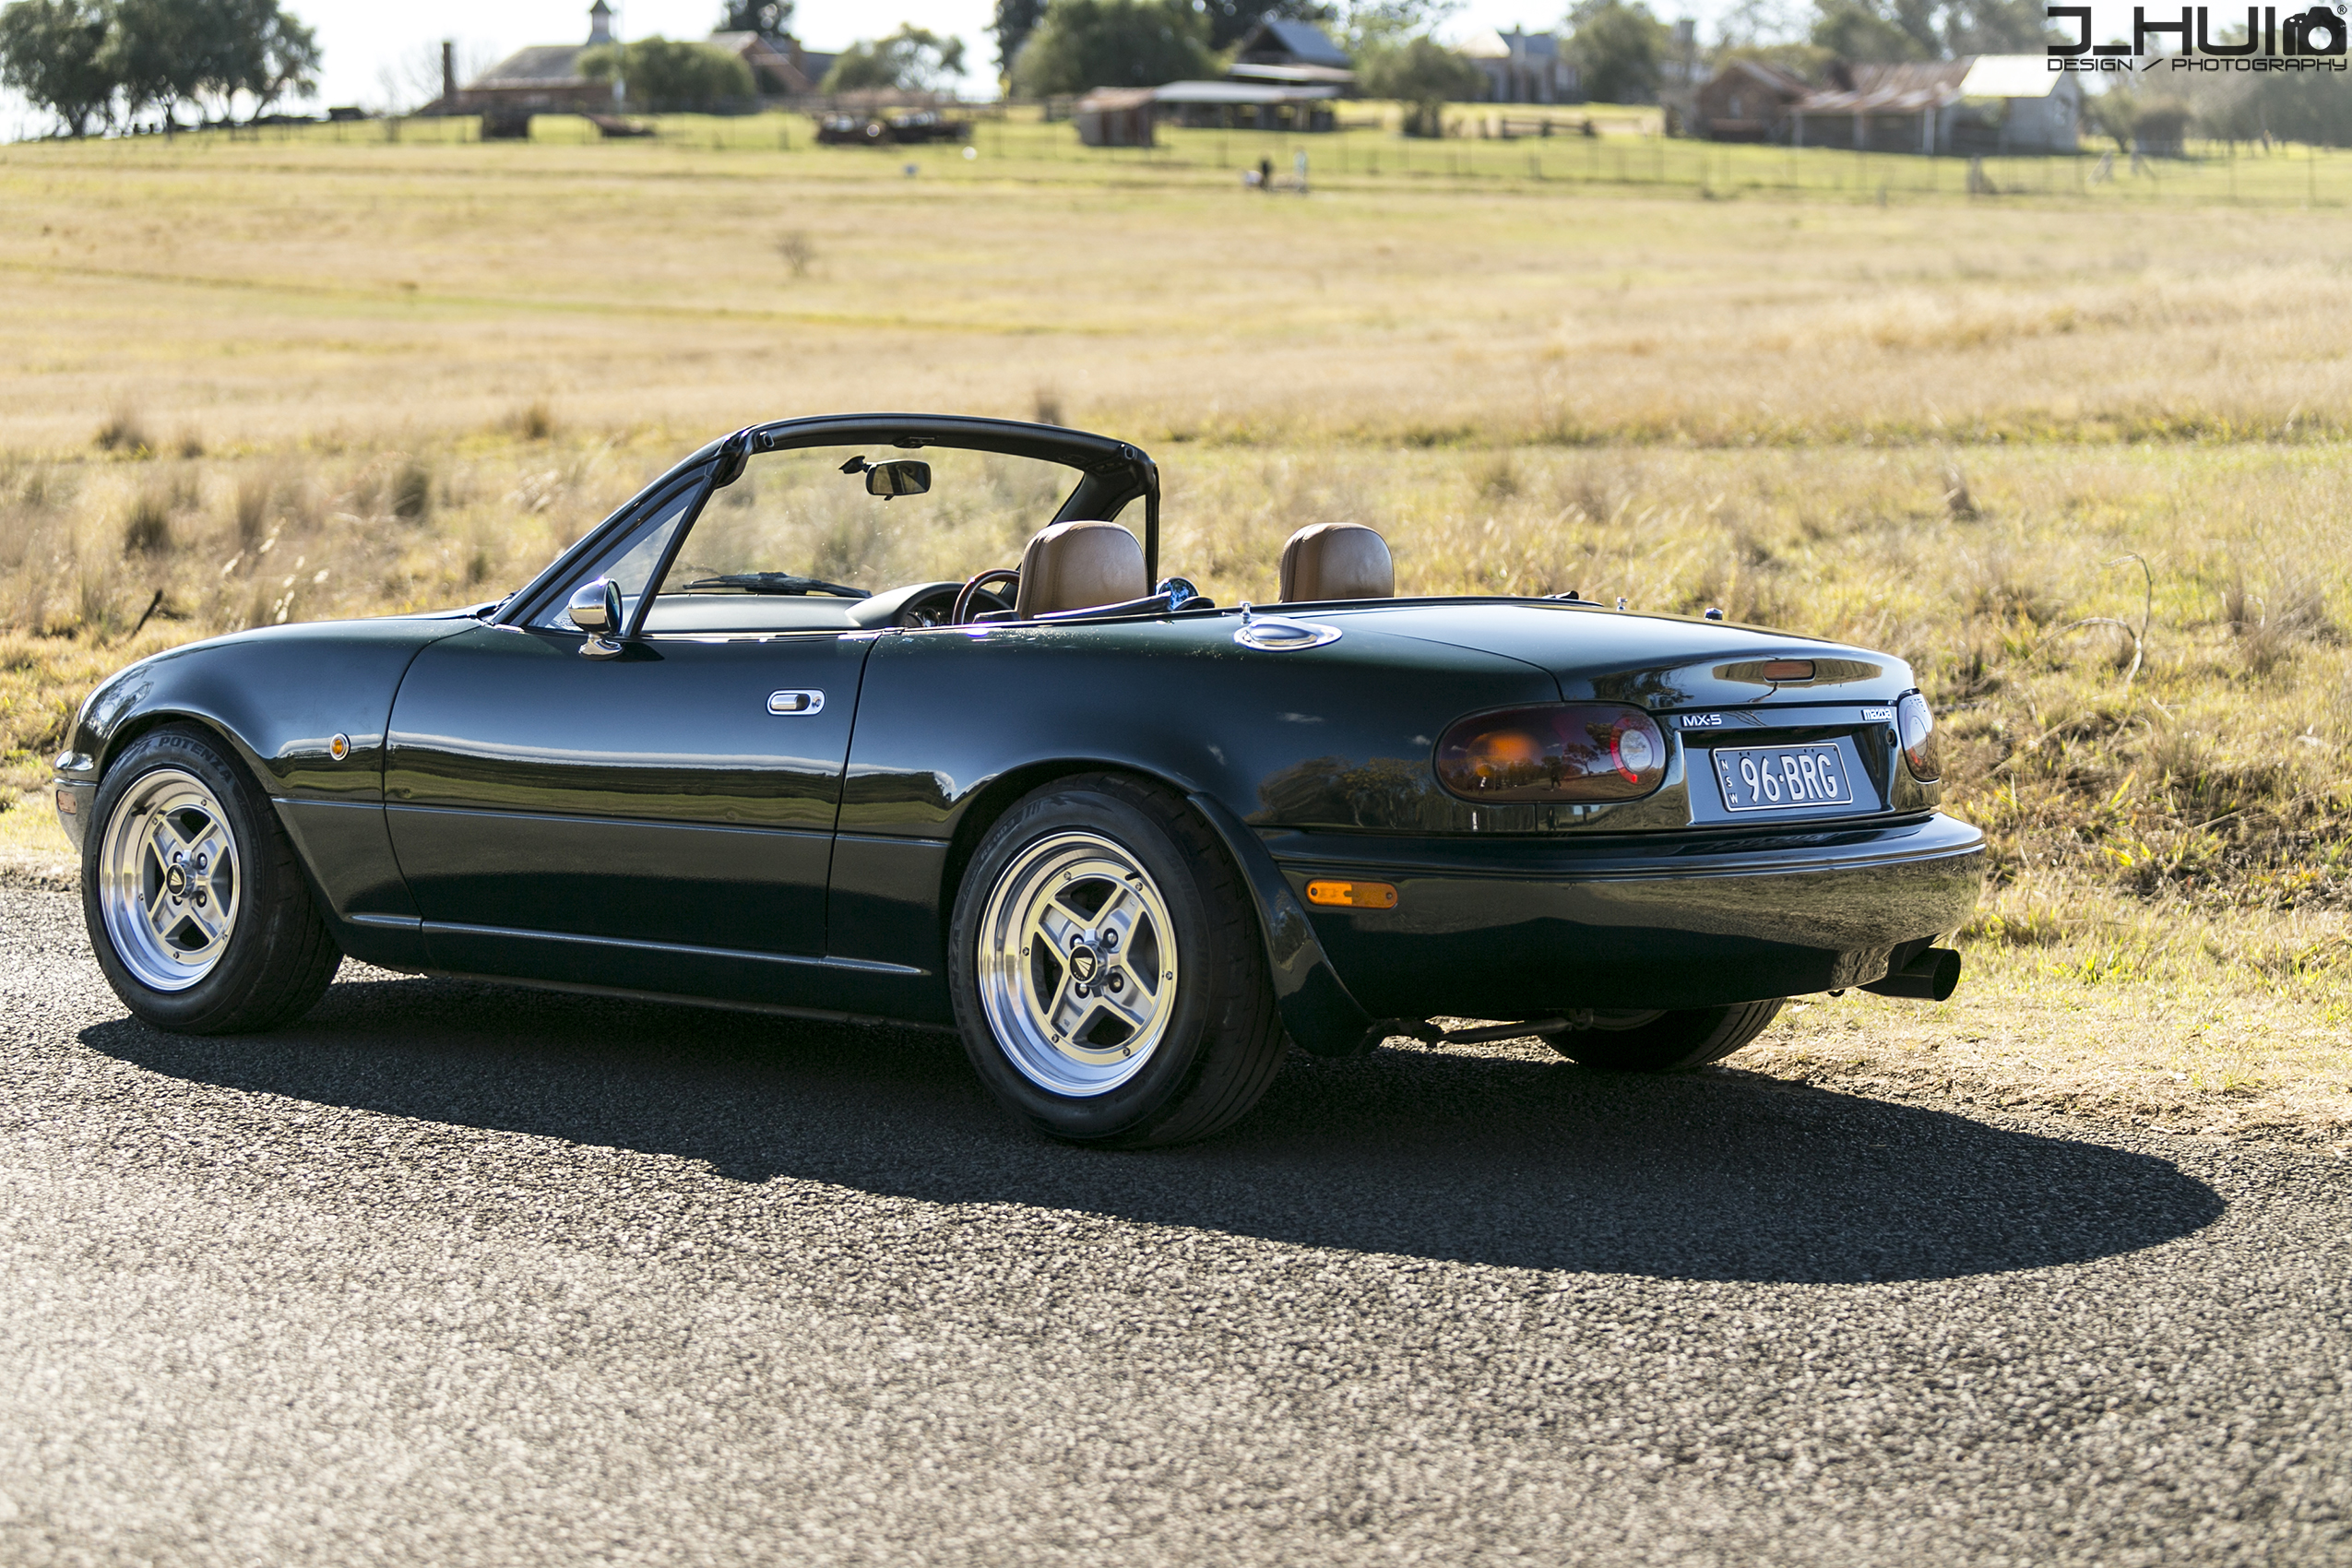
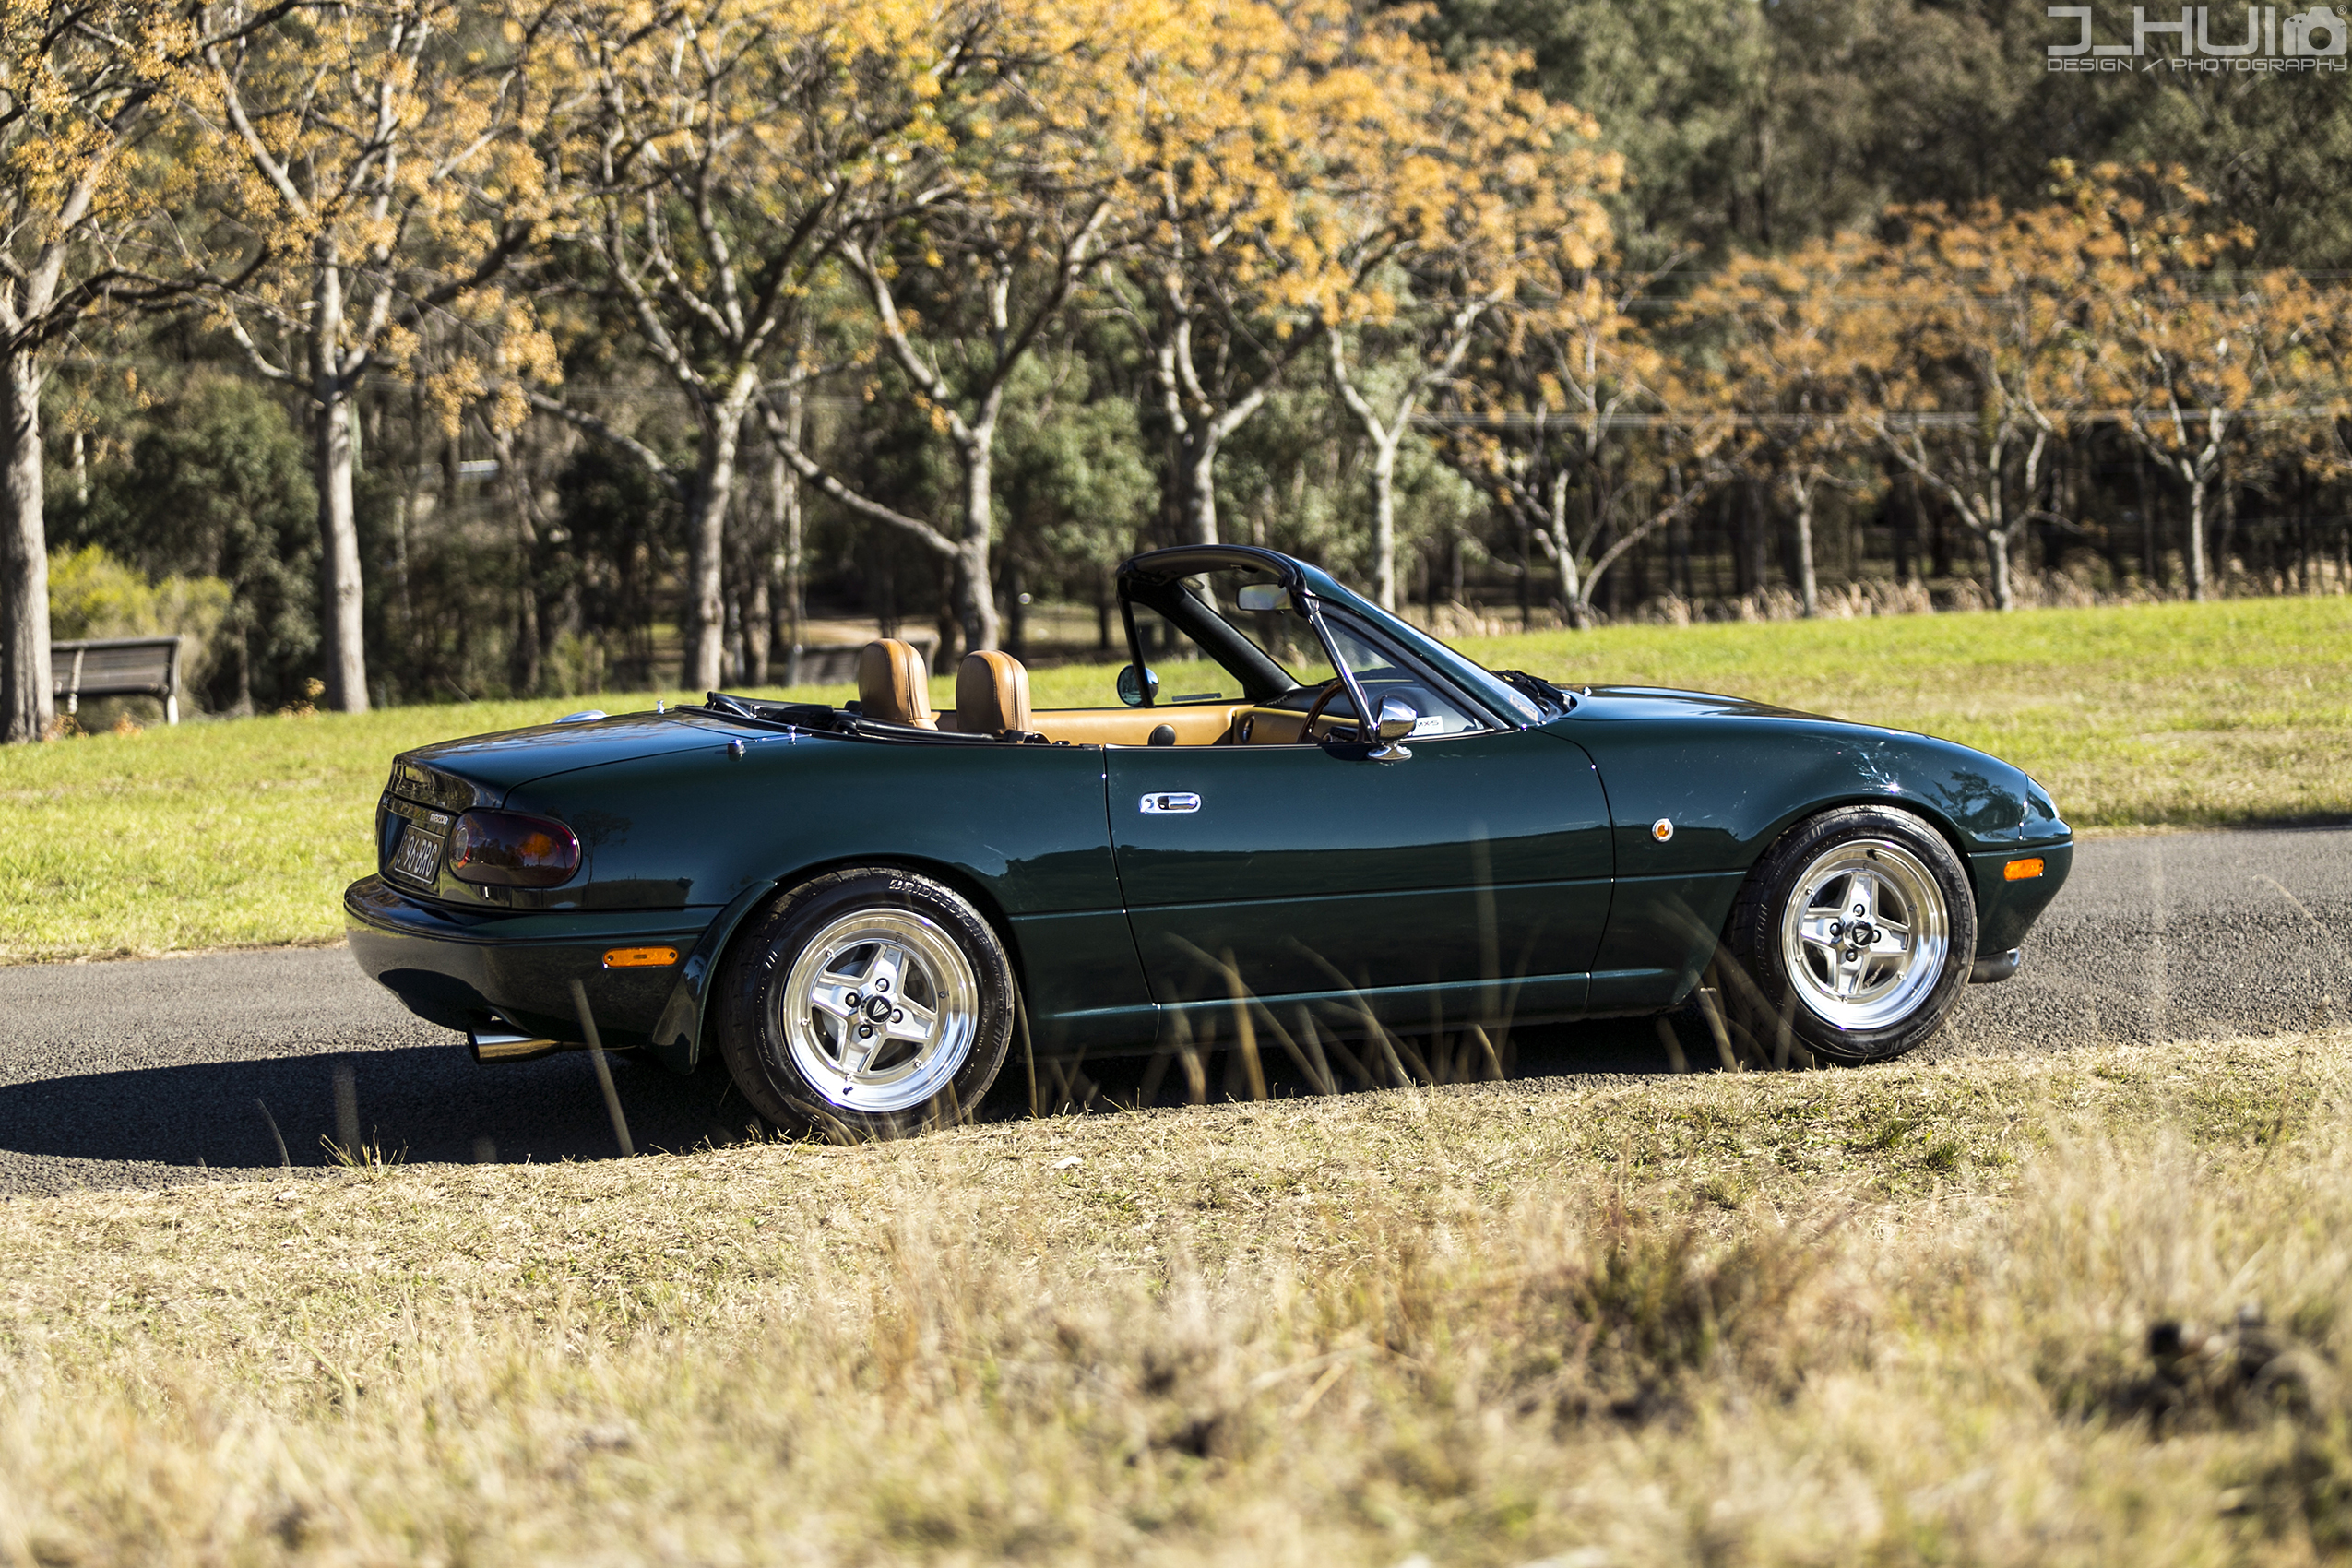
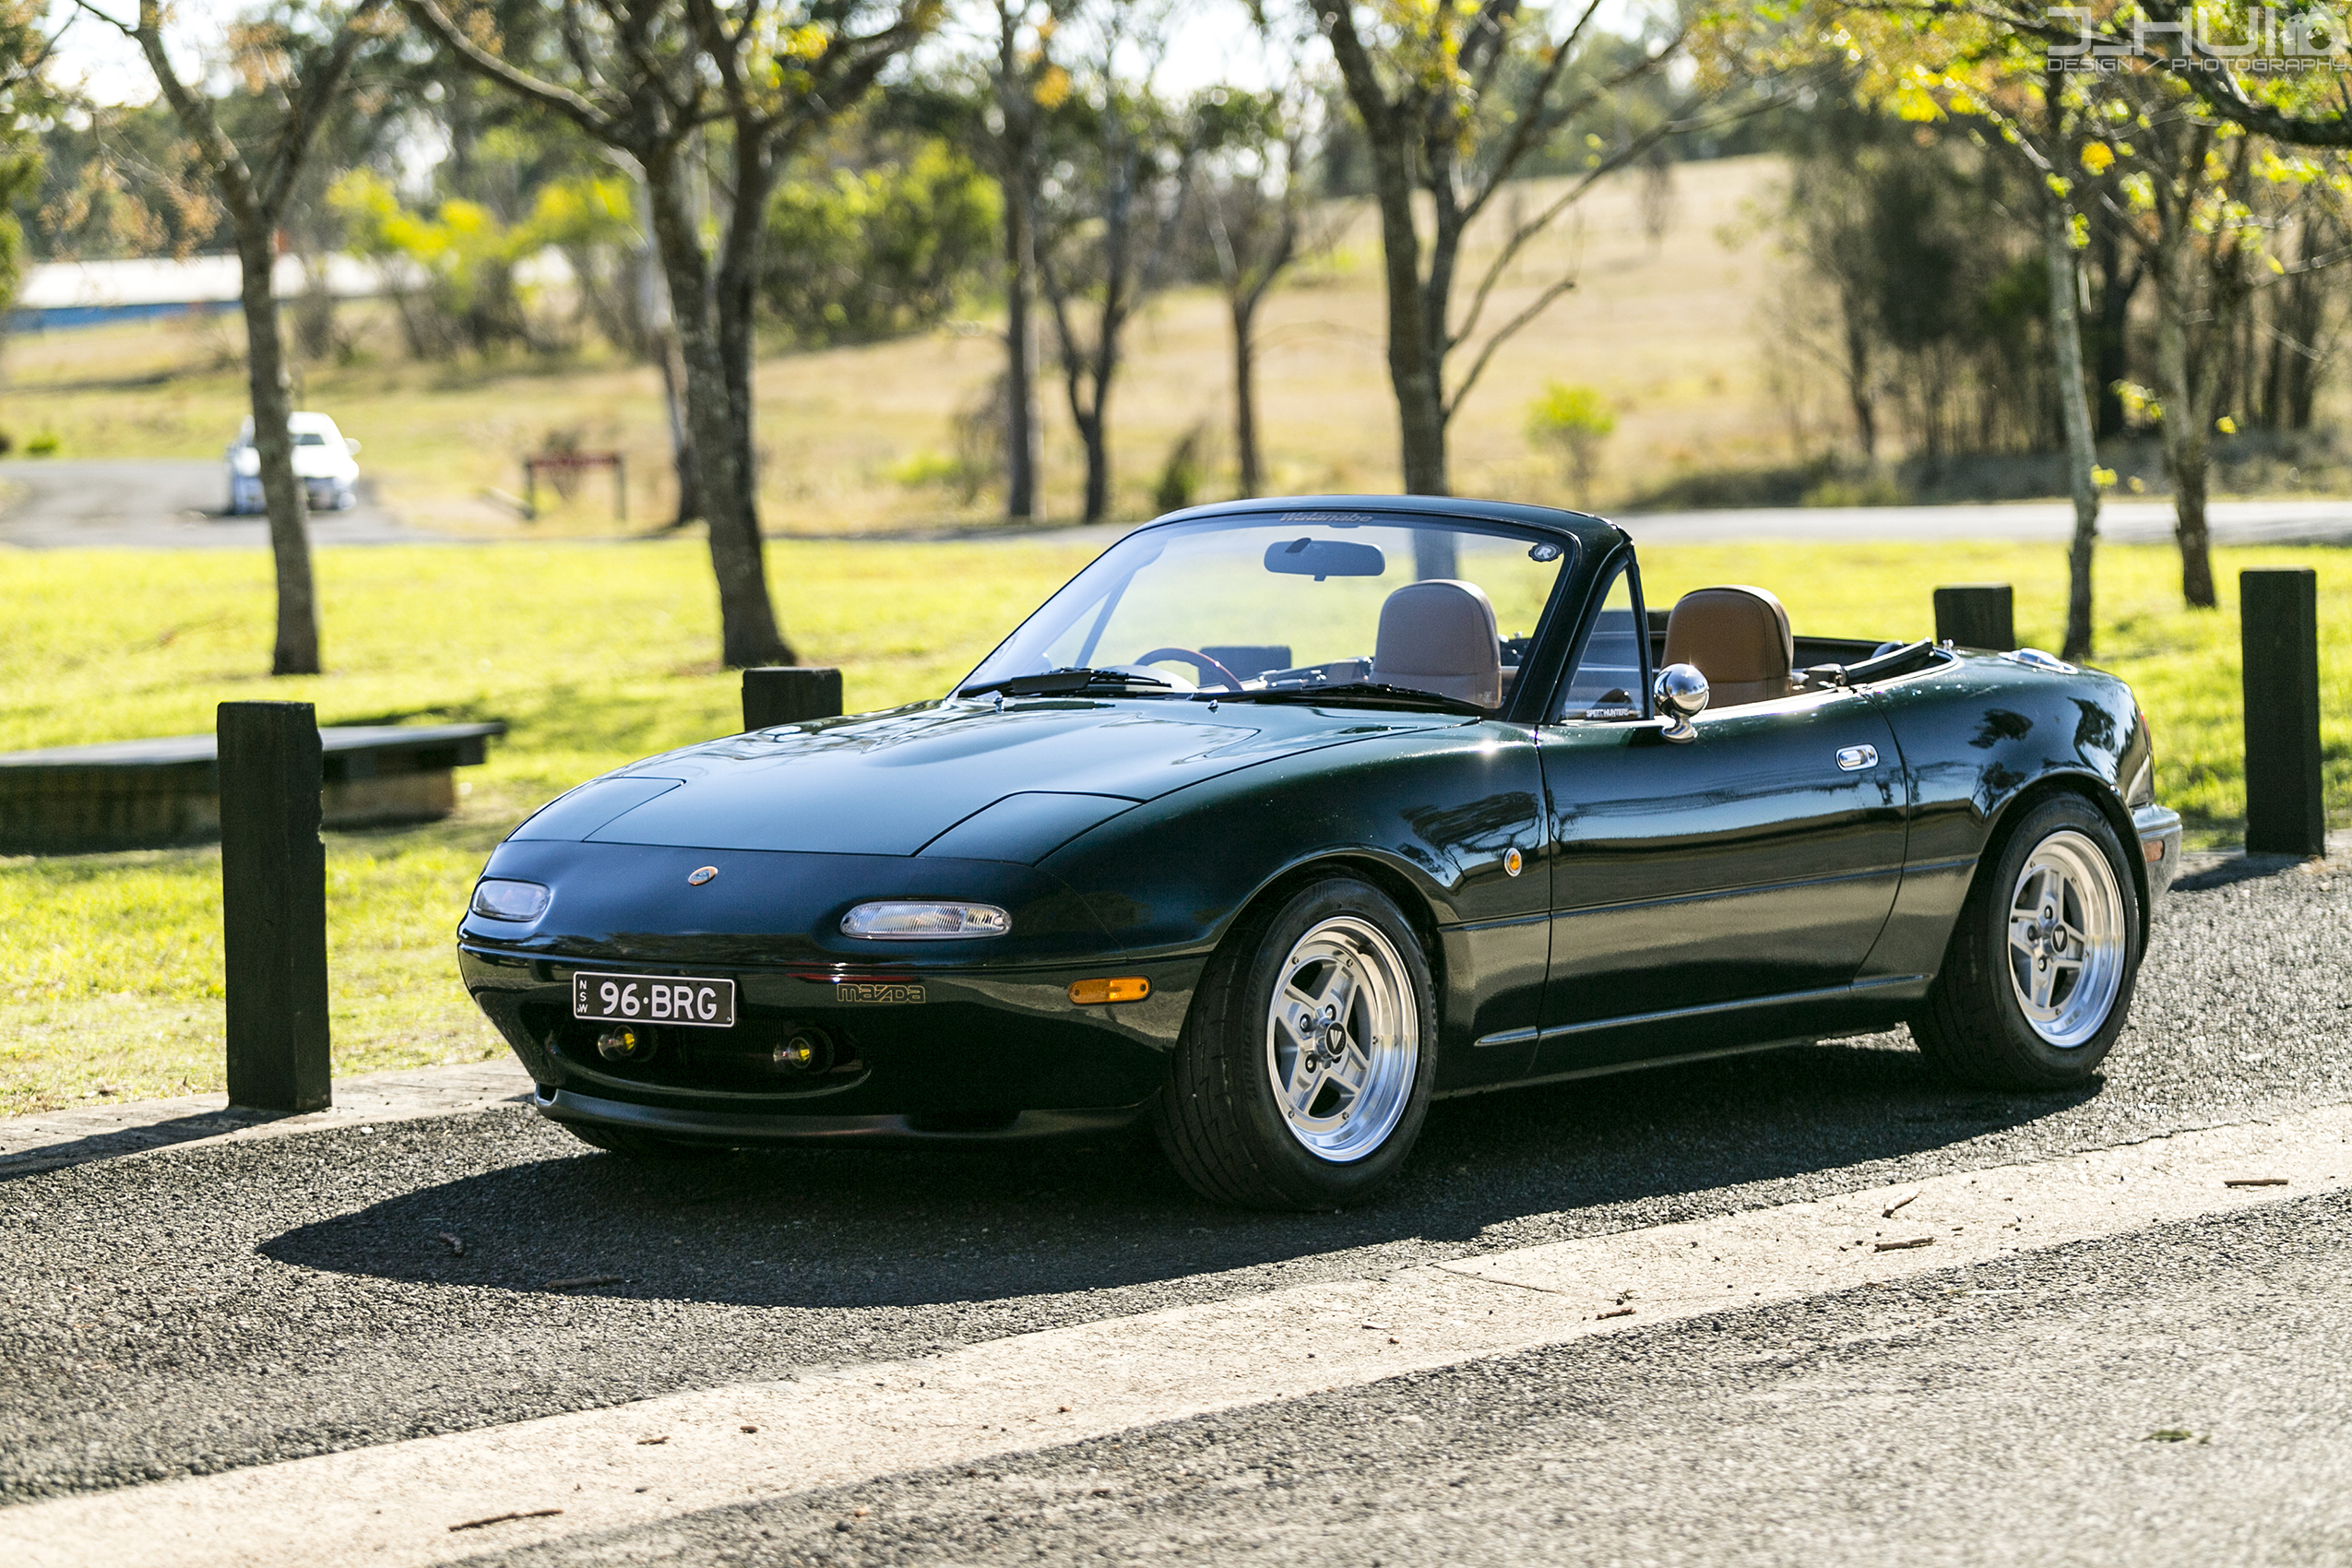
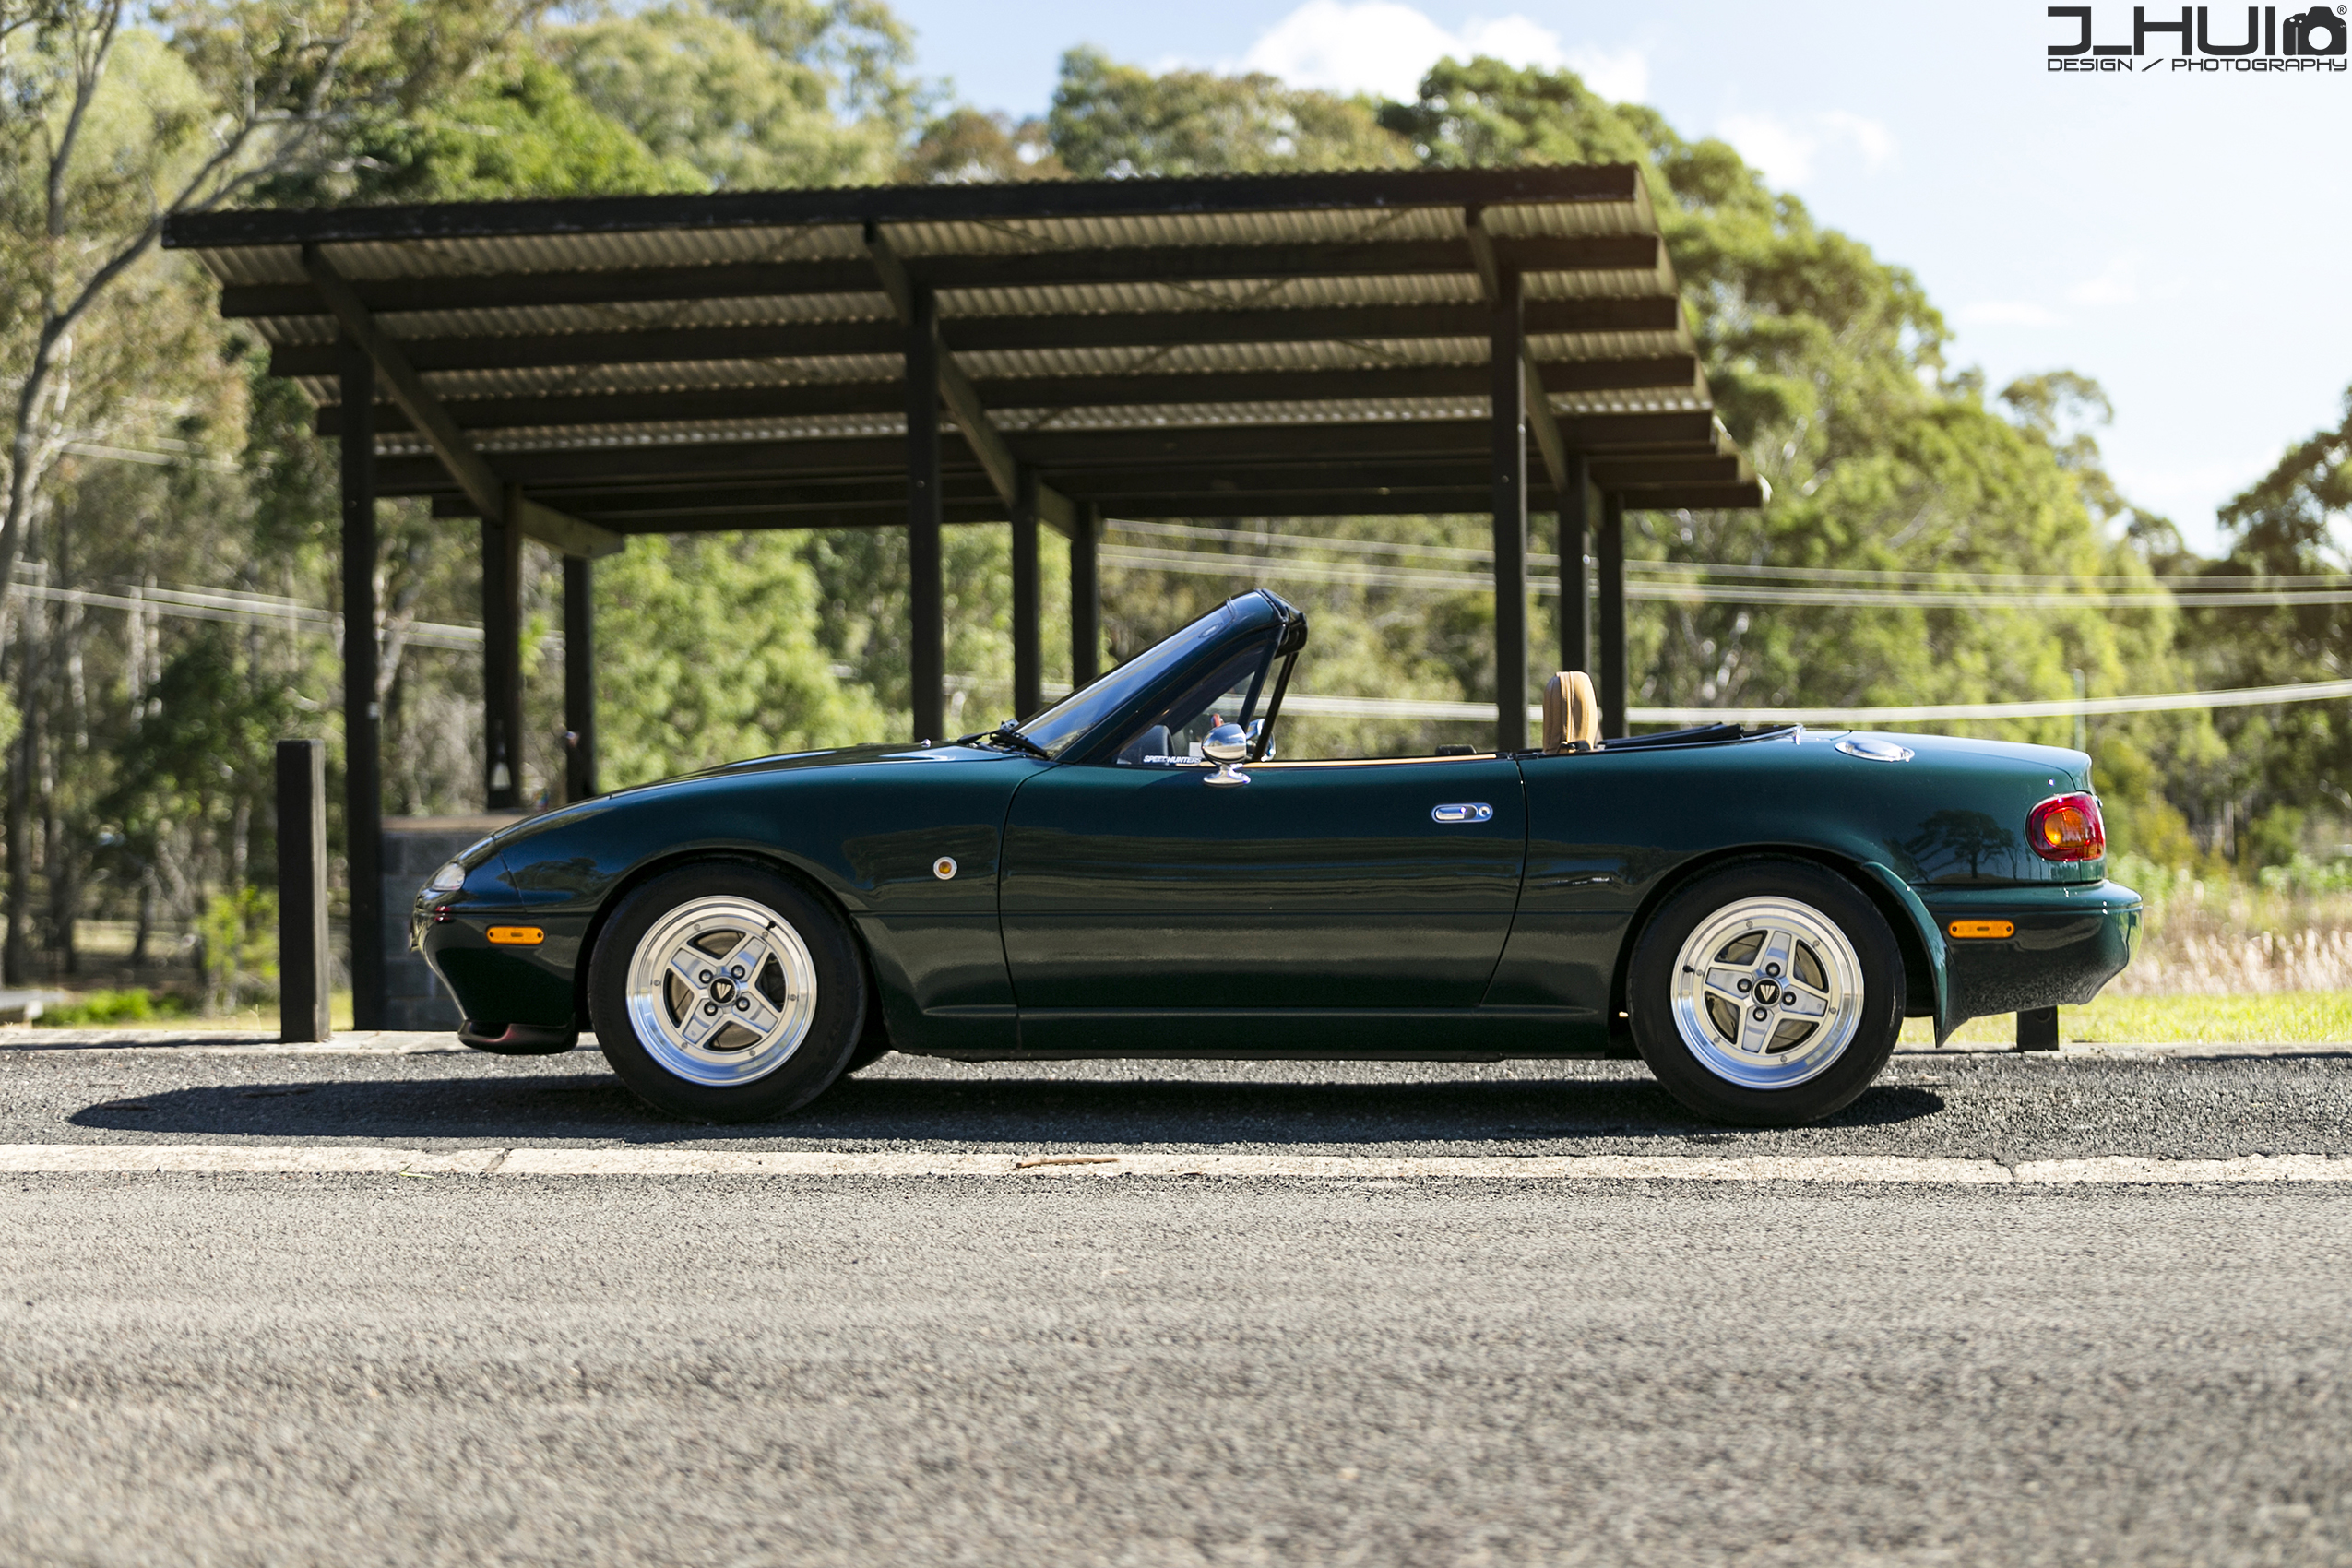
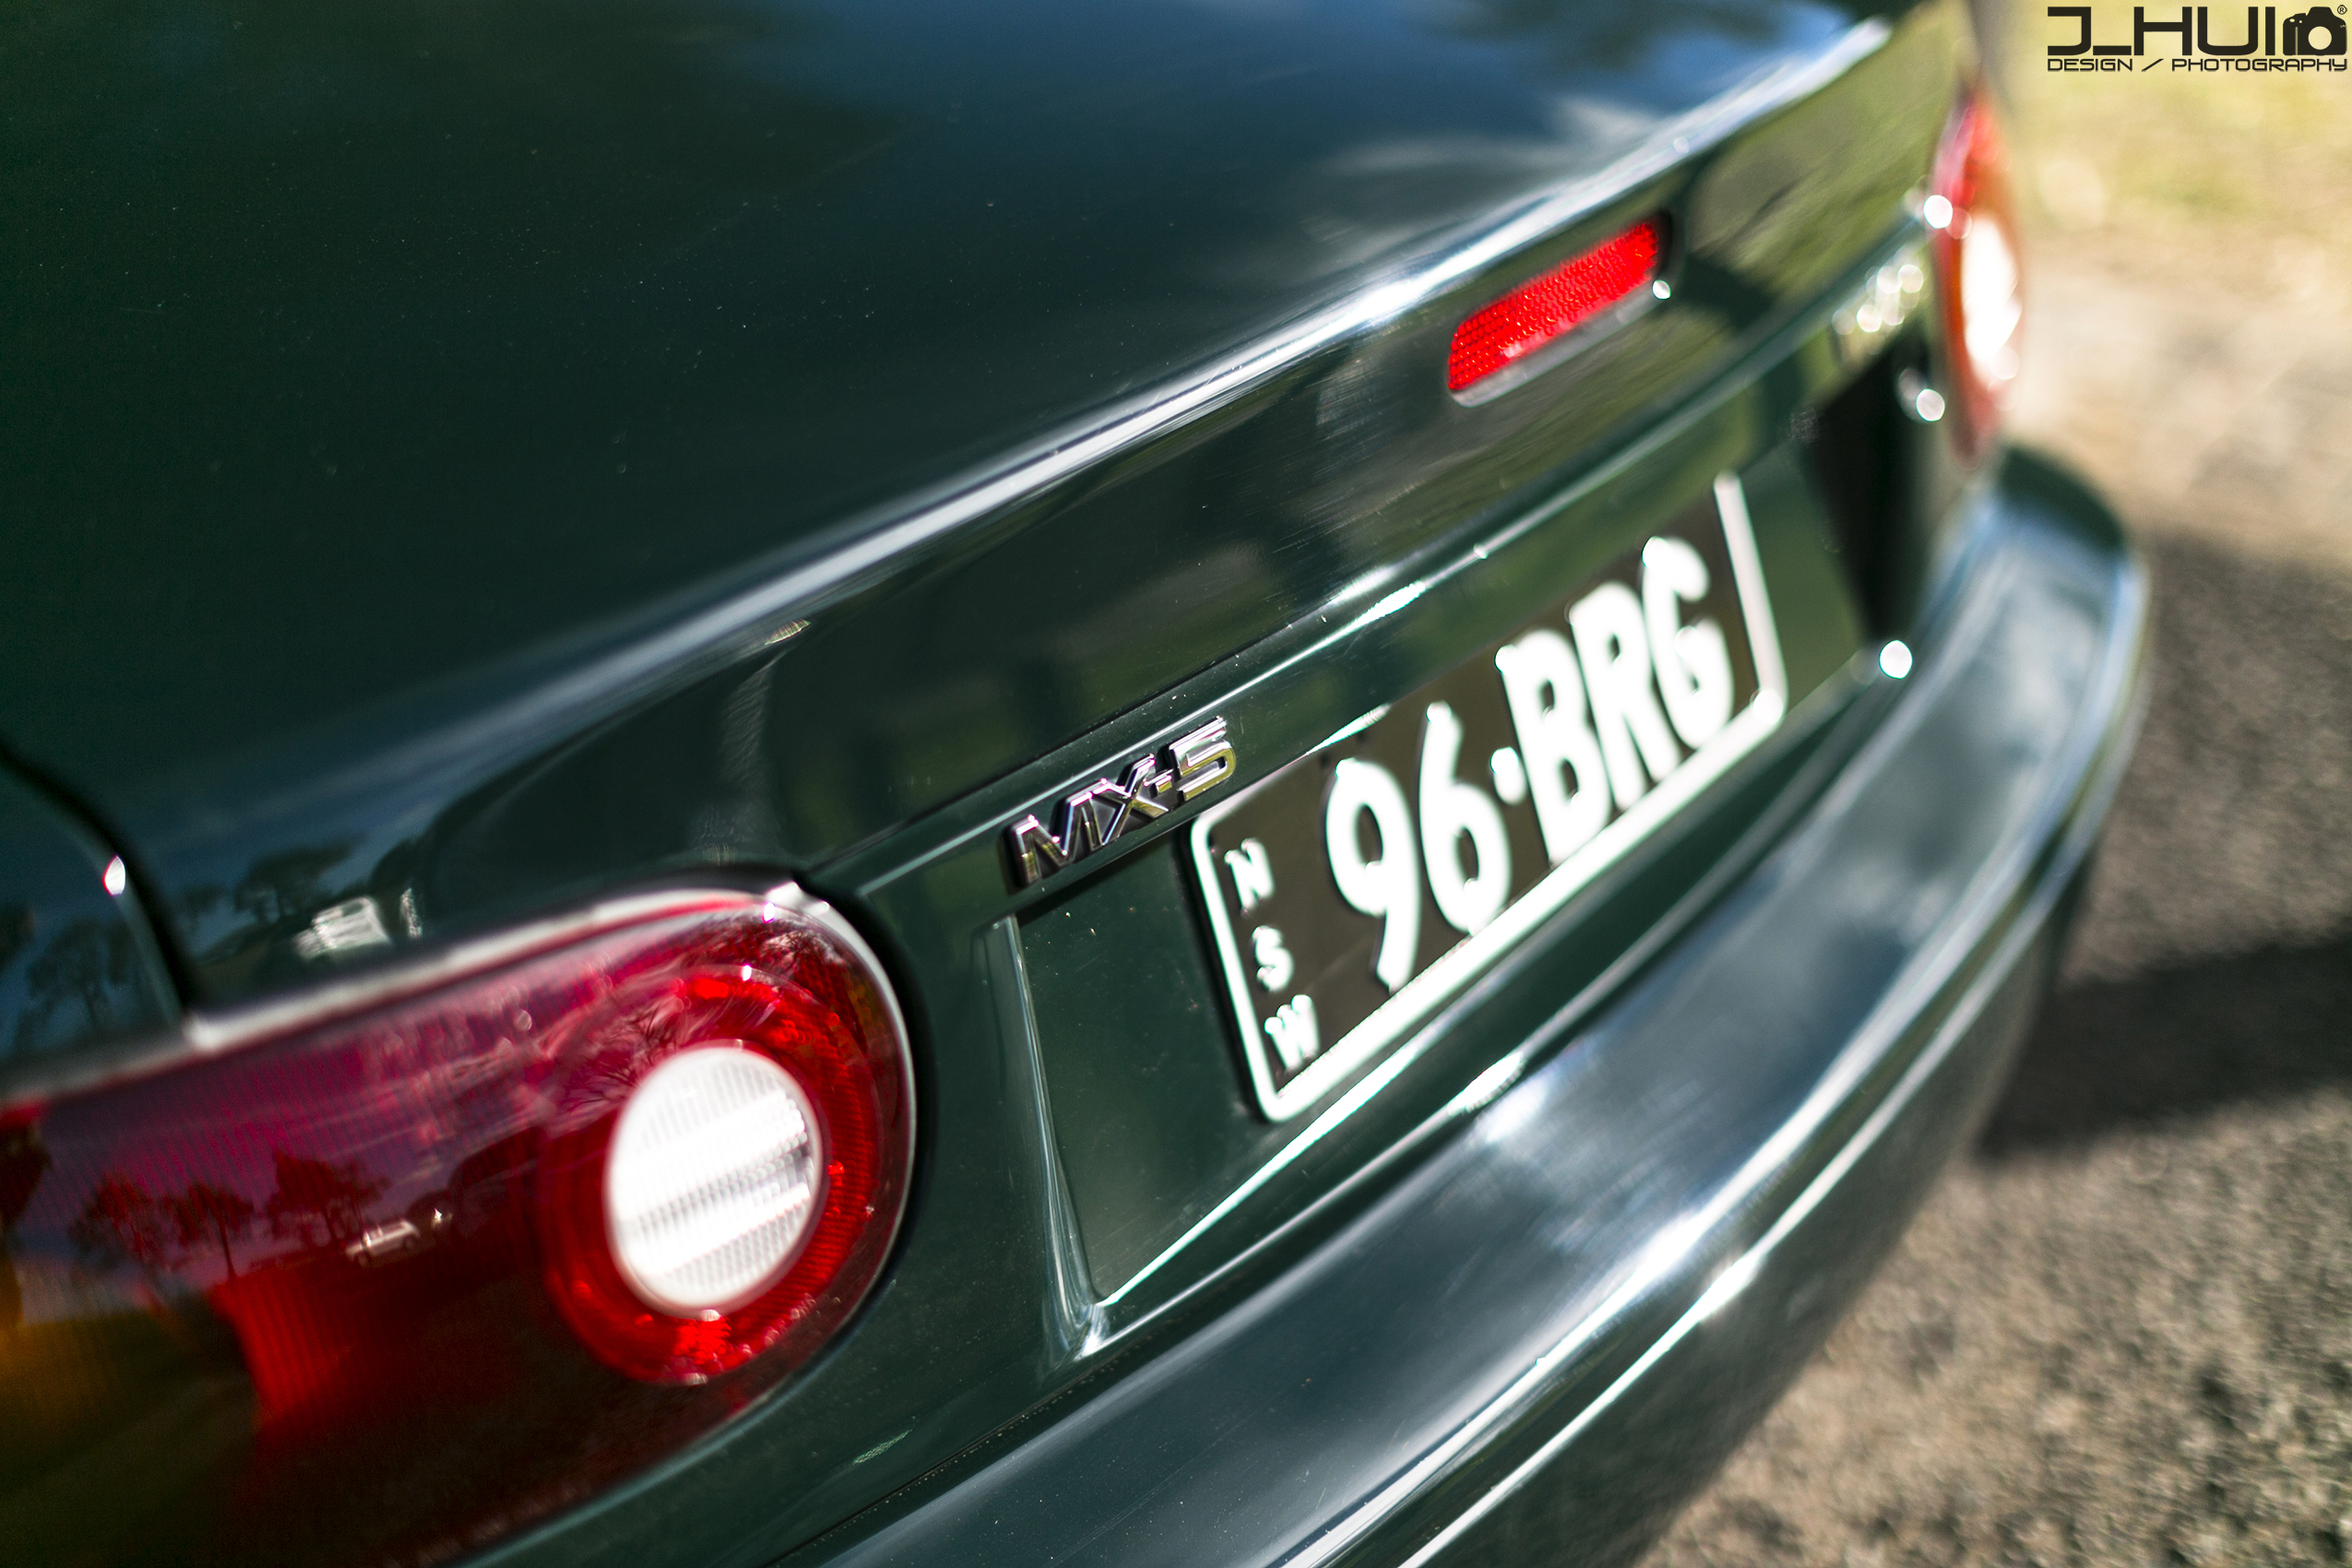
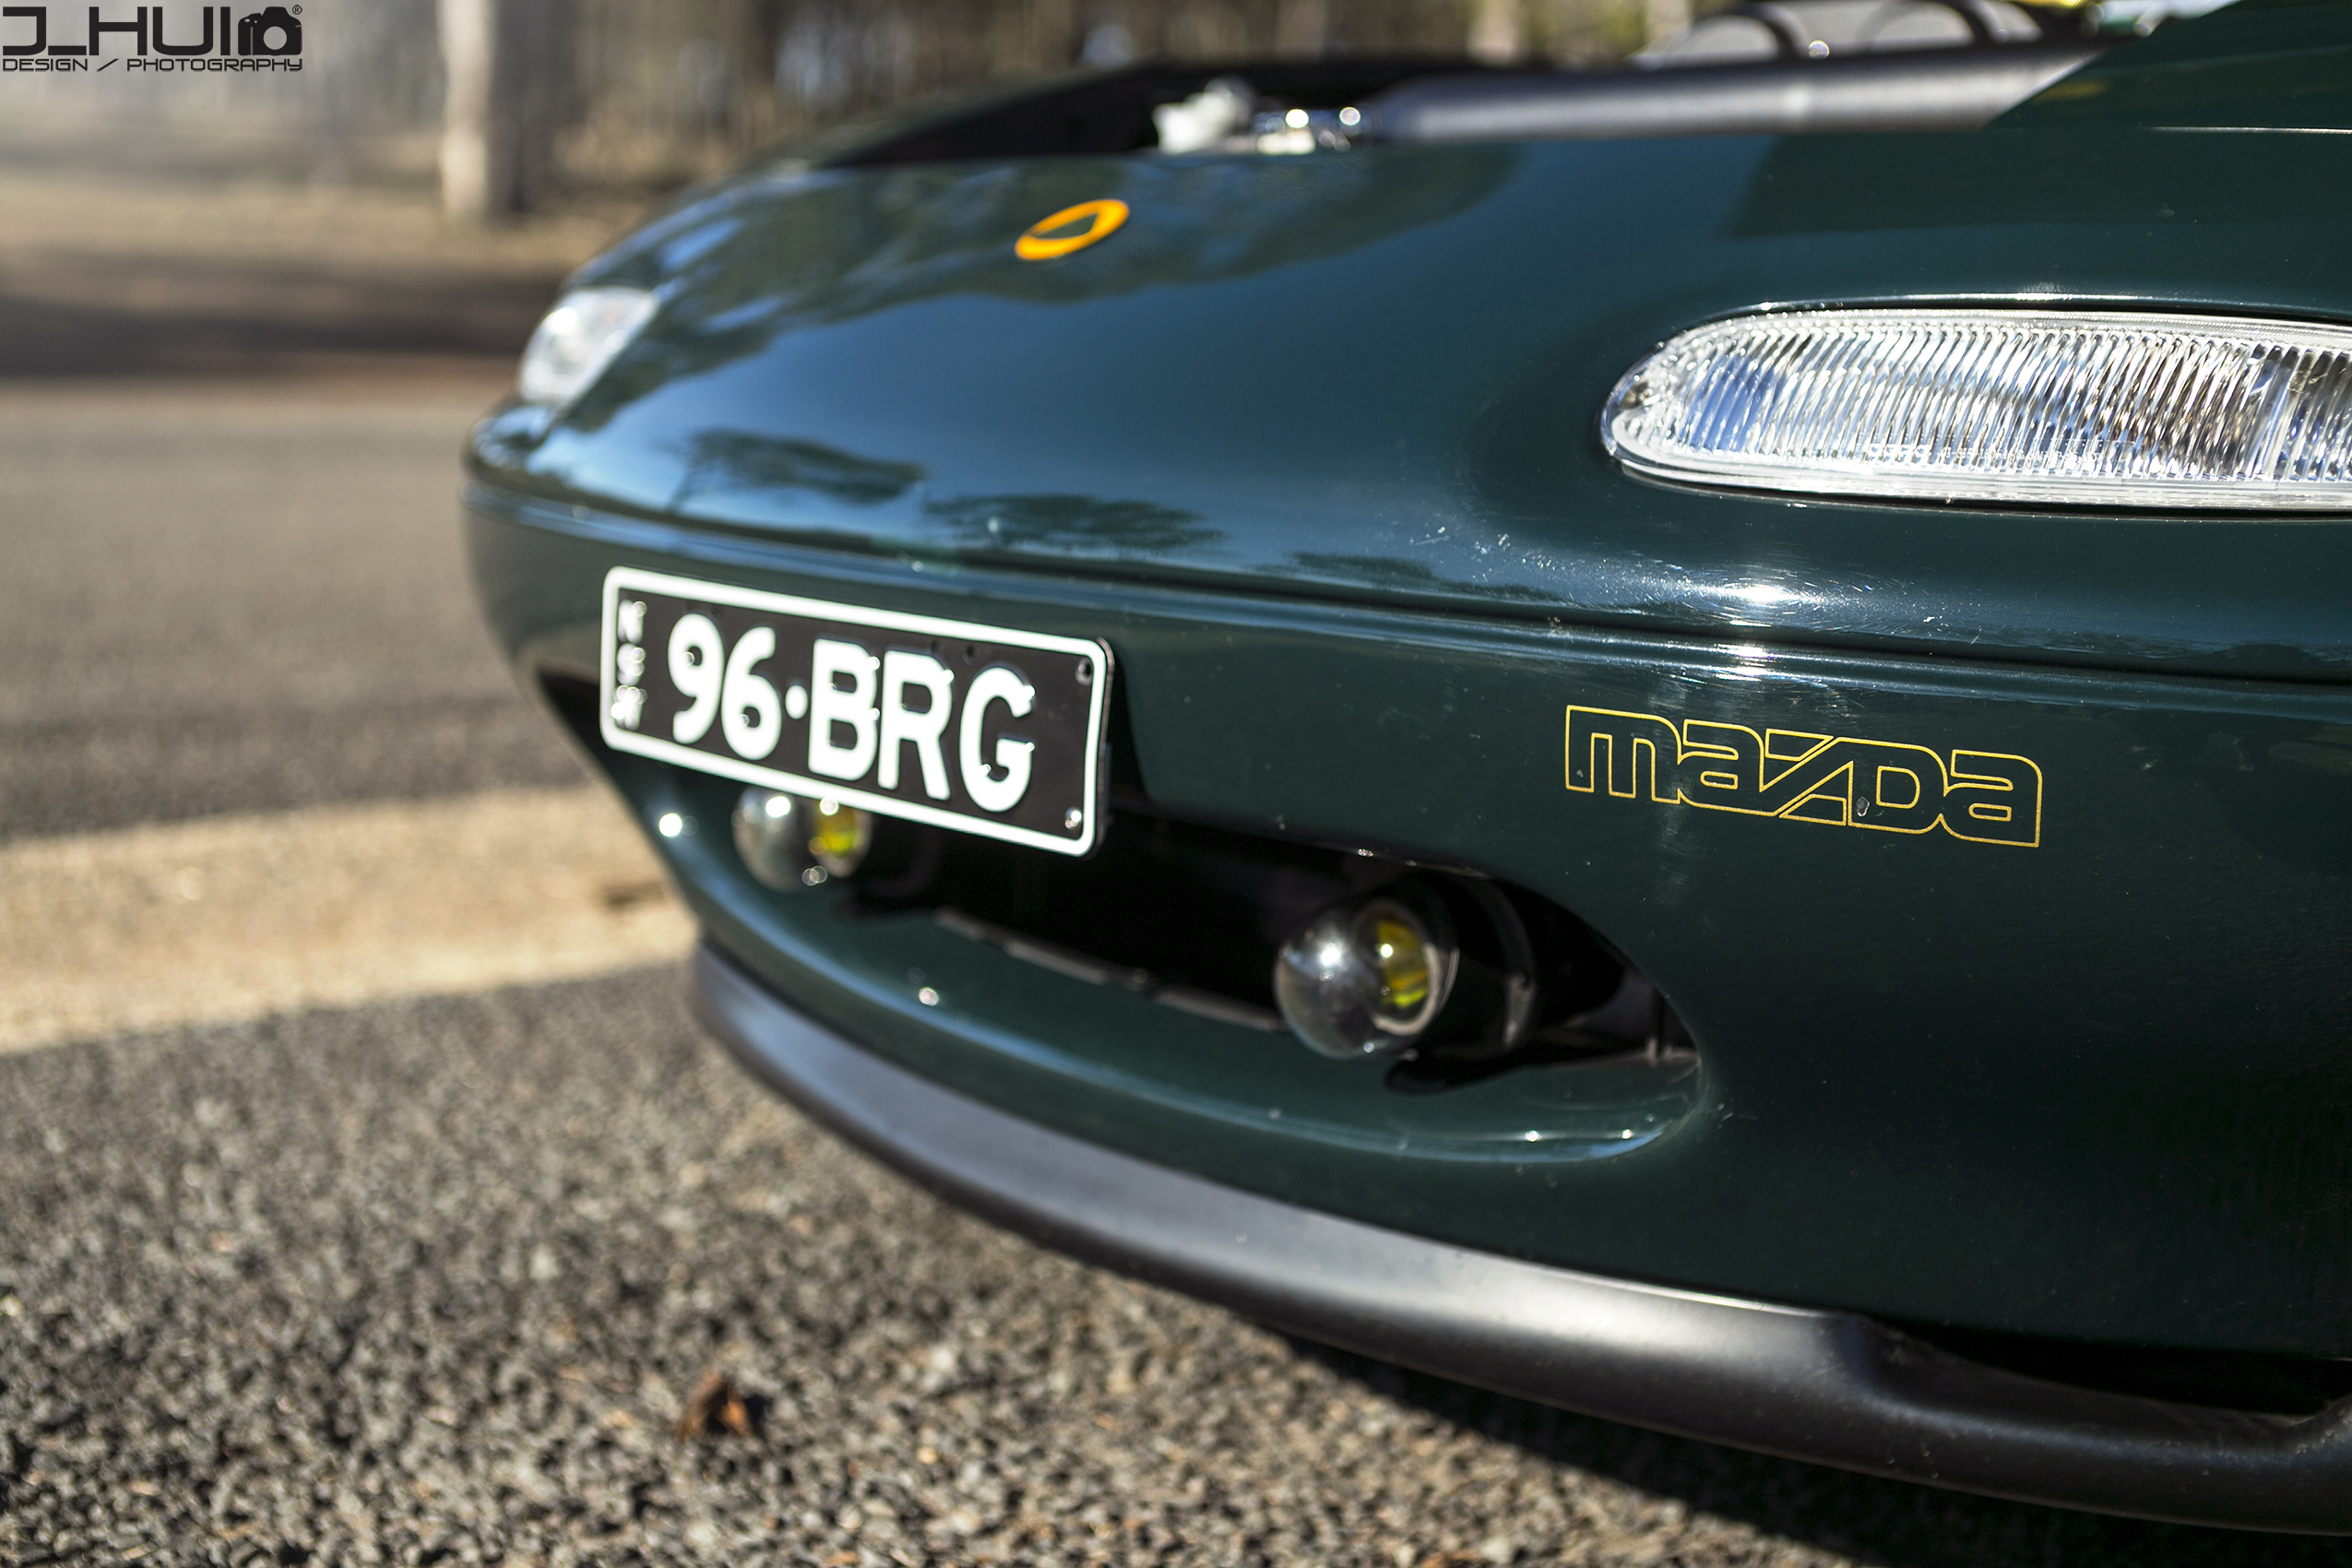
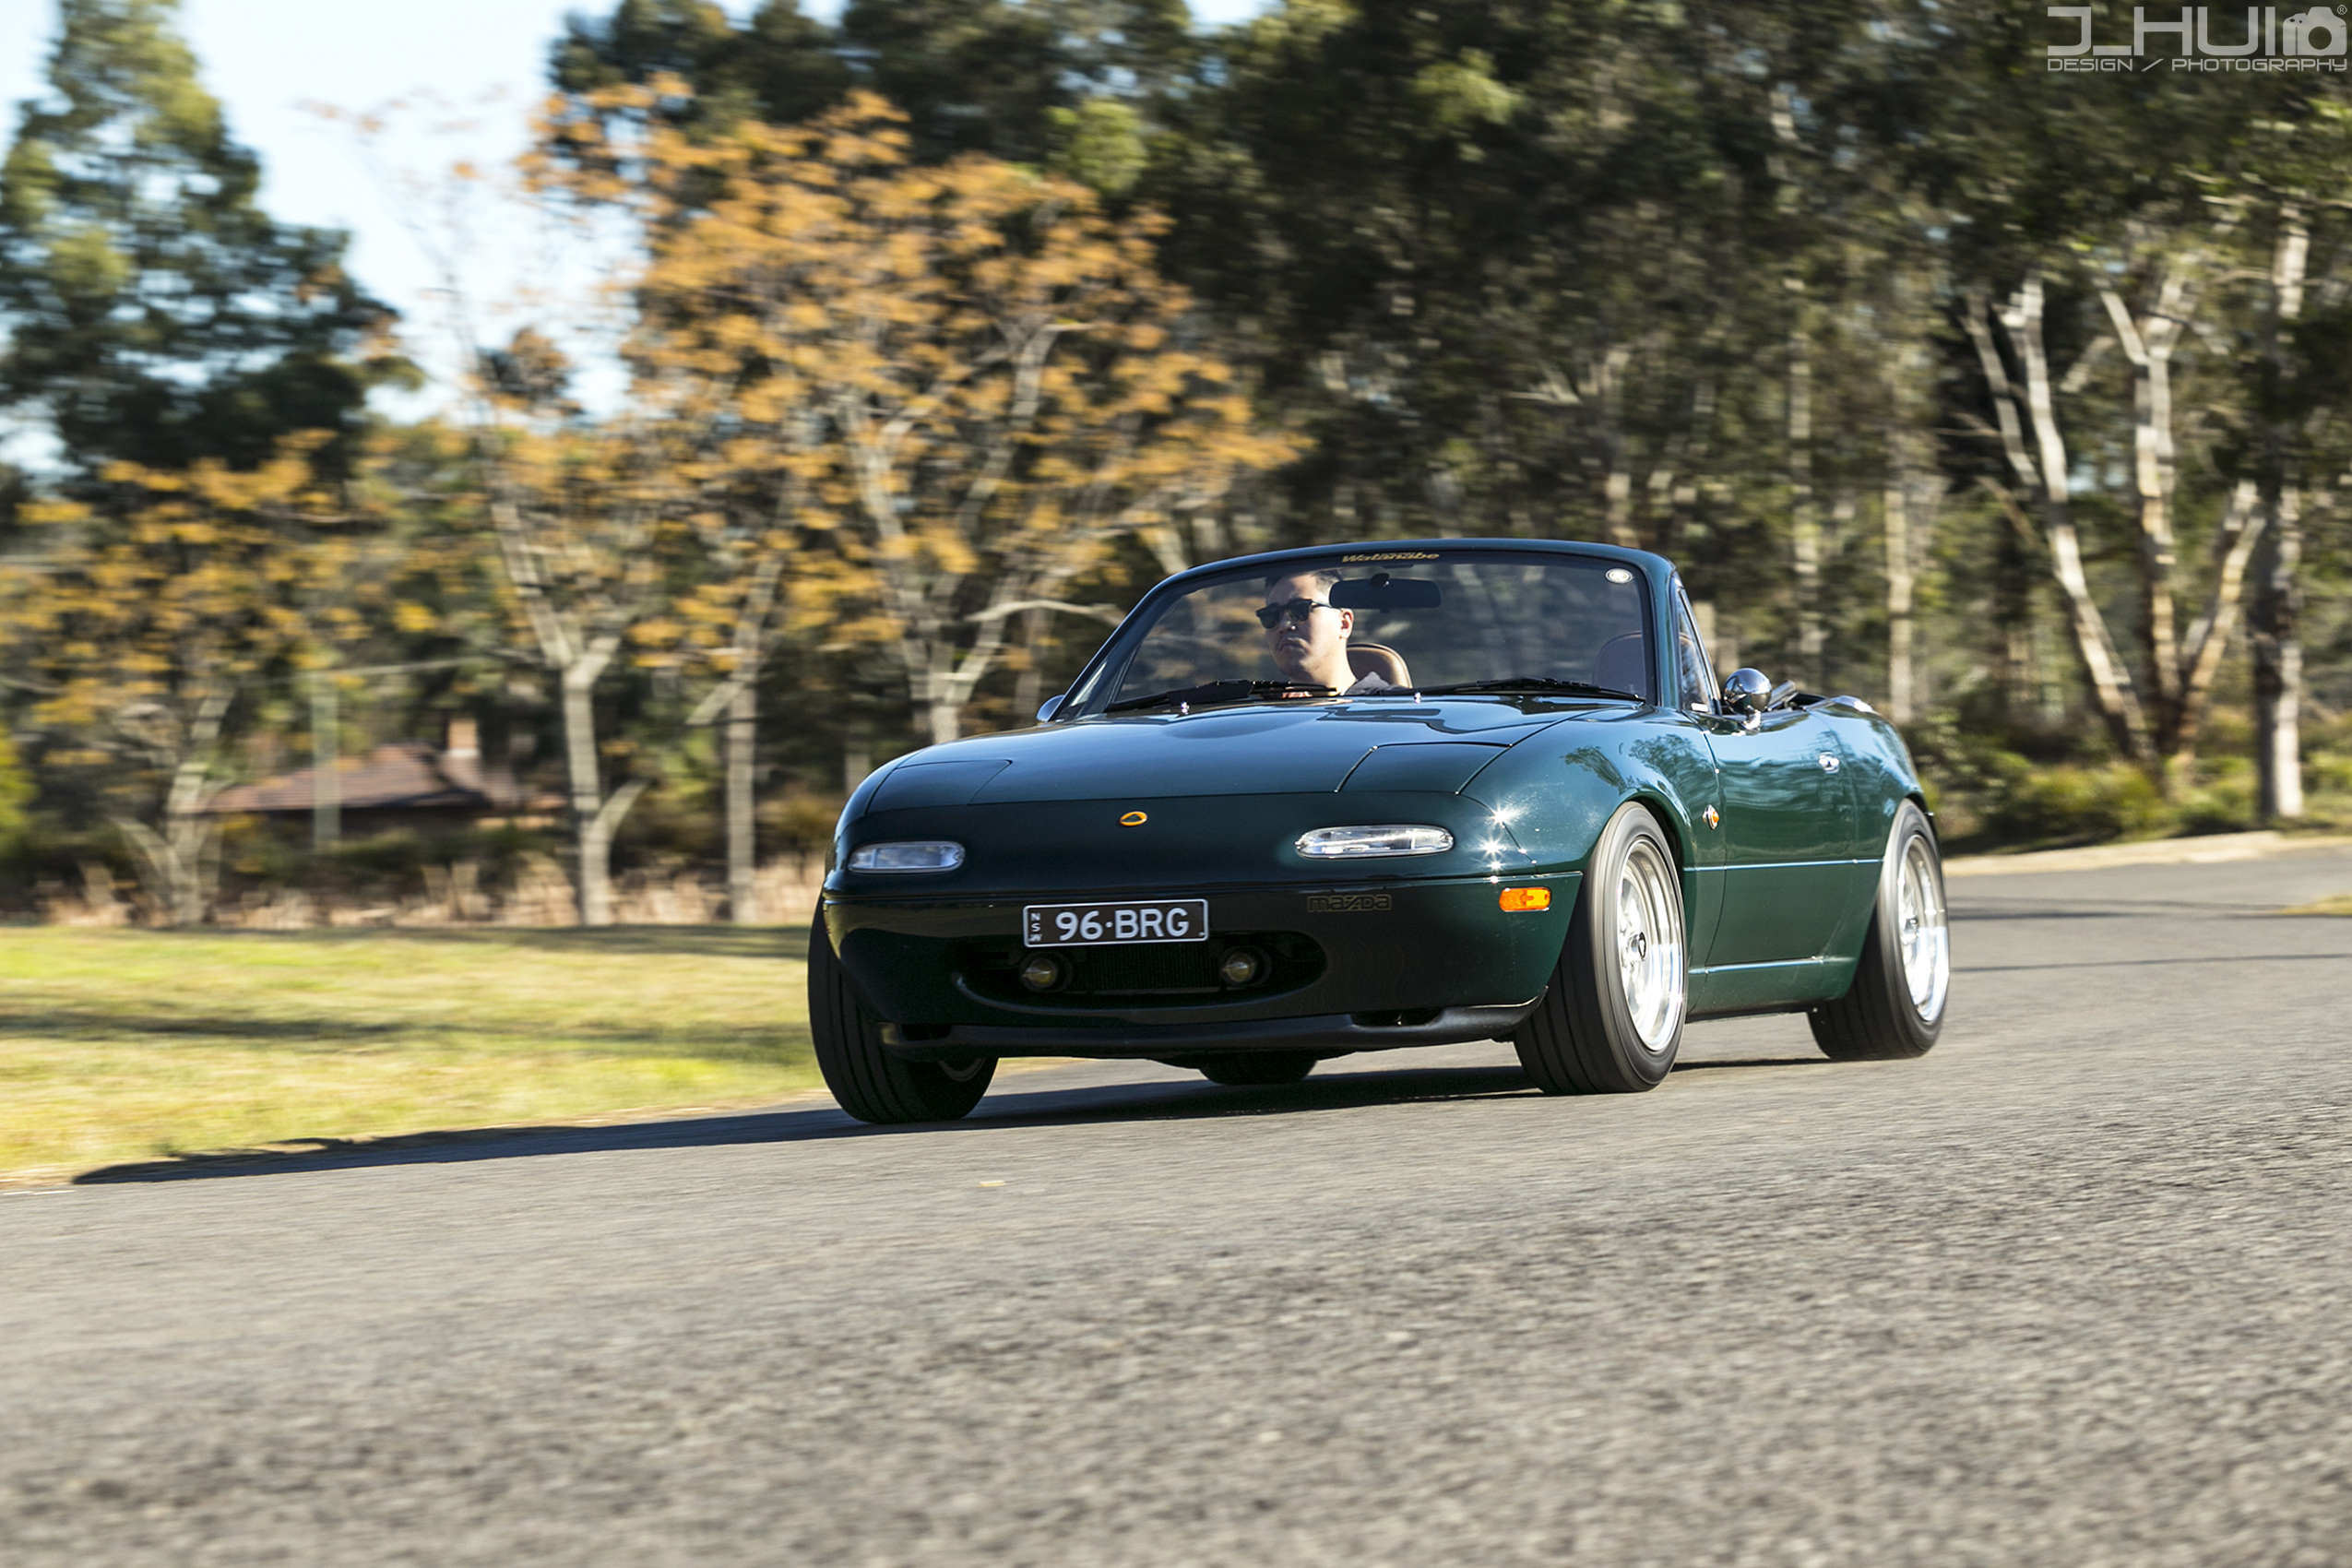
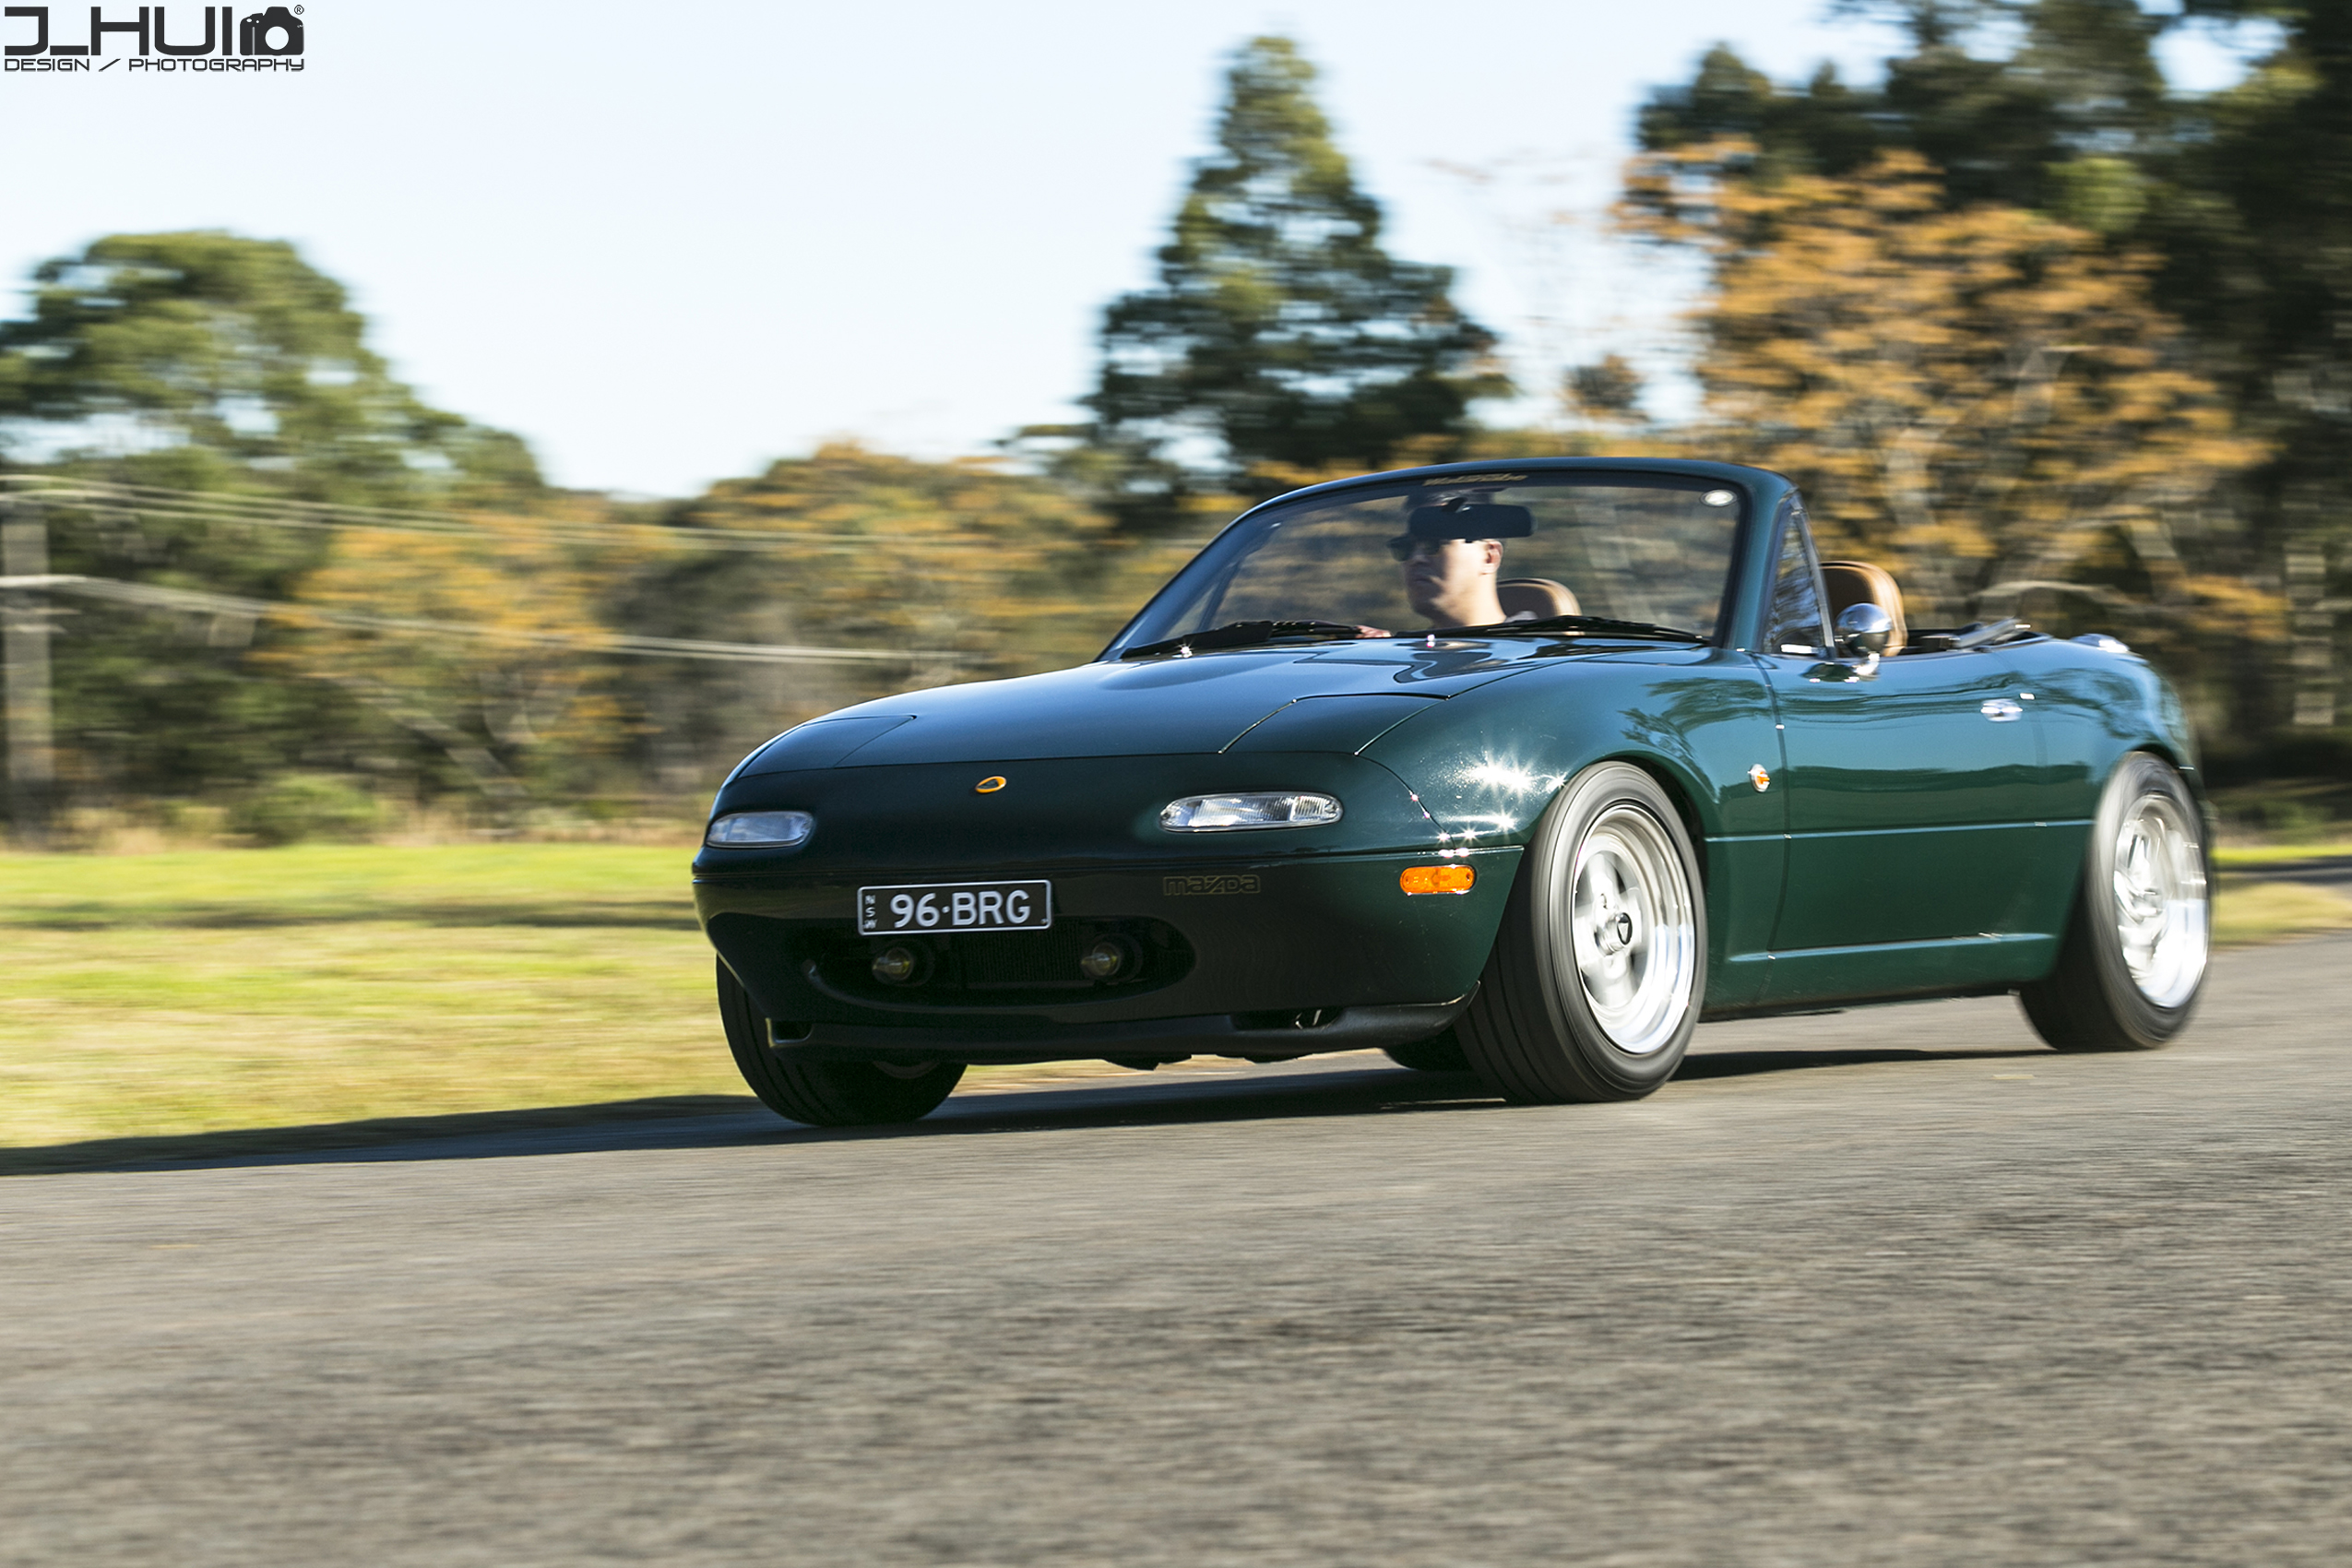
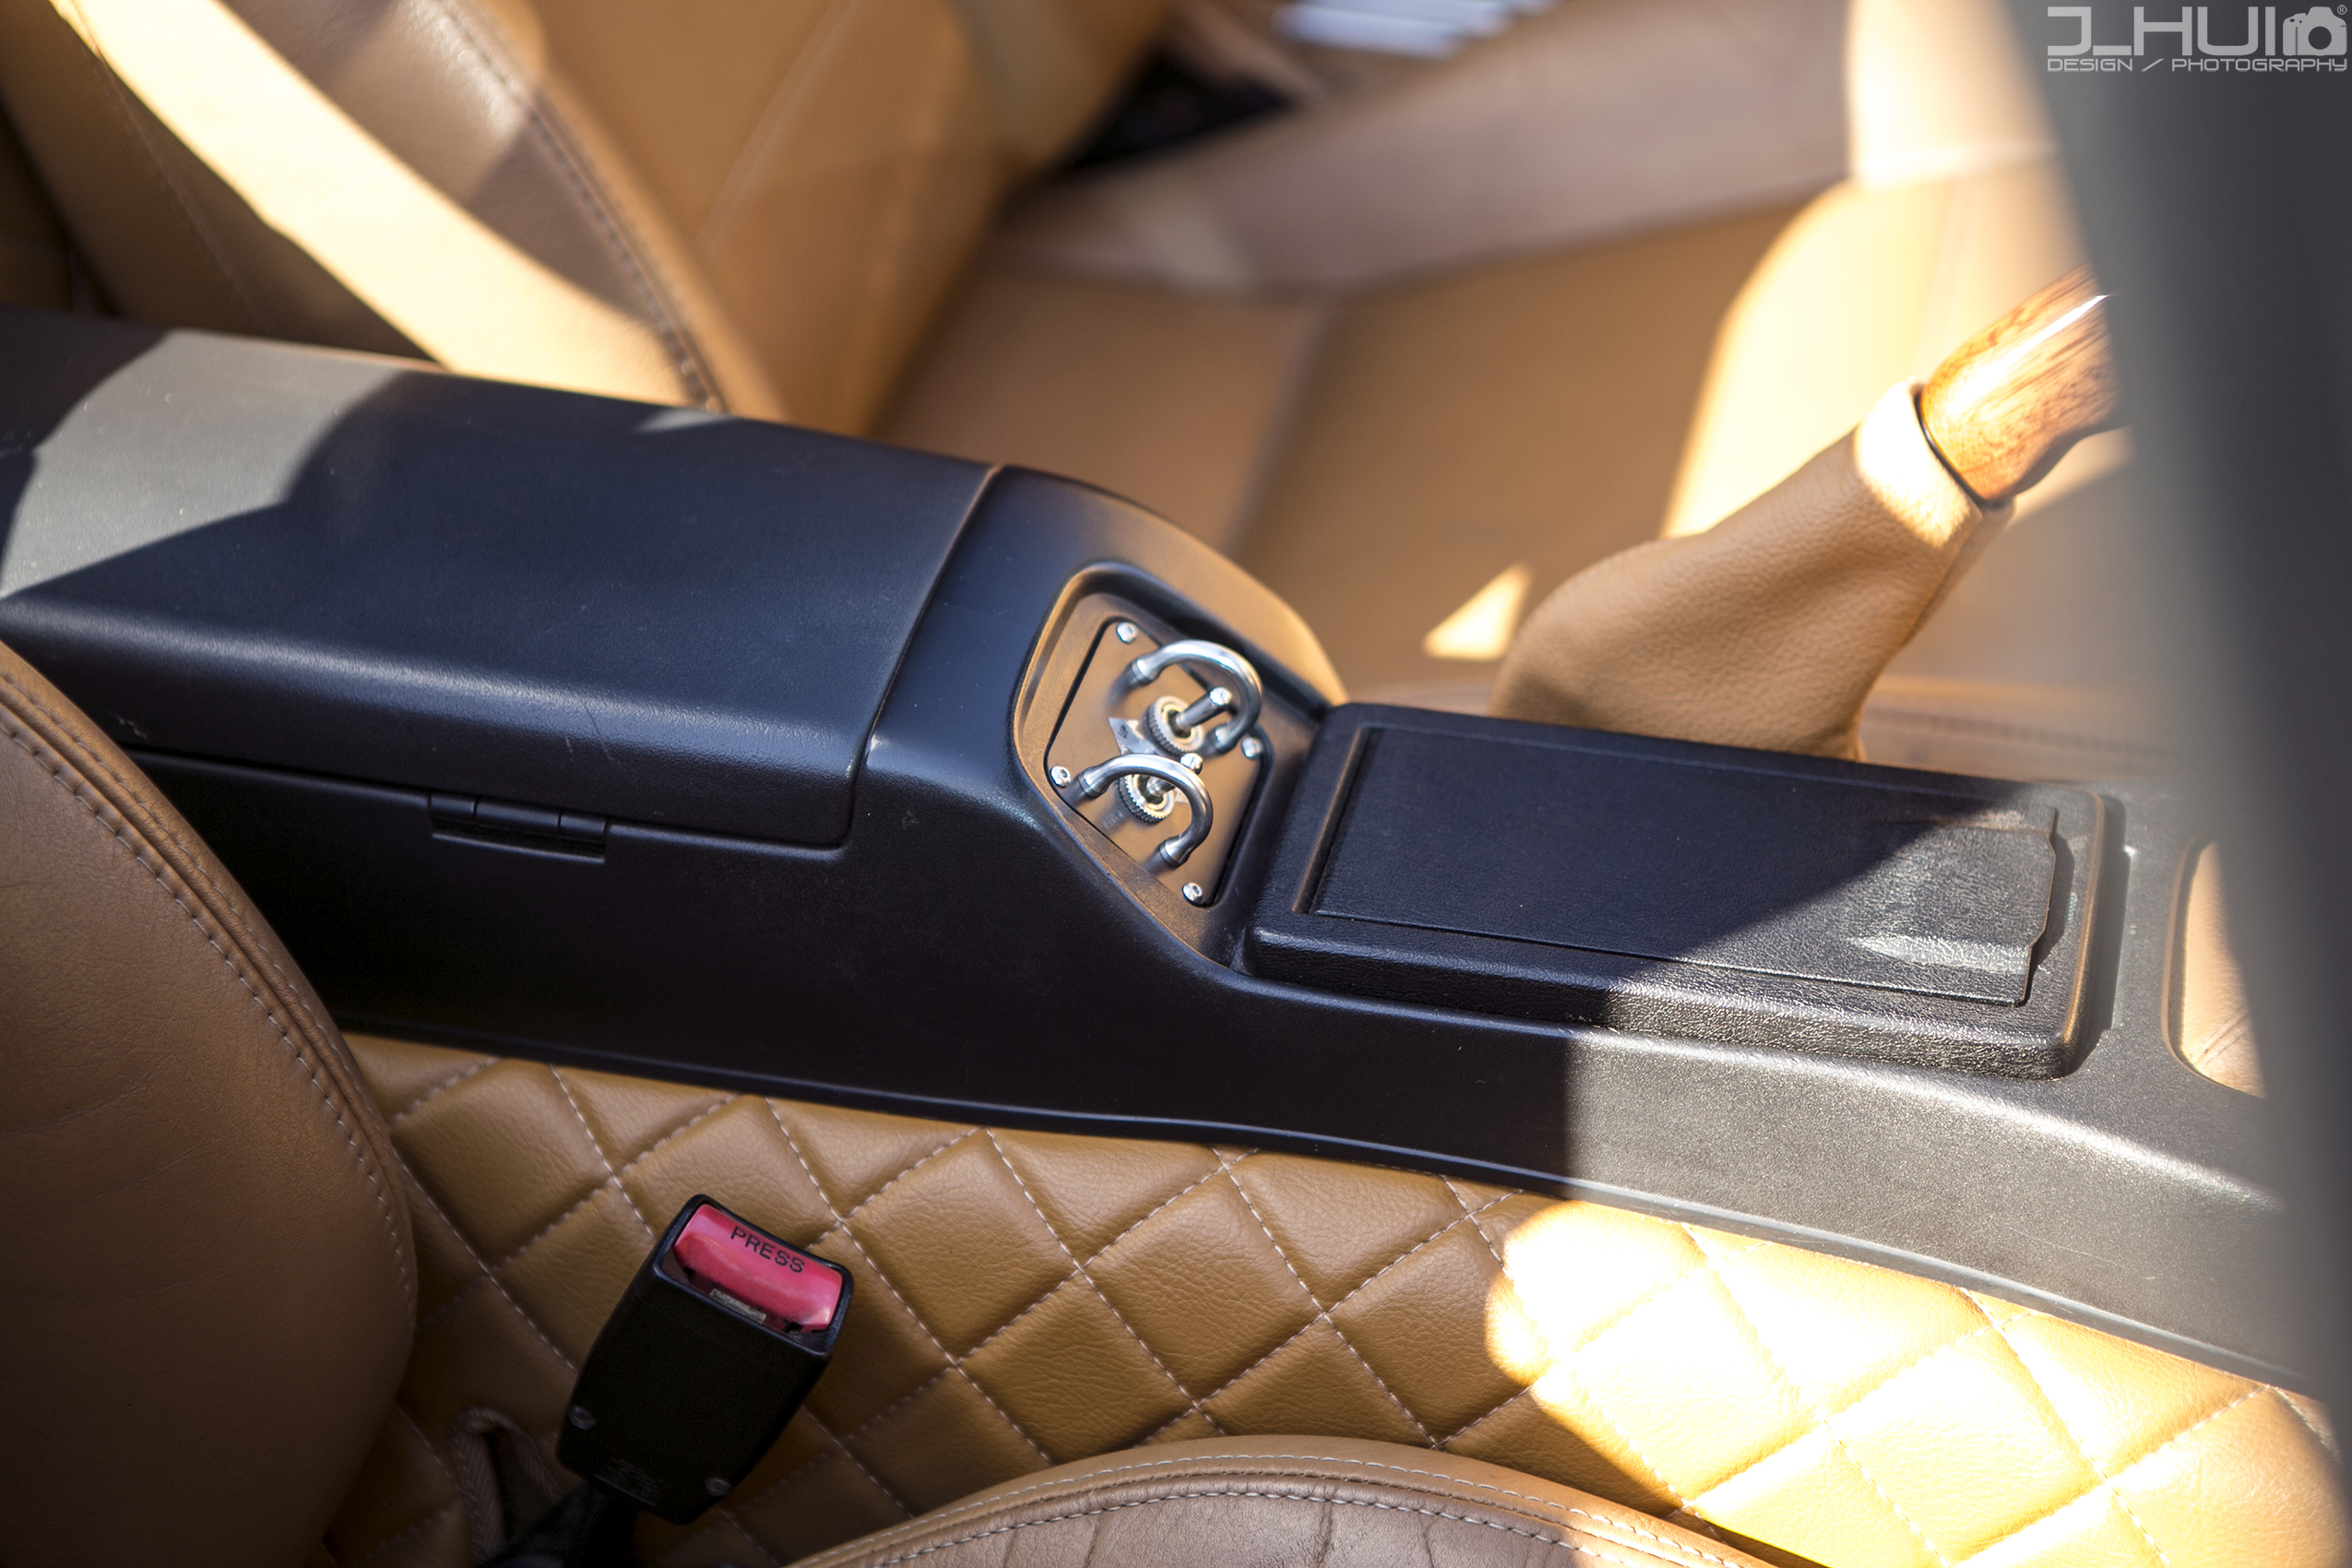
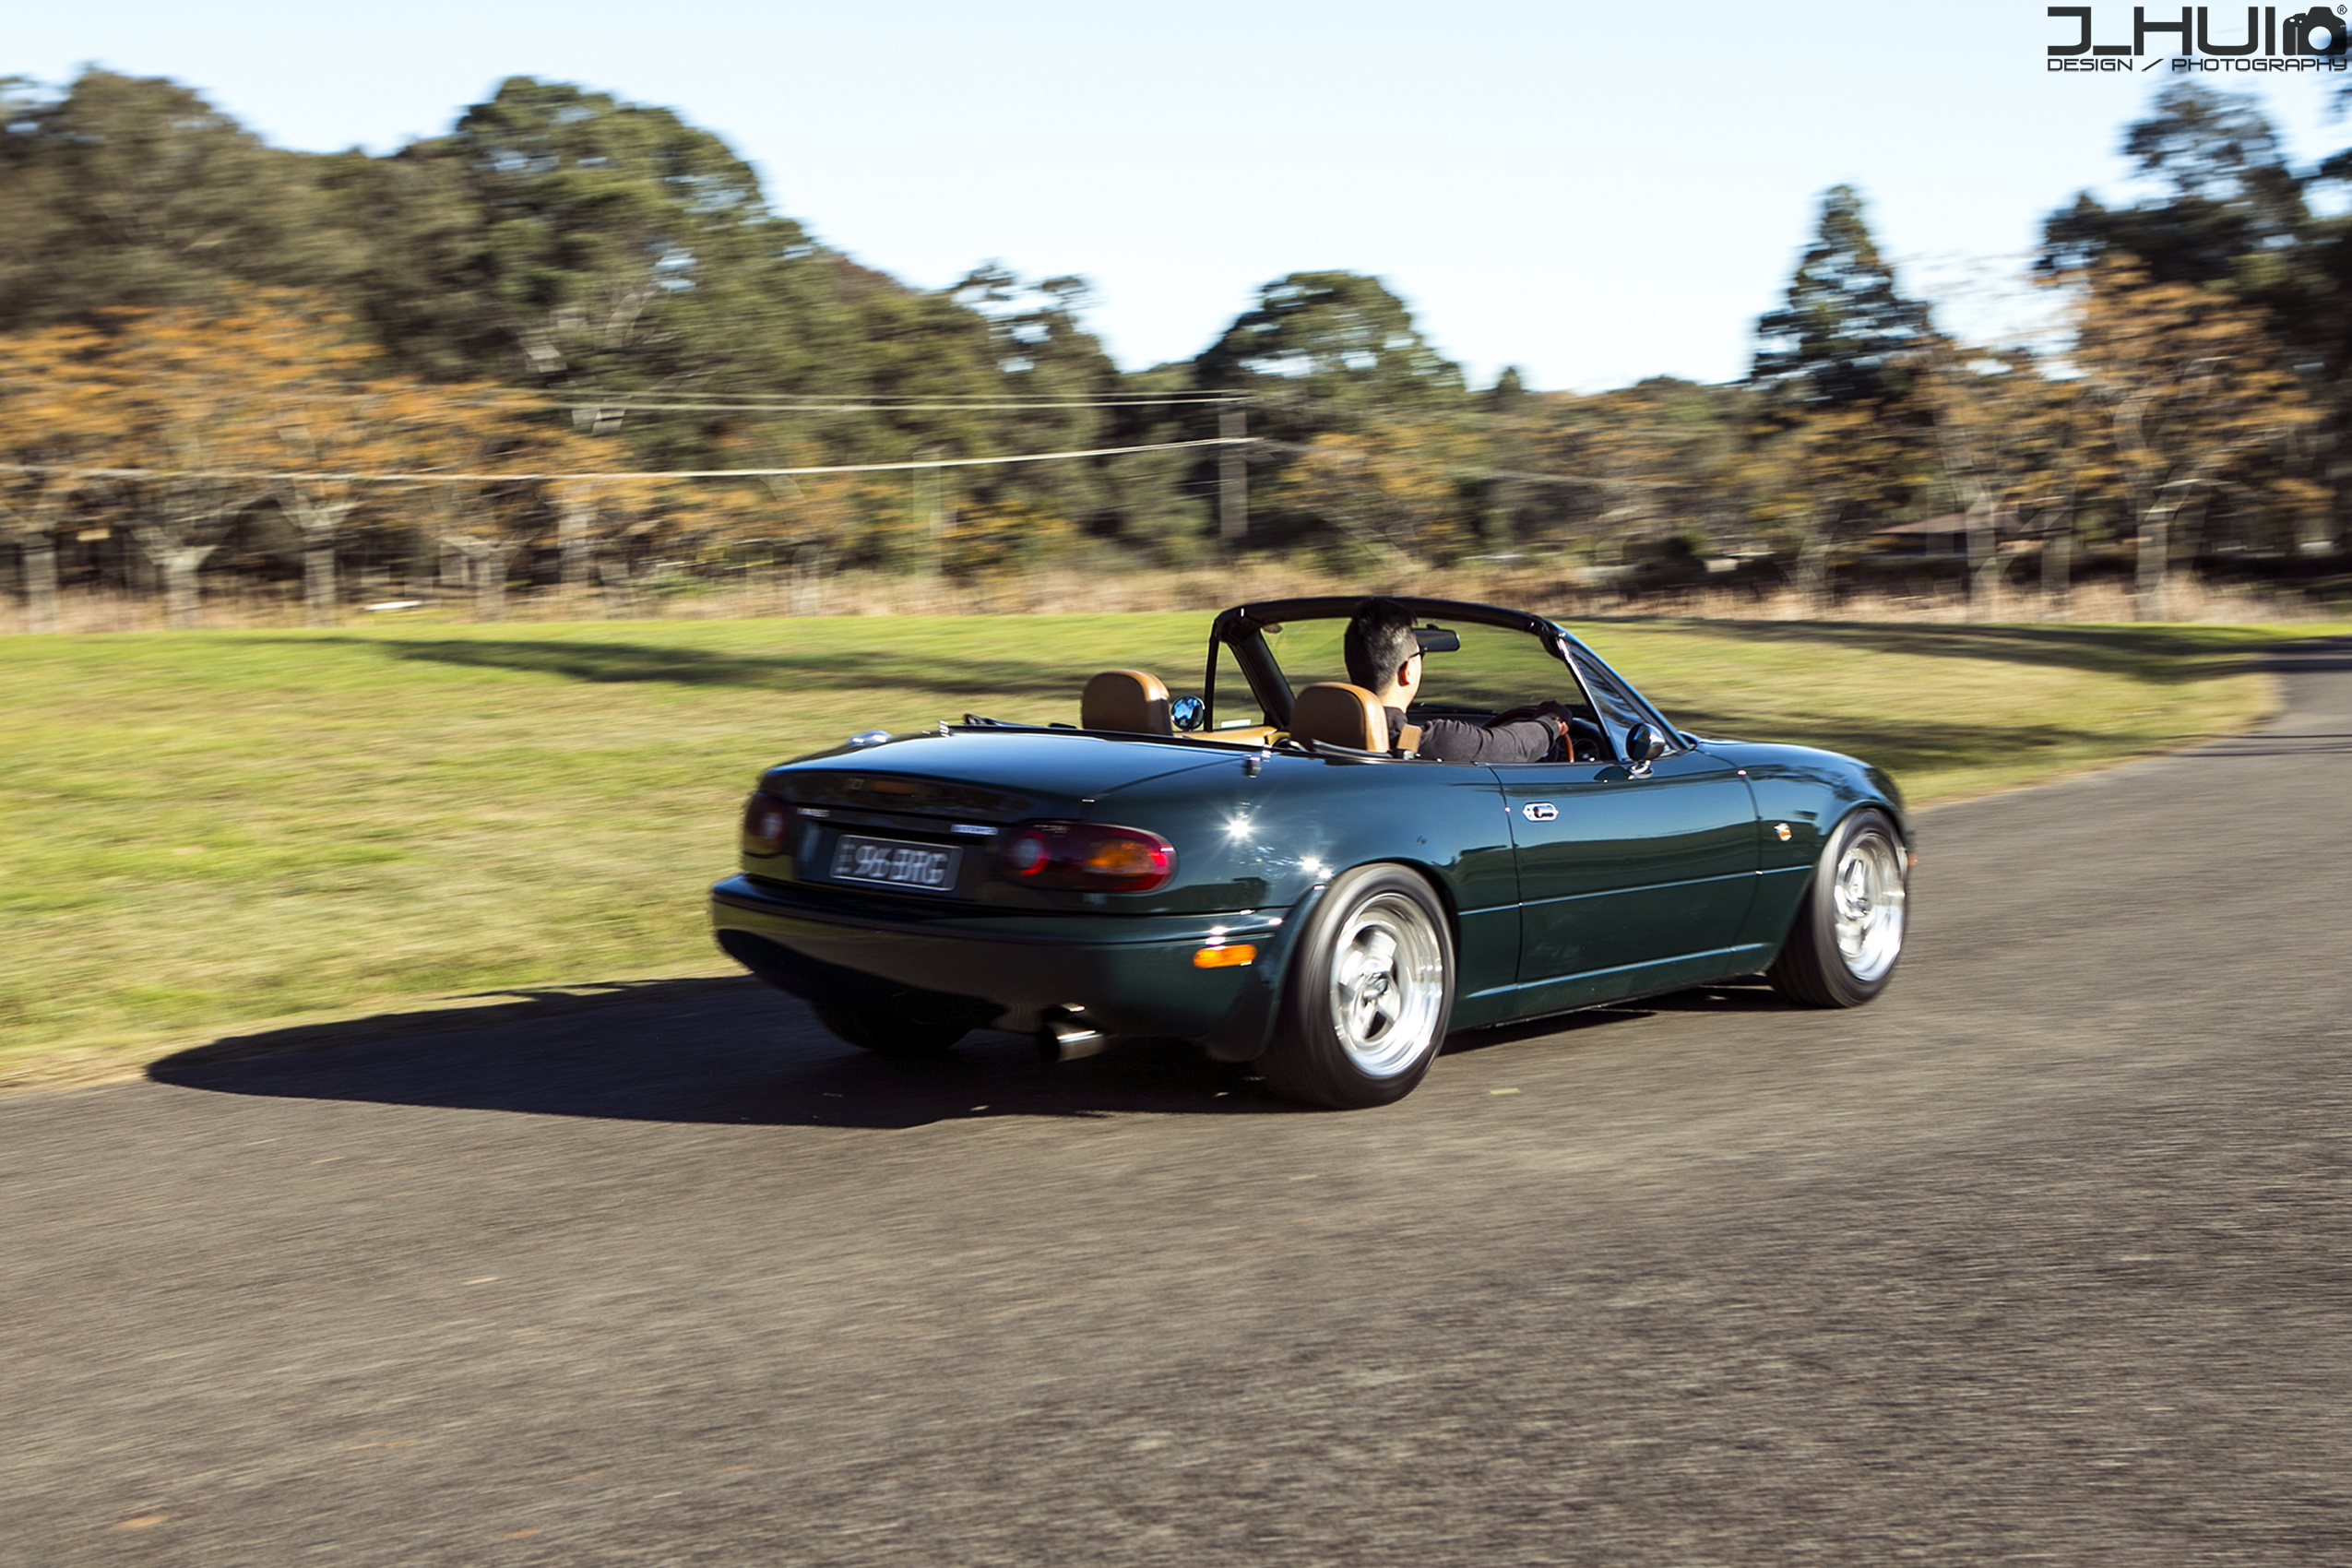
Recently, I was given the opportunity to do a short blog piece for Bridgestone Australia on one of their more popular street performance tyres, the Bridgestone Potenza RE003's. It's easy when you have a platform like CITR to write whatever you want but when you're limited to words, it gets a bit trickier trying to say everything you want in the least amount of words possible. Thanks to Jerry for liaising with me regarding the blog piece for Bridgestone, Dan for lending me his awesome 15" Enkei Apache II wheels and Joseph from JHUI Photography for always taking quality photos!
I wanted to hero the RE003's and show just how capable they are as an everyday performance street tyre. It's a shame these don't come in 14's, otherwise it would be wrapped around my RS-Watanabe's already. But, I'm in the market for a new set of shoes and it seems like 15's might be the way to go. The car did feel a little heavier with the steering and it lost a little bit of the nimbleness that comes with having 14's, but really, I'm clutching at straws here. It's still every bit as fun and the extra tread make it noticeably grippier through the twisty stuff.
If you have 5 minutes to spare, have a read and any feedback would be greatly appreciated! Link is down below.
https://www.bridgestonetyres.com.au/mazda-mx5-build
Comment
-
20/10/2018
It's been a bit of a hiatus in terms of mods for 96-BRG. Life and other things tend to take priority as it always does and I haven't had a chance to take it out for a proper drive since the MX-5 Club of NSW's Presidents Picnic last month. It sat in the garage after that day and sadly, the freshly washed/waxed/polished paintwork now has specks of dust all over it (which reminds me, I need to look into a car cover...)
I haven't had a chance to do a major mod on the car for a while and I've been itching to get some things done such as installing my frame rails, taking the dash out for a complete overhaul and refurb, as well as re-building a set of wheels which will used as a second set next to my current RS-Watanabe's. But since I had a bit of time today, I did something I've been wanting to do for a while but kept putting off. I polished up the indicator stalks. "Indicator stalks?" I hear you ask? Yes, indicator stalks.
The OEM stalks were okay and there was nothing wrong with them. However, after 22 years there were little pit stains and imperfections on it which irked me. I thought that it would look much better if they were polished up since it would tie in with the rest of the cluster and the interior. But, the reason why I kept putting it off was because this was one of those things which requires a lot of prep and time in order to do it properly. For it to turn out the way that I wanted, I needed to be meticulous and patient. Not only that, most of it will be covered up by the steering column shroud after it's completed and it isn't something which will be noticed immediately by most people. However, "the devil is in the details" as the saying goes and I have to say that it turned out much better than expected. To say that I am pleased with the end result is an understatement. It matches the rest of the interior so well.
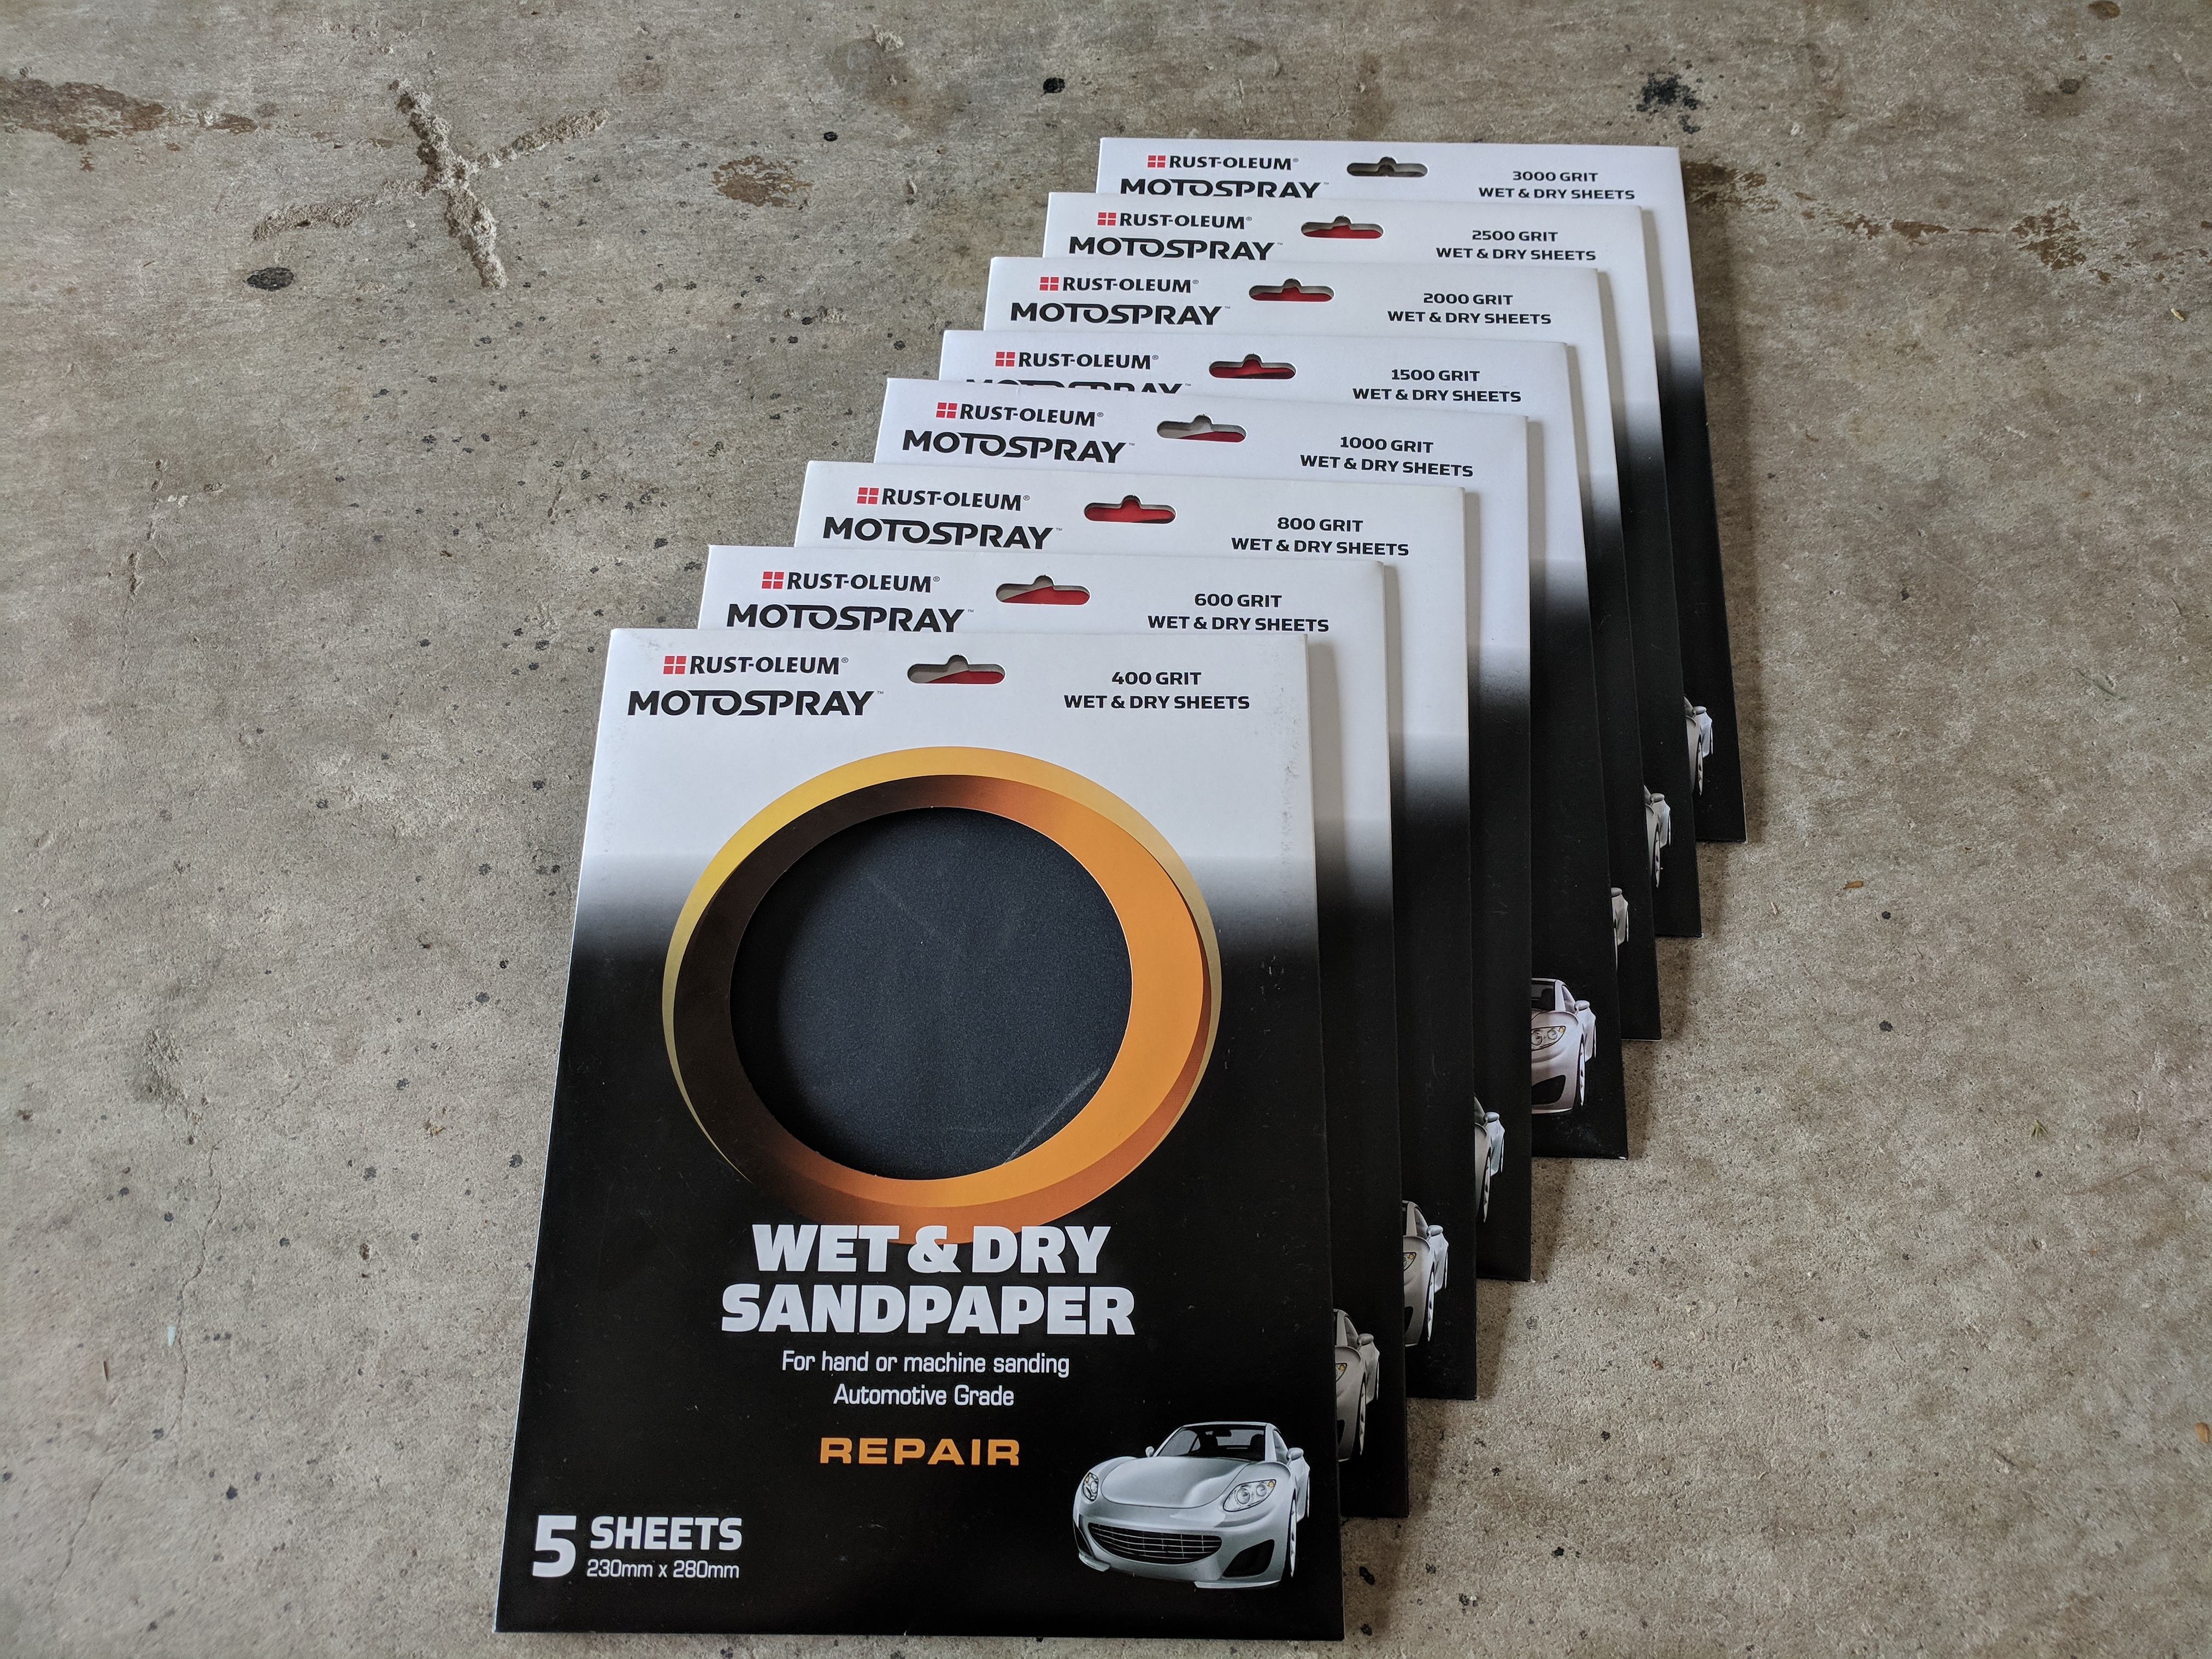
Using multiple grades of sand paper, wet and dry sanding, being patient with those hard-to-reach places on the stalk and making sure it has full coverage, to finally polishing the stalks with a Dremel and polishing bit, the whole process took well over 4 hours. However, just know that this is a marathon, not a sprint. Given the way that it looks, I'd say it was well worth the effort.
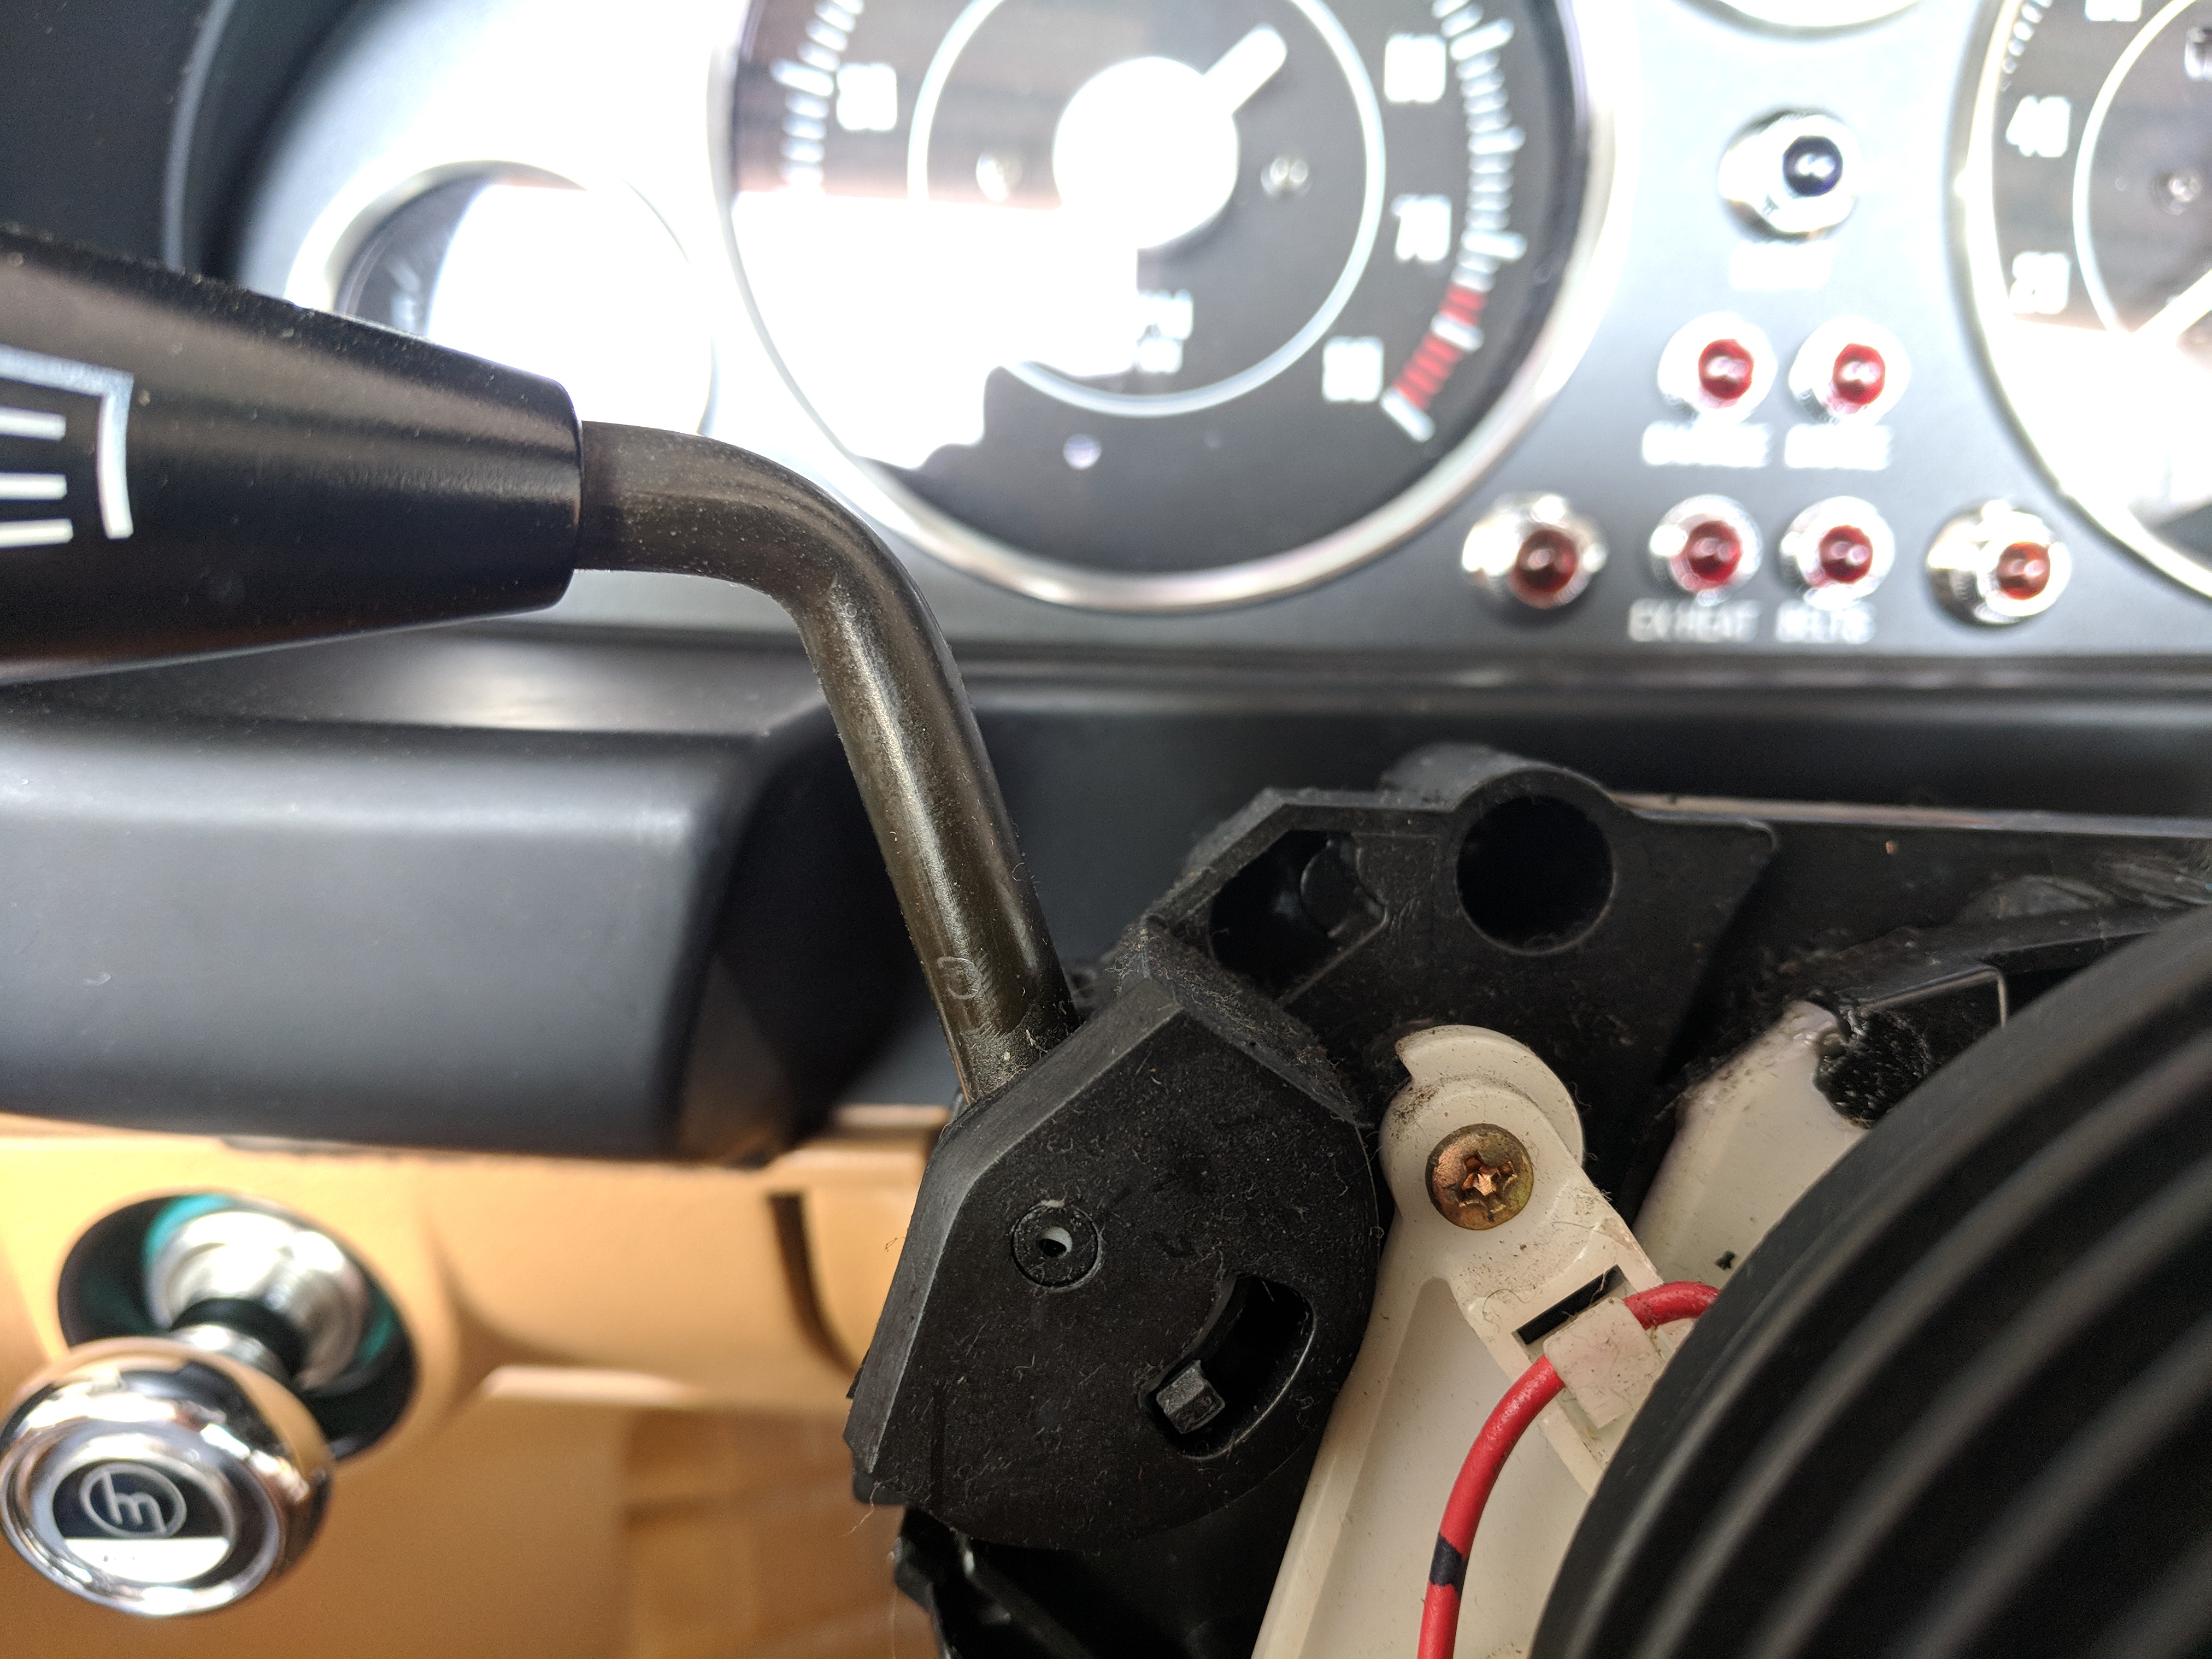
OEM indicator stalks. Notice the imperfections and pitting.
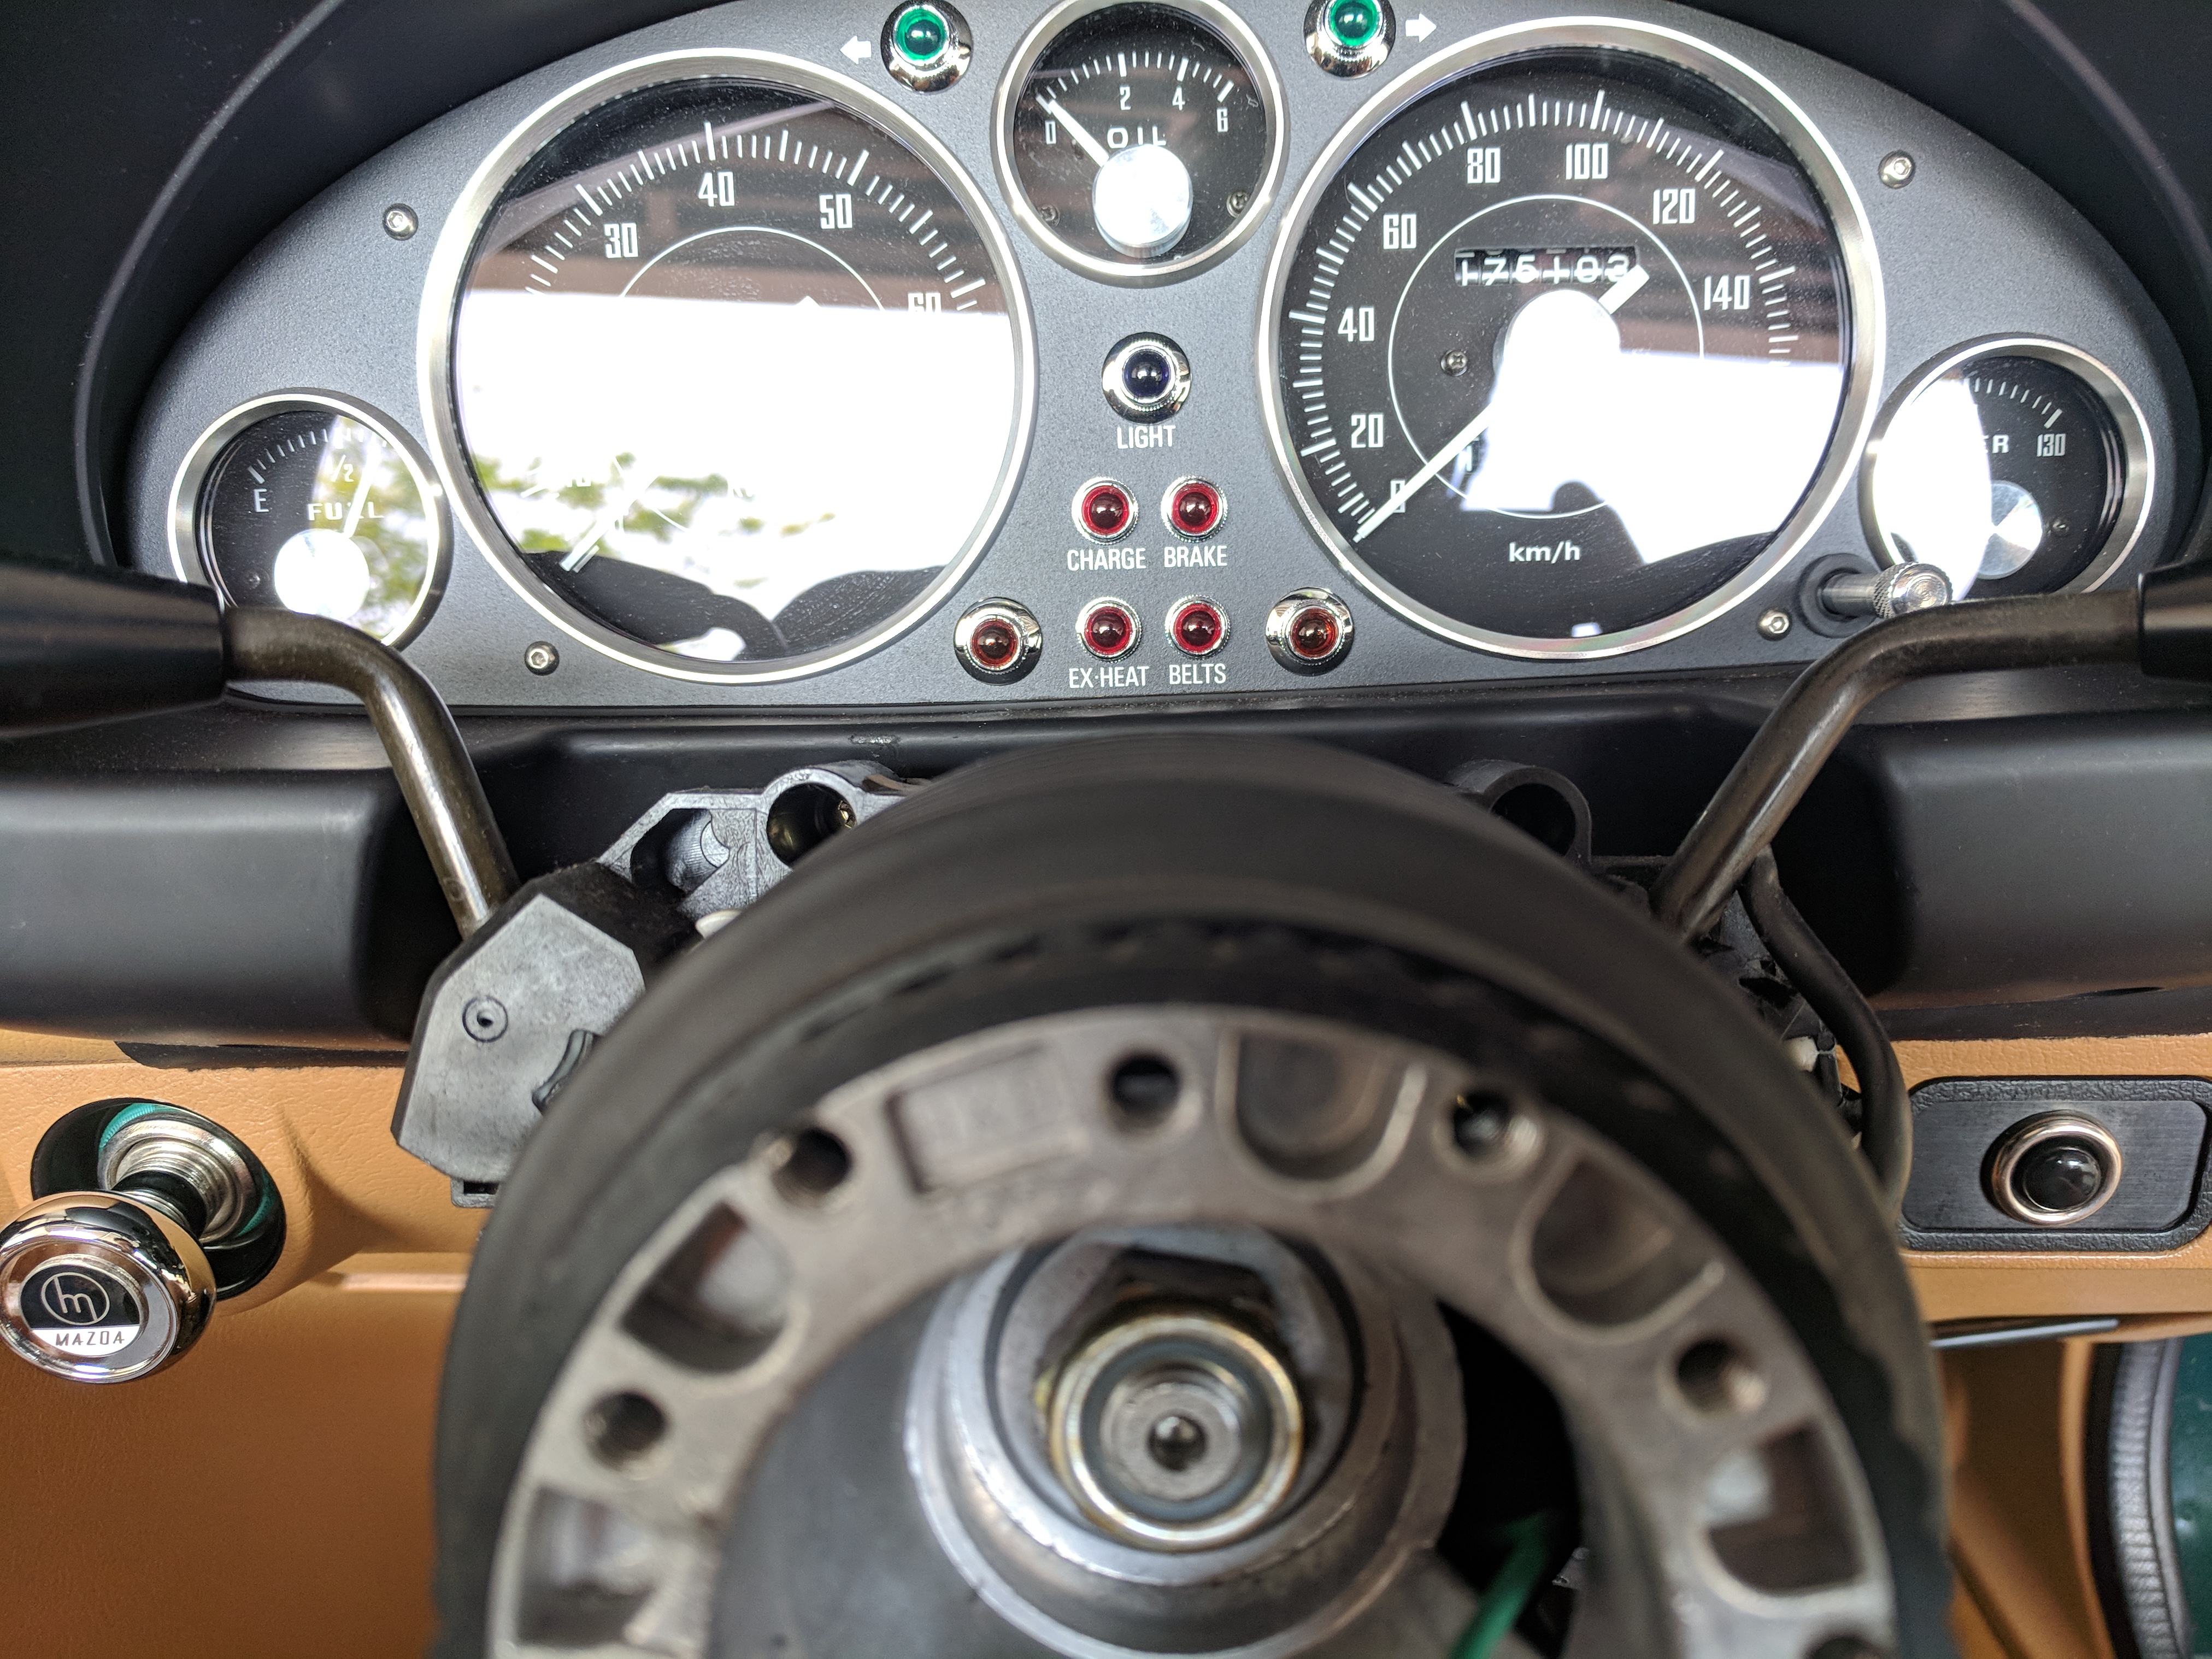
Definitely asking for a refurb...
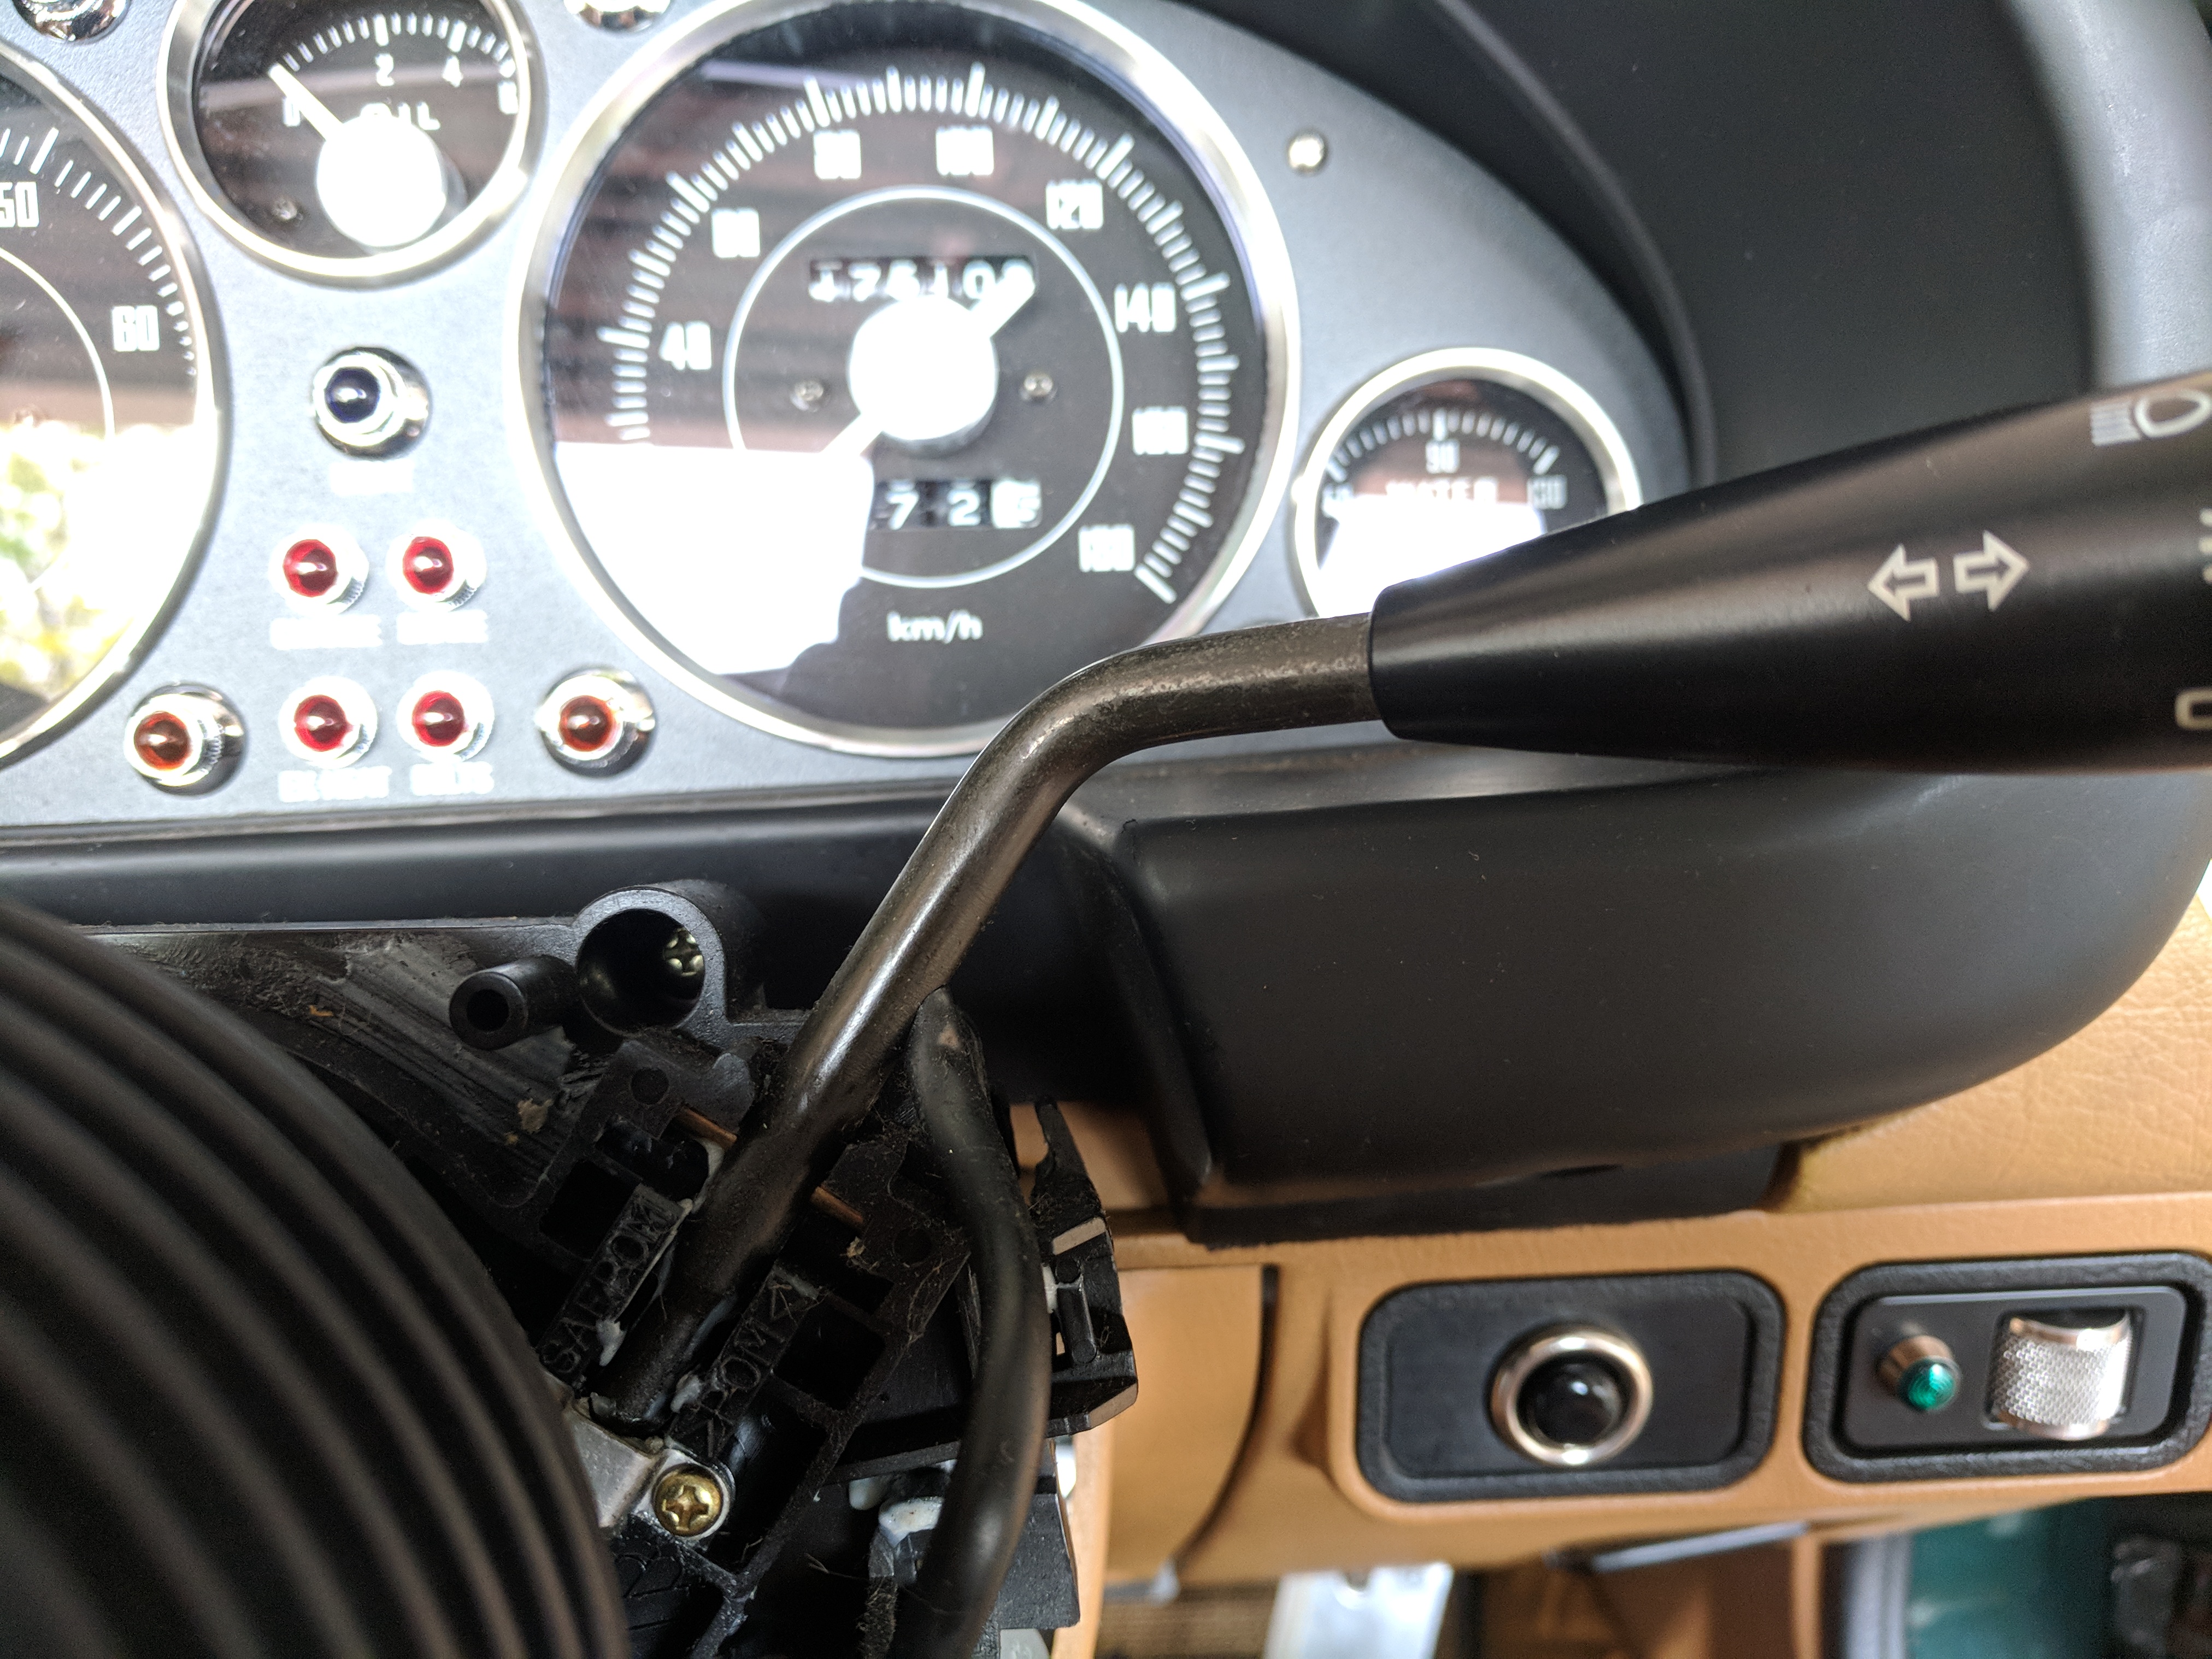
This side isn't as bad...
The different grades of sandpaper I used to prep and sand down the stalks. I also used a 120 grit and 250 grit not pictured here.
In progress: after the 250 grit.
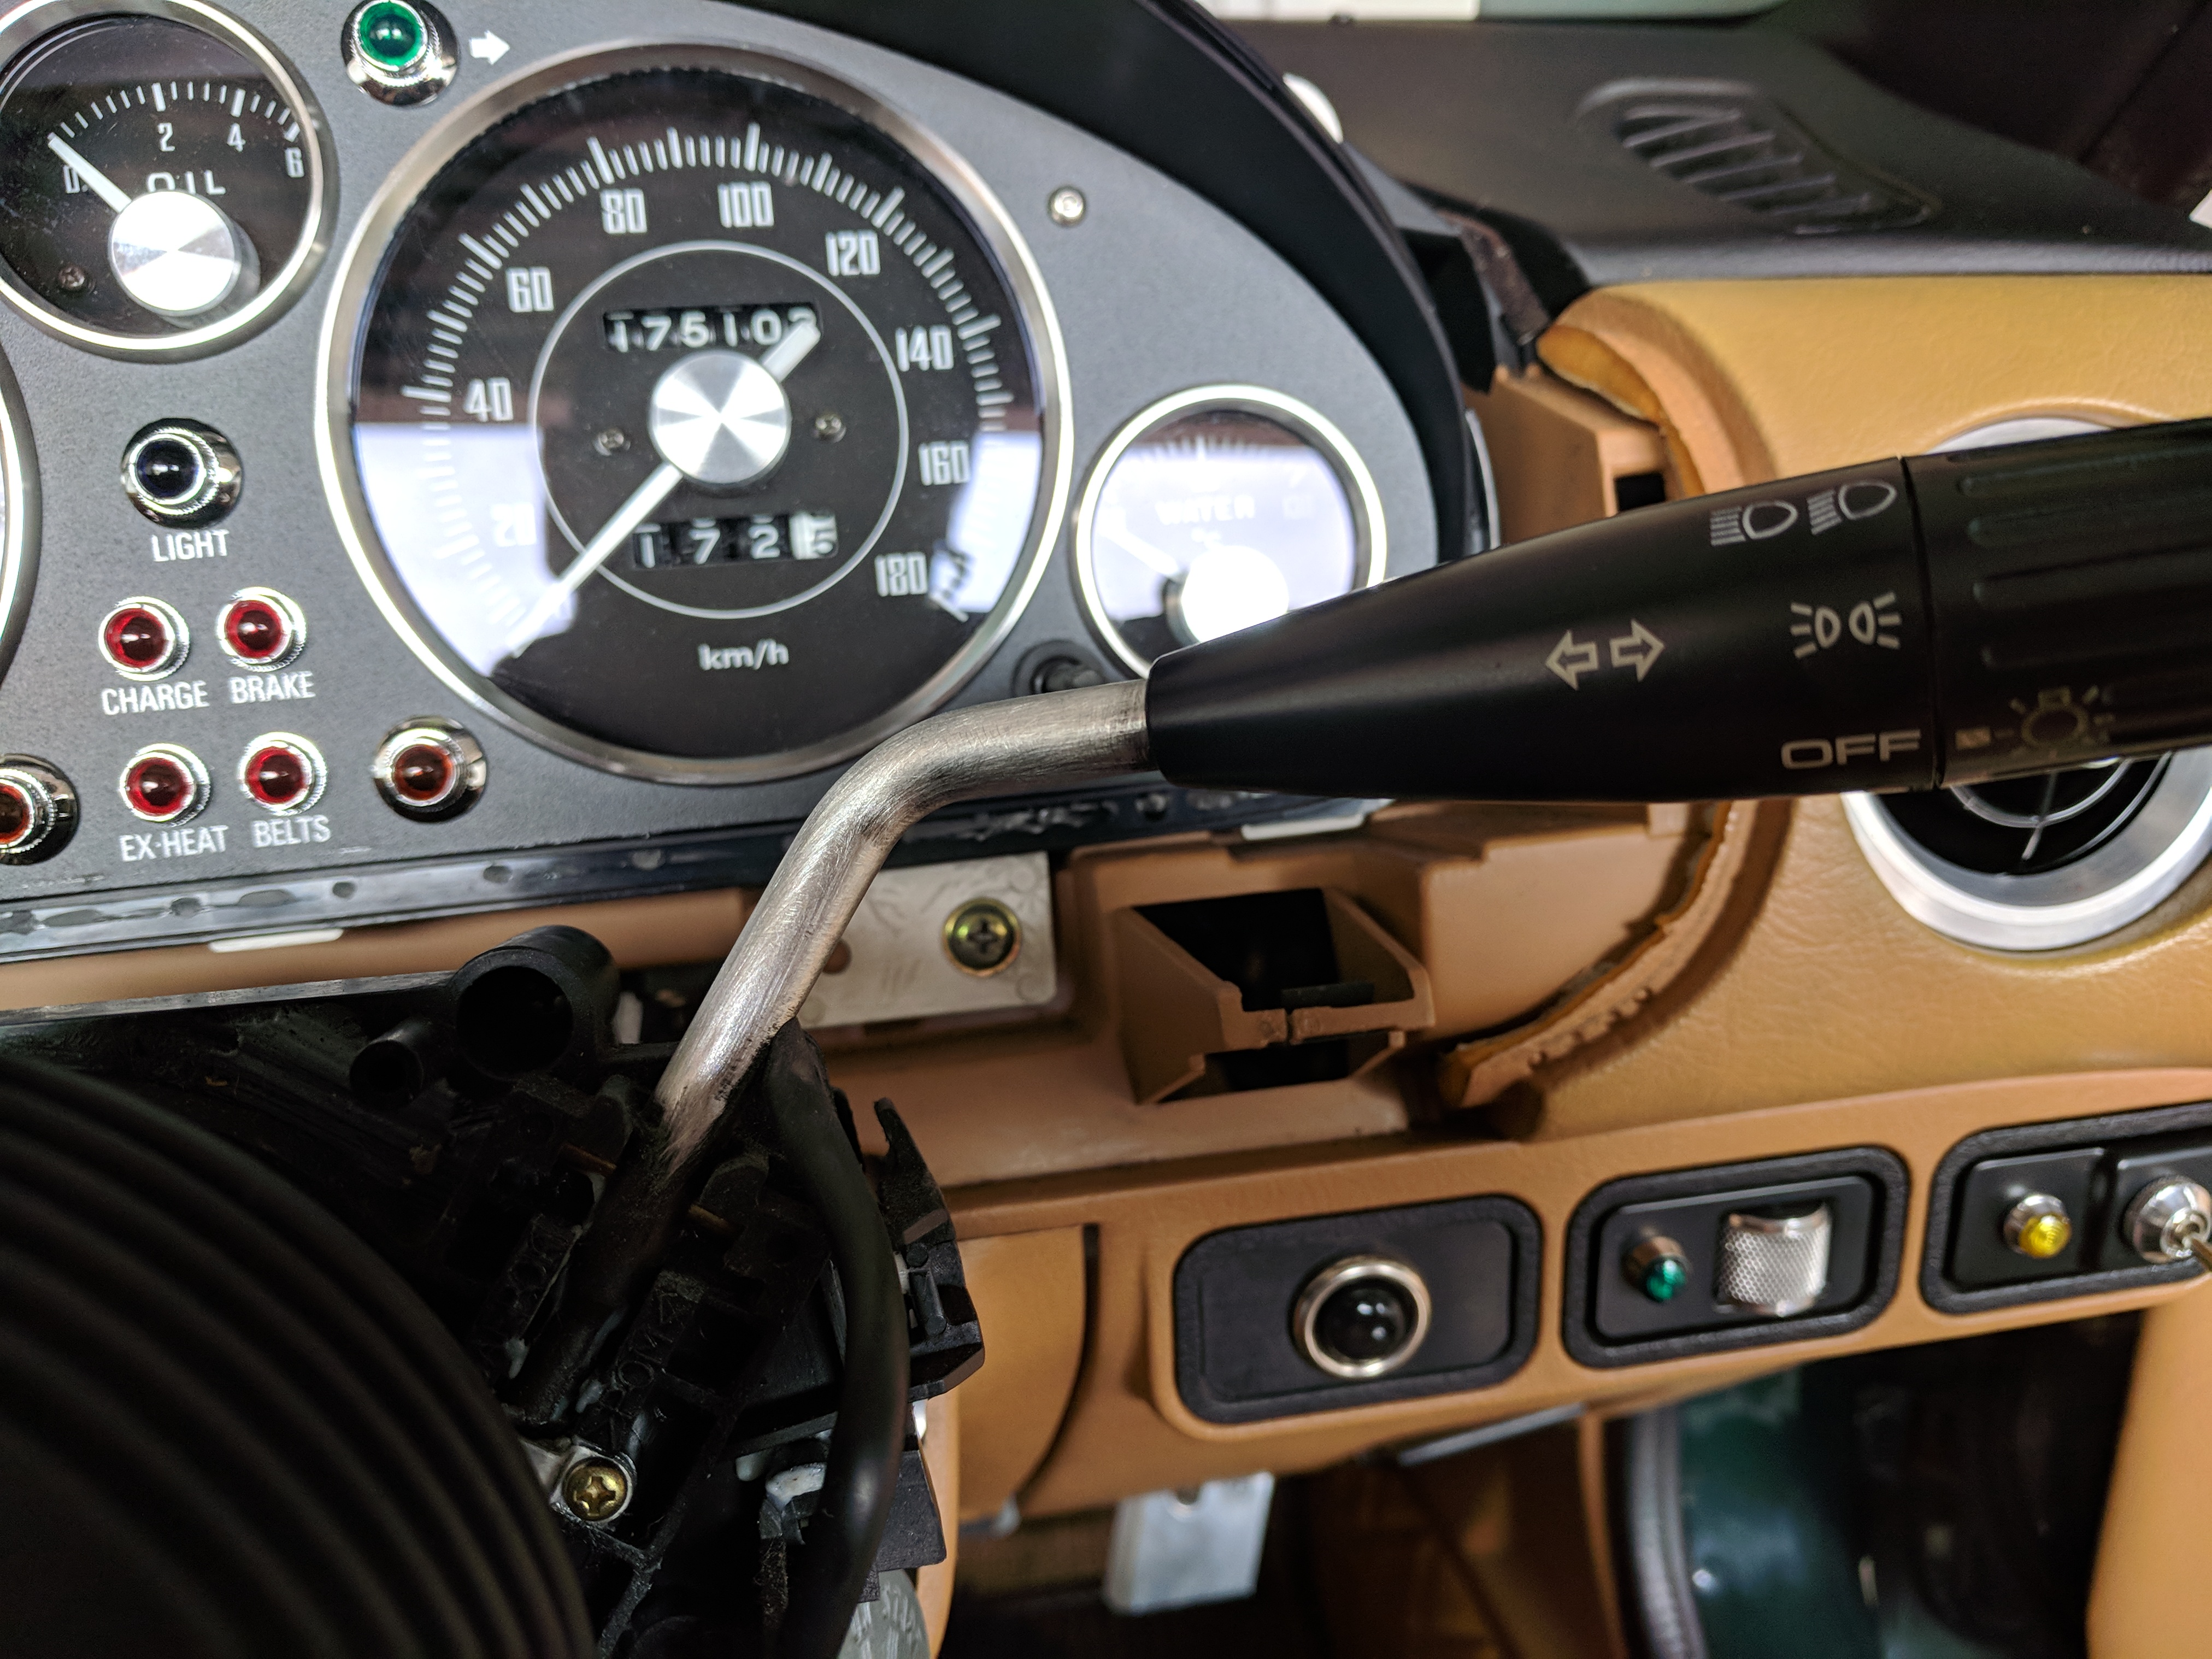
In progress: after the 400 grit wet sand.

In progress: after the 1000 grit.
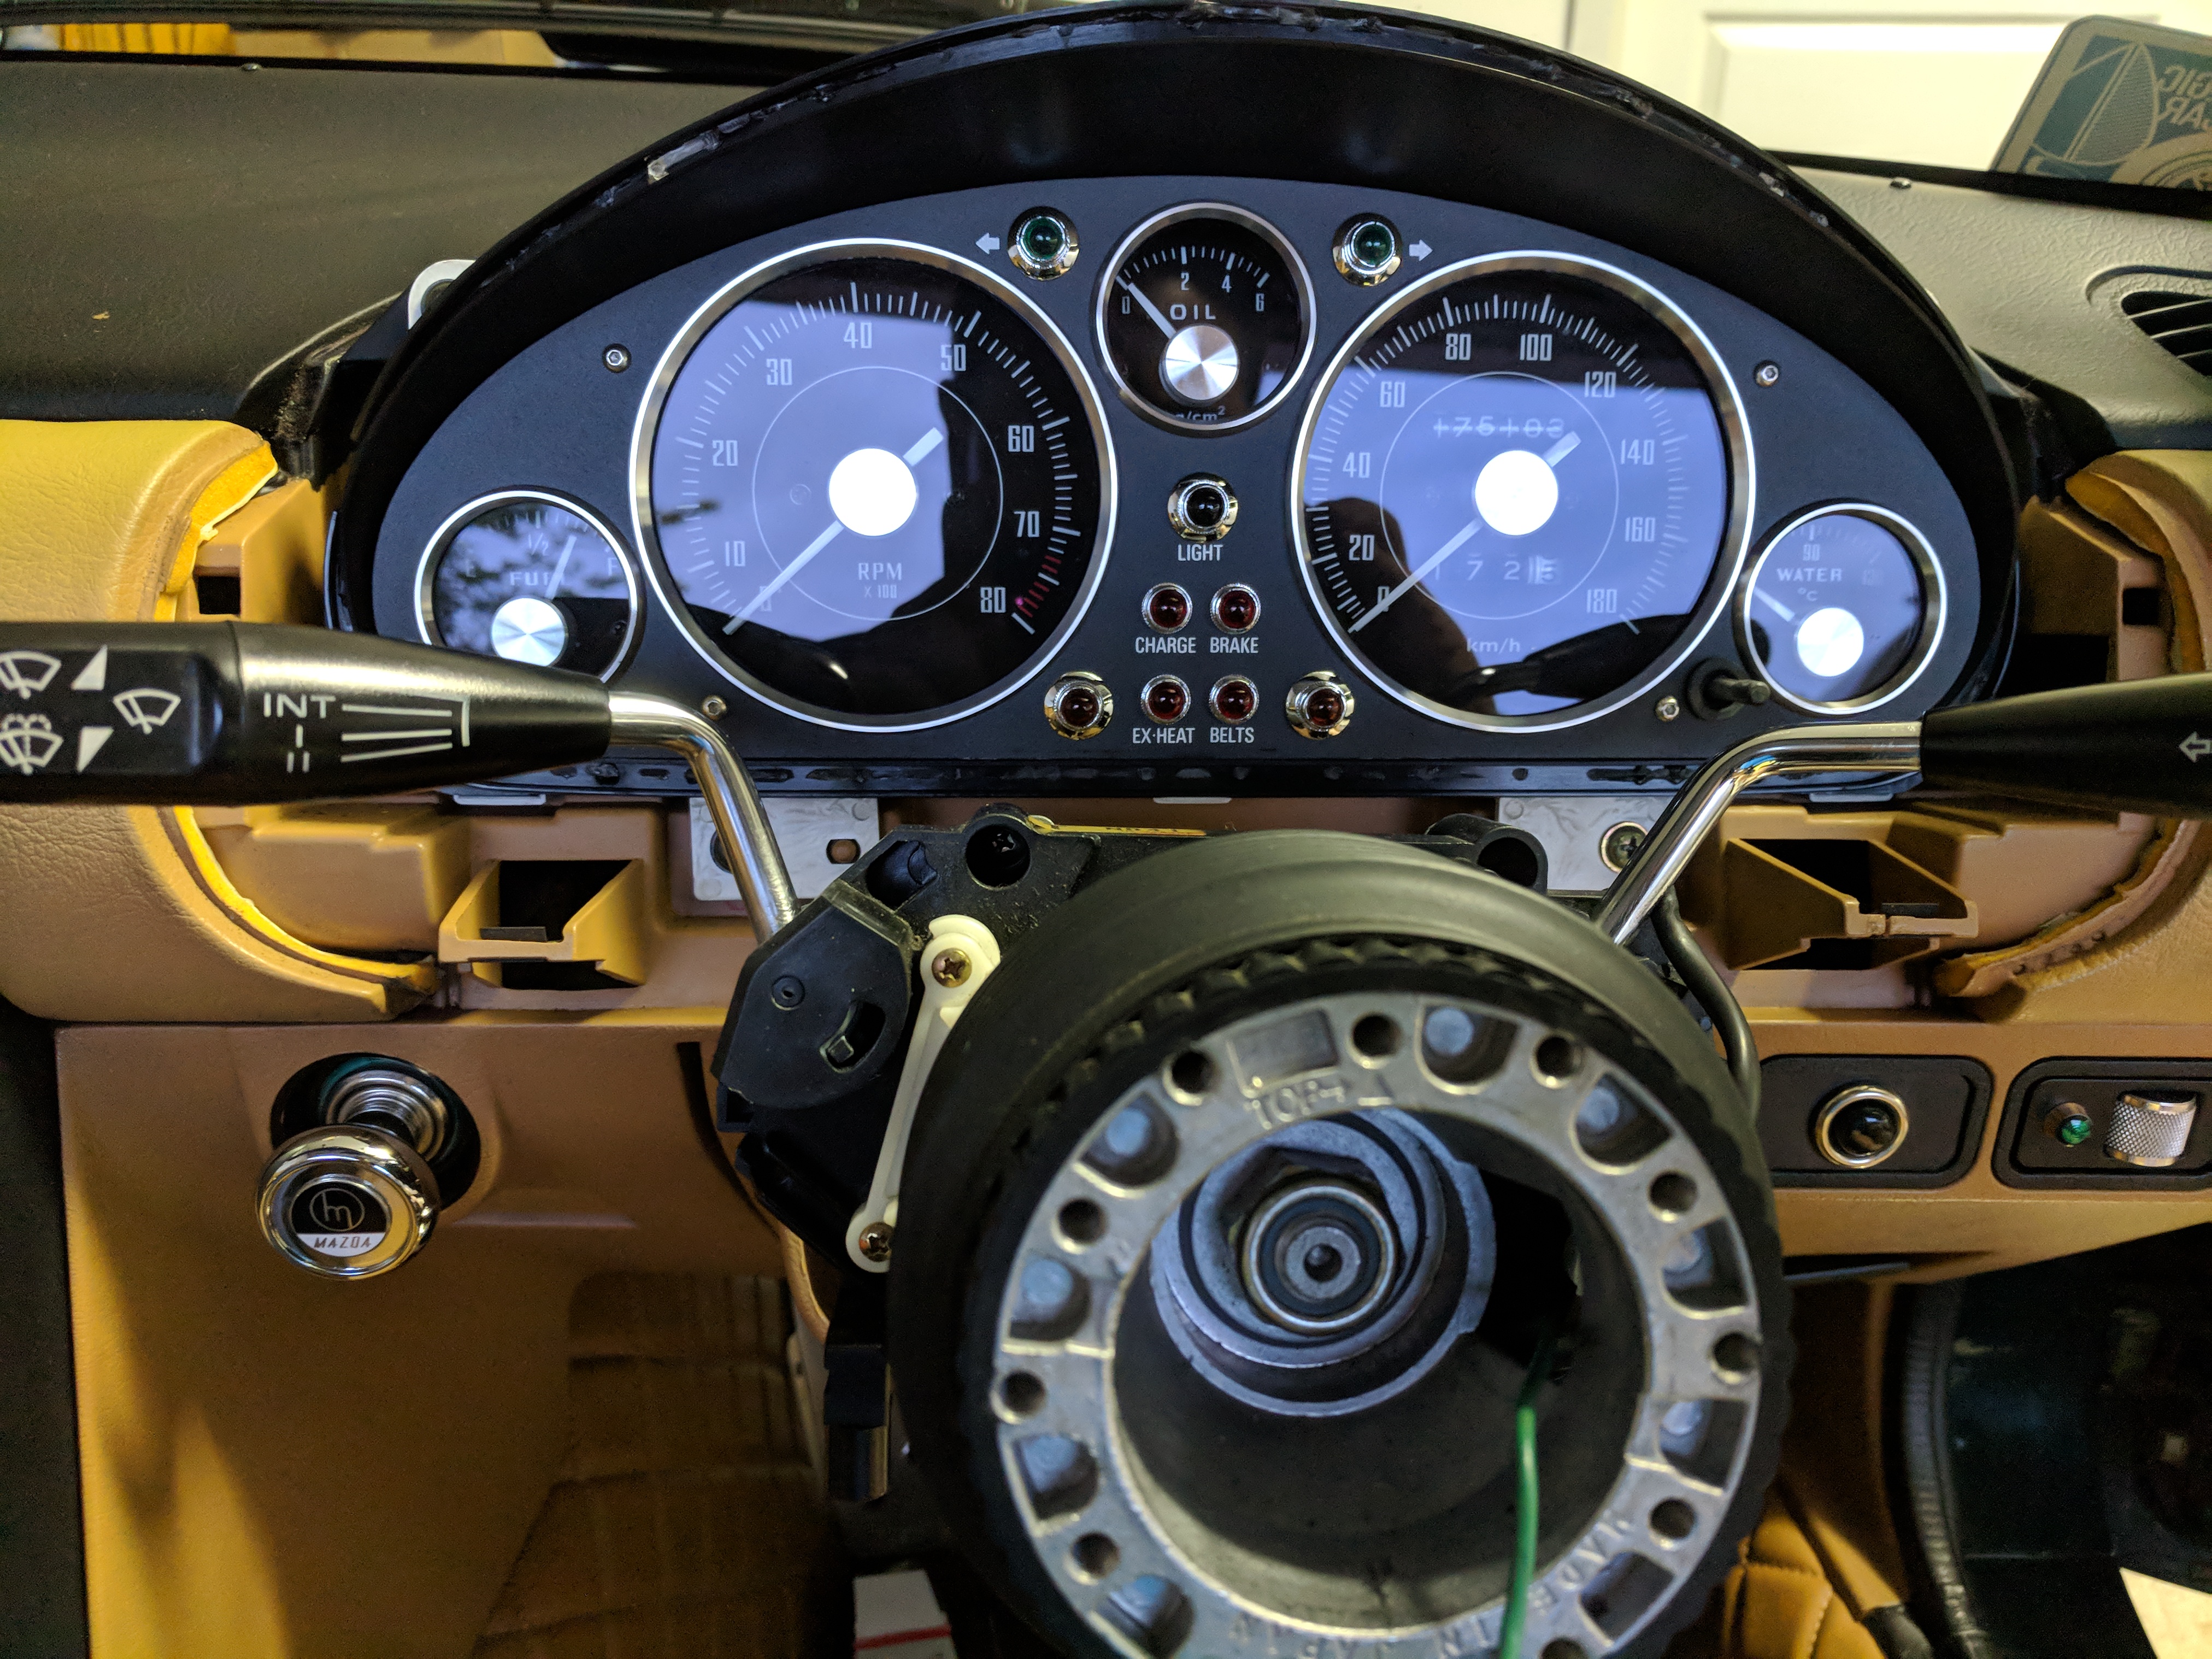
Final step of polishing the stalks with the Dremel using Pikal metal polish.
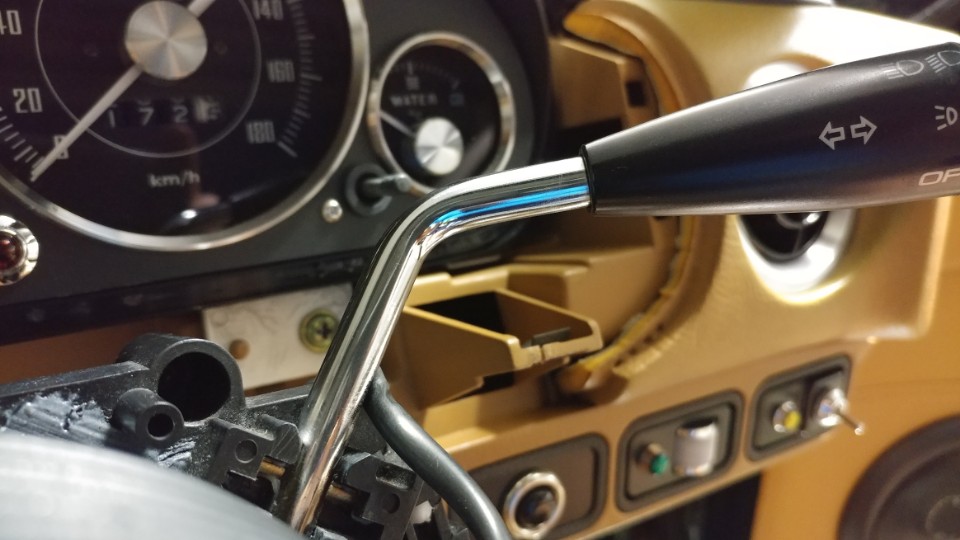
Polishing them up.
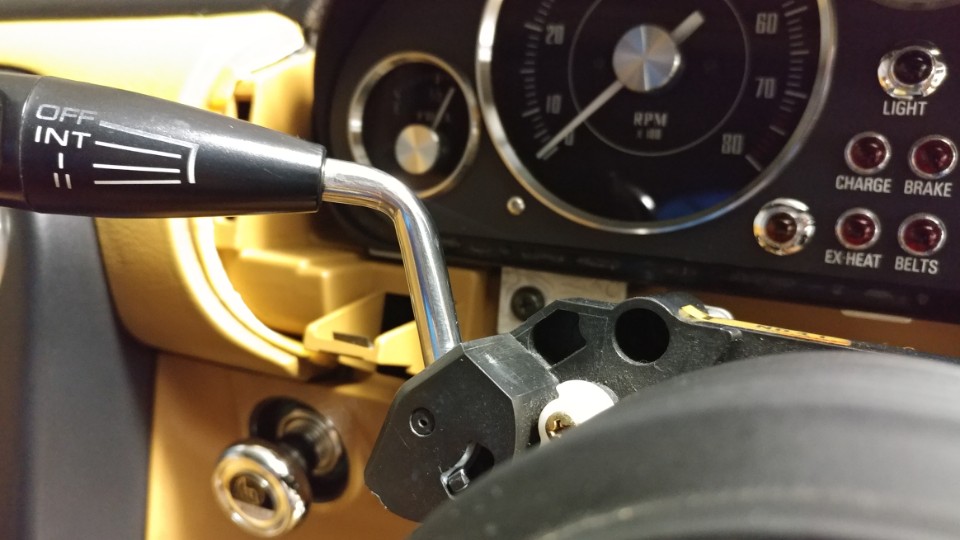 [/url]
Result.
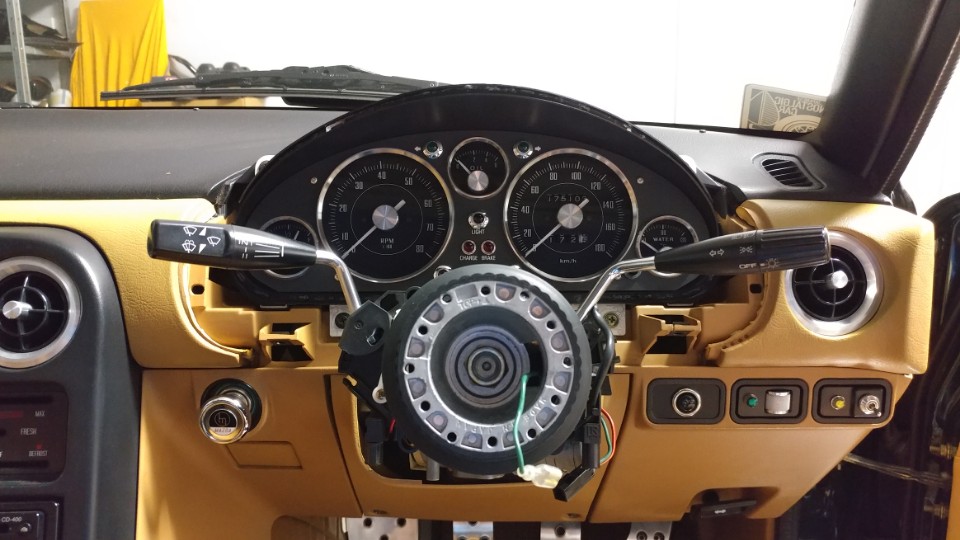
Very pleased with the end result. I decided to swap out the Nardi for the moment and go to the Momo Futura 350mm.
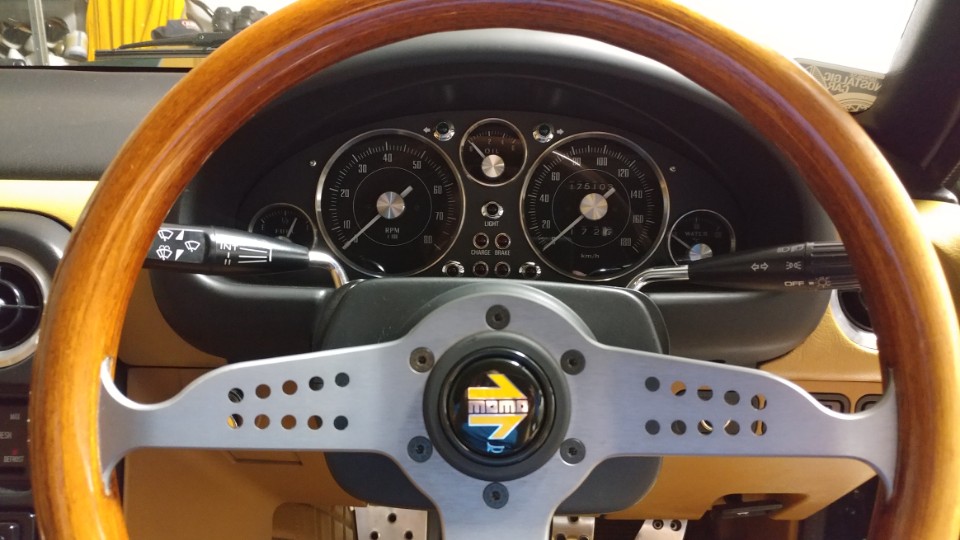
P.S I plan to refurb this steering wheel in the very near future by sanding the grip down, repairing the splits and and re-varnishing by using Adam's (RevLimiter) restoration guide.
Comment
-
21/08/2018
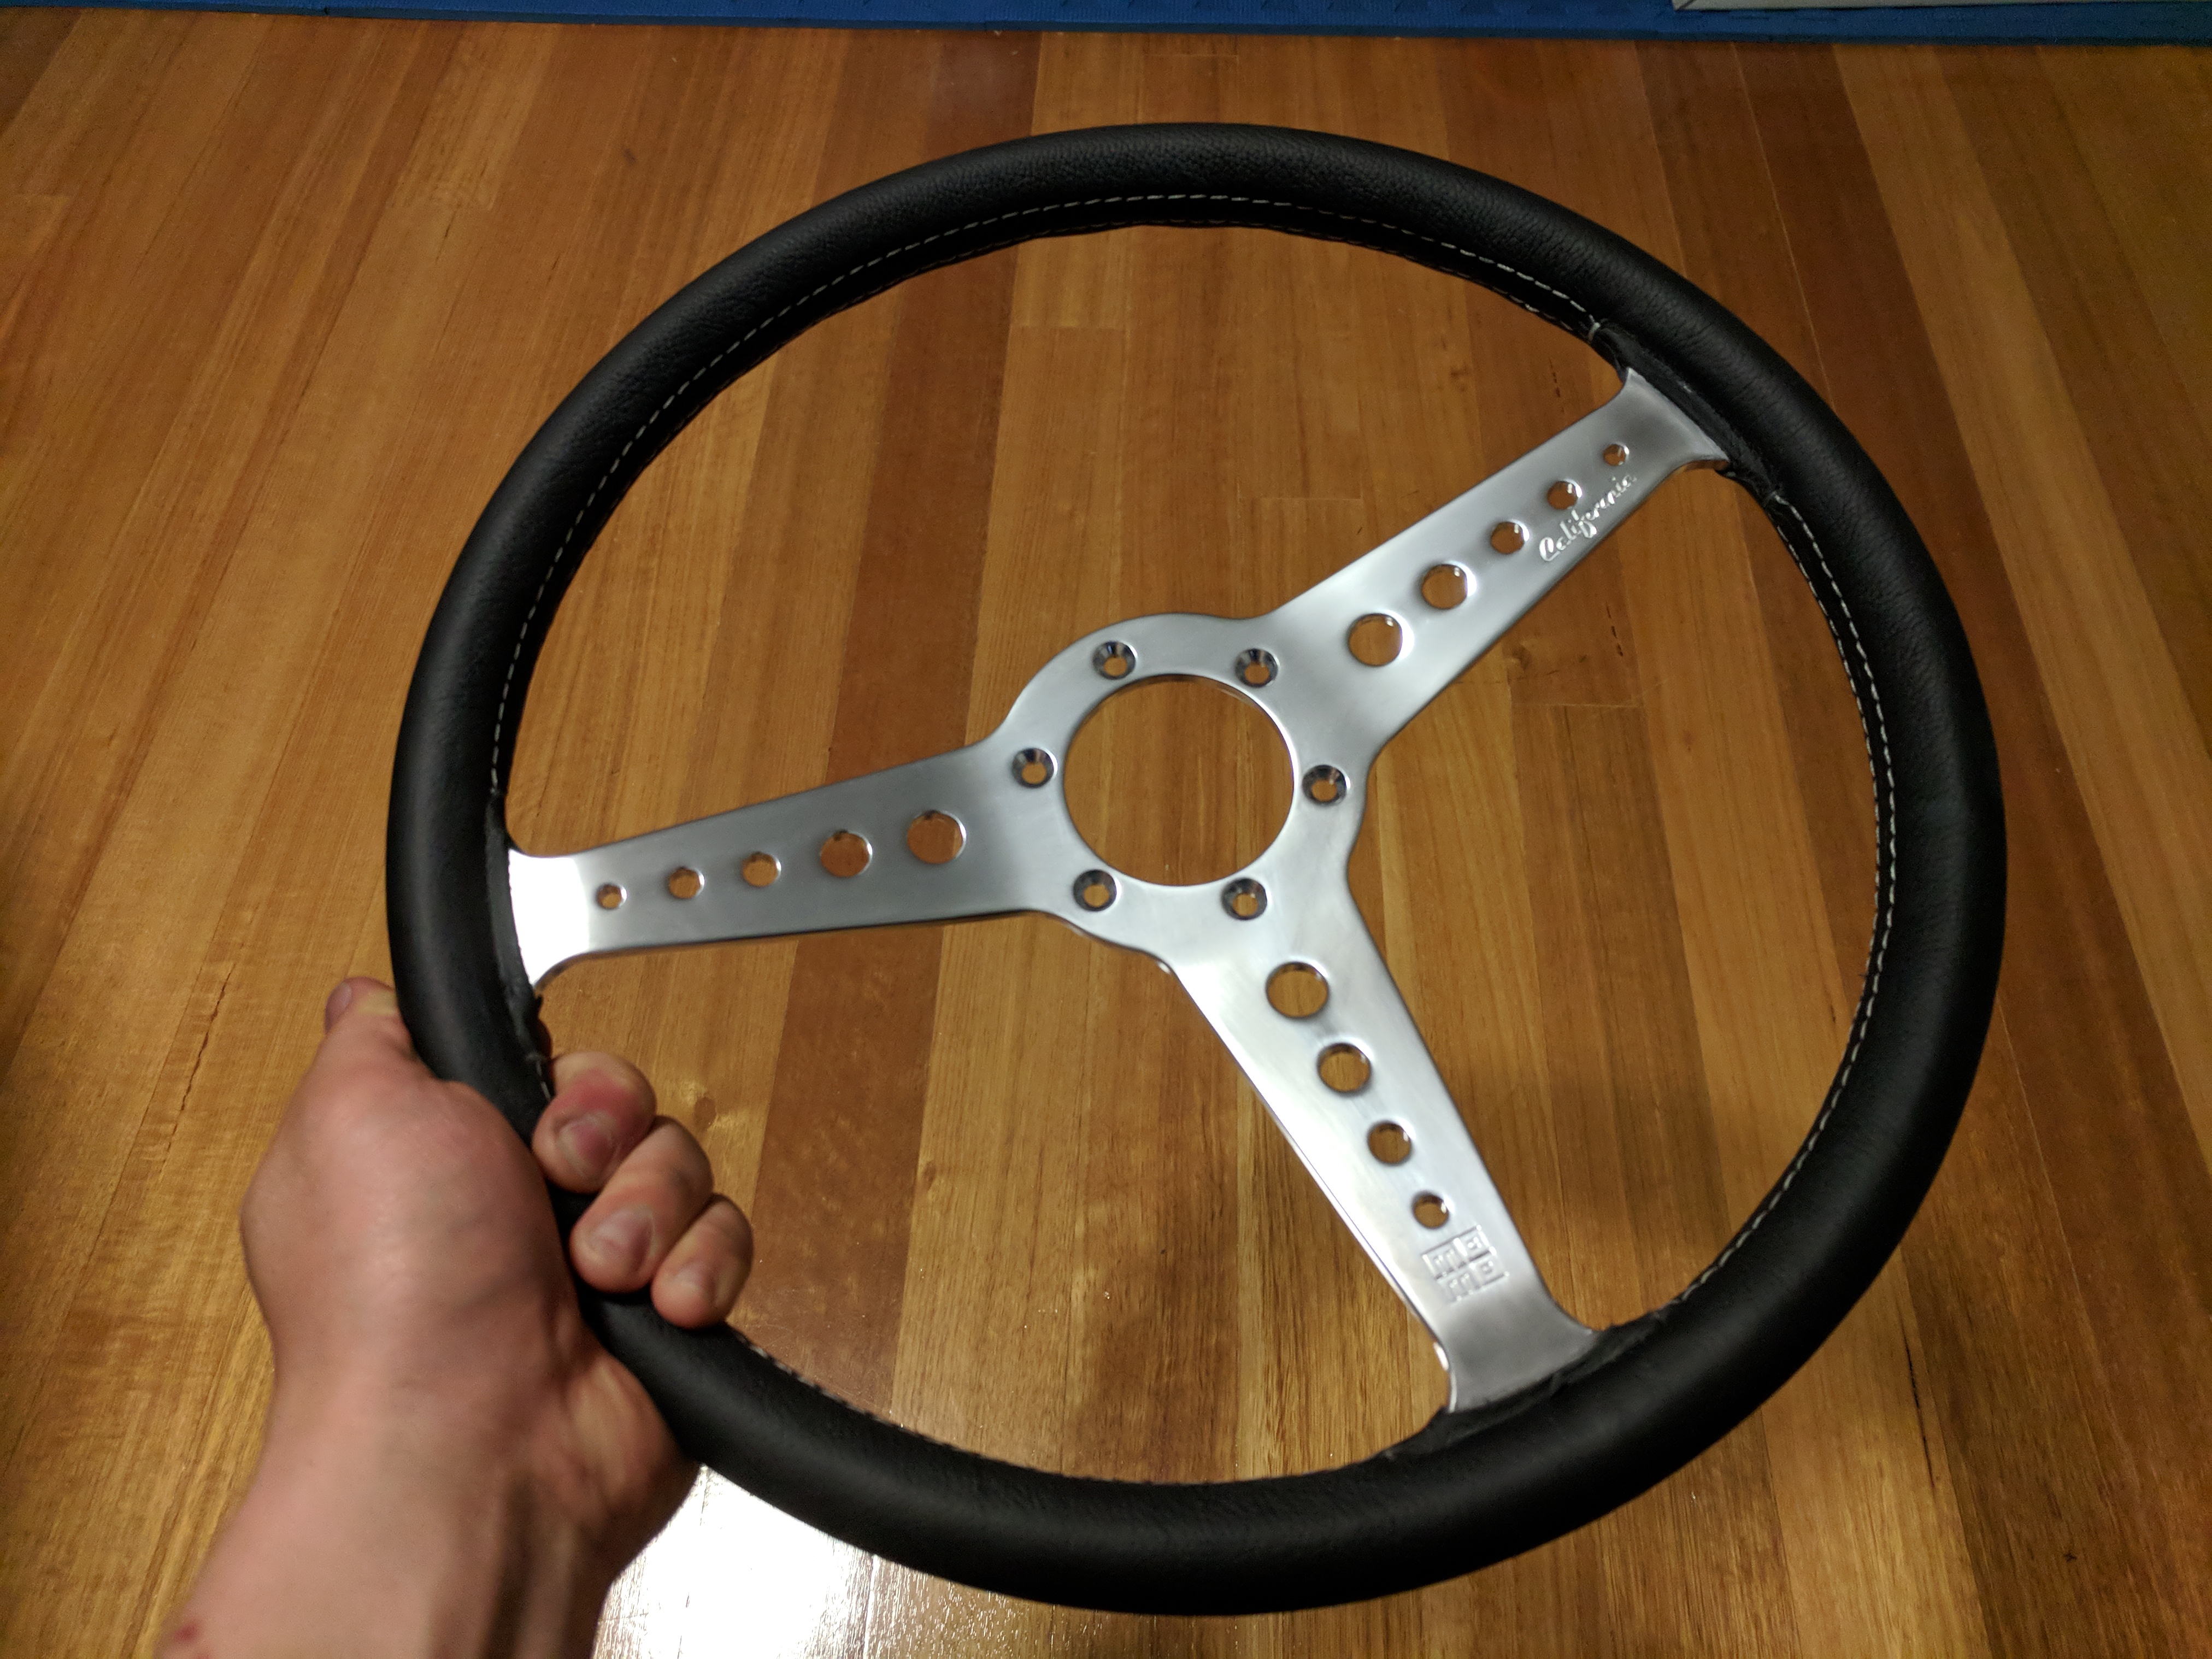
A few months back, I purchased a Momo California wheel from their new "Heritage" line. If I'm honest, it was an impulse purchase as Sparesbox were having a 25% sitewide sale or something at the time and it was too good a deal to just walk away from it.
I decided to purchase the Momo California as it still retained that classic oldschool period look. The wheel comes in two trims: black leather wrapped with white stitching grip or a mahogany wood grip. As much as I think wood goes well with a BRG and tan interior colour scheme, I liked the look of the black leather and I thought it would be fun to switch it up from the Nardi Classico wood or Momo Futura wood that I have previously used in 96-BRG. The only thing I didn't like about the Momo California steering wheel was the polished spokes. There wasn't an option for a brushed or matte finish for the Mom California. I personally feel that the polished finish on the spokes ties in better with oldschool 60's and 70's muscle cars. However, despite this I decided to bite the bullet, buy the wheel and see what it looks like in person.
When I put it on 96-BRG, I felt it didn't quite tie in with the rest of the car. The polished spokes of the Momo California was too "in-your-face" compared to the rest of the interior trim and it took away from the overall interior subtlety. I took it off, placed it back in the box that it came and put it into storage. Can you say "buyers remorse"?
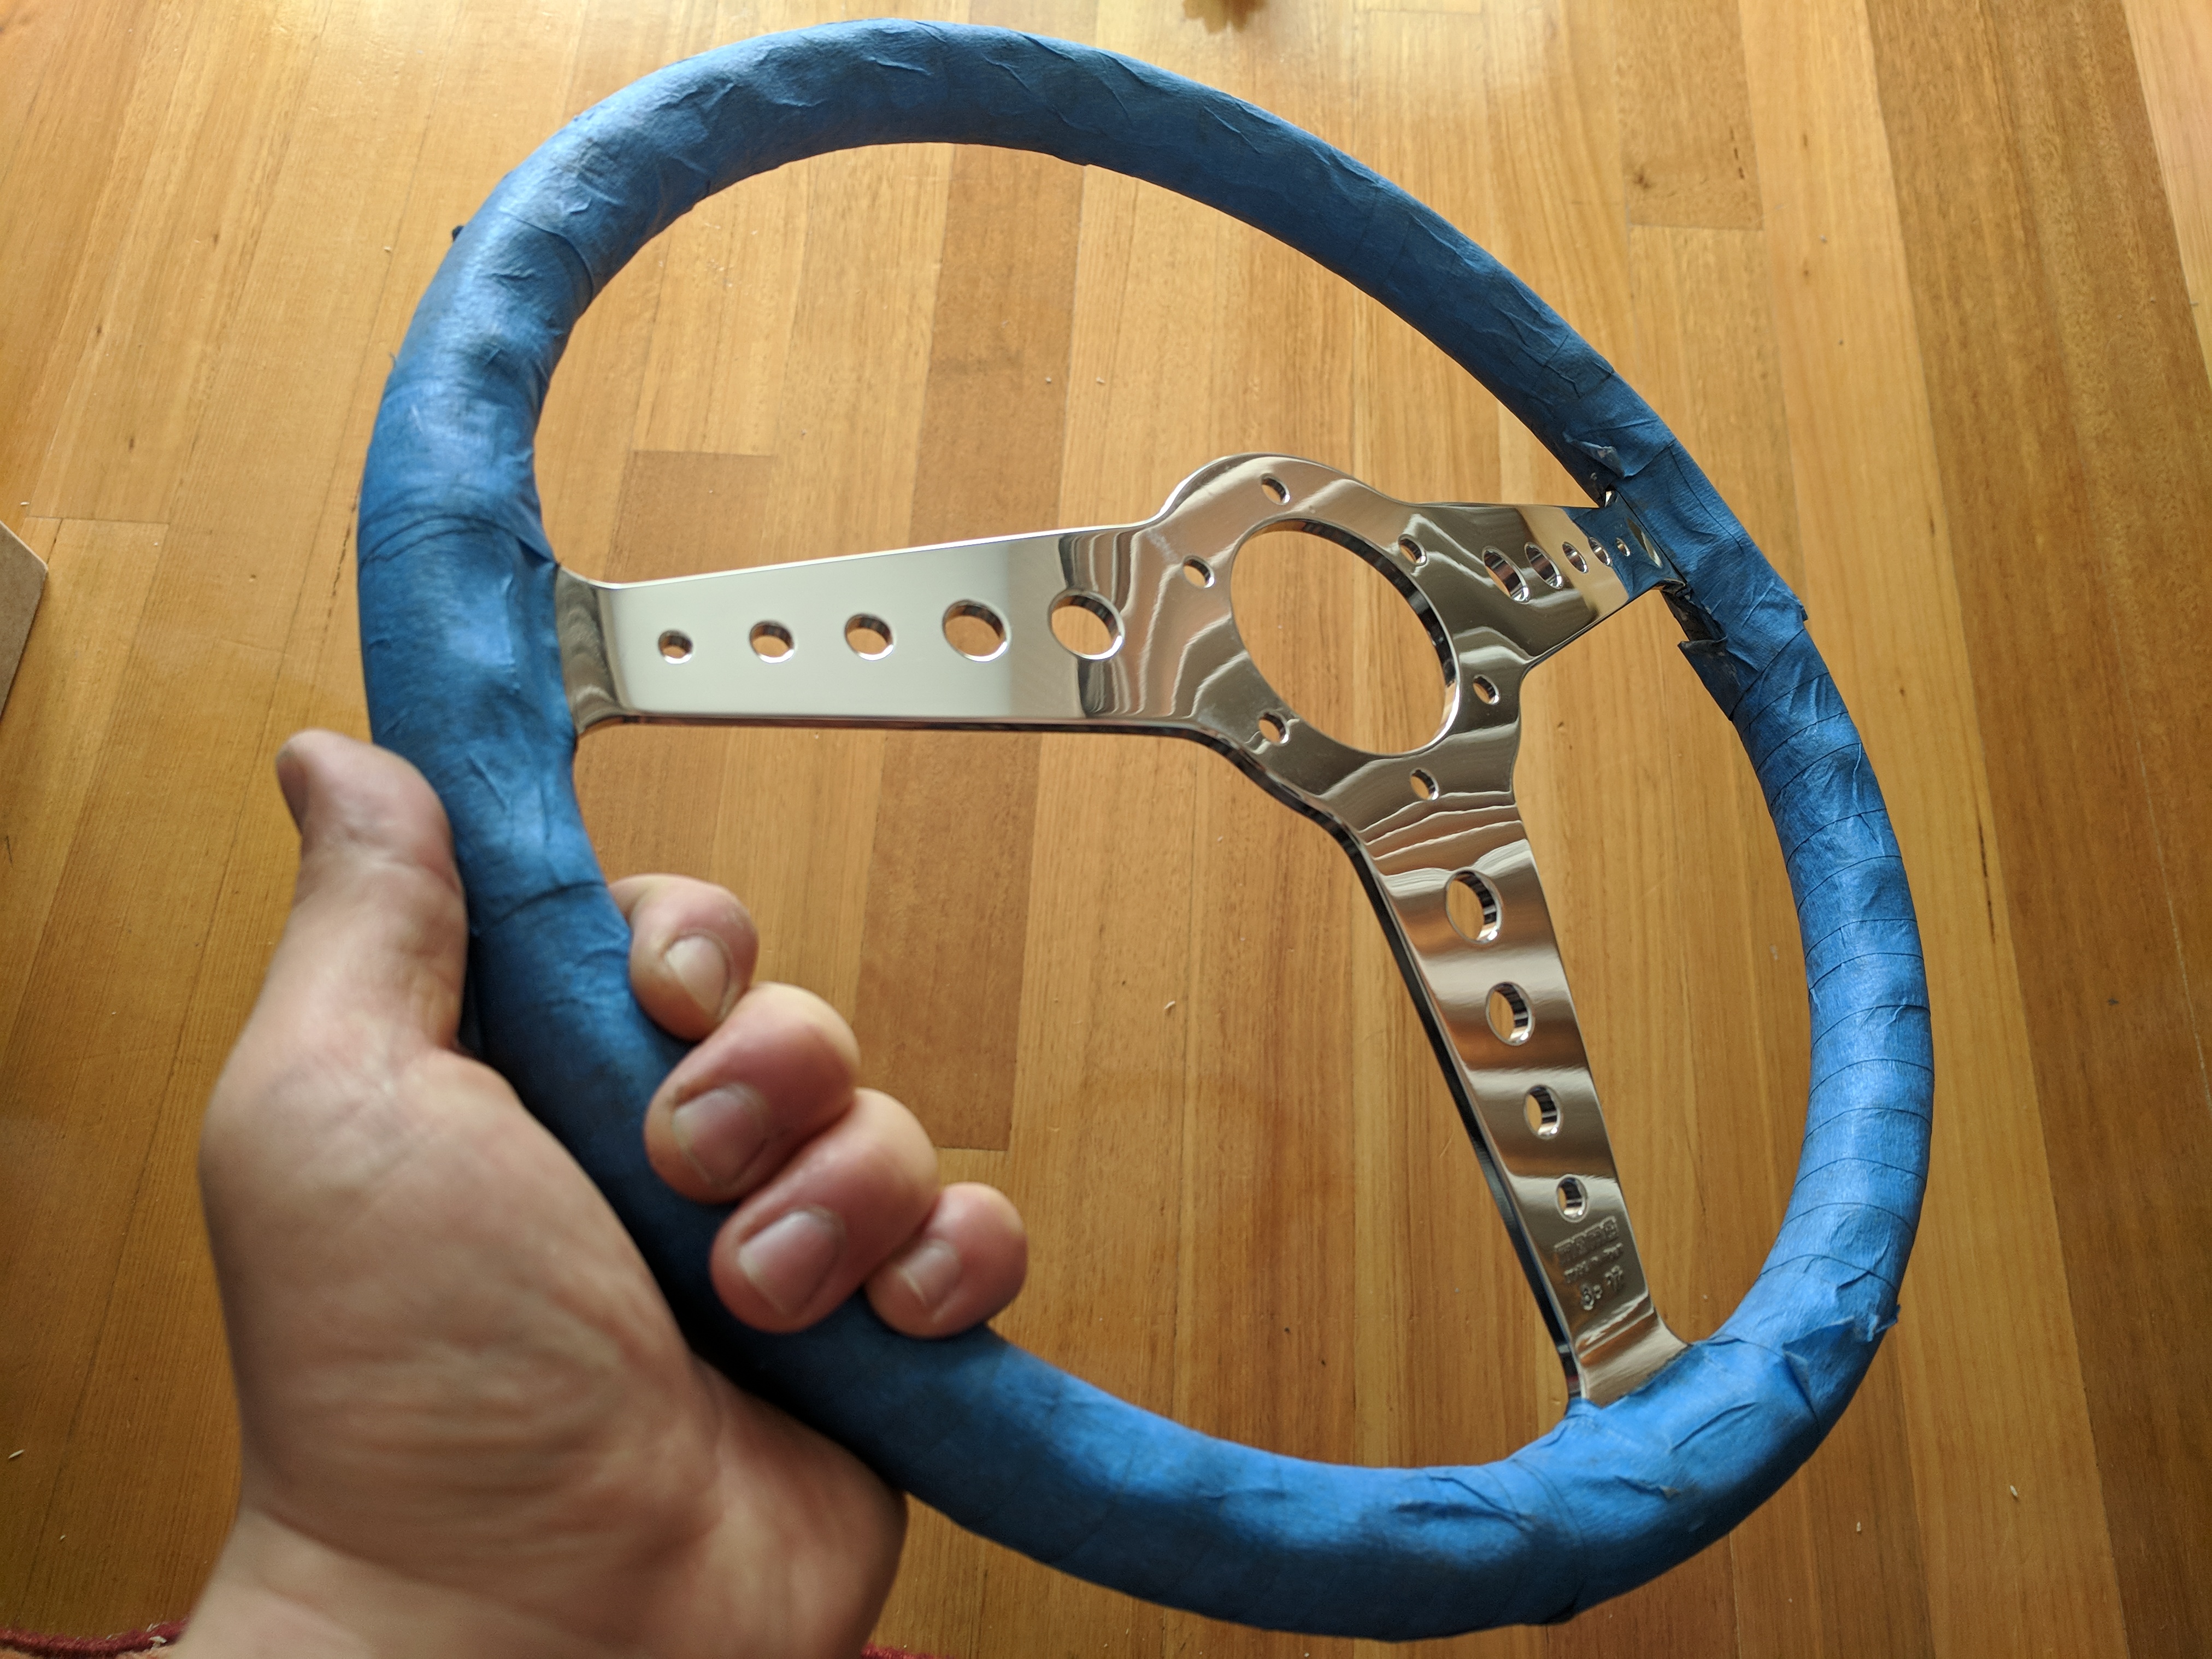
Fast forward to October 2018 and although I wanted to sell the wheel and get rid of it, I decided to keep it. I was determined to do something about the polished spokes and I figured a DIY would be the best way to go. You would have read in my previous post that I recently purchased a variety of sandpaper in different grit ratings as I was planning to polish up my indicator stalks. Well, the sanding madness didn't stop there. I took the steering wheel out of the box, wrapped up the leather grip with thick layers of painters tape all around, applied some wax and grease remover to the spokes and started to sand it back on what was a brand new steering wheel. I was pretty nervous as I felt like I was ruining a perfectly good wheel which would have easily sold had I decided to sell. I've now reached and surpassed that point of no return.
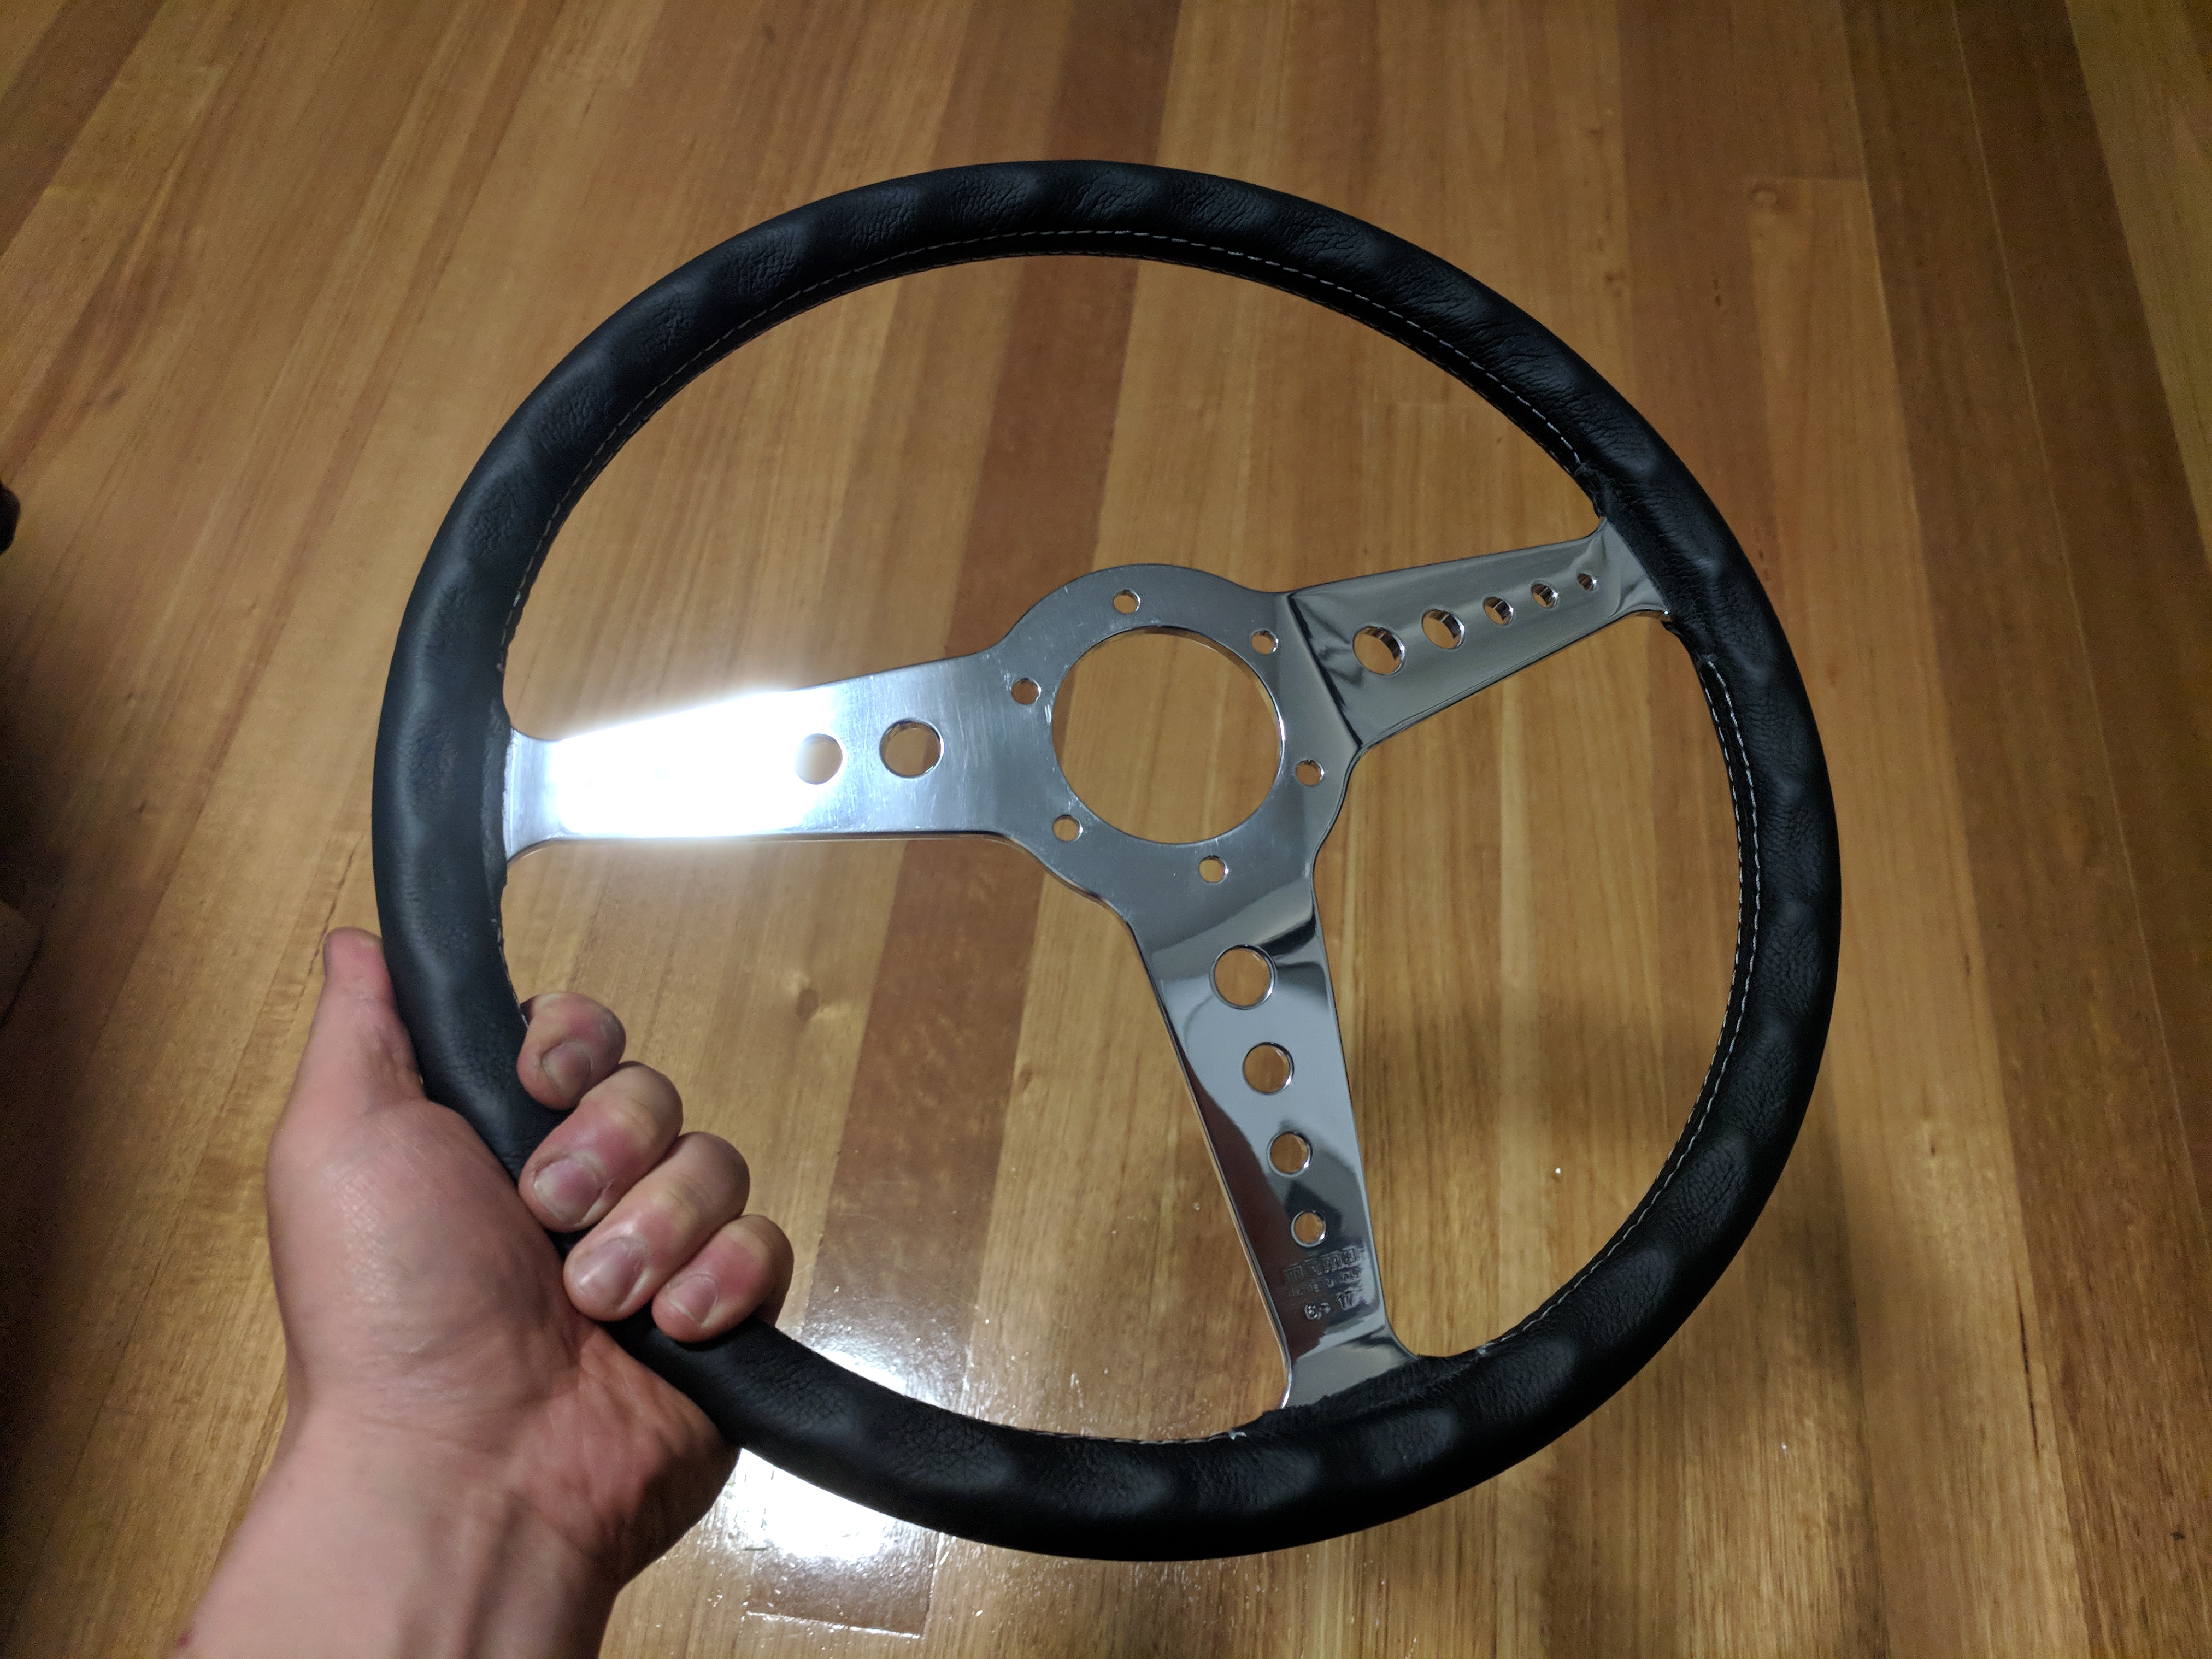
Much like the indicator stalks, patience is key. I started off with 400 grit wet sanding, then to 600 grit, 800 grit, 1000 grit, 1500 grit, then finally 2000 grit, before going over the spokes with some metal polish to rid the wheel of any light scratches from the sanding. To be honest, I didn't find any DIY articles on how to perform this whole procedure nor did I find anyone who had attempted to do something like this before, so I basically took a shot with this whole experiment and it was a bit of a gamble. But, I'm happy to say that the gamble paid off and I achieved the look that I wanted. I haven't put the wheel on the car yet, however I might change it up soon because it came out much better than I expected. I'll let the pictures do the talking.
Momo Heritage California 360mm steering wheel with black leather grip and polished spokes. Notice how the polished spokes is too "in your face" with the rest of the trim bits.
I also trial fitted a GarageStar 6061 aluminium hand brake handle.
Taped up and already hit with a few rounds of 400 grit sandpaper.

In progress: wet sanding the spokes using 1000 grit.
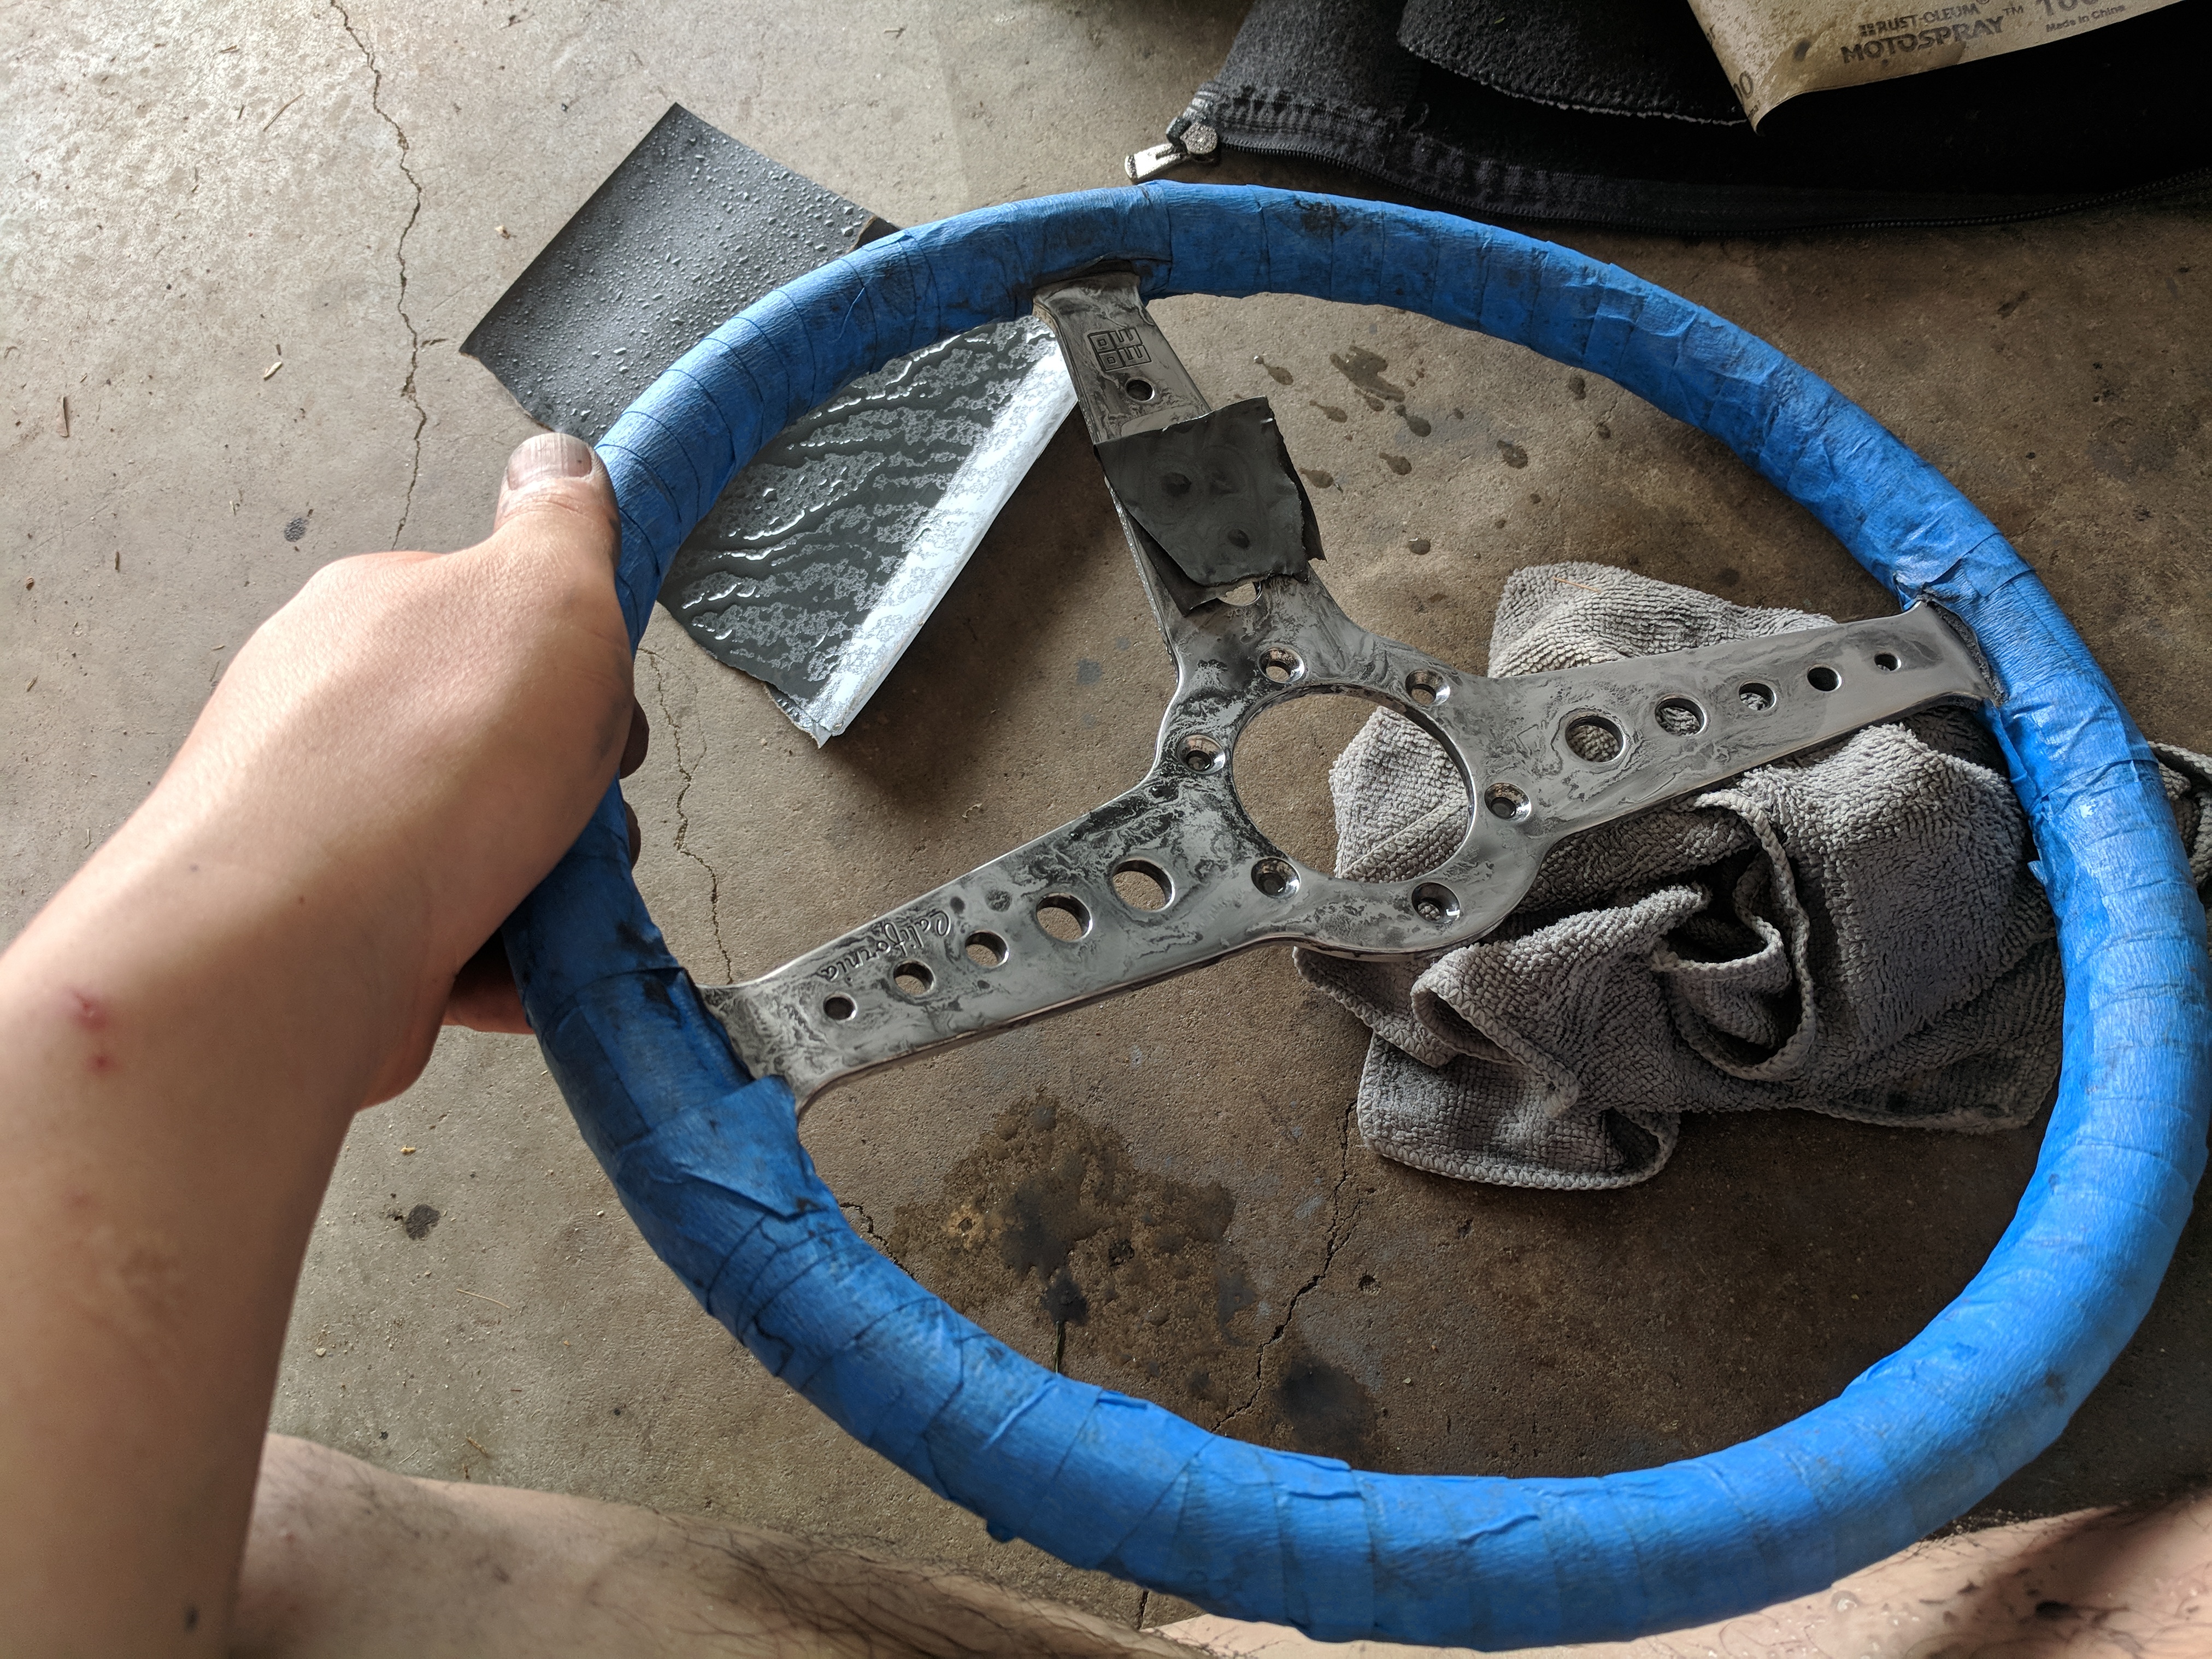
A few hours later, here's how it turned out after it was cleaned up. The painters tape is still on as I still had a bit of polishing left to do to rid the spokes of tiny imperfections. But overall I'm very pleased with the way it turned out..

I did not bother sanding and polishing the back of the steering wheel. This photo was taken so that a compare/contrast comparision can be made between the front and the back of the wheel.
Painters tape off, ready to be installed.
The original polished look of the steering wheel, which has been retained to give you an idea of how much "bling" was on the spokes.
Comment
-
Wow, dedication to the shine that's nice workWebsite: www.moonlightracing.com.au
Email: info@moonlightracing.com.au
Facebook:https://www.facebook.com/moonlightracingaus/
Supplying the best parts from all around the globe. Whatever you need, Moonlight's got it!
Comment
-
12/09/2019
OEM Fuel System refresh and overhaul
Decided to do a full fuel system overhaul. Given that the car is 23 years old, I decided to replace everything to do with the fuel setup. This means the fuel vapour valves and lines, fuel pump sock filter, assembly gaskets, fuel feed and return lines, filler pipe and gasket and a new fuel cap. All parts used were all genuine OEM Mazda parts.
Getting ready. Removing everything.

Seats out, let's clean a little bit.

OEM Freshness.

Fuel hose has done its duty for the last 23 years.

Old VS New.

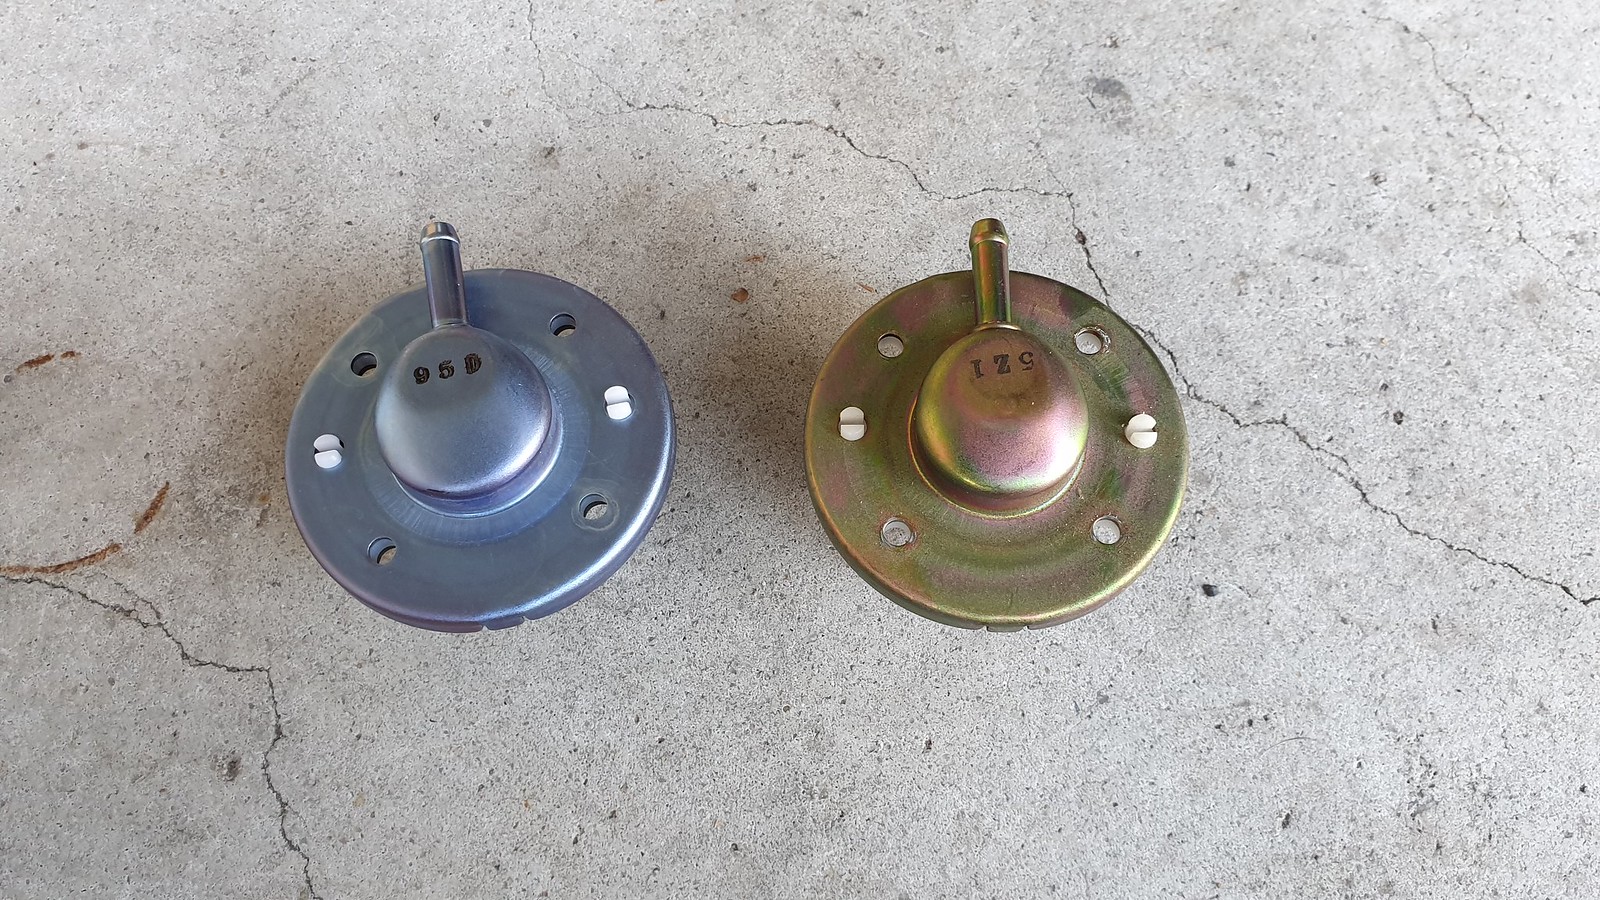

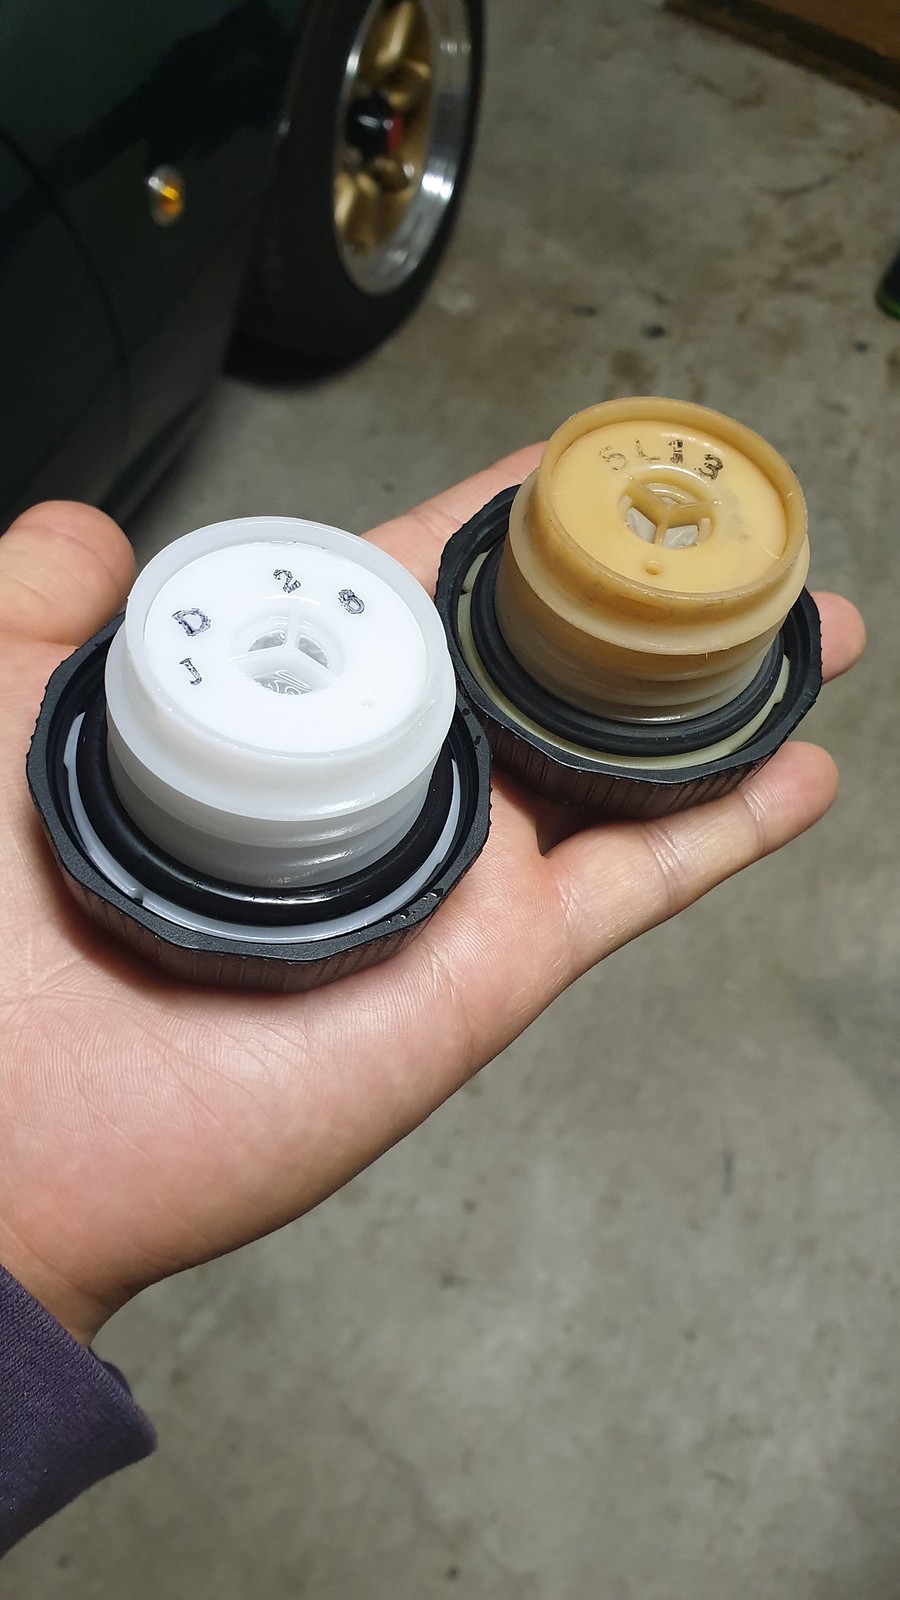
Done.

All the old stuff which is going straight to the bin.
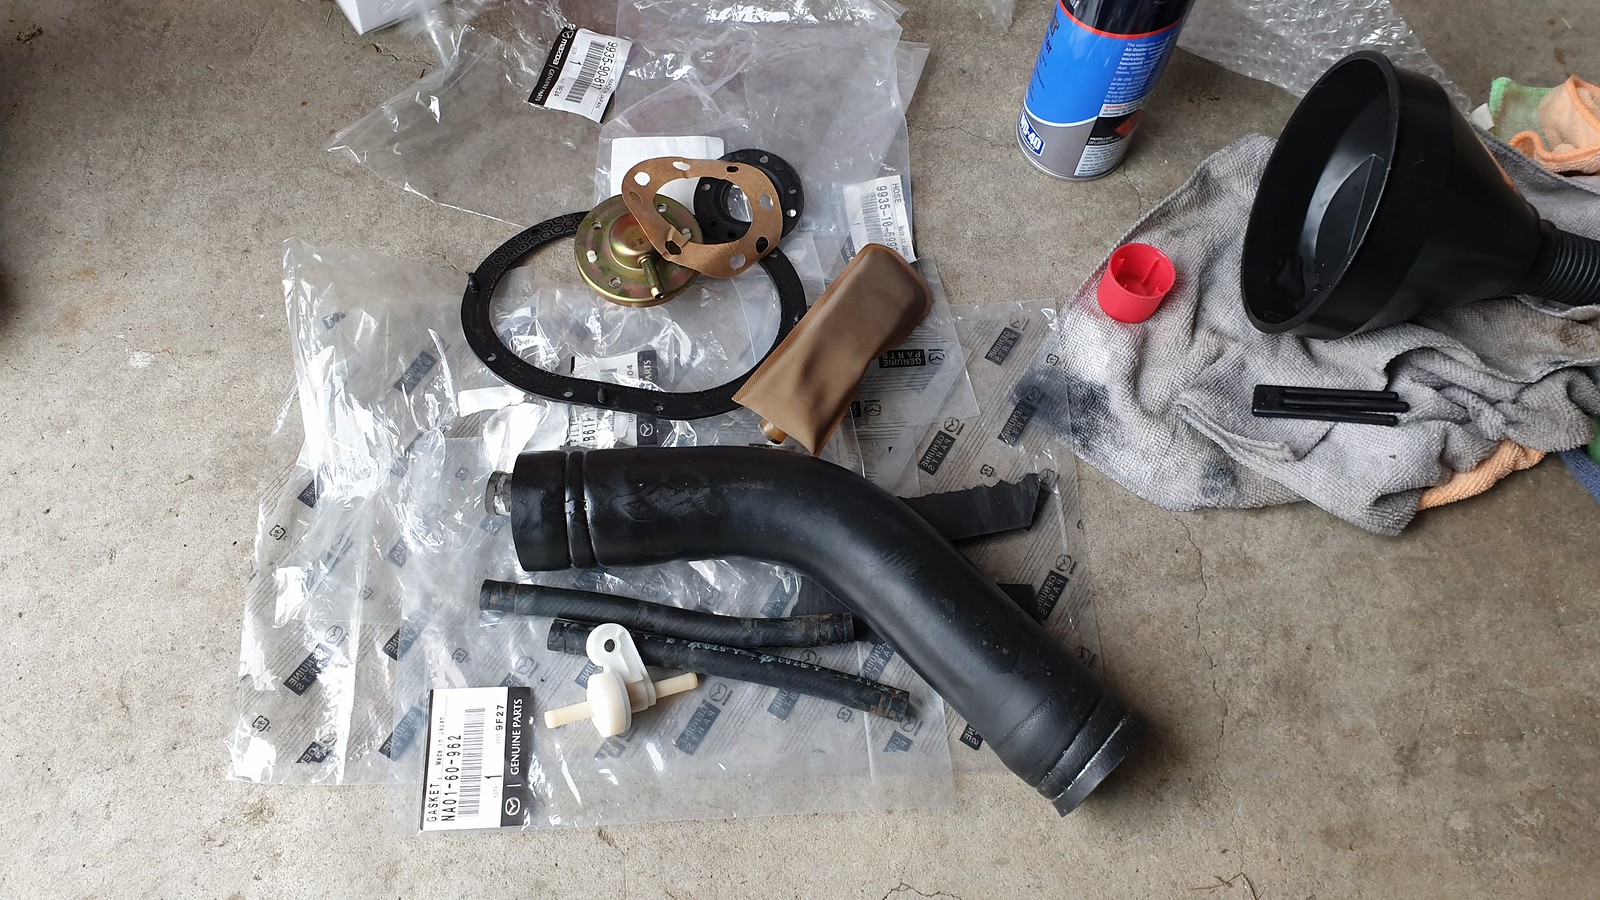
Many thanks to my friend Zico who helped source these parts and have them sent over to me and who also helped and assisted with the install.
Comment
-
19/10/2019
Mazdaspeed Front & Rear Sway Bars
I was able to get a set of these Mazdaspeed sway bars, thanks to my friend Zico. I had always wanted to get a set. However, with most discontinued Mazdaspeed items, it was becoming harder and harder to come by. Zico sent me a link from Yahoo Japan Auctions one day letting me know that a set of front and rear Mazdaspeed sway bars were available and needless to say, I decided to jump on them.
When I got my hands on it, I realised that there was slight surface rust and a little bit of corrosion on the sway bars. Not to worry, as I had already planned to refurbish these anyway. Why did I bother doing this when they wouldn't be noticed by anybody once installed, you may ask? It's because if I had installed it as is, although other people might not know that there was surface rust on the sway bars, I will...and eventually, it'll eat away at me. If something can be made better or fixed/cleaned up before it goes in, you best believe I'm going to take that route, even if it means taking a long, tedious road to get there.
The process to refurbish these sway bars wasn't hard. It just took a Dremel with a sanding bit, some etch primer, degreaser and spray paint, patience, time and care. I had originally wanted to get rid of the Mazdaspeed logo on the sway bars and have a new one made up, however I realised that it wasn't a sticker. It's more like a plaque affixed on the sway bar itself. I decided to mask it up and leave it as it since it was in relatively good condition considering the age. Plus, it means that there would be something authentic and still original left on the sway bars from when Mazdaspeed were producing these items way back when.
Using the Dremel, I sanded the sway bars back down to the bare metal. Then, I used a couple of layers of etch primer before sanding it back with some 400 grit sandpaper to smooth out any rough patches and to get it ready for paint. For the paint, I used the same paintcode as the car (i.e "HU", which is British Racing Green/Neo Green). Mazdaspeed items are usually green and I thought it would compliment the car well once it was resprayed in this colour.
Surface rust.

Mazdaspeed logo.

In the process of sanding the corrosion/surface rust and back down to bare metal on the rear sway bar.

Closeup of work in progress.
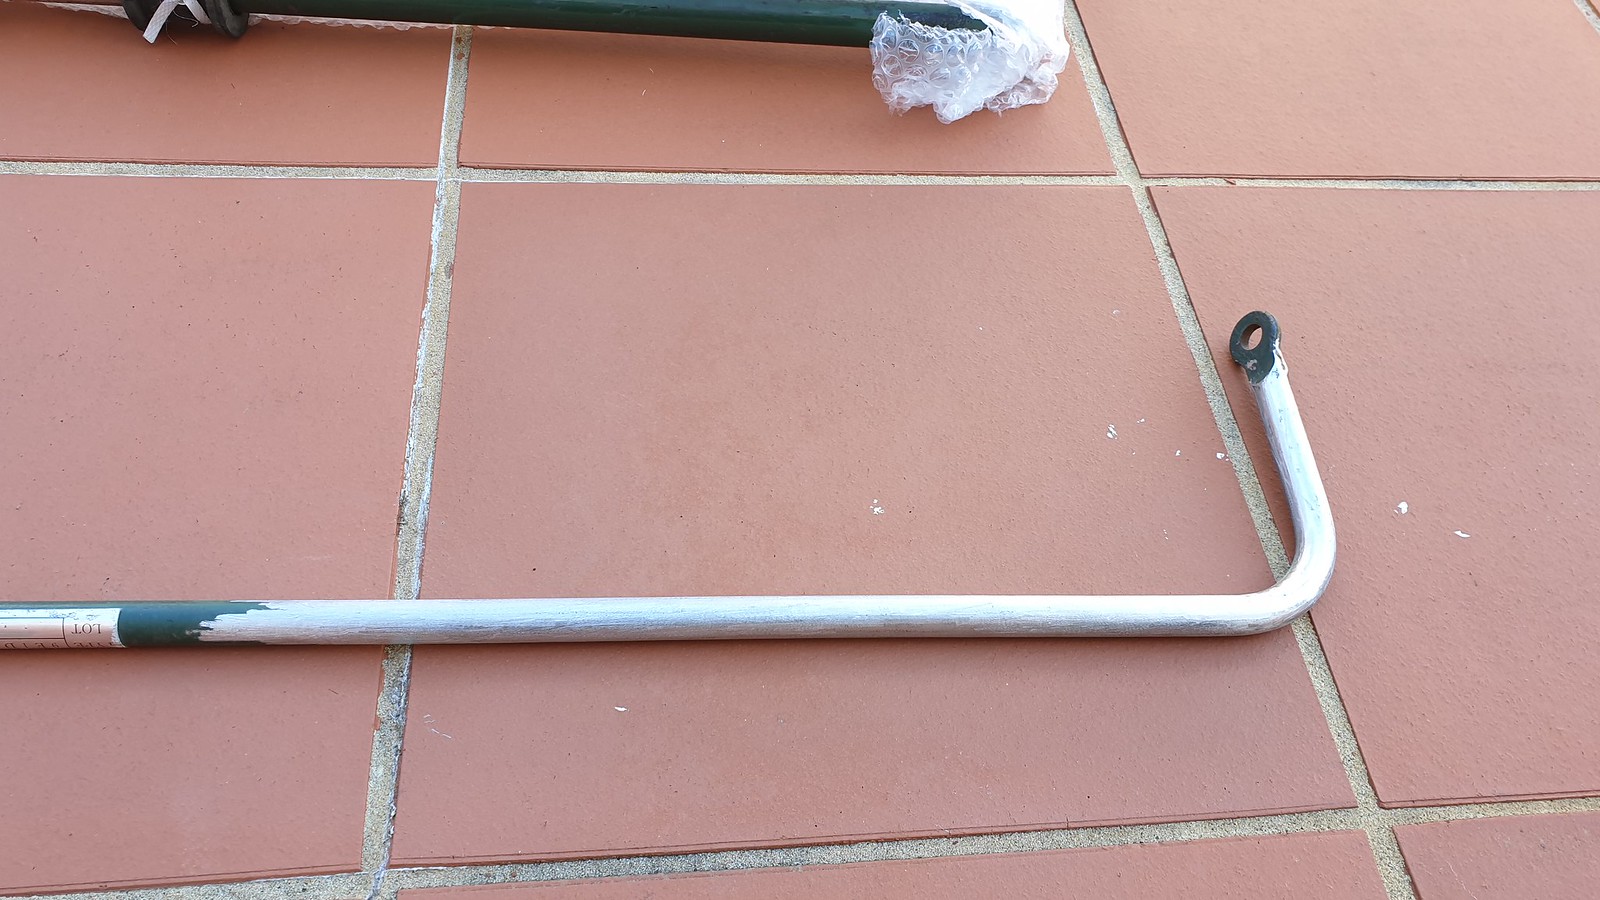
Rear sway bar fully sanded back and ready to go.

Comparison shot of a fully stripped back sway VS original.

Sanding away.
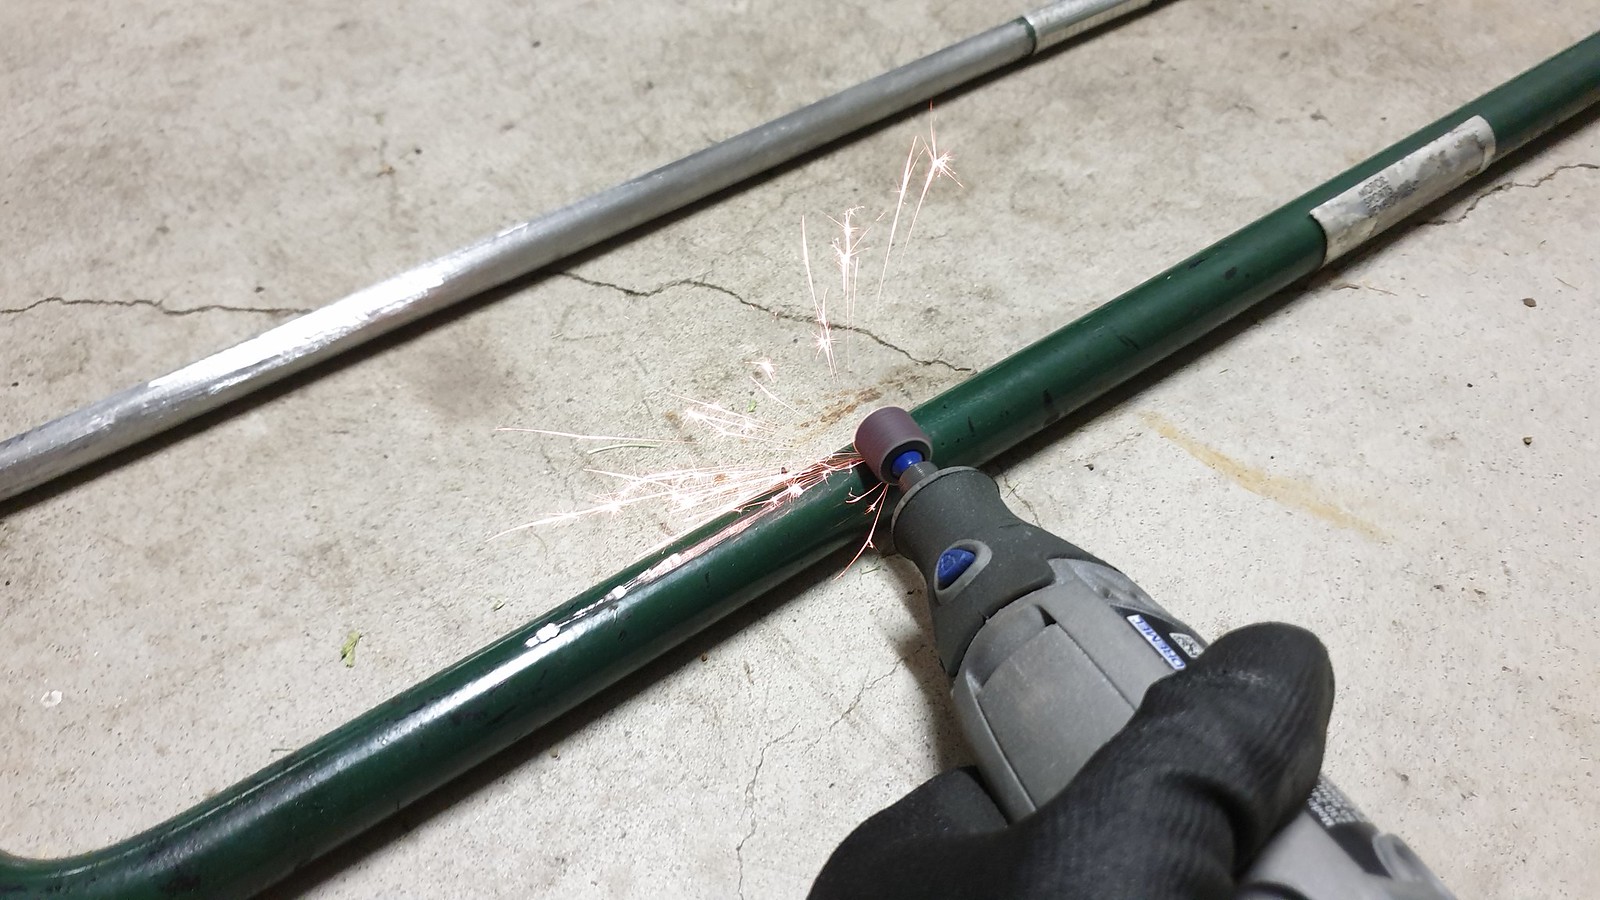
Done. Ready for some etch primer and then paint.

Degreaser to get rid of fingerprints, oils, anything else off the sway bar before the primer is applied.

Mazdaspeed.

Taped up, ready for paint.

Not the most sophisticated setup here, but hey, it works!

Three layers of etch primer before getting it sanded back and smoothed out with 400 grit sand paper.


First layer of green on the sway bar.

Letting it dry before applying further coats.

Finished product. One set of refurbished Mazdaspeed sway bars.


It turned out better than I had originally anticipated. Can't wait to install these. Once I get new bushings for these, I'll be looking to put these on ASAP. Many thanks again to Zico for helping me source these sway bars.
Comment


Comment