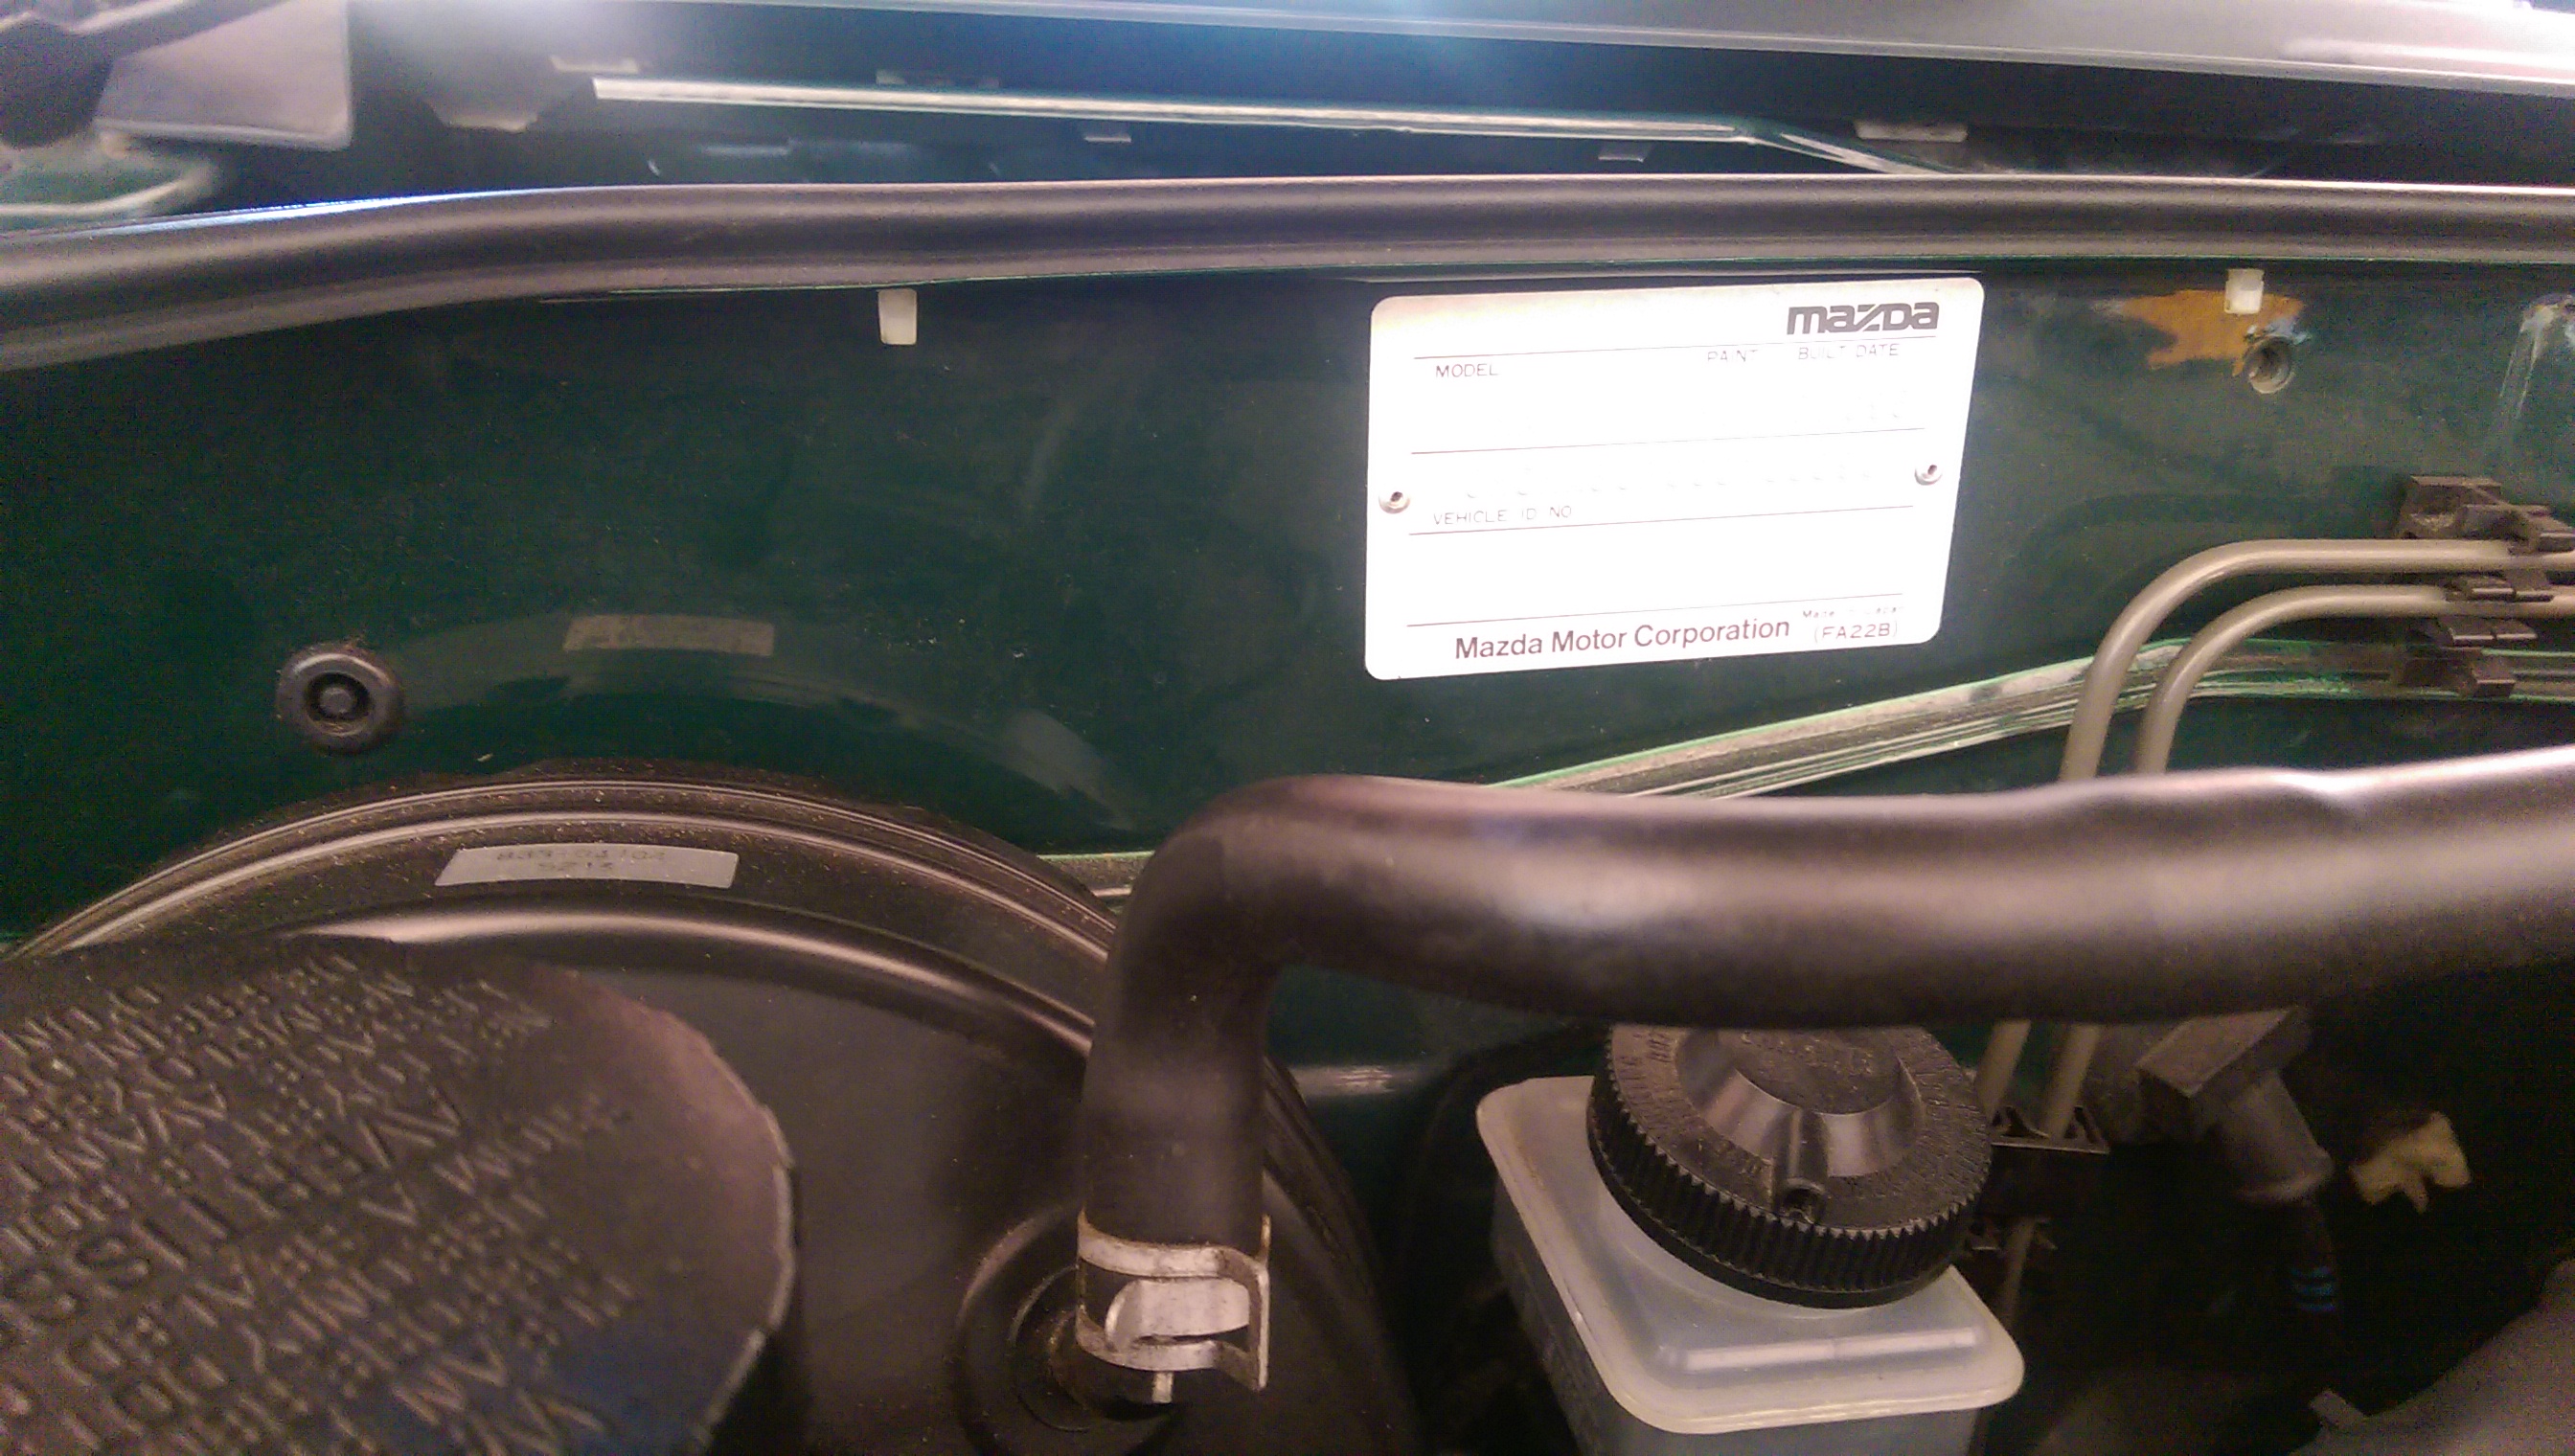
Announcement

Collapse
No announcement yet.

1996 NA MX-5 Build Thread

Collapse
X
 
  • Filter
  • Time
  • Show
Clear All
new posts

    1996 NA MX-5 Build Thread

    Executive Summary

    As at 19/10/2019:

    ENGINE & TRANSMISSION
    - Advanced Cam Timing +14 Degrees
    - Arrive Intake Pipe (Satin Black)
    - BeatRush Radiator Cooling Panel
    - Fujitsubo Legalis-R Catback Exhaust
    - GarageStar Lightweight Alternator Pulley
    - GarageStar Lightweight Water Pump Pulley
    - Gates Racing Performance Timing Belt
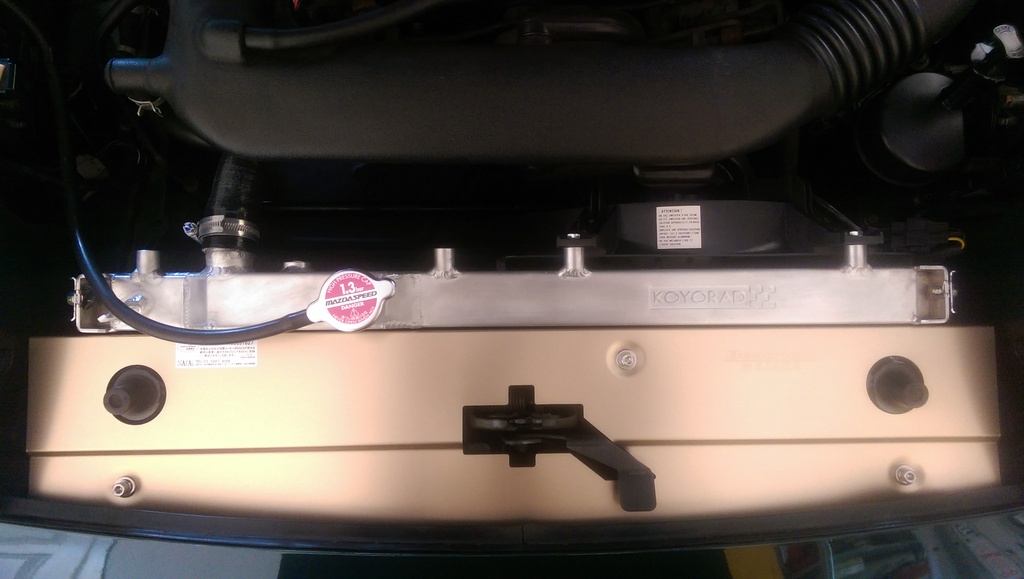
    - Koyorad 36mm Hyper-V Core Aluminium Radiator
    - Mazdaspeed Ignition Leads
    - Mazdaspeed Induction Air Box
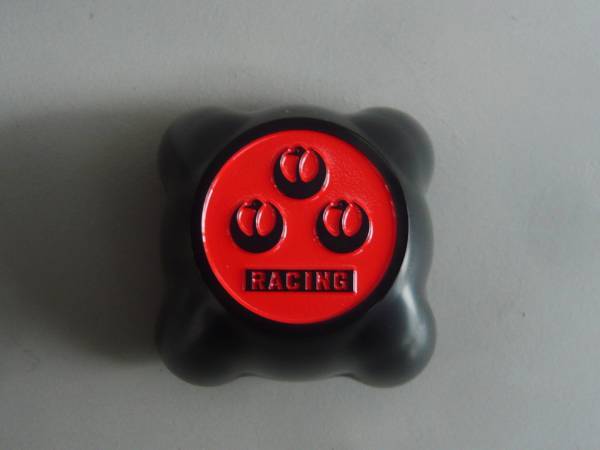
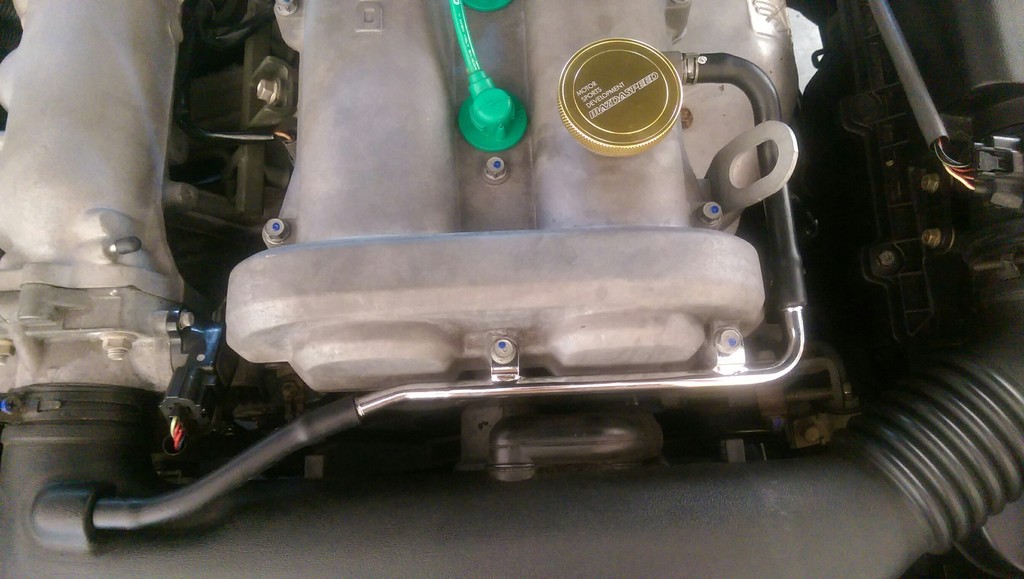
    - Mazdaspeed Oil Cap
    - Mazdaspeed Panel Air Filter
    - Mazdaspeed Radiator Cap (1.3 Bar)
    - MiataRoadster Short Shifter
    - NGK Iridium Spark Plugs
    - OEM Mazda Intake Manifold (Satin Black)
    - OEM Mazda Rocker Cover (Satin Black)
    - Samco Silicone Coolant Hoses
    - SARD Sports High Flow Catalytic Converter
    - SARD Sports Racing Thermostat
    - Toda Racing Lightweight Flywheel (4.5kg)
    - Toda Racing Sports Clutch + Spigot Ring


    SUSPENSION & HANDLING
    - BeatRush Rear Strut Brace
    - GarageStar Delrin Door Mounts
    - Mazdaspeed Engine Mounts
    - Mazdaspeed Front Strut Brace
    - Mazdaspeed Front Sway Bar (22mm)
    - Mazdaspeed Rear Sway Bar (14mm)
    - Ohlins DFV Coilovers (7F, 4R)
    - RacingBeat Sway Bar End Links (F+R)


    WHEELS, BRAKES & TYRES
    - Dixcel Type M Brake Pads (F+R)
    - Dixcel Type SD Slotted Rotors (F+R)
    - Goodridge SS Braided Brake Lines
    - Goodridge SS Braided Clutch Line
    - H&R TRAK+ 5mm Spacers (54.1 Hubcentric)
    - Pirelli Cinturato P1 Tyres (185/60/R14)
    - RS-Watanabe Type-A (14x6.5 +4.5 Final Offset)
    - RS-Watanabe Centre Caps
    - RS-Watanabe Lug Nuts
    - RS-Watanabe Valve Stems


    EXTERIOR
    - B1 Hybrid Polarg Parkers + Tail Lamp Bulbs
    - Bosch Aerotwin Wiper Blades
    - Depo Clear Front Indicator Lamps
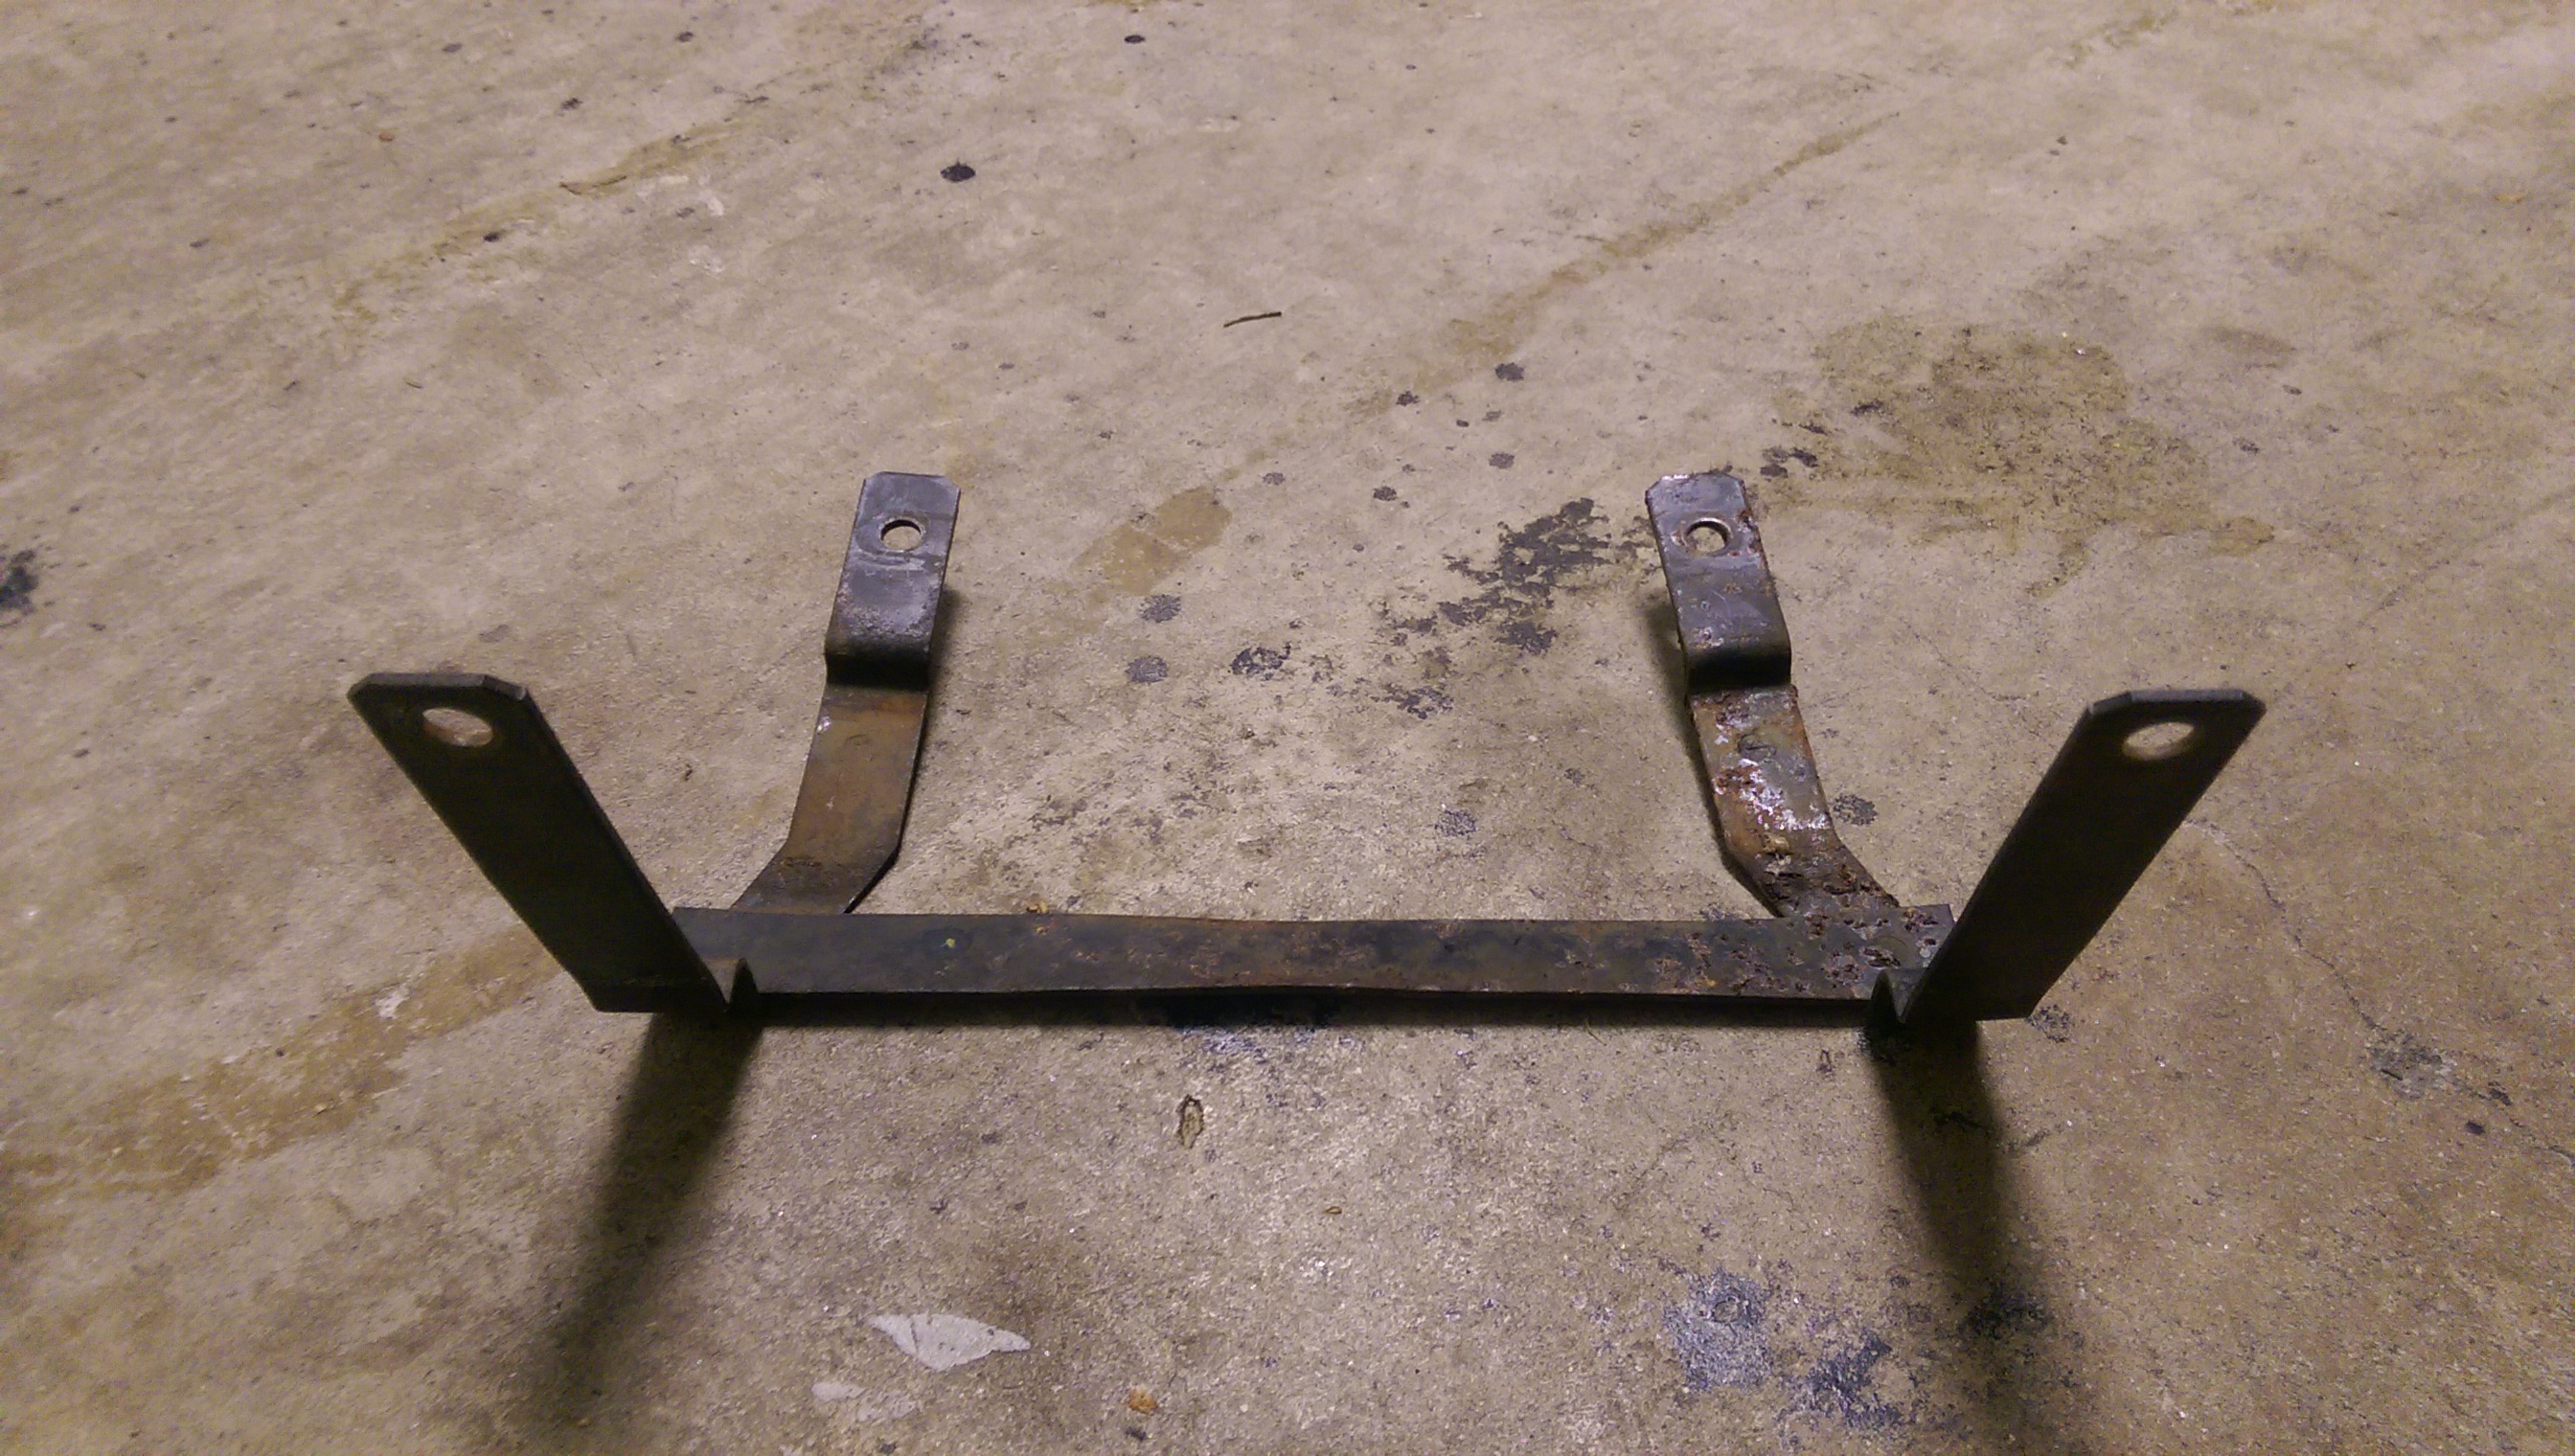
    - Front Number Plate Mounting Bracket
    - JDM Eunos Fog Lights
    - KG Works Chrome Washer Nozzles
    - Nielex Fuse Box Sticker
    - NoPro Washer Bottle Relocation
    - OEM Mazda Genuine Front Lip
    - Philips 4300K Crystal Vision Headlamp Bulbs
    - Raybrig Crystal Reflector Headlamps
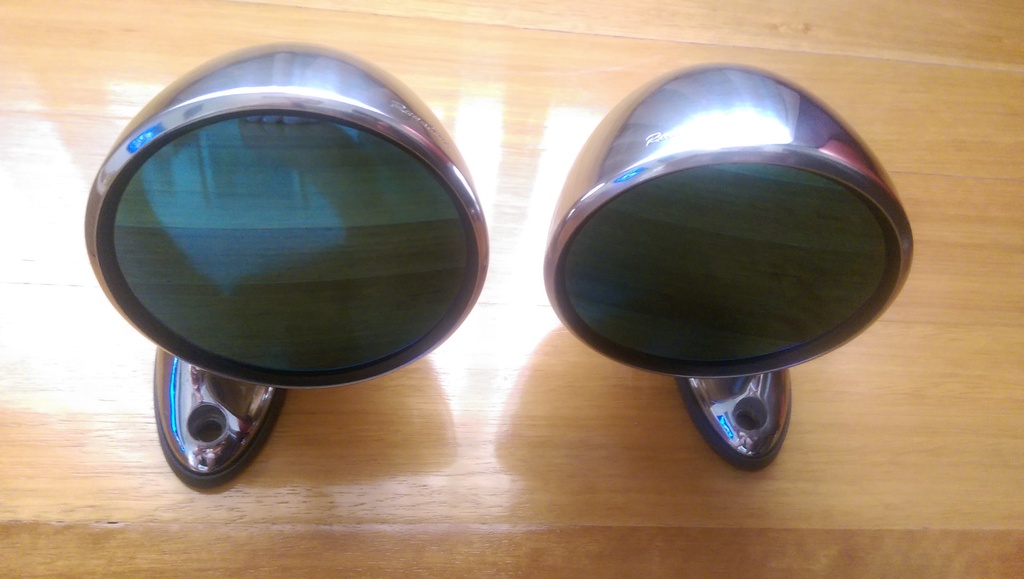
    - Runabout M2 Mirrors
    - ZOOM Engineering Amber Side Indicators
    - ZOOM Engineering Eunos Lotus Emblem
    - ZOOM Engineering Retro Fuel Lid


    INTERIOR
    - Arrive Mahogany Wood Handbrake Handle
    - ArtWork Dewa Cluster Needle Caps
    - Carbing DASH Foot Rest Pedal
    - CocoMats Sisal Floor Mats
    - Garage5 Brushed Aluminium Vent Rings
    - HKB Boss Kit
    - J-F Customs Tan Leather Gearshift Boot
    - J-F Customs Tan Leather Handbrake Boot
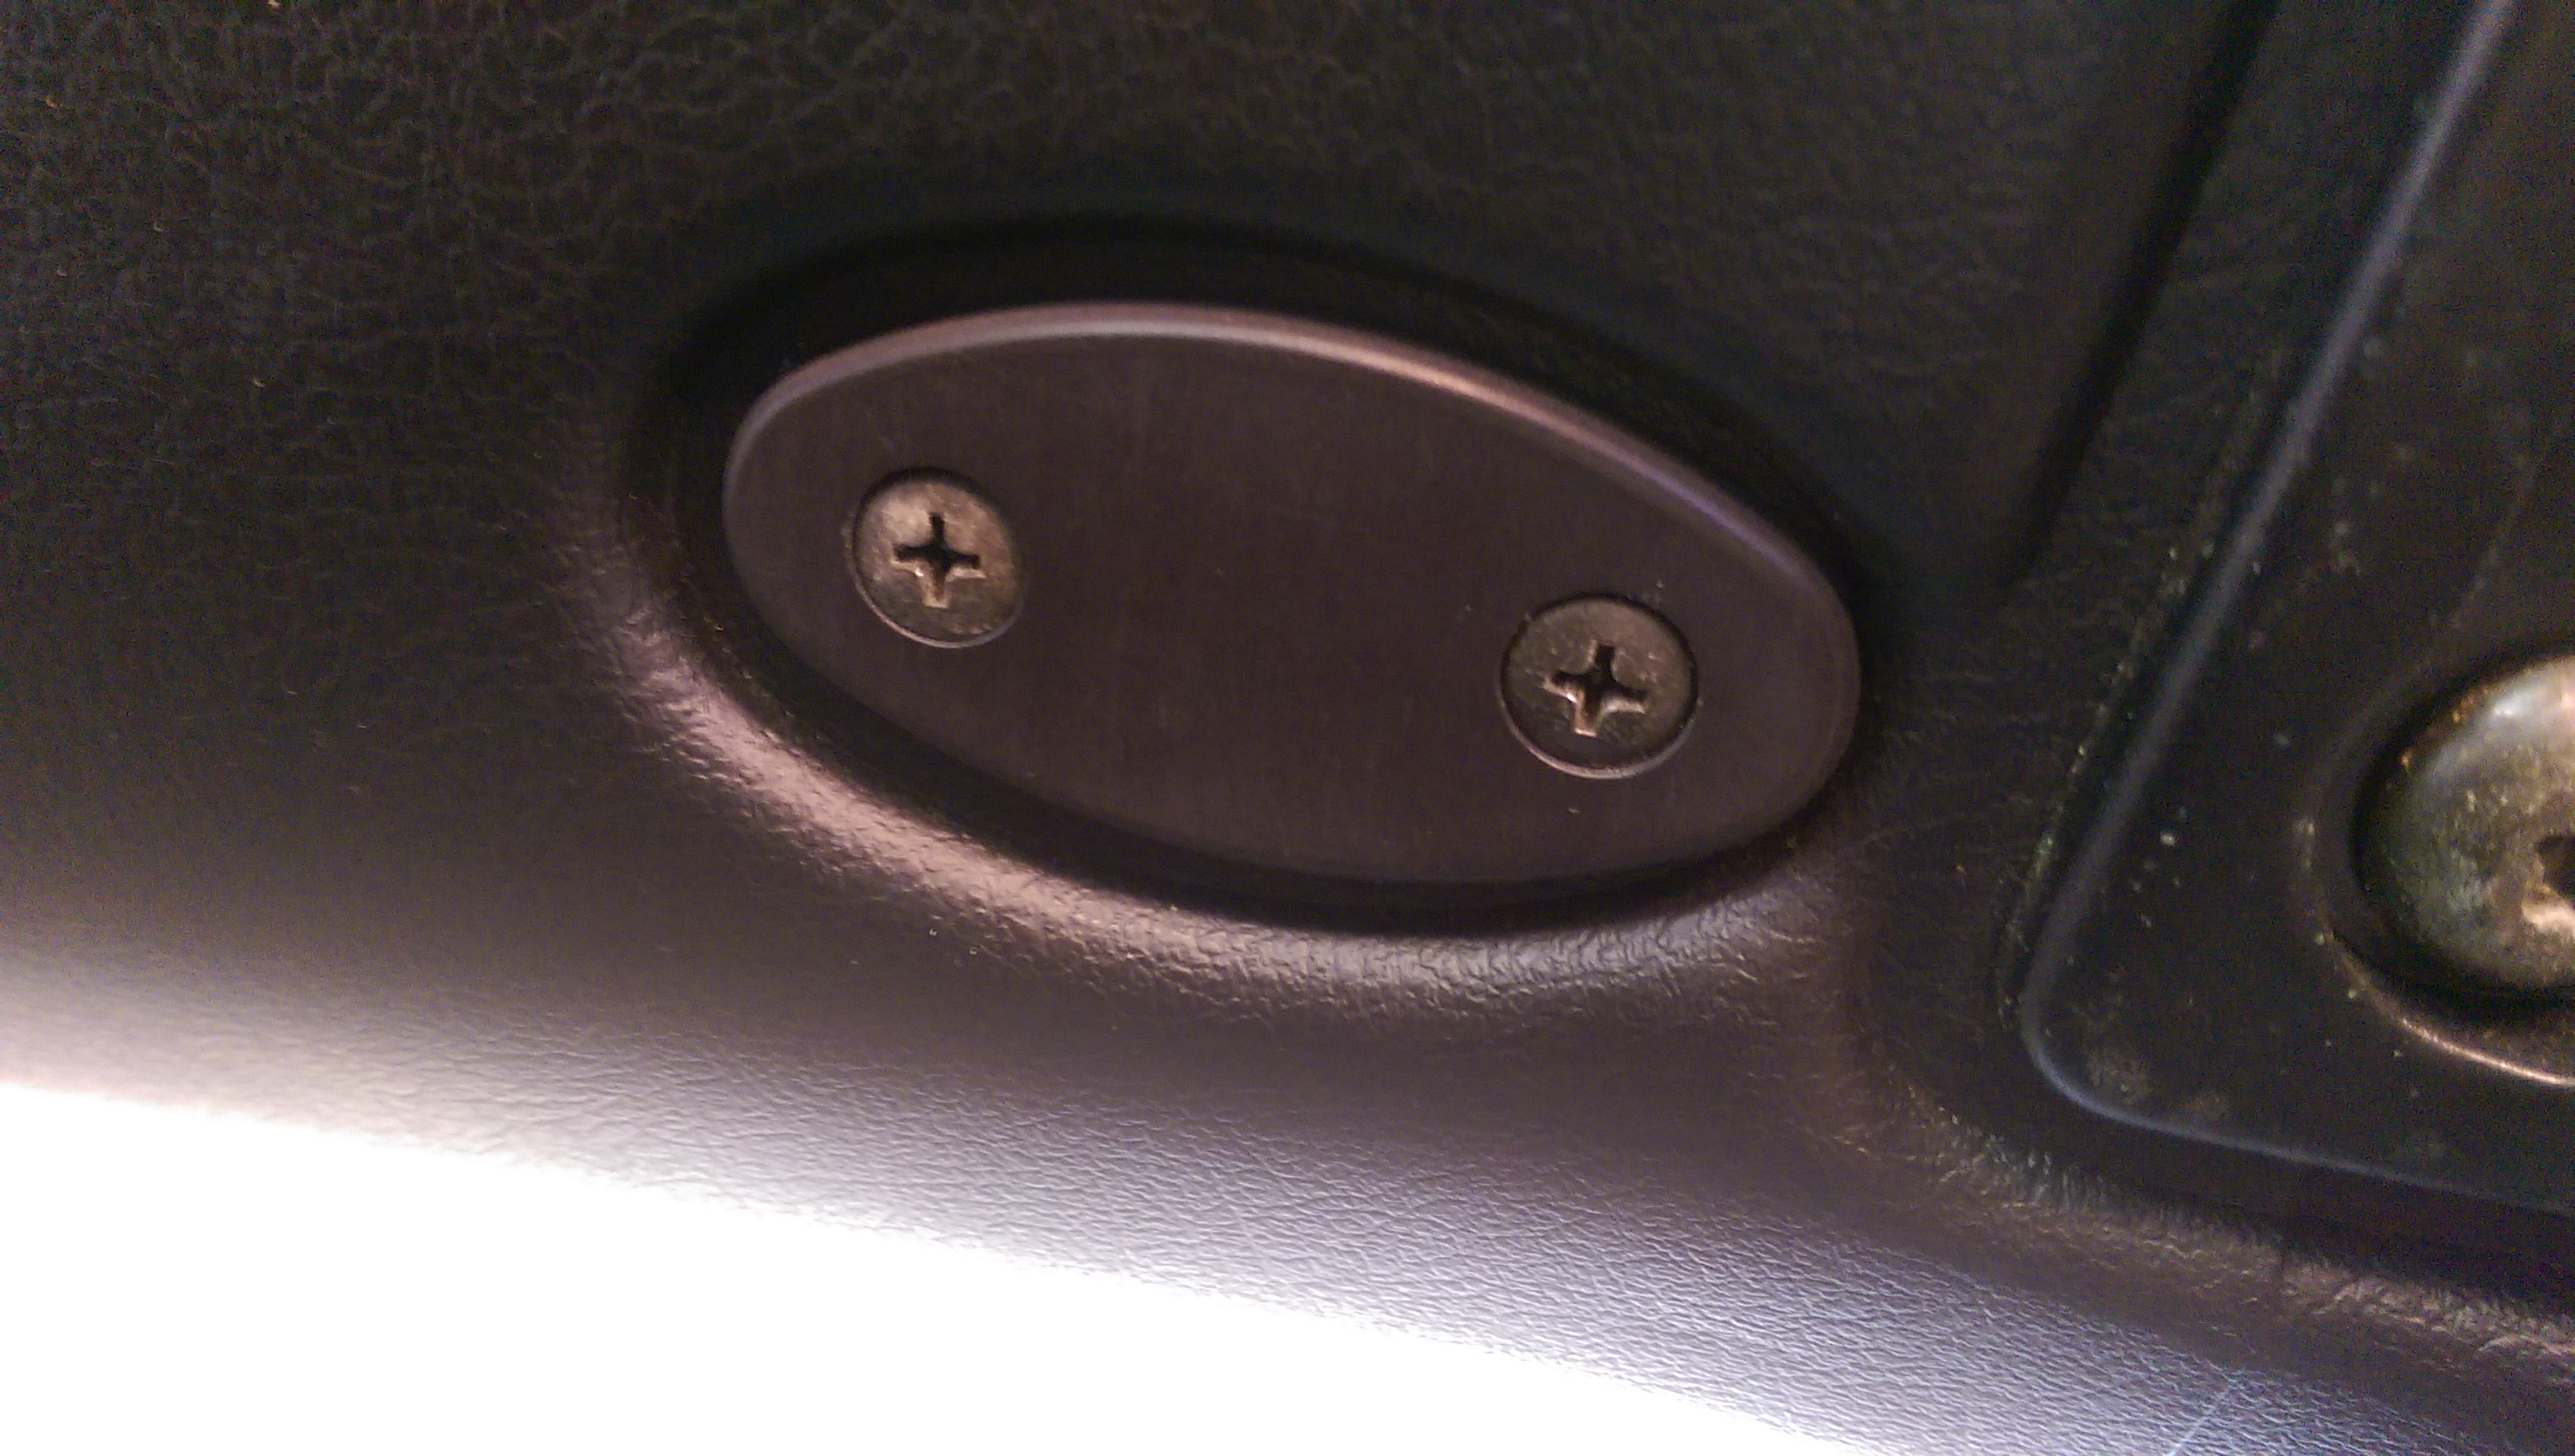
    - JASS Performance Sun Visor Plugs
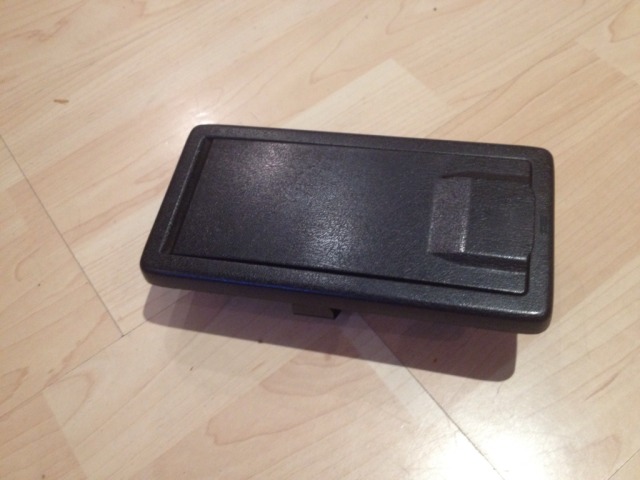
    - JDM Eunos Sunglass Holder
    - JDM Eunos Chrome Door Sills
    - Joyfast Chrome Gear Knob (Super Short)
    - Joyfast Chrome Handbrake Button
    - MOMO Futura 350mm Wood Steering Wheel
    - Nakamae Aluminium Door Locks
    - Nakamae Cup Holder
    - Nakamae Quilt Mat Belt Line Trim
    - Nakamae Quilt Mat Lower Package Tray Trim
    - Nakamae Quilt Mat Side Step Trim
    - Nakamae Quilt Mat Transmission Tunnel Trim
    - Nakamae Quilt Mat Upper Package Tray Trim
    - Nardi Classico 360mm Wood Steering Wheel
    - Nardi Tokyo Horn Button
    - RetroModern Knurled Dimmer Switch
    - RetroModern Knurled A/C Fan Knob
    - RetroModern Knurled Trip Reset Stalk
    - RevLimiter Custom Gauge Faces (Type RS)
    - RevLimiter Custom HVAC Panel (Version Stirling)
    - RevLimiter Door Sill Inserts (Type MX-5, BRG)
    - RevLimiter Retro Power Window Switch
    - RS Products Classic A/C Fan Knob + Sliders
    - RS Products Classic A/C Trim Ring
    - RS Products Classic Retro Gauge Cluster
    - RS Products Classic Retro Hazard Switch
    - Vintage Mazda Chrome Cigarette Lighter
    - Zeromotive M2-1002 Style Pedals
    - Zoom Engine Start Push Button


    SOUND & AUDIO
    - Nakamichi CD-400 Headunit
    - Pioneer JDM Eunos 2" Tweeters
    - Polk Audio DB651 6.5" Coaxial Speakers


    MAINTENANCE/OEM REPLACEMENT/MISC
    - Carbon Canister Delete
    - Front Tie Down Hooks Removed
    - Hella Sharp Tone Horns
    - Reconditioned Boot Fuel Line Metal Shroud
    - Reconditioned Power Window Tracks & Bushings
    - Reconditioned Rear Plastic Windshield
    - Reconditioned Wiper Arms
    - OEM Mazda Camshaft Seal Replacement
    - OEM Mazda Clutch Master Cylinder Replacement
    - OEM Mazda Clutch Slave Cylinder Replacement
    - OEM Mazda Coolant Auxiliary Hoses Replacement
    - OEM Mazda Coolant Overflow Tank Replacement
    - OEM Mazda Crankshaft Seal Replacement
    - OEM Mazda Door Strikers Replacement
    - OEM Mazda External Tensioner Belt Replacement
    - OEM Mazda Fuel Filter Replacement
    - OEM Mazda Fuel System Overhaul
    - OEM Mazda Heater Hose Grommet Replacement
    - OEM Mazda Heater Hose Replacement
    - OEM Mazda Idler Bearings Replacement
    - OEM Mazda NA6 Oil Pressure Sender Replacement
    - OEM Mazda Panasonic Battery Replacement (Replaced 28/07/2016)
    - OEM Mazda PCV Valve Replacement
    - OEM Mazda Rear Deck Fuel Line Cover Replacement
    - OEM Mazda Rear Deck Fuel Pump Cover Replacement
    - OEM Mazda Rear Parcel Shelf Replacement
    - OEM Mazda Rocker Cover Gasket Replacement
    - OEM Mazda Shifter Insulation Replacement
    - OEM Mazda Soft Top Latch Replacement
    - OEM Mazda Soft Top Latch End Cap Replacement
    - OEM Mazda Soft Top Striker Plate Replacement
    - OEM Mazda Third Brake Light Gasket Replacement
    - OEM Mazda Timing Lower Cover Replacement
    - OEM Mazda Timing Upper Cover Replacement
    - OEM Mazda Water Pump Replacement


    Last edited by stephen8512; 14-11-19, 10:57 PM.
    Follow on Facebook
    http://www.facebook.com/96BRG

    Follow on Instagram
    http://www.instagram.com/96BRG

    #2
    Hi all.

    Few of you already know me and I've met attended a few CITR meets thanks to invites from Felix and have met some really good people through this forum. As I intend to attend more CITR events and meets, I thought I might as well introduce myself

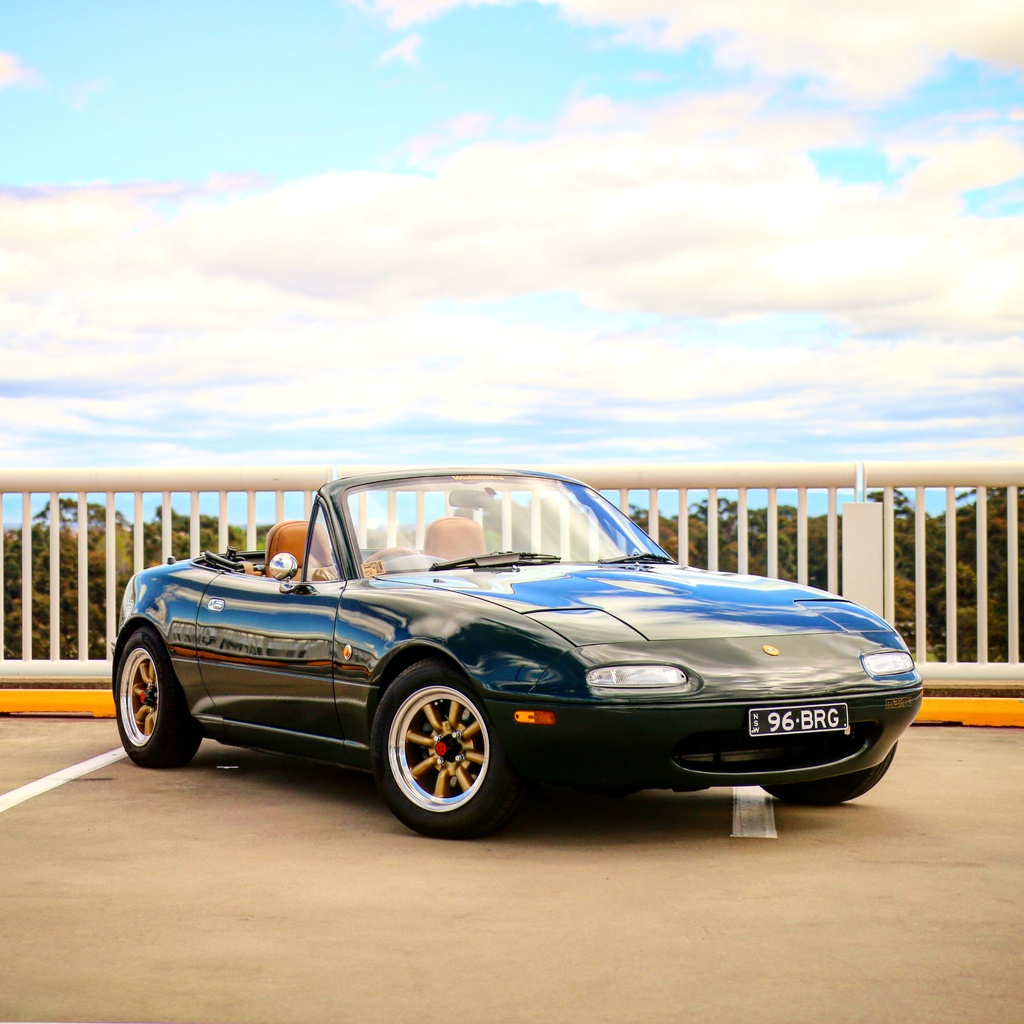
    I was almost ready to purchase an S2K and get back into a Honda. I even created a thread here to ask S2K owners what it was like to own and live with one. I was very very close to buying a clean AP2 but in the end it didn't work out. However, as luck would have it, I managed to score a very clean, very original and very unmodified NA8C MX-5 in British Racing Green.

    Brief history : The car was previously owned by a much older gentleman (2nd owner, age would be around mid-late 60's) who kept it for around 10 years. He too was a car enthusiast and we chatted a bit about his past car history, which included a Porsche 944, Type A Mini and an Austin Healey 3000, amongst others. In fact, it was the love that he had for his BRG Austin Healey which led him to search for an NA BRG MX5 with tan interior. He had found the perfect one for him and when he picked the car up in late 2005, it has 153,XXX kms on the clock, equating to approximately 15,000kms per year travelled, which I'd consider average mileage. Once he picked it up though, he realised that he simply did not have time to enjoy it as much as he thought he would, which meant that this MX5 under his 10 year ownership travelled only approx. 2000 kms and was always garaged with a car cover over it, laying dorment. He did, however, take the car out every year to get it registered and serviced by getting the oil and filter changed and fixing up whatever may have been wrong.

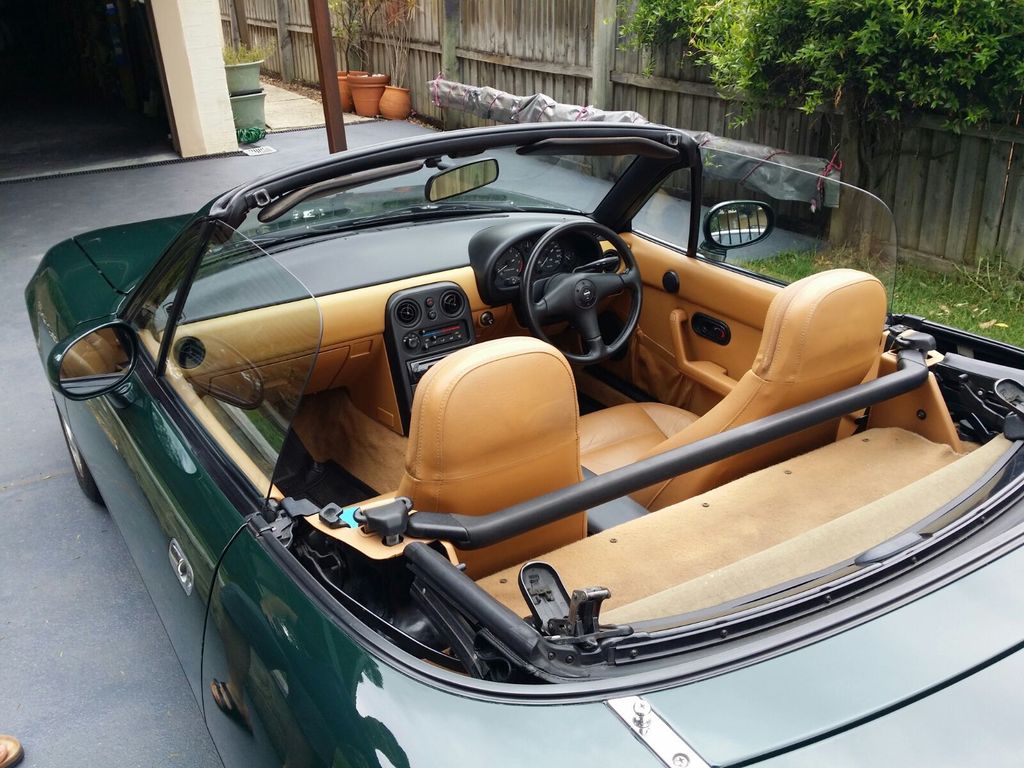
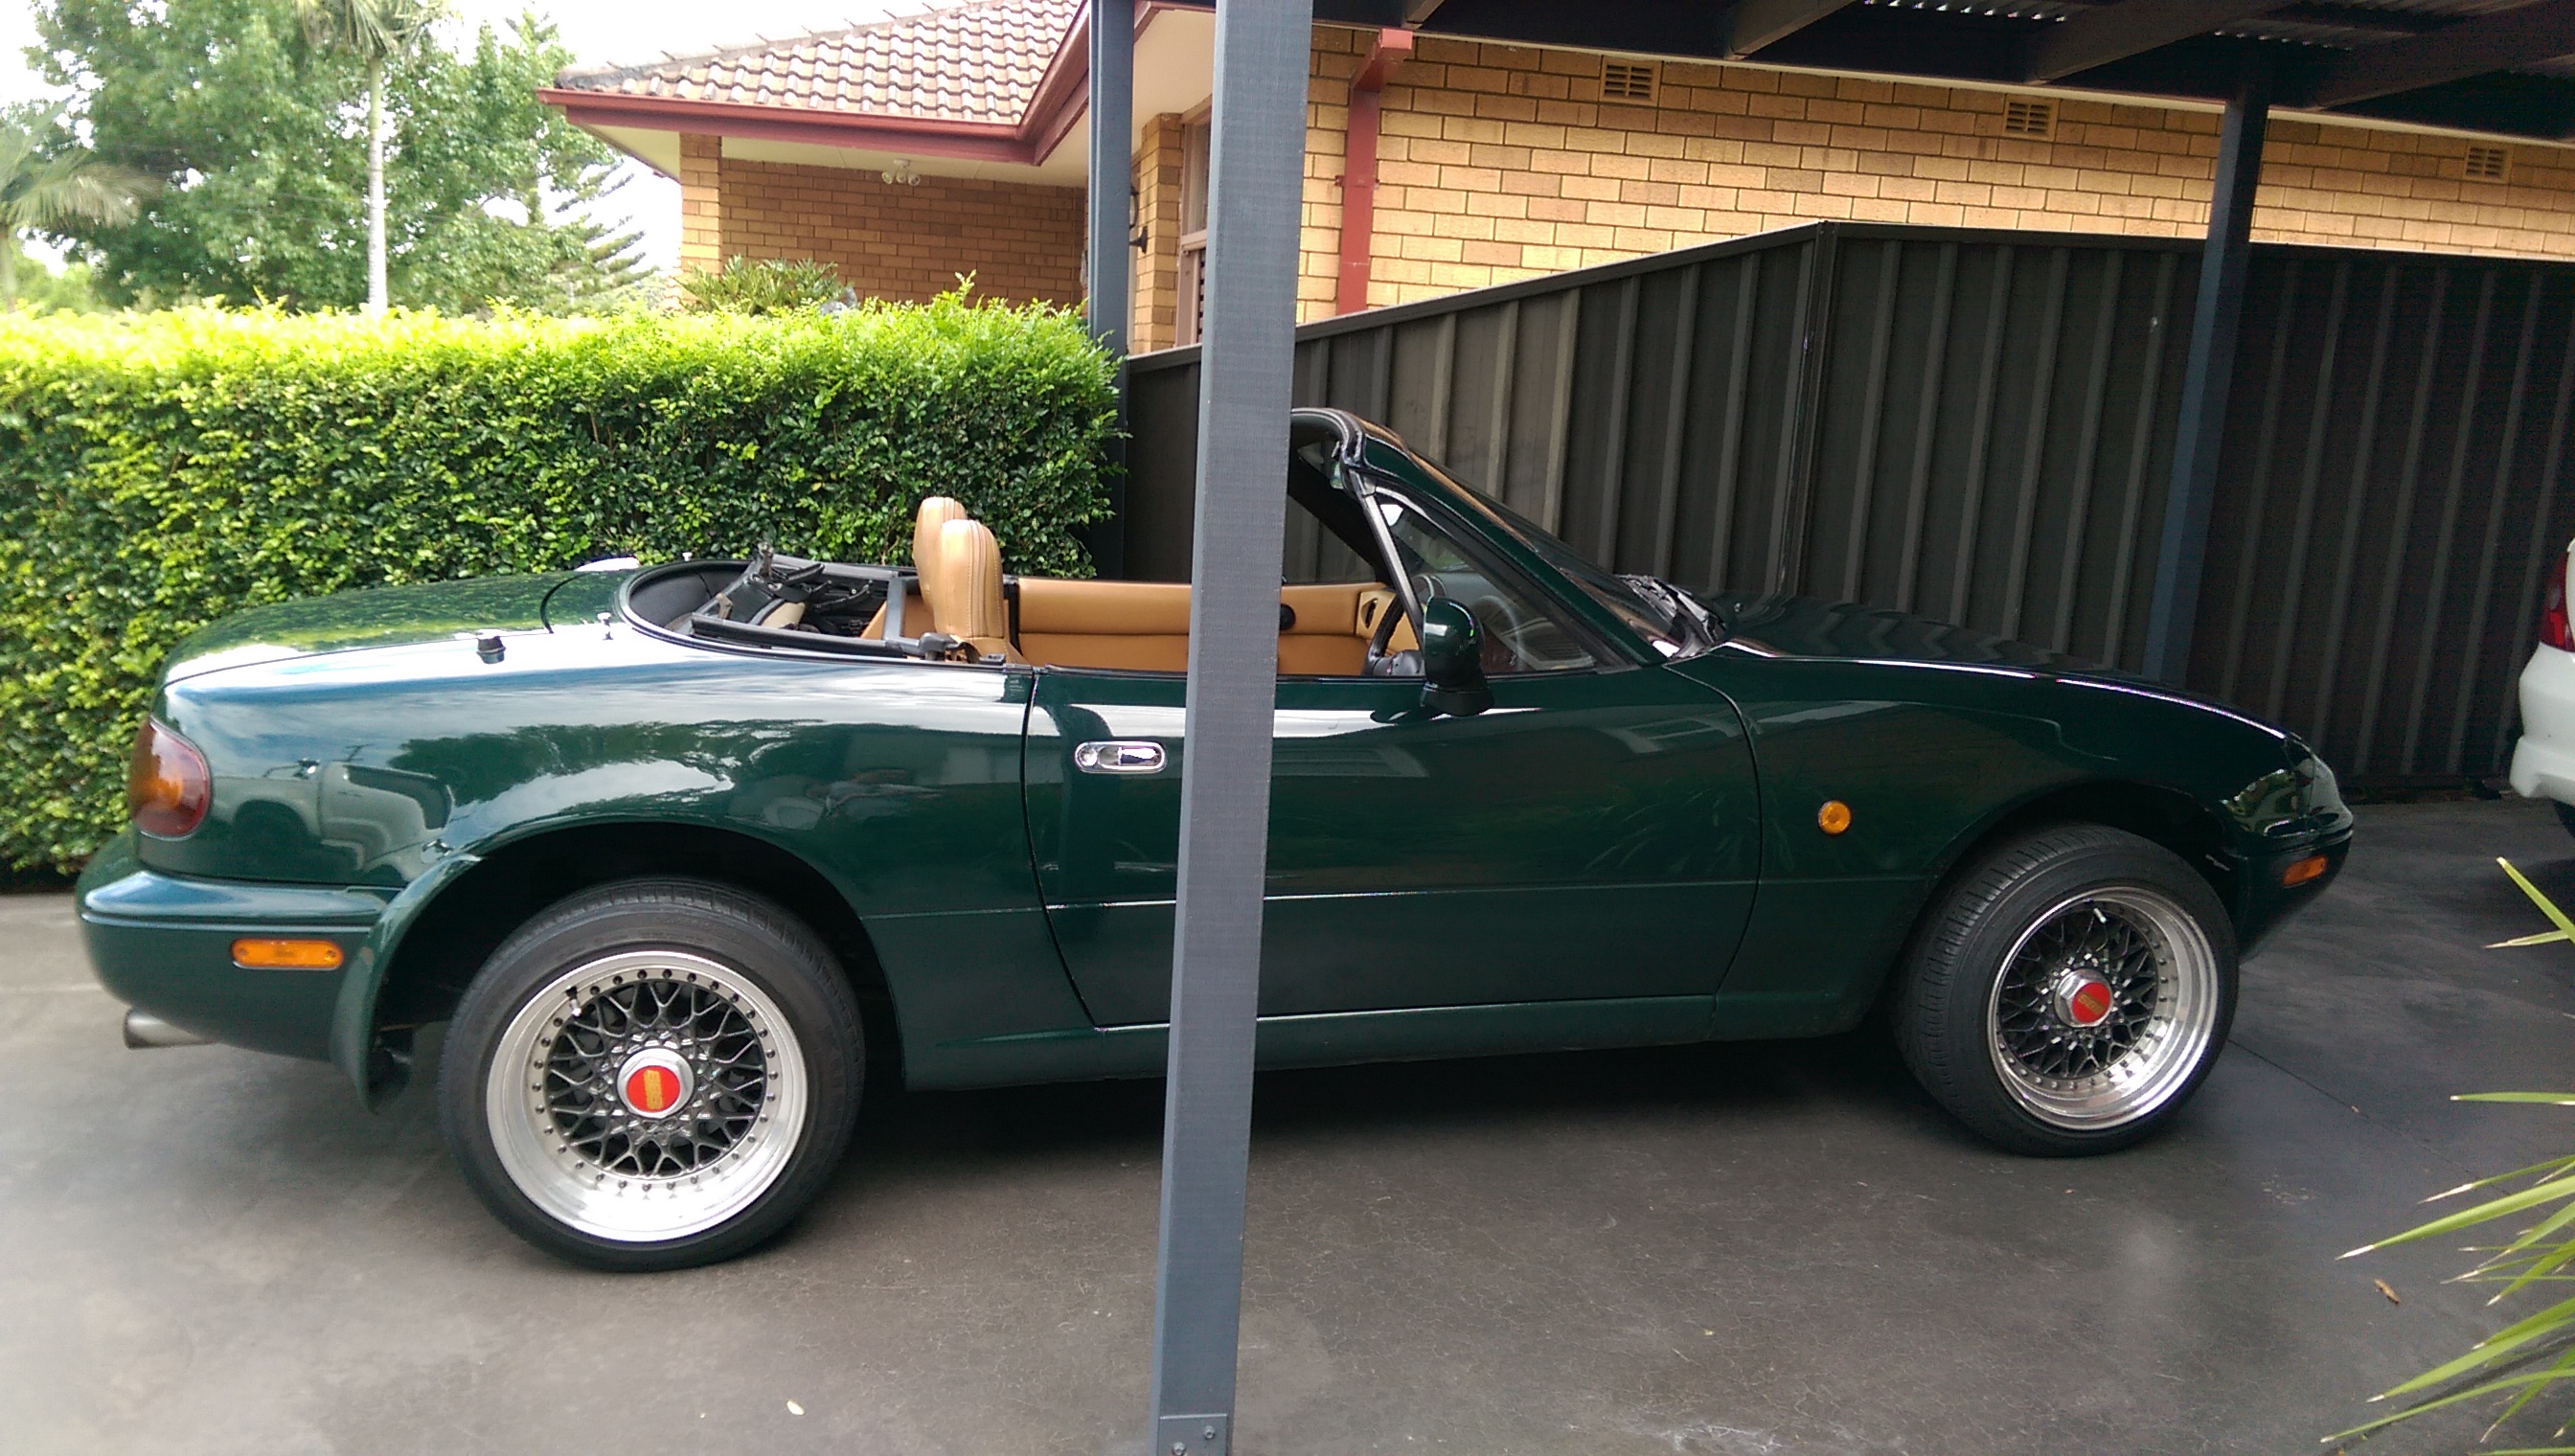
    Fast forward 10 years to December of 2015, the car is now with its 3rd owner. Me. The BRG paintwork is still very deep and in very good condition, has relatively low km's for its age when I picked it up (155,646 kms), has full service history and receipts (including every single receipts from the first owner, also an older gentleman according to the previous owner), and the best thing was that there was absolutely zero aftermarket modifications done to the car aside from a Sony Headunit, thus providing me with the perfect blank canvas to work with.

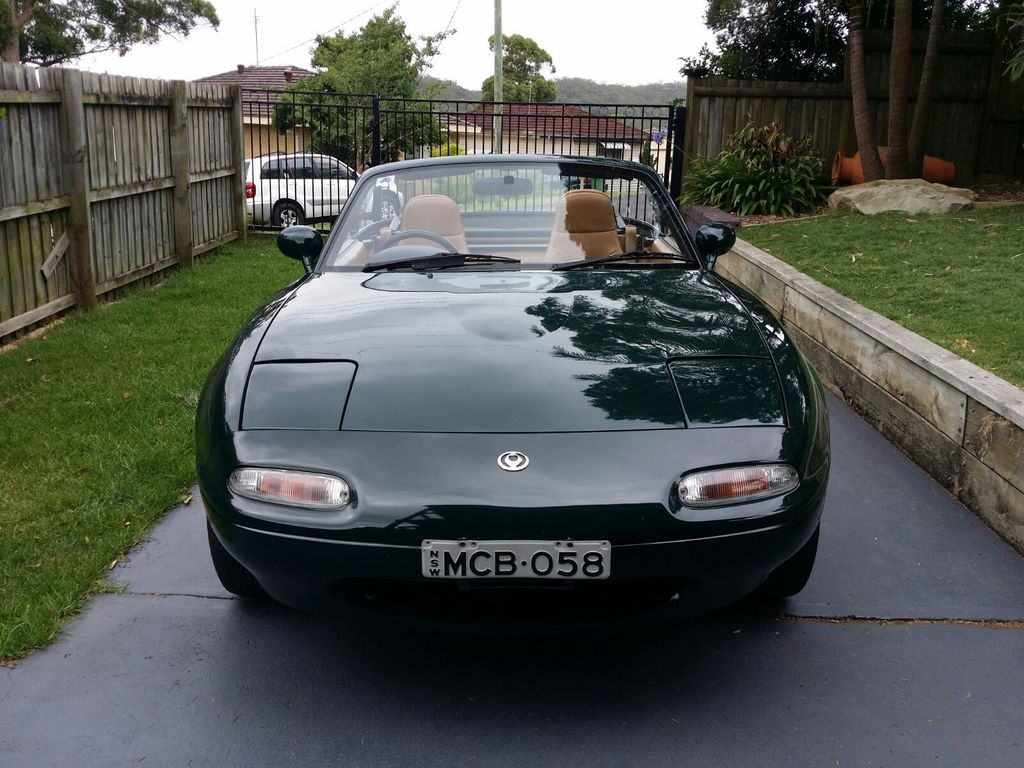
    Here's a few photos of when I picked it up :

    12/12/2015


    Last edited by stephen8512; 09-07-17, 01:57 AM.
    Follow on Facebook
    http://www.facebook.com/96BRG

    Follow on Instagram
    http://www.instagram.com/96BRG

    Comment


      #3
      29/12/2015

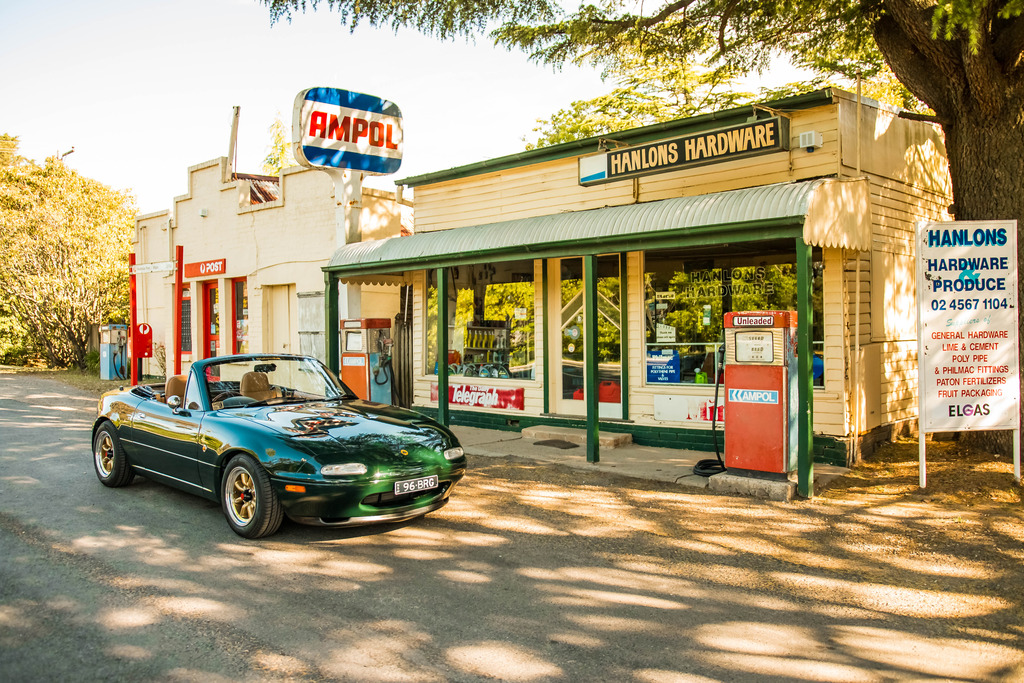
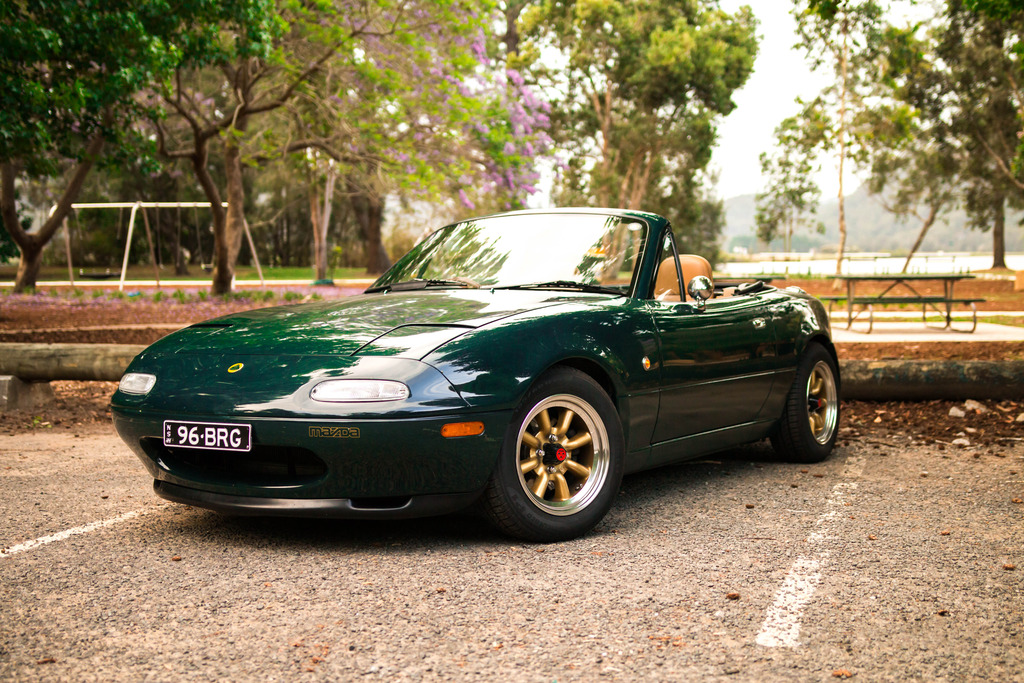
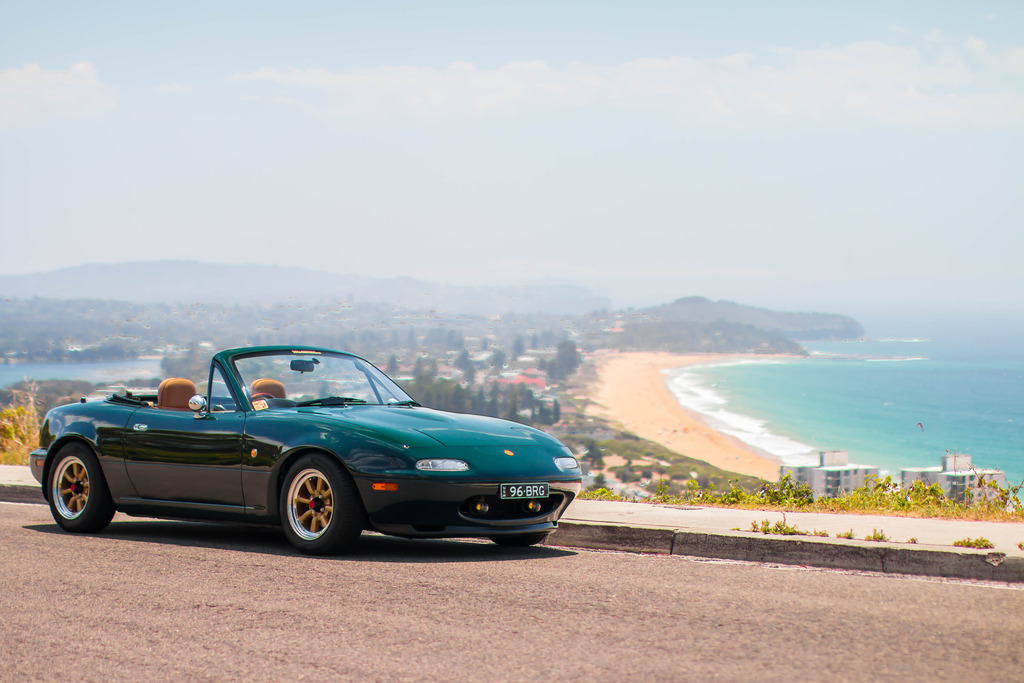
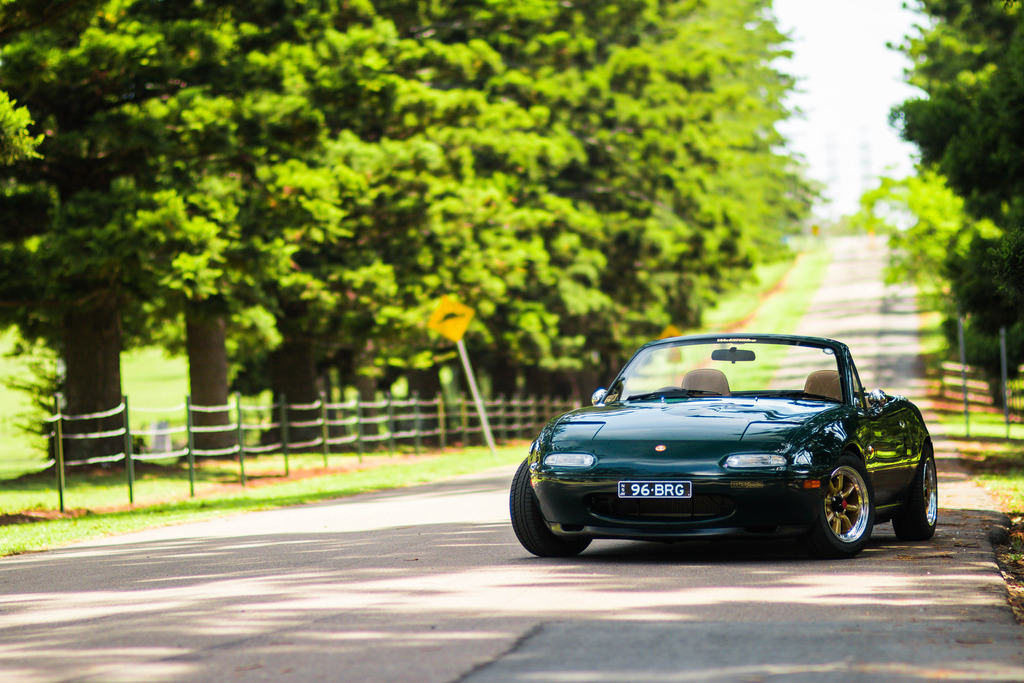
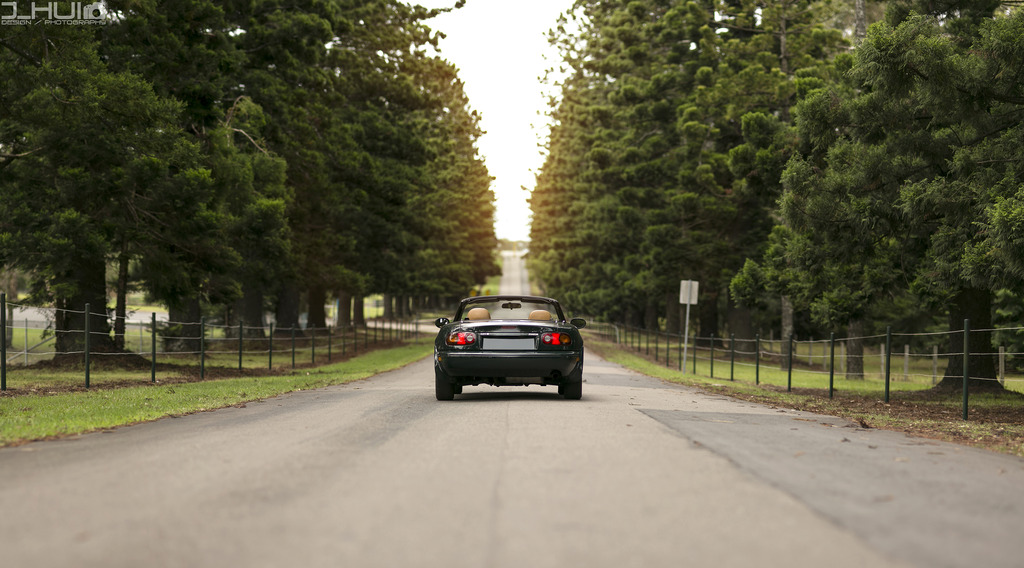
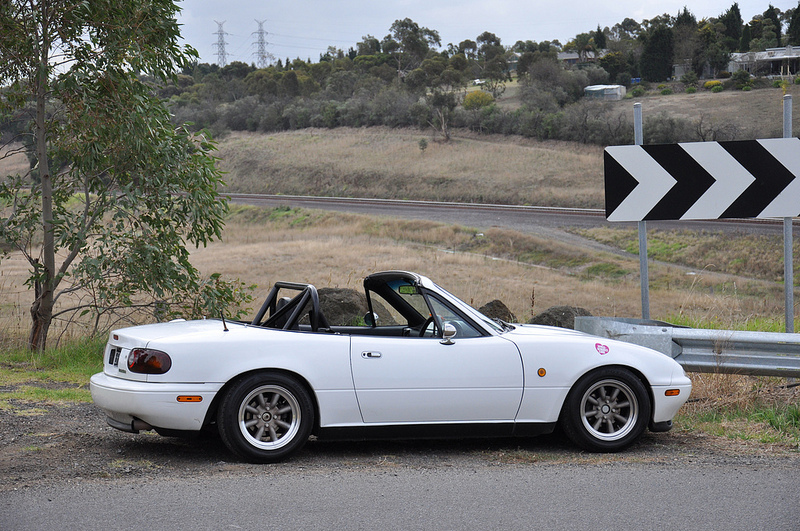
      Photoshoot with Joseph Hui
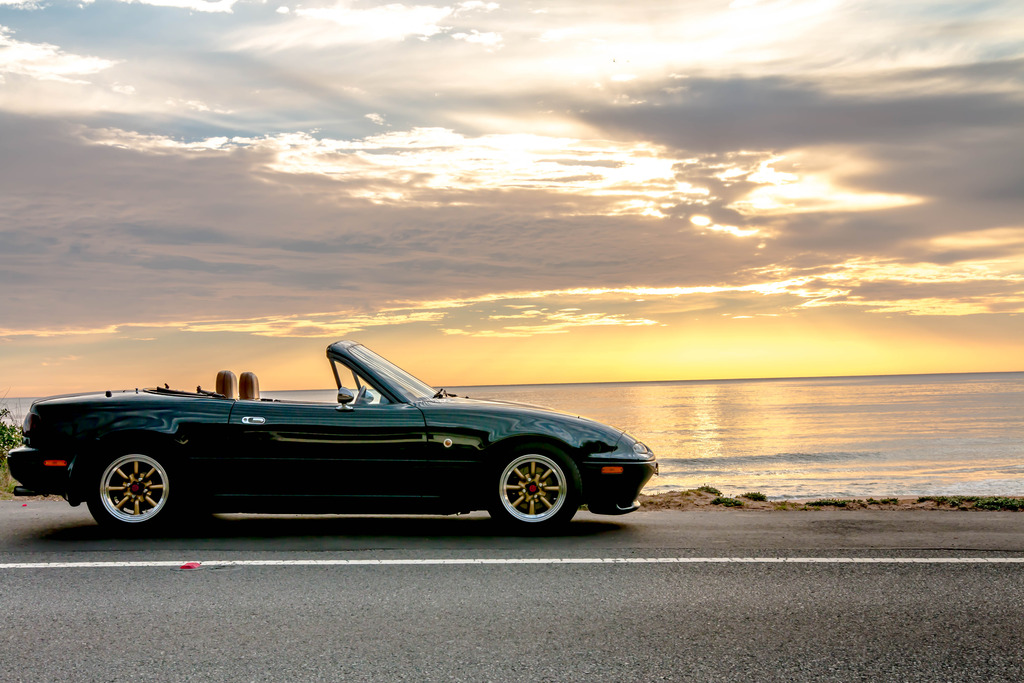
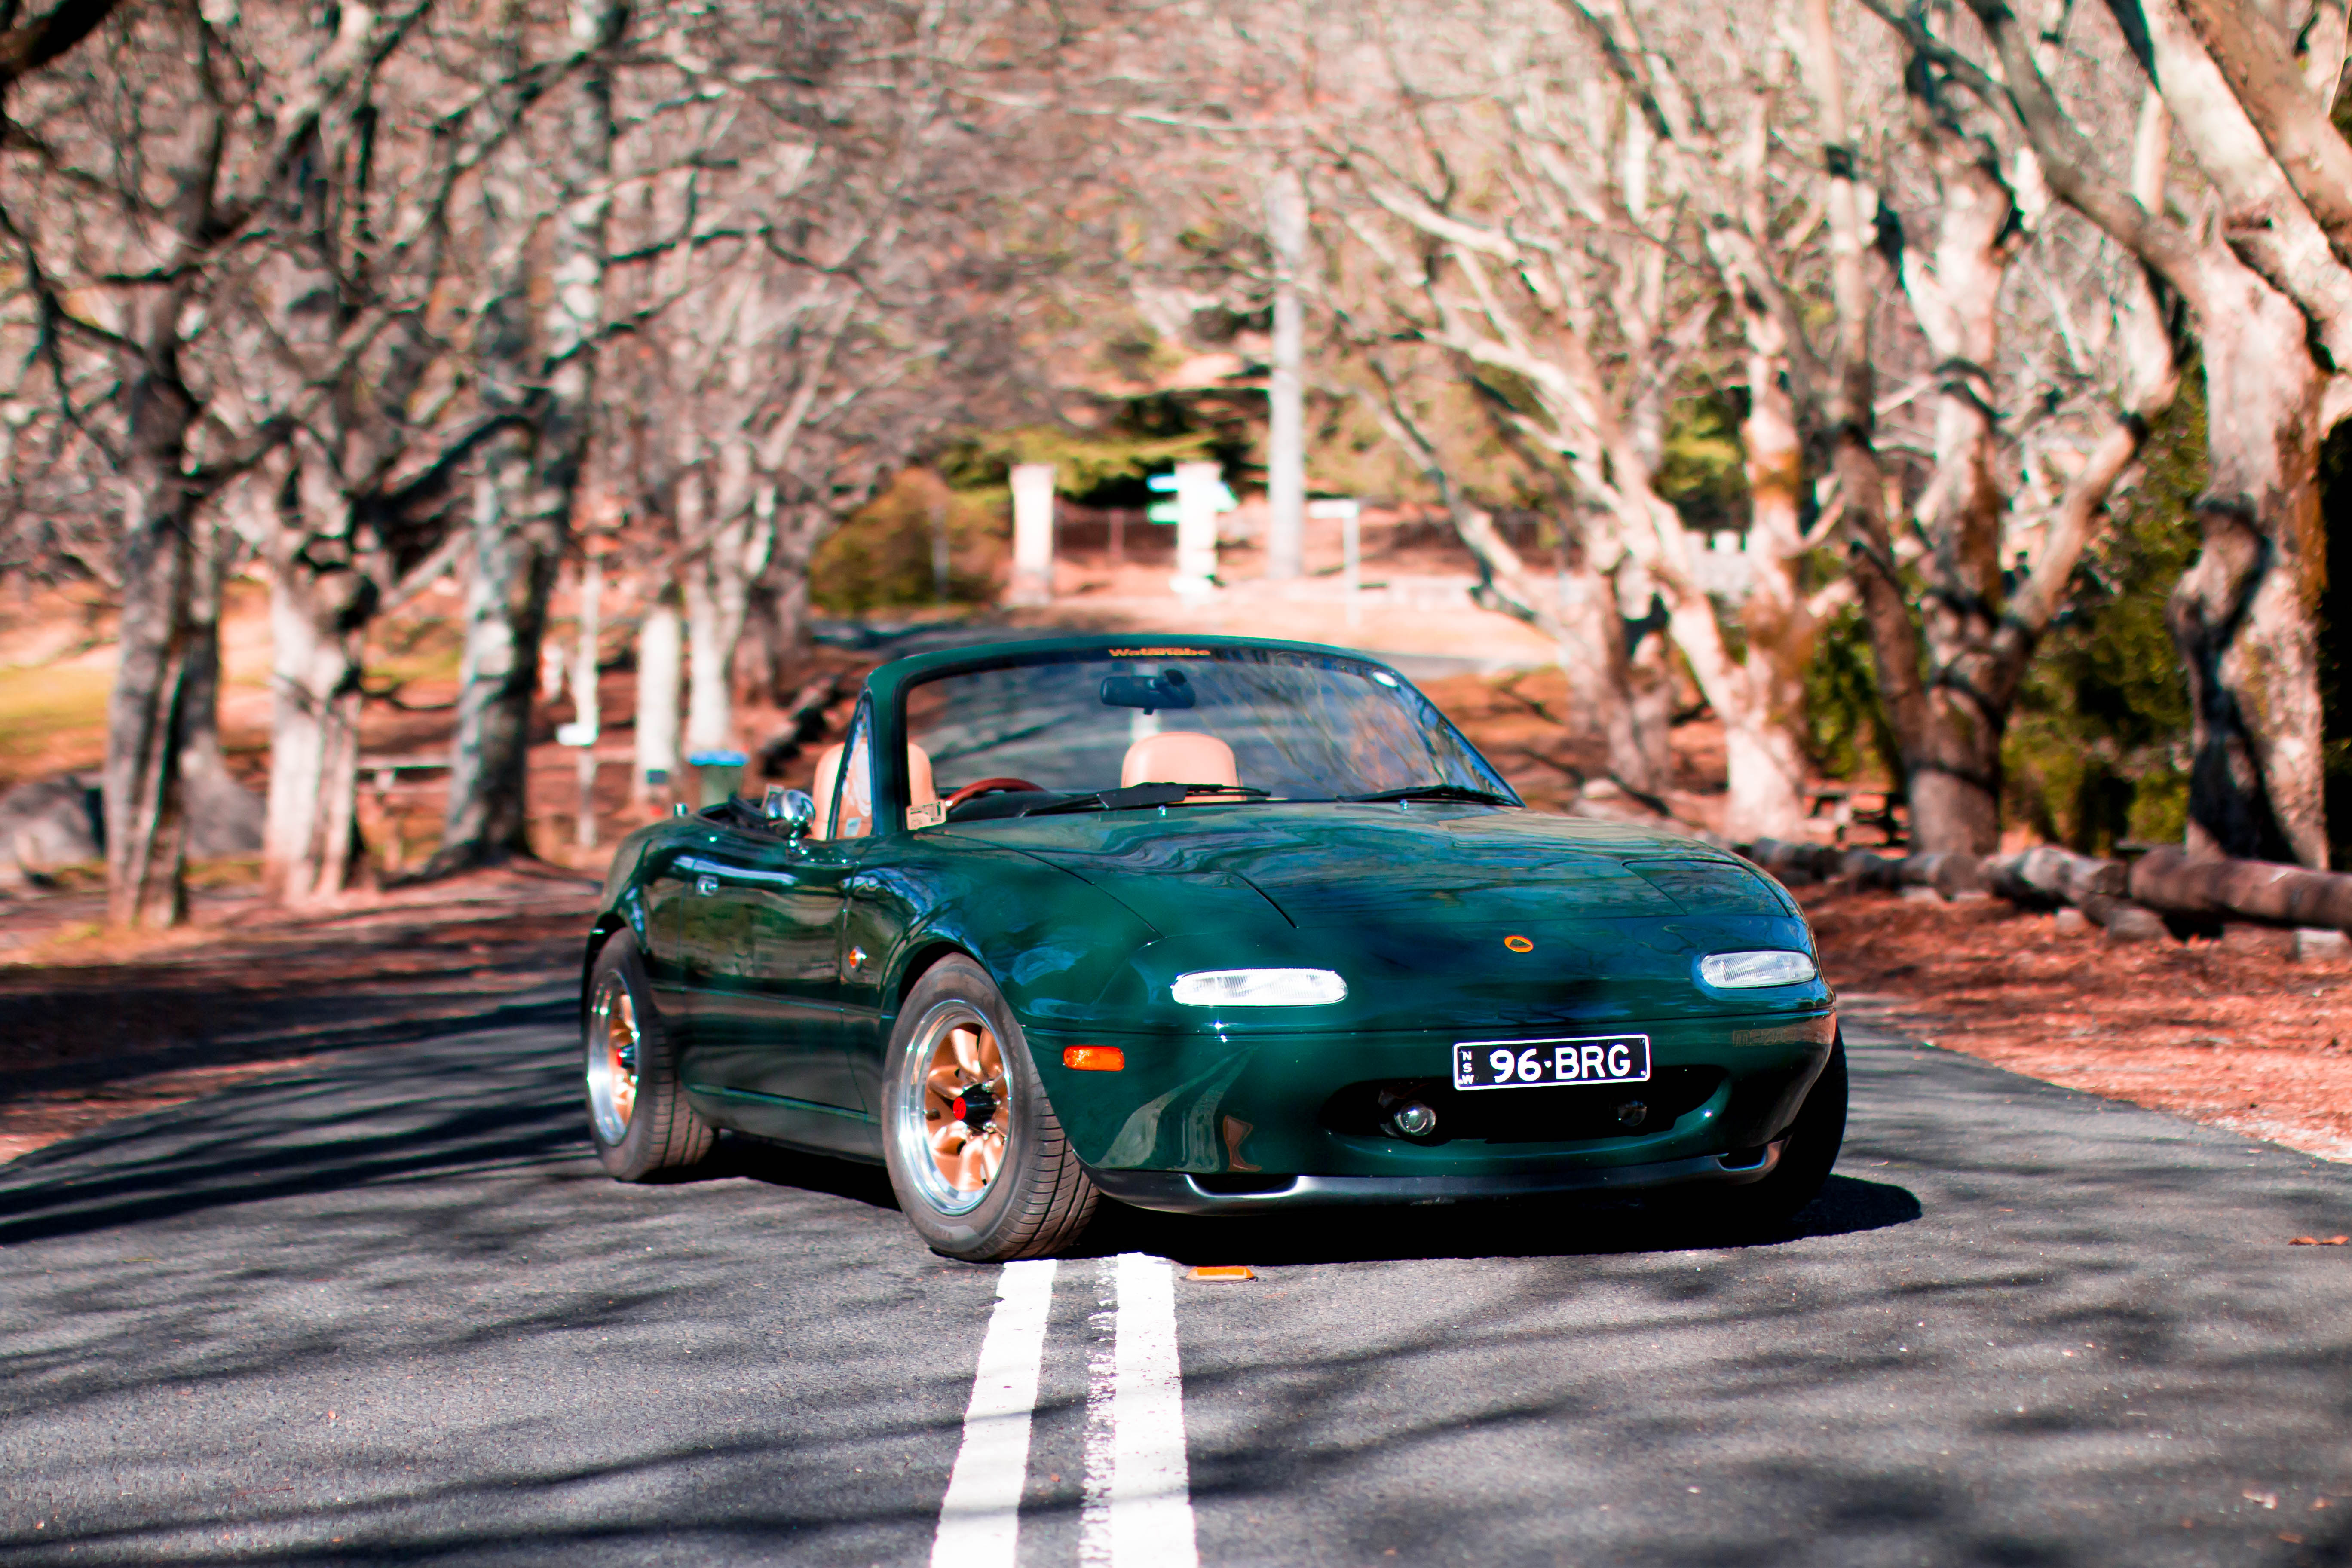
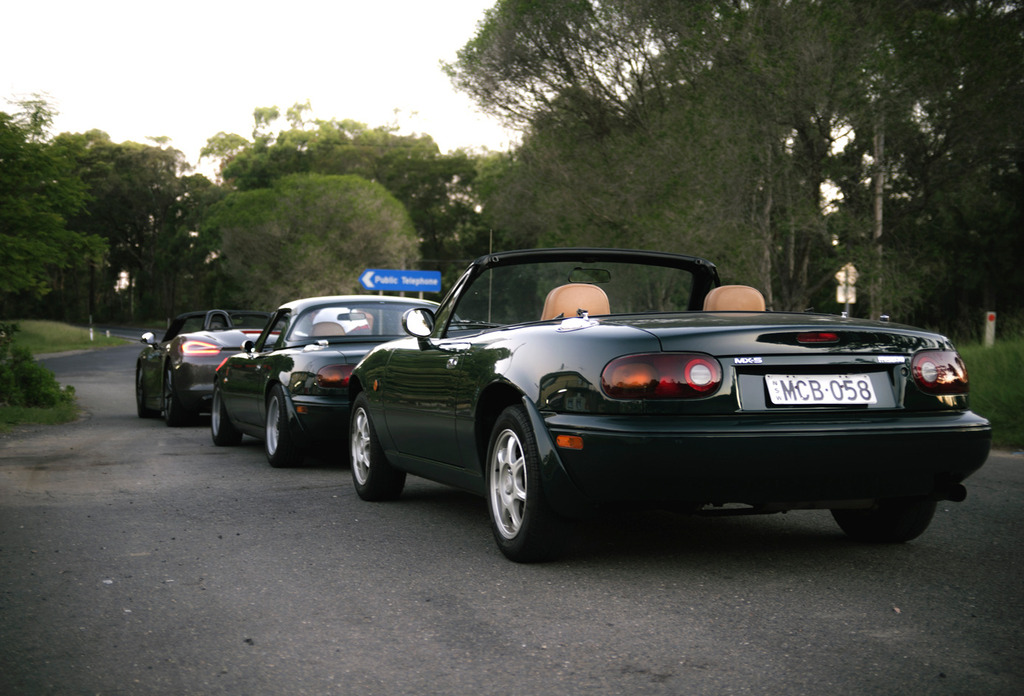
      A good mate of mine who is a photographer and who has taken a few photos of my past cars wanted to see if I was free today so that he could test out his new lense. It just so happened I was, so I picked him up and we went scouting for locations for a mini photoshoot. We took a bunch of photos and even rigged up the MX5 for some rolling shots. I think the photos turned out pretty well!


      More photos coming after he edits them.
      Last edited by stephen8512; 09-07-17, 01:58 AM.
      Follow on Facebook
      http://www.facebook.com/96BRG

      Follow on Instagram
      http://www.instagram.com/96BRG

      Comment


        #4
        30/12/2015

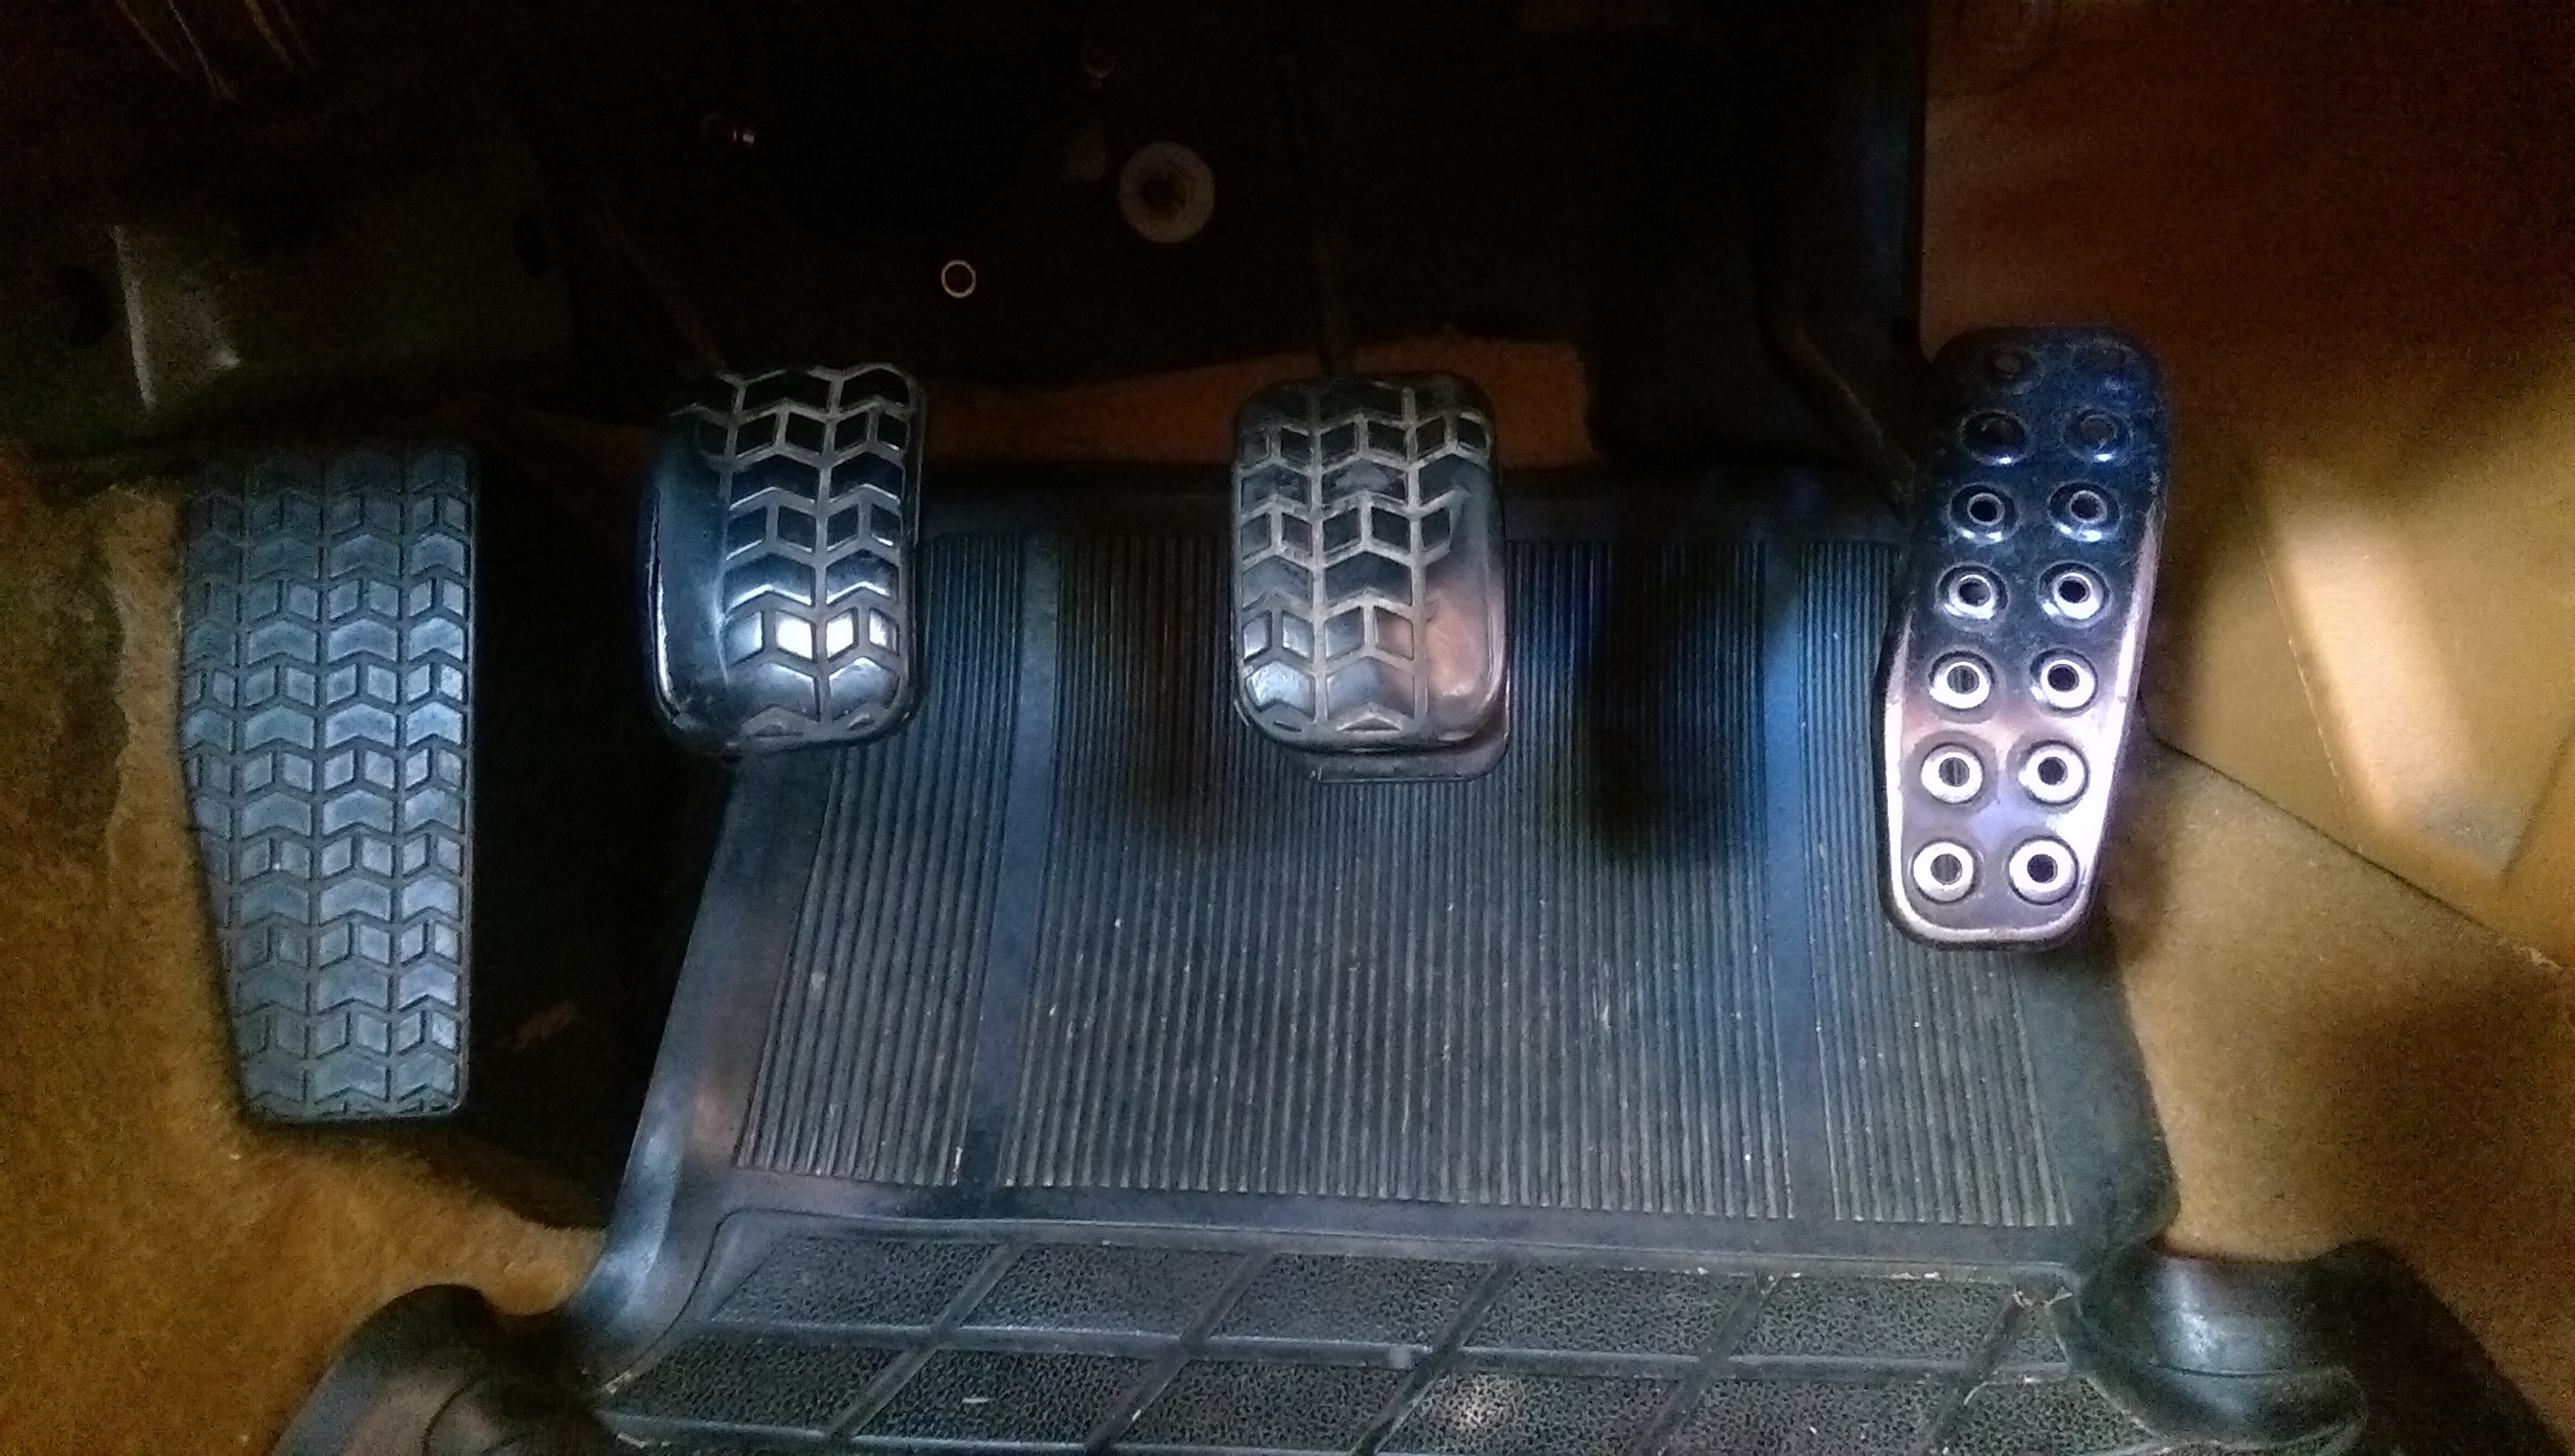
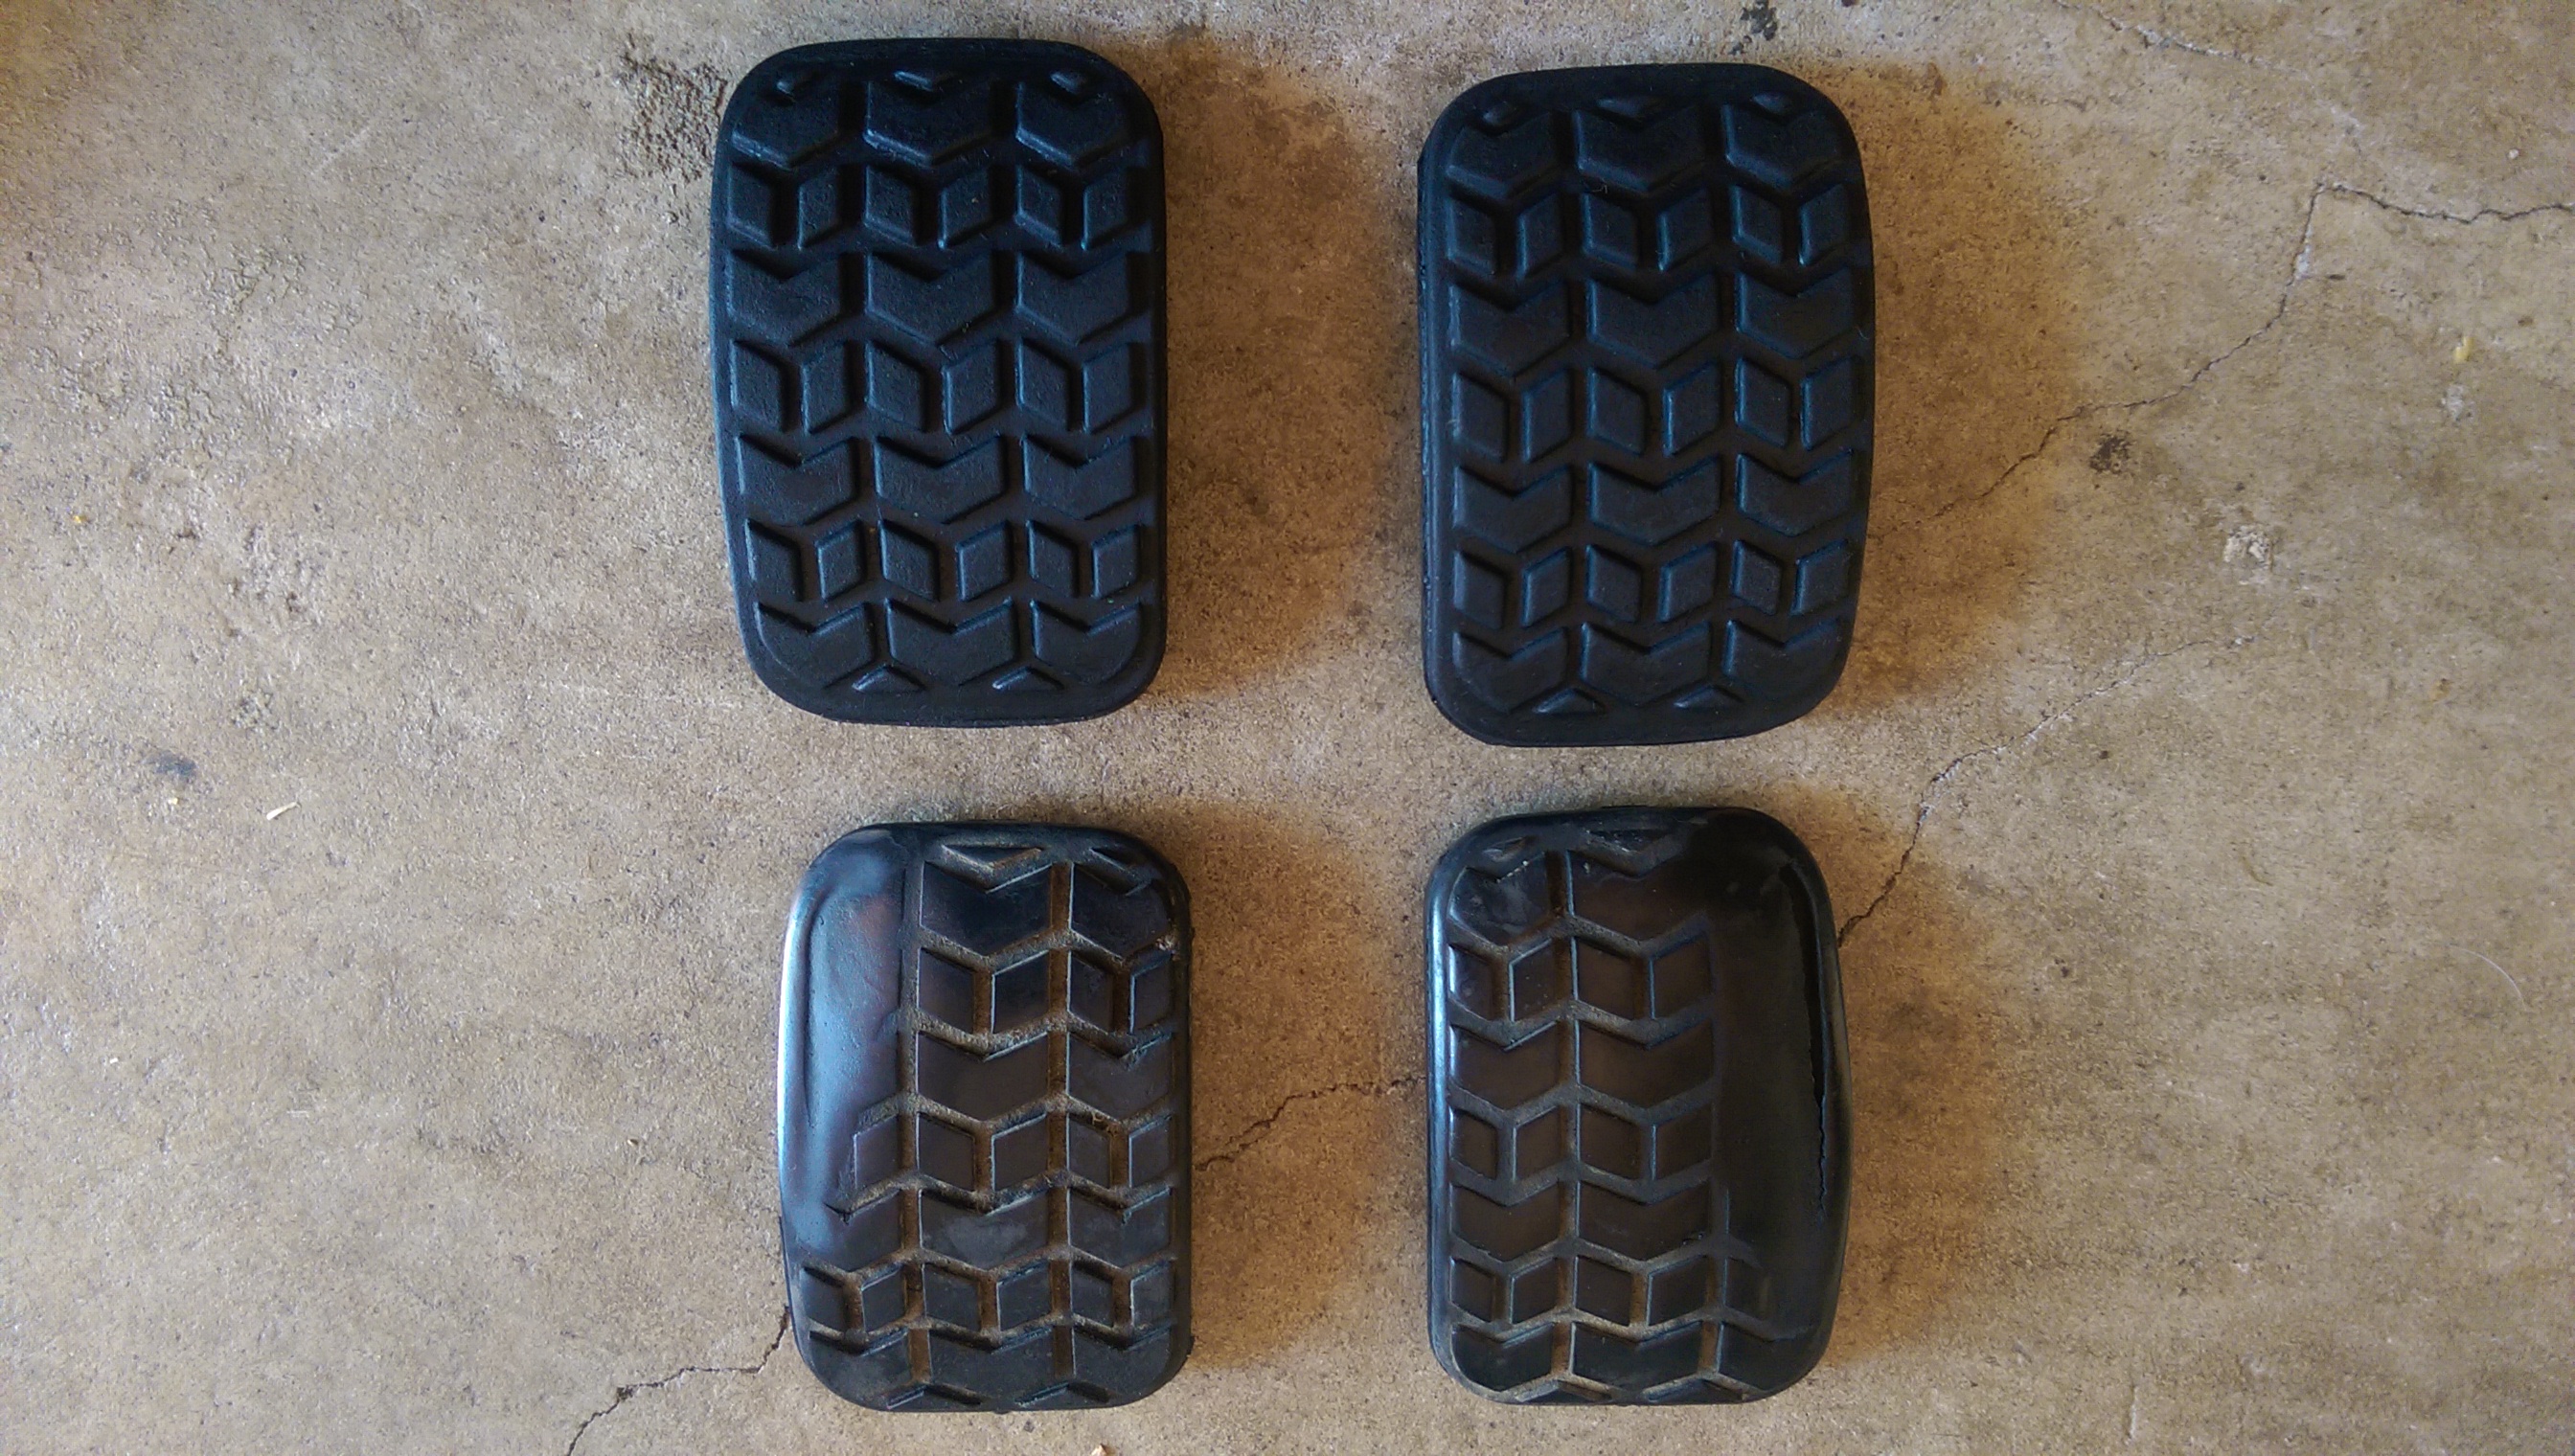
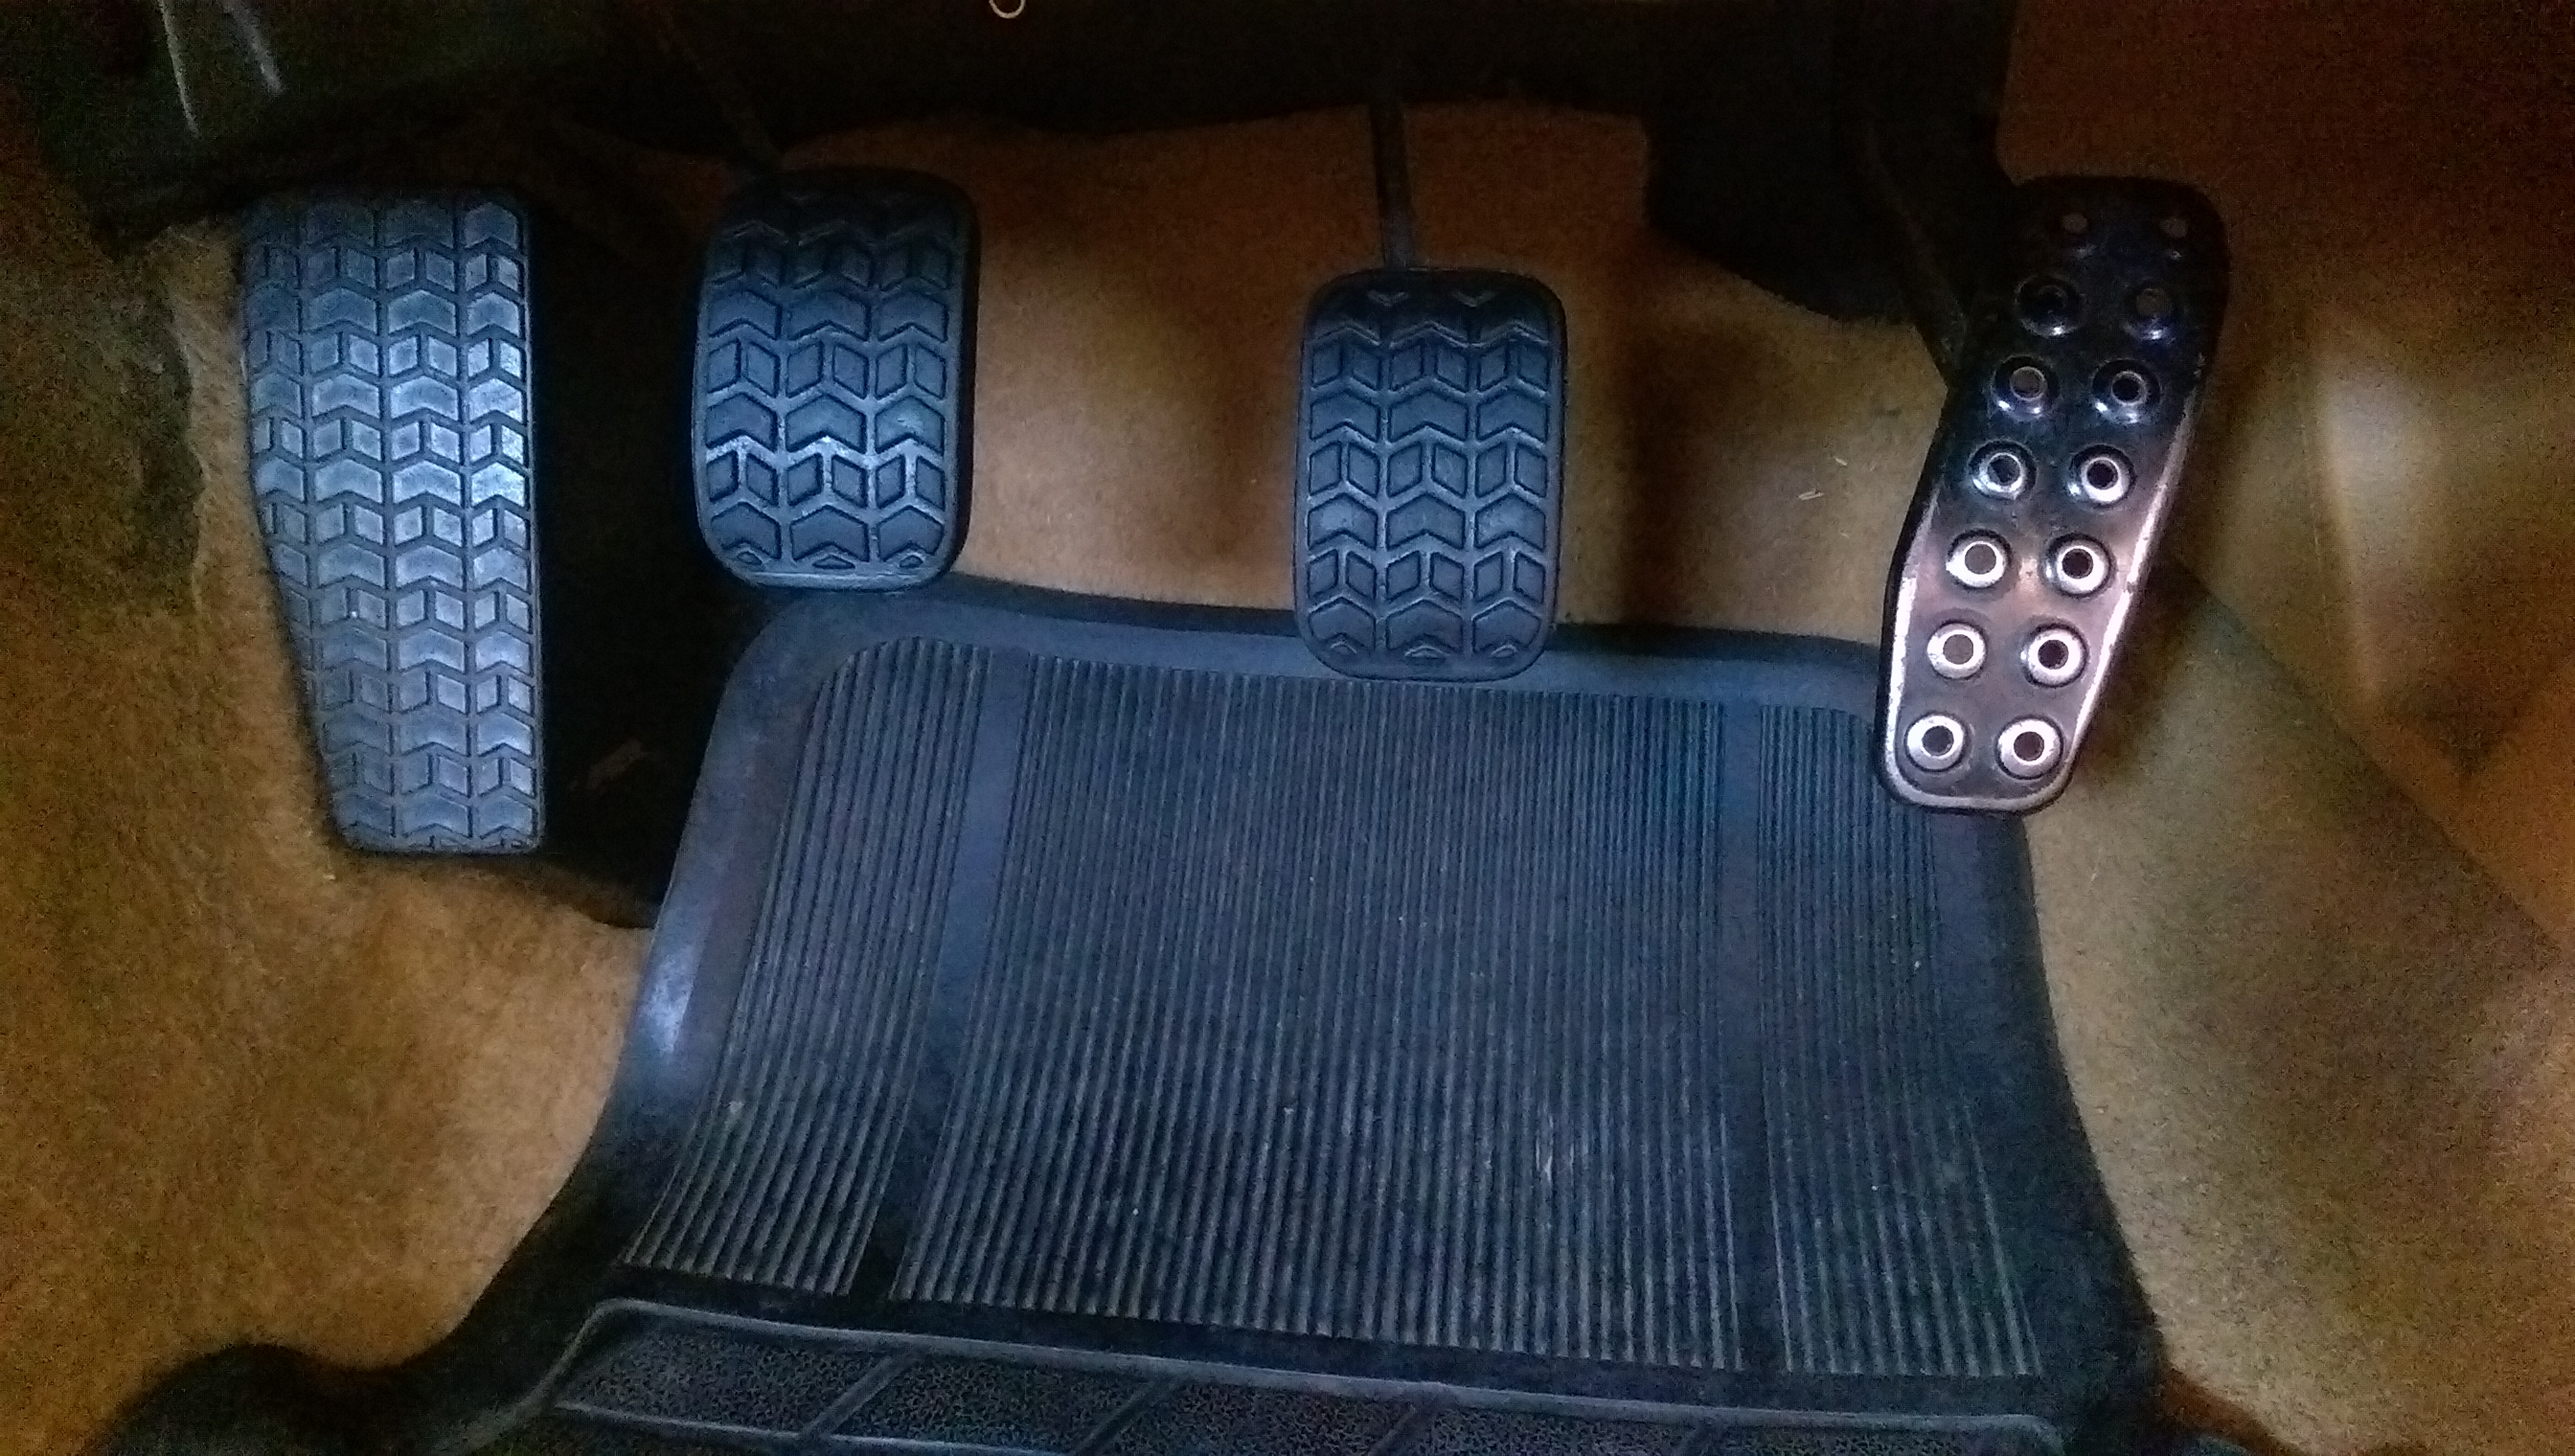
        OEM Rubber Pedal Replacement
        Decided to change these as they were getting quite worn and faded.


        JASS Performance Sun Visor Plugs
        Bought these as the sunvisors were getting in the way and I never really use them anyhow. Looks much cleaner as a result


        ZOOM Engineering Retro Fuel Lid
        I've always wanted this ever since I saw this on a friends NA8C Clubman. It gives it such a nice retro feel to it! Shout out goes to Greasemonkey2000 for sharing a bit of knowledge on where to purchase this item! Thanks again! Install was a breeze, albeit in Japanese. It didn't really take too long to figure out from the diagrams and soon enough, it was fitted and looking very nice indeed!


        Last edited by stephen8512; 09-07-17, 01:59 AM.
        Follow on Facebook
        http://www.facebook.com/96BRG

        Follow on Instagram
        http://www.instagram.com/96BRG

        Comment


          #5
          05/01/2016

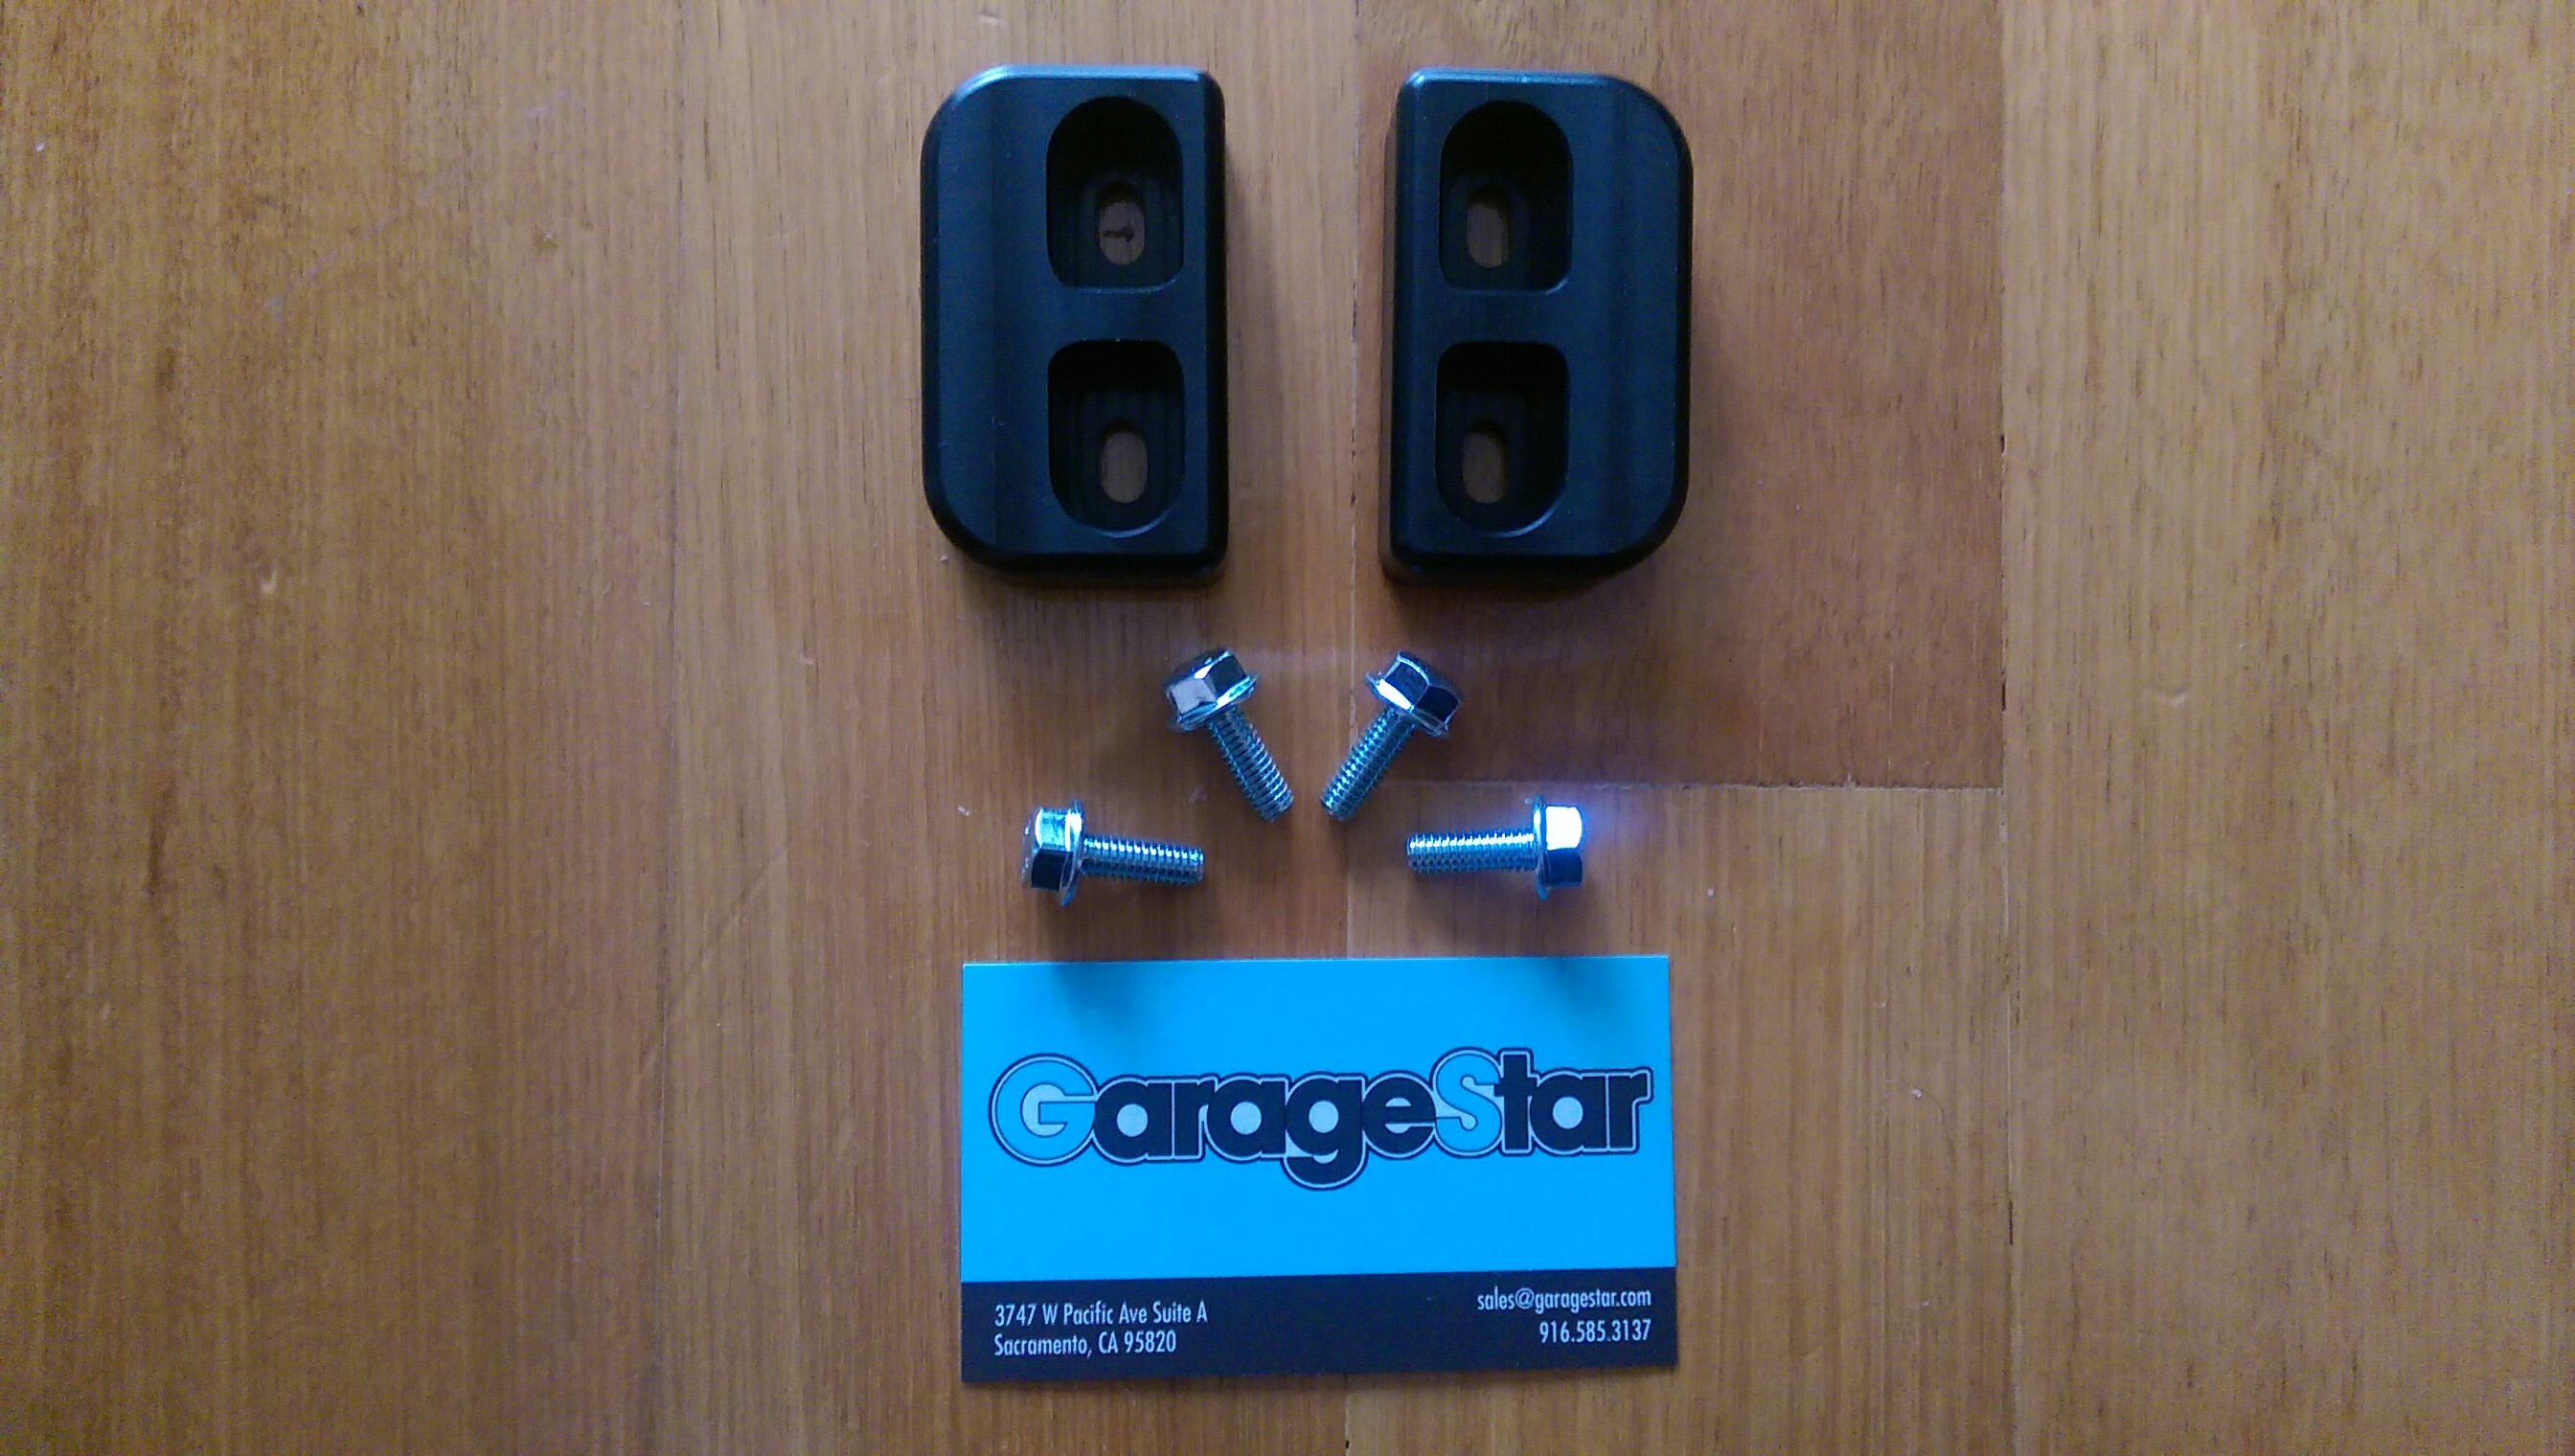
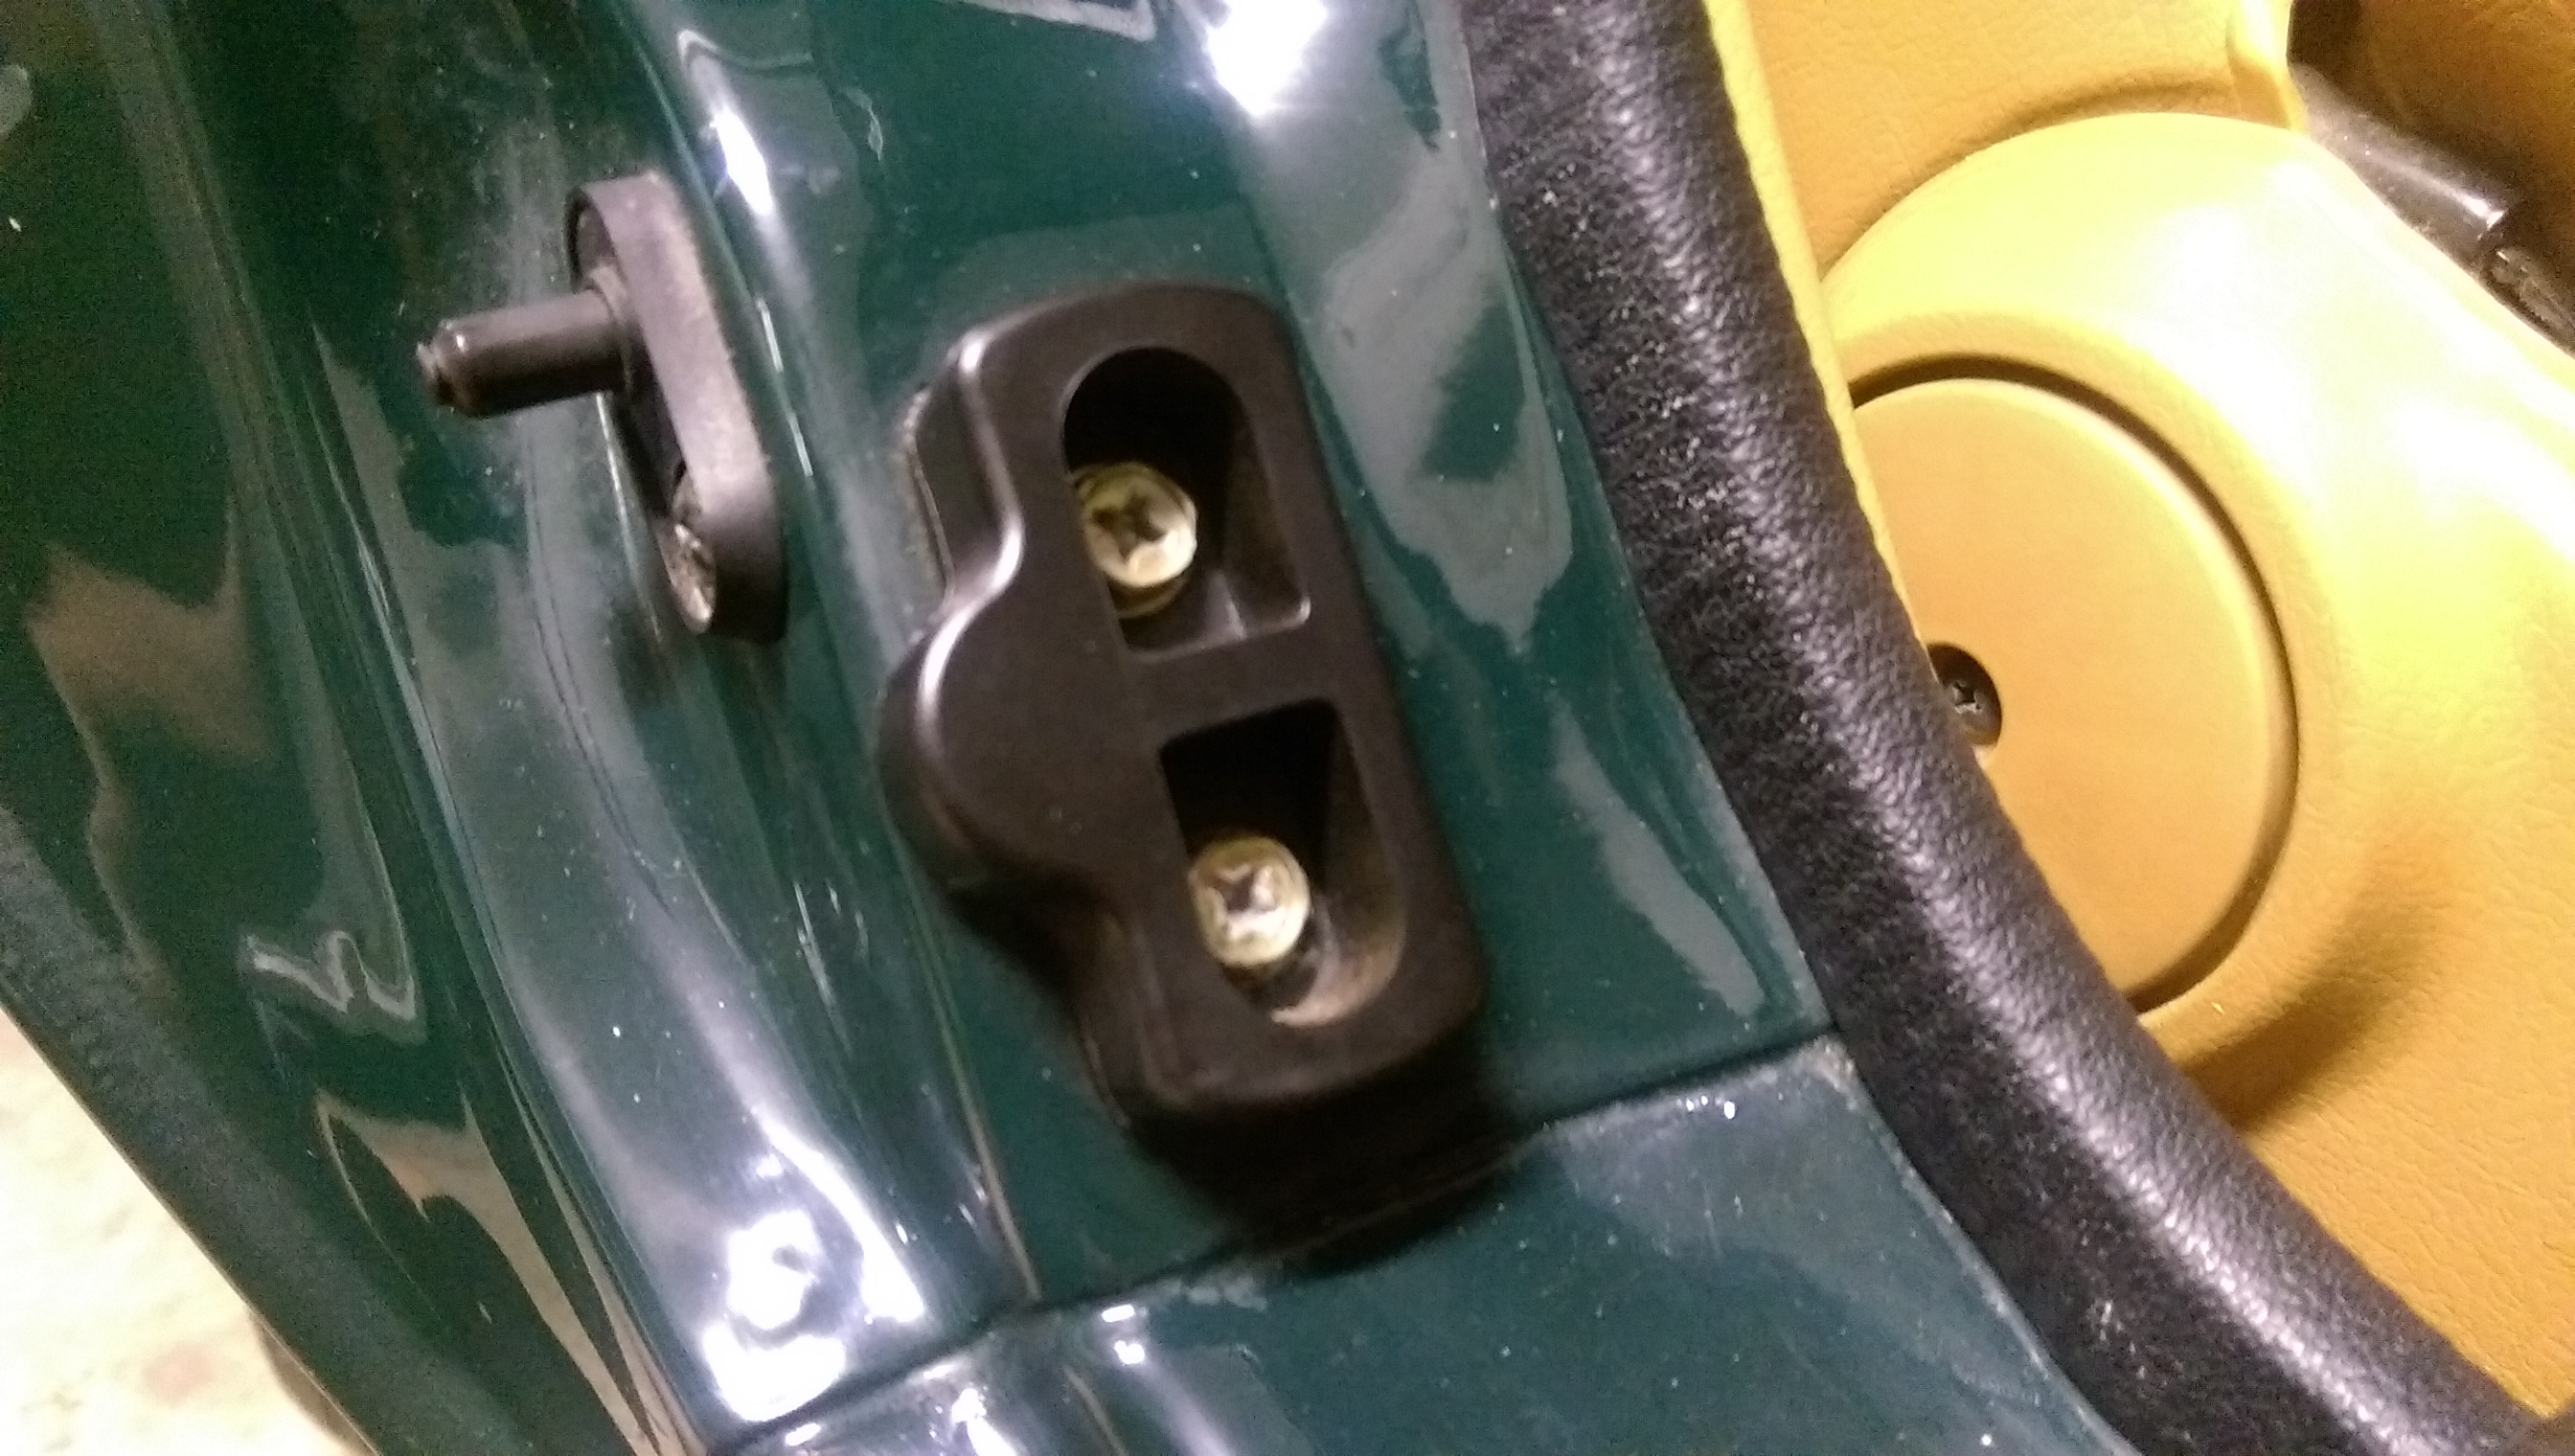
          GarageStar Delrin Door Mounts
          Received these in the mail the other day and decided to mount them. It was a very simple install, only requiring a 10mm socket and a philips head screwdriver. Revlimiter has done a pretty nice review on these items here


          Factory Mount (which still looked very very good) :


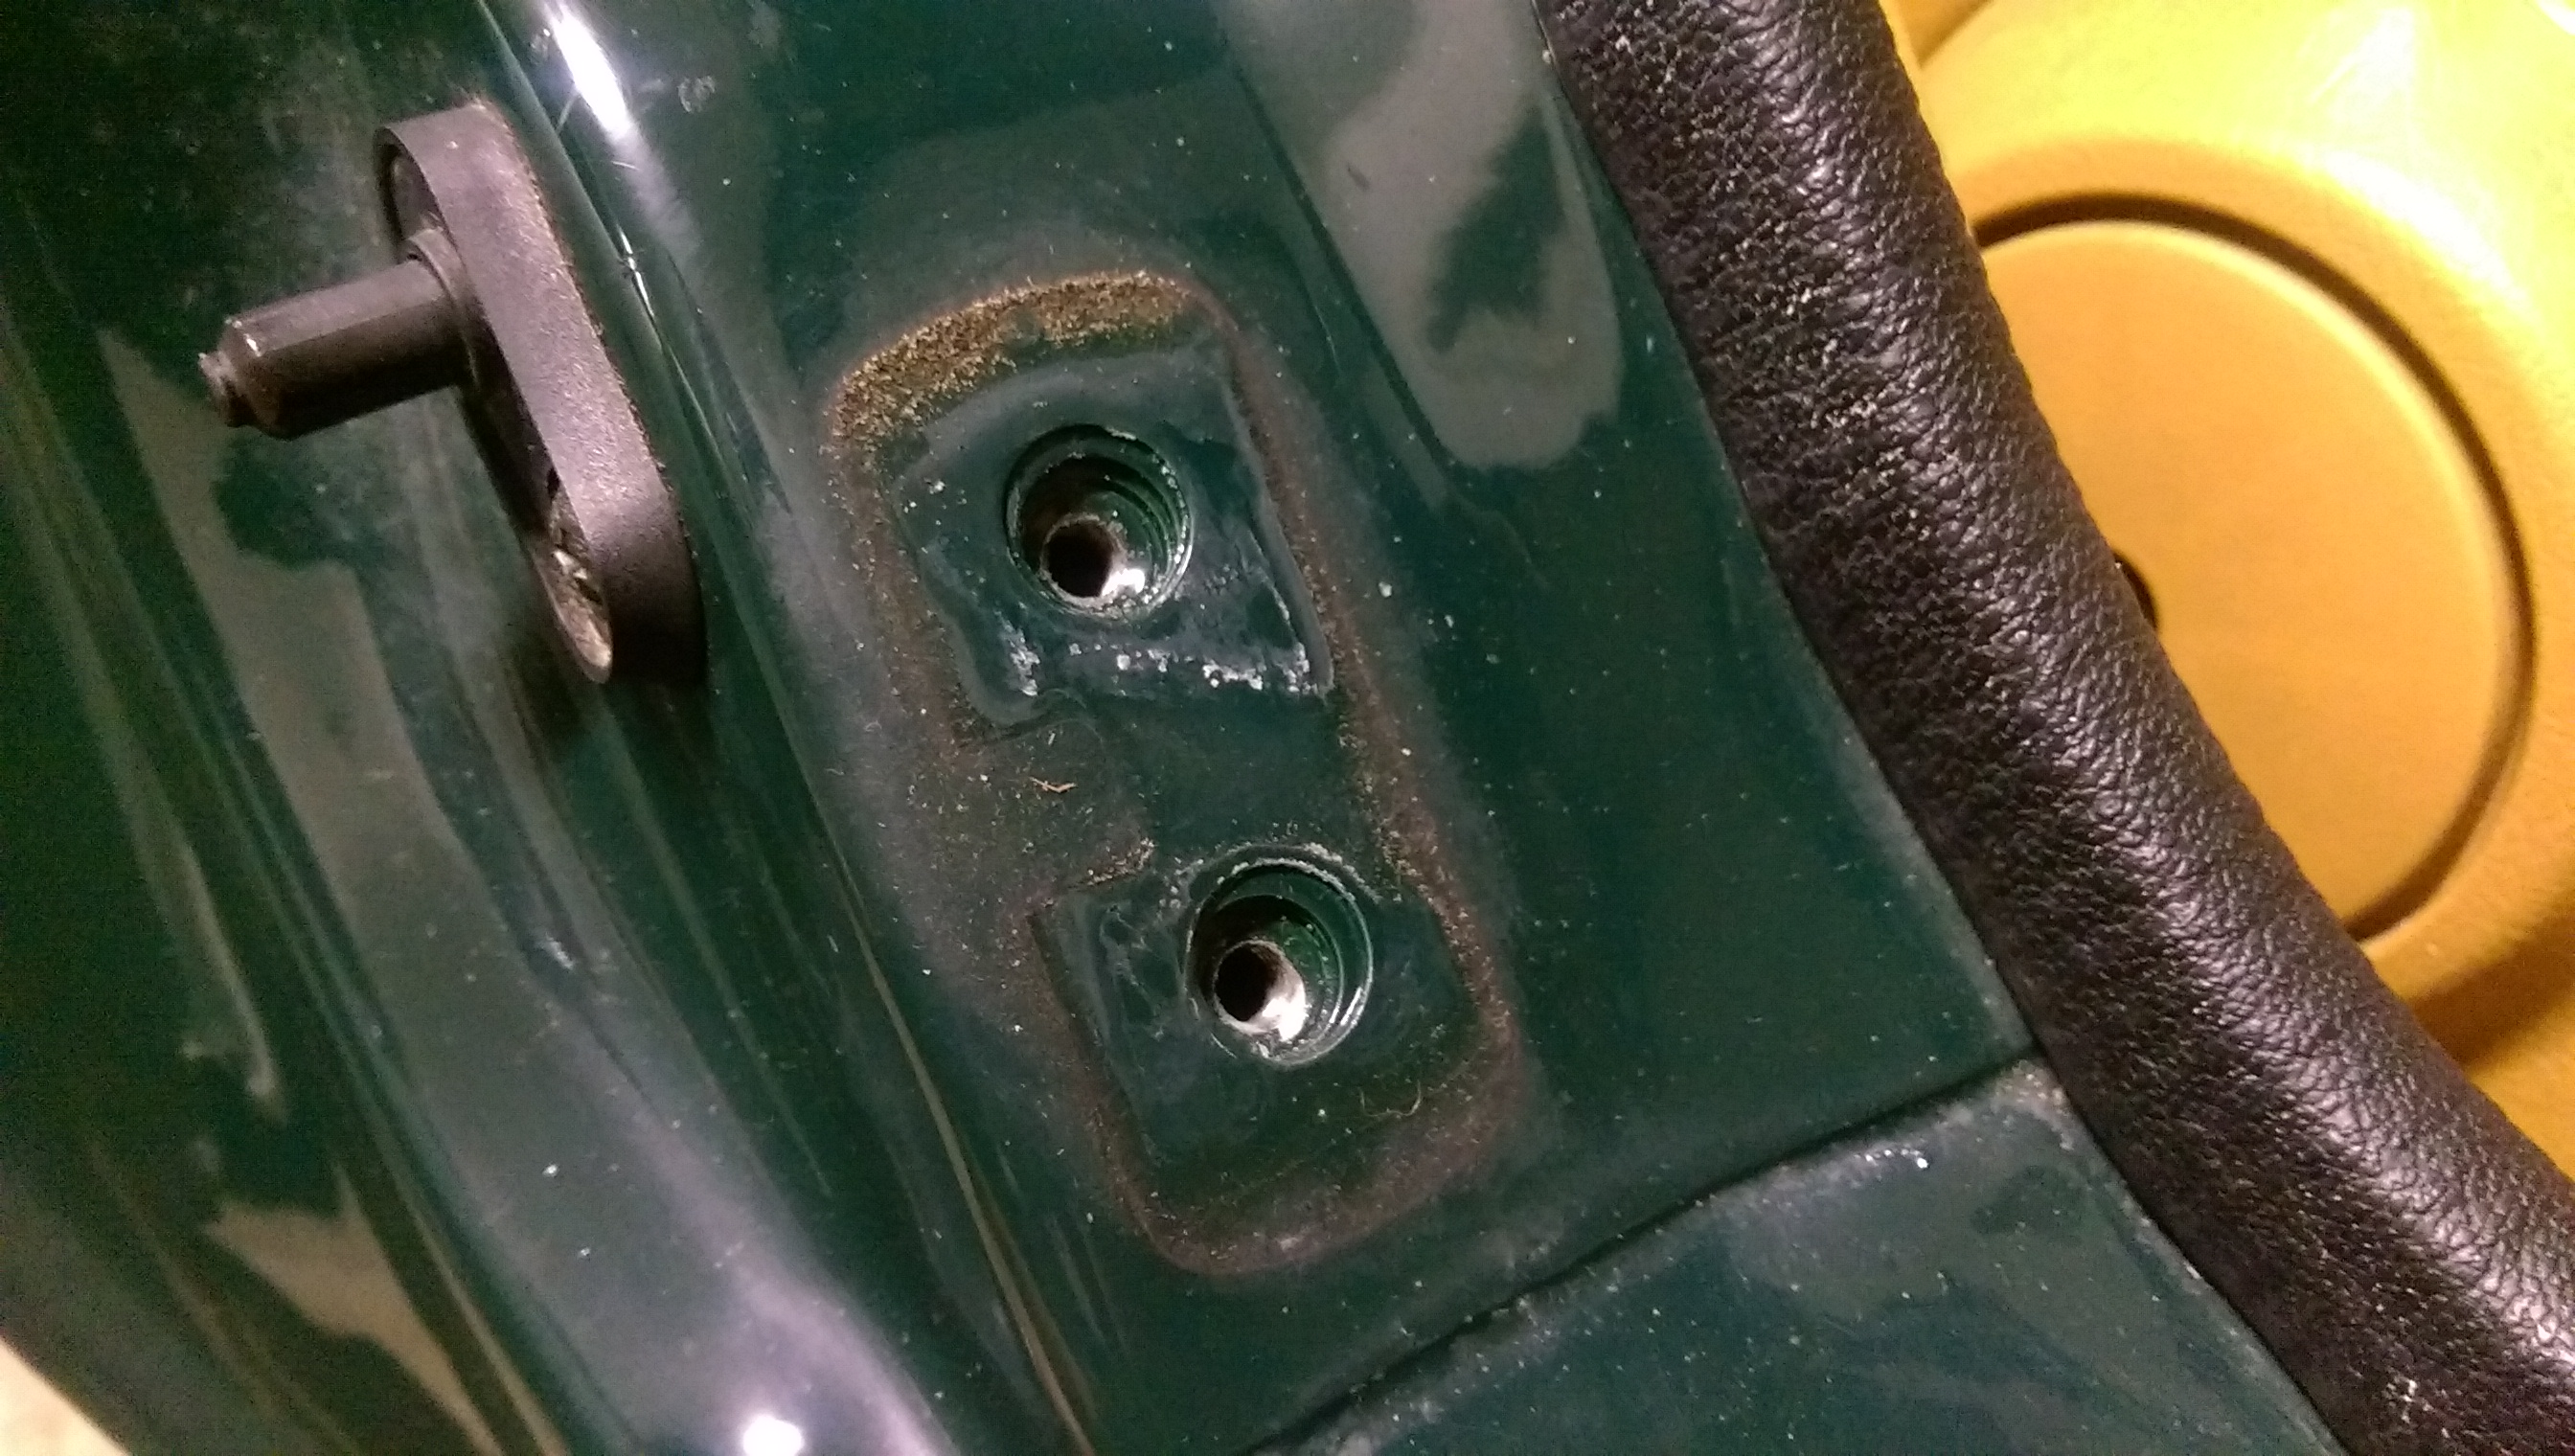
          Once removed, there was some gunk and residue :


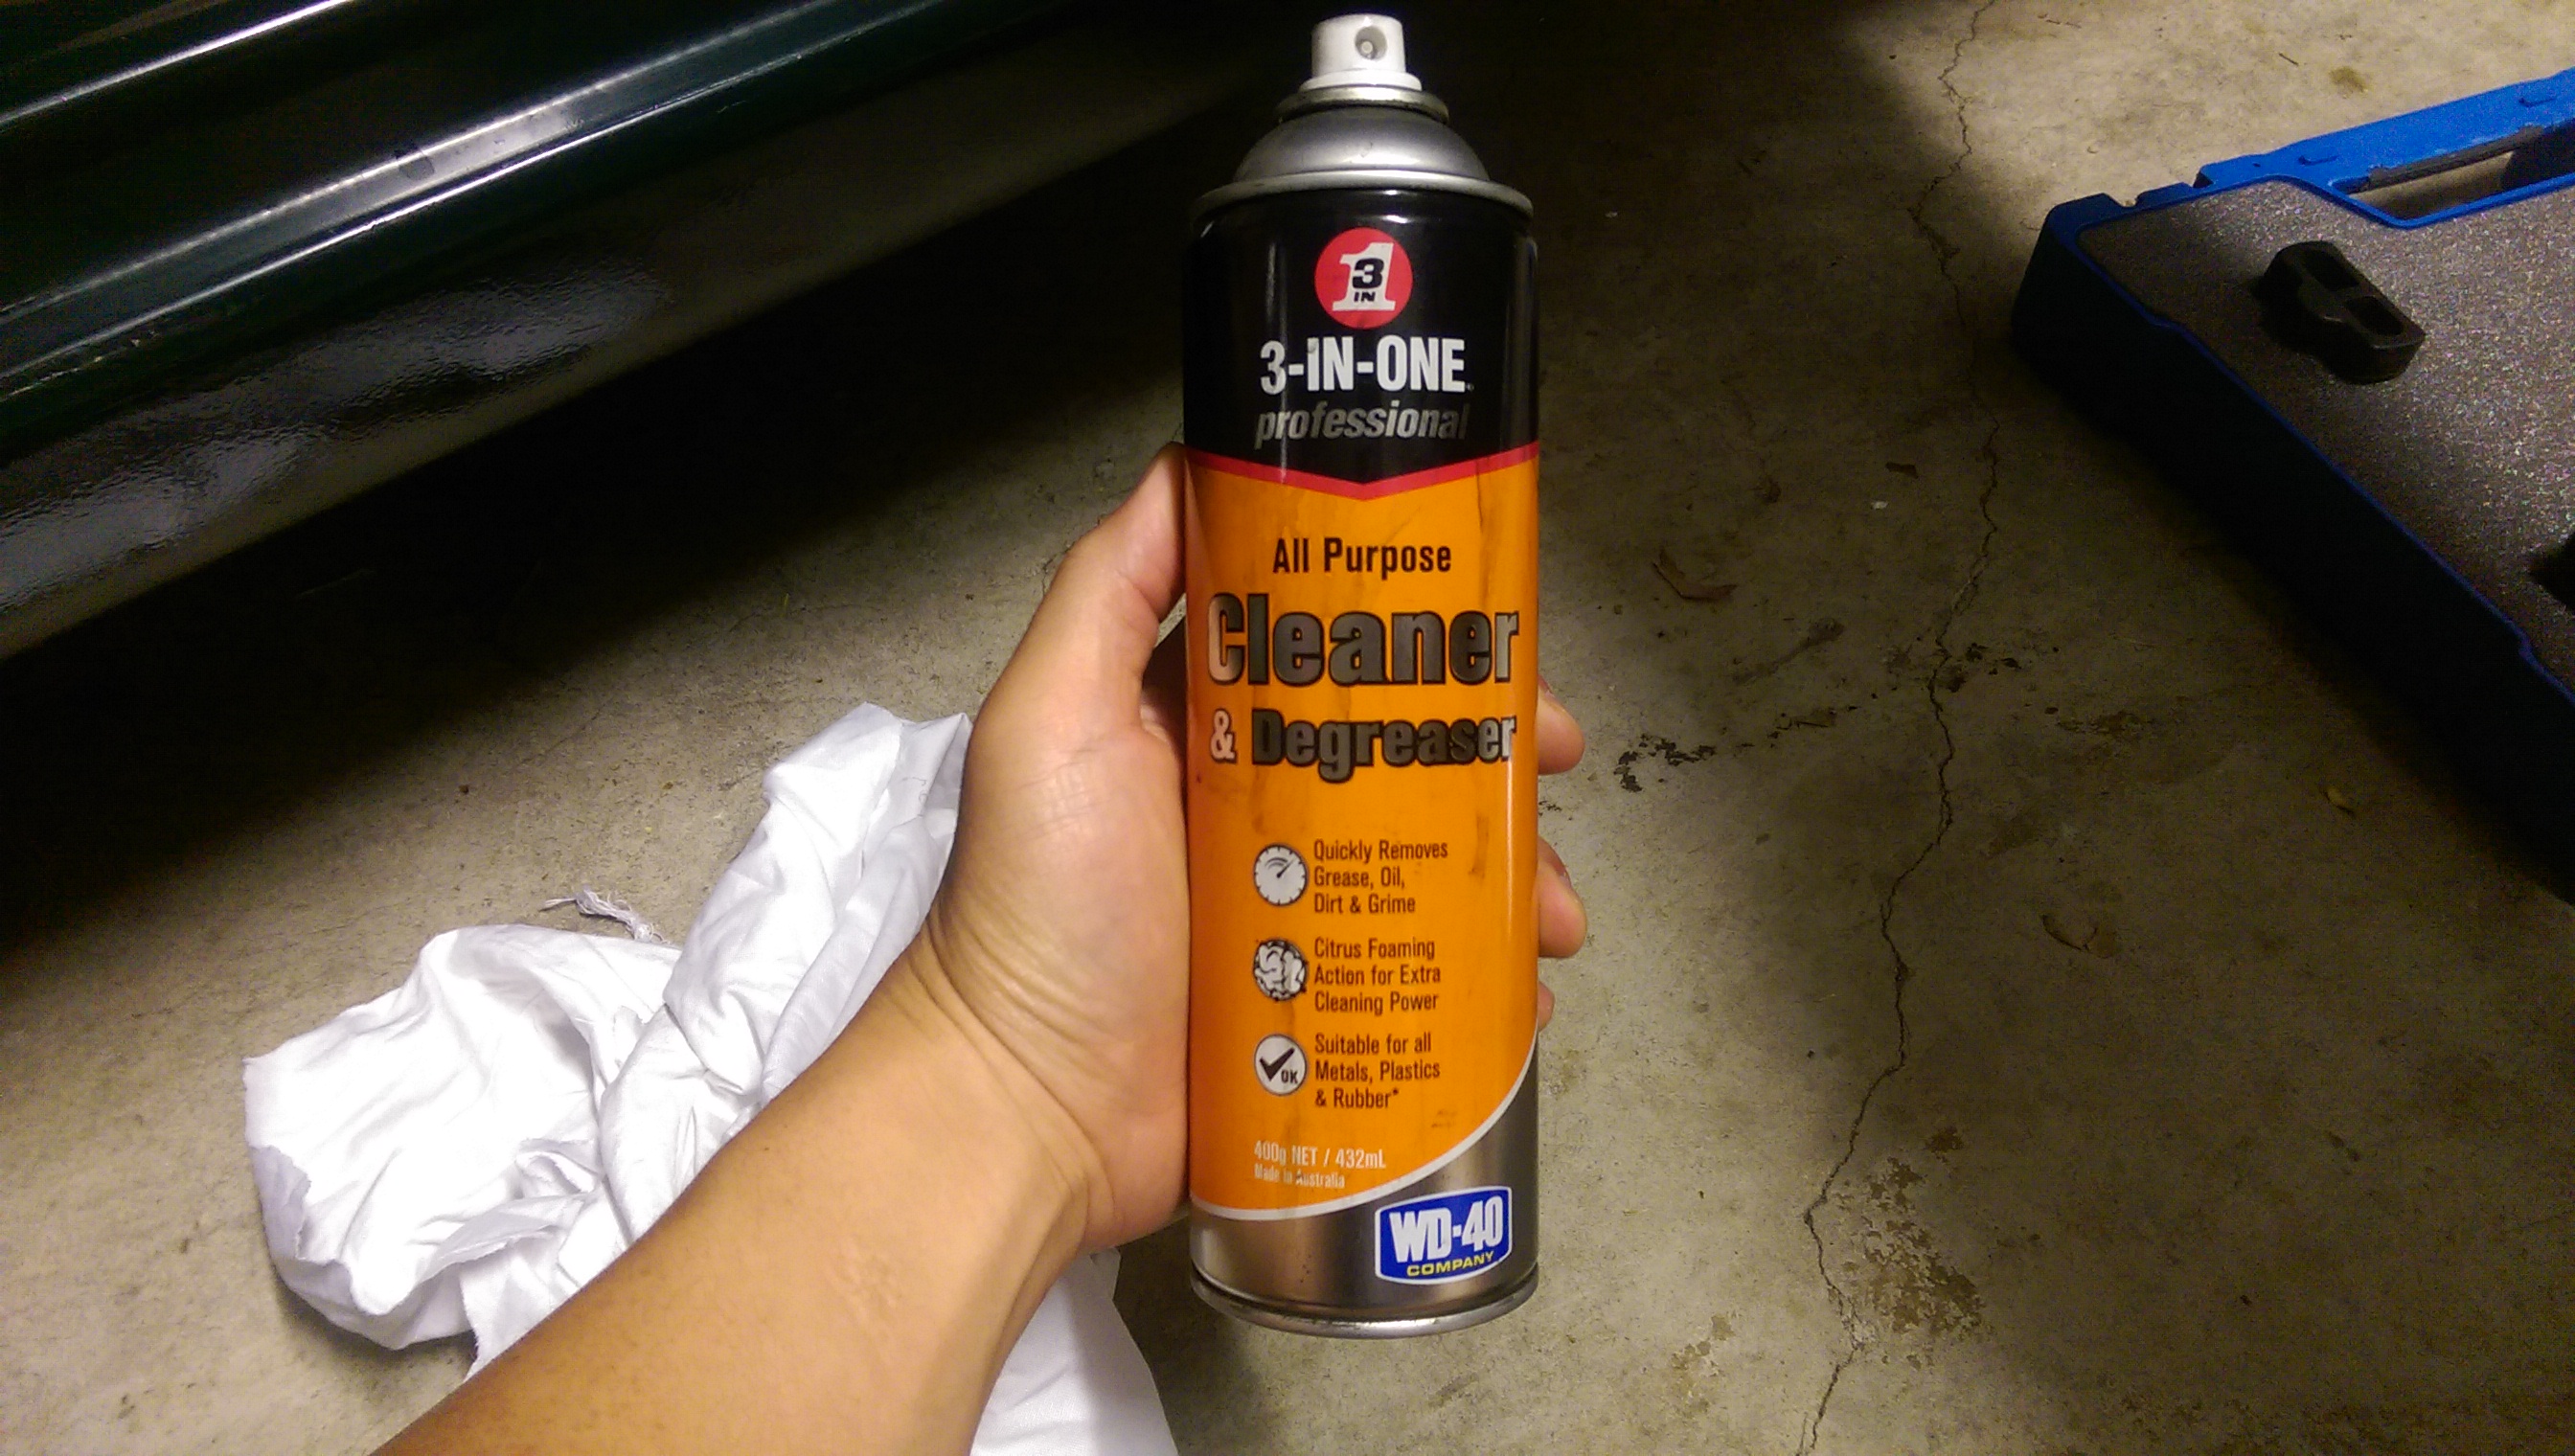
          Decided to clean it up with some cleaner and degreaser before installing the Delrin Door Mounts


          Installed!


          Have yet to drive the car with these on due to Sydney having some really shocking weather (rain) lately (isn't it meant to be summer?!). These did require a bit of careful playing around and as mentioned on Revlimiters review, the door should not be any harder to close with these mounts in. My driver side screws were loose when I was taking them off. Passenger side was okay. I made sure to tighten them and being careful not to over-tighten.


          Philips 4300K Crystal Vision with Parkers
          Purchased some bright white Philips headlight bulbs to replace the dull yellow from the headlamps and parker lights. Freshens up the front a little bit at night and emits a very nice white light. The bulbs come with matching white parker lights so decided to change them all.

          Yellow parker light


          Comparison of Philips Crystal Visions VS OEM

          Last edited by stephen8512; 09-07-17, 02:00 AM.
          Follow on Facebook
          http://www.facebook.com/96BRG

          Follow on Instagram
          http://www.instagram.com/96BRG

          Comment


            #6
            07/01/2016

            OEM Third Brake Light Gasket Replacement
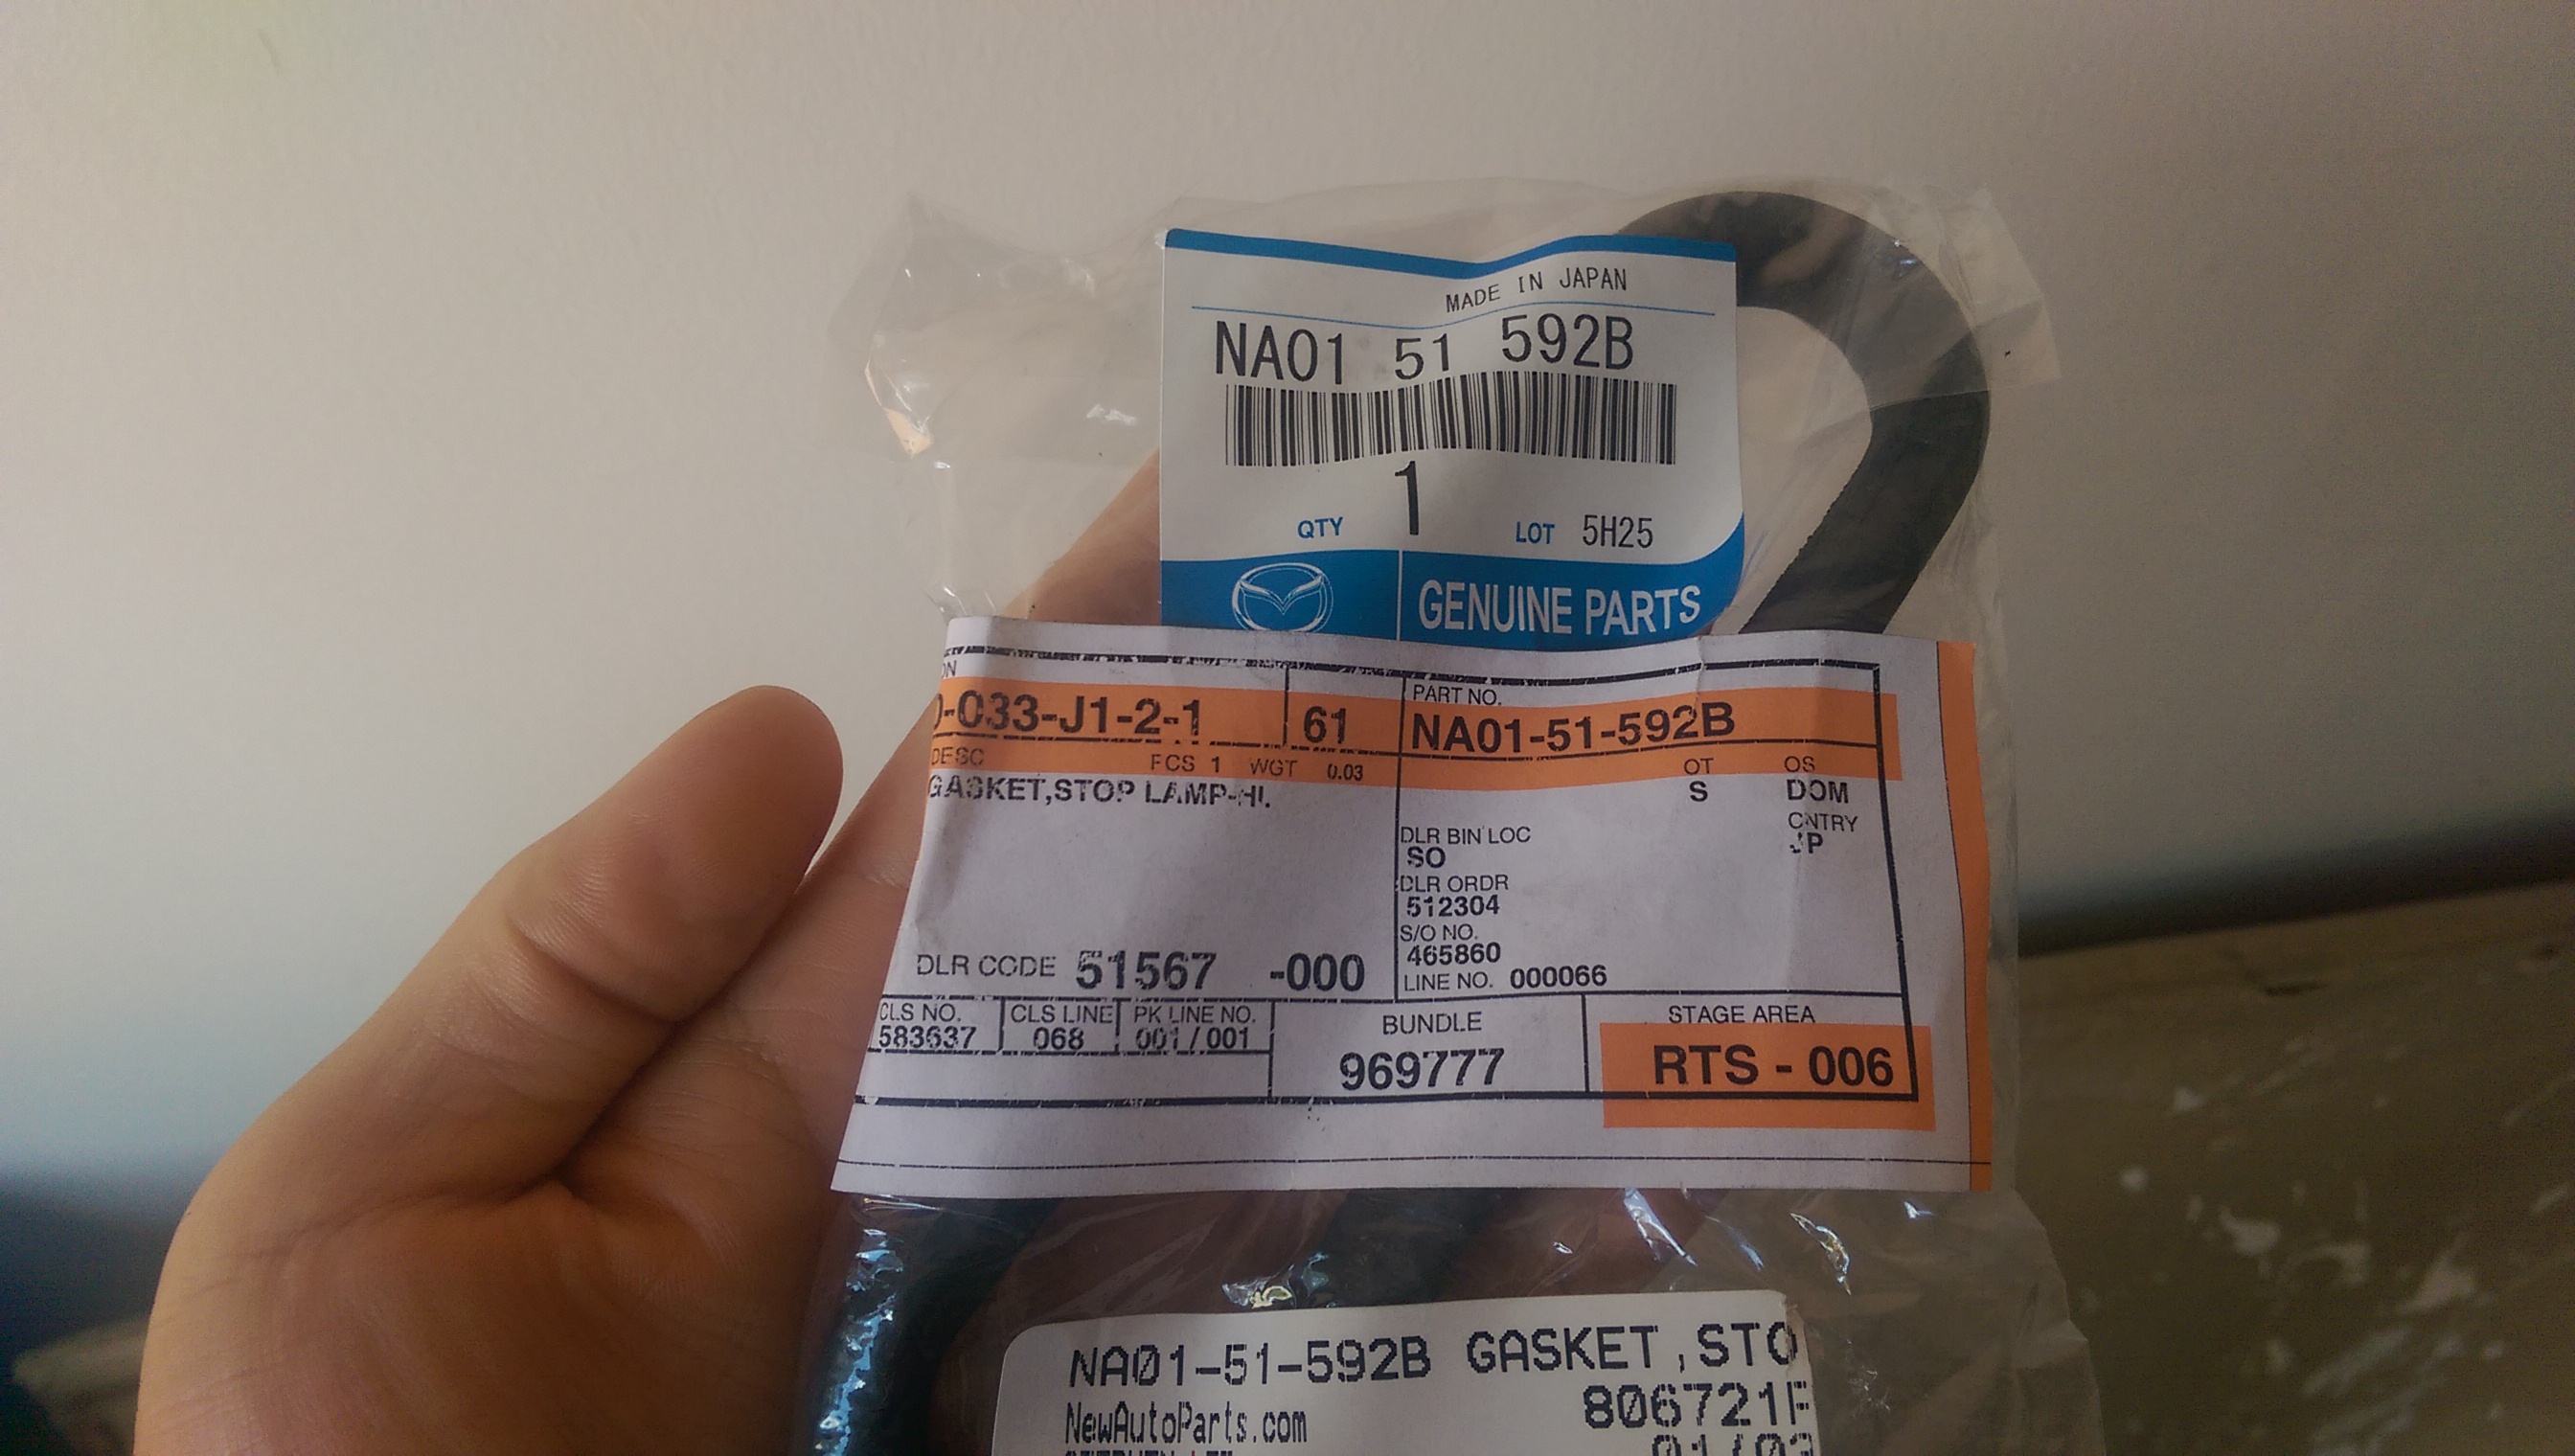
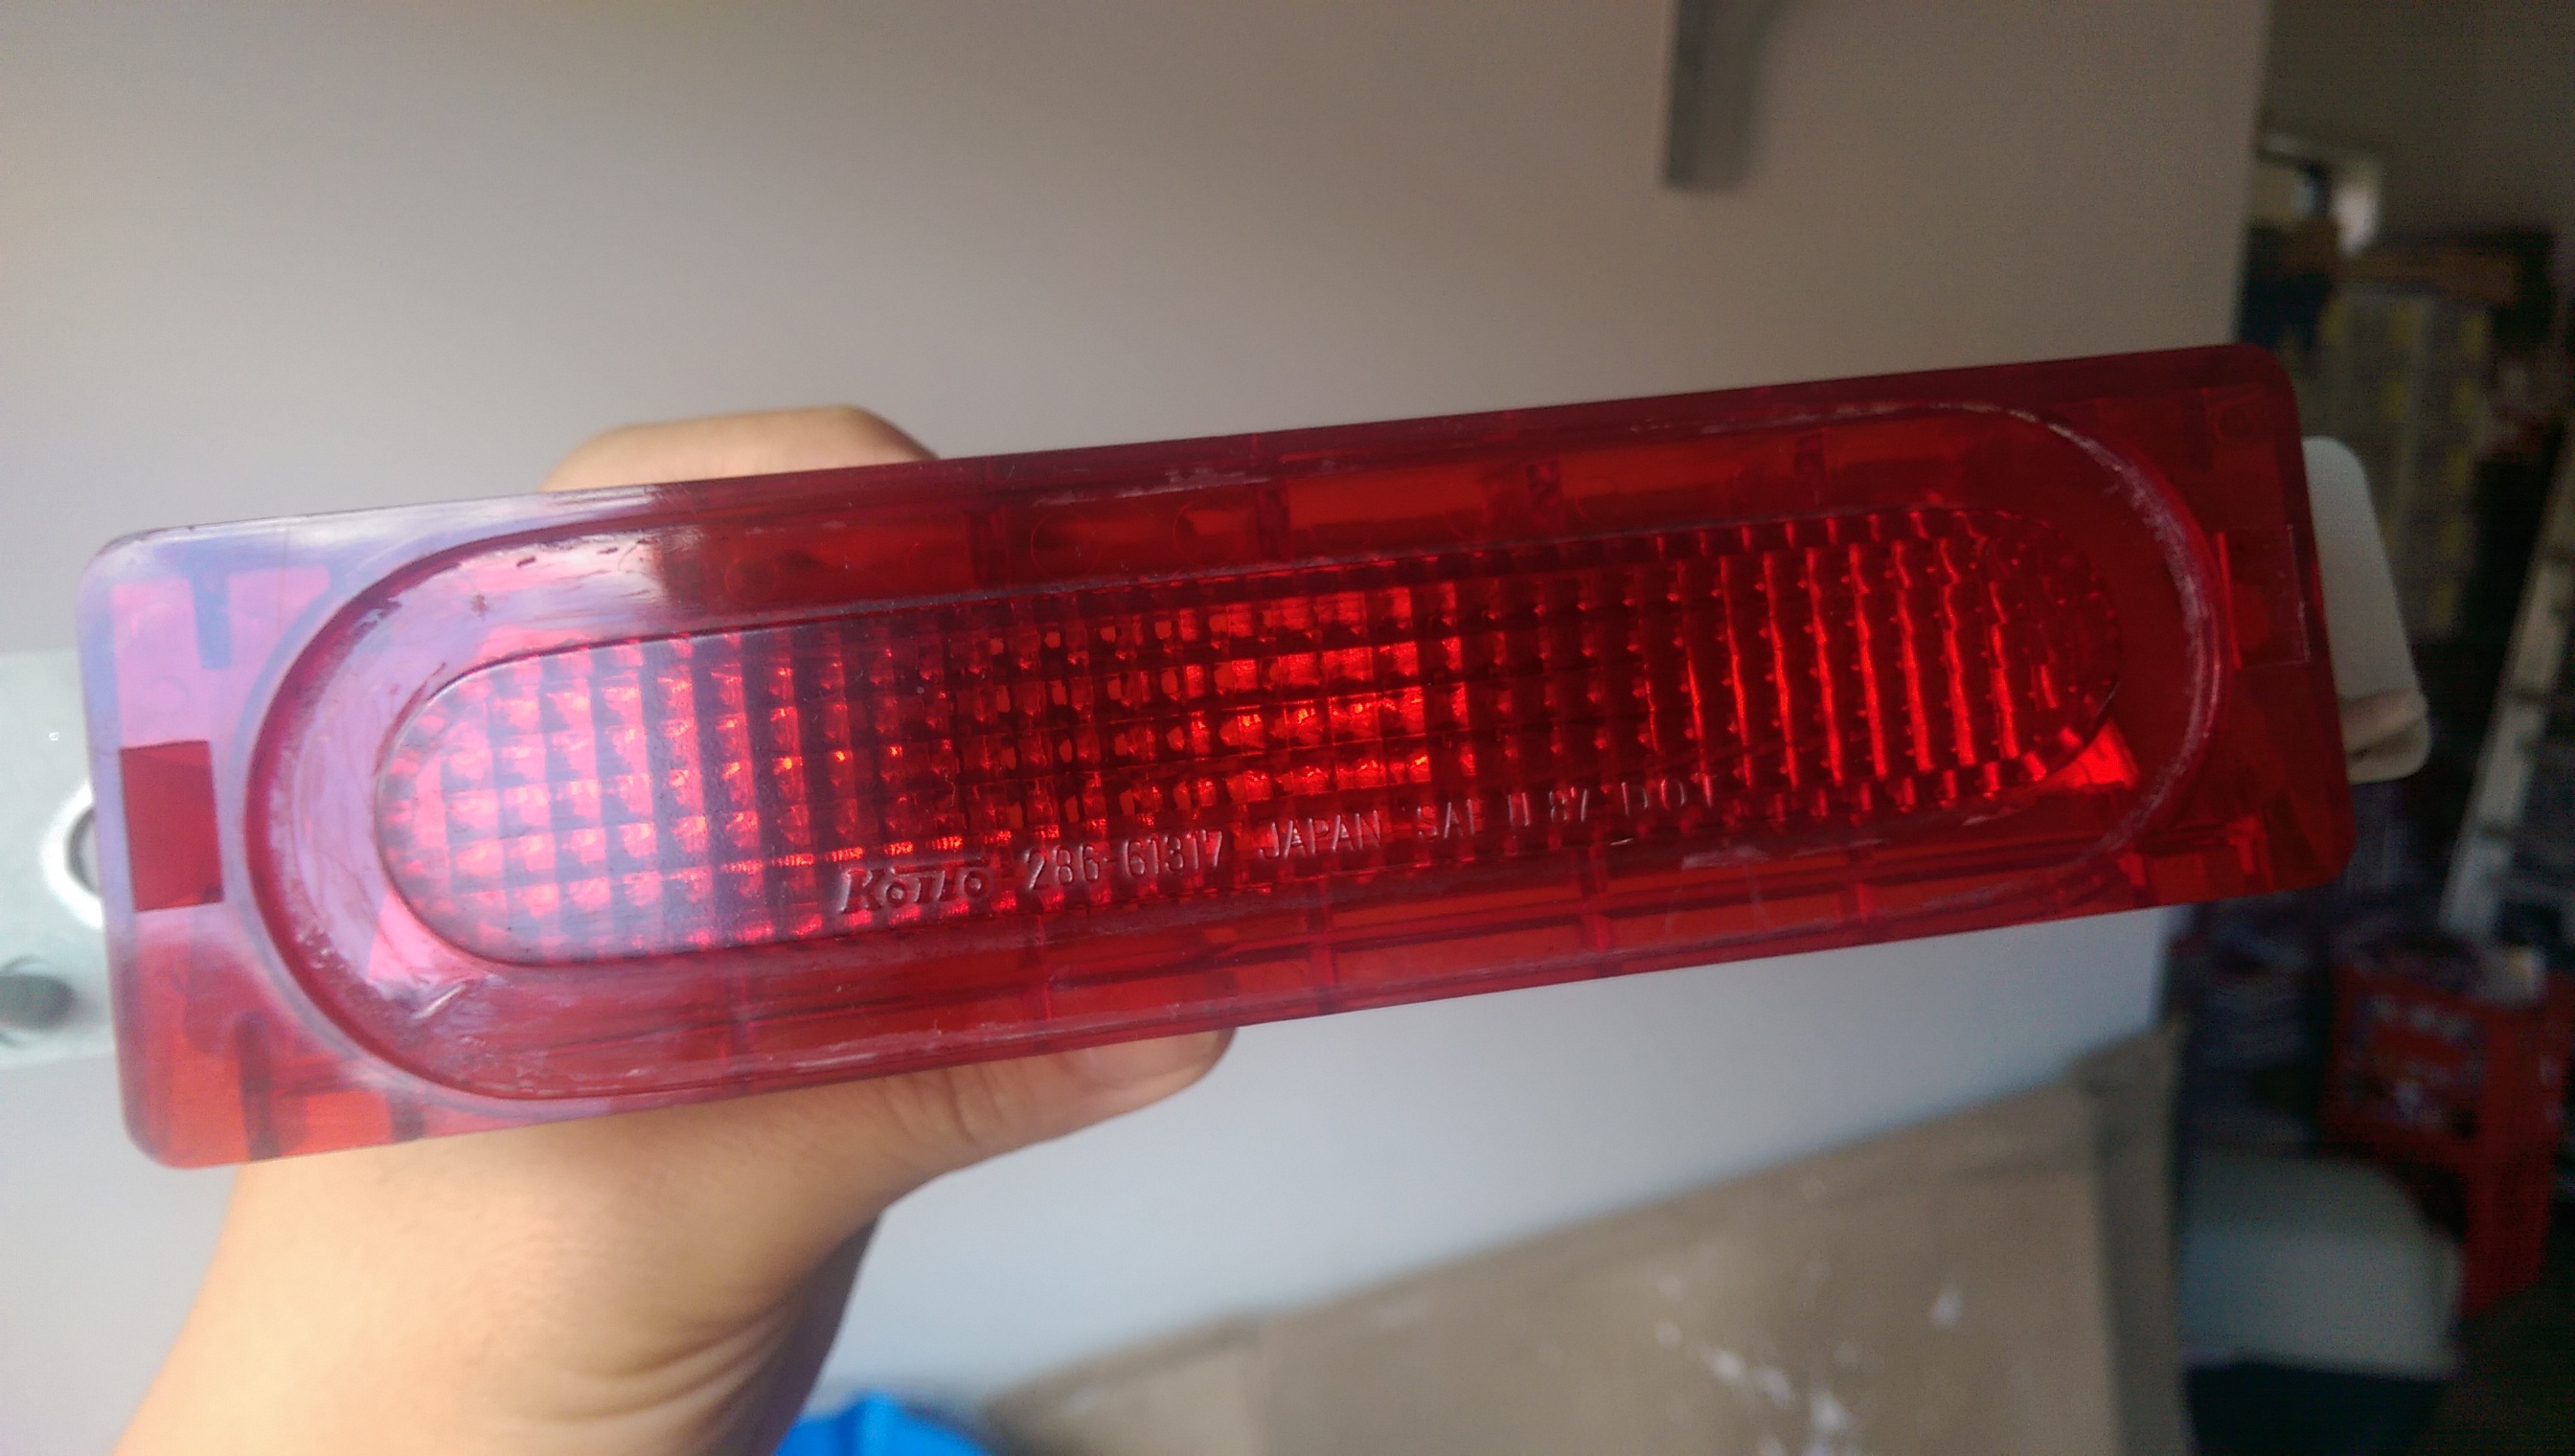
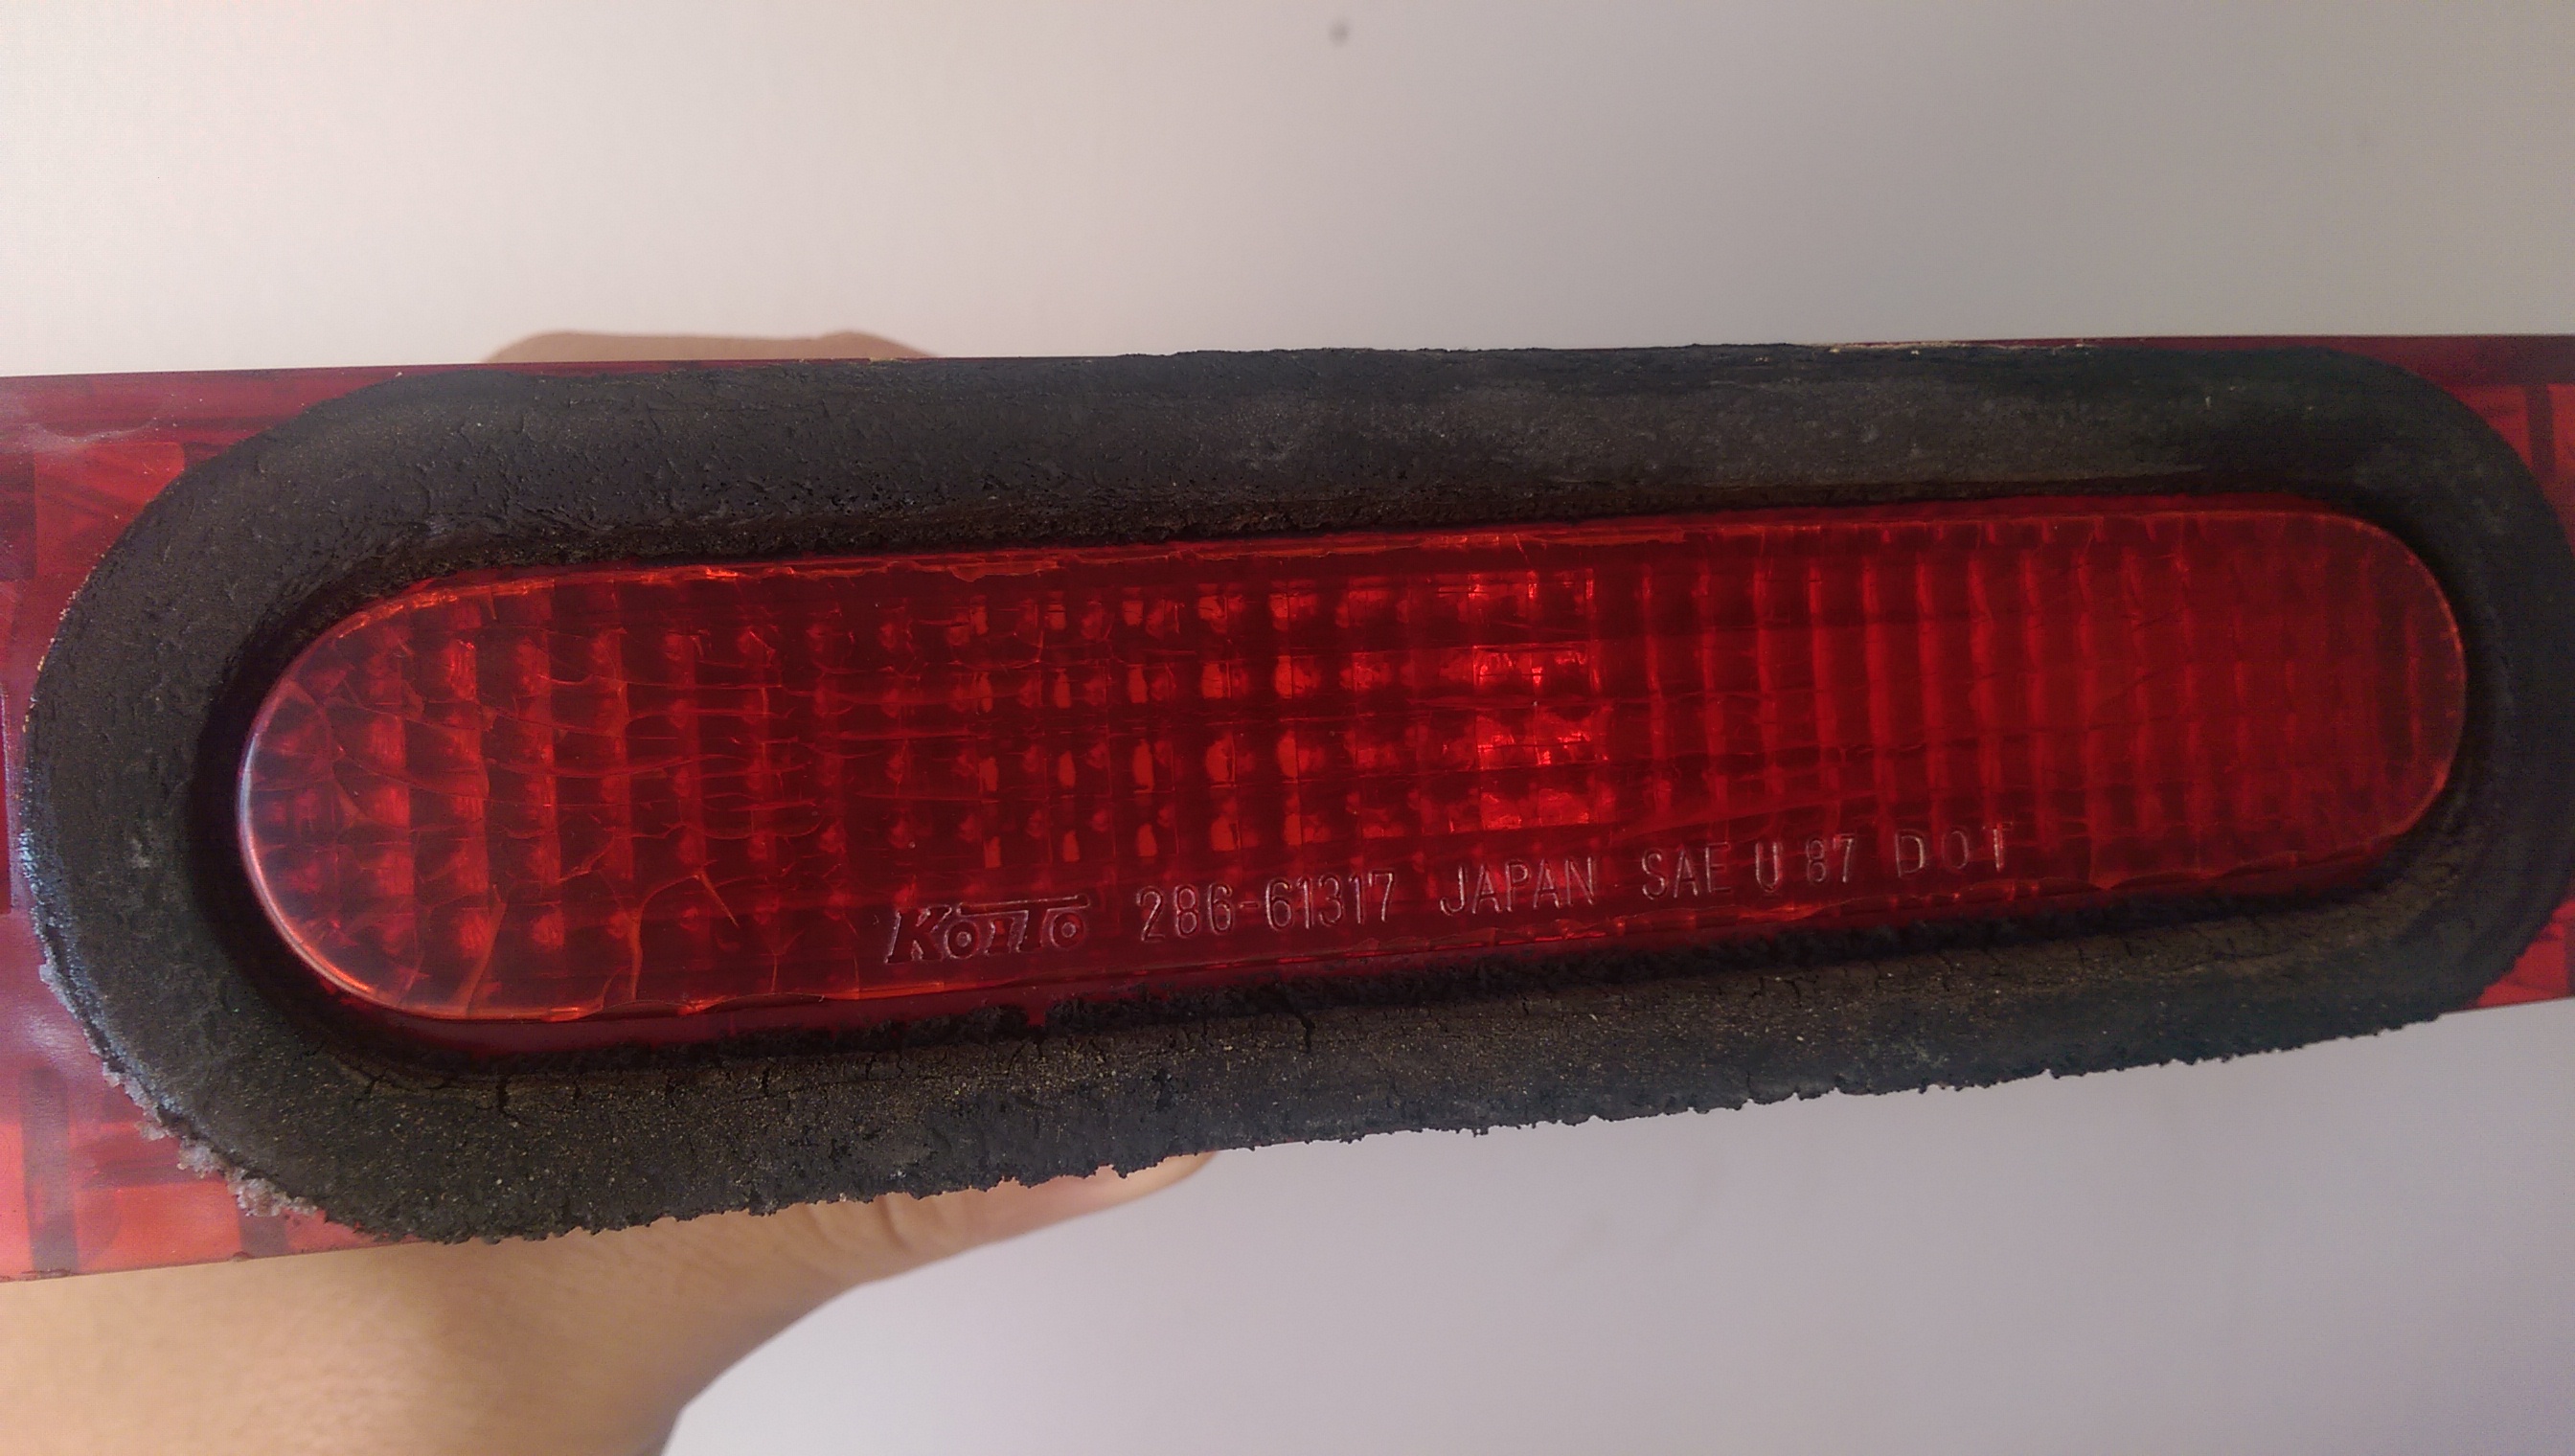
            I realised that my third brake light has little tiny cracks on the plastic and the crusty rubber gasket had all but worn away. Decided to replace them as well as the gasket just for peace of mind. Managed to find a donor third brake light from the wreckers which was in perfect condition.


            Brand new rubber gasket


            The donor third brake light with old gasket cleaned off


            Front Number Plate Mounting Bracket
            The OEM bracket was all rusty and worn. It also wasn't doing my front bumper any favours as the number plate which was mounted had screws which were way too long and as a result, the top two corners where the screws were holding the plate onto the bracket was also hitting the front bumper itself, which would have caused it to chip etc when going over bumps or when driving over rough surface. I pulled the bracket as far away as I could to the bumper to avoid further damage until I got my new mounting bracket. Thankfully the damage isn't large with the chips being about 1-2mm in diameter, so it's really nothing.

            Old number plate bracket :


            New number plate bracket. Precision laser cut.


            Before. Yuck!


            After. Much Better!

            Last edited by stephen8512; 09-07-17, 02:01 AM.
            Follow on Facebook
            http://www.facebook.com/96BRG

            Follow on Instagram
            http://www.instagram.com/96BRG

            Comment


              #7
              08/01/2016

              Small cruise, tackling some twisties
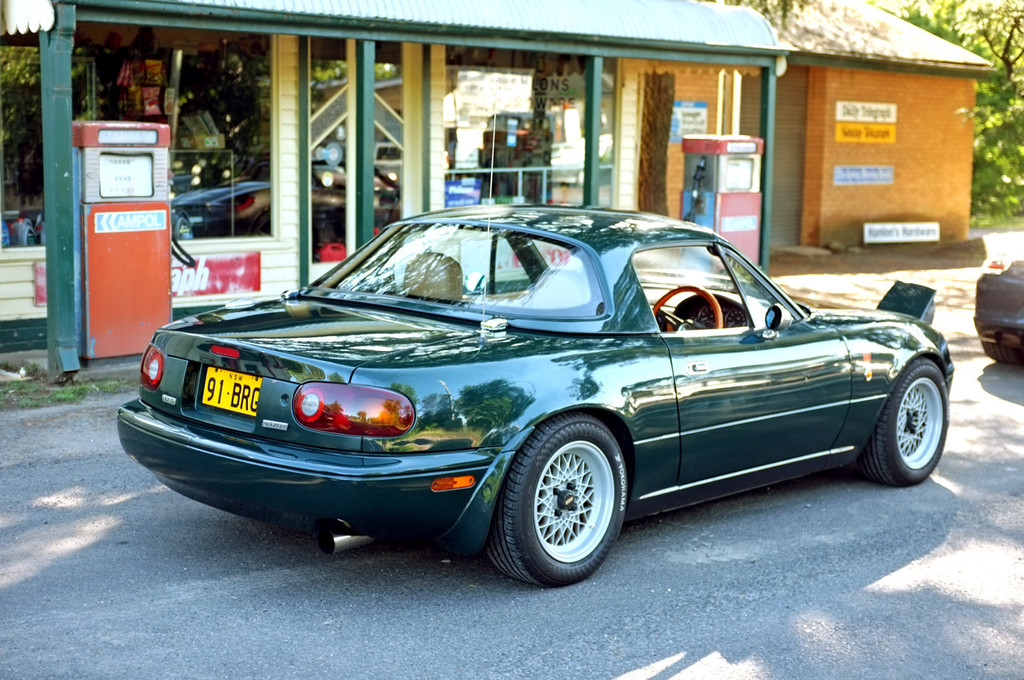
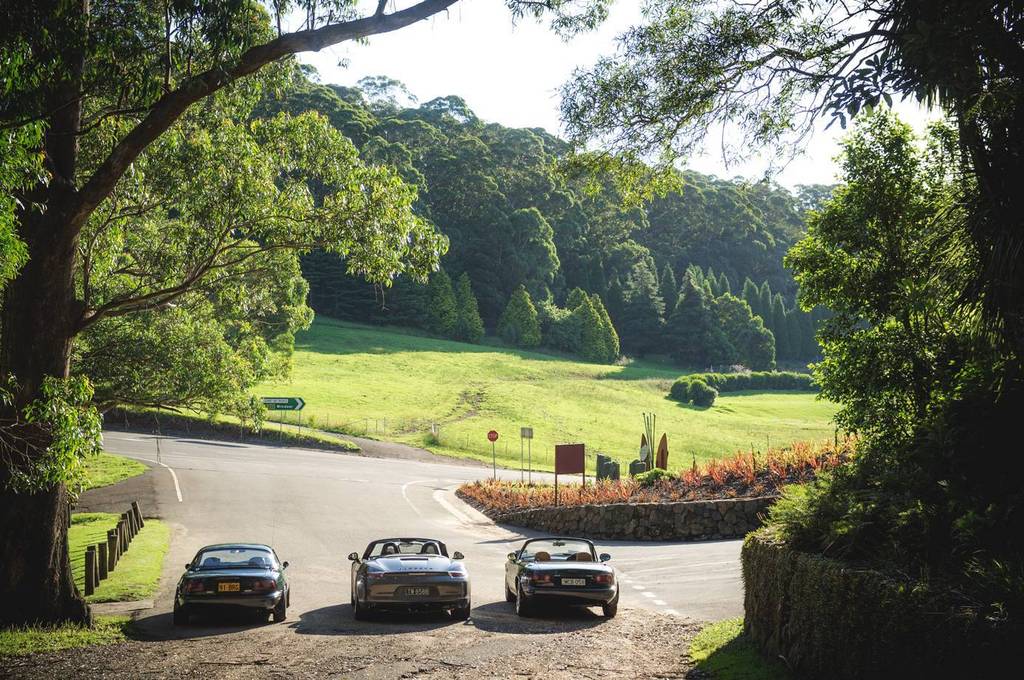
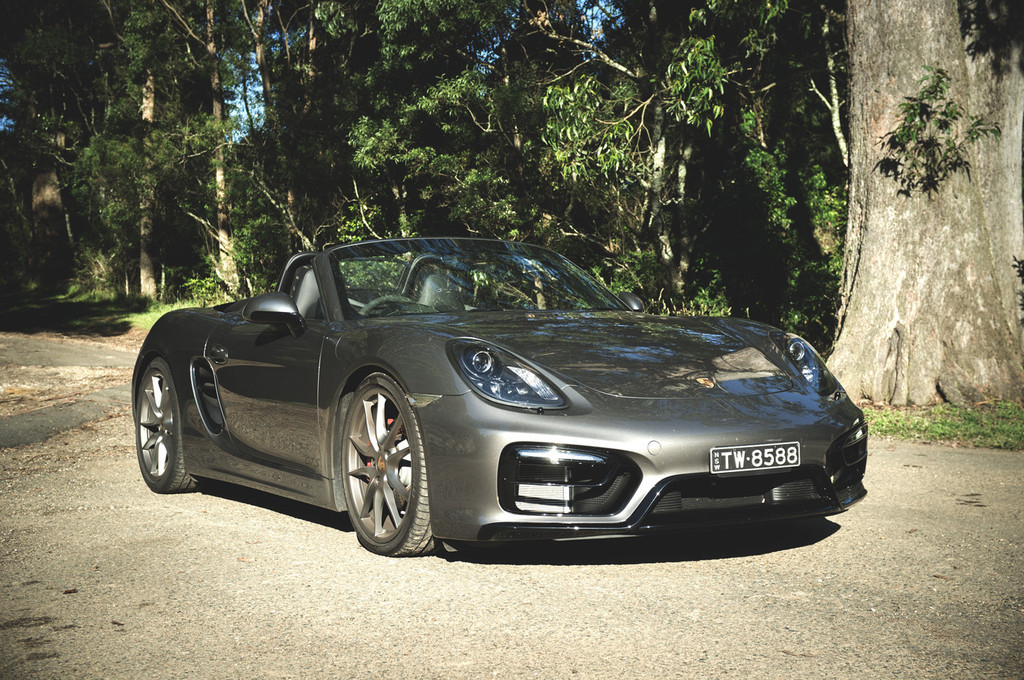
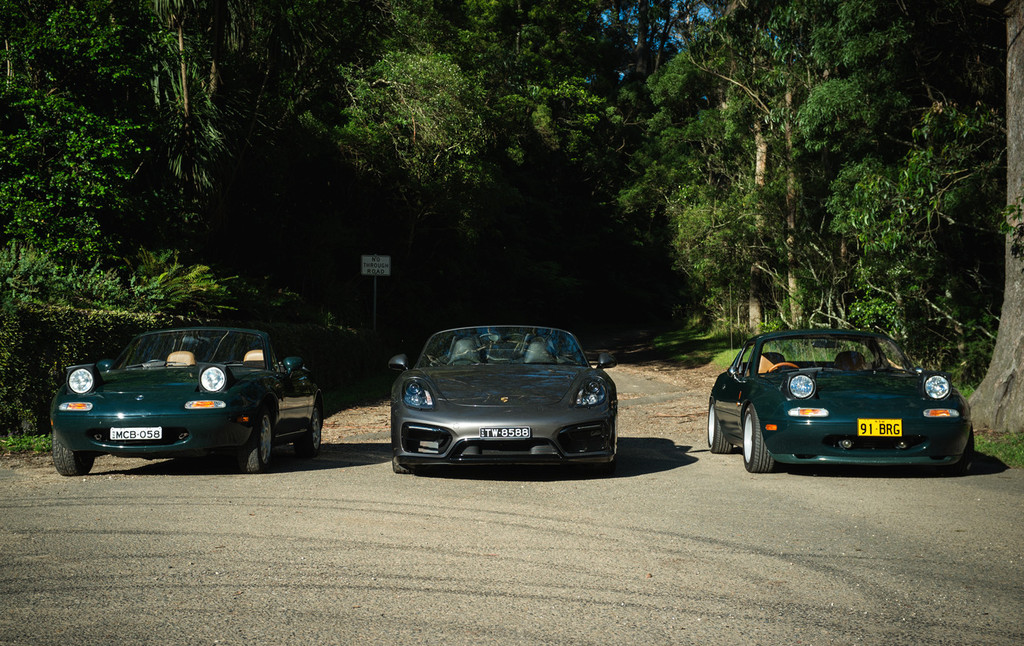
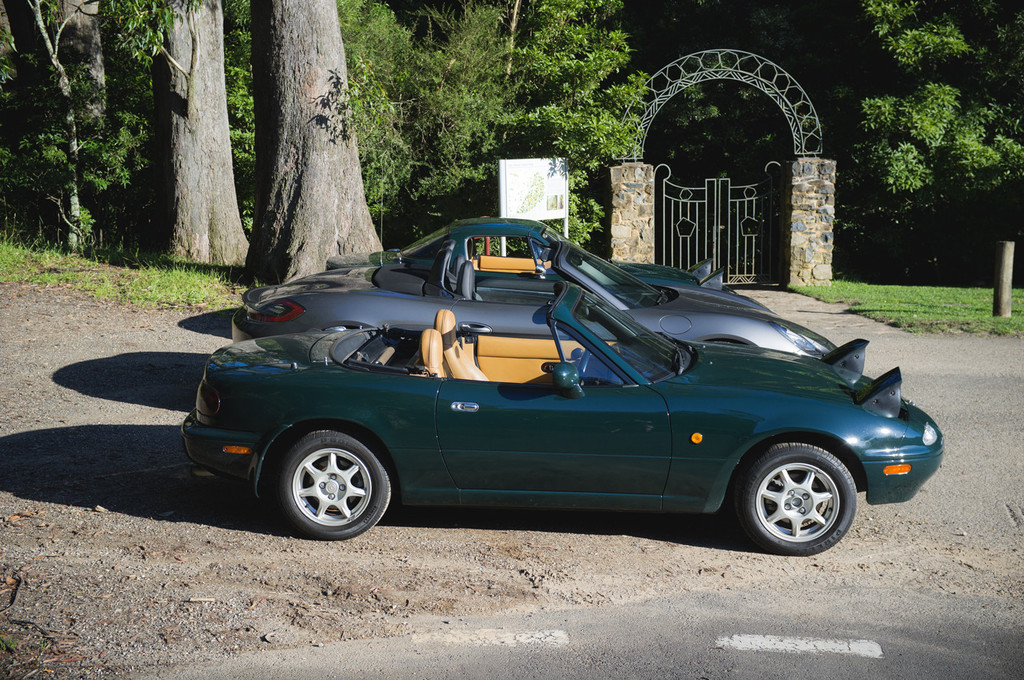
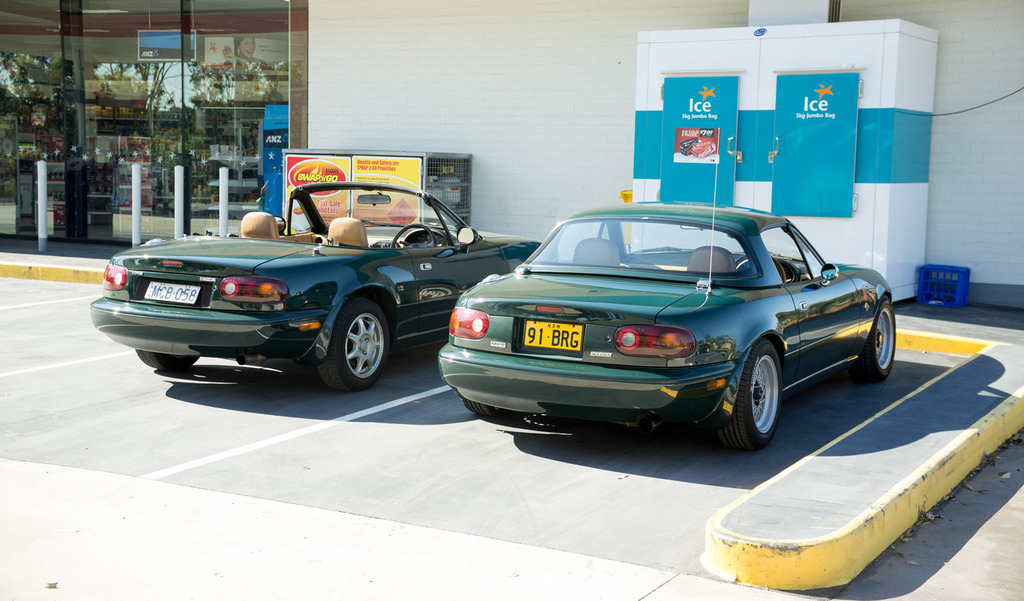
              Met up with with two mates of mine, one who owns a 2015 Porsche Boxter GTS, and the other being who owns a pretty amazing NA6. Some of you may know him from this forum (Dan AKA "91-BRG")

              I met Dan a while ago through a mutual friend and ever since I took delivery of my NA8 BRG, I've been wanting to meet up with him to have a chat to him about MX5's, mods, to see his car, etc since he knows a lot about them and to also just take my car for a good drive through some B roads. Thankfully, that opportunity presented itself today, especially after some horrible weather Sydney has had over the past few days with torrential rain etc. The drive today was epic. Blue skies, no clouds, sun was out. Perfect for some top down cruising.

              We went through Bells Line heading up towards Blue Mountains, then decided to come back down and go through Putty Rd. Both drives were fantastic and Dan was so kind to let me drive his NA6 through a few sections of road. I have to say, given that it has no driver aids, modified suspension components and grippy rubber, it made my NA8 feel like a wobbly boat by comparison. Need to do suspension ASAP!

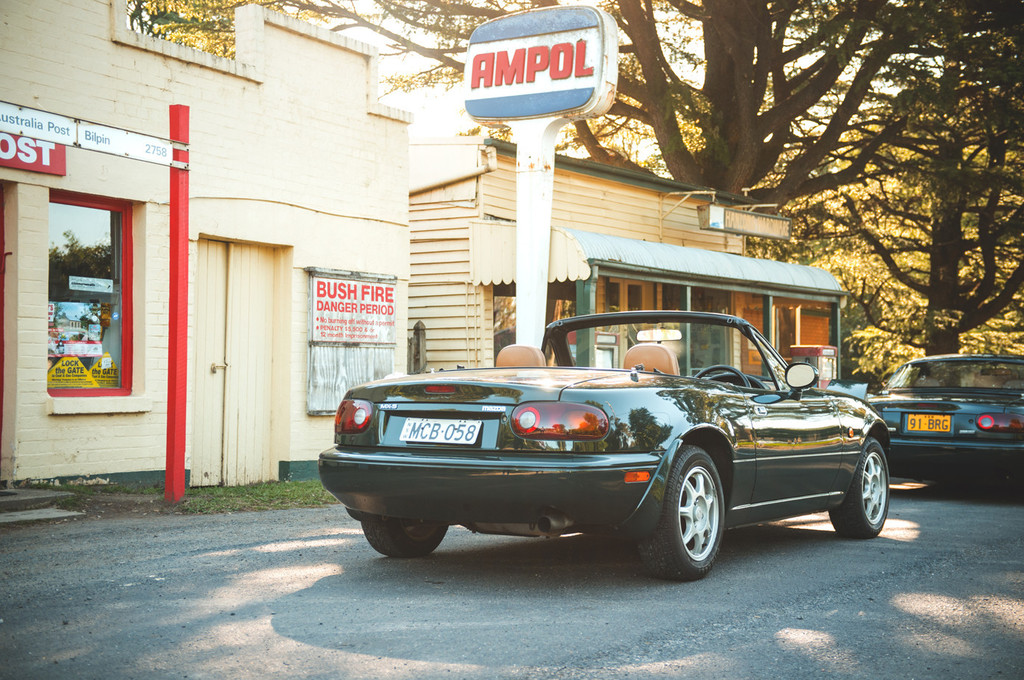
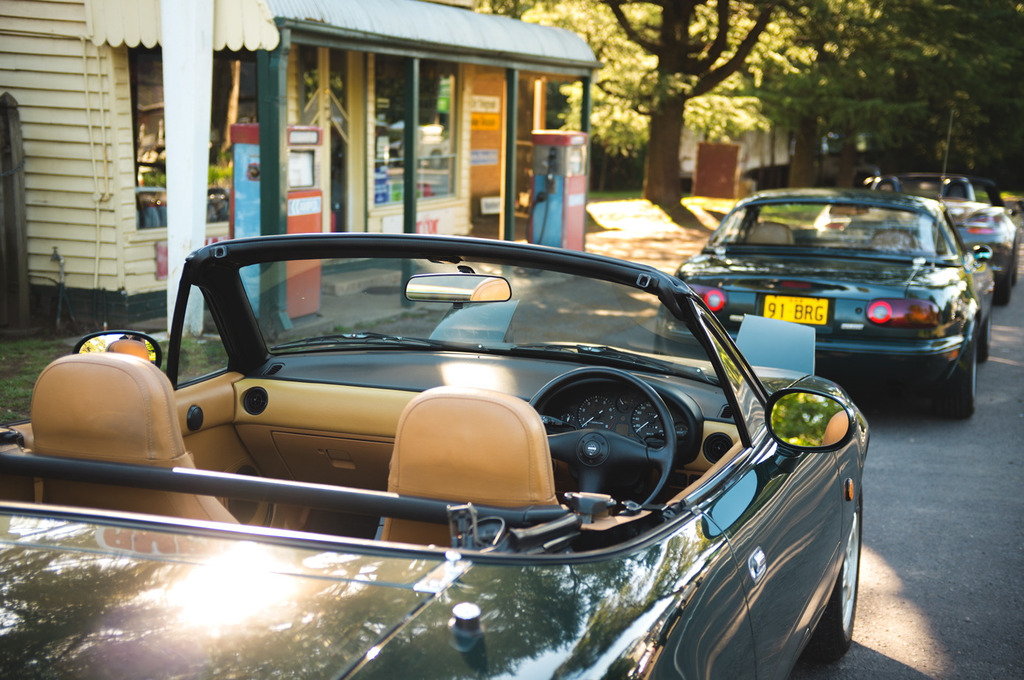
              We stopped off at a few locations to chat and take some photos. Here are some. All photos courtesy of Dan (91-BRG)


              Last edited by stephen8512; 09-07-17, 02:01 AM.
              Follow on Facebook
              http://www.facebook.com/96BRG

              Follow on Instagram
              http://www.instagram.com/96BRG

              Comment


                #8
                11/01/2016

                Raybrig Crystal Reflector Headlamps
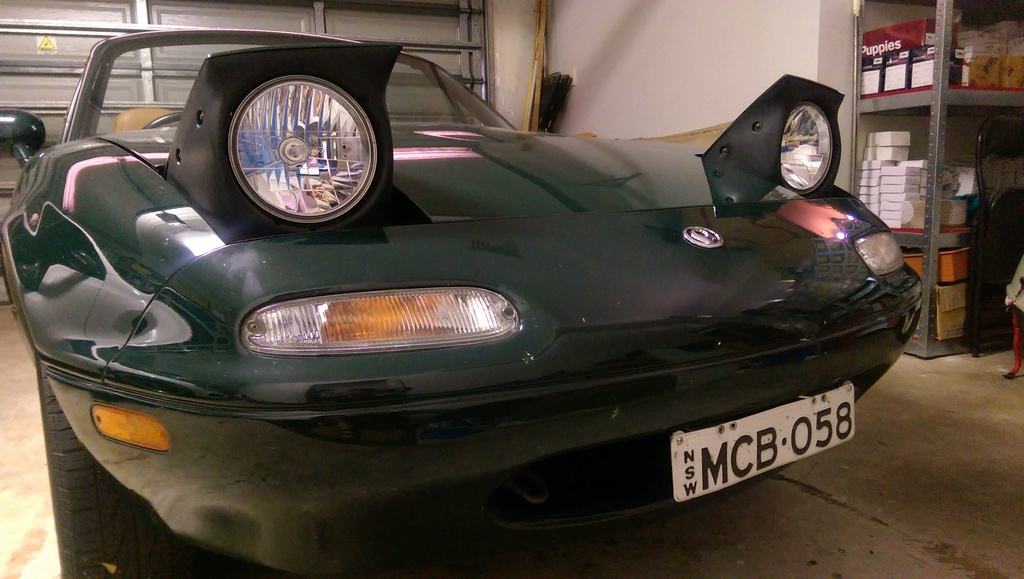
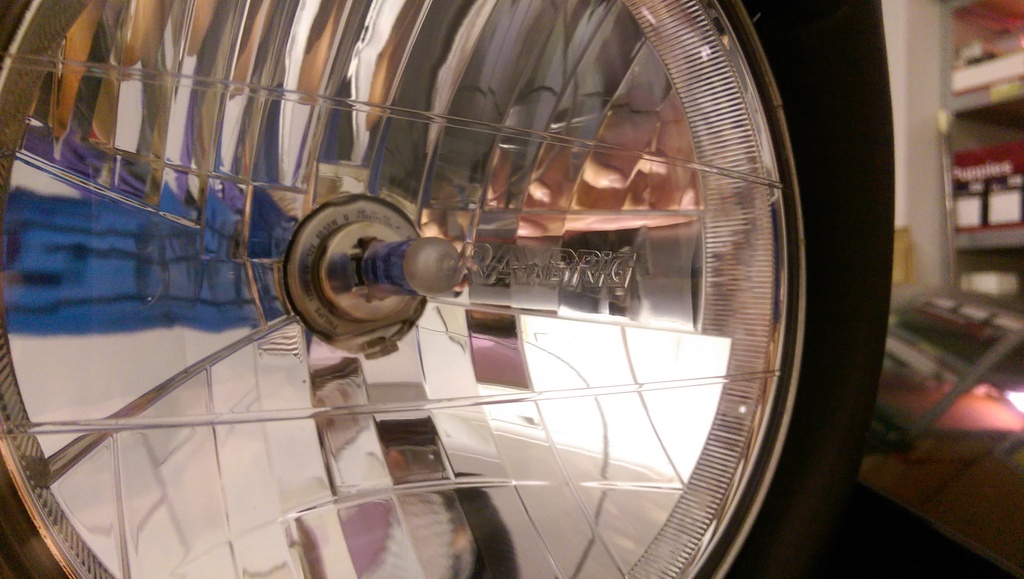
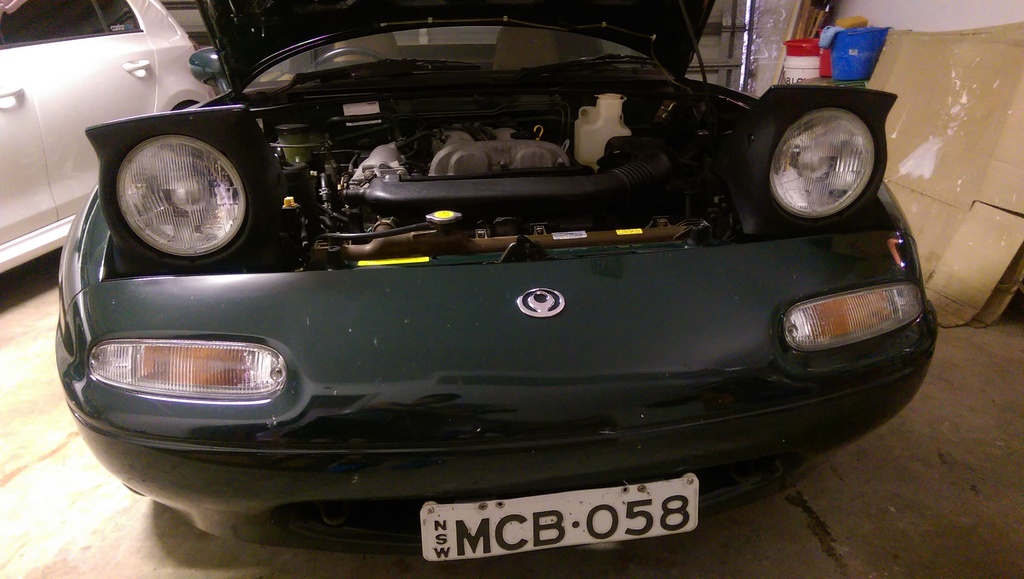
                Decided to upgrade the tired old stock Koito headlamps to these brand spanking new Raybrig Reflector headlamps. Should have waited for these to arrive before I installed my Philips Crystal Visions but oh wells. Install was a breeze.

                Raybrig Headlamps


                Installed!


                Closeup shot


                Before :


                After :


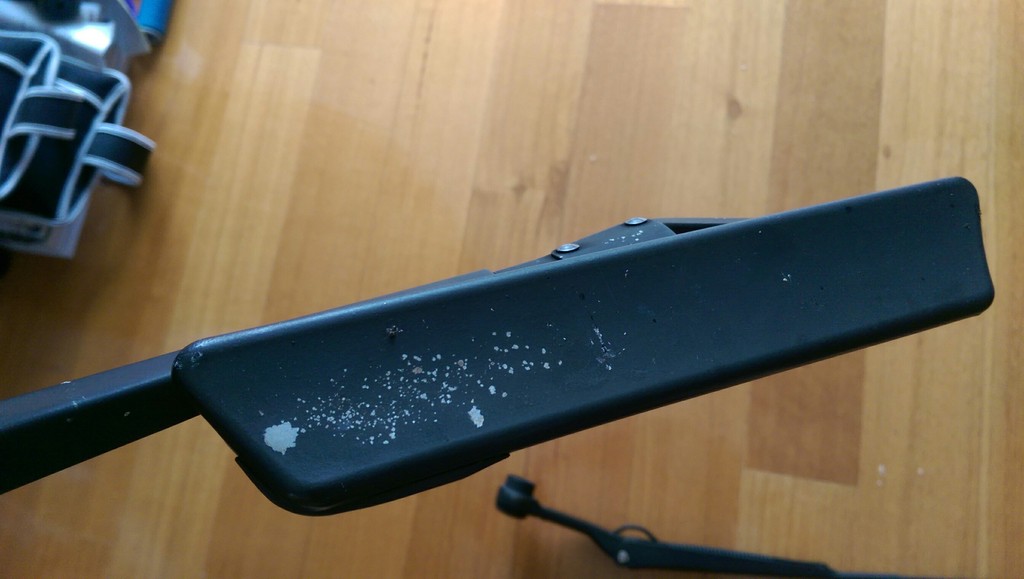
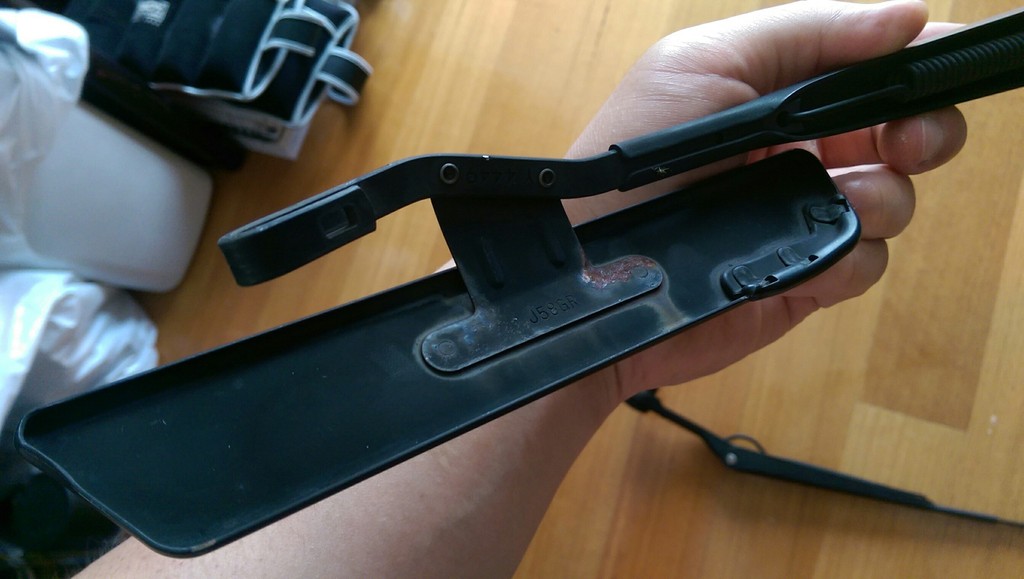
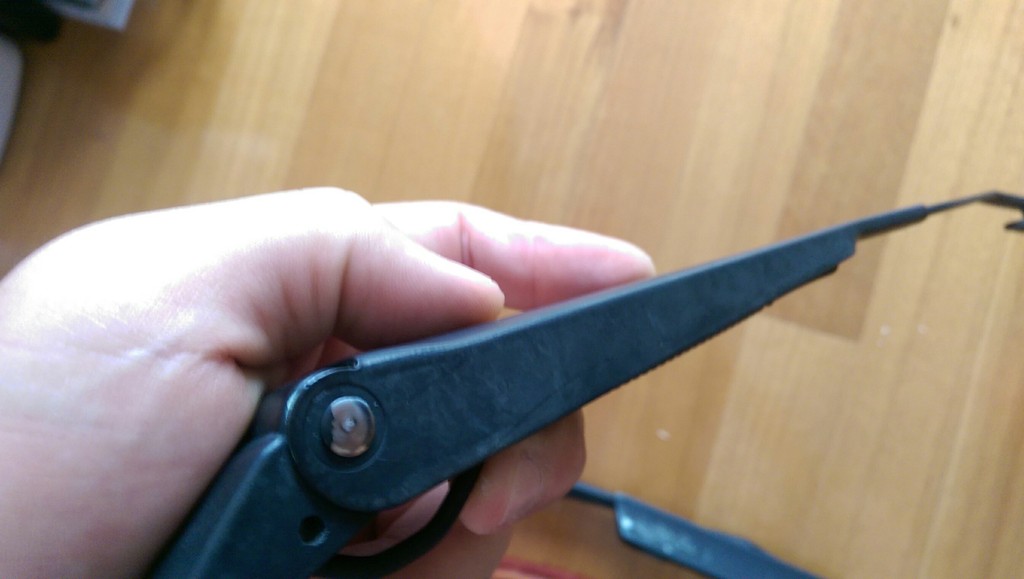
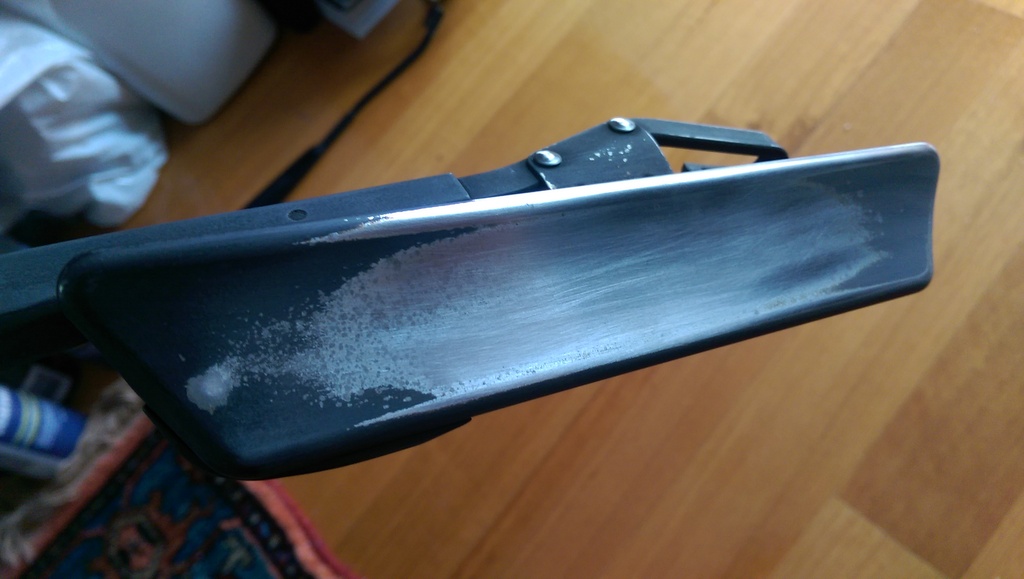
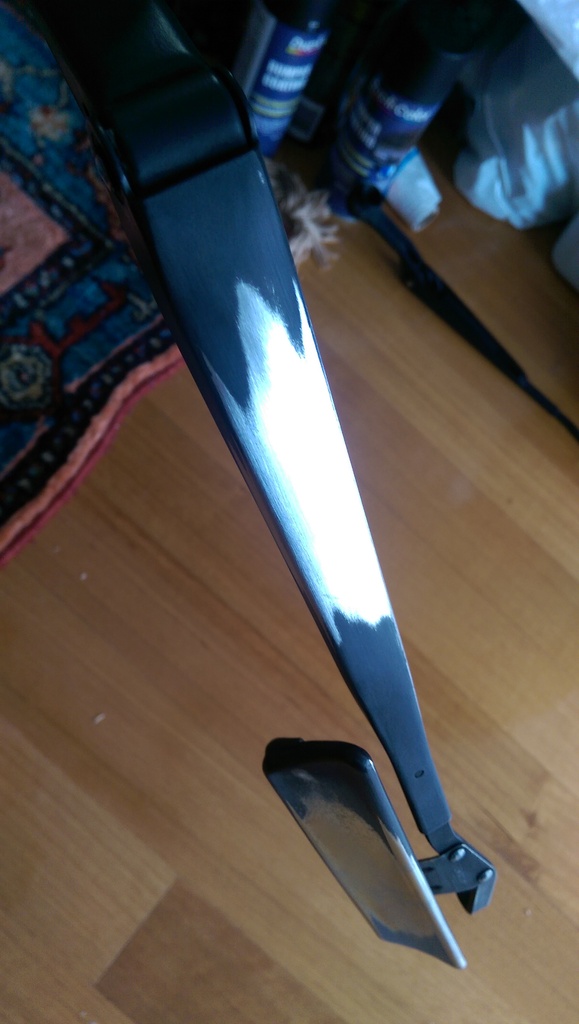
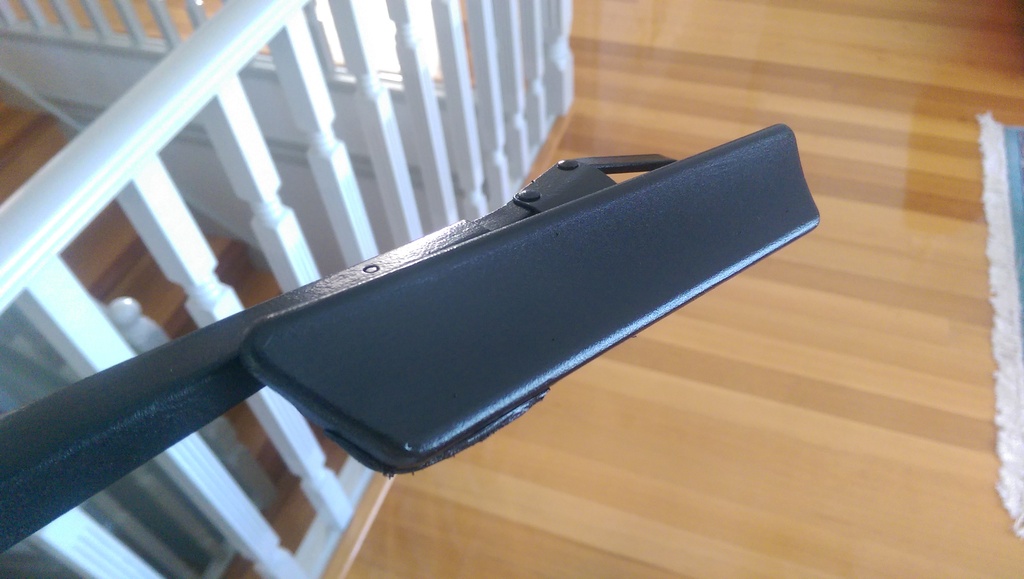
                Reconditioned Wiper Arms
                Due to the car's age, exposure to sun and general wear and tear, the wiper arms on the NA8 have faded and it was starting have that chalky matte black appearance and texture. Since I was going to replace the wiper blades anyway, I decided to take the arms off and give them a refurb.

                Closeup of the worn wiper arms :


                Prepping the wiper arms by sanding it down to bare metal. Ended up using a Dremel with a sanding bit.


                A once over with some wax and grease remover, I then used a rattle can which has a "satin black" finish to spray the wipers. Applied approximately 6-7 light coats, spraying on the whole wiper arm, then waiting about 10 minutes between each coat before re-applying.

                Result :


                Pretty happy with how these turned out.


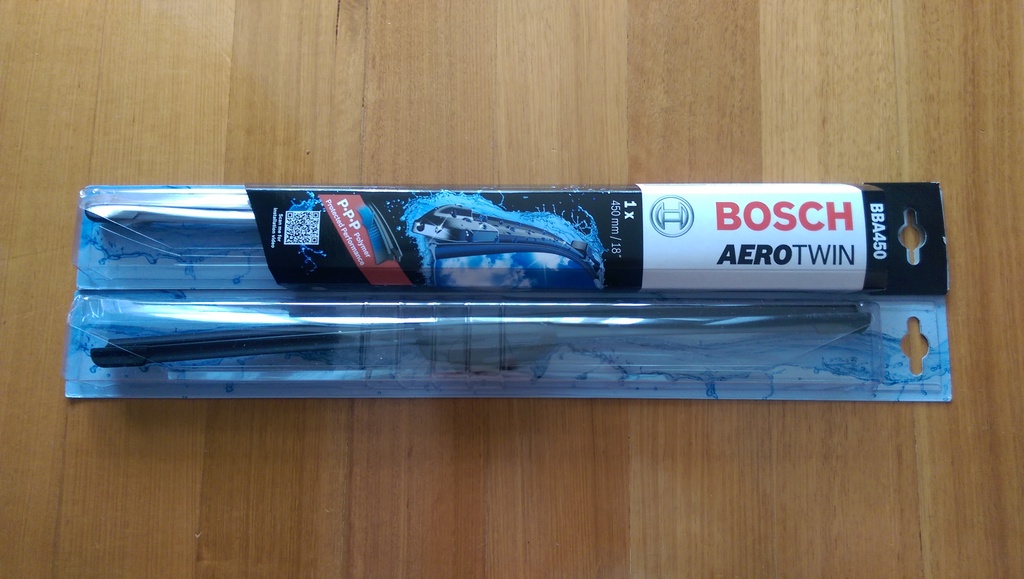
                Bosch Aerotwin Wiper Blades
                Changed the wiper blades to Bosch Aerotwins. Had these on my previous vehicles and loved the wipe. Model number : BBA450


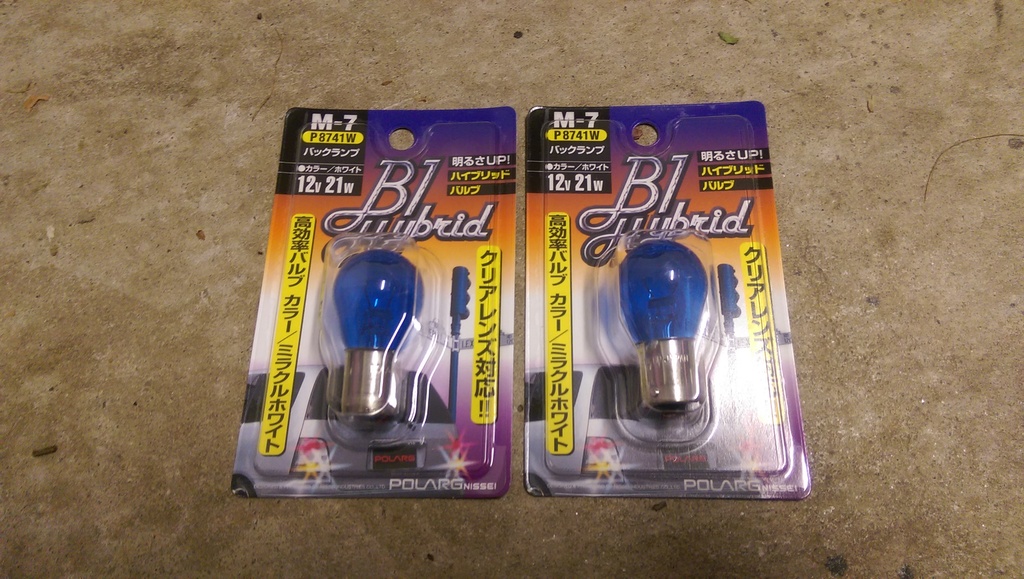
                B1 Hybrid Polarg Light Bulbs
                Had a stack of these bulbs laying around from a previous project. Decided to change all the exterior indicator, reverse and brake lights to these items. In the NA8, some had busted, some were worn, so I thought may as well refresh. All the exterior bulbs are the same 1156 bulbs (pictured below), except for the rear brake bulbs which use 1157.


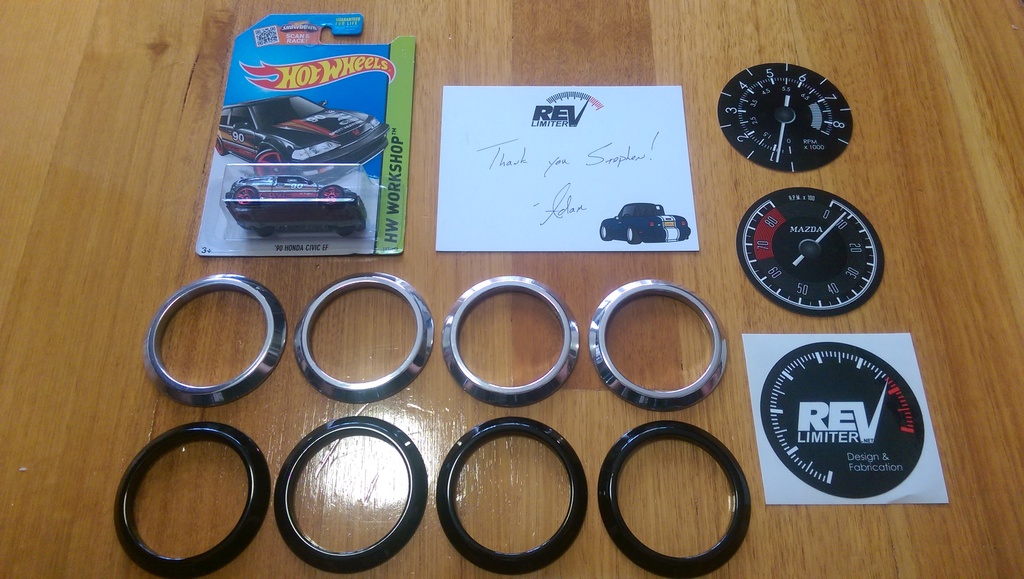
                RevLimiter Gloss Black Vent Rings
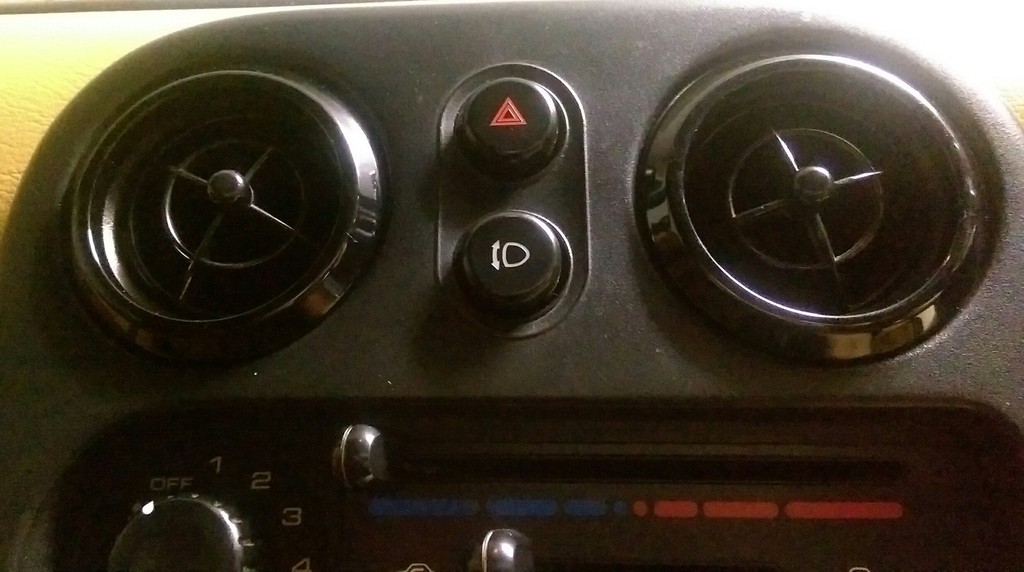
                I purchased these vent rings from Adam (RevLimiter) and went halves on shipping with a friend of mine who wanted some chrome vent rings. I decided to opt for the gloss black as I wasn't sure whether the polished look would suit the BRG's tan interior dash.

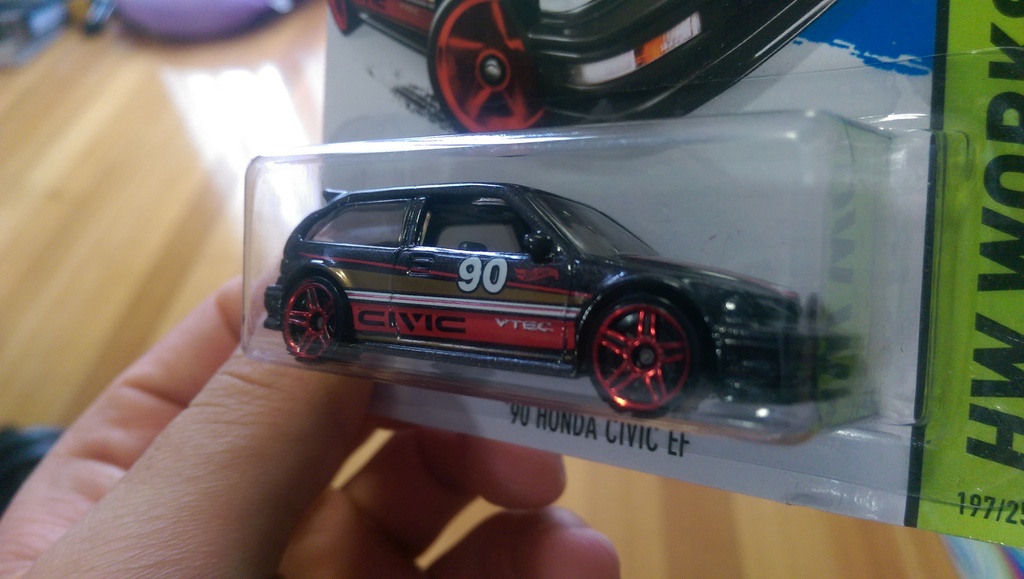
                I have to admit, I was very surprised when I received the package. In all my years of buying aftermarket parts, I have never once received a thank you letter from the guy I was buying the item from. It was quite personal and was a very nice touch I felt! Adam also included a free gift for me, which was a pretty awesome looking EF Honda Civic Hotwheels car! Not only is the quality of the vent rings exceptional, but he made me feel valued as a customer and for that, I would not only recommend him to people I know, but I wouldn't hesistate to purchase from him again (which I already have in the form of some custom keyrings)

                Thanks again Adam, if you're reading this! :cheers:

                Goodies from RevLimiter


                Honda EF Civic Hotwheels Car. JDM YO!


                Sharka Vents Installed


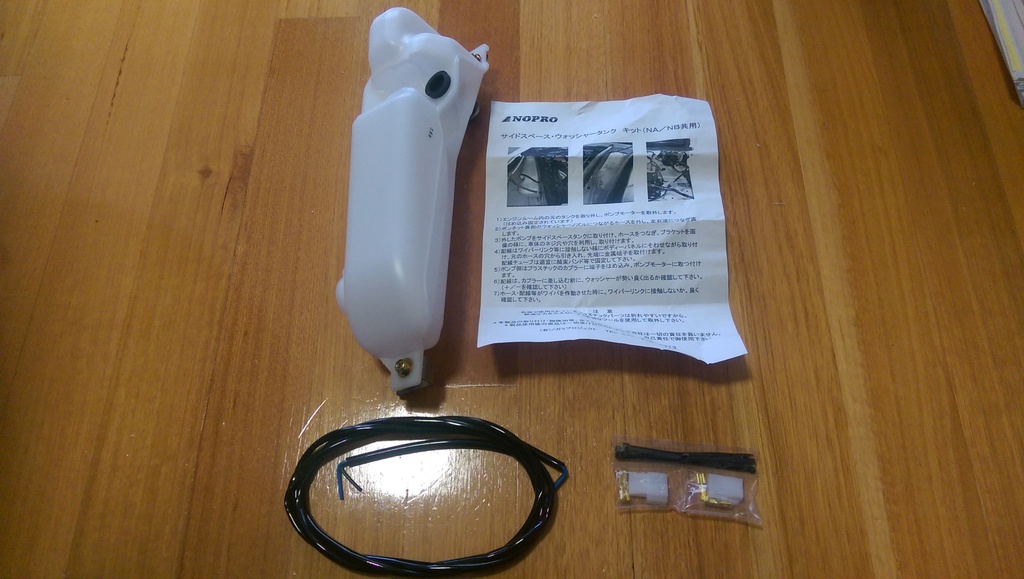
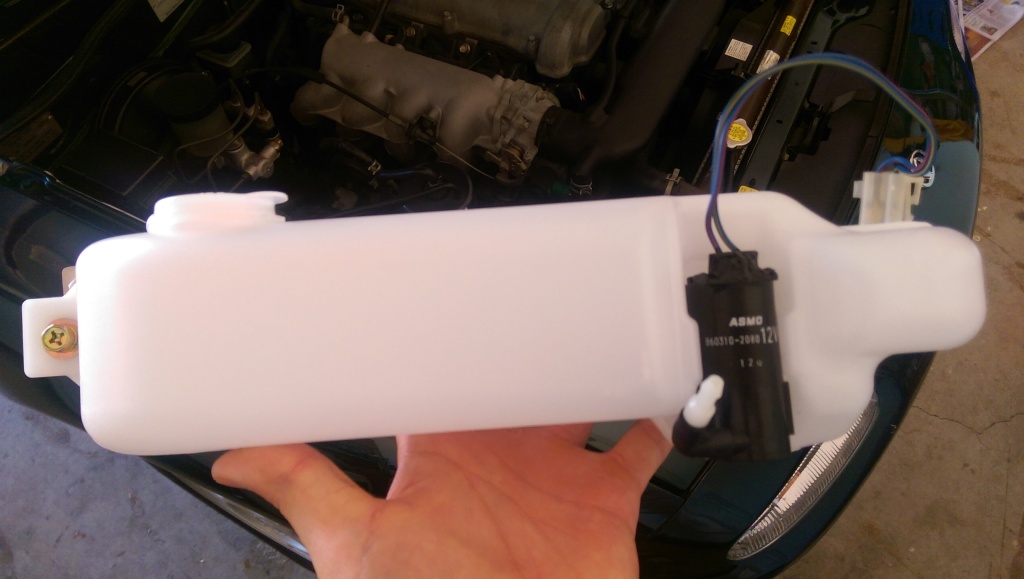
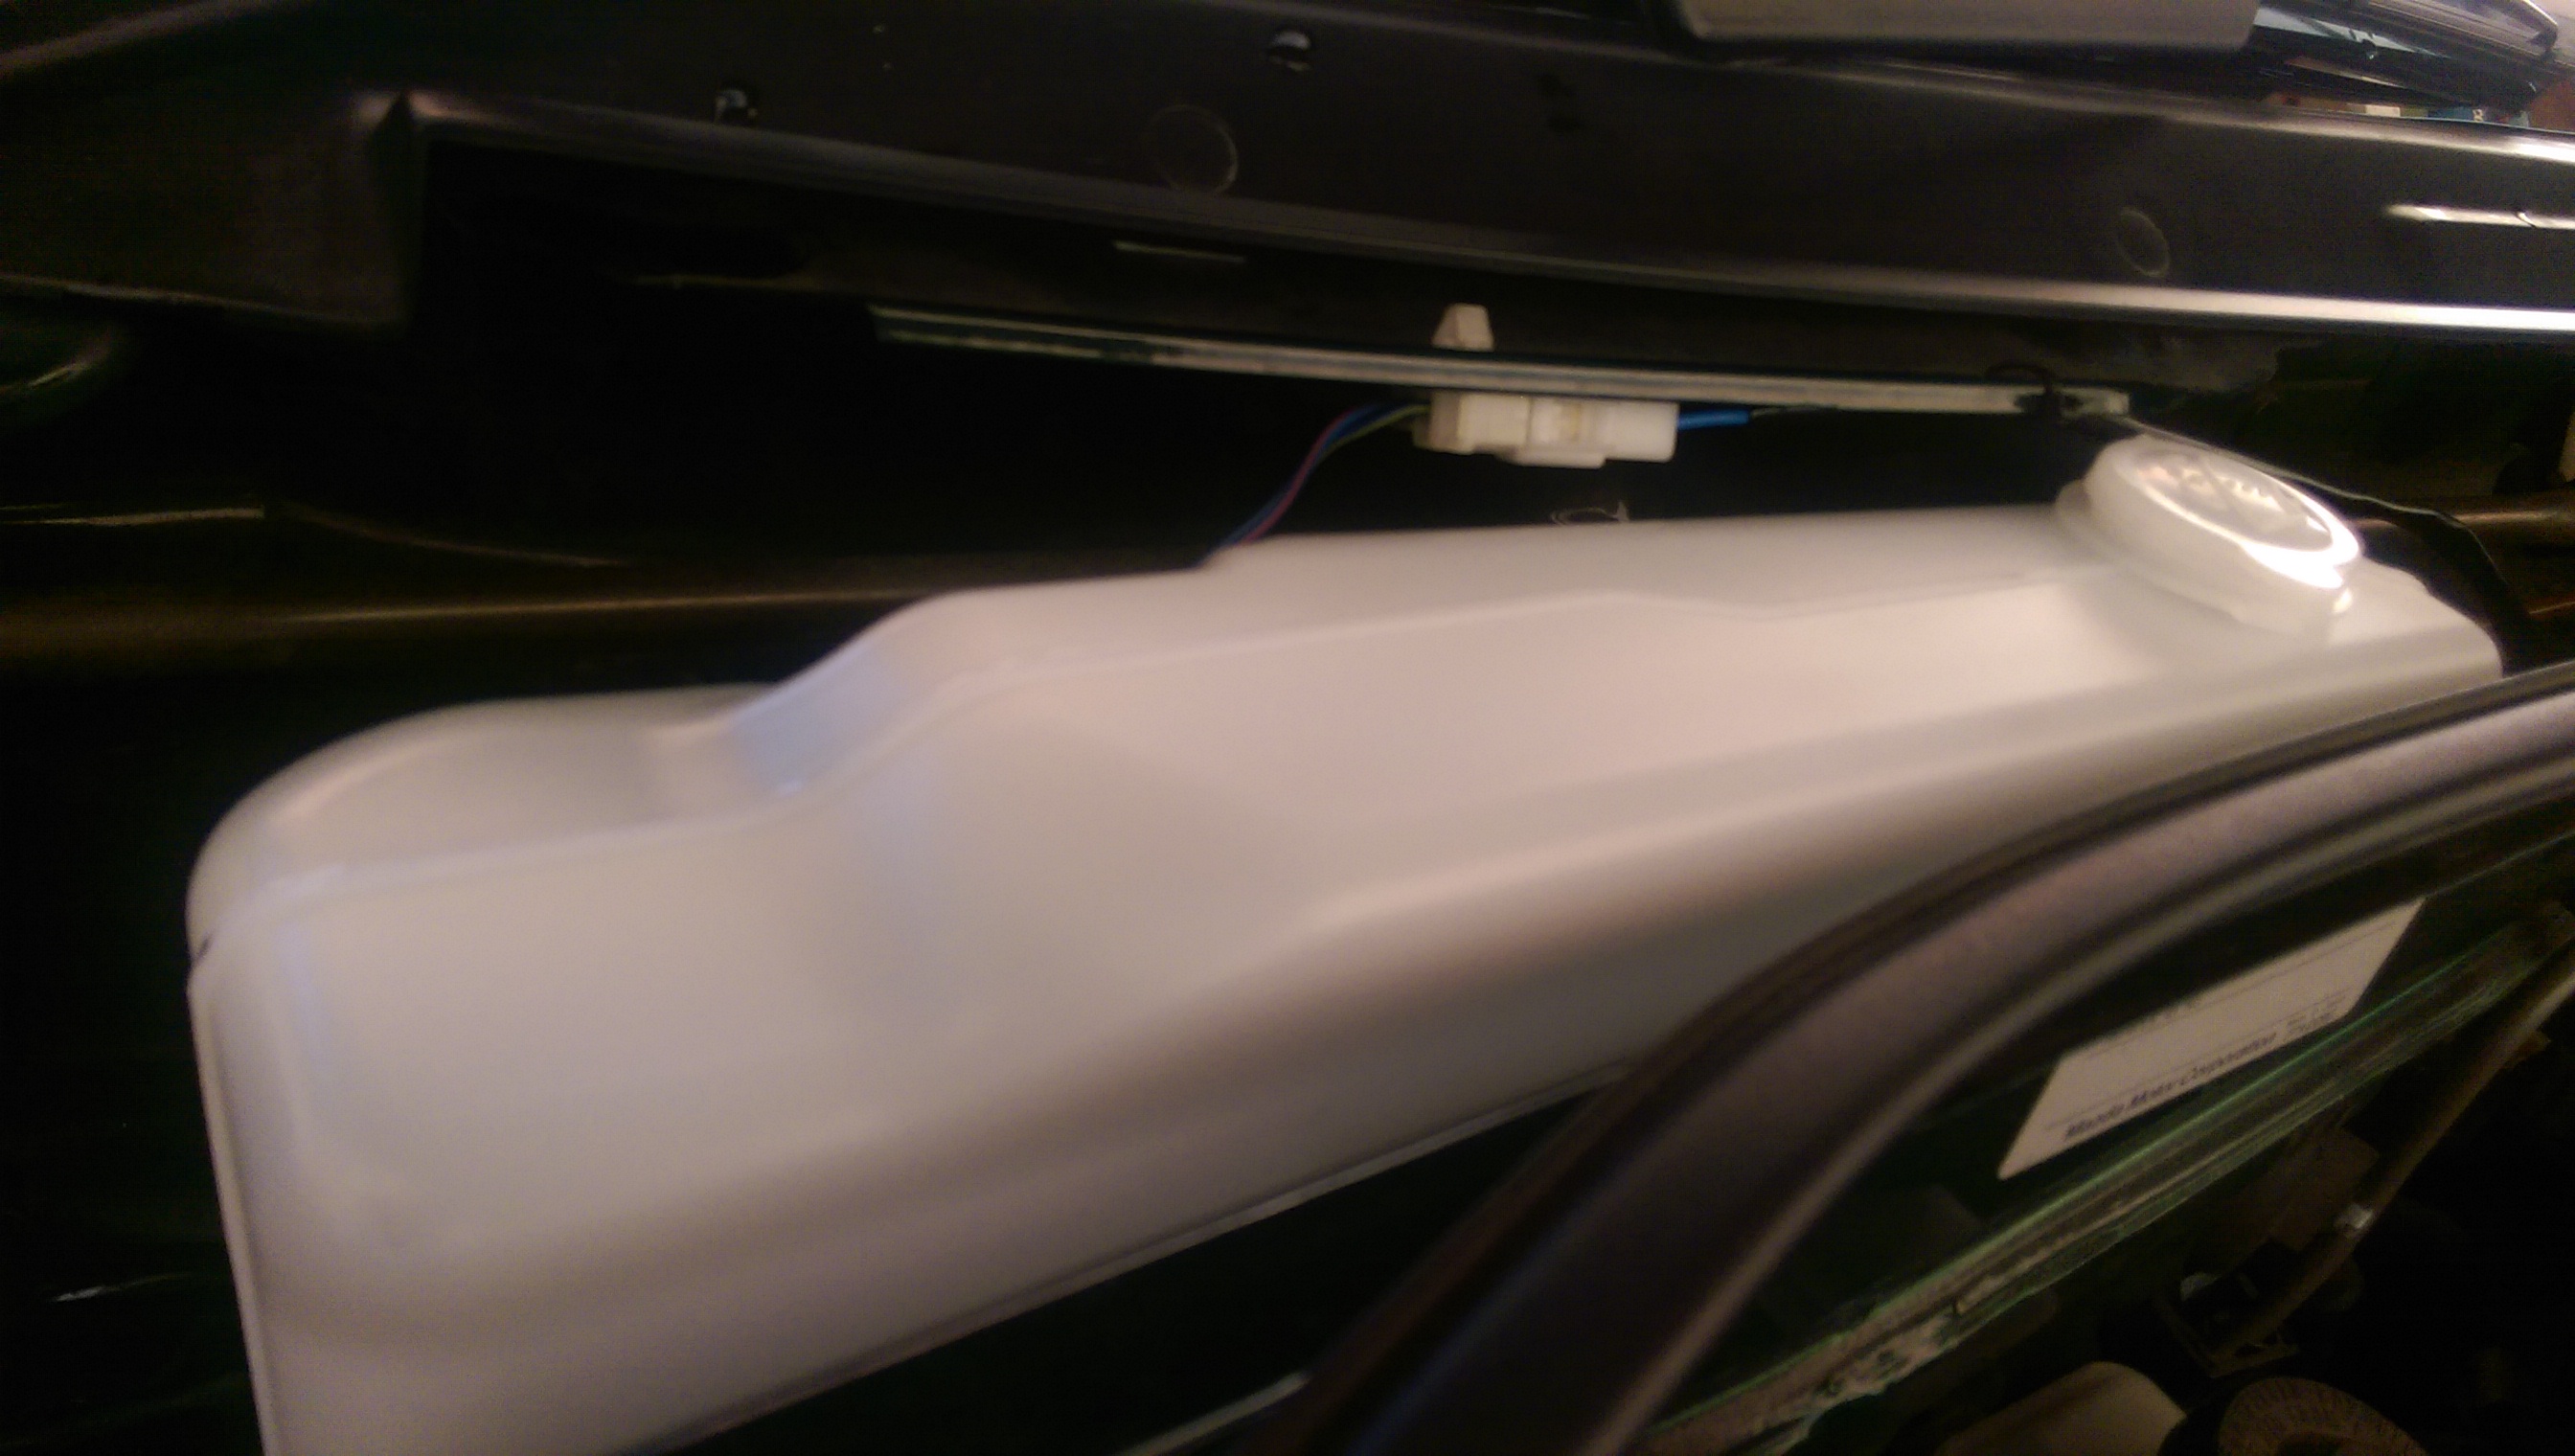
                NoPro Washer Bottle Relocation
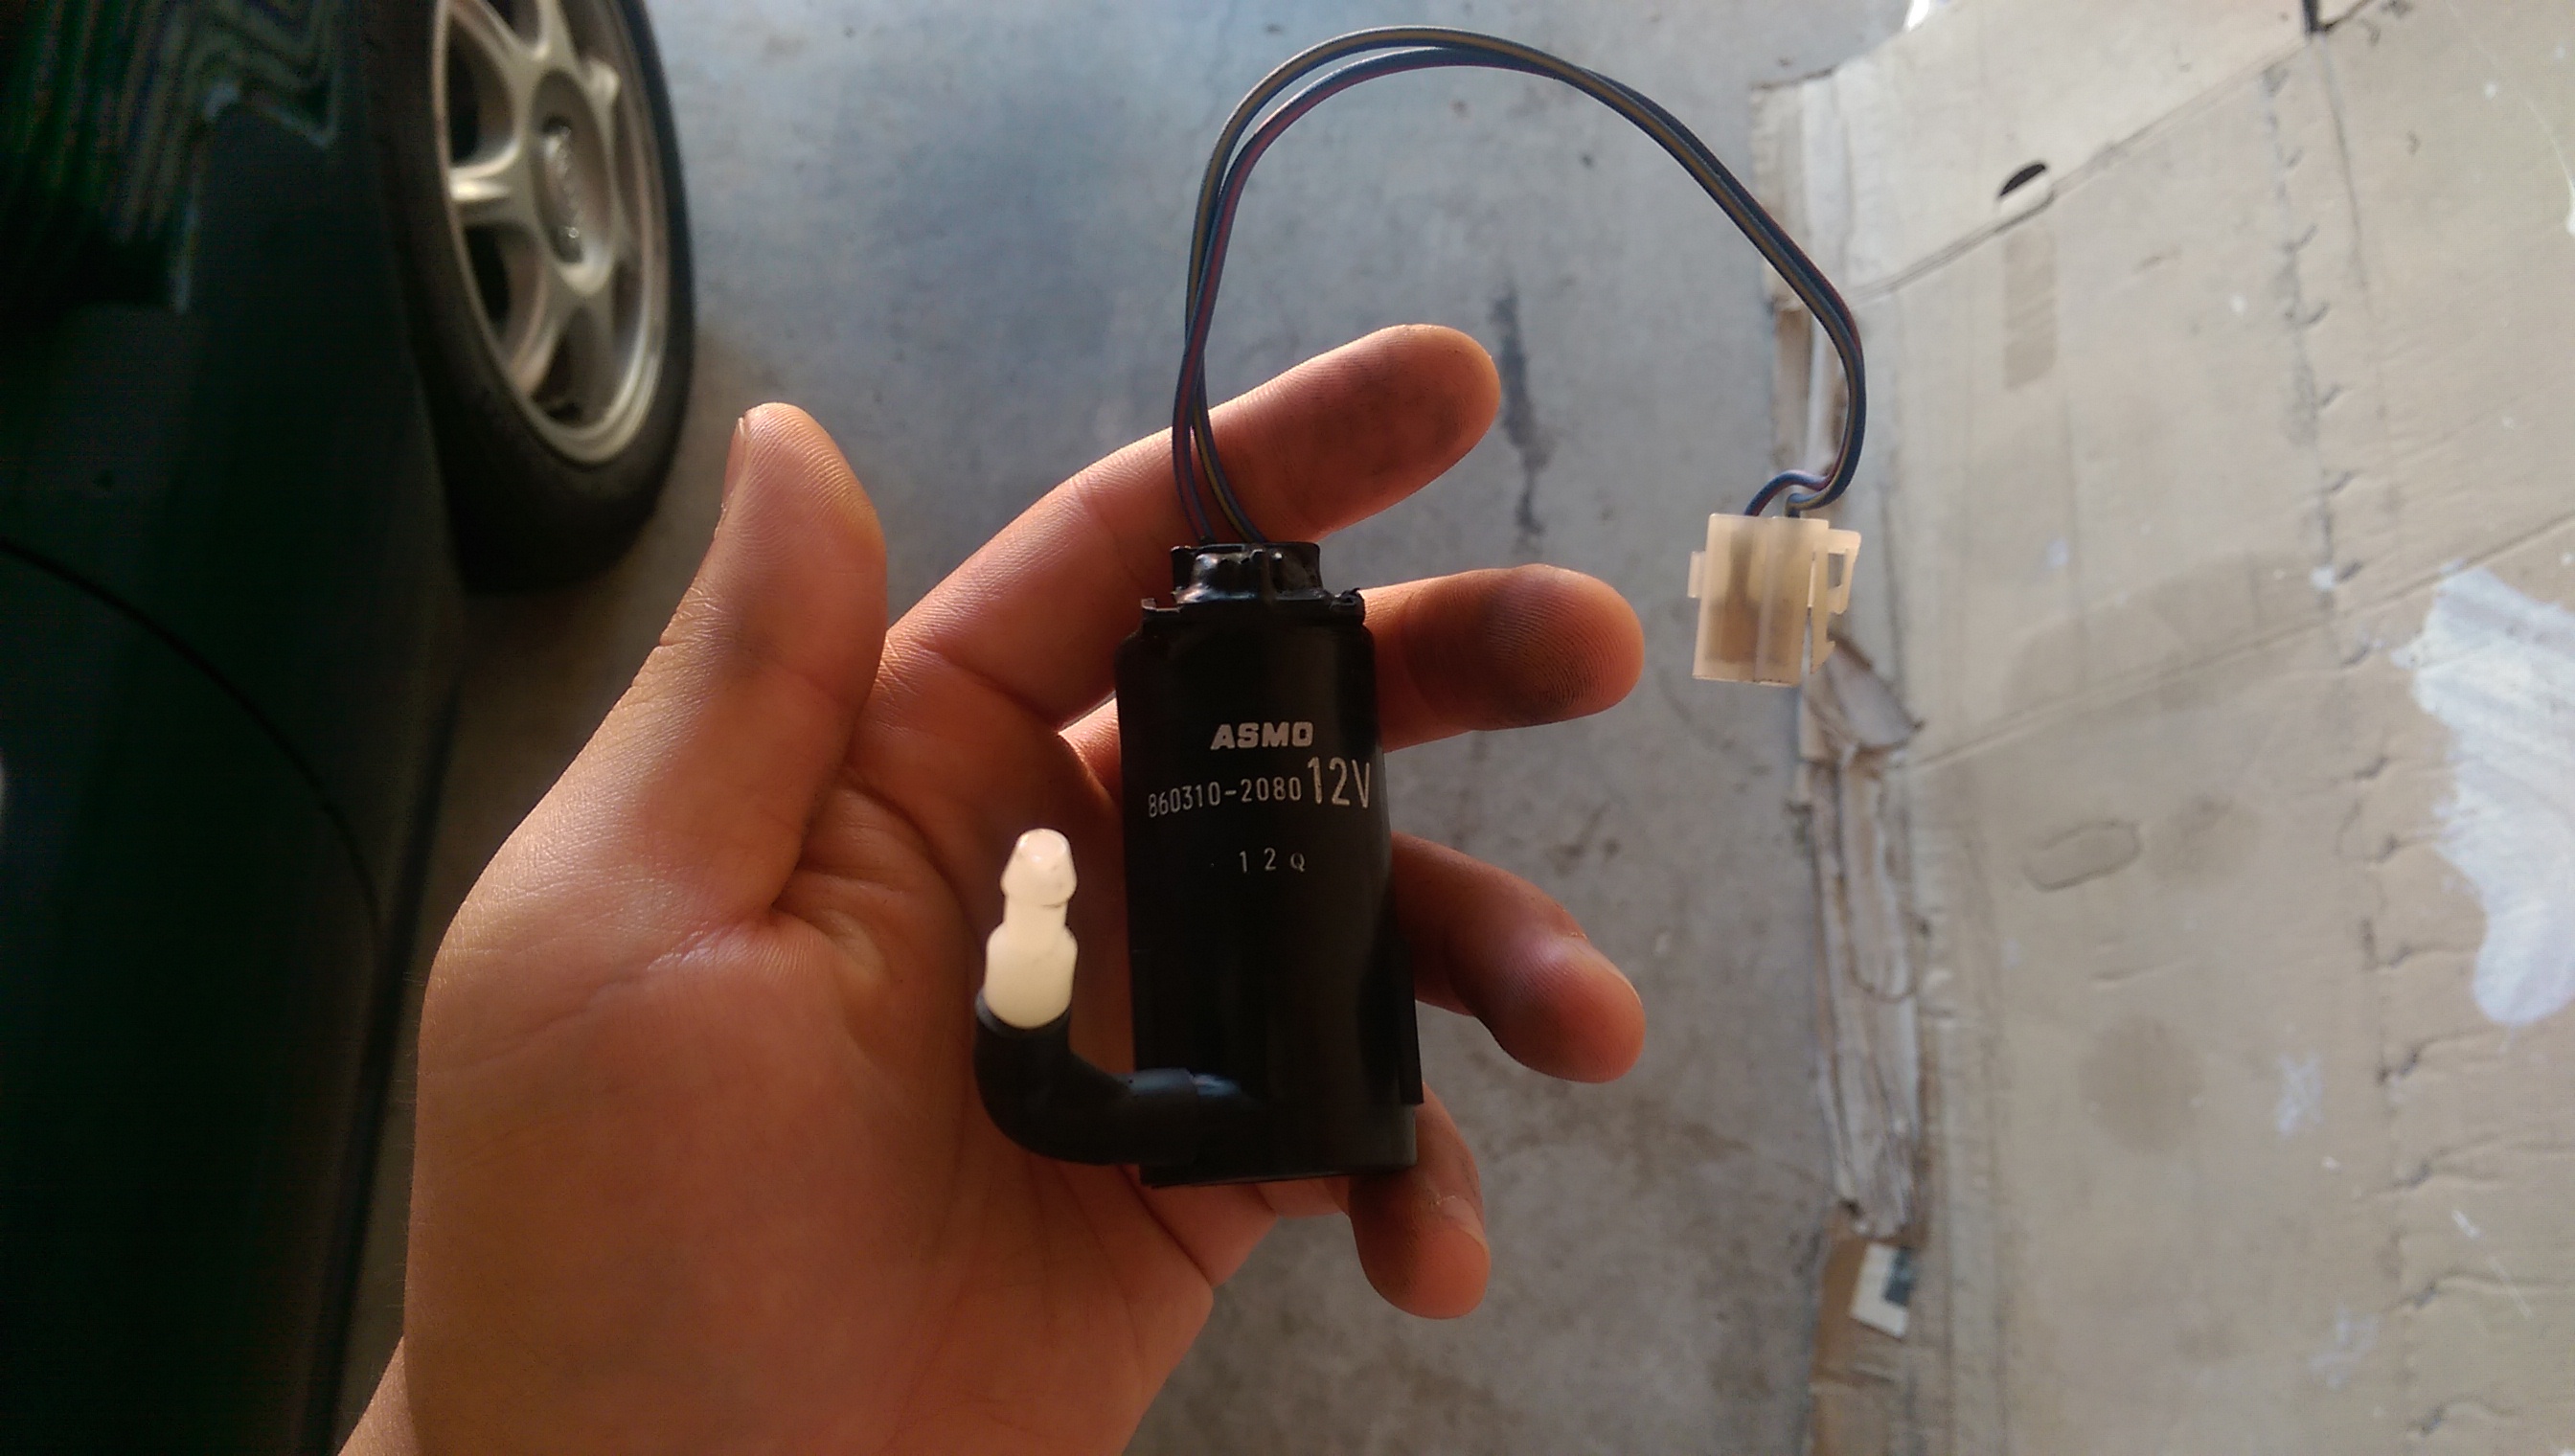
                Received the NoPro Washer Bottle to relocate the washer bottle to behind the firewall. Install seemed pretty straight forward. Just need to remove the factory water pump and then install that pump from the old bottle to the new NoPro.

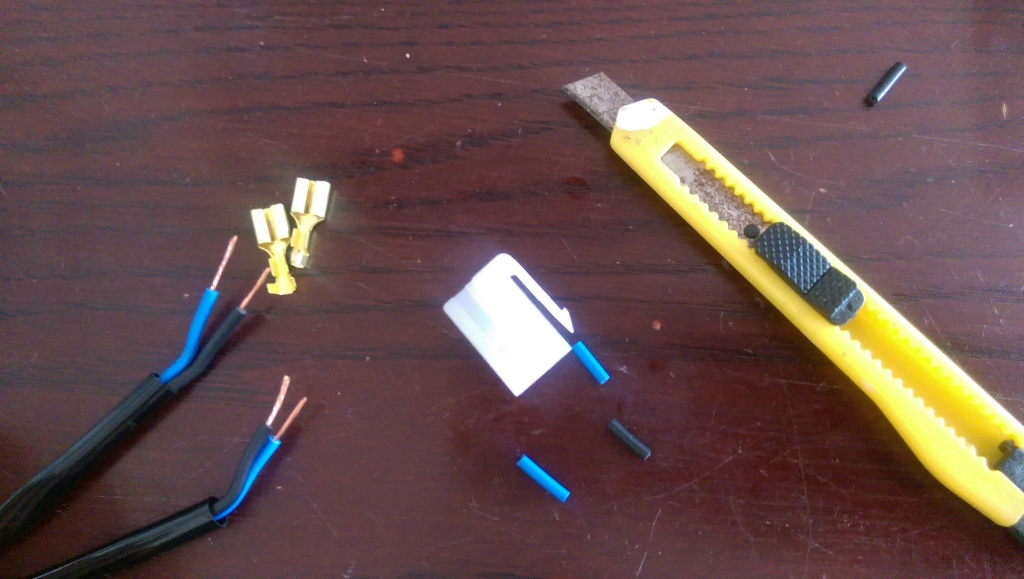
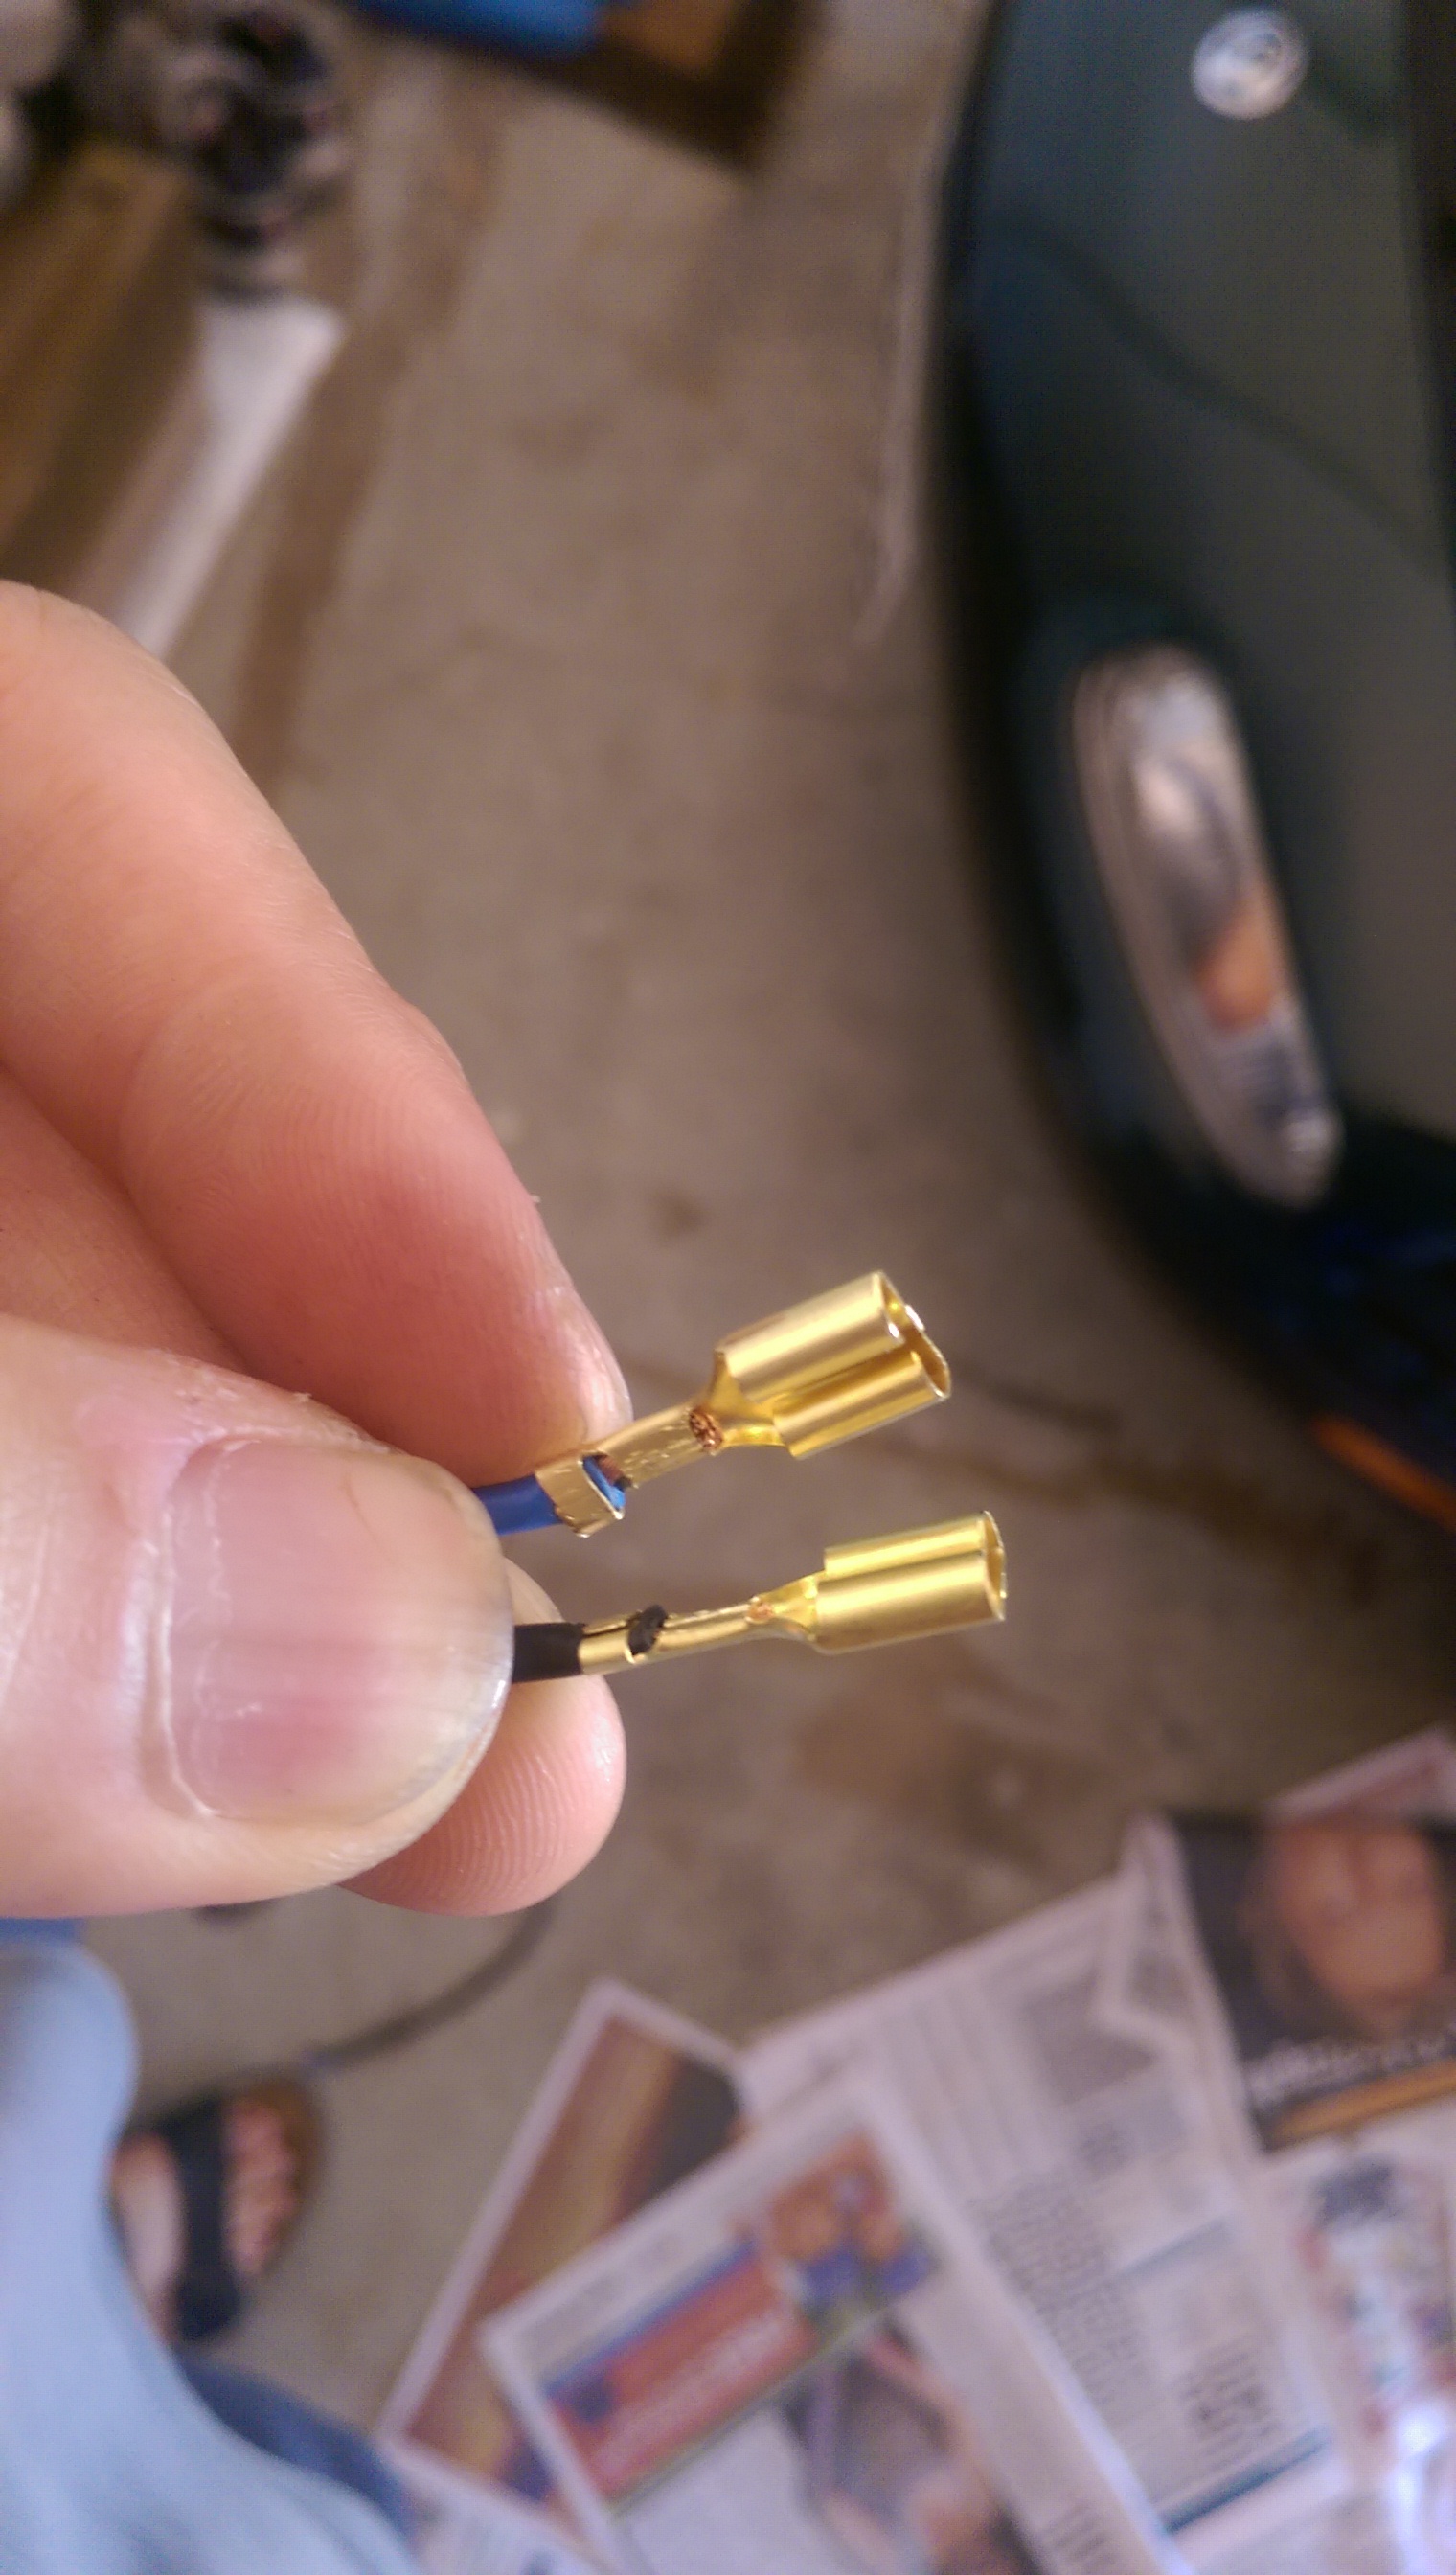
                Wires are included in the kit which act as an extension to connect to the relocated water pump. There are two plugs and four terminals supplied with the kit, expose the wire, crimp the terminals and insert them through the plug. Done

                Last edited by stephen8512; 09-07-17, 02:01 AM.
                Follow on Facebook
                http://www.facebook.com/96BRG

                Follow on Instagram
                http://www.instagram.com/96BRG

                Comment


                  #9
                  20/01/2016

                  NoPro Washer Bottle Relocation
                  I had purchased the NoPro washer bottle about two weeks ago and there were a few tutorials online about how to go about fitting one of these for those who have LHD, but no tutorial was available for those who had RHD. To be honest, it's not particularly hard and it's probably a lot easier than fitting one on a LHD car, but I thought I'd document it myself on how I went about installing it. Hopefully this will become useful for someone else later on too.

                  The items included with the NoPro bottle is an instruction guide, some zip ties, extension wire, two plugs and four terminals. The instruction guide is all in Japanese so unless you know how to read it, it's pretty much useless.

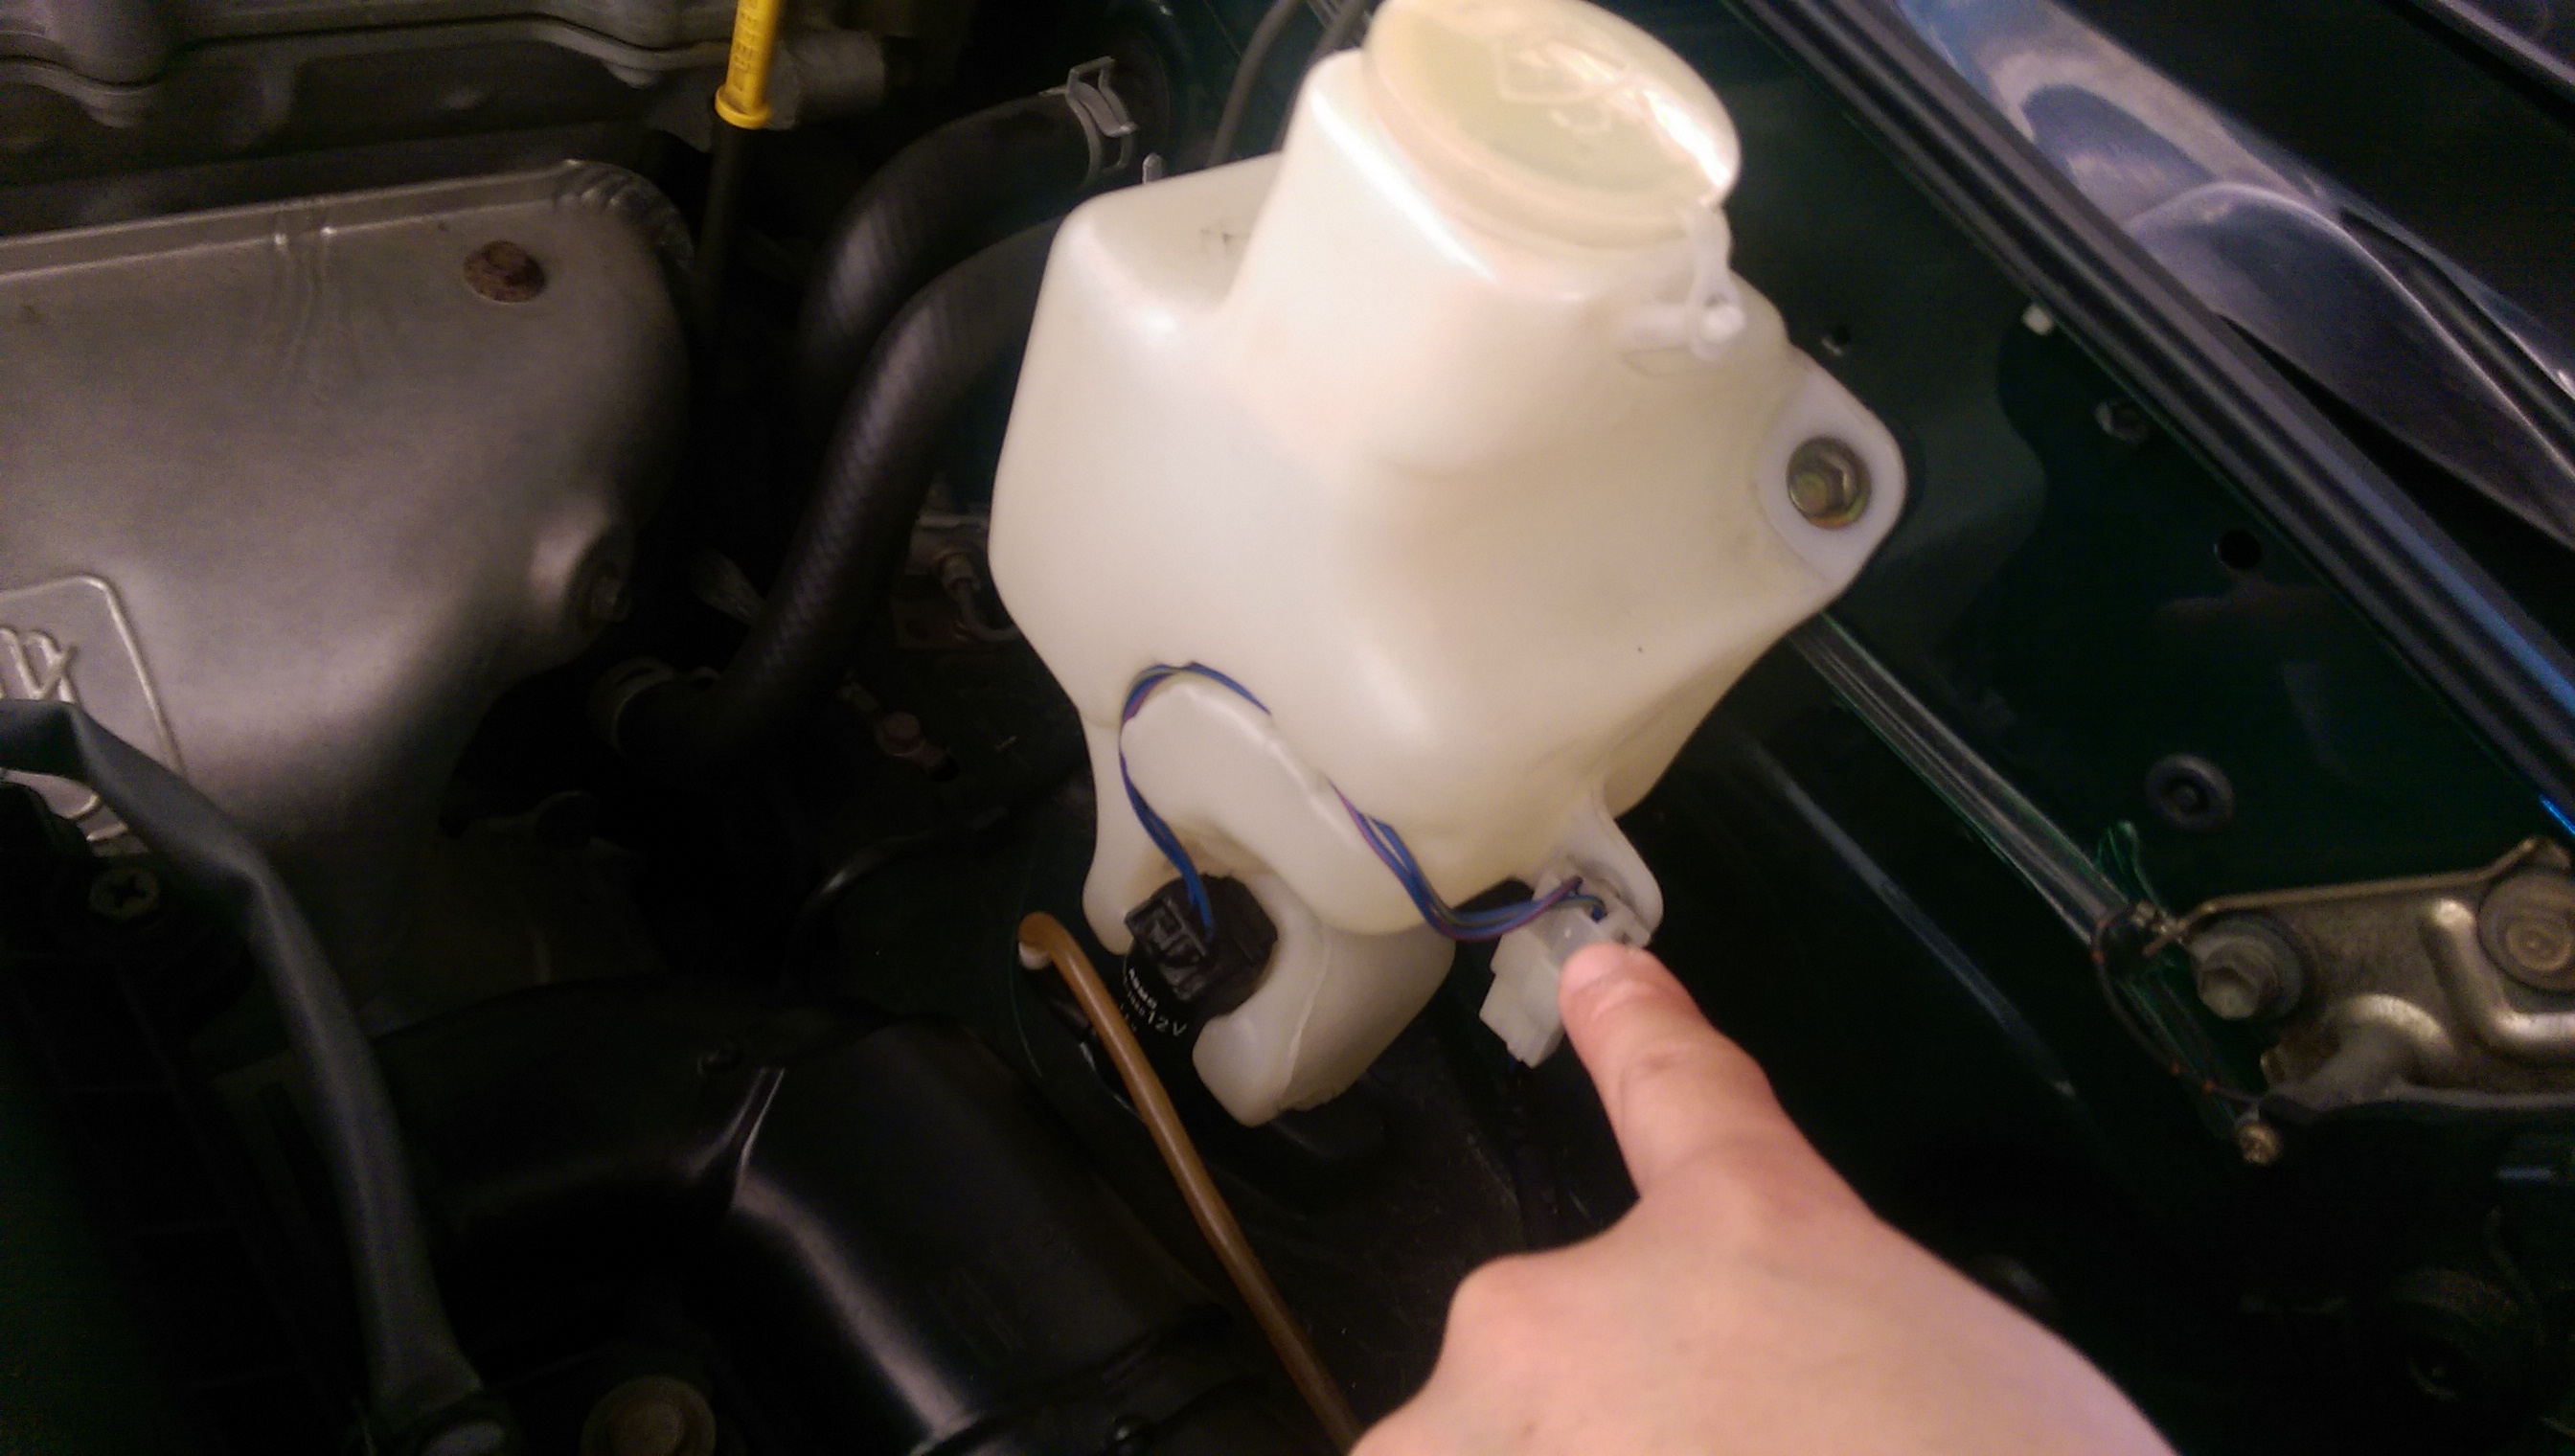
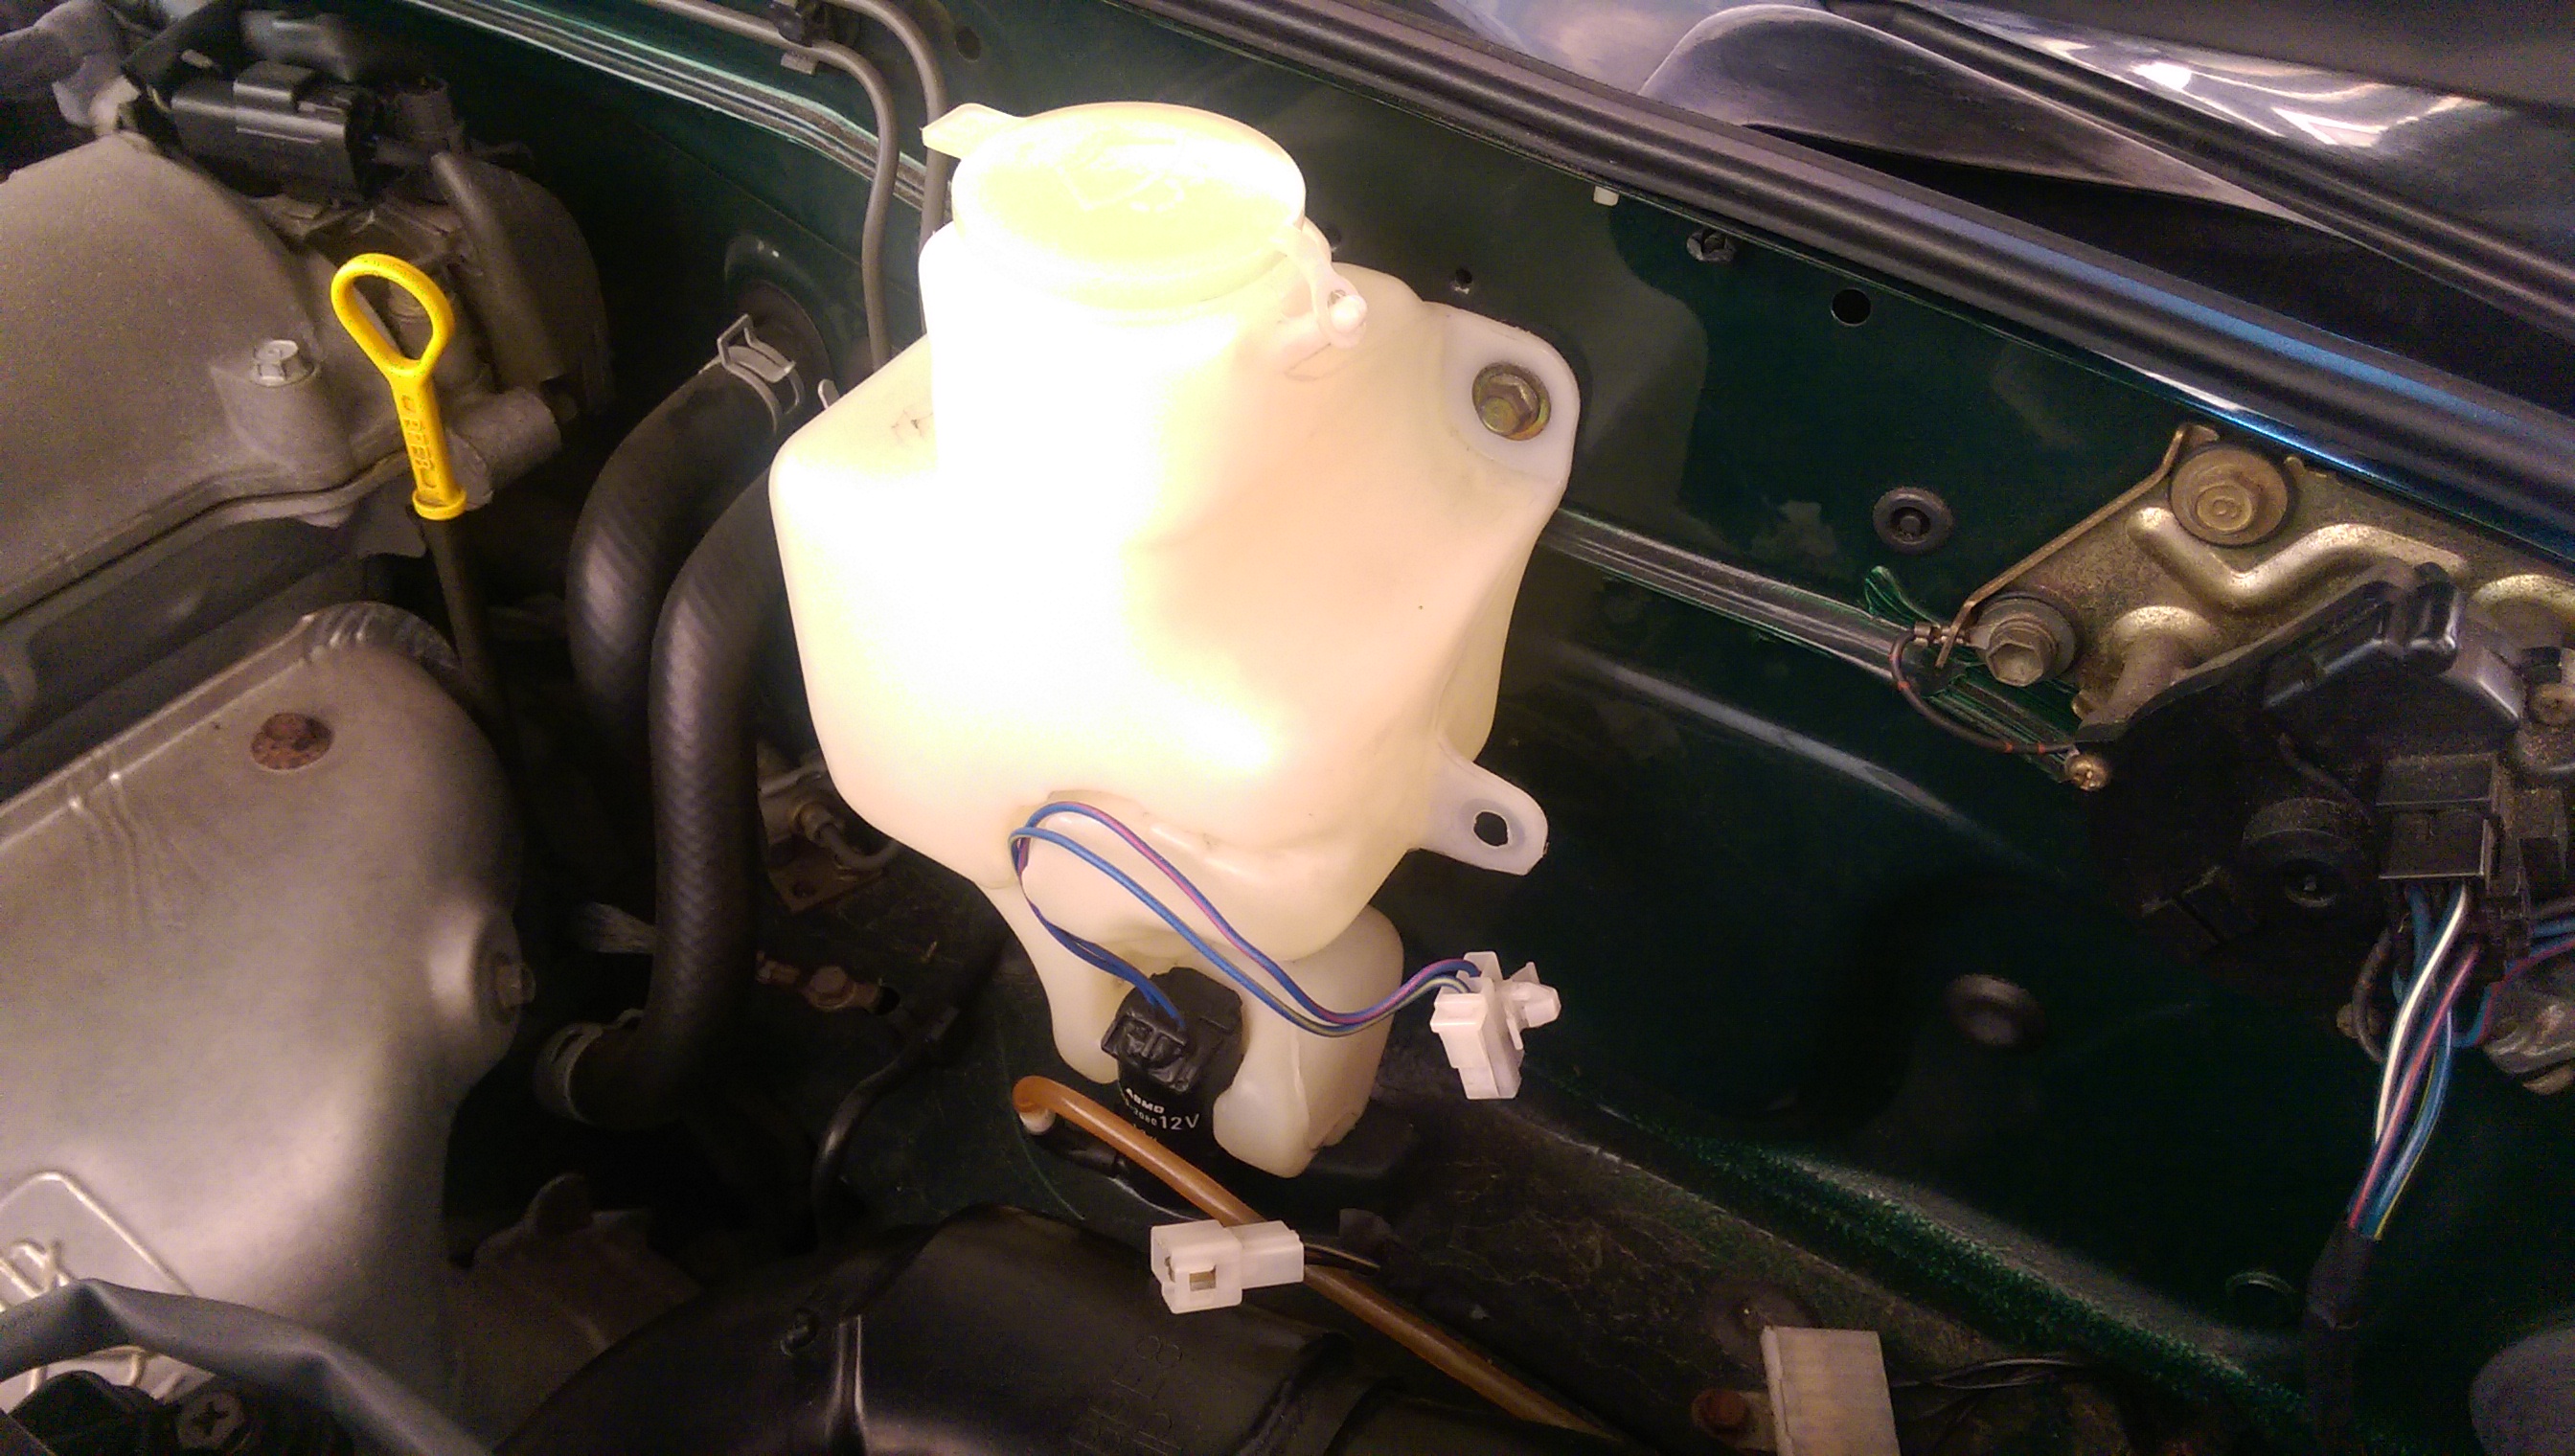
                  Step 1 : Unclip the power going into water pump.


                  Step 2 : Use a socket wrench and 10mm socket to undo the bolts holding the OEM washer bottle to the chassis.


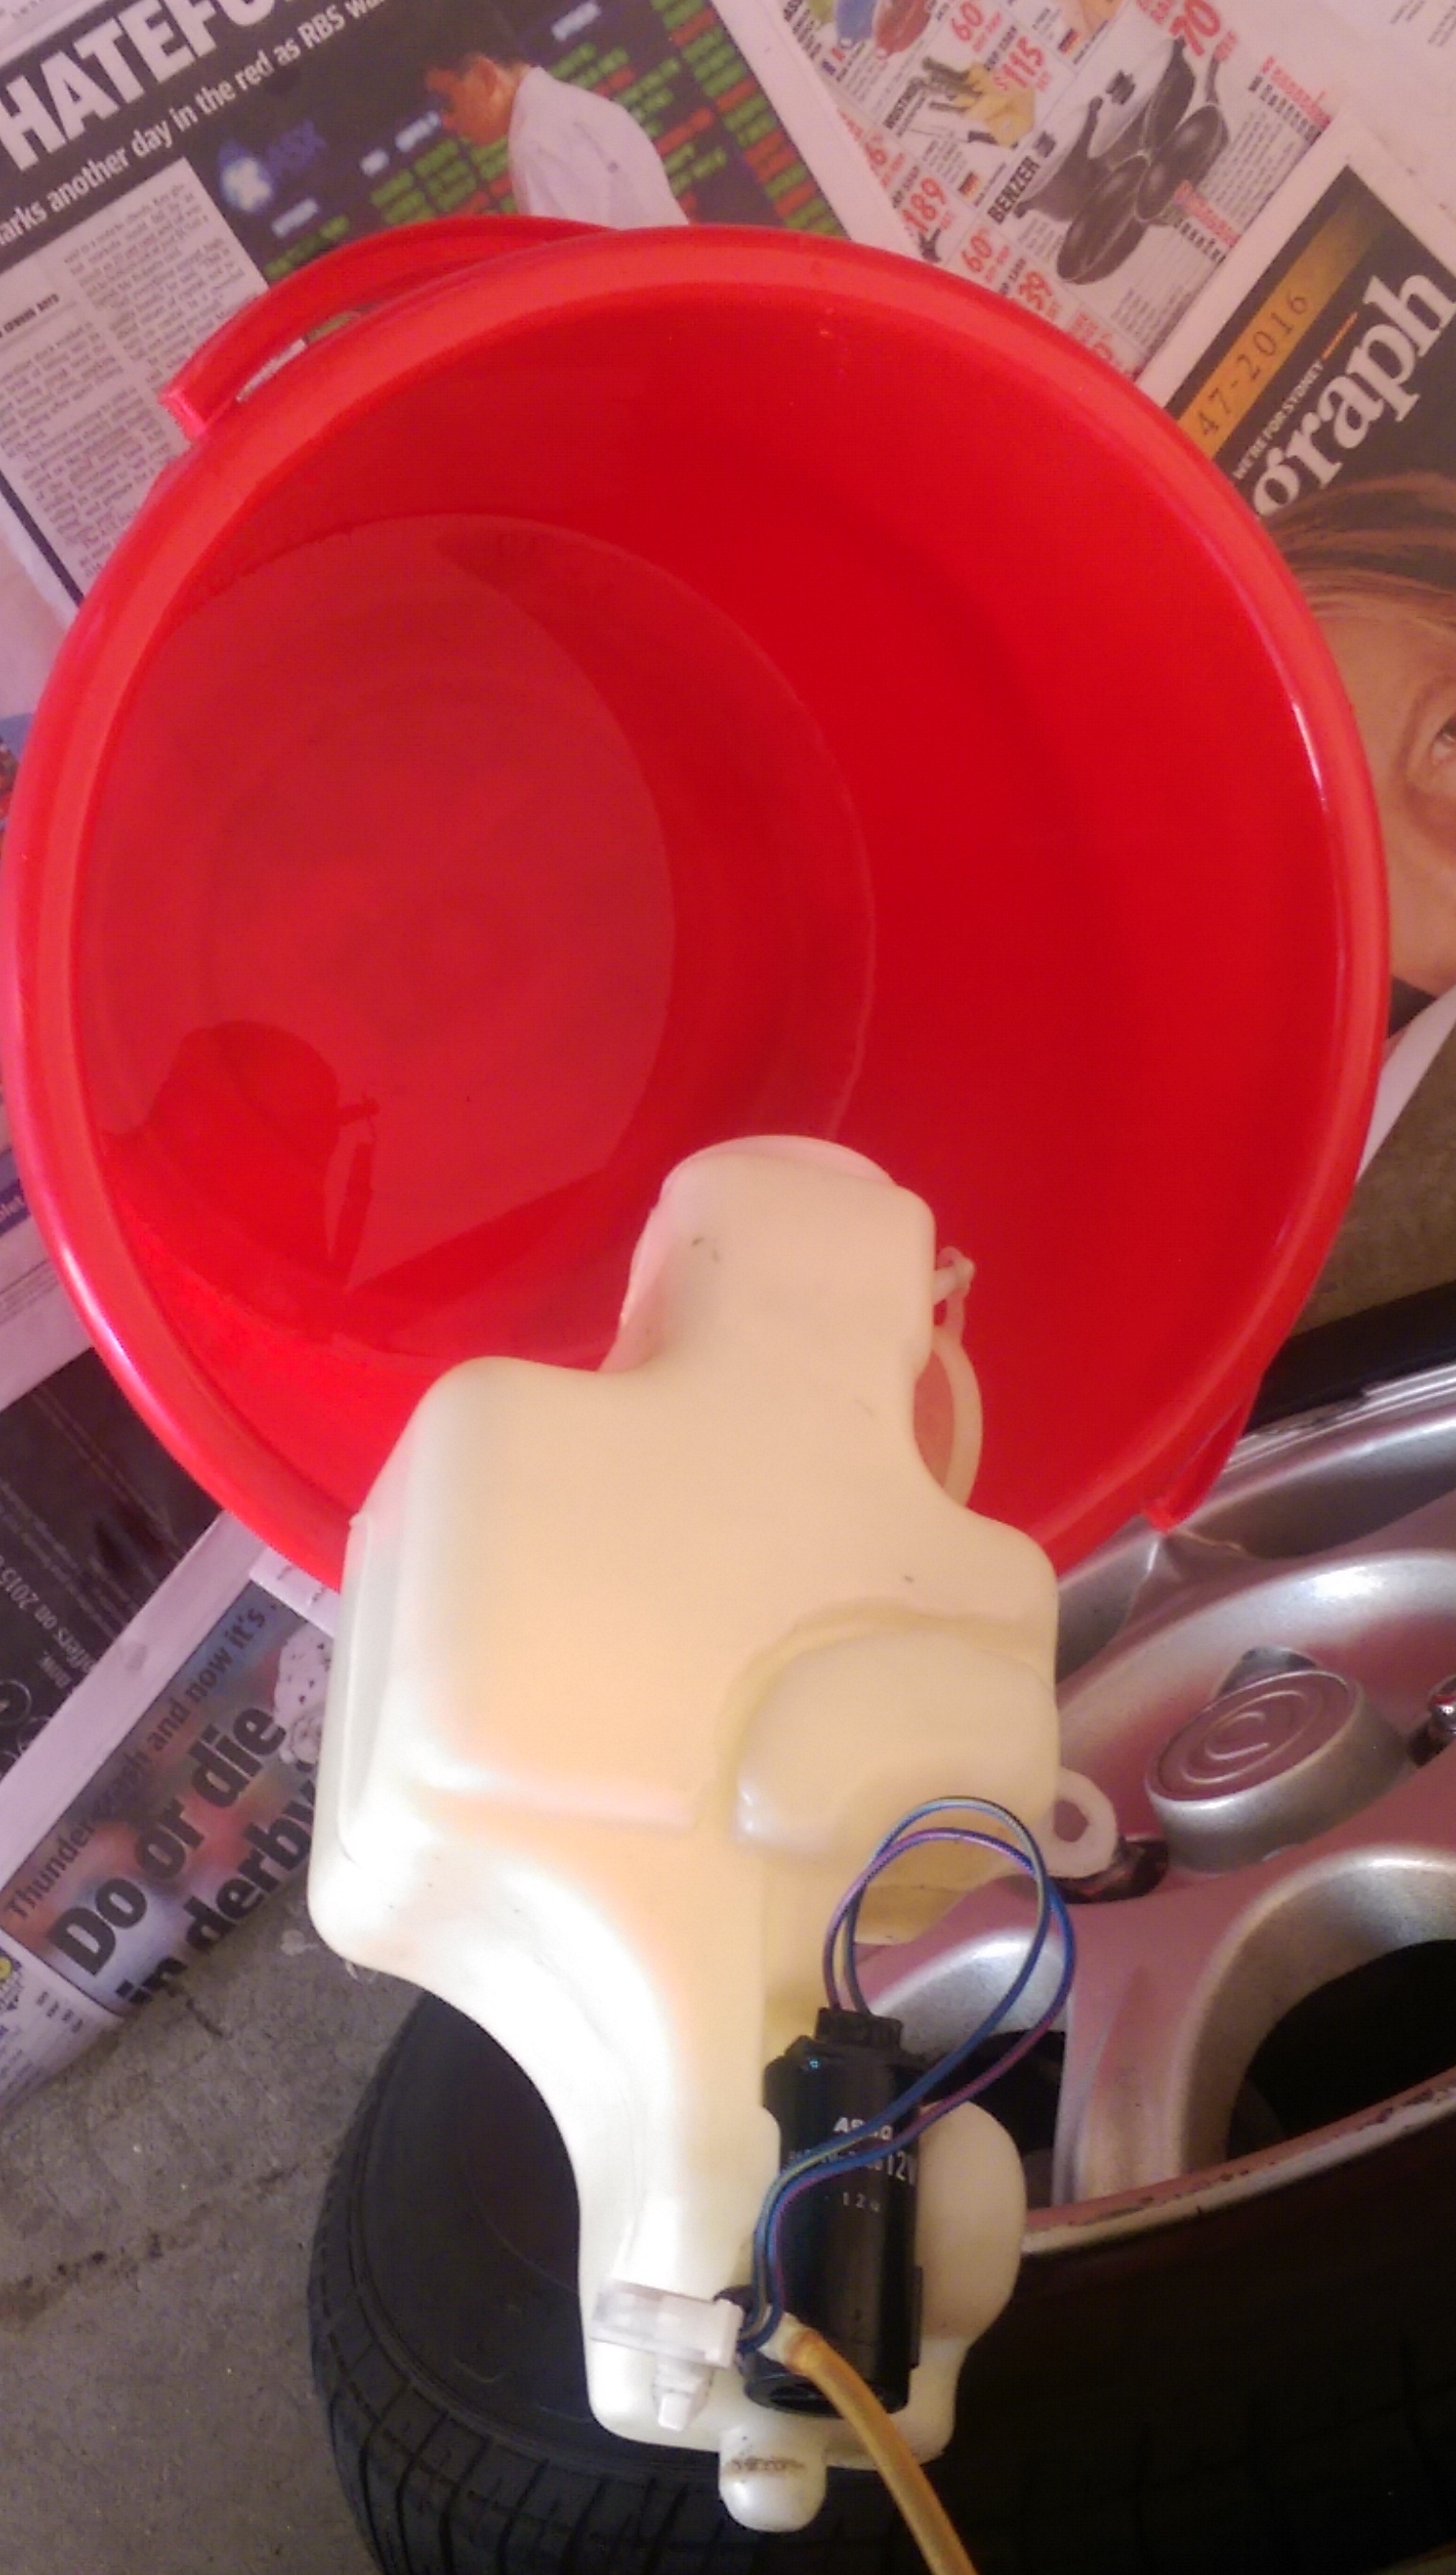
                  Step 3 : Empty out water from the OEM bottle.


                  Step 4 : Carefully take out the water pump from the OEM washer bottle.


                  Step 5 : Fit the washer bottle onto the NoPro. New grommet should be on the NoPro bottle already. It should clip in perfectly.


                  Step 6 : Loosly bolt up the NoPro washer bottle to the chassis. There are two holes which are already on the car (one which has a rubber grommet, pictured below on the left, which comes off very easily) and the brackets on the NoPro should line up with the holes perfectly. All that is required is to either use a Philips head or a 10mm socket to hold it in place.


                  Step 7 : Strip back and expose the extension wire that came with the NoPro washer bottle. A wire stripper is handy, but if you don't have one, carefully strip back using a razor or box cutter.


                  Step 8 : The plugs are basically extensions of the original plug on the water pump and also on the car. Crimp the terminals and insert them into the new plugs provided. Make sure that your wiring colours are matching.


                  Step 9 : Connect everything up and test to make sure it's all working. Once you know it's all working, tighten up the bolts holding the NoPro bottle and tidy up and neaten the wiring under the cowl. Zip tie the wires together if necessary.


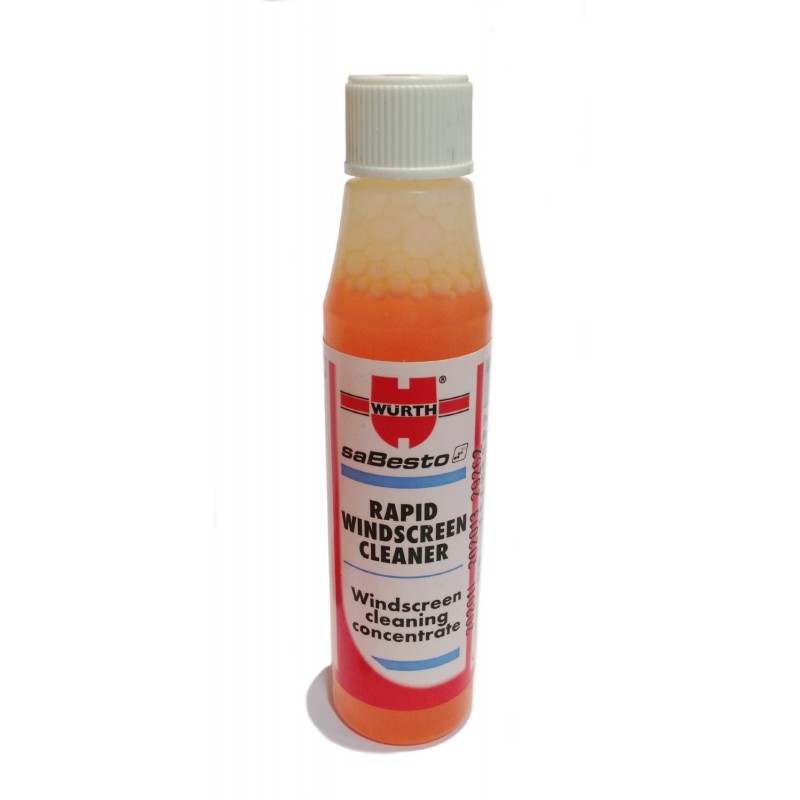
                  Step 10 : Fill up the bottle with water. I've also added about 3/4 bottle of Wurth windscreen cleaner concentrate.


                  Mazdaspeed Oil Cap
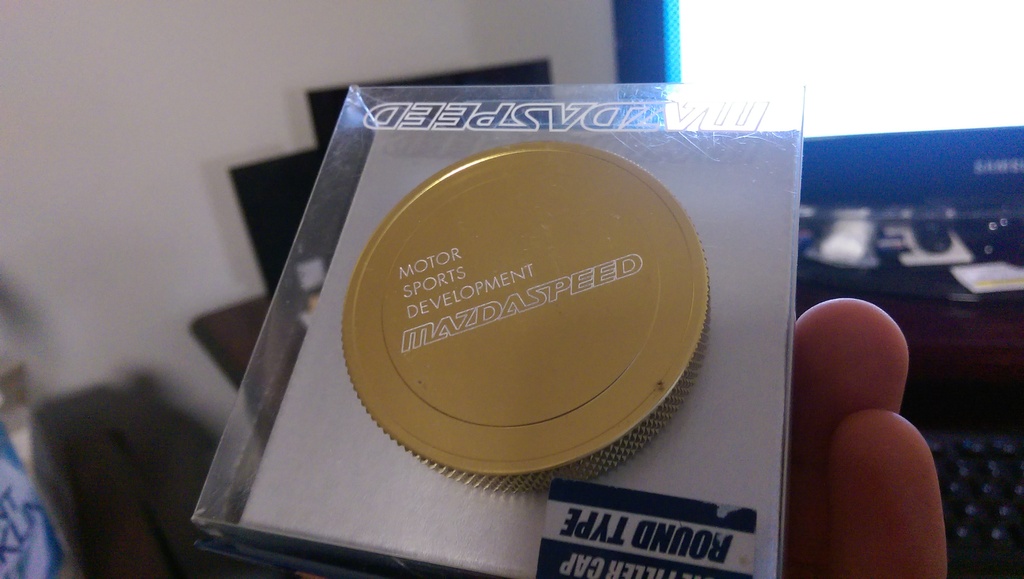
                  Scored this rare JDM Mazdaspeed oil cap in Gold. I actually ordered a black one but the seller sent me the wrong one. Doesn't matter though, as I'm going with a BRG/Gold theme on my NA8 so after I get the rocker cover polished, it should go nicely with it.


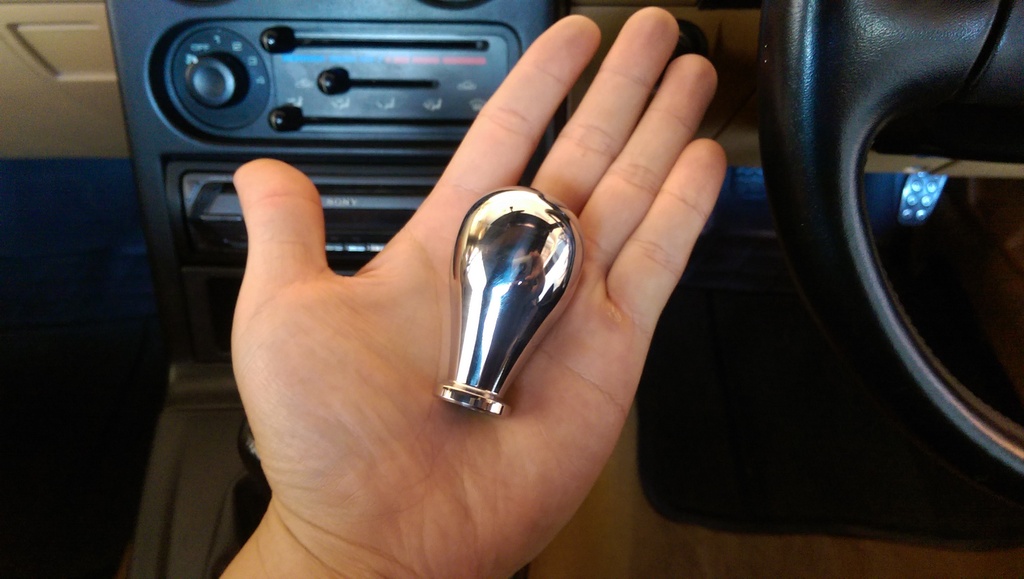
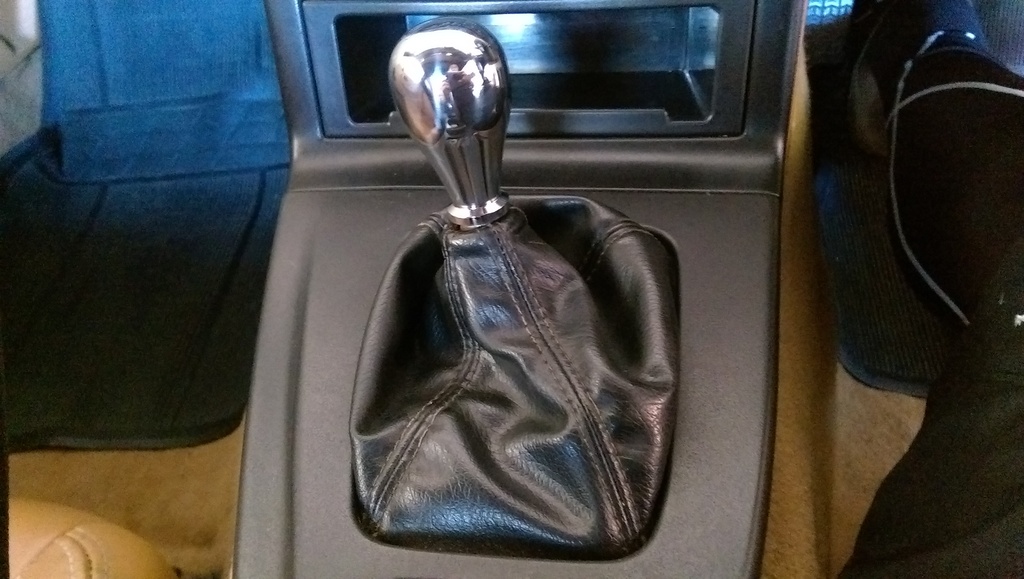
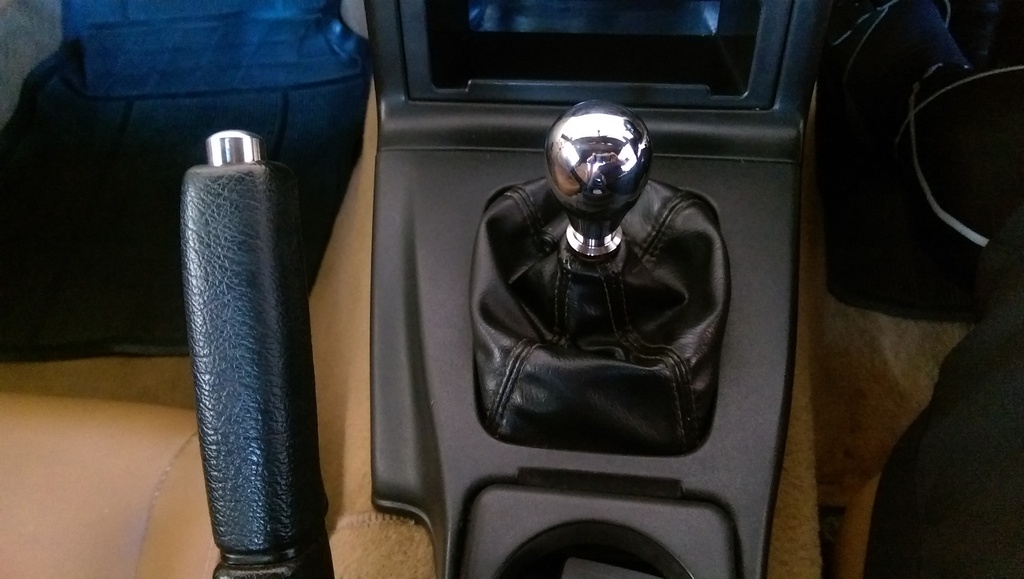
                  Joyfast Chrome Gear Knob (Super Short)
                  The factory shift knob feels very nice but after having a drive in Dan's (91-BRG) MX5, the weighted shift knob he had felt so much nicer and it compliments the short shifter he has too (which I will also be purchasing down the line). Install was pretty easy, however I have read that some shift knobs are quite tight from factory and it caused a few members some grief in getting them off. With mine though, no strength required. It appears it had been taken off before and had been hand tightened afterwards, which was great for me.

                  OEM gearknob


                  Joyfast chrome gear knob (super short, 297g)


                  OEM knob removed


                  Installed


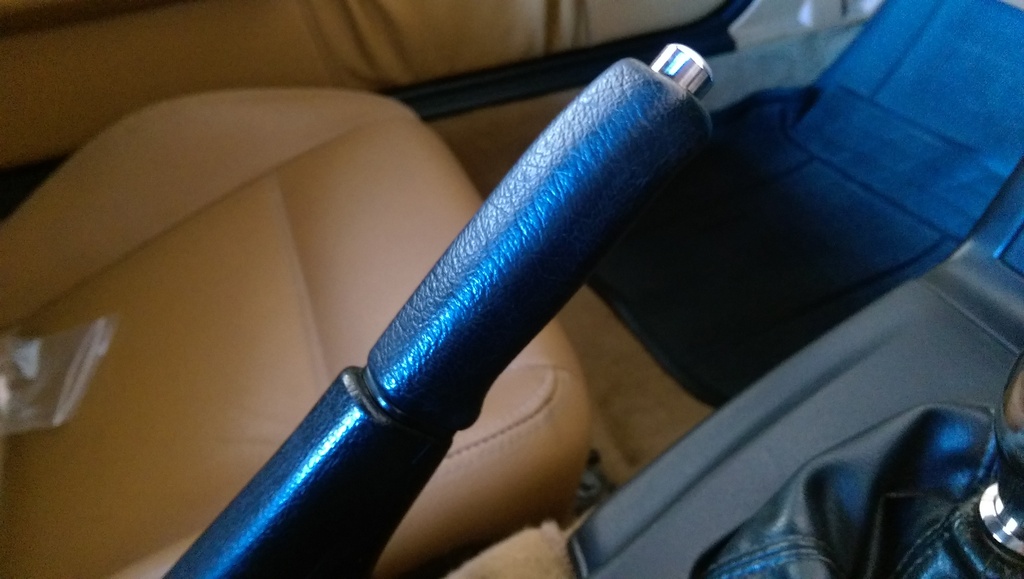
                  Joyfast Chrome Handbrake Button
                  The handbrake buttons was also very easy. It just requires the handbrake to be pulled off, which can be done by gripping the handle and moving side to side while pulling towards the headunit. It should then slide off quite easily. The button needs to be turned counter-clockwise to come out. Be careful as there is a spring so make sure the spring doesn't go flying off when you take the button out. Put the new button on and screw it back into place.

                  Grip handle off


                  Chrome button installed and handle back on


                  Result

                  Last edited by stephen8512; 09-07-17, 02:02 AM.
                  Follow on Facebook
                  http://www.facebook.com/96BRG

                  Follow on Instagram
                  http://www.instagram.com/96BRG

                  Comment


                    #10
                    25/01/2016

                    Carbon Canister Delete
                    Not really much of an update but decided to delete the carbon canister from the engine bay. Given that my NA8 is now 20 years old, I think the usefulness of this canister has passed its expiry date a long time ago.

                    Was going to do a detailed write up but I found a very good step-by-step guide online which you can click here to access.


                    Before...


                    ...and after


                    In the bin you go!


                    In the DIY, it says to go to the boot and that there should be a small black hose nipple on one of the bolts on the rear tail lights. I couldn't find any, but I did find this which came off a coathanger. Just a shame it's not black, but it'll do for now.


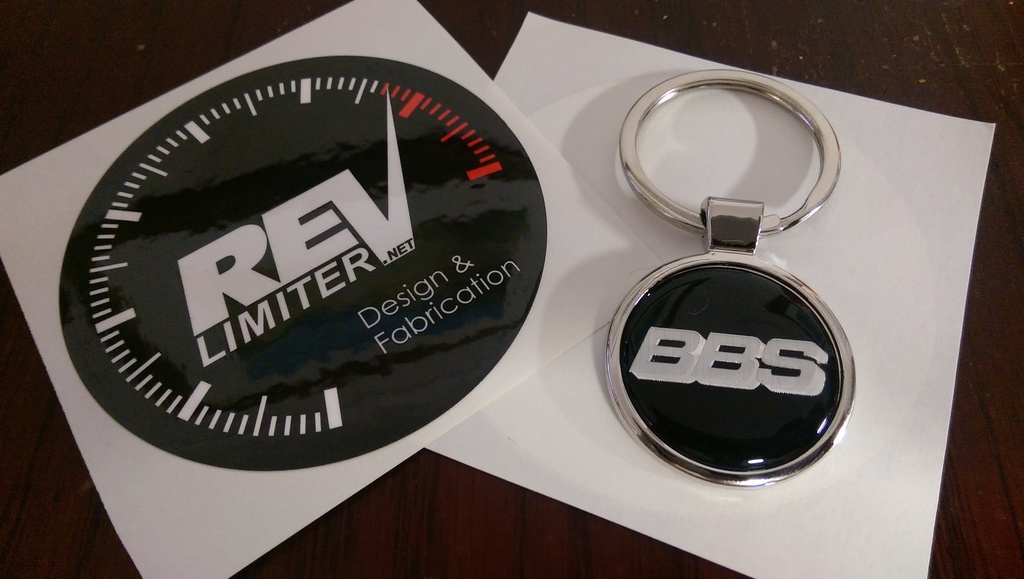
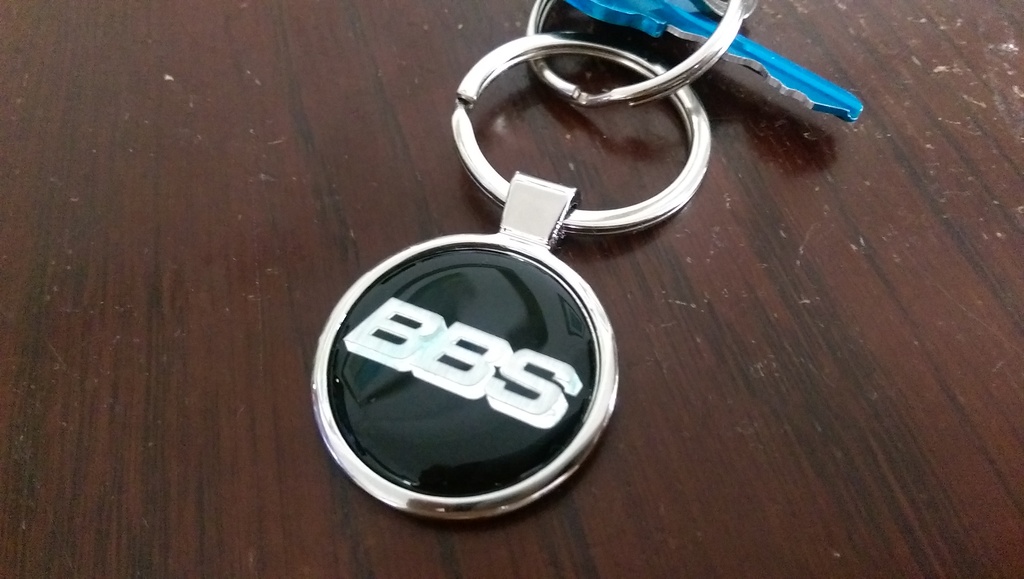
                    Also got this from Adam (Revlimiter). I love BBS wheels, the RS and LM's in particular. Couldn't find any BBS logo keyrings anywhere, so I decided to get a custom keyring made. Initially I wanted it to be red background with gold lettering, but Adam said he doesn't have any gold material to make it and for him to make it, he'd have to pass the cost down to me which is understandable, and it would have resulted in the keyring being too expensive. Therefore, I opted for the classic black background and silver BBS letters. It came out perfect and I'm very happy with how it turned out! Thanks again Adam!


                    A full major service will be done when I drop my car off on the 30th of this month.

                    - New Gates Racing High Performance Timing Belt (Part Number : T179R)
                    - New NGK Ignition Leads (Part Number : ZE21)
                    - New NGK Iridium Spark Plugs (Part Number : BKR5EIX-11)
                    - New Koyo Hyper-V core 36mm Aluminium Radiator (Part Number : VH060245)
                    - New Mazdaspeed 1.3bar Radiator Cap
                    - New CarbonMiata NA8 Black Silicone Cooling Hoses
                    - New Goodridge Braided Brake Lines (Part Number : SMA0101-4P)
                    - New Goodridge Braided Clutch Line (Part Number : 25001-CLU)
                    - New OEM Mazda Camshaft and Crankshaft Seals
                    - New OEM Mazda Rocker Cover Seals and Gaskets (Part Number : BP05-10-235C)
                    - New OEM Mazda Oil Filter (Part Number : B6Y1-14-302A)
                    - New OEM Mazda Fuel Filter (Part Number : B61P-20-490A99)
                    - New OEM Mazda Timing Tensioner Pulley (Part Number : GMB445-2050)
                    - New OEM Mazda Water Pump (Part Number : GMBB6BF15010RMF)
                    - New OEM Mazda Green Coolant
                    - Liquimoly Leightlauf 10w40 Engine Oil
                    - Liquimoly 75w90 Gearbox Oil
                    - Motul RBF600 Brake Fluid
                    - Motul Dexron III Power Steering Fluid
                    - Clean Throttle Body and PCV Valve

                    After this, the mechanical side of things will be all done and should be bulletproof


                    Few more mods I'm eyeing at the moment

                    - MiataRoadster Short Shifter
                    - Nardi Classico 360mm Wooden Steering Wheel
                    - Arrive Mahogany Handbrake Handle
                    - Maximworks 4-2-1 Headers
                    - Fujitsubo Catback Exhaust
                    - Tein Monosport Coilovers
                    Last edited by stephen8512; 09-07-17, 02:02 AM.
                    Follow on Facebook
                    http://www.facebook.com/96BRG

                    Follow on Instagram
                    http://www.instagram.com/96BRG

                    Comment


                      #11
                      Car is in for its servicing. Will be picking it up next week.

                      Received my number plates.


                      Tried on a set of BBS RS001, 4x100, 15x8.5, Offset +6. These have been rebuilt with 2.5" lips all round. Originally was going to get gold centres and Black BBS cap and ignore the 4WD spec as I don't have coilovers on as yet. However, when I test fit these on, I realised I will need to roll and pull the guards quite a bit to get them to fit nicely. Not only that, will need to respray the centres, get black BBS caps, polish the lip, get new black bolts and hardware. It would have ended up costing too much for this particular set. Ideally I would like a BBS RS001 which hasn't been rebuilt, which in factory spec is 15x7 +25 and then perhaps go a 1.5" or 2" lip and rebuild it myself.


                      So, I decided to get Watanabe's instead. 14x6.5 +14.5. Will be repainting the centres Gold and re-polishing the lip. Not my photos but will look like this below.


                      Will need to get RS Watanabe centre caps too.
                      Last edited by stephen8512; 09-07-17, 02:02 AM.
                      Follow on Facebook
                      http://www.facebook.com/96BRG

                      Follow on Instagram
                      http://www.instagram.com/96BRG

                      Comment


                        #12
                        06/02/2016

                        Major Service : Completed
                        Received the car back from service today. As mentioned previously, with all my cars, whenever I purchase a second hand car I usually do a full service and change out all the fluids with new items as well as tending to other matters which require my attention. Major overhaul has been completed now with fresh oils and all new fluids, new aluminium radiator, oil and fuel filter, spark plugs and leads, silicone hoses, timing belt, water pump, thermostat, PCV valve, tensioner and idler pulleys, rocker cover gaskets, cam and crankshaft seals, brake and clutch lines, and timing advanced to +14 degrees. OEM parts and equipment have been used where possible.

                        When I was getting a debrief on what was done to the car, it seems as though there were a lot of things which needed changing anyhow and it was a good thing that they were tended to in this service. Basically, ALL the fluids were atrocious, spark plugs were black and definitely needed changing a few thousand km's ago, the leads were misfiring and old (still the original leads from 1996!), fuel filter and water pump weren't installed properly by previous mechanic (who did the work for the previous owner) and the old radiator had a very tiny hairline fracture. If I had driven the car any more than what I had done already, it would have definitely resulted in the plastic end tanks letting go.

                        Although the previous owner had looked after it as well as he could for 10 years and although he only drove the car 2,000kms in his 10 year ownership and the car "felt" okay every year when he would start the car up and go for a little drive, the component parts were slowly wearing away which isn't good for the health or longevity of the vehicle.

                        Needless to say, it now feels like a brand new, totally different car. She now idles much smoother with no misfire and driving feel is improved, especially since now that the timing has been advanced to +14 degrees the low down torque is definitely noticeable and there is more useable power.

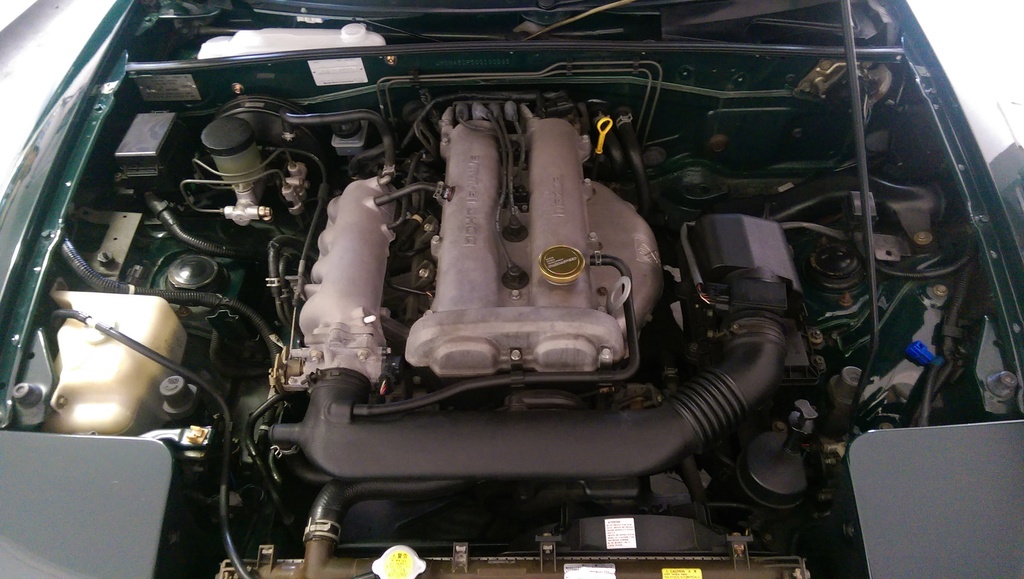
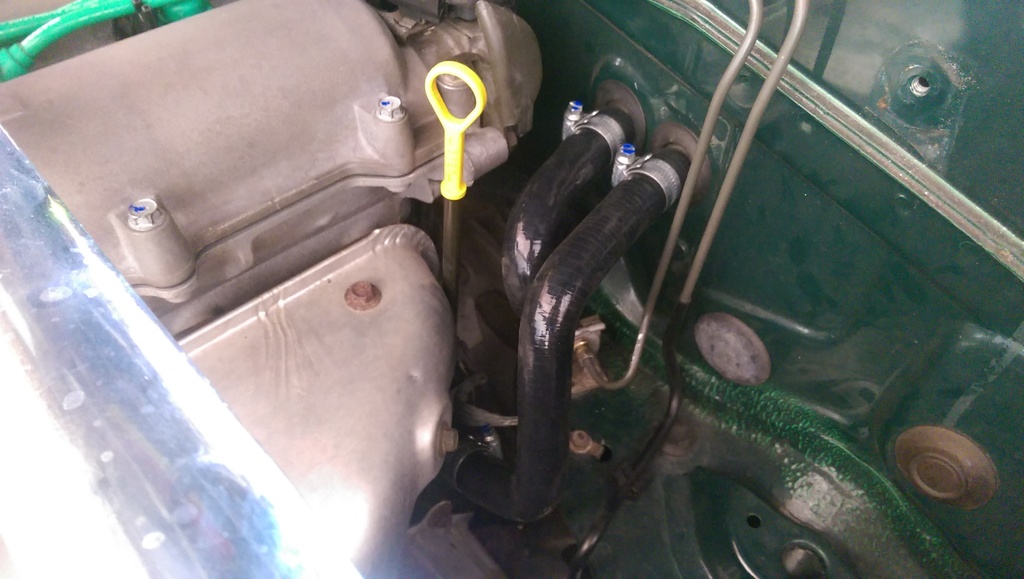
                        The new look engine bay!


                        Silicone hoses.


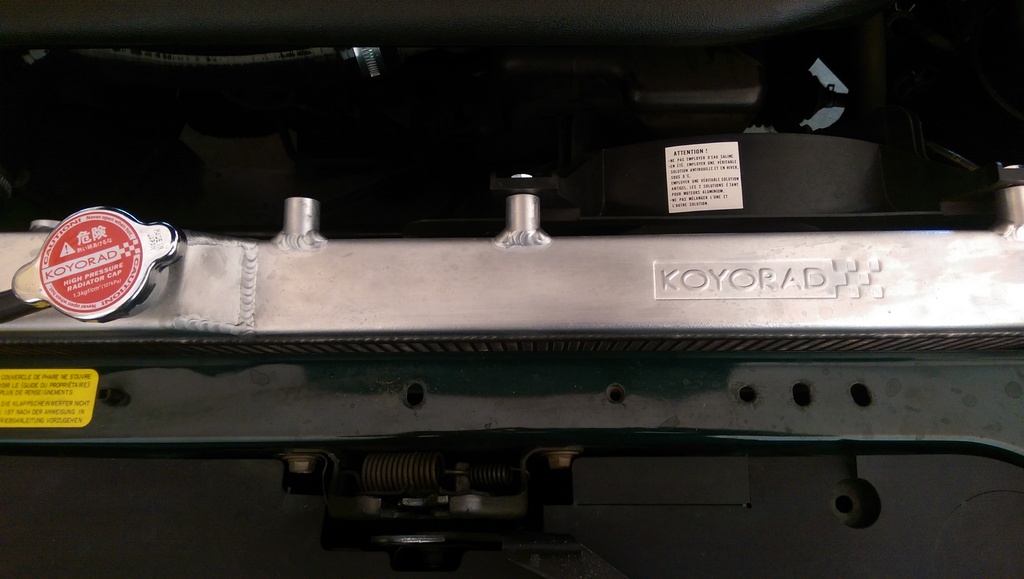
                        Koyorad 36mm Hyper-V Aluminium Radiator.


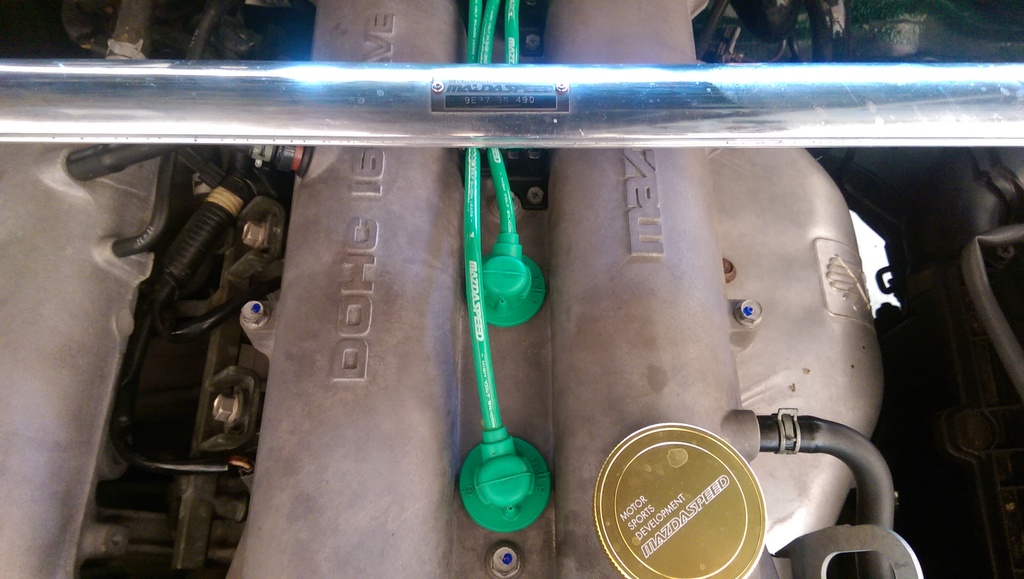
                        Mazdaspeed!


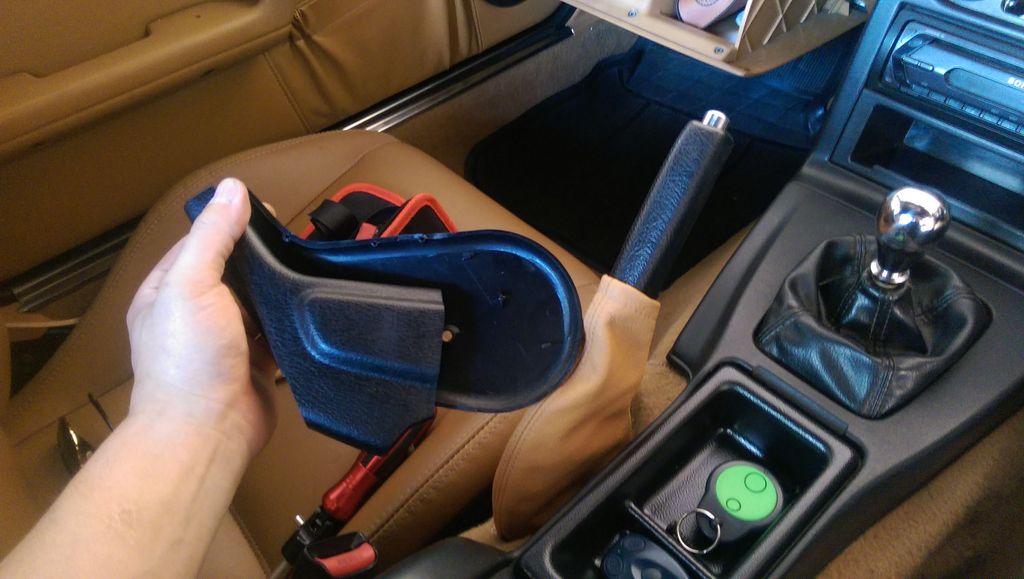
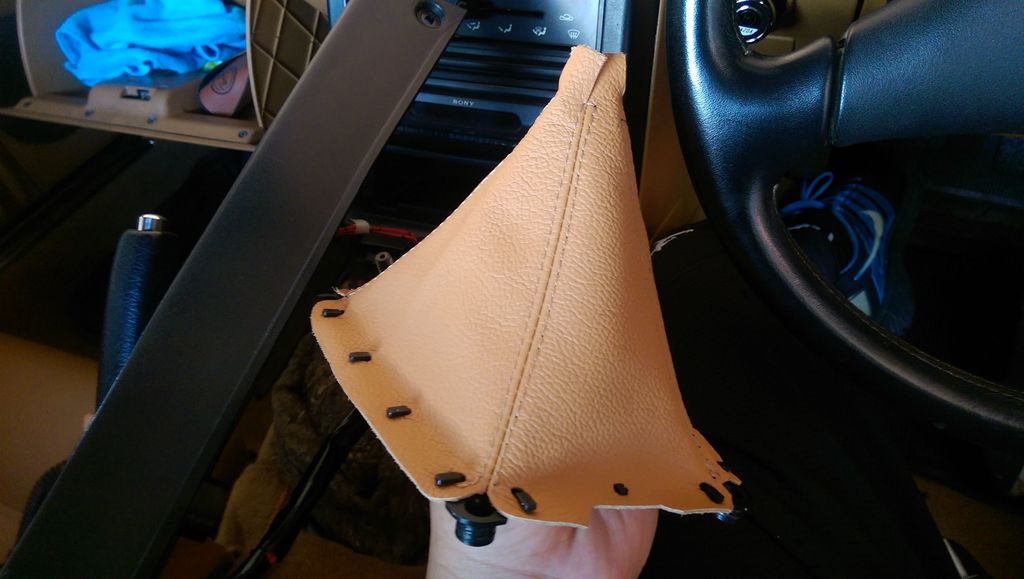
                        J-F Customs Tan Leather Gearshift + Handbrake Boot
                        Decided to refresh the gearshift boot and plastic handbrake boot with some nice tan Italian leather stitched items.

                        OEM plastic handbrake boot removed and replaced with the new leather boot. Much nicer.


                        Gearshift Boot ready for install.


                        Took apart the centre console to find that the shifter insulation looks like a pile of shit. OEM replacement already ordered from Mazda to fix the heating issue. Will also be ordering a brand new MiataRoadster short shifter too, so that I can replace the shifter and fix the heating issue in one go.


                        All done. Goes well with the interior!


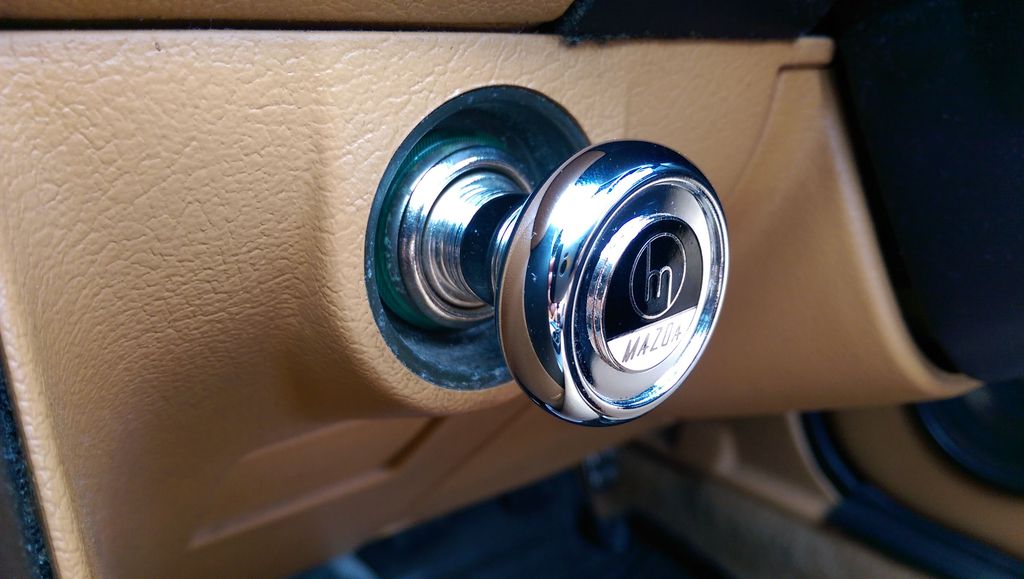
                        Vintage Mazda Chrome Cigarette Lighter
                        Bought this on eBay to replace my tired, rusted old OEM cigarette lighter. Feels very nice and looks quite pretty. Weighted, chromed, and has the oldschool vintage Mazda symbol. Sticks out a tad more than the OEM lighter but nothing intrusive. Although it's not a genuine part, I feel it goes quite nicely with the interior and the rest of the car.

                        Very nice chrome finish on the cigarette lighter.


                        Right at home!


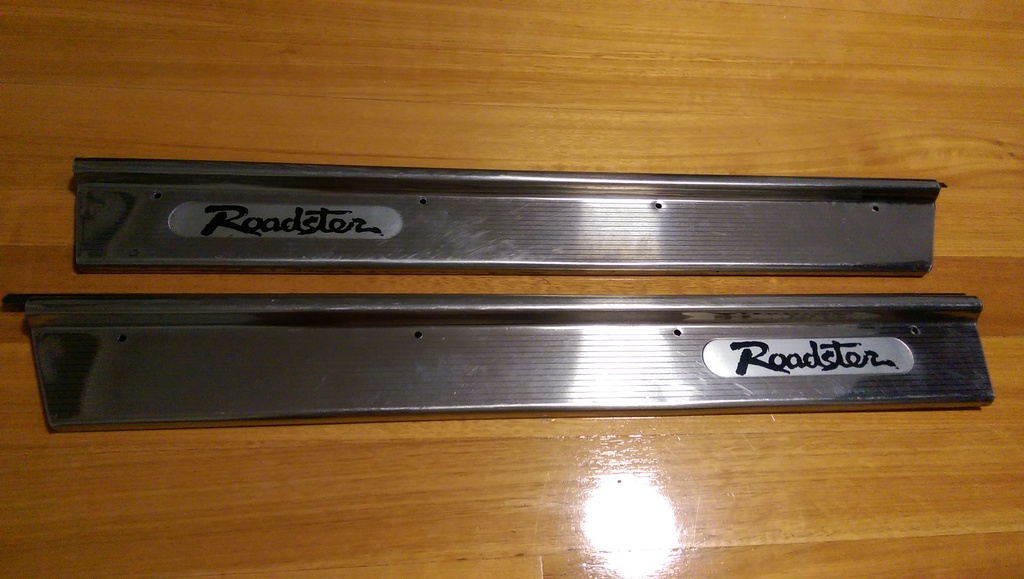
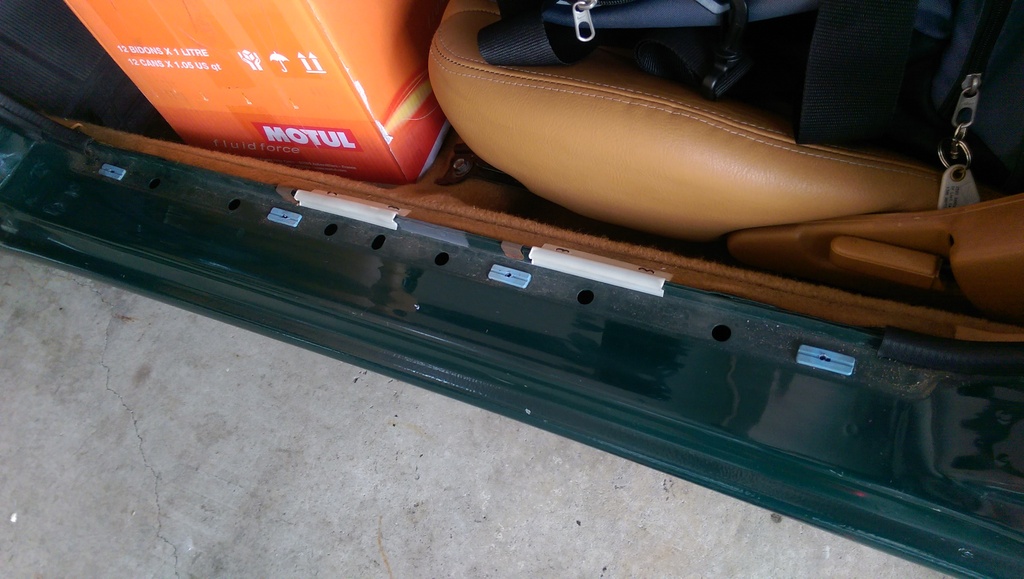
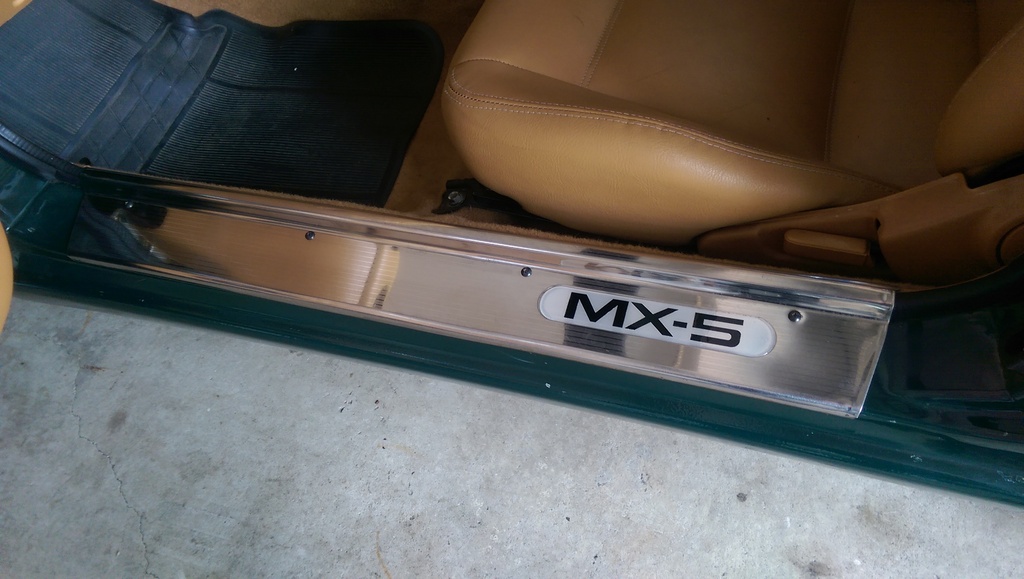
                        JDM Chrome Door Sills + RevLimiter "Type MX-5" Door Sill Inserts
                        Purchased a second hand set of chrome door sills in very good condition from Yahoo Japan Auctions with the "Roadster" insert. Decided to hit up Adam from RevLimiter again and purchased his "Type MX-5" door sill inserts to replace it. The inserts from Adam are made from an epoxy which is flexible, sticks perfectly to the door sill recess, very durable, will not yellow or pit and should last around 8 years. Again, very happy with his work!

                        JDM Chrome Door Sills purchased from Yahoo Japan Auctions.


                        RevLimiter "Type MX-5" Door Sill Inserts.


                        Ready to mount.


                        Removed the plastic sill. Cleaned the grime and dirt before installing the sills.


                        Installed.


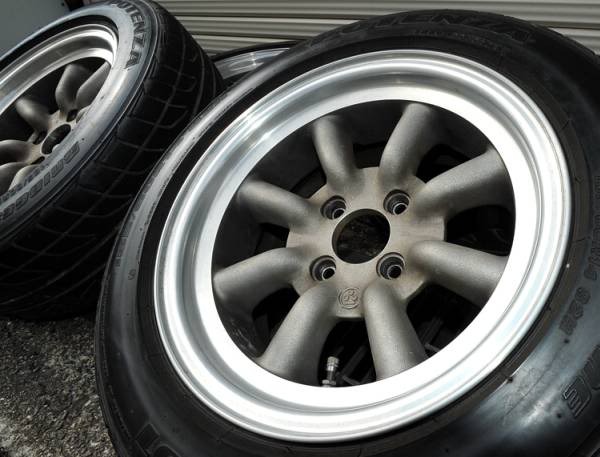
                        And finally, I was able to take delivery of my RS Watanabe Type-B. Specs are 14 x 6.5 with a +14.5 offset. These also come with tires which still have around 99% of tread left, virtually brand new. Bridgestone Ecopia 185/60/14. Nothing too special but hey, it'll do for now!

                        Two of the wheels have gutter rashes so I'm going to get that fixed as well as getting the lips polished so they come up brand new. Also, I'll be powdercoating the centres in gold and going to purchase some chrome Watanabe centre caps if I can find some on Yahoo Japan. I was so surprised at how light these are even with the tires on them! It will definitely help reduce unsprung weight, that's for sure.

                        For now though, I'll be swapping over the rubber from the Watanabe's to my OEM wheels as the tires I have on them currently are Pirelli P6000's which, although when brand new are quite a good rubber, they were put on 10 years ago and albeit only travelling 2,000kms until I picked it up, they're are rock hard! Fresh new rubber will be a welcome change.


                        Taking delivery of the Watanabe's!


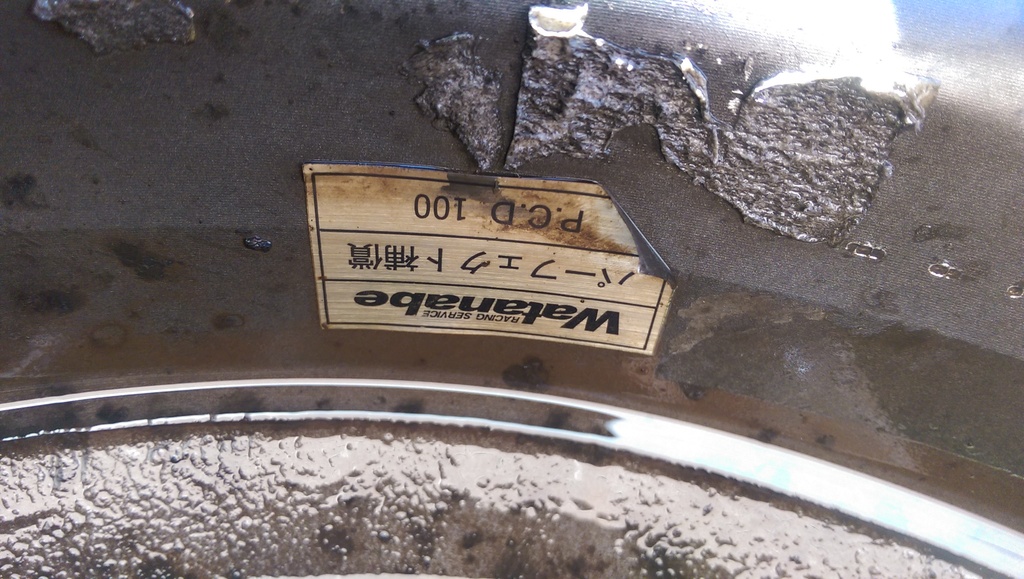
                        Authenticity.


                        Time for a bit of a clean.


                        All done and ready for a refurb.


                        Next up :

                        1) Will be looking at fixing the insulation issue and changing the shifter to a MiataRoadster short shifter (already purchased, awaiting delivery)

                        2) Nardi Classico 360mm Wooden steering wheel + Arrive Mahogany Handbrake Handle to purchase. Already purchased the HKB Boss Kit, (part number : OR-18)

                        3) KG Works Chrome washer jets + new 5mm PVC clear plastic hoses to route from washer bottle to nozzle.
                        Last edited by stephen8512; 09-07-17, 02:03 AM.
                        Follow on Facebook
                        http://www.facebook.com/96BRG

                        Follow on Instagram
                        http://www.instagram.com/96BRG

                        Comment


                          #13
                          13/02/2016

                          KG Works Chrome Washer Nozzles
                          The OEM plastic nozzles were stuffed and the jets I think got clogged. Not only that, the plastic pipes from the water pump on the NoPro connecting the nozzles were old, faded and in some places, kinked. Decided to change the hoses to new plastic PVC pipes.

                          The install was pretty simple. Just needed a long nose plier to get the old washer nozzles off. At most it was a 30 minute job. I had thought about getting the fluidic nozzles but I liked the chrome from these KG Works ones as it will go with the overall theme of the car.

                          Old nozzle.


                          New KG Works Chrome washer nozzles installed.


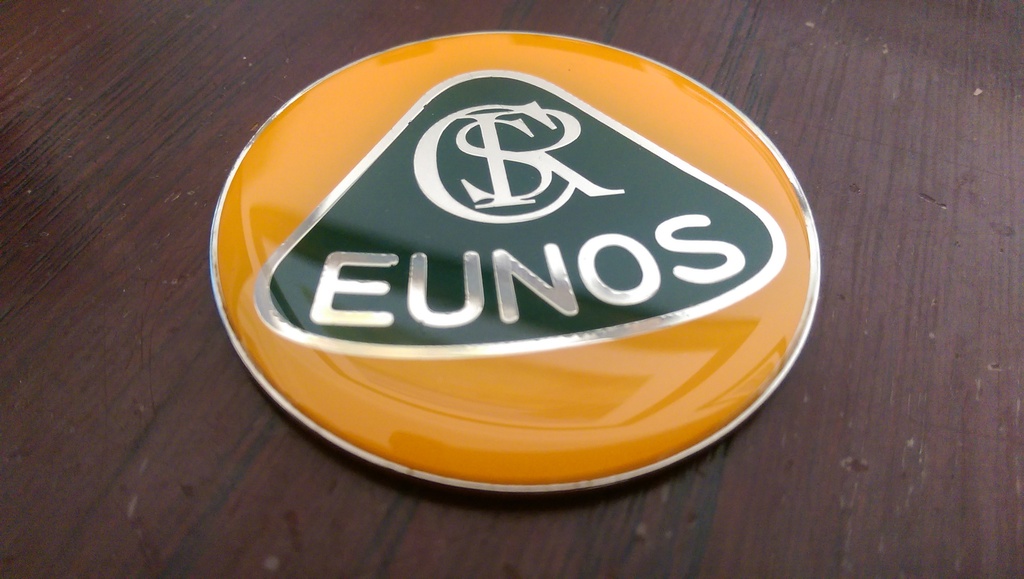
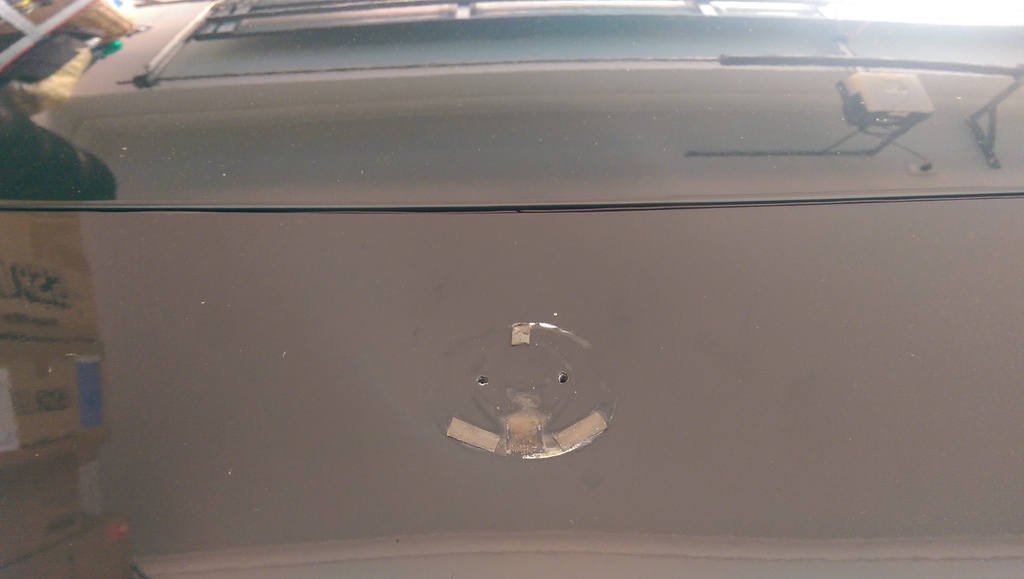
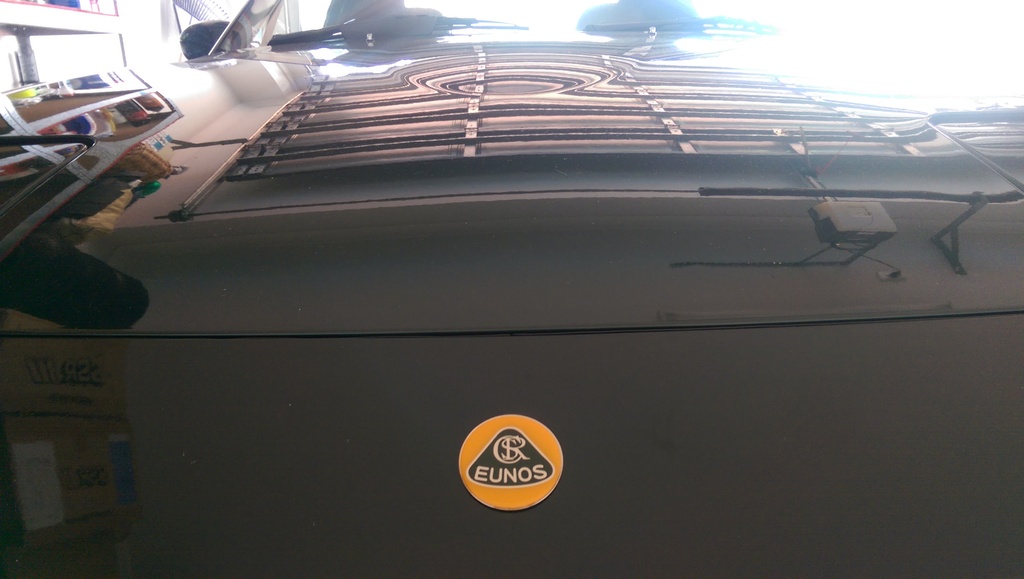
                          ZOOM Engineering Eunos Lotus Emblem
                          Got this emblem for the front to replace the Mazda flame logo on the bumper. I think it looks pretty cool and goes well with the BRG.

                          Eunos Lotus emblem.


                          What it will be replacing.


                          Residue double stick tape and holes from the emblem.


                          Done.


                          Nielex Fuse Box Sticker
                          Bought this from REV9 as the OEM sticker had lost its adhesiveness over the years. However, it appears that there may have been some JDM engrish printed on these stickers. Unfortunate, but what can you do?

                          OEM Fuse Box Sticker.


                          Nielex Fuse Box Sticker. JDM Engrish included as a bonus.


                          Have also made a few purchases lately, largely from Yahoo Japan.

                          To go with my RS Watanabe Type B's, I decided to buy the supporting hardware for them.

                          RS Watanabe Lug Nuts (12x1.5 pitch)


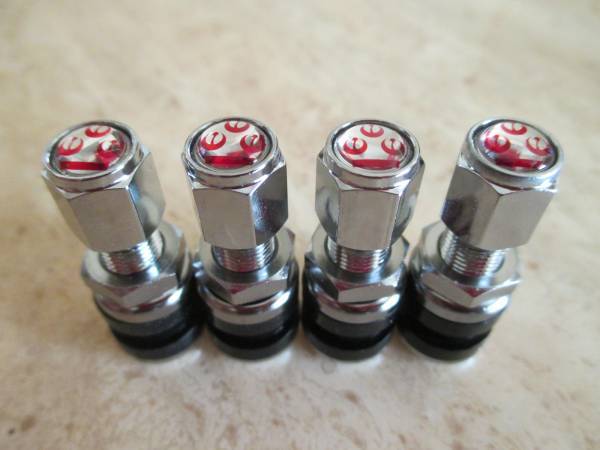
                          RS Watanabe Valve Stems


                          RS Watanabe 63mm Centre Caps


                          Beatrush Rear Strut Brace


                          JDM Eunos Roadster Sunglass Holder (Thanks to 91BRG and NotableGuest)


                          Should be coming in soon hopefully.
                          Last edited by stephen8512; 09-07-17, 02:03 AM.
                          Follow on Facebook
                          http://www.facebook.com/96BRG

                          Follow on Instagram
                          http://www.instagram.com/96BRG

                          Comment


                            #14
                            08/02/2016

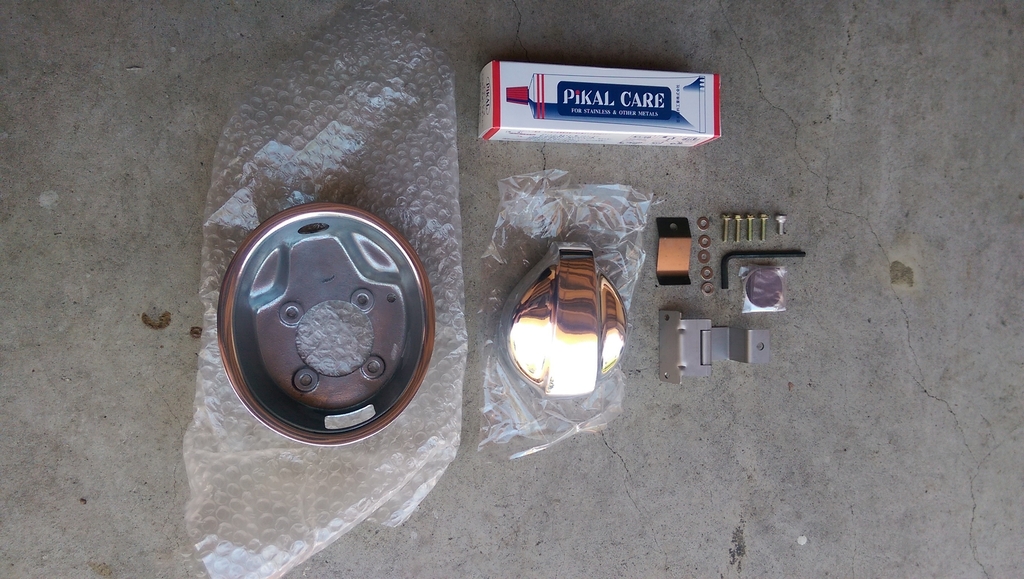
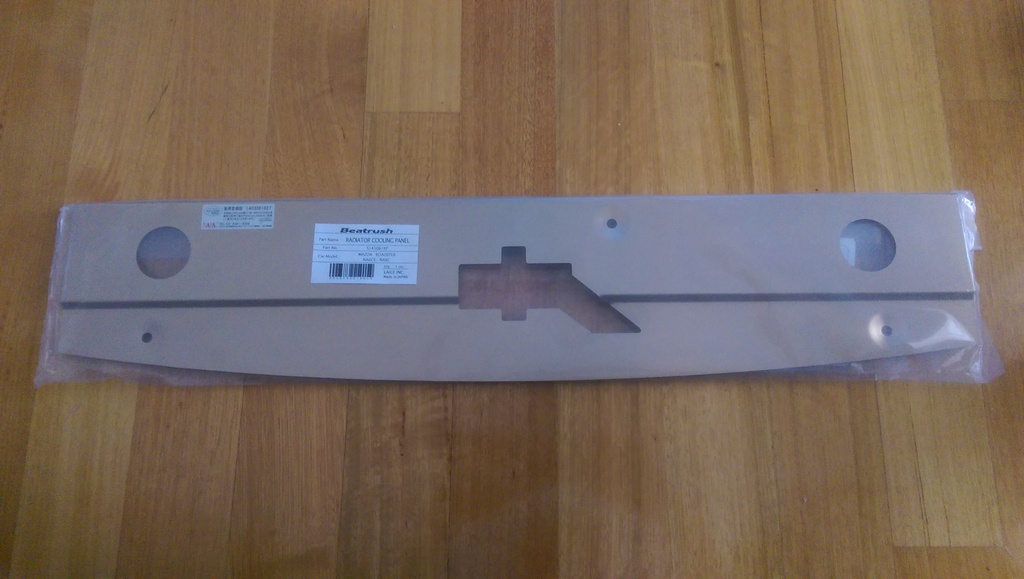
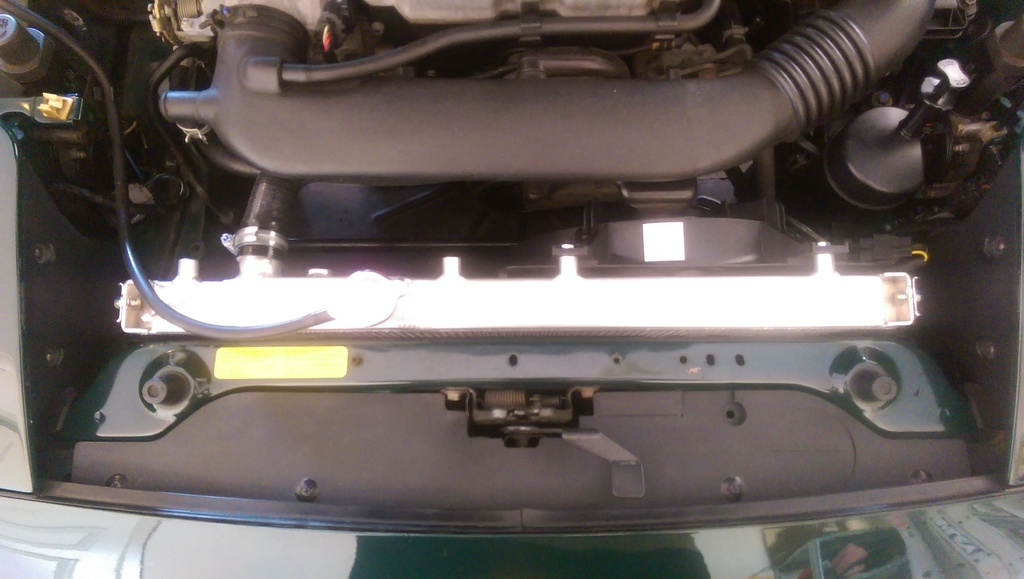
                            Beatrush Radiator Cooling Panel
                            Installed the Beatrush/Laile radiator cooling panel. Very straight forward install, much like everything else on the MX-5, which you gotta love! I think the NA8 came with a factory cooling panel, if you can even call it that. It's just a flimsy piece of rubber/plastic. Not sure how much more benefit the Beatrush cooling panel will give but if nothing else, it looks awesome!

                            Beatrush panel ready to be installed.


                            Before...


                            ...and after.


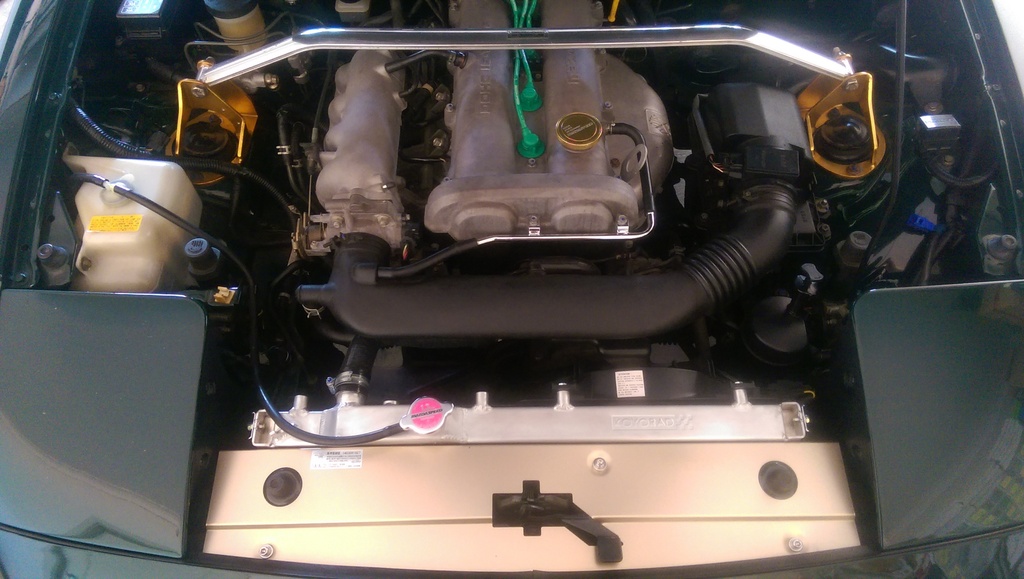
                            Also installed this chrome ventilation pipe which I purchased from Mazda spare parts via Amayama (along with many other spares). The NA8 came with just a rubber hose bent in the shape of this pipe but I liked the look of this more, and since I had a spare rubber hose, I cut it up and made it fit. I think it looks pretty neat.


                            Engine bay as it currently stands.


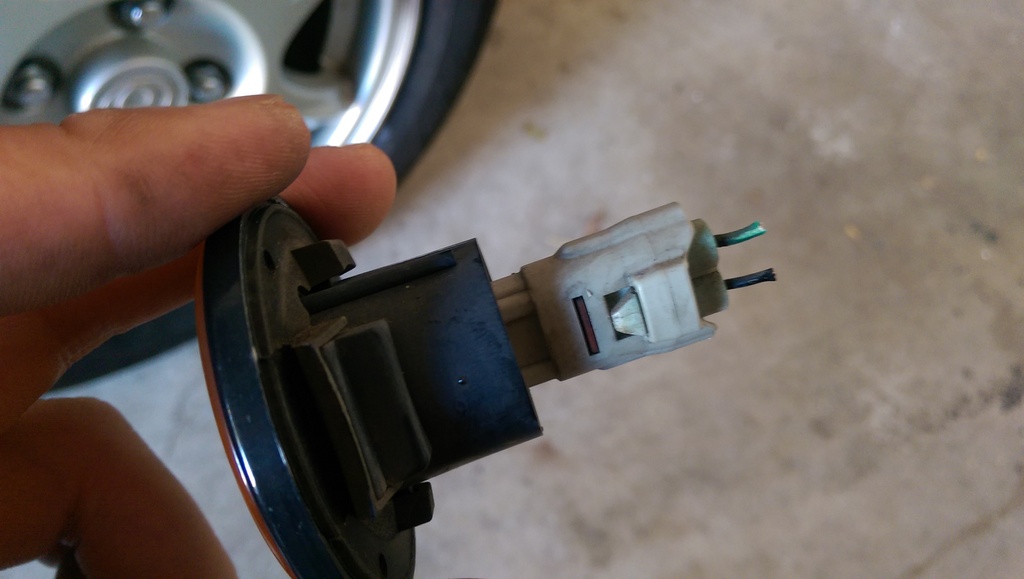
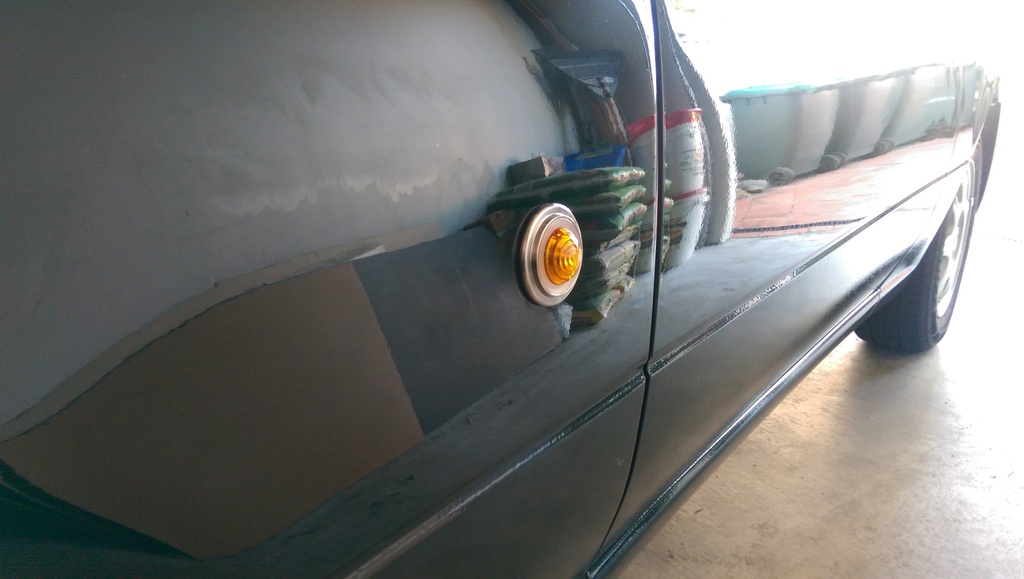
                            ZOOM Engineering Amber Side Indicators
                            Purchased these side indicators because I really love how they look. It integrates so well with the ZOOM retro fuel filler lid and coupled with the Runabout M2 mirrors, it gives a retro vibe to the car. Since my car is a BRG, I'm wanting to take it down that route. Install was pretty easy, but I did have to cut the stock wiring.

                            ZOOM side indicators with wire splicers included in the kit.


                            Stock side indicators currently on the vehicle.


                            Wiring cut.


                            Spliced into the stock wiring.


                            End result.


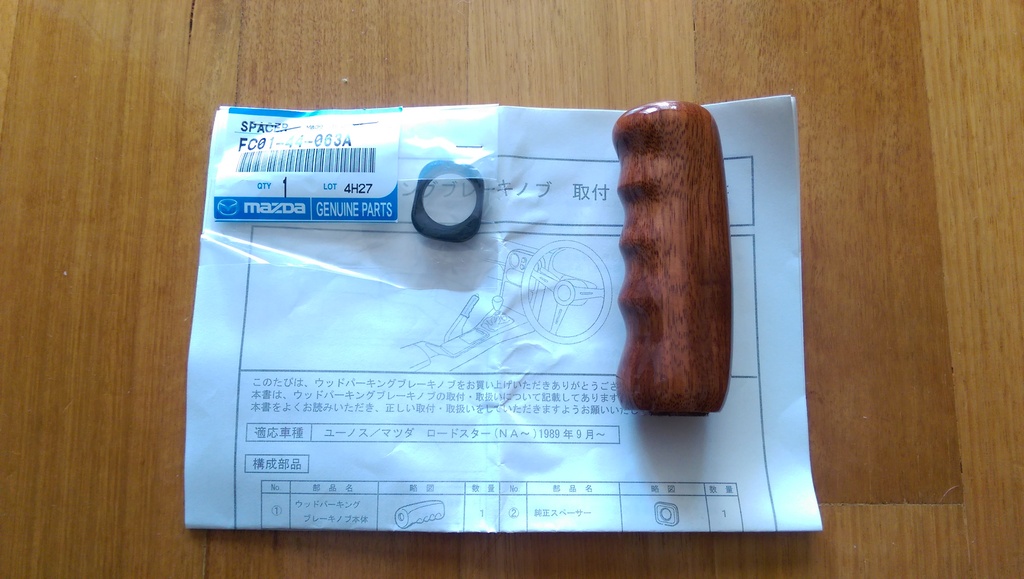
                            Arrive Mahogany Wood Handbrake Handle
                            Unlike the NA6 BRG's, my NA8 never came with the wood handbrake handle, nor did it come with the Nardi wood steering wheel. These were two things that I really wanted my car to have. I have purchased the Nardi Classico 360mm Wood Steering wheel with black centres and am awaiting delivery. From what I'm told, this handbrake handle will match the wood from the Nardi. In the meantime, I decided to just install this.

                            Arrive handbrake handle.


                            Installed. I've also put in my JDM Eunos sunglass holder in place of the ashtray.


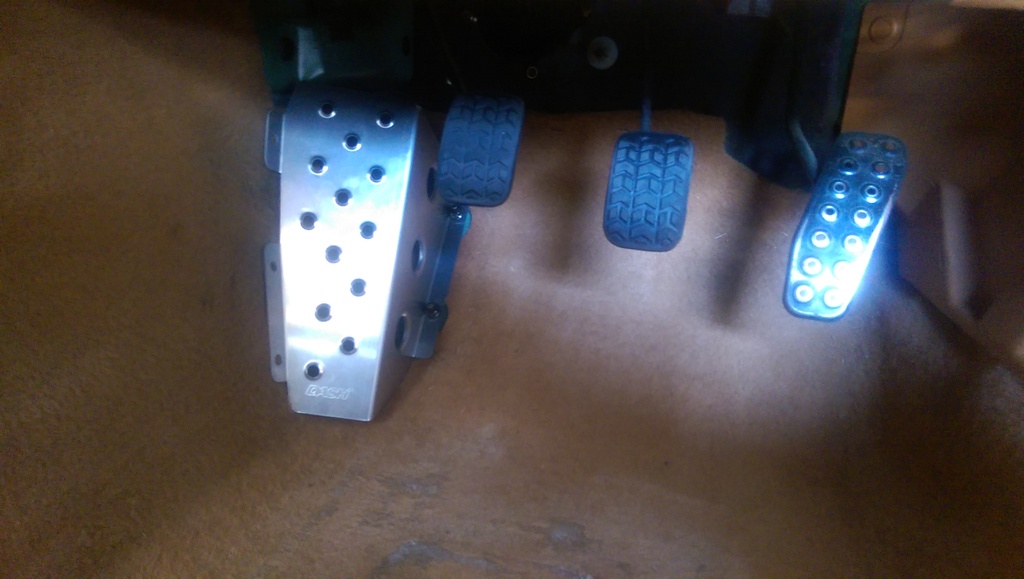
                            Carbing DASH Foot Rest Pedal
                            I purchased this item as I will be getting some sports pedals for the clutch, brake and accelerator but I'm a little disappointed to be honest. The pedal came with five screws for five holes but the three holes which are on the left side of the pedal have nothing to screw into as there are no exposed holes which can secure the pedal in place. Moreover, the remaining two holes don't require screws as it slots in to the exposed bolts which were holding the OEM foot rest pedal and then secured with the nuts.

                            I installed it for the time being but it looks a bit odd. I might dremel it off, or just revert back to the OEM. Either way, it was done for looks only.

                            Carbing DASH foot rest pedal.


                            Installed. Notice how the left side isn't secure. I may dremel them off.


                            Forgot to post this photo before.

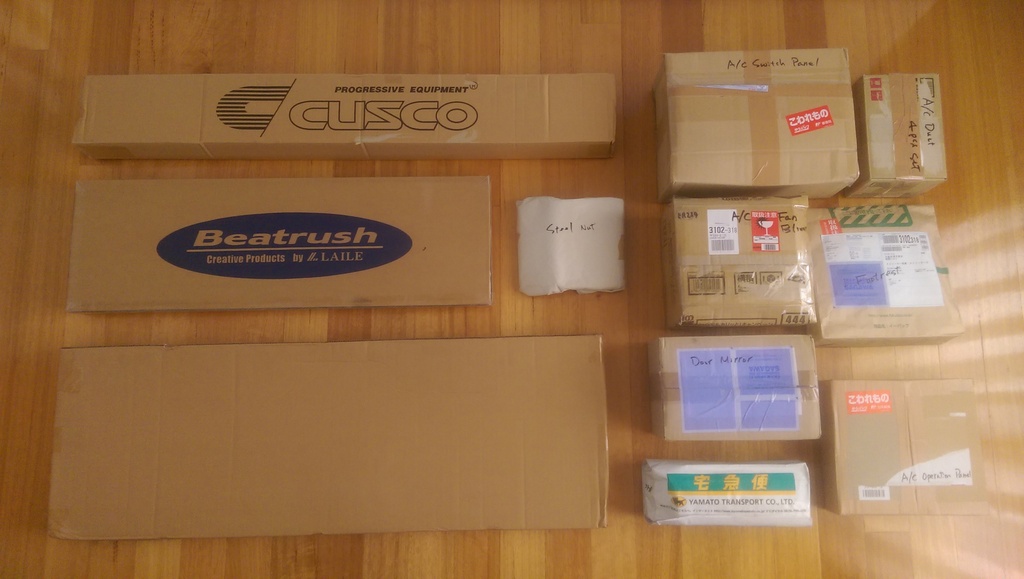
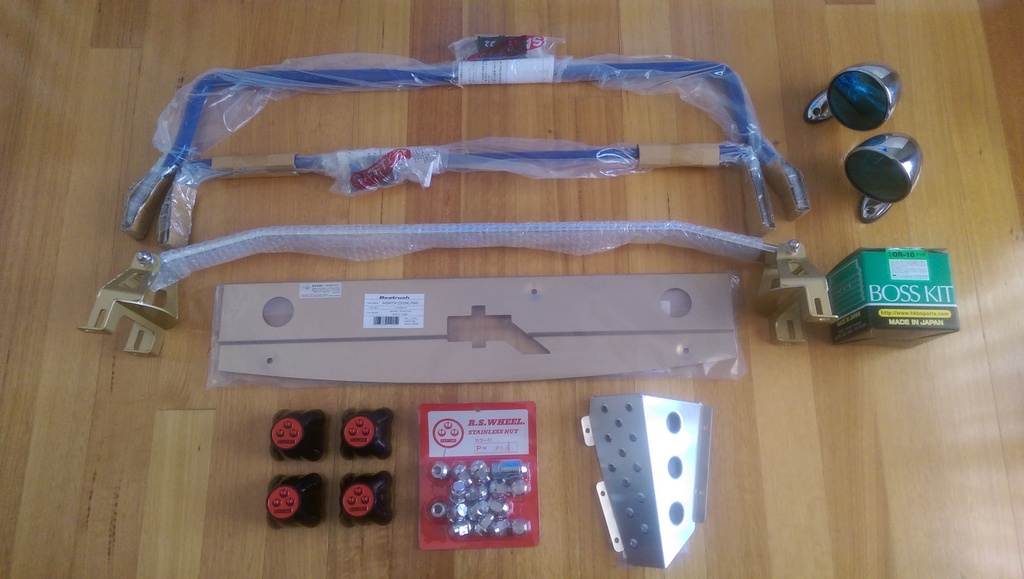
                            Overnight parts from Japan.


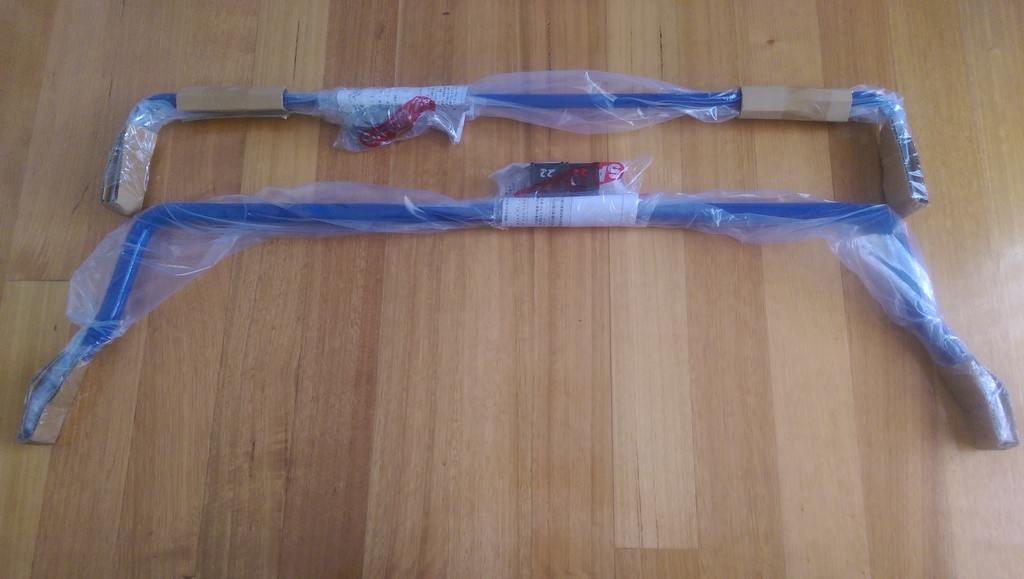
                            -Cusco Front Sway Bar (22mm)
                            -Cusco Rear Sway Bar (16mm)
                            -Beatrush Rear Strut Bar
                            -Beatrush Radiator Cooling Panel
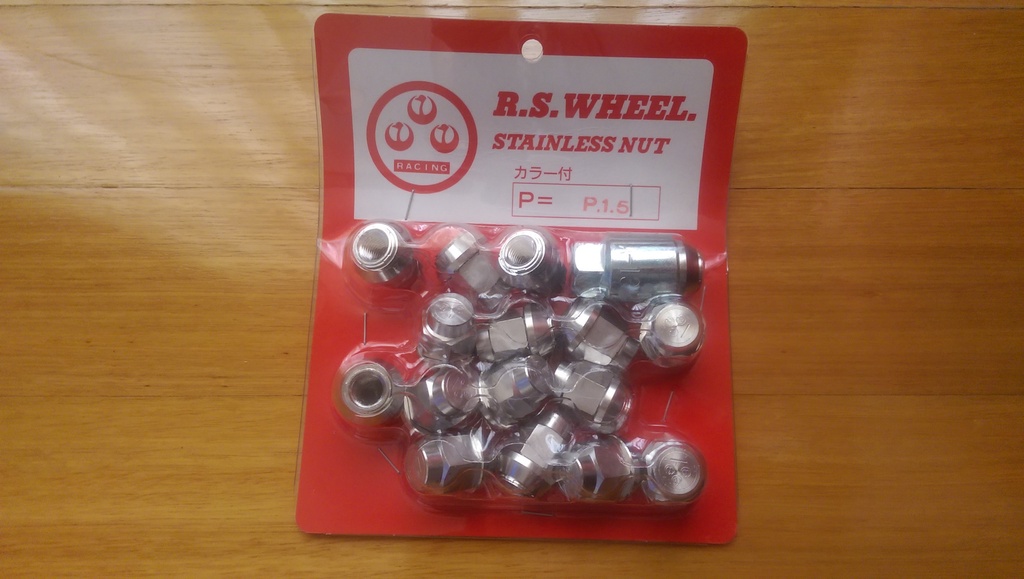
                            -RS-Watanabe Lug Nuts (12x1.5 thread pitch)
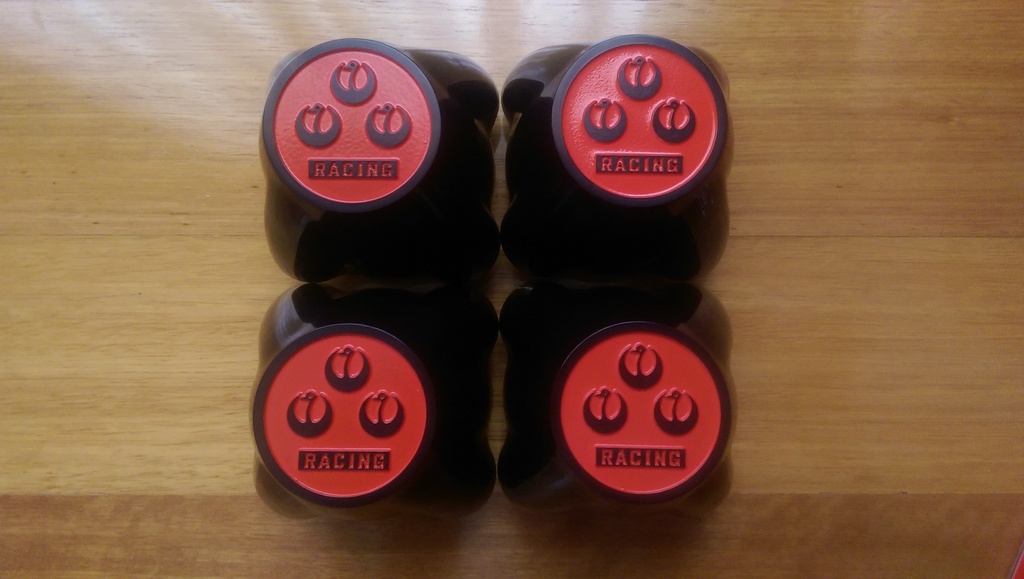
                            -RS-Watanabe Centre Caps (Black)
                            -HKB Nardi Boss Kit
                            -Runabout M2 Mirrors


                            Cusco Front + Rear Sway Bars


                            Beatrush Radiator Cooling Panel


                            RS-Watanabe Lug Nuts


                            RS-Watanabe Centre Caps


                            Runabout M2 Mirrors


                            Plus, got some spare second hand OEM parts such as HVAC with AC, AC fan blower and other misc items.

                            Other parts which are en-route

                            - MiataRoadster Short Shifter
                            - Nardi Classico 360mm Wood Steering Wheel with Black Centre
                            - Exedy Heavy Duty Clutch
                            - Racing Beat Front and Rear Sway Bar End Links
                            Last edited by stephen8512; 09-07-17, 02:04 AM.
                            Follow on Facebook
                            http://www.facebook.com/96BRG

                            Follow on Instagram
                            http://www.instagram.com/96BRG

                            Comment


                              #15
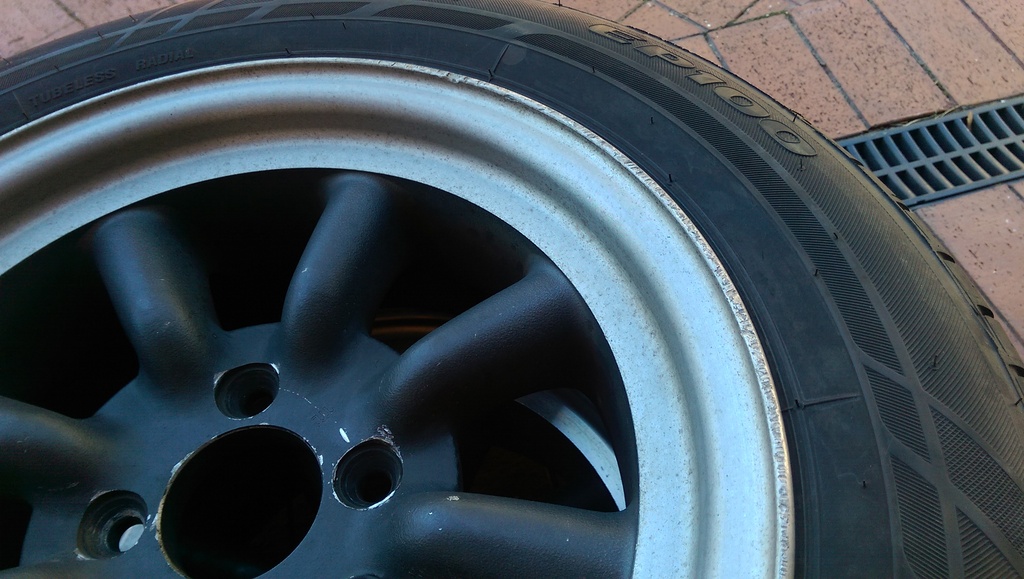
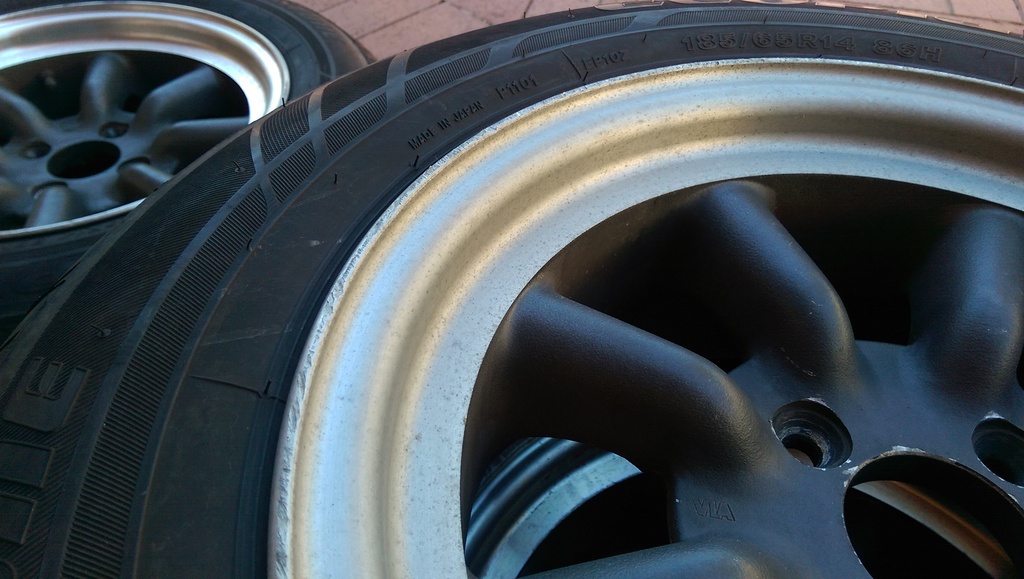
                              Some close ups of my RS Watanabe's. Will be refurbing them with a company called Barrel Bros. These guys specialise in restoring wheels. Customers can bring in their wheels and have it repaired/restored to its former glory. Their specialty is old school vintage JDM wheels to be mounted on cars such as 240Z's, TA22 Celica's, AE86's and the like.

                              Check out the piece written by my friend Kevin (who owns a Nissan Skyline Hakosuka) on Japanese Nostalgic Car blog. Click HERE.


                              My wheels have some pretty bad gutter rash. The polish lip is no longer shiny and the centre old and tired. It's definitely seen better days.


                              Plan is to have it completely stripped back, have the lips re-polished to a high shine, centres and barrels painted gold, finished off with RS-Watanabe valve stems, lug nuts and centre caps on some fresh Pirelli rubber.

                              Hopefully this, along with lowering the car, will complete the exterior look I'm after.
                              Last edited by stephen8512; 09-07-17, 02:04 AM.
                              Follow on Facebook
                              http://www.facebook.com/96BRG

                              Follow on Instagram
                              http://www.instagram.com/96BRG

                              Comment
                              Working...
                              X