Announcement

Collapse
No announcement yet.

1996 NA MX-5 Build Thread

Collapse
X
 
  • Filter
  • Time
  • Show
Clear All
new posts

    #76
    Originally posted by felixR View Post
    Such a good looking MX-5 Stephen!
    Thanks Felix. So summers here...test drive soon?
    Follow on Facebook
    http://www.facebook.com/96BRG

    Follow on Instagram
    http://www.instagram.com/96BRG

    Comment


      #77
      Originally posted by stephen8512 View Post
      Thanks Felix. So summers here...test drive soon?
      Yes please!
      ClubITR | Like

      Comment


        #78
        06/12/2016

        OEM Replacement Parts

        Replacing worn bolts, screws and other parts of the car and refreshing them with brand new genuine OEM Mazda parts. Ended up replacing from the engine bay most of the bolts and screws with new OEM items, new OEM soft top striker plates and bolts, new OEM soft top end caps, and a few other parts like rear tail light gaskets, exhaust hanger rubber mounts, plastic headlamp surrounds, etc. It's slowing all being refreshed just like how it was when it rolled off the factory floor at Mazda all those years ago.

        OEM goodies!


        New soft top latch screws. Old ones were oxidised and looking tired.


        Replaced soft top latch end caps as the ones I had before had broken.


        New bolts for the engine bay.


        New soft top strikers with new bolts.


        Replaced both driver and passenger arm rests as both had one cigarette burn each on it. Picked these up for $20.00 a pair from a wreck.


        For me, it's always a great feeling removing those tired, worn, old, rusted, oxidised items and replacing them with new ones. Some may question me doing this and would argue that as long as it's working why change it? Well, my answer to that is, it's a 20 year old car. If you have the chance and opportunity to change them out, why not?


        Garage5 Brushed Aluminium Vent Rings

        For a while now I've had Adam's Sharka Vent Rings in gloss black installed. As much as I loved it, I decided to try Garage5's vent rings. Unlike the Sharka vents which go over the OEM plastic rings, these are a full replacement for the plastic rings. Also, I'm not 100% sure but have heard that these were now discontinued? Anyway, decided to give these a go. Also gave me a chance to swap out the vents to brand new ones as three of the four vent balls were drooping. I'll fix those up and keep them as spares.

        Garage5 Vent Rings and brand new OEM vents with plastic ring removed.


        Vent ring test fitted along with the little vent grab handle fitted also.


        Comparison of the Sharka vent ring VS Garage5 vent ring.


        Fitted in tombstone.


        Installed with vent grab handles.


        Comparison shot without the centre grab handles.


        I will be upgrading the HVAC soon too and I'm really liking Benpophams HVAC upgrade. I think with the Garage5 vents, a HVAC to something similar like what he has done will tie the rest of the interior in very nicely.

        Benpophams HVAC upgrade. Photo by Ben.


        I think for now I like the grab handles. It matches well with the ring and once I update the gauge cluster faces with the needle caps and upgrade the HVAC, it should freshen it up just that much more.
        Last edited by stephen8512; 09-07-17, 01:20 AM.
        Follow on Facebook
        http://www.facebook.com/96BRG

        Follow on Instagram
        http://www.instagram.com/96BRG

        Comment


          #79
          12/12/2016

          One Year Ownership Anniversary
          Today marks exactly one year since I took delivery of my NA8C MX-5. What a year its been! I bought this vehicle from the second owner, who had purchased it back in 2005 and had kept it for ten years until he decided to part ways with it. Unfortunately (or fortunately for me), the car was kept dormant most of the time in his garage with a car cover over it. The previous owner only clocked a total of approximately 2,000kms whilst in his possession as he only took it out a couple of times a year down to the shops and back as well as down to the mechanic for it to get serviced and to get its pink slip. When it was presented to me, it was 100% stock, zero modifications, zero rust, zero accident history, original paint from factory which still had a lot of depth, the paintwork had never been exposed to rain water and it only had one other owner prior to the previous owner before me; both of whom were elderly gentlemen in their 60's. Quite simply, it was (and still is) the cleanest MX-5 I have ever seen with this model being the more powerful NA8C with 1.8 motor as well as it sporting the limited edition British Racing Green with tan interior colour scheme. I was very lucky indeed.

          It's not quite so stock anymore but I have tried to keep the modifications period correct and sticking as close to the retro/vintage theme as possible as well as updating and refreshing those wear and tear parts which would have worn down with OEM Mazda or ever better quality aftermarket parts. The MX-5 gave me a smile when I first picked it up and it still gives me a smile to this day.

          This car yearns to be driven...and when driven, it's massively rewarding.

          Throwback photo from when it was bone stock.


          Photography courtesy of Joseph from J_HUI - Design/Photography
          Last edited by stephen8512; 09-07-17, 01:20 AM.
          Follow on Facebook
          http://www.facebook.com/96BRG

          Follow on Instagram
          http://www.instagram.com/96BRG

          Comment


            #80
            Stephen, love your car! Did it used to belong to a doctor?

            I'm close enough to the Hills district and have a modded NB. Would love to have a bit of "show me yours and I'll show you mine" over the holiday period!

            Comment


              #81
              Simply stunning Stephen. I spent a good 10 minutes admiring all the aspects of your car at the ClubITR Annual BBQ!
              Skibeemo.com

              Comment


                #82
                Originally posted by Apu View Post
                Stephen, love your car! Did it used to belong to a doctor?

                I'm close enough to the Hills district and have a modded NB. Would love to have a bit of "show me yours and I'll show you mine" over the holiday period!
                The previous owner, no he wasn't a doctor. The first owner I'm not sure.

                Yeah mate would love to see your NB.

                Originally posted by chaumeh View Post
                Simply stunning Stephen. I spent a good 10 minutes admiring all the aspects of your car at the ClubITR Annual BBQ!
                Thanks mate! really appreciate it!
                Follow on Facebook
                http://www.facebook.com/96BRG

                Follow on Instagram
                http://www.instagram.com/96BRG

                Comment


                  #83
                  Shameless plug

                  Follow me on social media 
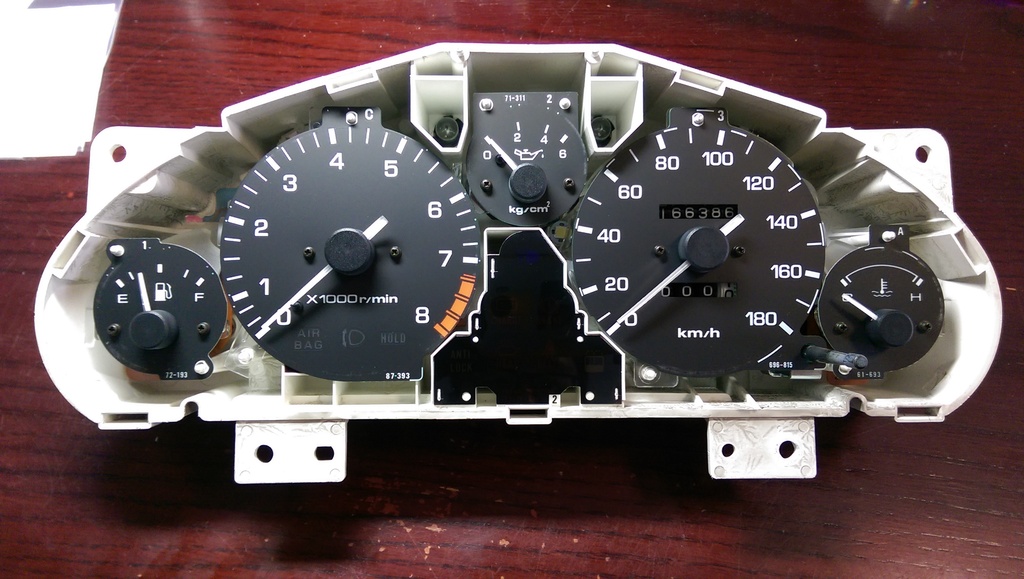
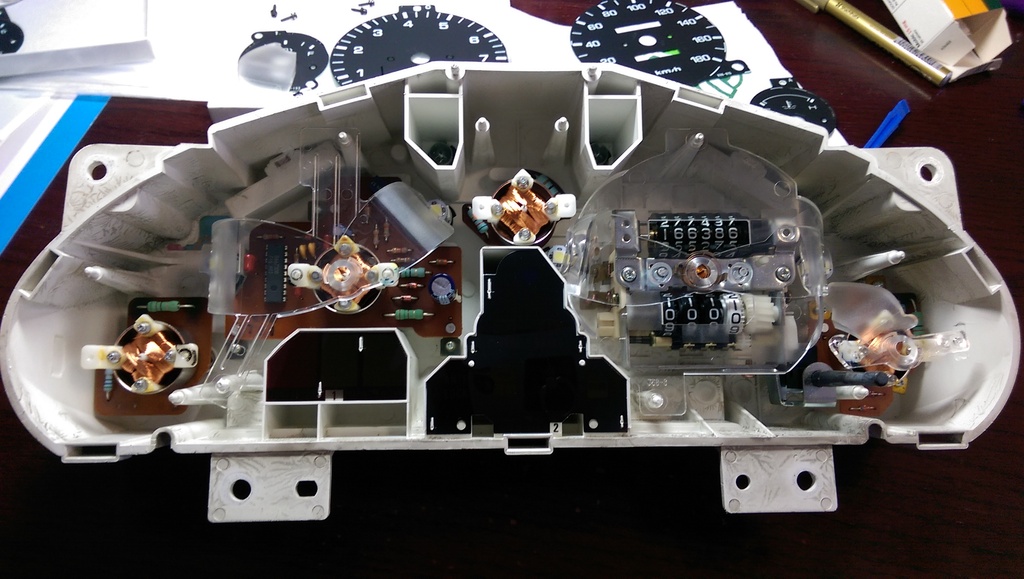
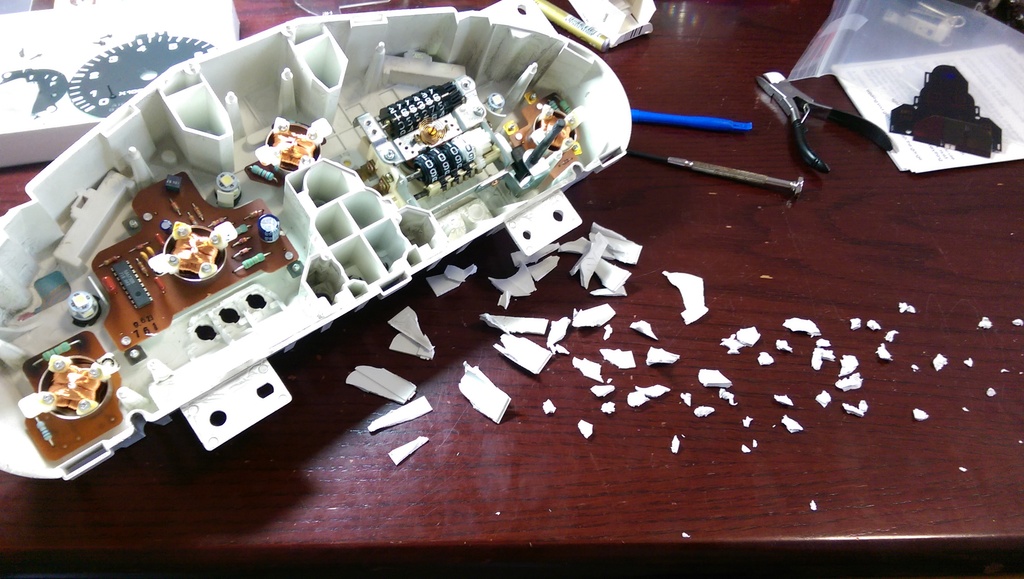
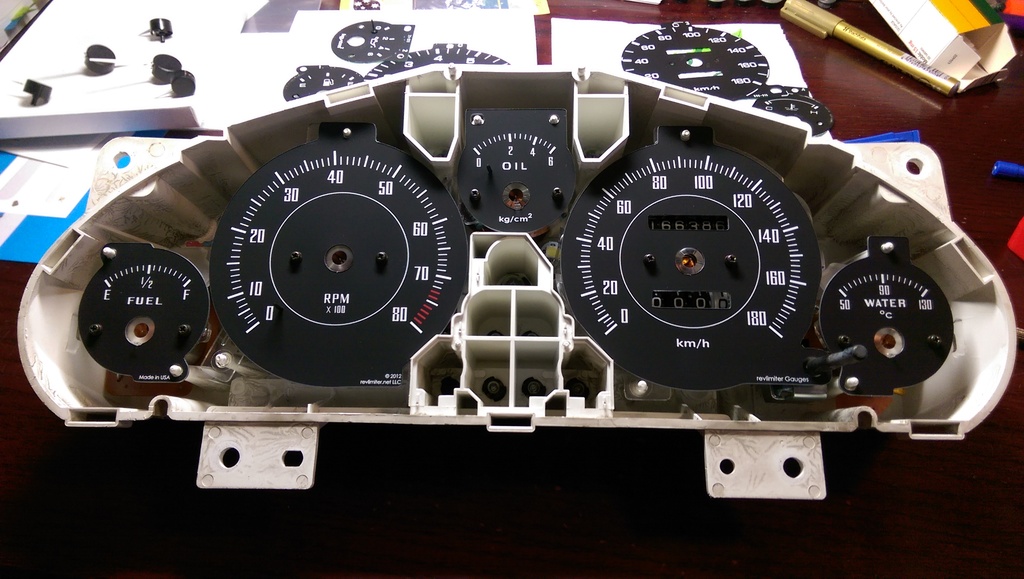
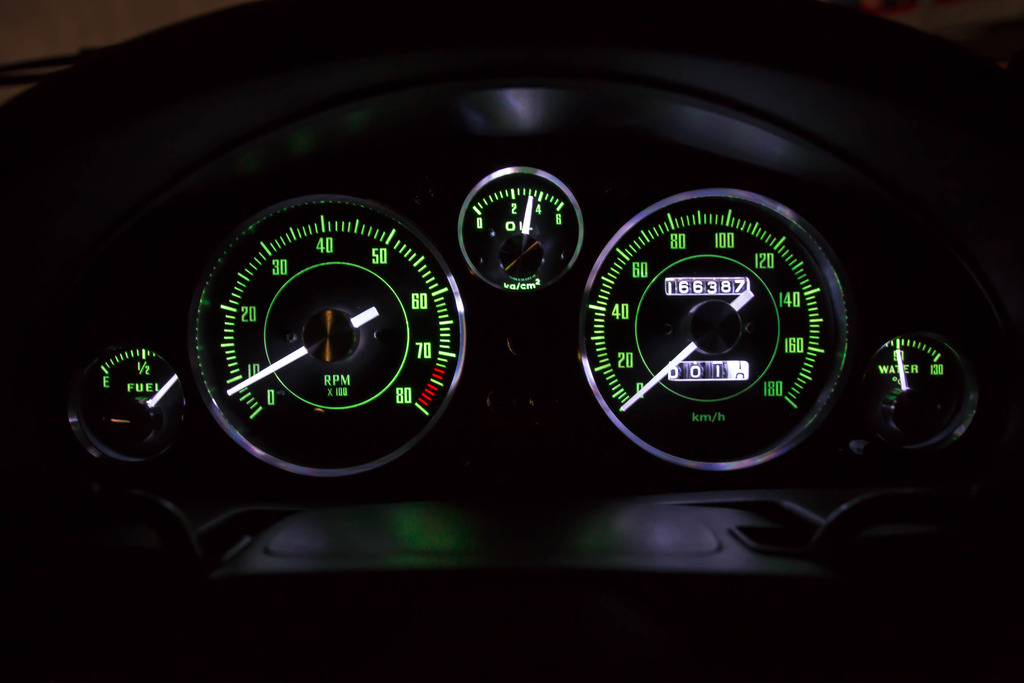
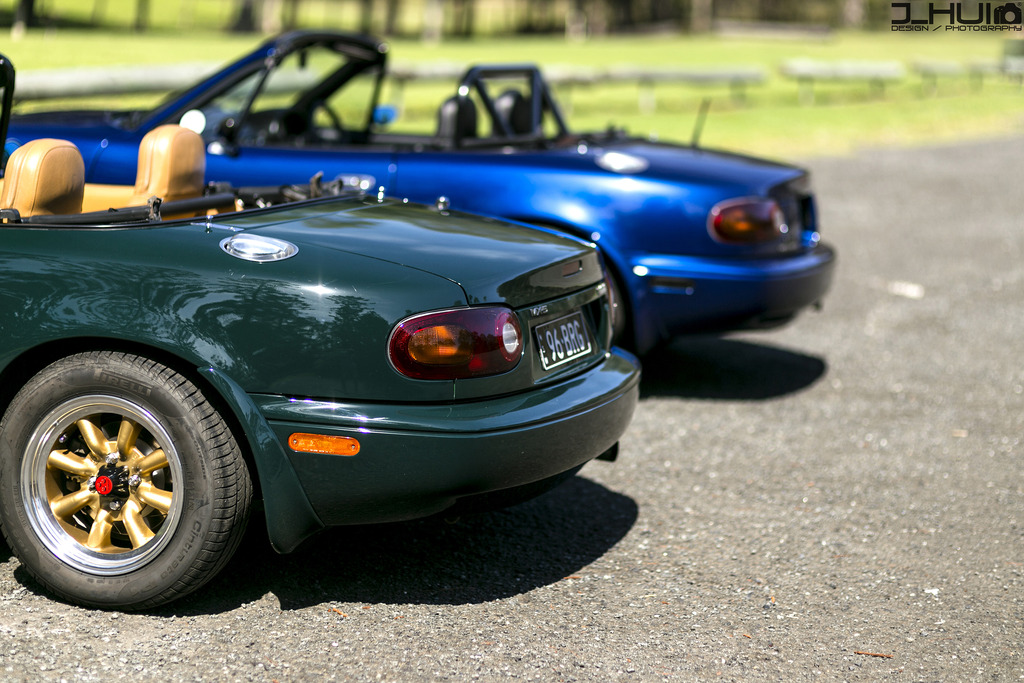
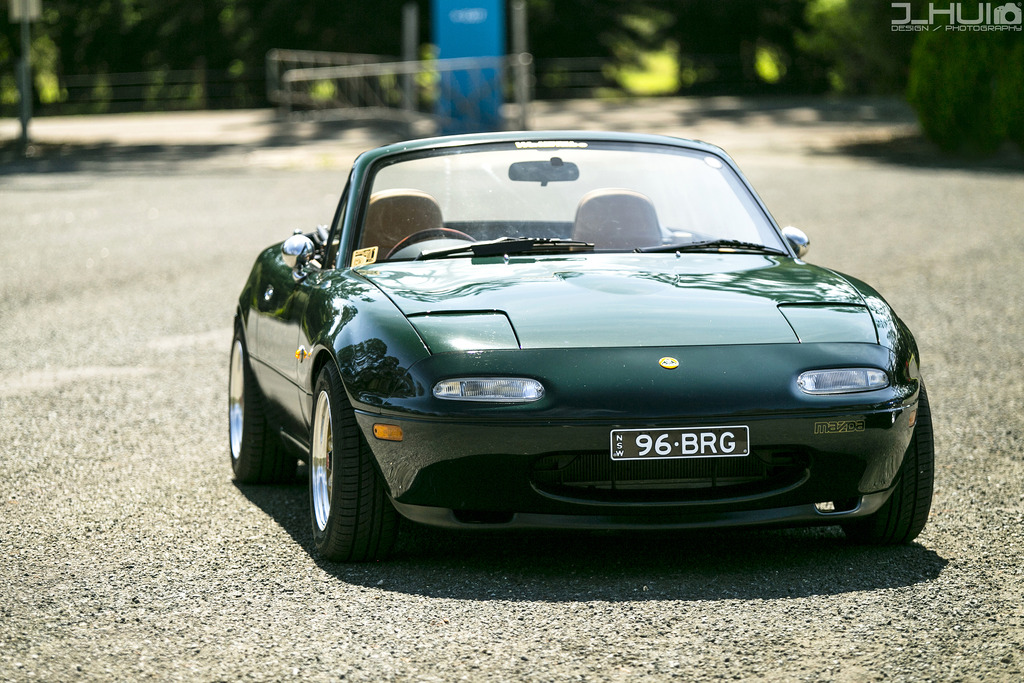
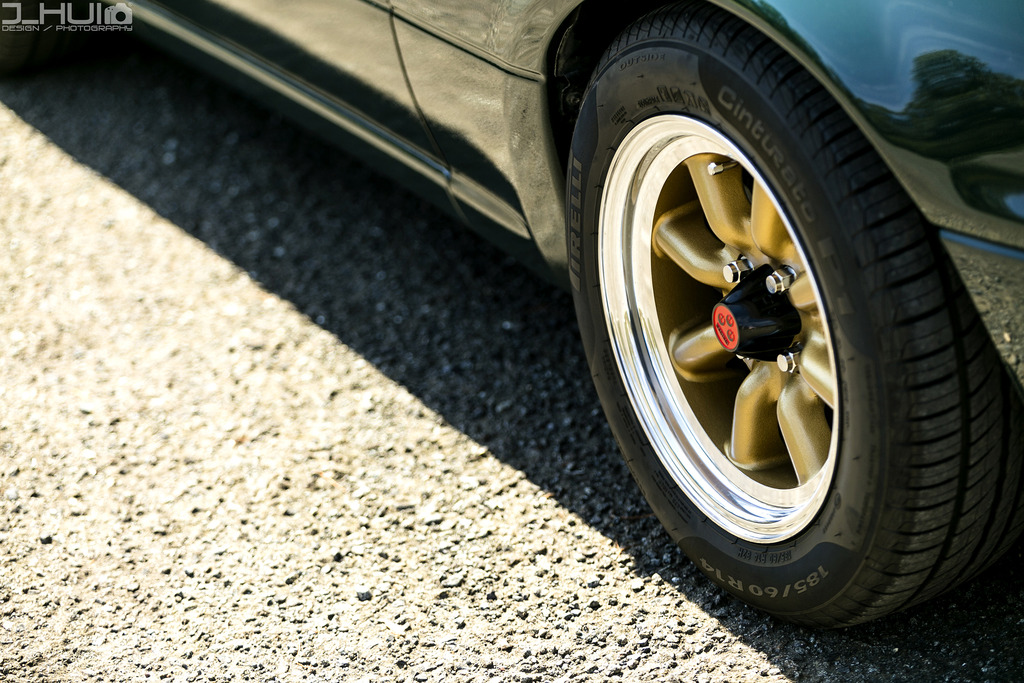
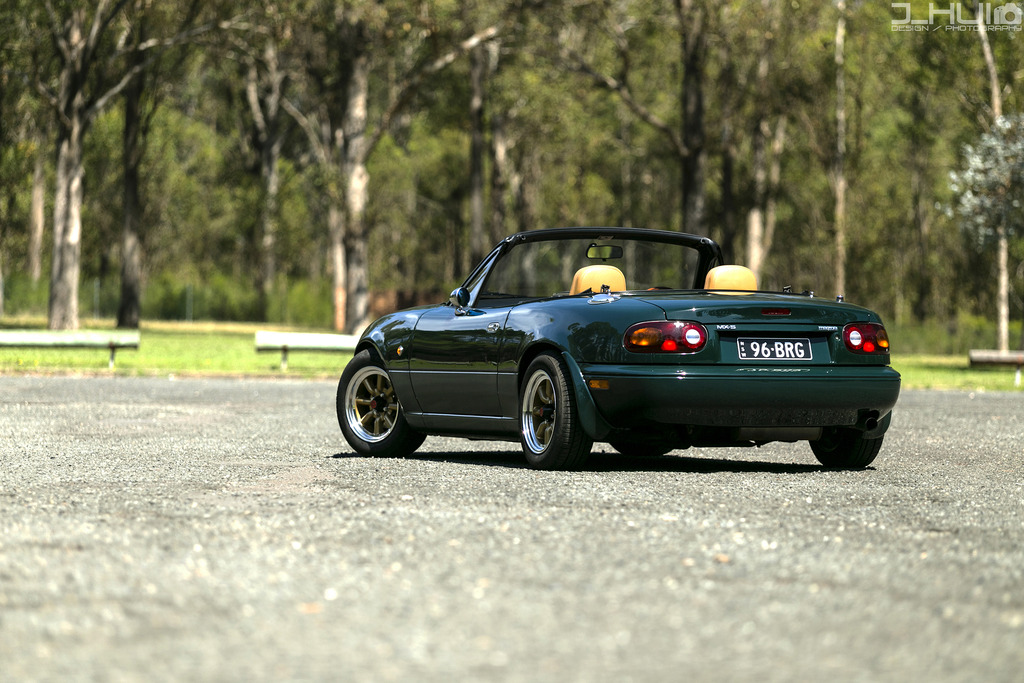
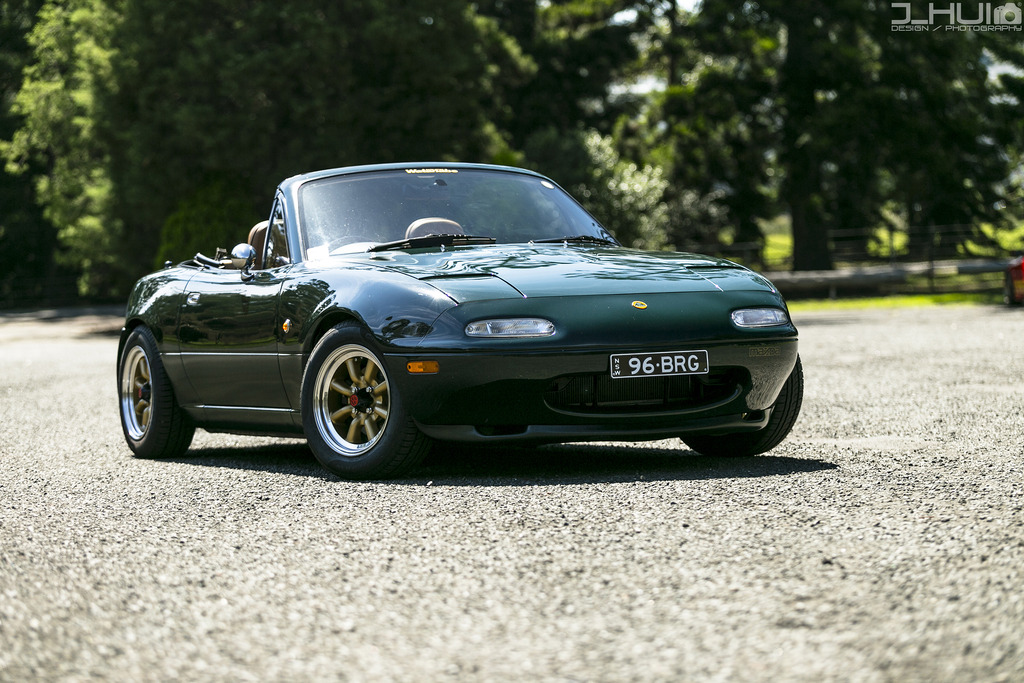
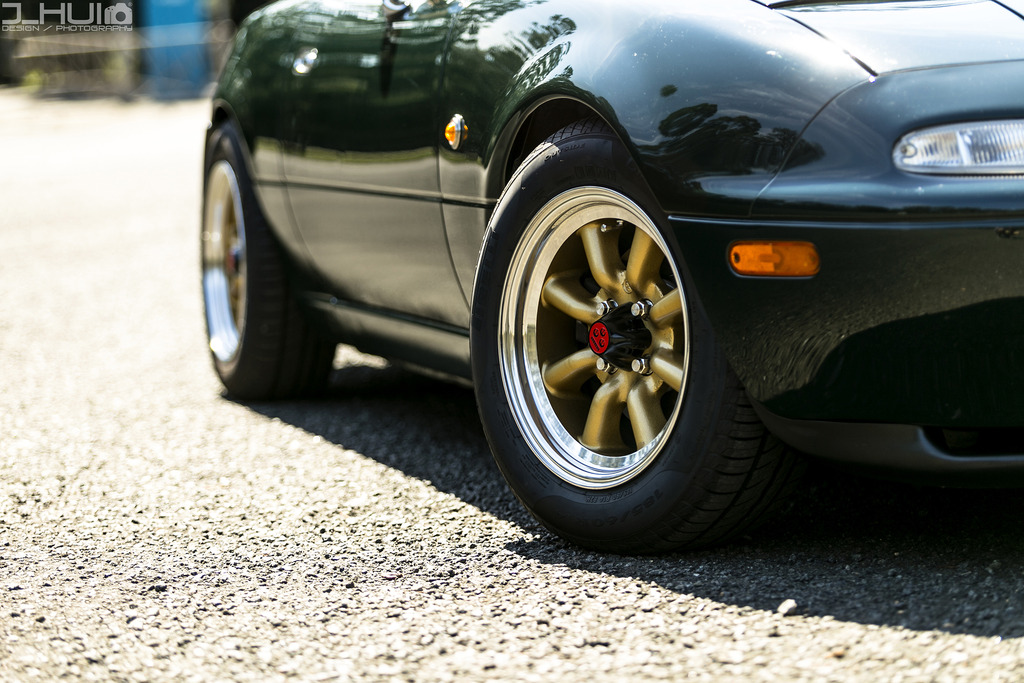
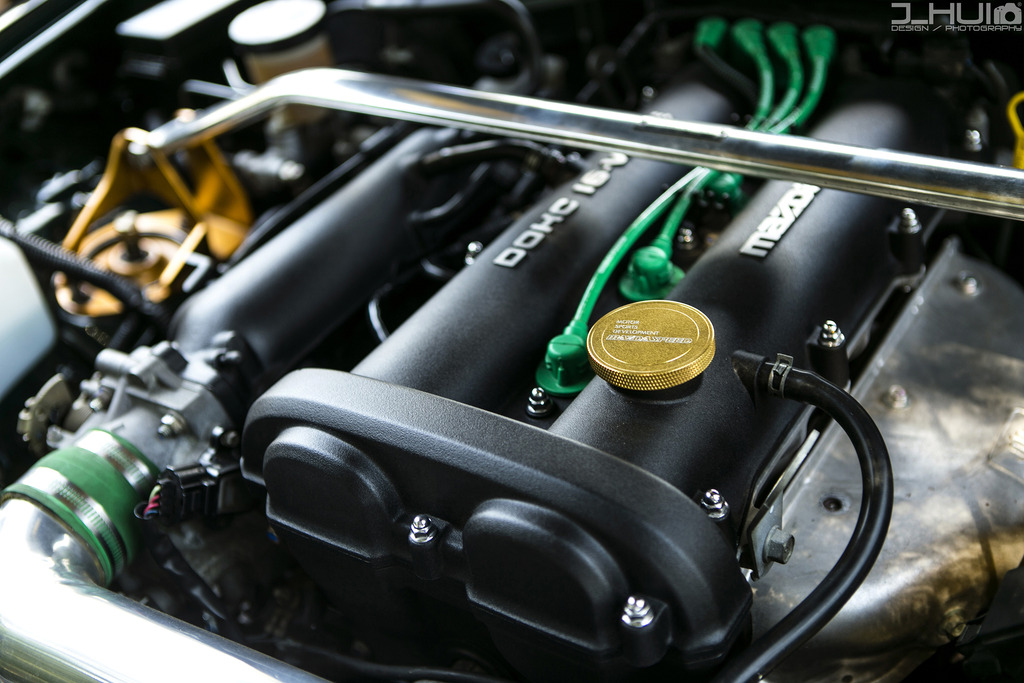
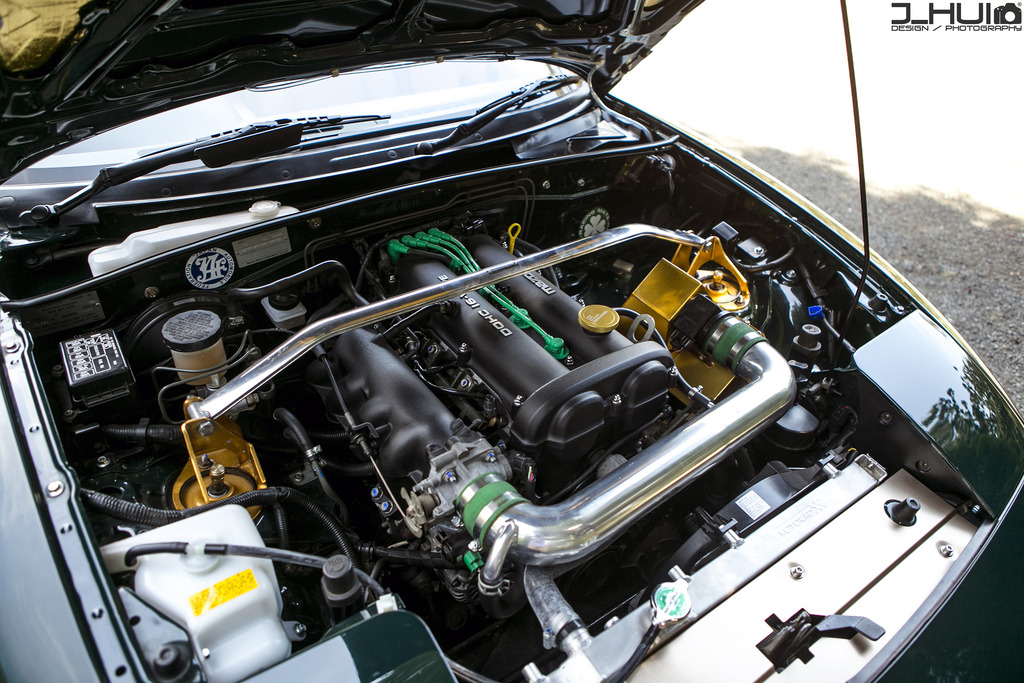
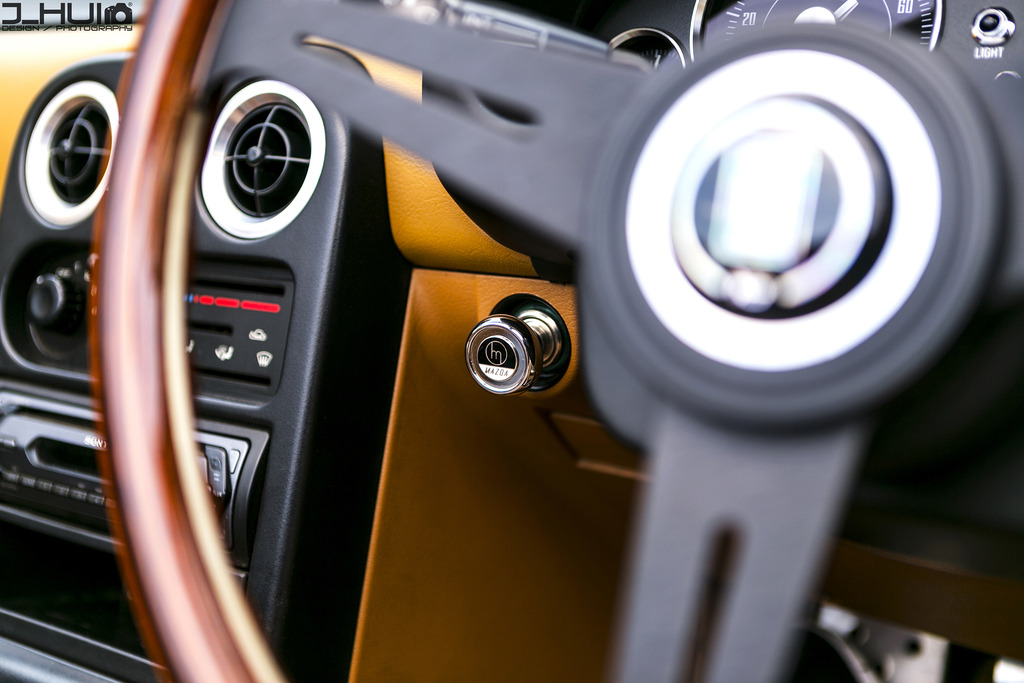
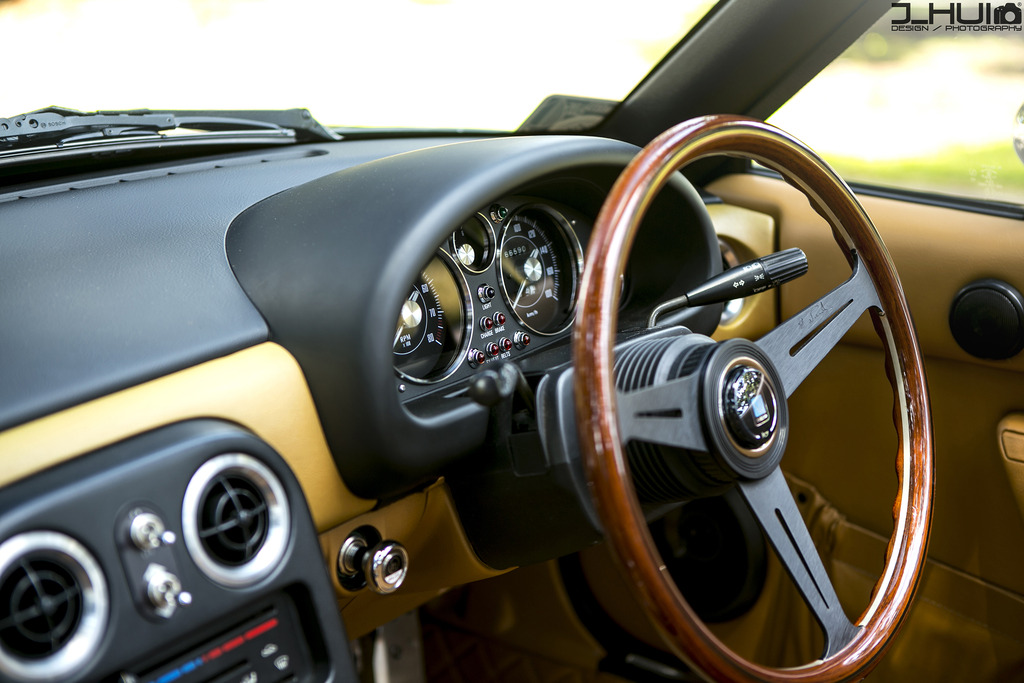
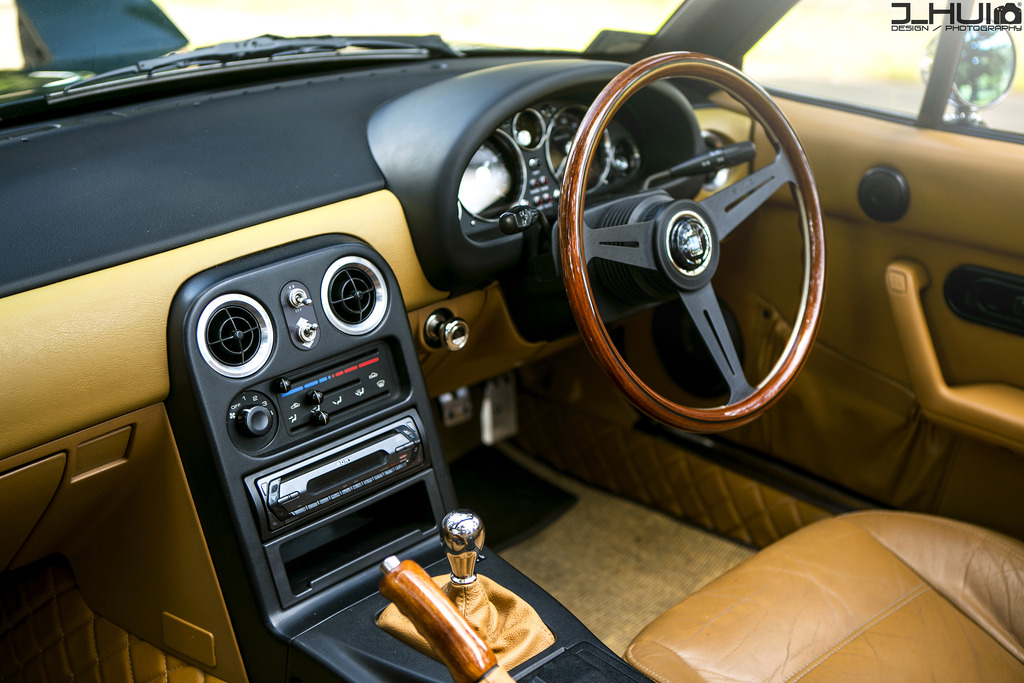
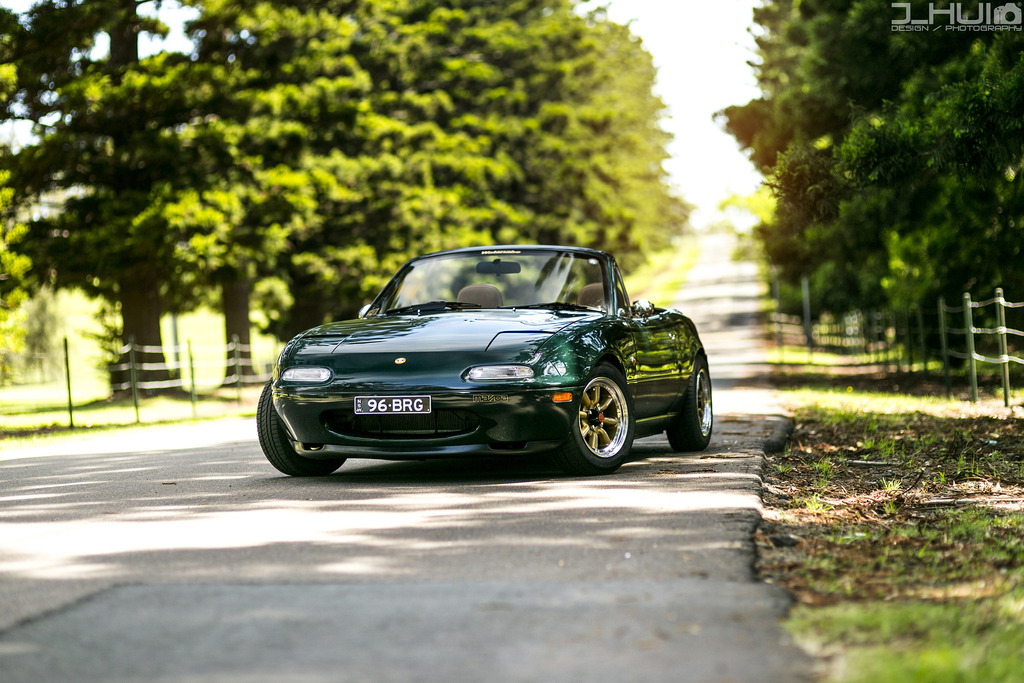
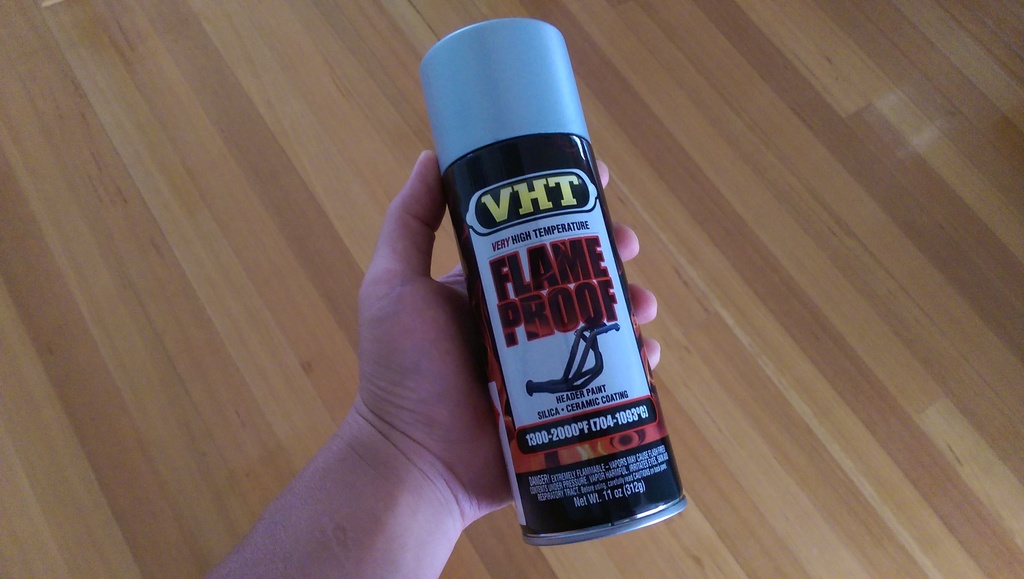
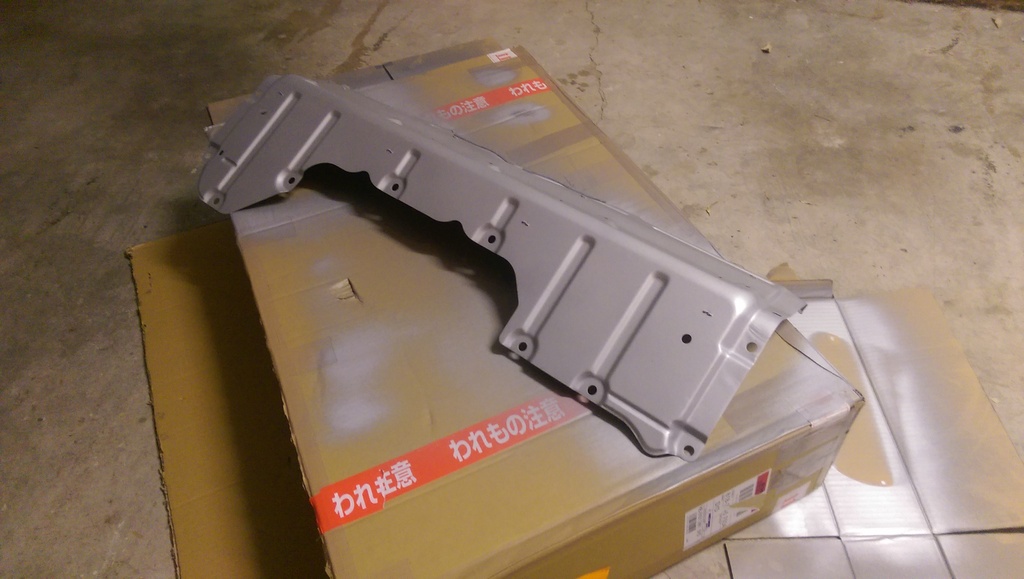
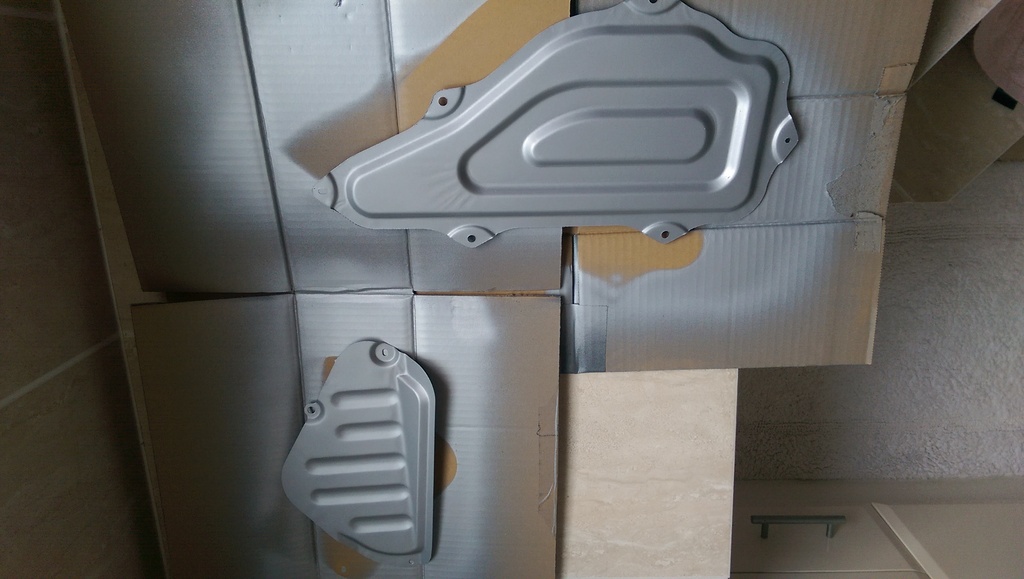
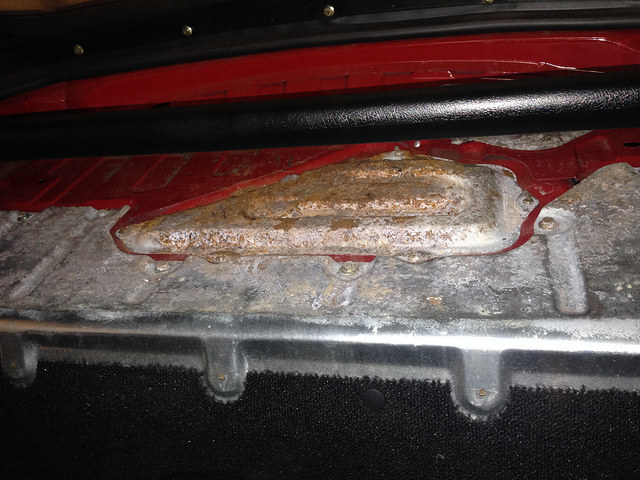
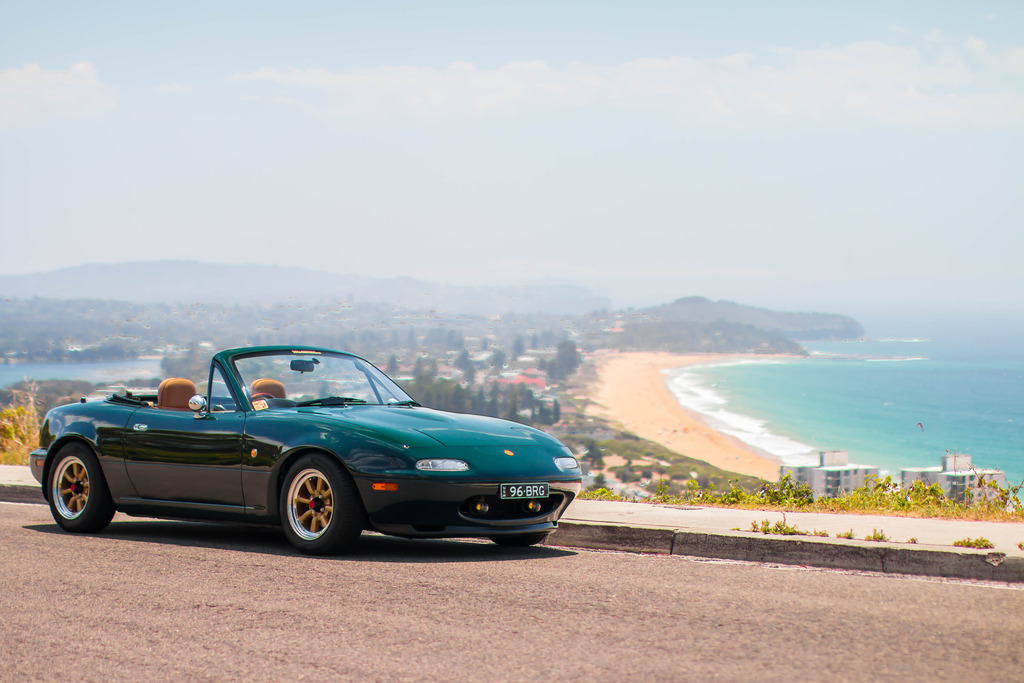
I'm planning on taking this car on a road trip hopefully soon so will be updating as I go!

                  www.facebook.com/96BRG
                  www.instagram.com/96BRG
                  Follow on Facebook
                  http://www.facebook.com/96BRG

                  Follow on Instagram
                  http://www.instagram.com/96BRG

                  Comment


                    #84
                    20/12/2016

                    JDM NA8C 180km/h Cluster + Revlimiter Gauge Faces + ArtWorks DEWA Needle Caps

                    The OEM cluster finally reached the magic number : 166,386kms. This is the same number as what my JDM cluster has and therefore it now means that I can finally swap the clusters over and go about installing the custom "Type Smith" gauge faces made for me by Adam from Revlimiter.net​. I also had some billet aluminium needle caps I was going to install which were made by ArtWorks DEWA Japan. I was lucky to get these because the founder and creator Ryoichi Dewa passed away a few years ago and since then, ArtWorks DEWA is no more, so their products are getting harder to source and rarer to find.

                    Anyway, the gauge face install wasn't too hard but just time consuming. I wore powderless gloves at all times to make sure I didn't smudge the faces with any finger prints. To go through what I did step by step is too much to write but basically, I closely followed the DIY tutorial which was written in detail by Adam. It tells you exactly how to go about tackling the install of the gauge faces with detailed explanations and photos to accompany them. You can find it here :

                    http://revlimiter.net/mods/gauge_install.php

                    Testing the JDM cluster to make sure everything works and I'm pleased to say it does. Not only that, the NA6 oil pressure gauge I fitted works too.


                    166,386km reading on both clusters.


                    Cluster cover off, ready for surgery.


                    OEM gauge faces and needles off.


                    OEM centre panel indicator off.


                    Cutting away at the three indicator lights as per instructions by RevLimiter. This is done so that the bottom of the tachometer face from the 7:00 back to 4:00 position will light up.


                    New RevLimiter "Type Smith" gauge faces installed.


                    RS Products cluster cover put back on.


                    Installed in the car.


                    Lit up.


                    After putting the needles back on, the only needle which was self-zeroing is the speedometer. The rest of the needles need a bit of trial an error and need to be installed while the engine is on. The water temp was easy to set and so was the fuel gauge as I had filled the tank to the brim so I could set the needle just slightly past the "F". For the tachometer, I had written down a few readings prior to me taking the OEM cluster off. They were :

                    - 2nd gear at 40km/h, tach reading at exactly 3000 rpm
                    - 3rd gear at 60km/h, tach reading one needle width over 3000 rpm
                    - 4th gear at 80km/h, tach reading one needle width over 3000 rpm
                    - 5th gear at 80km/h, tach reading at exactly 2500 rpm

                    It would have been easier if I had a Haltech ECU or something because that way, I can just plug a laptop in and monitor the engine speed and adjust accordingly. But because you can't really plug anything in to the stock ECU, this method was the only way. I also downloaded a digital speedometer app on my phone as an extra tool to test whether the tachometer needle was reading correctly. The app uses the GPS to determine how fast you are going.

                    After putting on and taking off the cluster multiple times, all five gauges were correctly calibrated and it goes without saying that I'm super happy with the results. The gauge faces look great and fits the vintage retro theme very nicely. I'll also be upgrading the HVAC panel to something similar so that it matches with the gauge face and everything ties in, but that will be for another day.
                    Last edited by stephen8512; 09-07-17, 01:22 AM.
                    Follow on Facebook
                    http://www.facebook.com/96BRG

                    Follow on Instagram
                    http://www.instagram.com/96BRG

                    Comment


                      #85
                      29/12/2016

                      Anniversary Photoshoot
                      It was a great day for a photoshoot today (albeit the temperature being in the mid to high 30's. Sydney summer is in full swing). Always good to meet up with Daniel​ and Joseph​ to take a few photos and as a novice photographer, always willing to learn from experienced guys like these two.

                      Exactly one year ago to the day is when I met up with Joe and we did a photoshoot of my then bone stock NA8. I had owned the MX-5 for a total of sixteen days when we met up. It just so happened that he and I were both free and when I told him I had bought an MX-5, he was keen to see it and take some photos of it. Not only that, he had purchased a new lens earlier that week, so it was the perfect opportunity to test it out.

                      One year on and approximately 10,000kms later, the car is still going stronger than ever and it still gives me a smile ear to ear whenever I drive it. There are still a lot of things I'd like to do with this car but for the immediate short term, it'll just be top down driving until the end of summer.

                      2017 will see a couple more additions to my NA8. In order, here's what is planned :

                      * Maxim Works headers.
                      * Fujitsubo Legalis R catback exhaust.
                      * 4.1 Torsen LSD.
                      * Samco silicone cooling hose replacements.
                      * Nakamichi CD400 Headunit.
                      * Retrofit JDM Eunos Roadster fog lights.
                      * Refreshing all OEM suspension components and control arms.
                      * Mazdaspeed suspension bushings replacements.
                      * Mazdaspeed differential mount bushings replacements.
                      * Retrofit OEM NA8 A/C unit with all component parts.
                      * CocoMats Sisal custom floor mats.
                      * Maruha faster power window regulators.
                      * Nakamae tan plain doorcards with tan door pull straps.
                      * Nakamae tan quilted seats with the seats re-foamed and re-upholstered.
                      * Robbins cloth soft top with glass rear window, no demister lines.
                      * Wilwood 4 pot front brake calipers.
                      * BBS Mahle 14x6 +13 wheels in silver (second set of wheels).

                      The photo set includes photos of Joe's limited edition Lexus IS200 as well as Daniel's Jackson Racing supercharged NA6CE MX-5.


                      Last edited by stephen8512; 09-07-17, 01:23 AM.
                      Follow on Facebook
                      http://www.facebook.com/96BRG

                      Follow on Instagram
                      http://www.instagram.com/96BRG

                      Comment


                        #86
                        12/01/2017

                        Nakamichi CD400 Headunit + OEM Mazda Silver Tweeters + OEM Mazda 93LE Speaker Grilles
                        The NA6 came with speakers in the seats headrest, but in the NA8 the speakers were replaced with a tweeter on each side of the door. To be honest, it wasn't an effective replacement and later on, I will be looking to put in some aftermarket speakers in the headrest to improve sound quality while driving with the top down. To match the theme of the interior I have in mind, I knew that some of the Japanese Eunos Roadsters came with tweeters which had a silver plastic ring whereas the Australian delivered NA8 MX-5's had just plain black. I wanted these as it would match the overall colour scheme I had in mind for the interior which is tan, black and silver. I had asked on a US-based Miata forum where I could source one but it seems like the answer was Japan.

                        That's when MikeA contacted me. He saw on the forum that I was after a pair of these tweeters and he sent me a message letting me know that he saw a set on YJA and whether I still wanted them. I did. He offered to purchase it for me and after a few messages exchanged, we agreed and I would send him the money. Mike and I have never met before. He lives in New Zealand and so there's no chance he and I would meet at a local gathering here or anything. But it was his kindness and willingness of wanting to do something for someone who was basically a stranger to him was what really got to me. It's fantastic and amazing being part of the MX-5 community with a group of motoring enthusiasts who share the same passion as you do and that everyone looks out for one another like this, regardless of where in the world you may be. Thanks again Mike! Much appreciated! Let me know if there is anything you're after for your MX-5 and I'll be sure to keep an eye out myself.

                        I also received my Nakamichi CD400 headunit to replace the Sony one that my car came with. This is one the last of the true Japanese designed Nakamichi headunits with an emphasis on audio and sound quality. In early 2012, a new range of chinese made Nakamichi branded units became available and both the build and sound quality of these headunits dropped significantly. These don't come up often and this one was purchased on eBay for roughly $130.00 including delivery from London, England, which was pretty good. Even though it was second hand, it was very clean and almost brand new. Luckily, the FM frequency is the same as Australia's (87.5 - 108.0 MHz) and this means it will pick up all the FM radio channels here. I have known friends who purchased headunits from Japan and since the FM frequency in Japan is different (76.0 - 90.0MHz), you would need an FM frequency converter for the headunit to be able to be used here and it won't pick up all the channels.

                        With the majority of the exterior and engine mods somewhat complete for now (it's never finished, let's be honest), I decided that this year I'll be focusing on suspension, interior and cleaning/refreshing parts of the car not seen by the naked eye.

                        Nakamichi CD400 Headunit.


                        93LE Speaker Grilles.


                        OEM Mazda Silver Tweeters. Thanks Mike!


                        Last edited by stephen8512; 09-07-17, 01:23 AM.
                        Follow on Facebook
                        http://www.facebook.com/96BRG

                        Follow on Instagram
                        http://www.instagram.com/96BRG

                        Comment


                          #87
                          here's a vlog episode by my friend Dan who is vlogging his updates with his supercharged MX5 that I helped him get. I make an appearance helping him putting the gauge faces on

                          Follow on Facebook
                          http://www.facebook.com/96BRG

                          Follow on Instagram
                          http://www.instagram.com/96BRG

                          Comment


                            #88
                            21/01/2017

                            OEM Mazda Rear Parcel Shelf + Fuel Line Cover + Fuel Pump Cover
                            Today was the One Millionth Mazda MX-5 FanFest day at Sandown Raceway in Melbourne. I was so bummed out that I couldn't make this event even though I was personally invited to go as it seems like it was a really awesome day. So, given the fact that I couldn't be with my friends who drove down to MX-5 FanFest and got the opportunity to drive on some amazing roads on the way, I decided to ease my sorrow by working on the car. I mentioned in my previous post that this year I'll be focusing a lot on cleaning and refreshing/restoring different parts of the car, even the parts that you can't see, and get it factory fresh and as close to how it would have looked when it rolled off the assembly line some 21 years ago.

                            My first step towards the refresh/resto was to replace the metal fuel pump and fuel line cover, the ECU cover and the metal lower bulkhead parcel shelf. Now, this is all underneath the rear carpet and the ECU cover is under the carpet on the passenger side so you will never see it but it is something which can be prone to rust and oxidisation overtime, especially since the MX-5 is 21 years old. I was actually inspired by my friend Sari when I came across his build thread. Sari owns a very neat and tidy red NA8 and is also looking to clean up his MX-5 by refreshing a lot of parts and restoring it back to its former glory as well as preventative measures along the way; all traits that I can fully appreciate and respect.

                            I haven't yet checked the status of my covers but regardless, I ordered the required parts from Amayama. If my stock ones are still fine, I'll still be replacing them but I'll probably just give them a clean and either keep them as spare parts or sell them off. Either way, I find it's somewhat therapeutic putting in fresh new parts. To prevent any possible rusting in future, I also gave it a few coats of VHT silver flameproof enamel paint. This was also inspired from Sari's build thread. He recently restored his covers as he found that his were in less than acceptable condition. I have also done the ECU cover but it just isn't pictured here. All in all, it came out great and can't wait to get these on and replace the old stuff.

                            Metal rear bulkhead parcel shelf, fuel pump cover and fuel line cover.


                            Giving it a few coats of VHT silver flameproof engine enamel paint.


                            This is what can happen overtime. Not a pretty sight.

                            Last edited by stephen8512; 09-07-17, 01:24 AM.
                            Follow on Facebook
                            http://www.facebook.com/96BRG

                            Follow on Instagram
                            http://www.instagram.com/96BRG

                            Comment


                              #89
                              26/01/2017

                              JDM Eunos Fog Lights
                              What better way to spend a public holiday than to get some stuff done to the car. Finally fitted the JDM Eunos fog lights. I'm not sure if the Australian delivered MX-5's had these but in Japan, some Eunos Roadster were fitted with these as a factory option. The fogs came with the wiring harness and the OEM fog light switch for the interior which made things a lot easier. To be honest it was pretty much all plug and play but there were a few extra things needed such as some 15 gauge wires (red, black and green to keep it consistent with the factory wiring), a 2-way and 6-way plug socket, blade fuse wire tap adaptor, a 20A yellow fuse, some zip ties, wire stripper, soldering iron and heatshrink, black electric tape and some wire shroud to keep it all neat and factory looking in the engine bay.

                              The fog lights only turn on when both the car and the headlights are on. Normally you can turn the parkers and headlights on with the car off but the fogs won't operate unless the car is up and running. Took about 3-4 hours for the install. Massive thanks to Gabriel who helped me get some parts from Jaycar and to Sari for helping me install these. If it wasn't for him I think it would have taken a lot longer since my electrical knowledge and know how is extremely limited and he's actually installed a set himself thus he knew exactly what to do so thanks again mate!

                              JDM Eunos Fog Lights + other stuff you will need. It came with Japanese instructions which were useless for me since I couldn't read.


                              Fog Light switch.


                              Installed!


                              On and operational!

                              Last edited by stephen8512; 09-07-17, 01:24 AM.
                              Follow on Facebook
                              http://www.facebook.com/96BRG

                              Follow on Instagram
                              http://www.instagram.com/96BRG

                              Comment


                                #90
                                Nothing better than going for a drive on a Sunday...

                                Last edited by stephen8512; 09-07-17, 01:24 AM.
                                Follow on Facebook
                                http://www.facebook.com/96BRG

                                Follow on Instagram
                                http://www.instagram.com/96BRG

                                Comment

                                Working...
                                X