That was an interesting read. Keen to see your findings and this new kit!
-
Thanks felix! I'm aiming to get the tie rod kit installed new weekend.
It has taken a lot longer than I anticipated to implement my "front and REAR roll centre corrected" set up, you really have to be patient and just roll with the punches when undertaking a novel project like this.
On Saturday I assembled the uprights with new OEM wheel bearings and fitted the J's Racing extended lower ball joints.

It took a bit of fluffing about in the press to get the ball joints installed but I managed to get them in eventually.
Today I set about installing the "new" uprights,
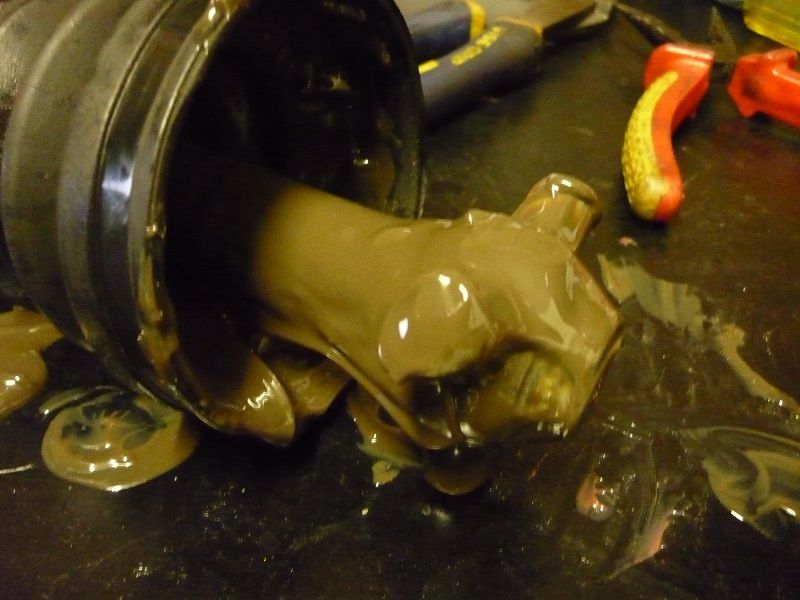
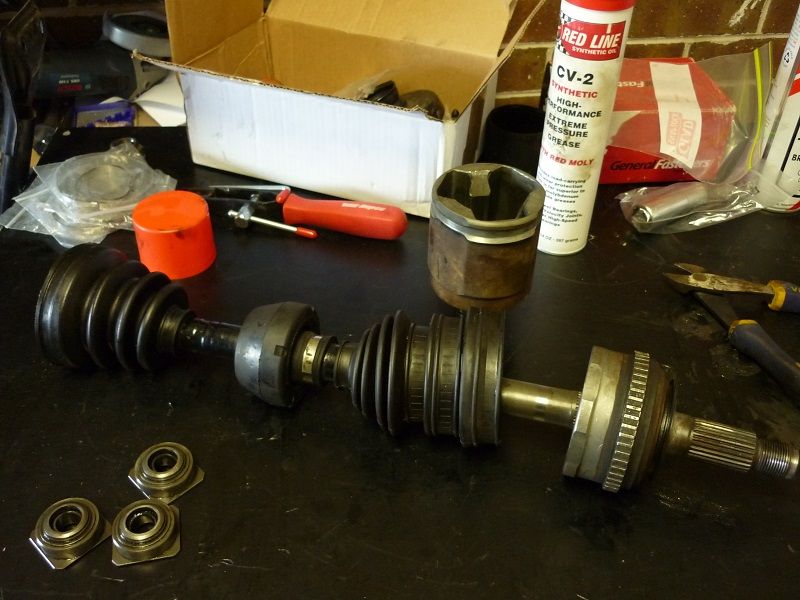
While I had the front end apart I took the opportunity to rebuild my axle shafts with Redline CV2 high temp grease.
Once I saw the condition of the old grease in my cvs I realised my axles were well overdue for a rebuild. This grease has lost all its viscosity and wouldn't be much chop to lubricate the cv
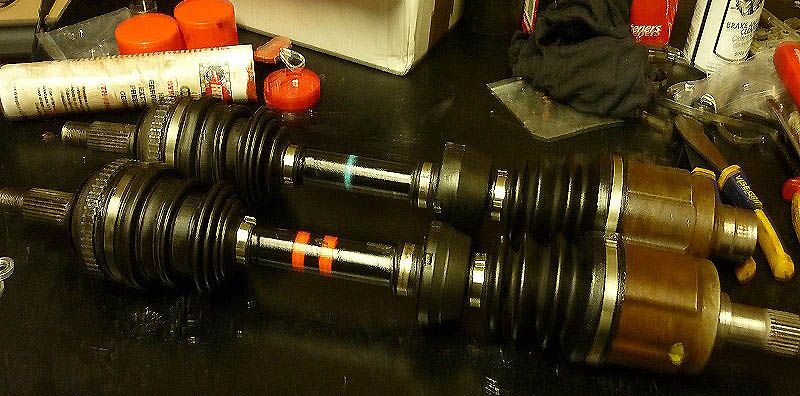
The completed axles, my apologies for the blurry photo, I brought the new stainless cv boot clips from ebay.
 Honed - WEB: https://honeddevelopments.com/ FB: https://www.facebook.com/honeddevelopments
Comment
-
Your last photo is a bit trippy!
How much grease do you pack inside the CV boots? As much as possible?Official ClubITR Sponsor: www.autosphere.com.au - For all your maintenance, oils and track needs.Comment
-
It hurts to look at! ha
I ended up using the entire tube of grease across both axles. I hope it is enough! (Looked comparable to before)Honed - WEB: https://honeddevelopments.com/ FB: https://www.facebook.com/honeddevelopmentsComment
-
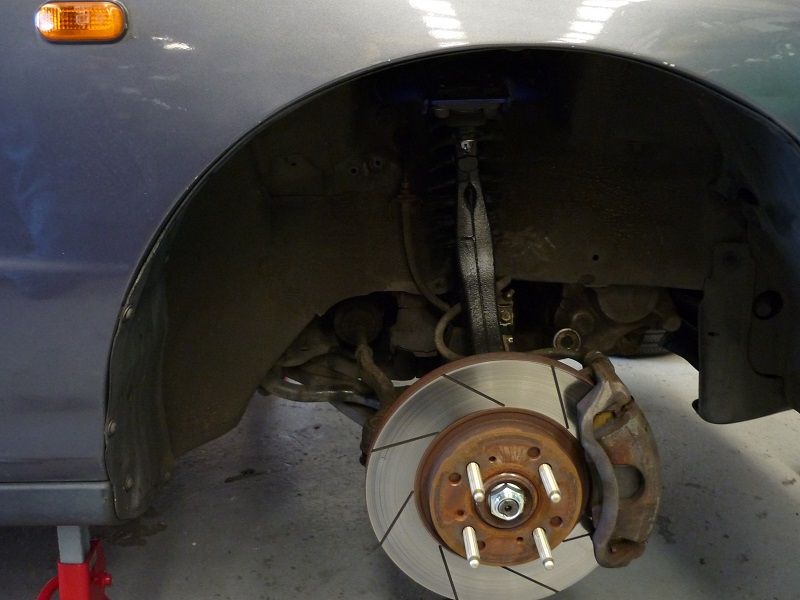
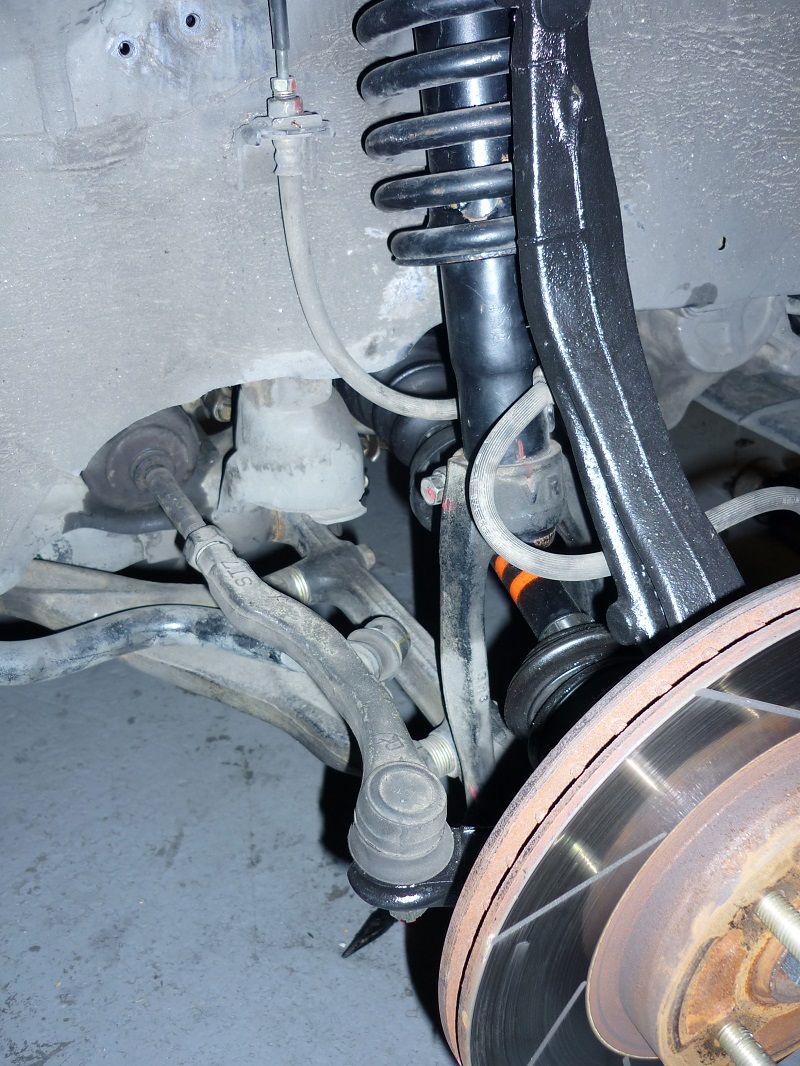
So I finally got the new front uprights with the extended ball joints installed.
Sunday was a pretty special day for me, after months of work it was finally time to install my adjustable tie rods.
If you look back though this thread you can read the explanation of why these came to exist but I haven't posted much of brunt that went into designing these bad boys.
Fair to say it was a bit of a journey and to say I was excited would be one hell of an understatement!
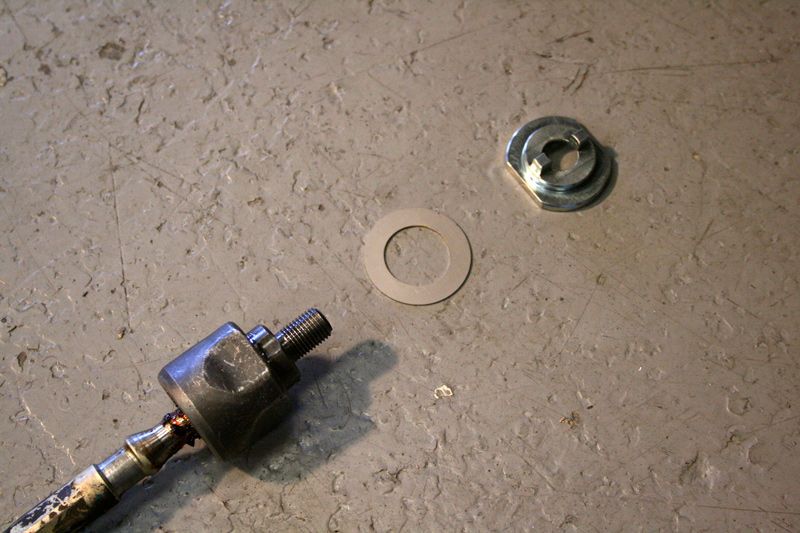
Take one standard tie rod end supplied on the car by Honda,
Throw that away and remove the inner tie rod end.
The original tie rod is curved to clear the back side of various wheel and tyre combinations, this is great if you're making 10's of 1000's of parts and can justify a forging die to make a stiff and strong curved part but
for a limited production run a straight turnbuckle is much more cost effective.
At the same time I want to be able to run wide rims and not have to stress about the tie rod contacting the rim on full lock
To solve this problem ChargeR (my partner in crime for this venture) and I came up with a rack end spacer that limits the lock just enough that a 15 x 9 +36 won't contact the tie rod (or the lower control arm)
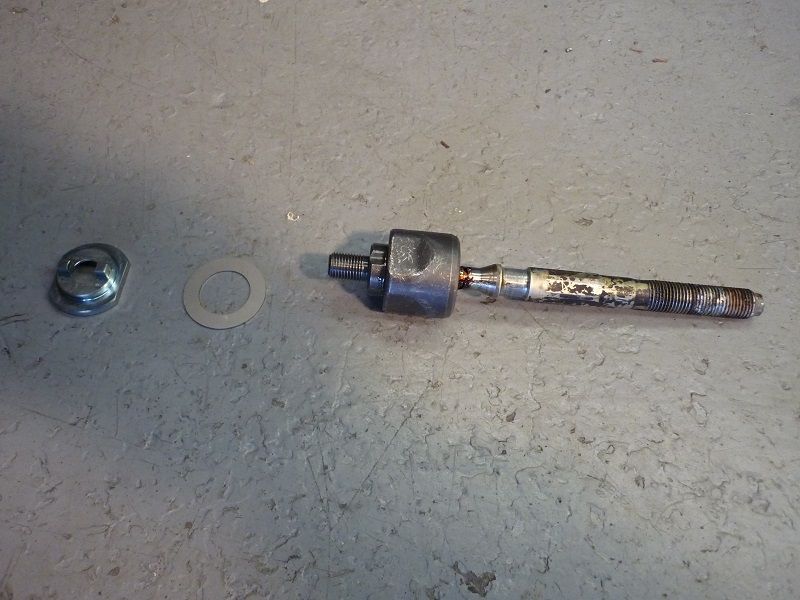
Lock limting spacer and locking washer shown above

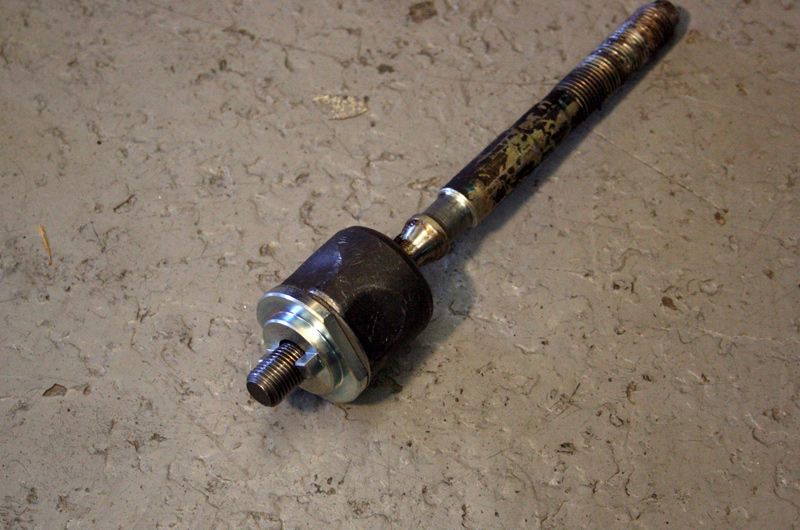
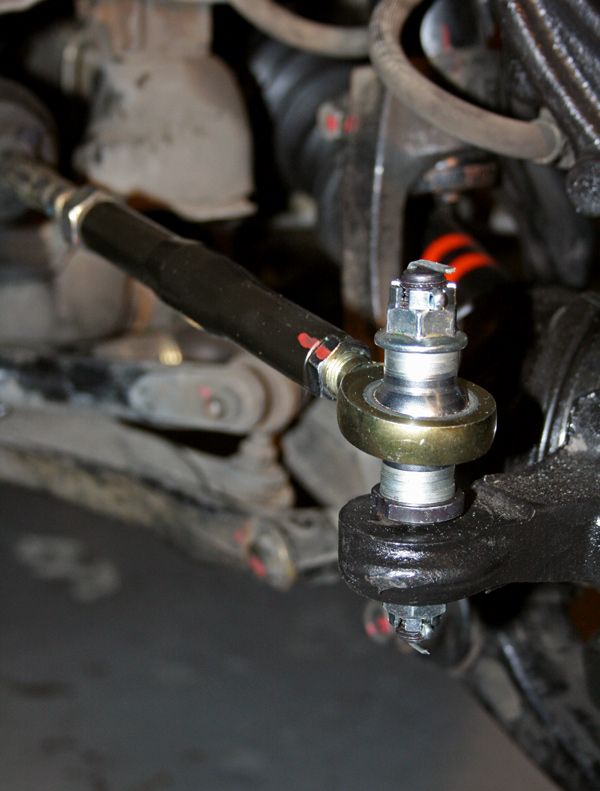
Once the inner rack end is re-installed it's a straight forward process of fitting a "stub" to the upright in place of the normal tie rod end. This stub has a taper to fit the taper of the upright and
above the taper a parallel shaft on which an Aurora 1/2" high misalignment rod end is fitted.
Because the shaft is parallel the height of the rod end can be adjusted with incremental spacers.
This allows me to adjust my tie rod end height to correct for my suspension geometry
This car is running 3 degrees more castor than stock which rotates the upright back significantly. Rotating the upright back lowers the steering arm relative to the steering rack.
With this kit i can space the tie rod end up to correct for this and achieve the optimal bumpsteer characteristics!Last edited by Grant@Honed; 15-09-14, 10:01 PM.Honed - WEB: https://honeddevelopments.com/ FB: https://www.facebook.com/honeddevelopmentsComment
-
The car got dyno'd on Saturday,
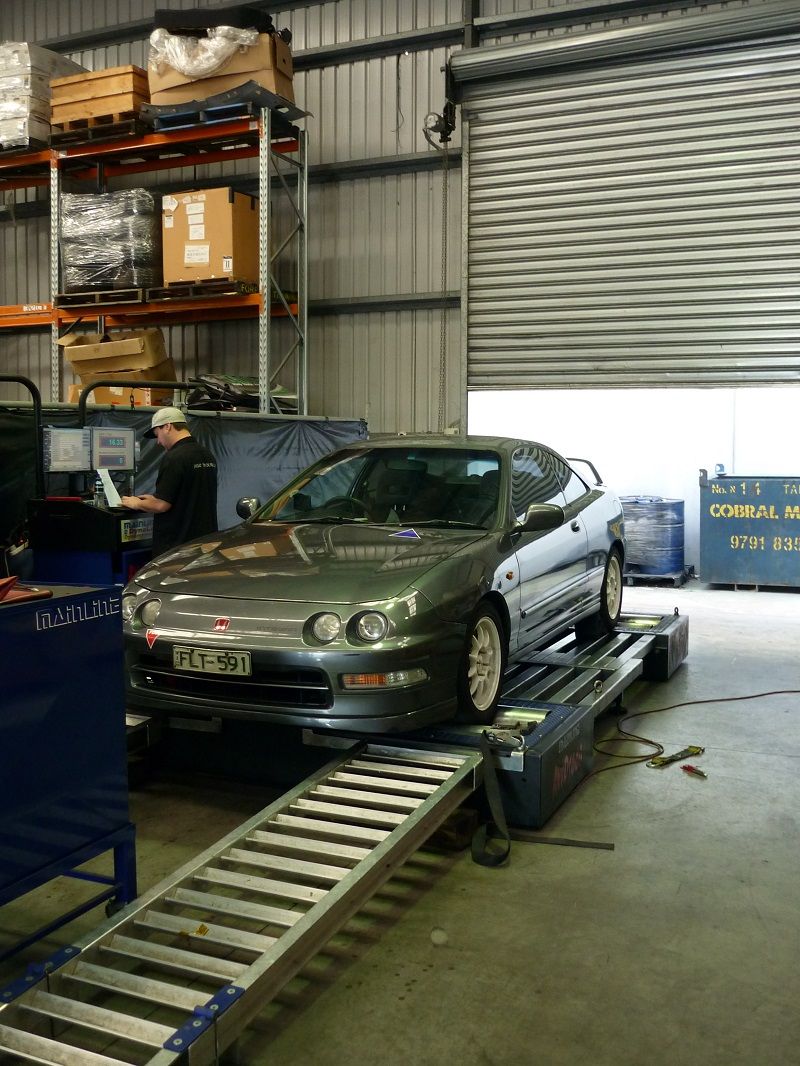
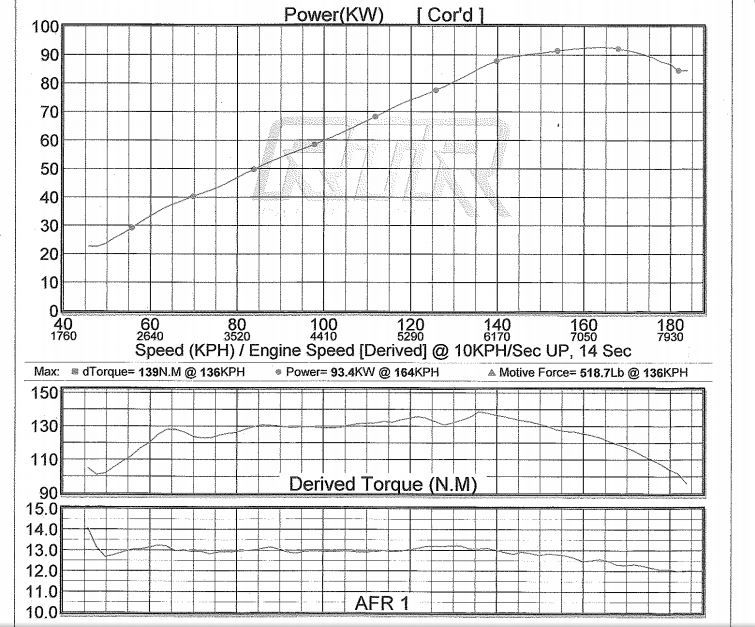
I've got no real plans to modify anything on the engine in the immediate future but it was good to get a base line for the carHoned - WEB: https://honeddevelopments.com/ FB: https://www.facebook.com/honeddevelopmentsComment
-
I've got some clearer photo's of the Tie Rod Kit
Original tie rod

Lock spacer assembled on the inner rack end. I've yet to notice an effective reduction in turning circle, I can still u-turn in a street (wideish one) no worries!
Nice shot of the components of the kit, you can see the stub on the left. These are made from 4140 then heat treated to 36 HRC.

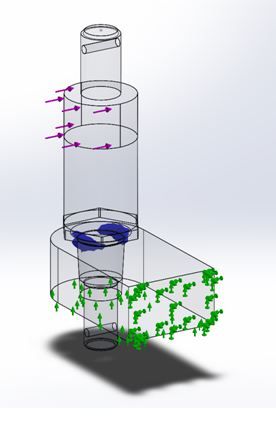
The stub was modelled in CAD, then analysed with SW simulation (FEA), to ensure it would be up to the task.
The turnbuckle, which is the bit that connects the rod end to the inner rack end, is also made from 4140
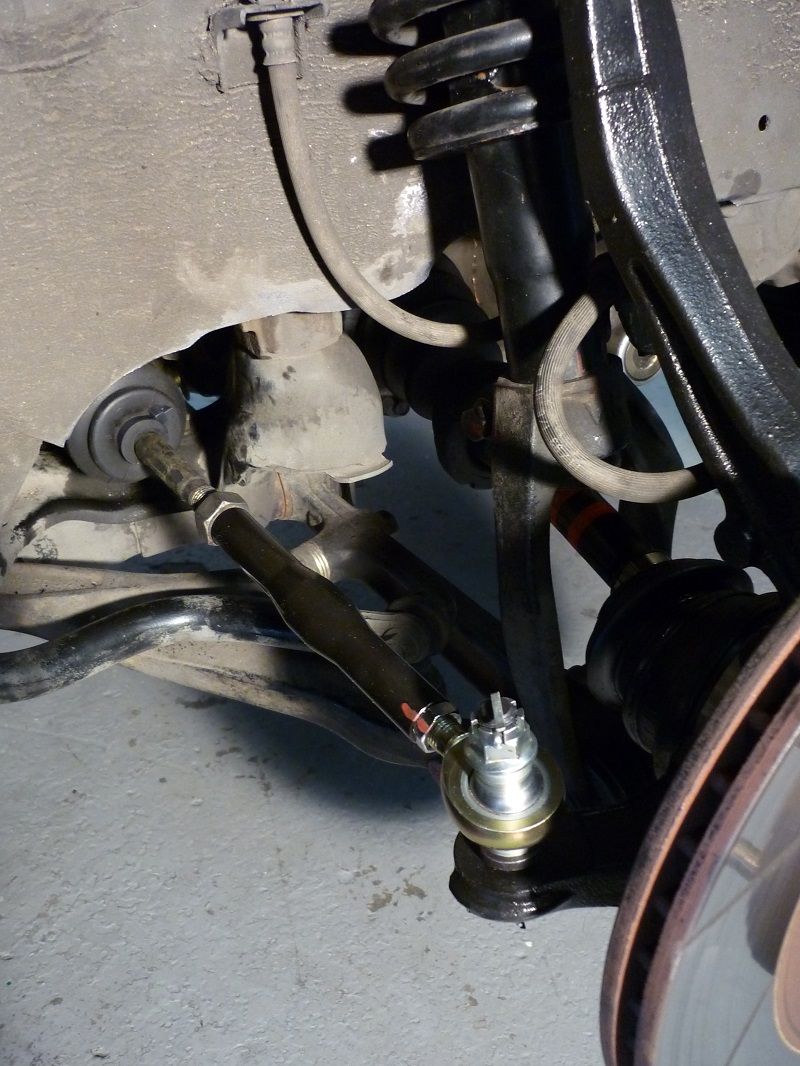
and to finish, a better image of the finished article, complete with paint marks.
The stub uses OEM tie rod and OEM ball joint castle nuts with split pinsHoned - WEB: https://honeddevelopments.com/ FB: https://www.facebook.com/honeddevelopmentsComment
-
Nice work on the tie rod ends. The look like a quality product that won't break down easily.
This is obviously for your DC2 but can these tie rod ends also be adapted to fit onto a DC5? DC5's have well documented issues with bump steer when you lower them, so it'd be nice to have a good alternative to the other inverted tie rod end brands that seem to break/wear out prematurely.Official ClubITR Sponsor: www.autosphere.com.au - For all your maintenance, oils and track needs.Comment
-
nice AFR curve, healthy bit of richness up top and tight 13:1 for power down low...... retired/Comment
-
A vehicles suspension system is more than just the spring and damper!
Glad you're finding it interesting felix!Honed - WEB: https://honeddevelopments.com/ FB: https://www.facebook.com/honeddevelopmentsComment
-
Always very impressed by modders who get into fabricating stuff...that's where it all started man!Comment
-
I've mentioned a few times in this thread about an on going issue with the fuel pump cutting out. Unfortunately replacing the repco brand fuel pump with a walbro didn't fix the issue,
a few people mentioned that the fuel pump relay can fail and give similar problems so I decided to get my auto sparky flatmate to look at the relay.
Once he had the bottom of the dash apart he discovered the remains of an alarm system. Whoever installed the alarm had cut the the 12v feed for the fuel pump and spliced in a smaller gauge wire which t'd off to the alarm and then back to the fuel pump.
Needless to say we ripped all the wiring associated with the alarm out

Martyn then replaced the OEM fuel pump relay and repaired the wiring.
While he was in there he removed the obnoxious "buzzer" that used to sound when you switched the ignition on, life is better now.
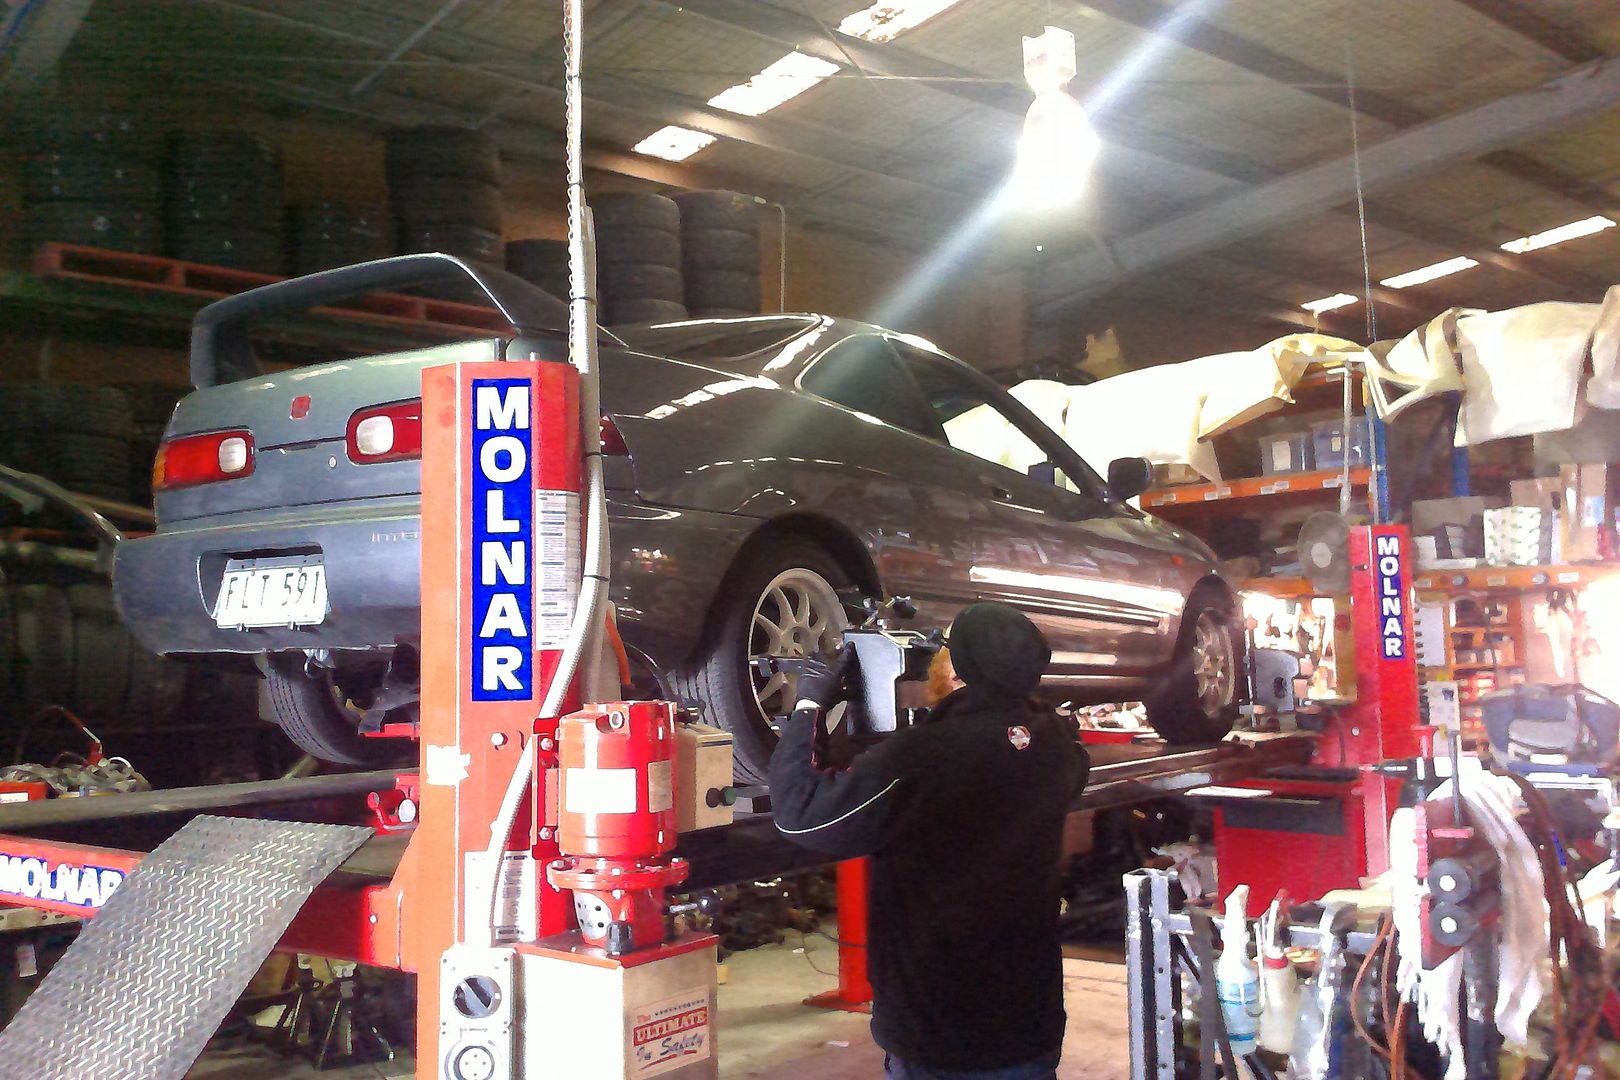
I booked the car in for a wheel alignment with techsport here in Melbourne. Now that this car's suspension is adjustable in almost every way I needed to find a shop that was willing to spend the time with me to get the car set up correctly.
Techsport's technician Zach was great in this regard, I think we spent almost 2 hours aligning the car and Zach didn't flinch when I asked him to drop the rear toe arms so that we could get them equal length on each side.
When I installed the new uprights I swapped the upper control arms from right to left which increased the castor (thanks coupe-R)
The car is now running 3.5 deg castor at the front and this was immediately noticeable.
My buddy ChargeR entered his EF in an Alfa Romeo track day due to be held on Sunday at the Sandown raceway in Melbourne but due to unforeseen circumstance his EF was unable to run the event.
I suggested that we enter my car and take turns driving it, he agreed and we contacted the organisers and got the entry modified.
In addition to helping ChargeR get the track time he paid for, I really wanted to have someone drive my car and give me some feedback on the handling.
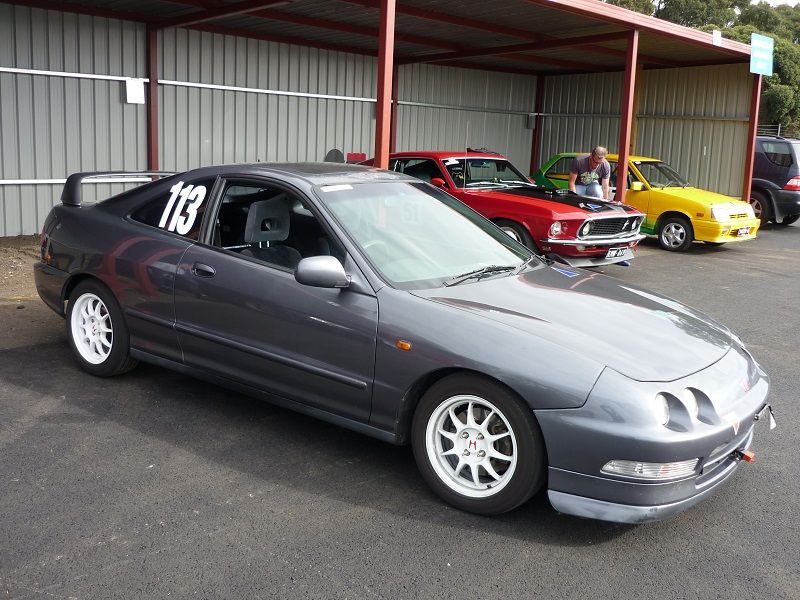
here she is all ready to go
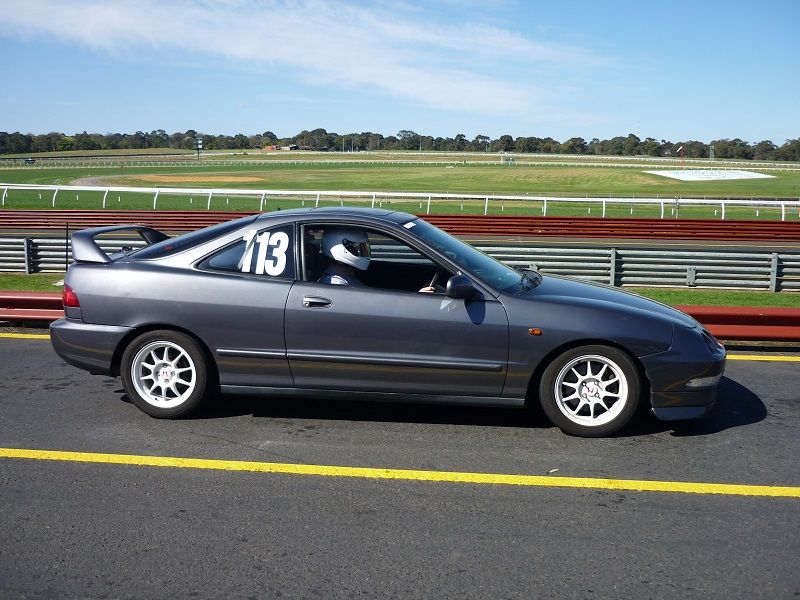
here's ChargeR on the grid ready to go out
The car performed faultlessly all day, the car ended up doing something like eight sessions out on track and other than adding a bit of oil at lunch time we didn't have to touch it.
I pb'd with a 1.35.4 in my first session, but only achieved a 37 in the second session and 36's in the third.
At the end of my second timed session a young guy put his Alfa into the Armco and about 120km'hr and damaged the armco enough that the rest of the day was run with a permanent yellow flag through that section.
This ment we were having to lift off though one of the fastest parts of the track, I'm sure I was putting together better laps in that final session but unfortunately with the yellow flag the times don't reflect the improvement.Honed - WEB: https://honeddevelopments.com/ FB: https://www.facebook.com/honeddevelopmentsComment
-
Here's ChargeR's thoughts on the car:
My thoughts from the day:
- Maybe it's because your car has much more reasonable scrub radius than my car, but I found your car very directionally stable under brakes compared to mine.
- It was very easy to adjust the attitude of the car during the corner with the throttle, and oversteer was nice and progressive. Car changed direction well given that it's pretty softly sprung.
- I need to make a taller shifter for my car, but you need a seat and a steering wheel
He didnt get to drive the car on track before the modifications but he's driven enough fwd track cars to judge its qualities.Honed - WEB: https://honeddevelopments.com/ FB: https://www.facebook.com/honeddevelopmentsComment


Comment