Announcement

Collapse
No announcement yet.

Vistec R ITR # 98-137

Collapse
X
 
  • Filter
  • Time
  • Show
Clear All
new posts

    Vistec R ITR # 98-137

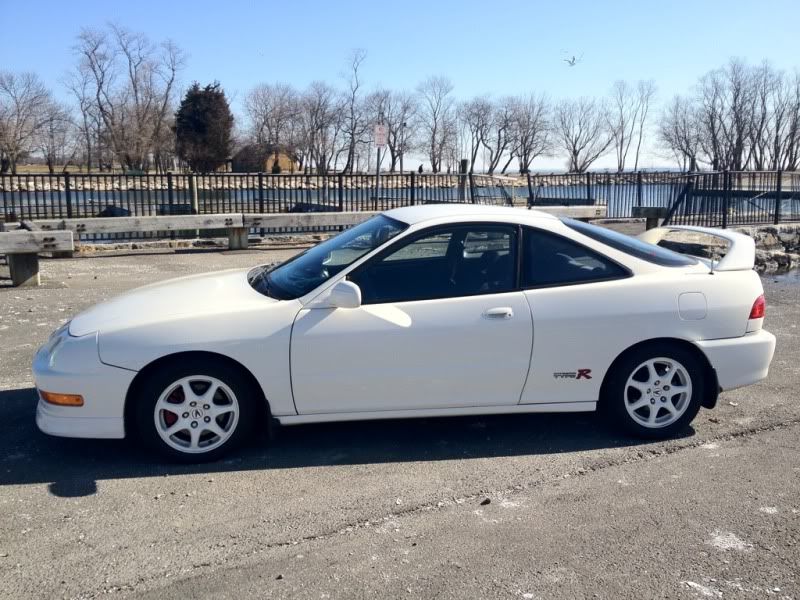
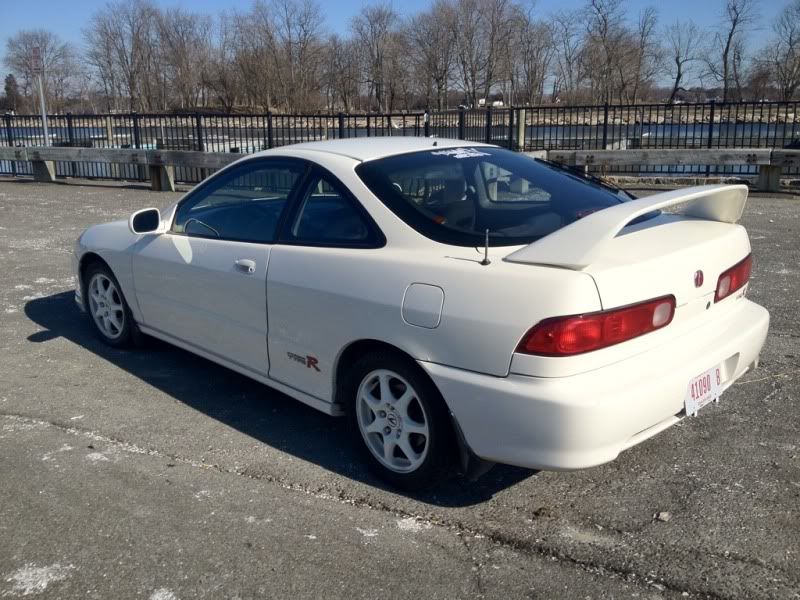
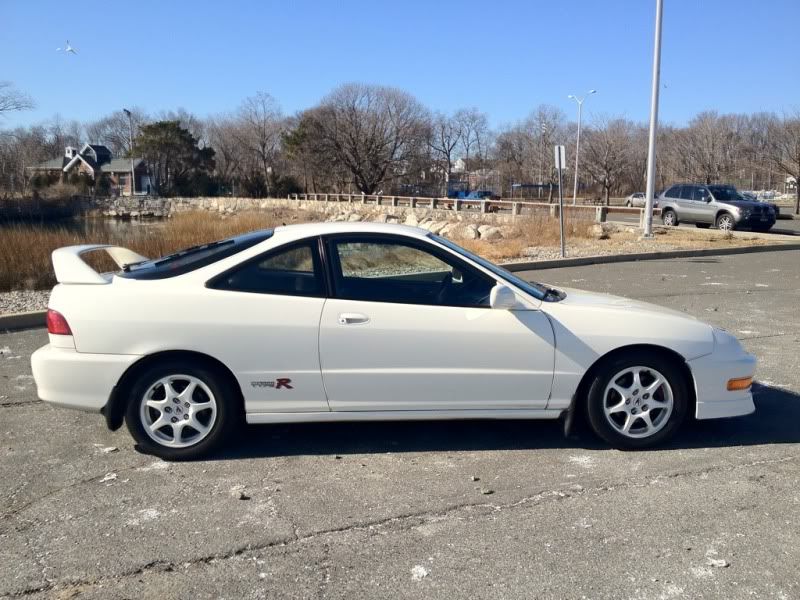
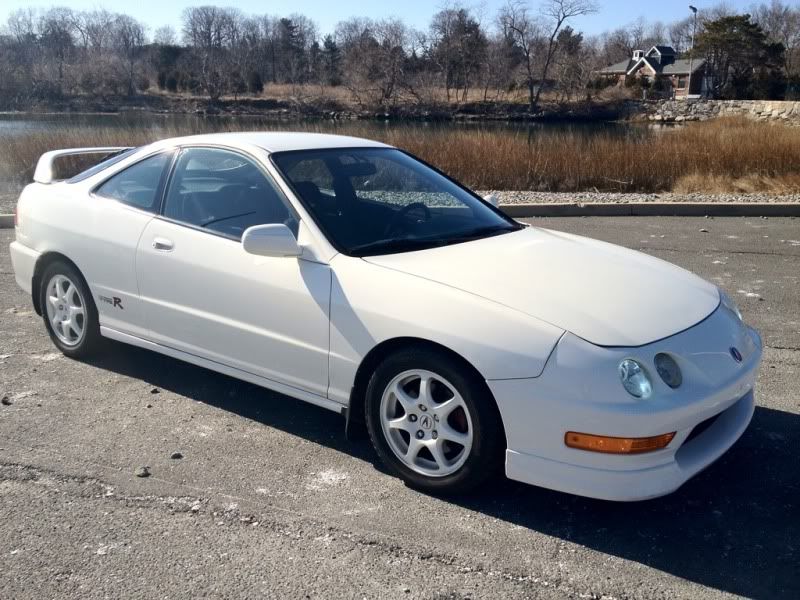
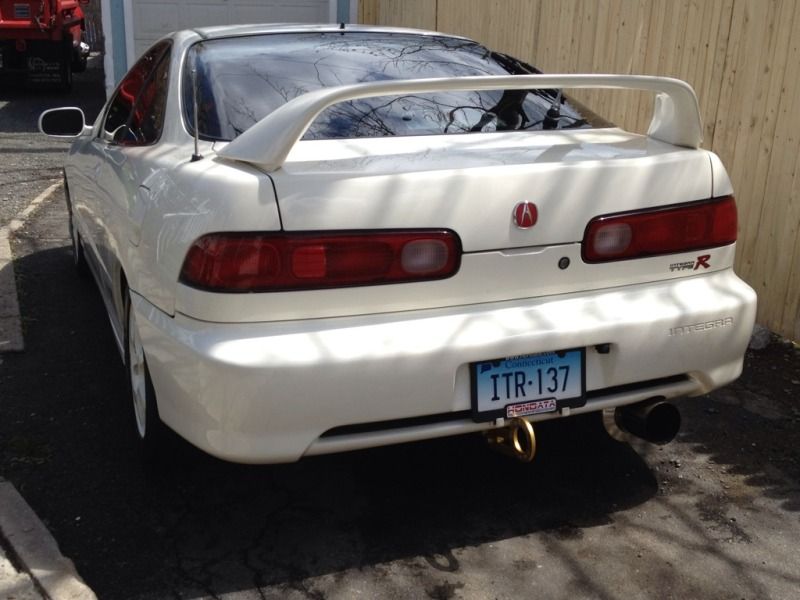
    Couple you guys ask me to do a build up thread so here it is...

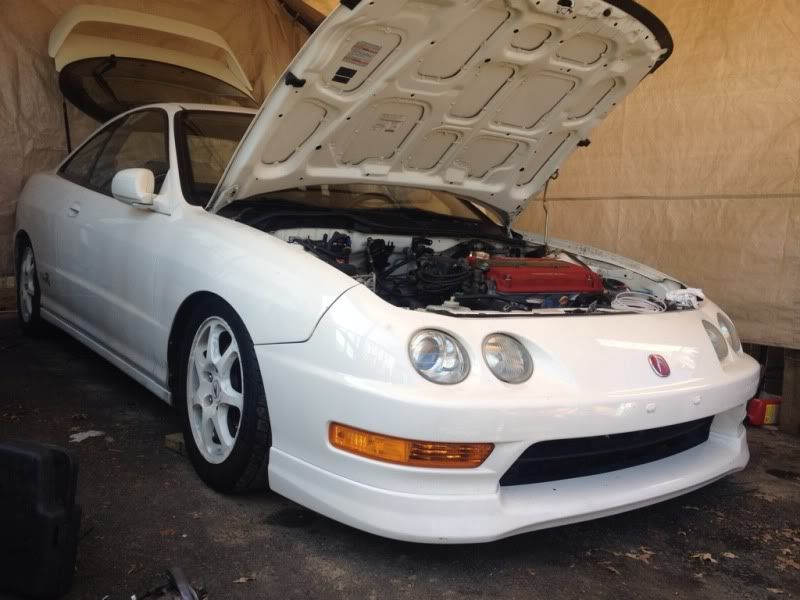
    1998 Acura Integra Type R ( USDM )


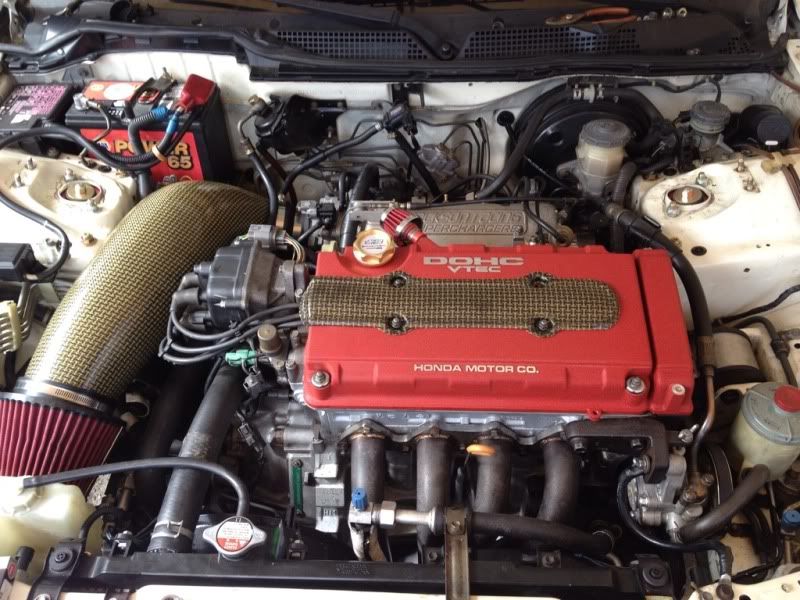
    Modification List.

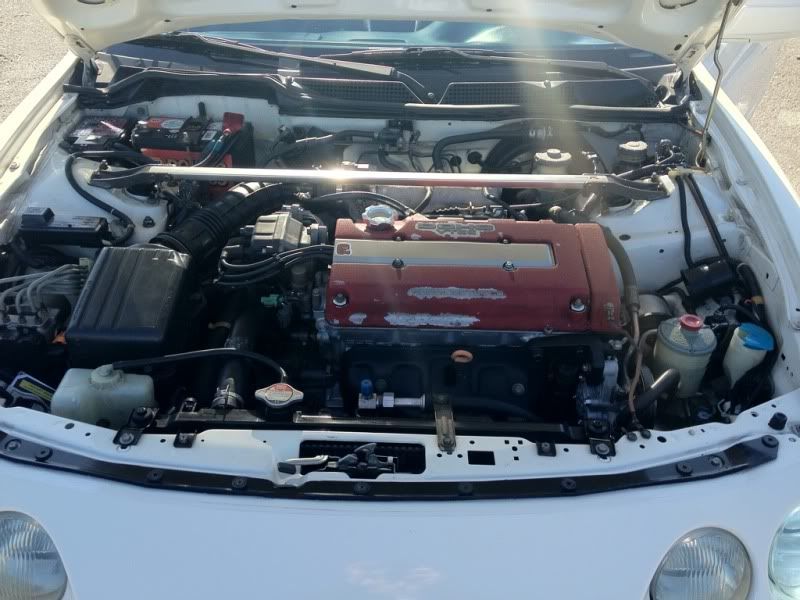
    ENGINE:
    CTR pistonsrings,rods
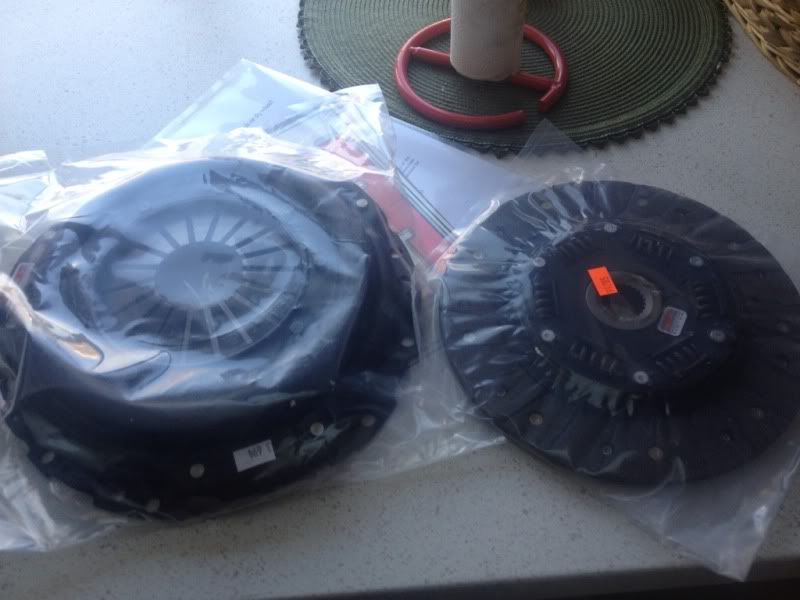
    competition clutch
    Findaza flywheel.
    NEW OEM honda valve cover
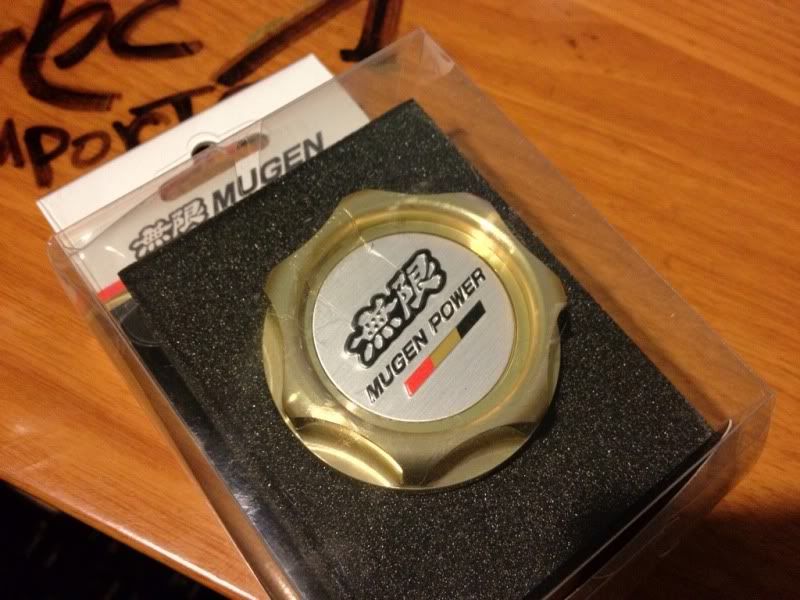
    Mugen oil cap
    Password JDM whale pinnes intake,
    Jackson supercharger,
    Hondata Sc300,
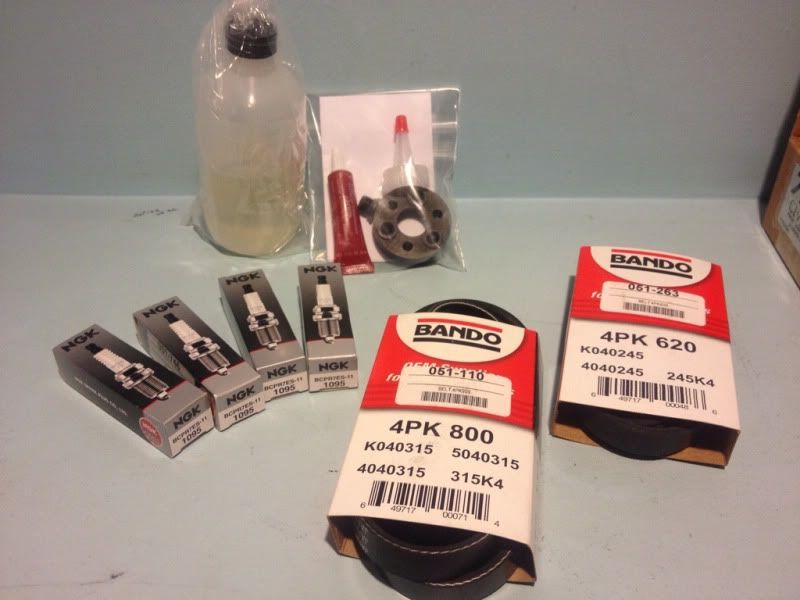
    2 step colder NGK plugs,
    OEM tune up (ignition wires etc)
    Apexi N1 exhuast
    Hytech header
    Jackson racing boost gauge
    Autometer oil pressure gauge
    mugen reservoir covers
    HardRace Motor mounts

    Suspension/Brakes/tires:
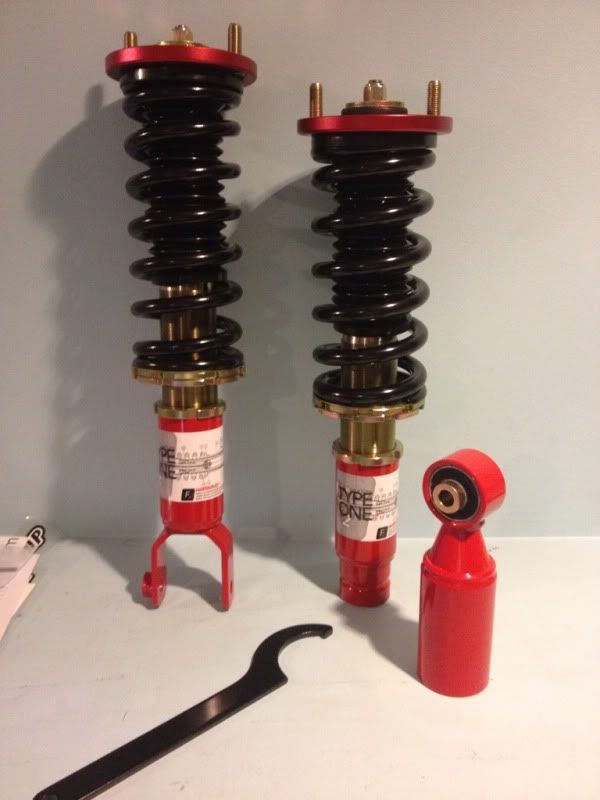
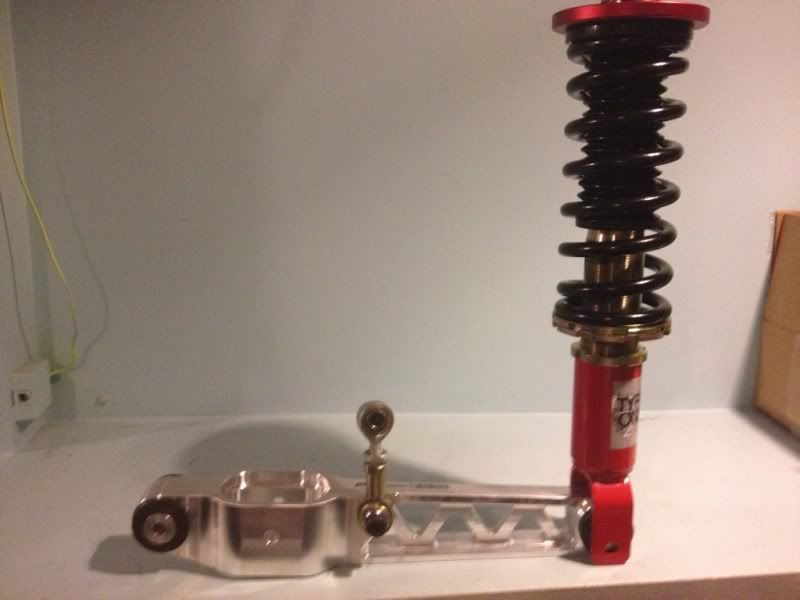
    Form and Function Type 1 Coil overs
    Hardrace rear trail arms bushings
    Hardrace camber kit Front and rear
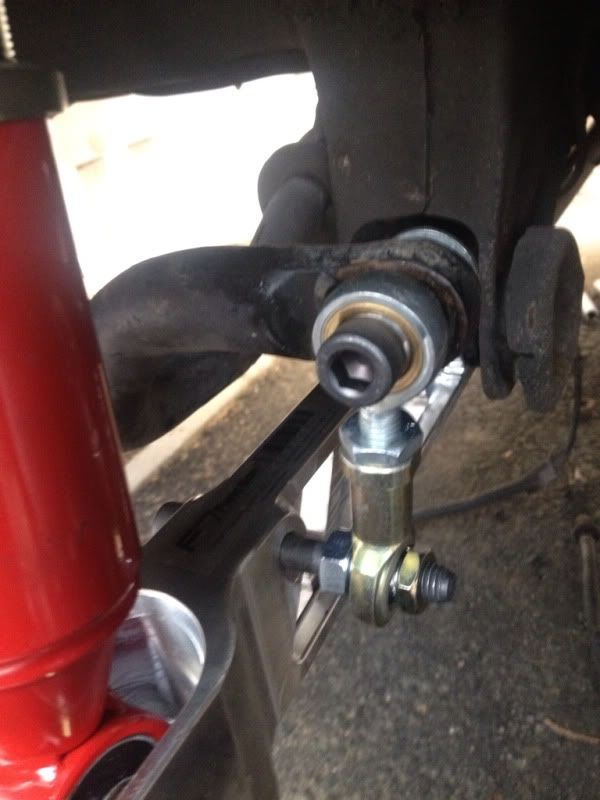
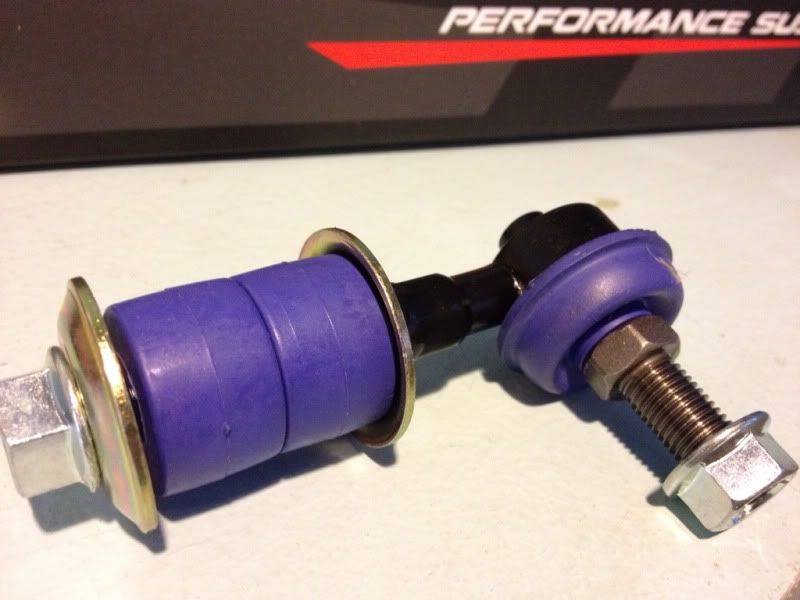
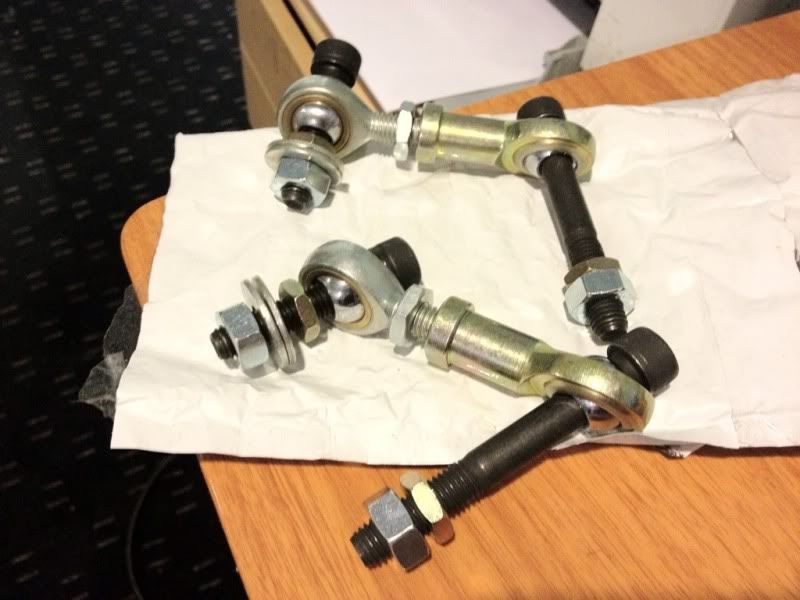
    function 7 LCA's with endlinks
    hardrace sway bar bushings
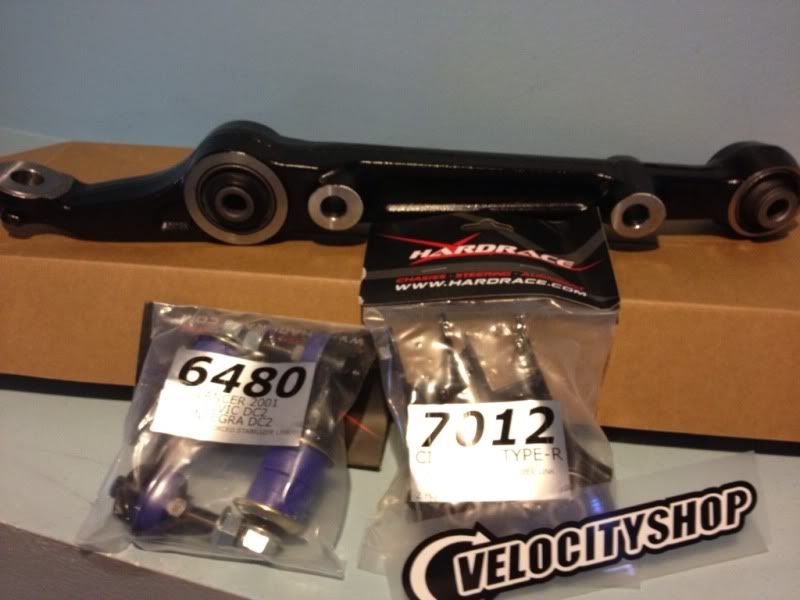
    Hardrace front lower control arm
    Hardrace front Upper Control arm
    Hardrace Ball joints
    Moog tie rod ends inner and outer with Honda Boots and clips
    Driveshaft Axles stage 2
    Falken azenis tires on OEM wheels
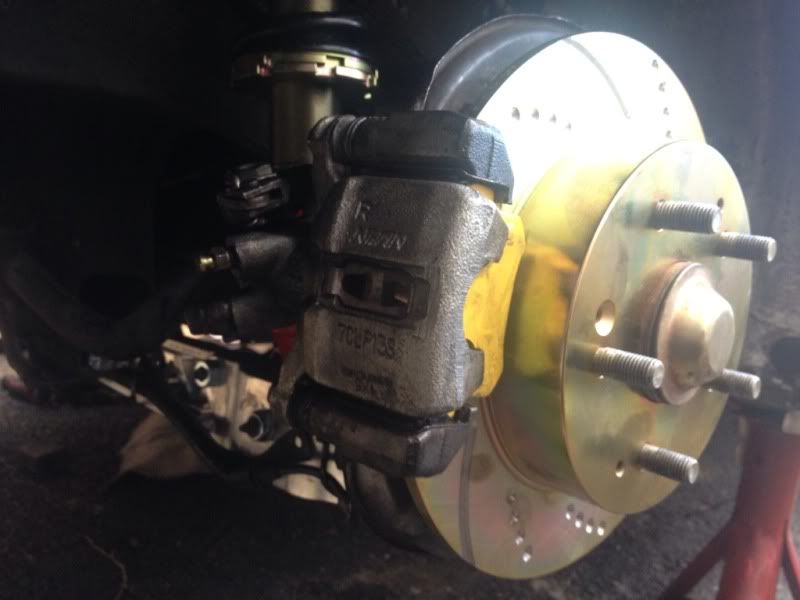
    EBC rotors and pads (yellow stuff)

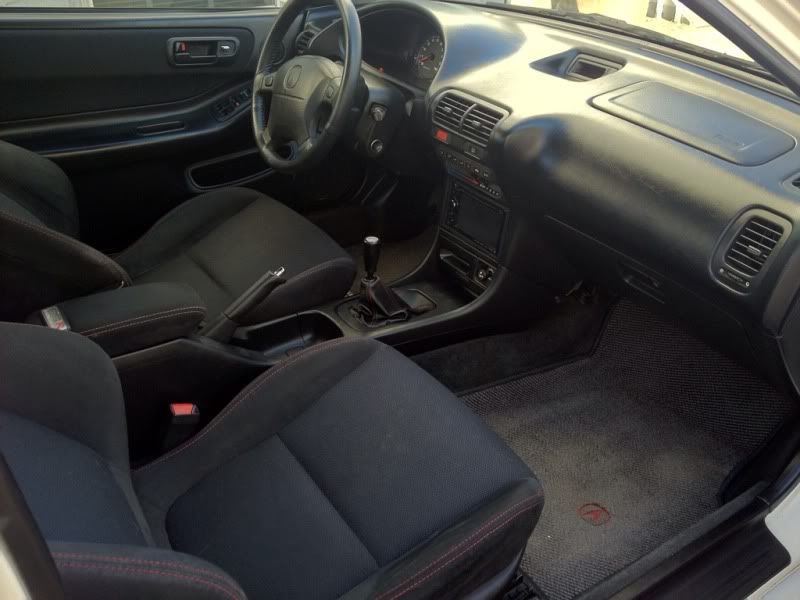
    Interior:
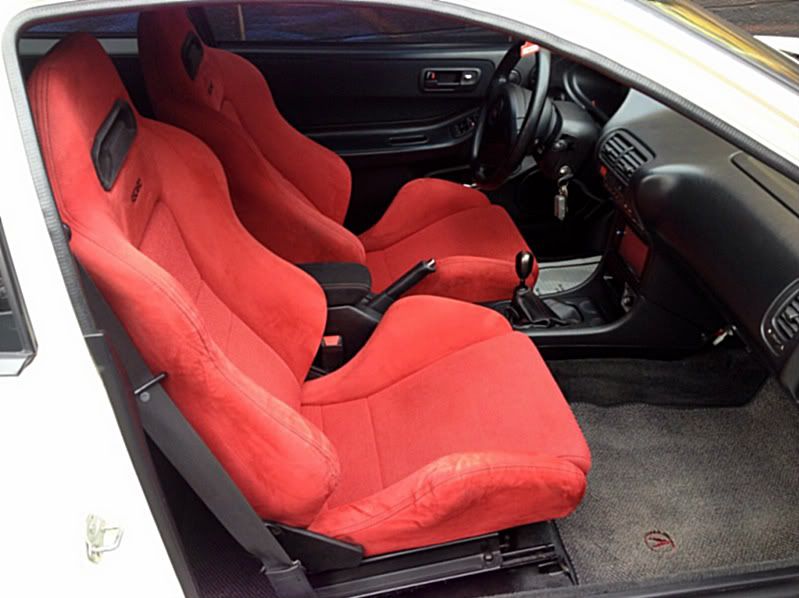
    JDM red recardo seats
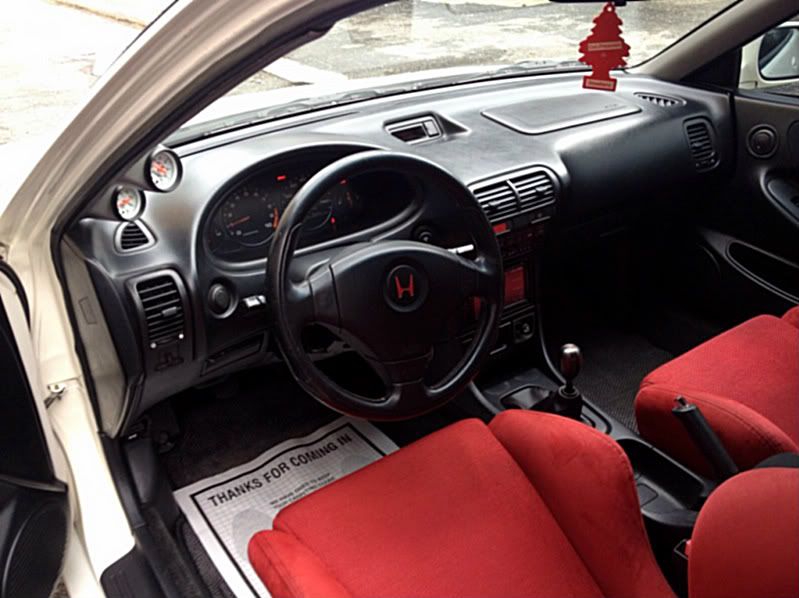
    JDM ITR steering wheel
    Autometer gauge pod
    Pioneer Radio with Navigation and rear camera.

    Exterior:
    Rear Tow hook
    Password JDM lug nuts
    HID's
    20% tints all around
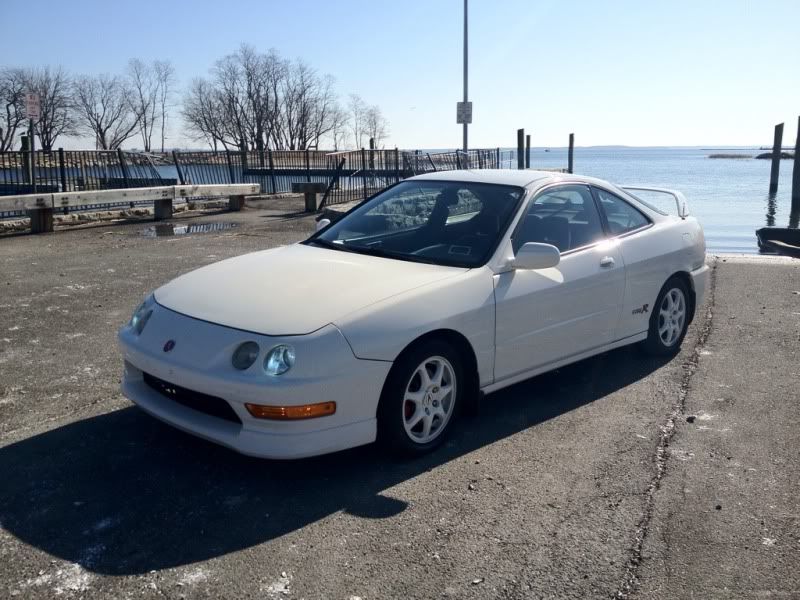
    #2
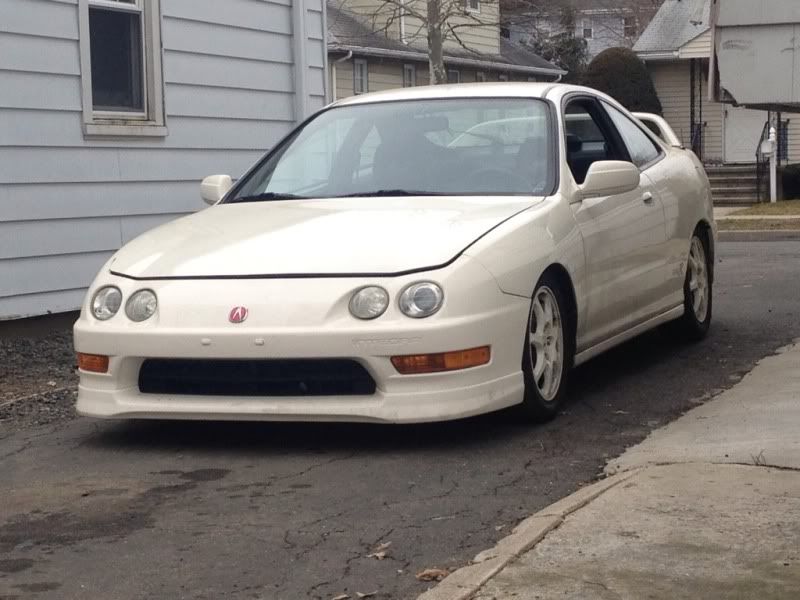
    this is how the car look when i first purchase it.


    Comment


      #3
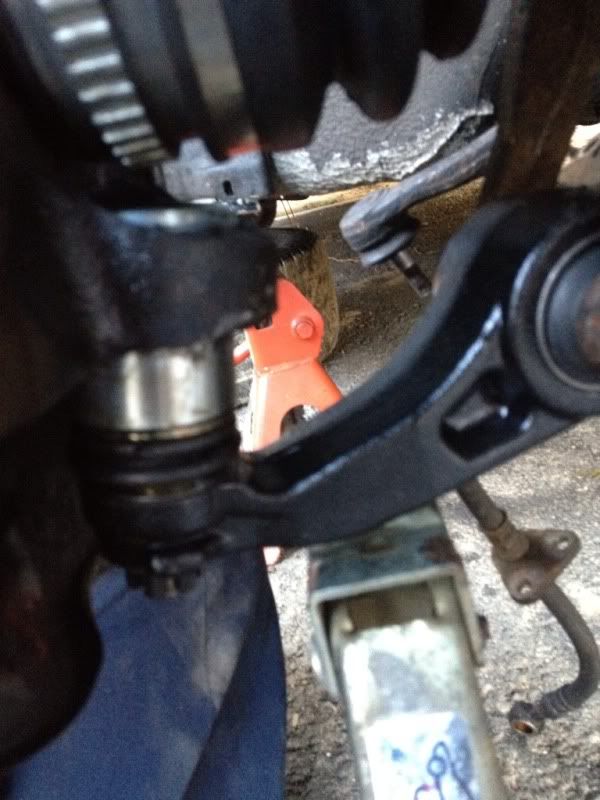
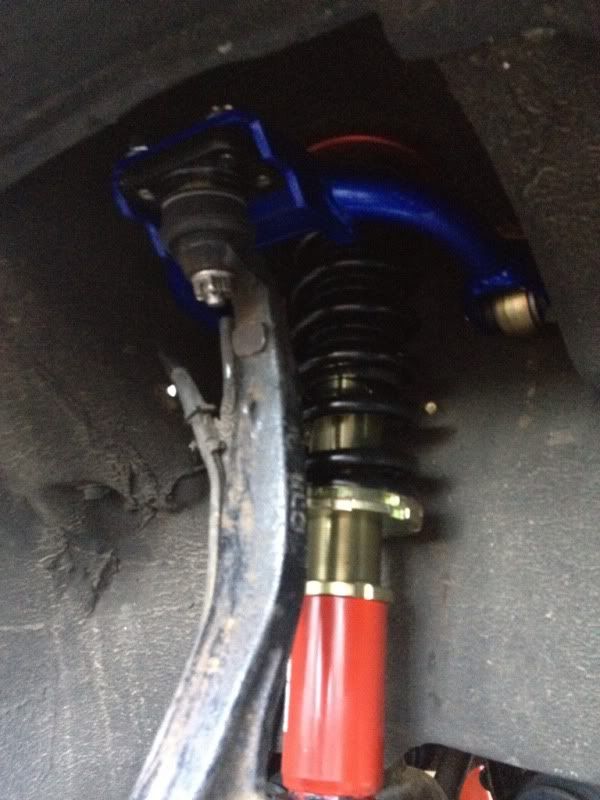
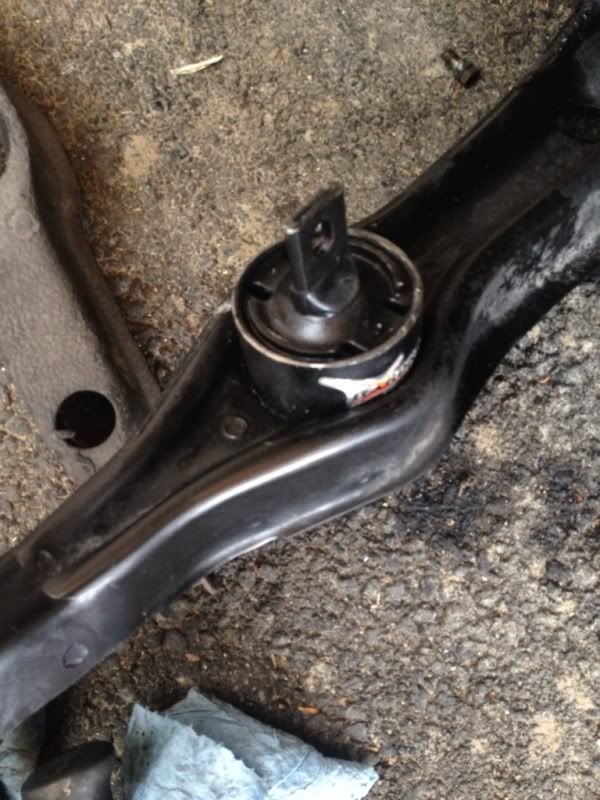
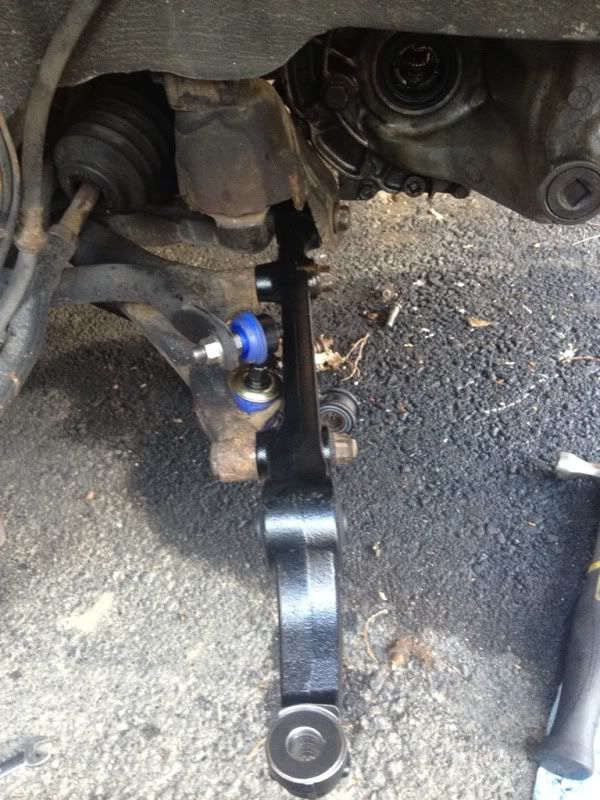
      These are couple pictures when I was installing the suspension parts and setting the ride height


      Last edited by vistecr; 28-12-12, 05:16 AM.

      Comment


        #4
        Couple interior pictures


        Comment


          #5
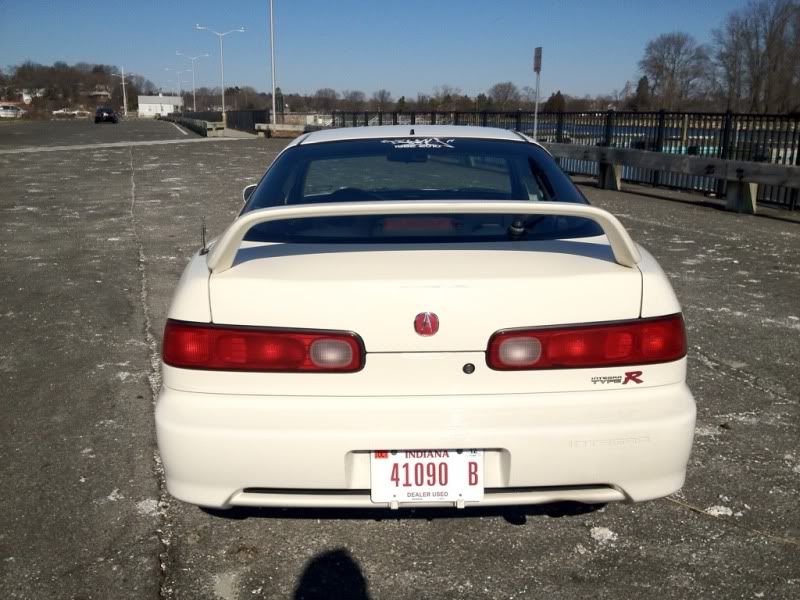
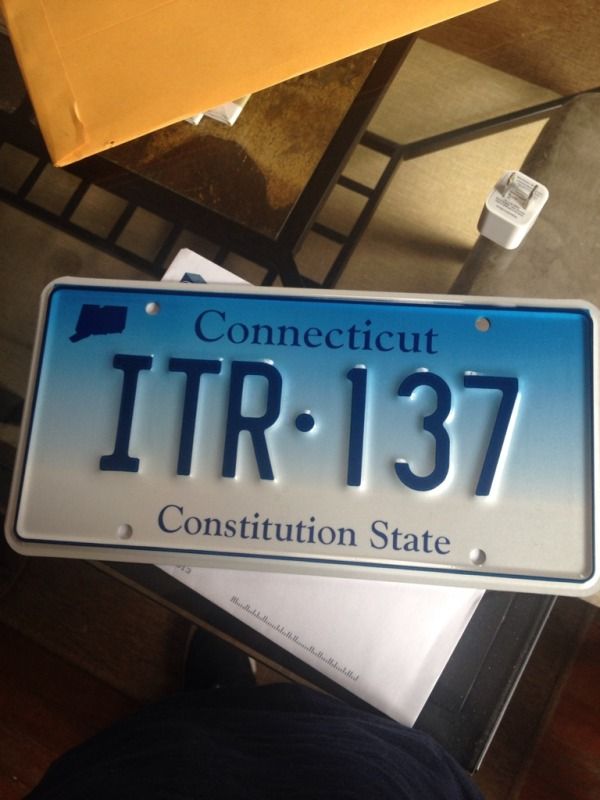
          Custom plates where also installed what do you guys think cool or no?


          Comment


            #6
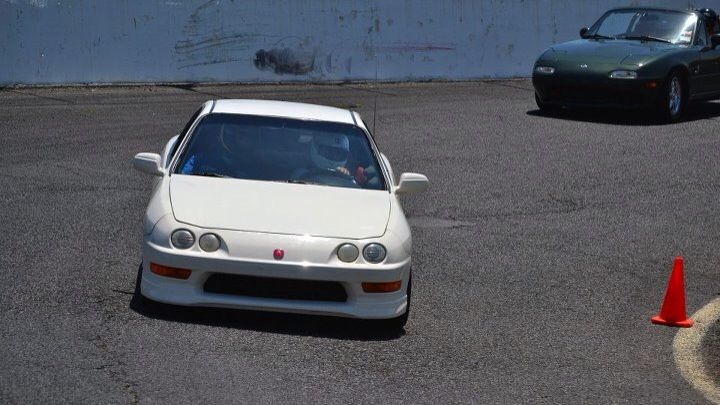
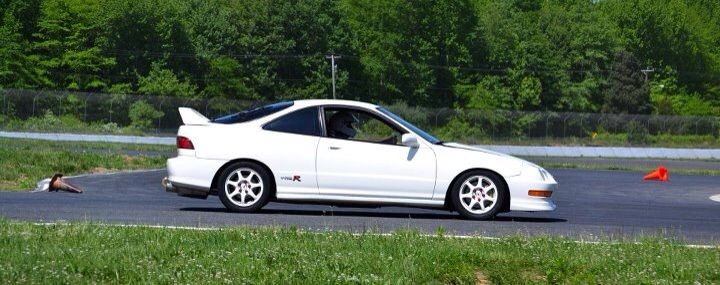
            some real track time


            Comment


              #7
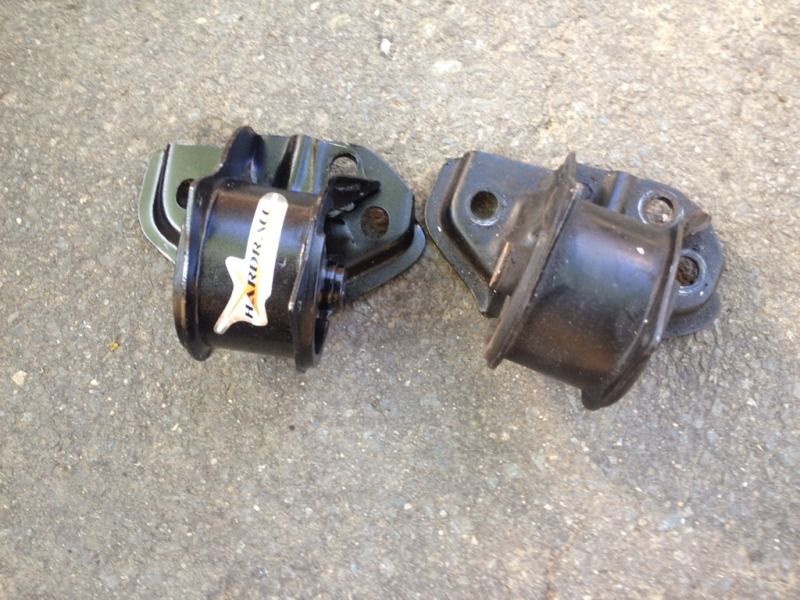
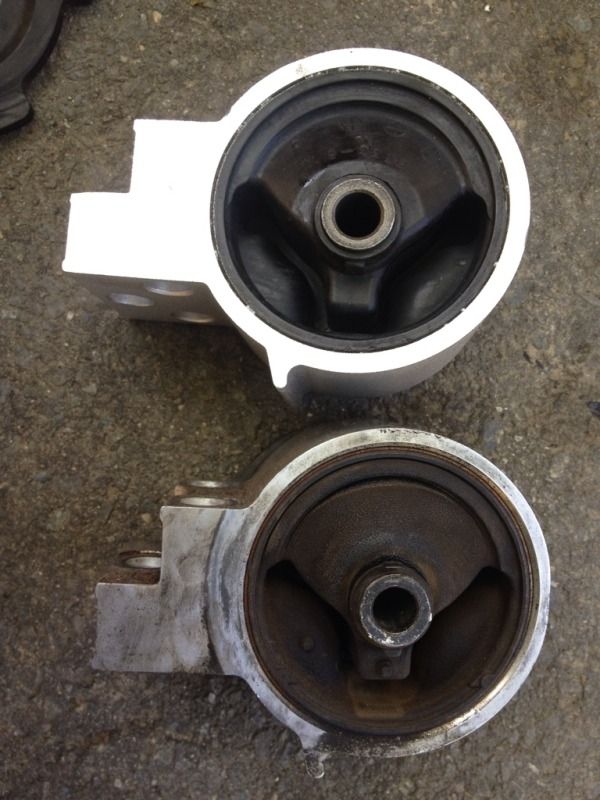
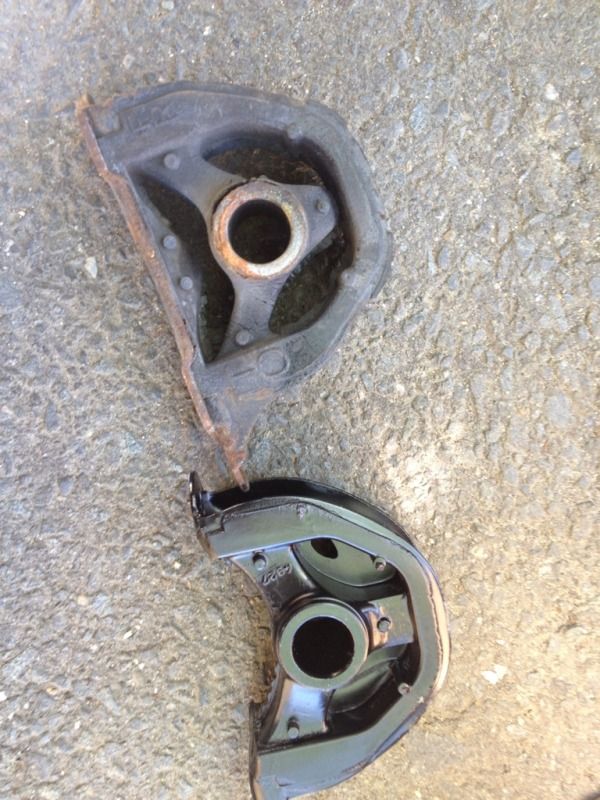
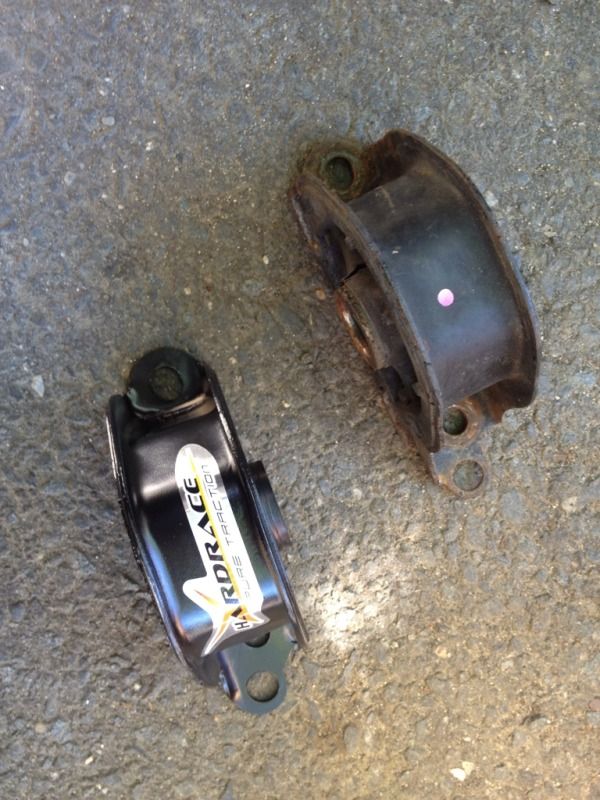
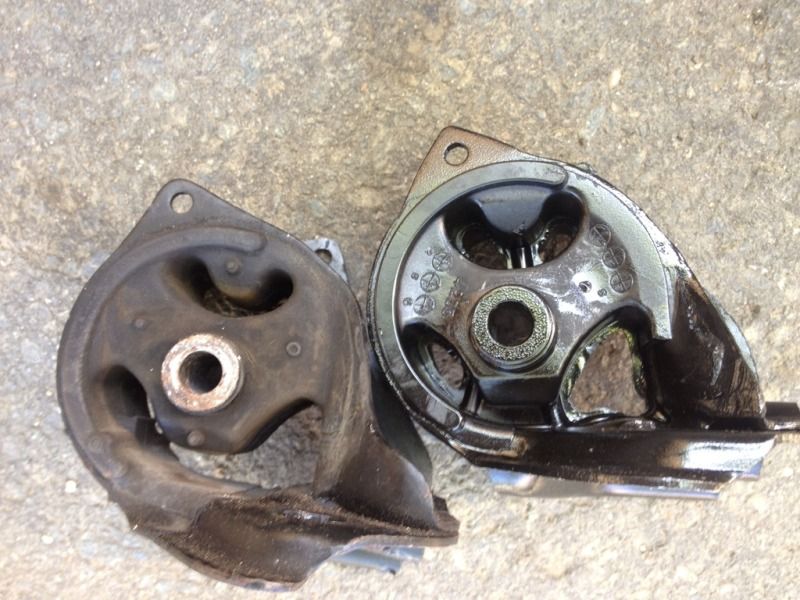
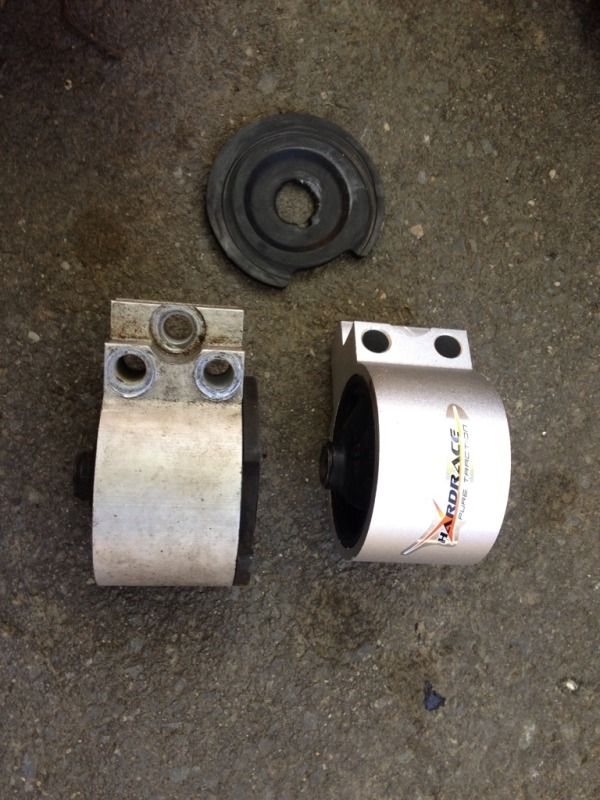
              So I shop around for a set of stiffer motor mounts that would not make the car vibrate like crazy like the silicon mounts do and that most company sell. I wanted something stiffer and better then OEM that can be used at the track and for daily driving…. I settle for a set of HardRace mounts. There quality are out standing there rubber is much better then OEM and share the same style as OEM so vibration is very low. I only notice a little of vibration when the car is cold and at idle. I did get a chance to try them out at Etown road course and boy they made a differences. when the engine shifted from acceleration to deceleration you didn’t hear any clunk noise or actually felt the weight transfer like you do with the OEM worn out mounts. So at the end I was happy ! good for daily/track use. : ) in my opinion

              Underneath side mounts


              transmission mount


              driver side engine mount

              Comment


                #8
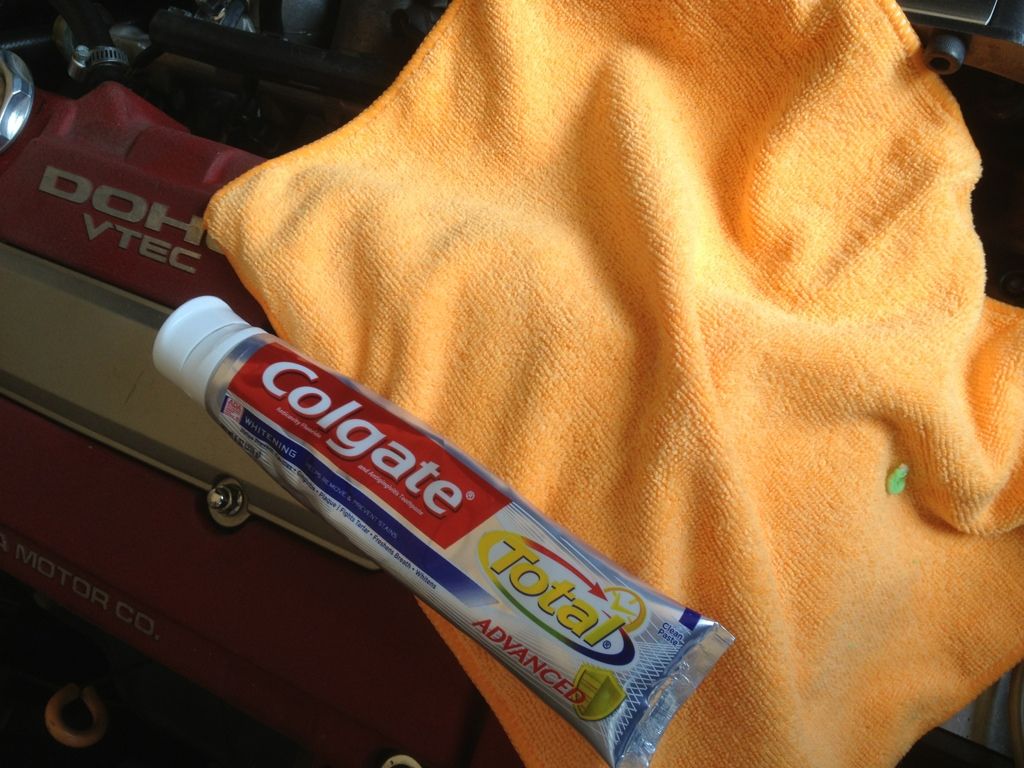
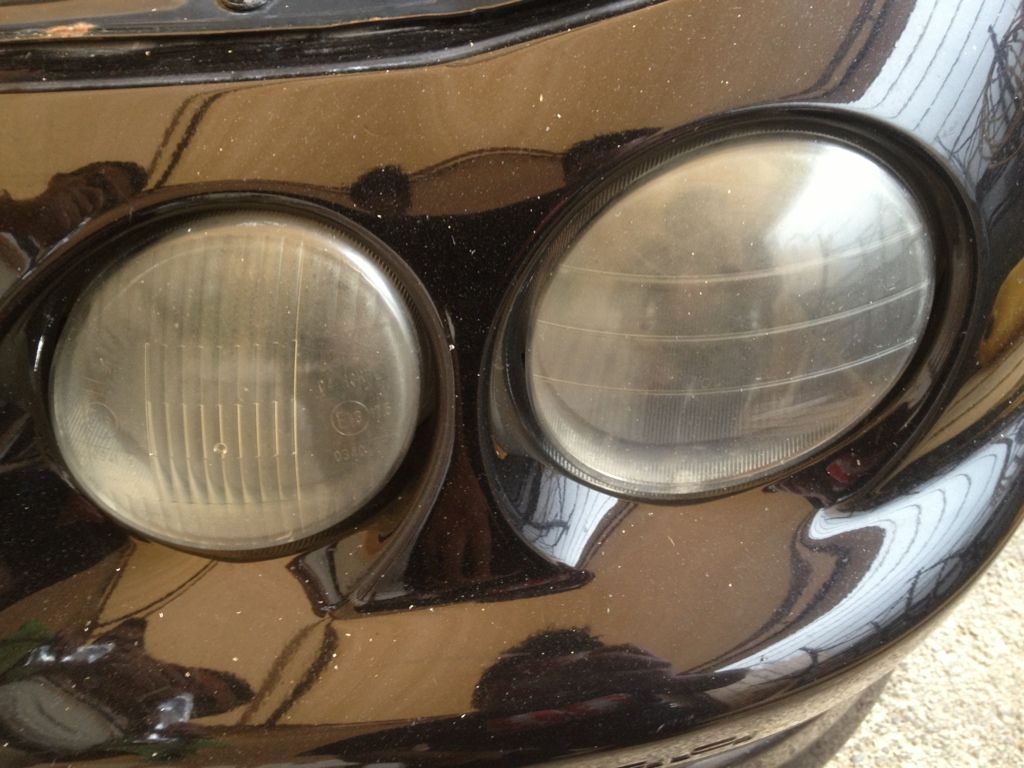
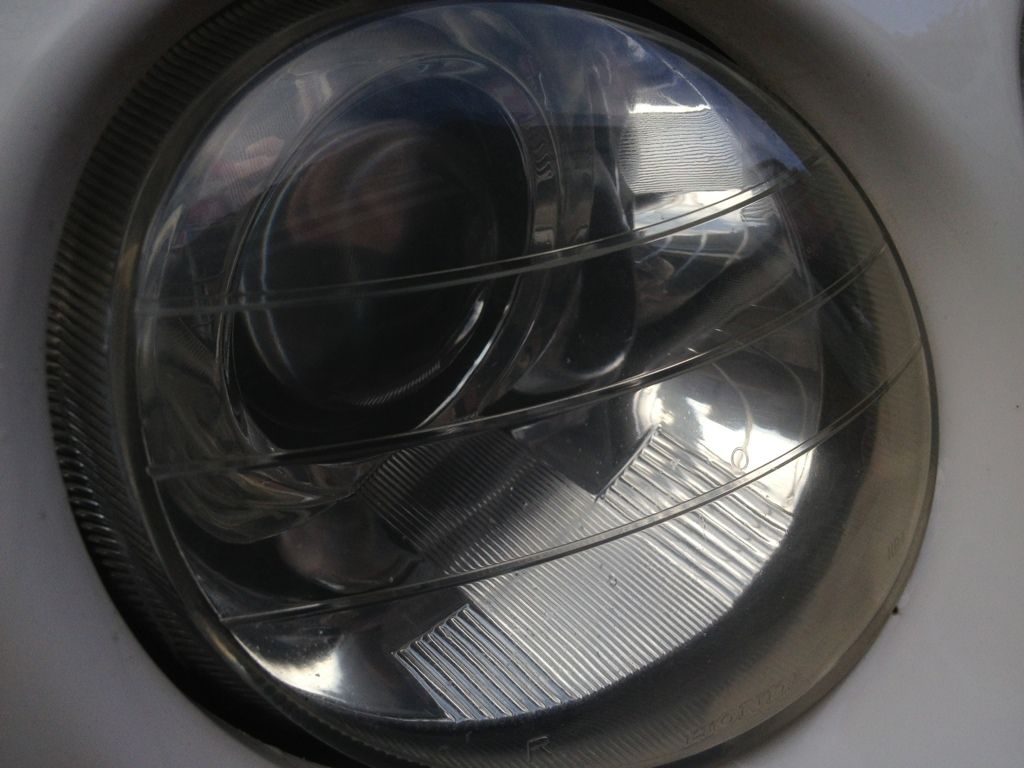
                Ok so no money to buy new headlight.... well I only spent less then $5 restoring them.. How you ask well simple

                Tool: Colgate tooth paste, dry towel, water


                Steps: 1. place toothpaste on headlights, 2. scrub with clean towel, 3. rince off and dry 4. repeat as many times to get to the stage of clean you want and 5 your all done !


                Comment


                  #9
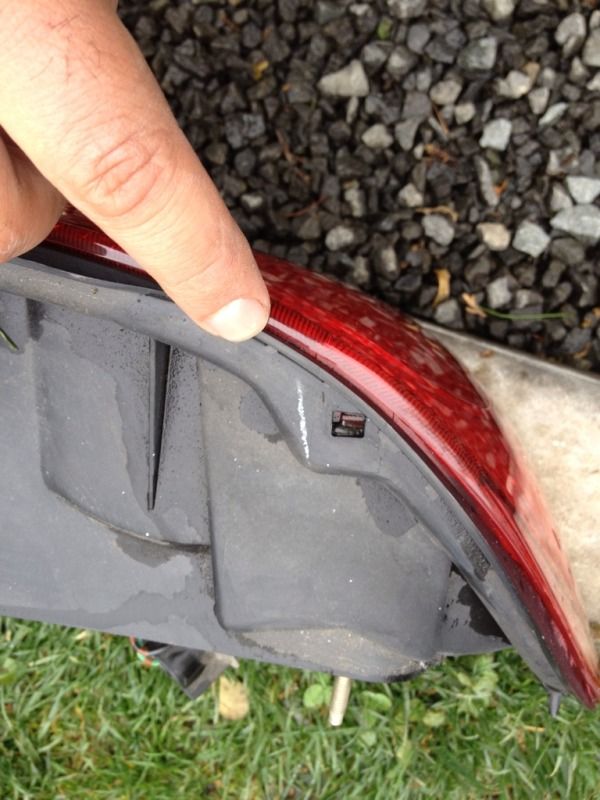
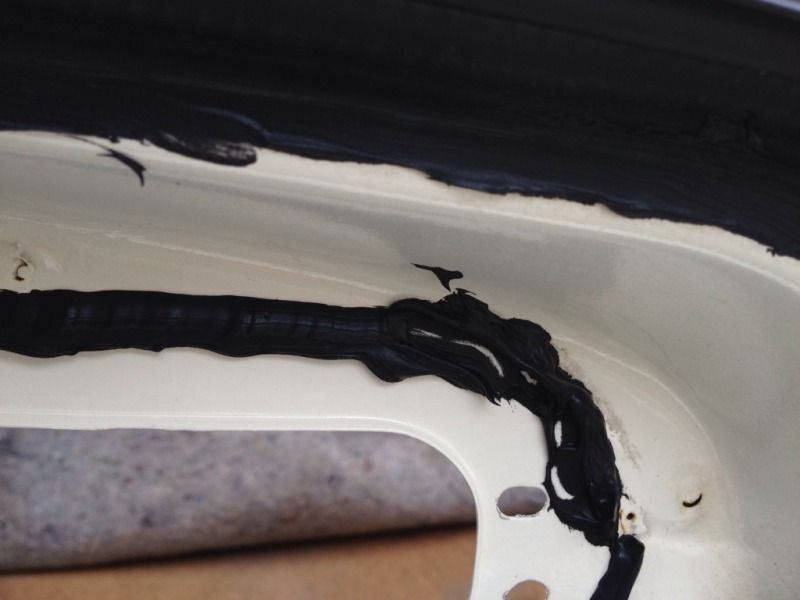
                  Since I own my 98 ITR never drove the car on the rain until yesterday and found my trunk full of water. well I did DIY on how to fix this problem. not a expert but I hope you get the idea and it works for you

                  Main reason, tail light gasket goes bad or the actual gasket around trunk !

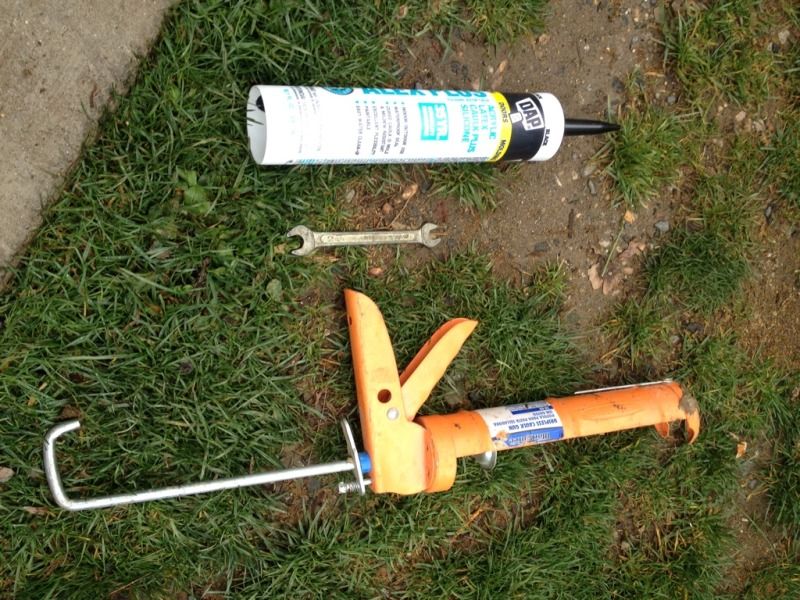
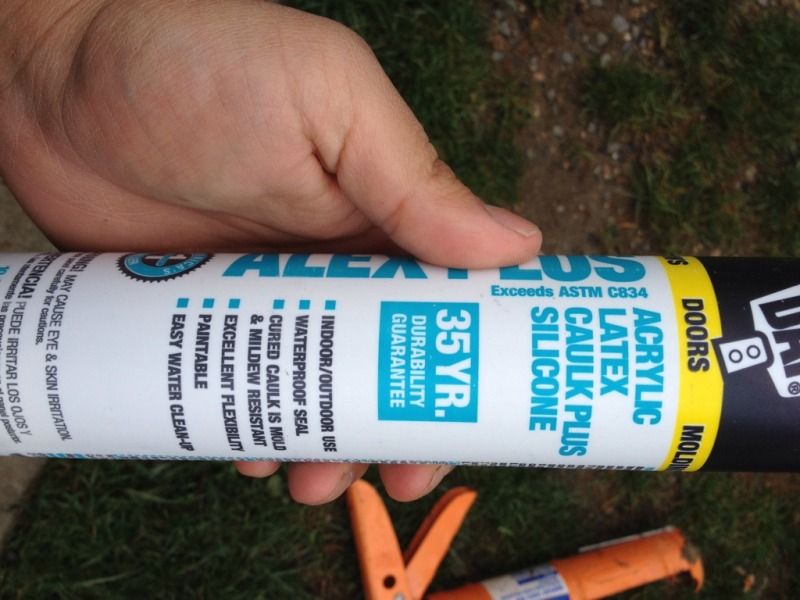
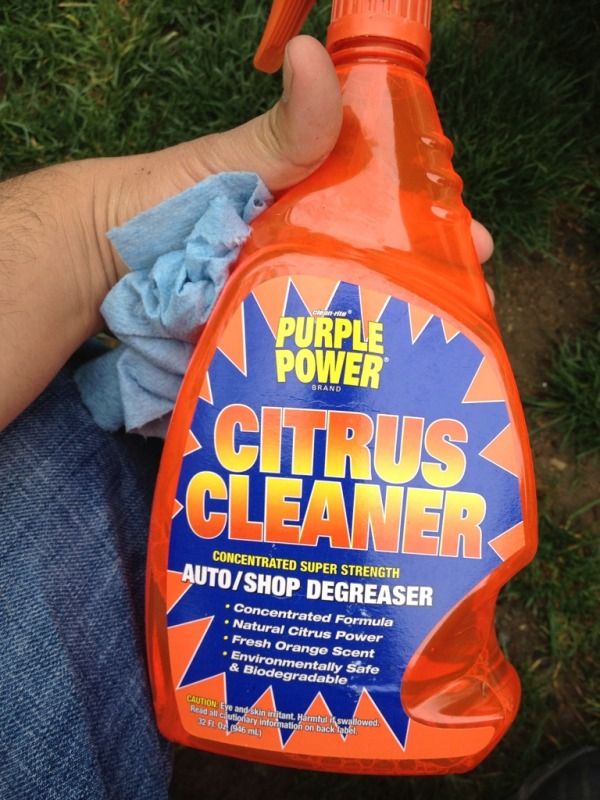
                  1. Tools- Black waterproof silicone, 8mm Wrench, paper towel, degreaser, new tail light gaskets.


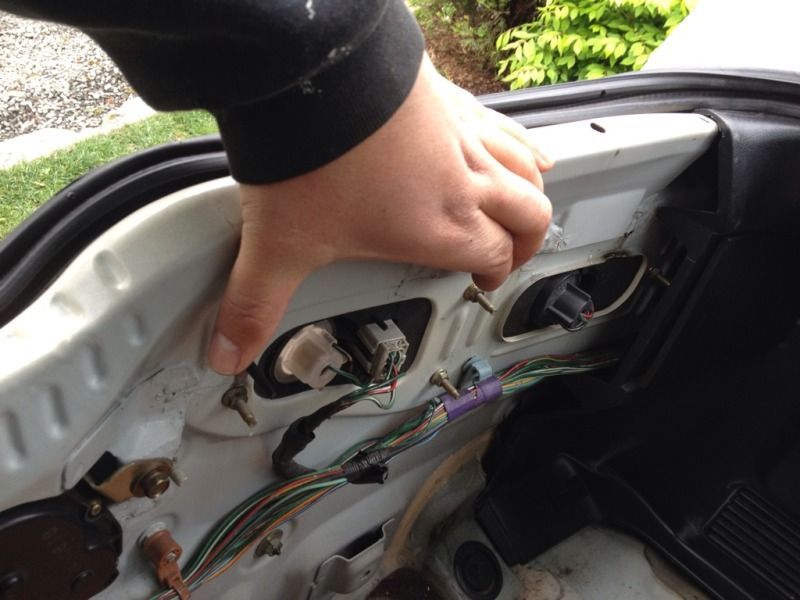
                  2. remove black panel behind tail lights couple push in clips


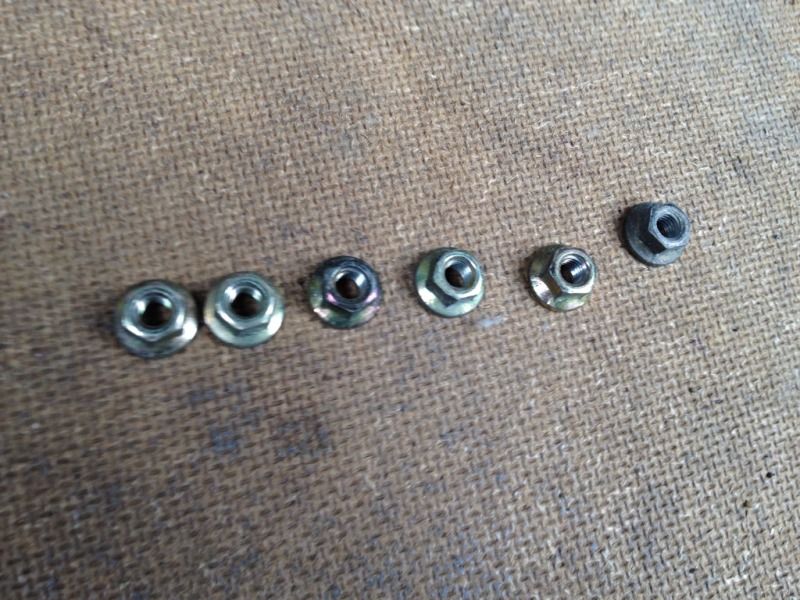
                  3. remove the 6 8mm nuts. DONT LOOSE THEM !!! and be careful with your hands when taking last two... use gloves if possible.


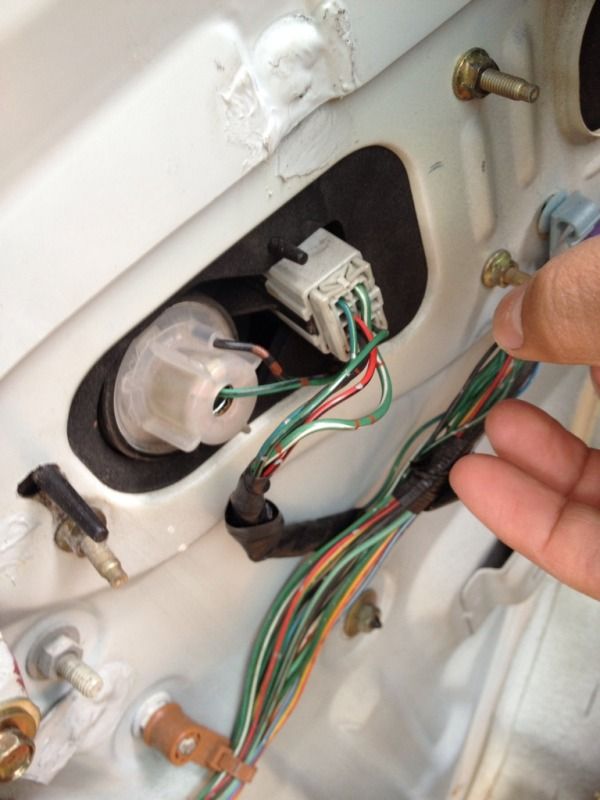
                  4. Unplug the square harness the rest comes out with tail light


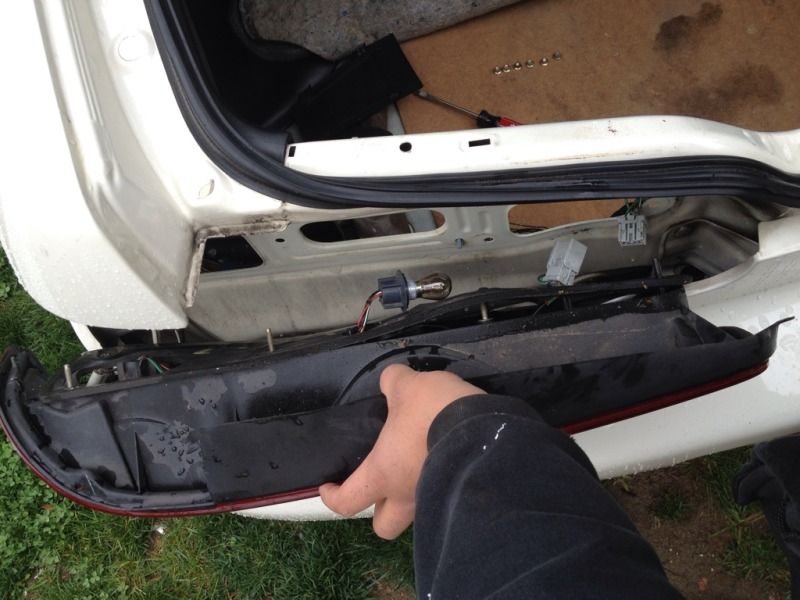
                  5. remove tail light


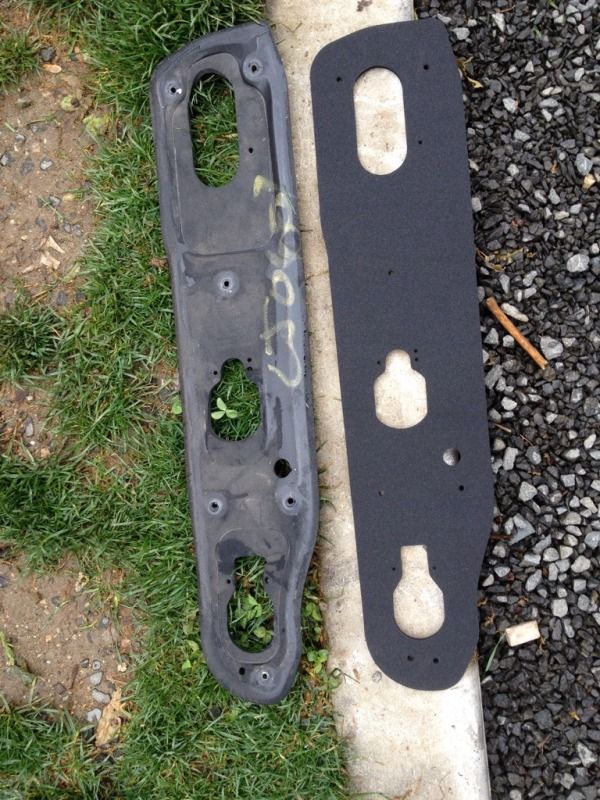
                  6. remove gasket from tail light


                  see the how worn out is the old gasket this is no bueno !!!

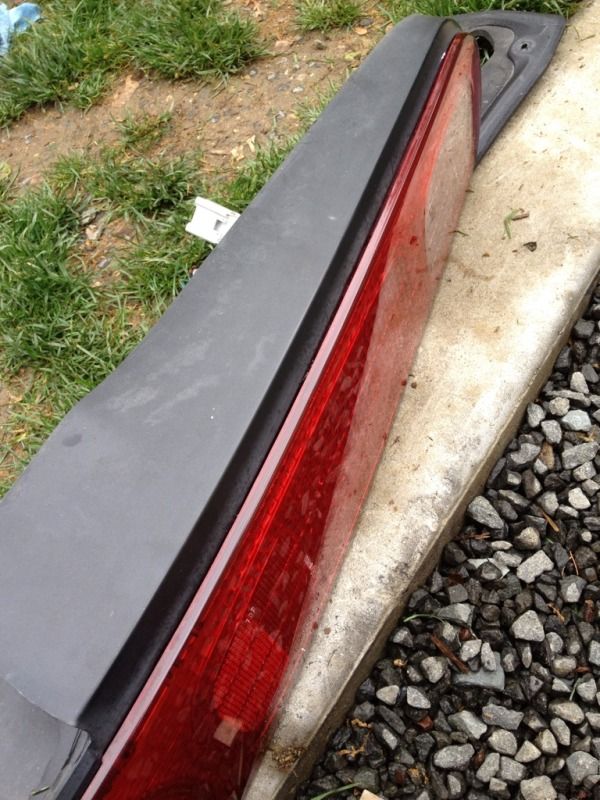
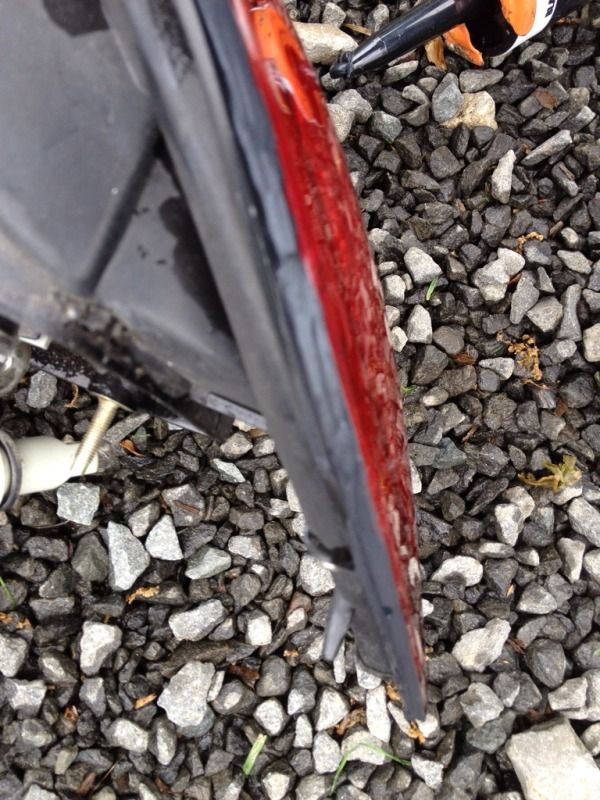
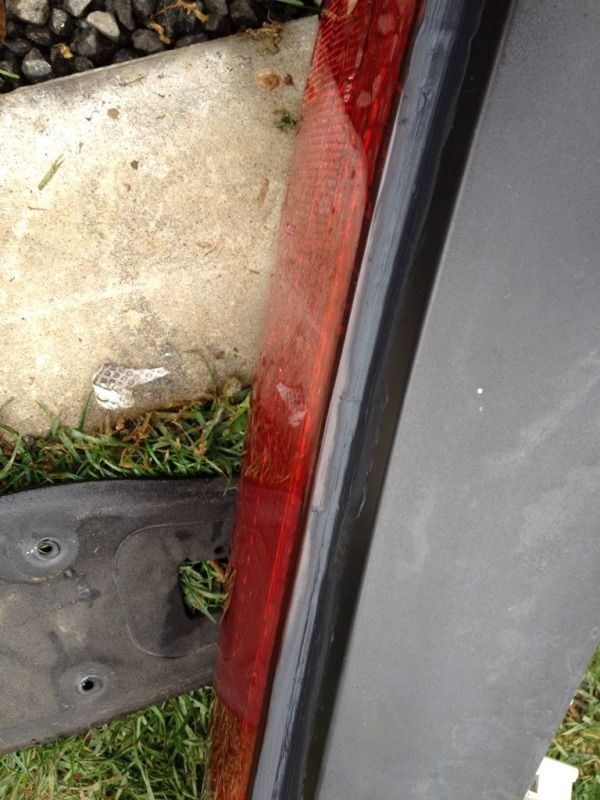
                  7. No look at your tail light closely there’s a gap where water runs down and thru time the gasket in there goes bad and water leaks inside. so we are going to place a strip of black silicone around the tail light to prevent this.
                  BEFORE


                  AFTER


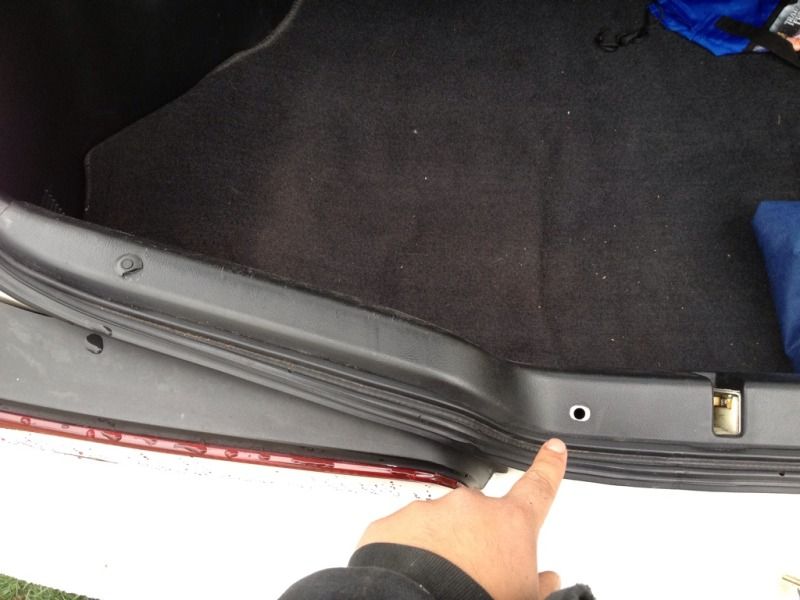
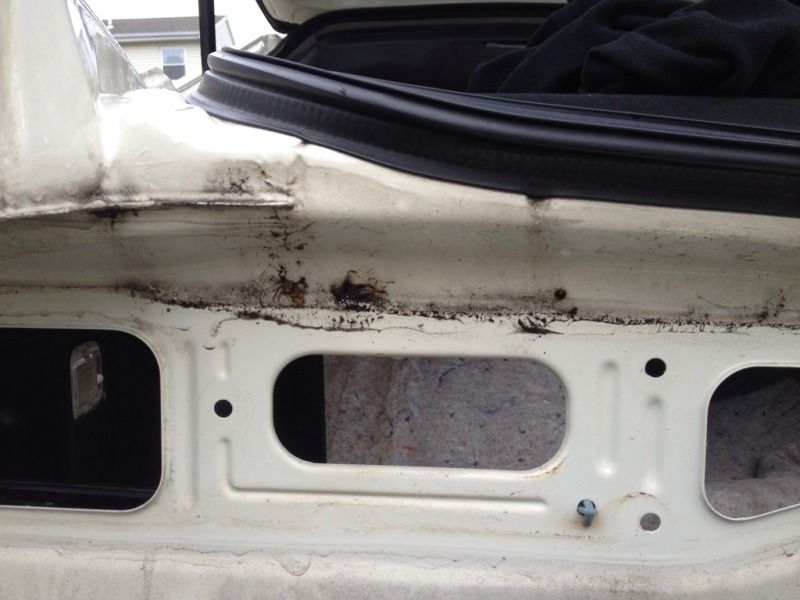
                  8. after you finish both tail lights go back to the car and you would see how dirty is the area where the tail light goes and if you pay attention you will see where the water runs into the turnk. Clean this up really good with your degreaser and dry it. ad a strip of silicone around the hole area where the tail light goes into place.


                  9. Last step put everything back on the same way your remove it and enjoy your dry trunk !
                  Comment


                    #10
                    Nice DC2R mate!
                    Thought about getting some new wheels?

                    Comment


                      #11
                      Originally posted by rookie View Post
                      Nice DC2R mate!
                      Thought about getting some new wheels?
                      Yes ! i would be getting some TE37 and re doing the exterior ! and rebuilding the engine agian.

                      Comment


                        #12
                        Well documented build!

                        Full respray?
                        ClubITR | Like

                        Comment


                          #13
                          Nice looking R!
                          Keep it up my good sir!
                          Team SunWorks

                          Tracktoy: Honda Integra Type R '99
                          Summer toy: Honda S2000 AP1 '01
                          Daily: Audi A6 2.0 TDi Quattro S-line '18

                          Comment


                            #14
                            Originally posted by vistecr View Post
                            Yes ! i would be getting some TE37 and re doing the exterior ! and rebuilding the engine agian.
                            Originally posted by felixR View Post
                            Well documented build!

                            Full respray?
                            Yes I would be doing full paint job, the current paint is pealing off the R live 90% of its life in florida where heat and sun is intense. also would be getting new p1 spec front lip, rear diffure and hopefully mugen wing if i can find a good deal.

                            Originally posted by raseri View Post
                            Nice looking R!
                            Keep it up my good sir!
                            thanks : )

                            Comment


                              #15
                              Thanks for the DIY! Will come in handy since my rearlights are leaking in water!

                              Great looking car by the way!
                              DC2R - J's Racing

                              Comment

                              Working...
                              X