DIY: DC5 rear upper control arm install
I recently put a pair of Hardrace adjustable rear upper control arms in my DC5 and I thought I would share some pictures and short comments on the process I went through. Note that myself and clubITR take no responsibility for any misadventures that may befall you if you attempt this DIY. Please only proceed if you have adequate mechanical knowledge and the right tools.
Things you will need:
10mm socket
17mm socket
Breaker bar
Torque wrench
Various extensions
17mm spanner
10mm spanner
Jack
Jack stands
Things that I used that might make your life easier or were unique to the Hardrace arms I was putting in:
17mm ratcheting spanner
10mm ratcheting spanner
3/4" spanner
3/4" socket
Various cable ties
Sidecutters
Adjustable shifter
Anti-seize
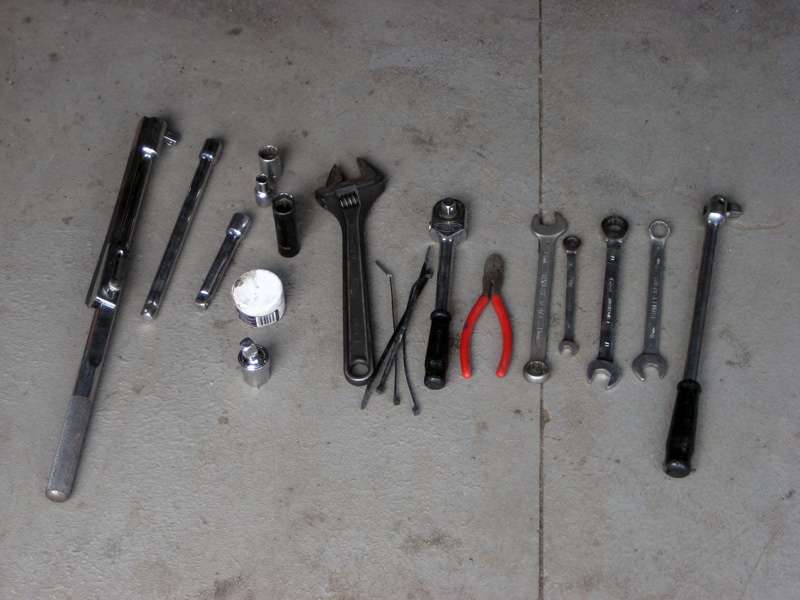
Figure 1: All the tools I used for the install.

Figure 2: The relevant page from the workshop manual

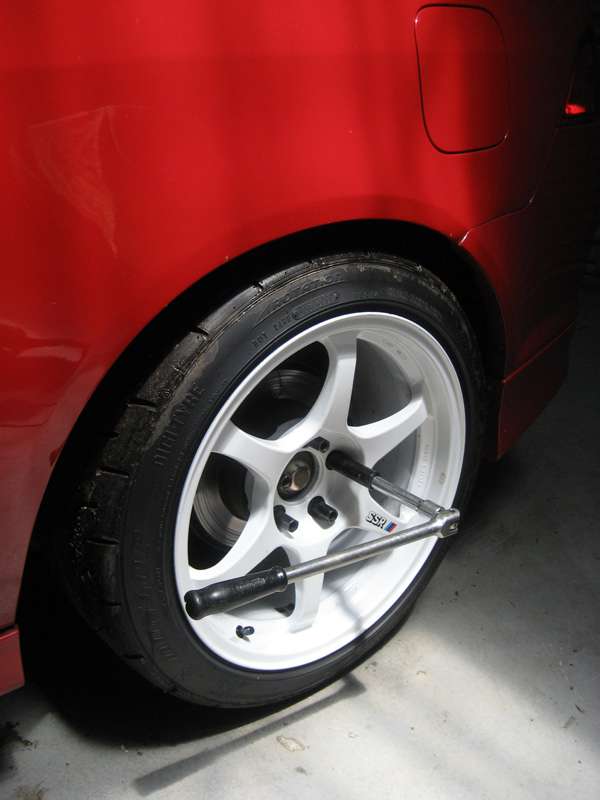
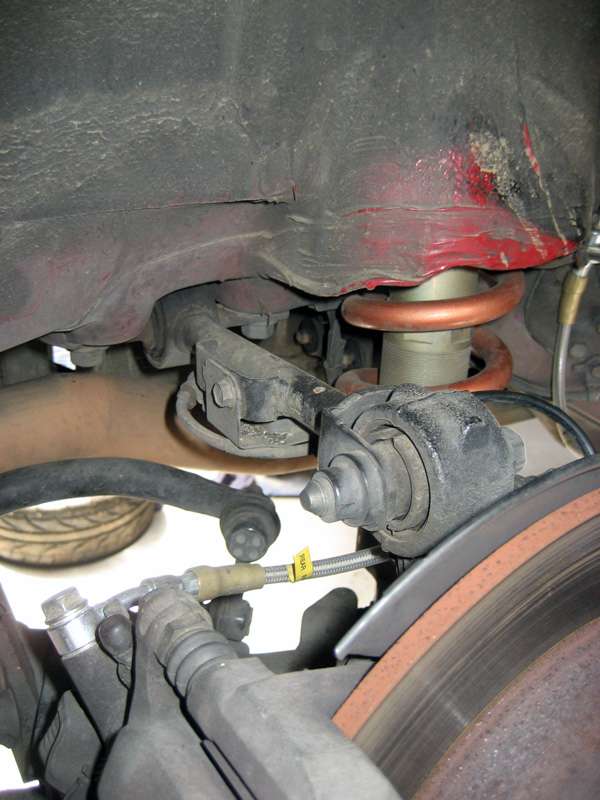
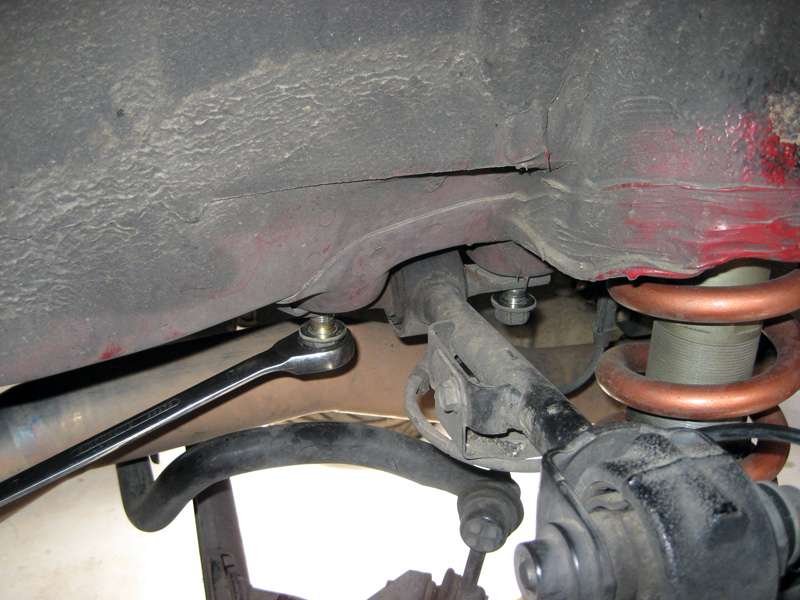
Step 1: Place the car on a solid level surface with the handbrake on. Loosen all the rear wheel nuts, refer Figure 3. Raise the car using the jack to as high as practicable. Place jack stands under the two rear jack points. Lower the car onto the stands and give the car a shove to make sure that it is stable. Remove the rear wheels and you should be faced with something like what is shown in Figure 4. The upper control arm that we are replacing is shown in Figure 5.
Figure 3: Loosening the wheel nuts

Figure 4: Wheel removed

Figure 5: OEM upper control arm

I recently put a pair of Hardrace adjustable rear upper control arms in my DC5 and I thought I would share some pictures and short comments on the process I went through. Note that myself and clubITR take no responsibility for any misadventures that may befall you if you attempt this DIY. Please only proceed if you have adequate mechanical knowledge and the right tools.
Things you will need:
10mm socket
17mm socket
Breaker bar
Torque wrench
Various extensions
17mm spanner
10mm spanner
Jack
Jack stands
Things that I used that might make your life easier or were unique to the Hardrace arms I was putting in:
17mm ratcheting spanner
10mm ratcheting spanner
3/4" spanner
3/4" socket
Various cable ties
Sidecutters
Adjustable shifter
Anti-seize
Figure 1: All the tools I used for the install.

Figure 2: The relevant page from the workshop manual

Step 1: Place the car on a solid level surface with the handbrake on. Loosen all the rear wheel nuts, refer Figure 3. Raise the car using the jack to as high as practicable. Place jack stands under the two rear jack points. Lower the car onto the stands and give the car a shove to make sure that it is stable. Remove the rear wheels and you should be faced with something like what is shown in Figure 4. The upper control arm that we are replacing is shown in Figure 5.
Figure 3: Loosening the wheel nuts

Figure 4: Wheel removed

Figure 5: OEM upper control arm


 .
.

Comment