Hey guys,
I've decided to create a tutorial on how to paint your DC5R's rocker cover. This is because I couldn't find a tutorial when I was completing mine that clearly described what was going on, in specific to my model.
As it's my first time doing a tutorial, I'm open to feed back for future tutorials to determine whether this was effective or not!
Hope this helps!
You need:
-Socket set (size 10 usually for DC5's)
-O-ring spanner
-Flat head screw driver
-Plastic (to cover engine bay with when exposed)
-Degreaser
-Microfibre
-Wax and grease remover
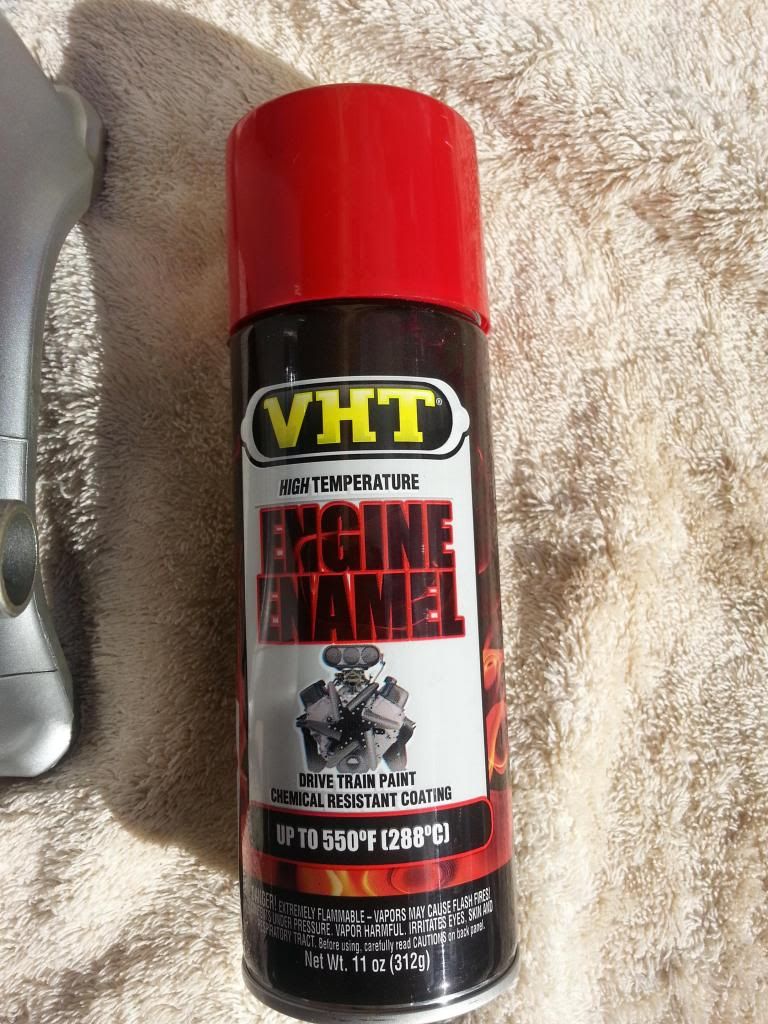
-VHT engine enamel or wrinkle (depending on preference. I chose engine enamel because I personally prefer the shine)
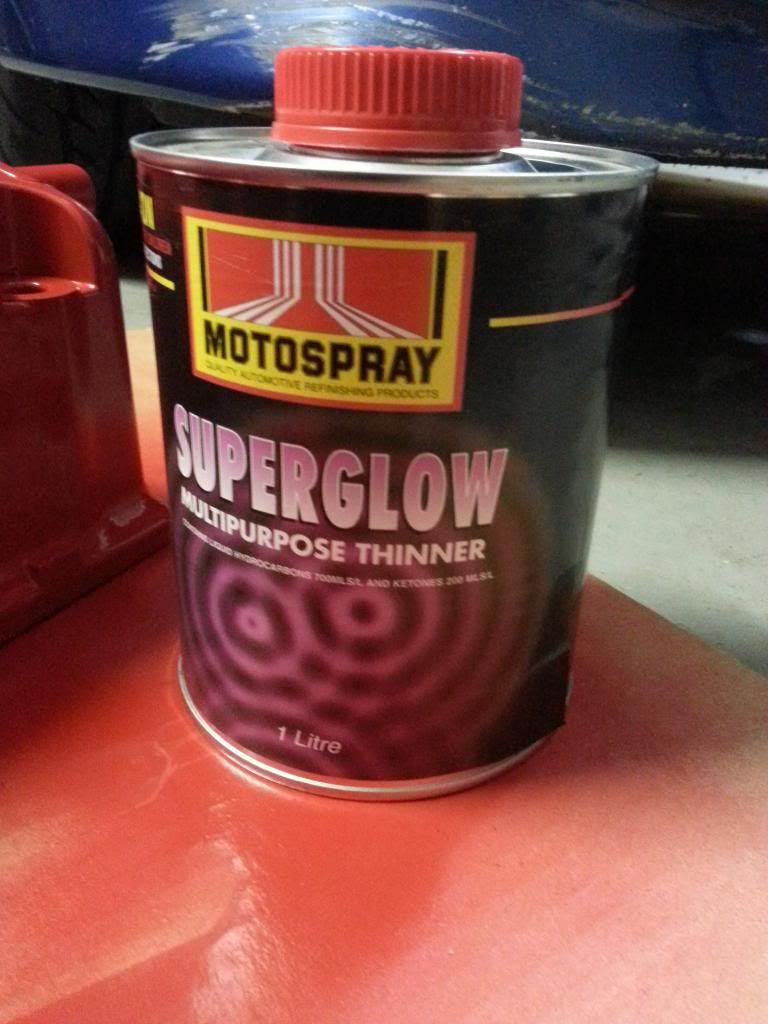
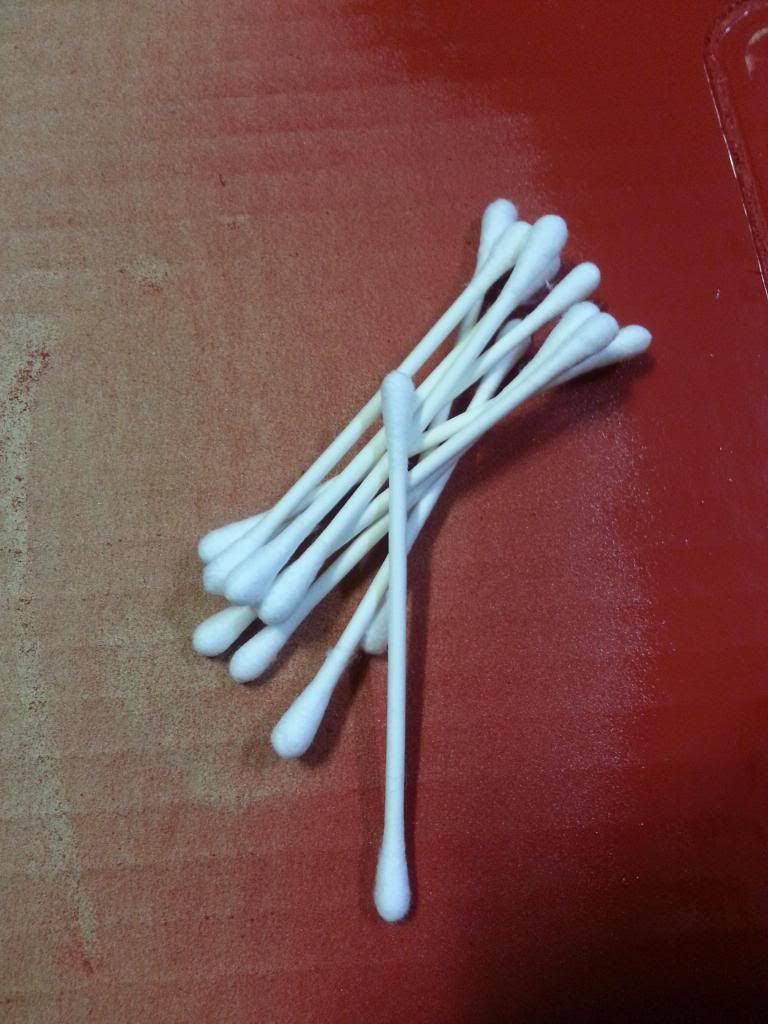
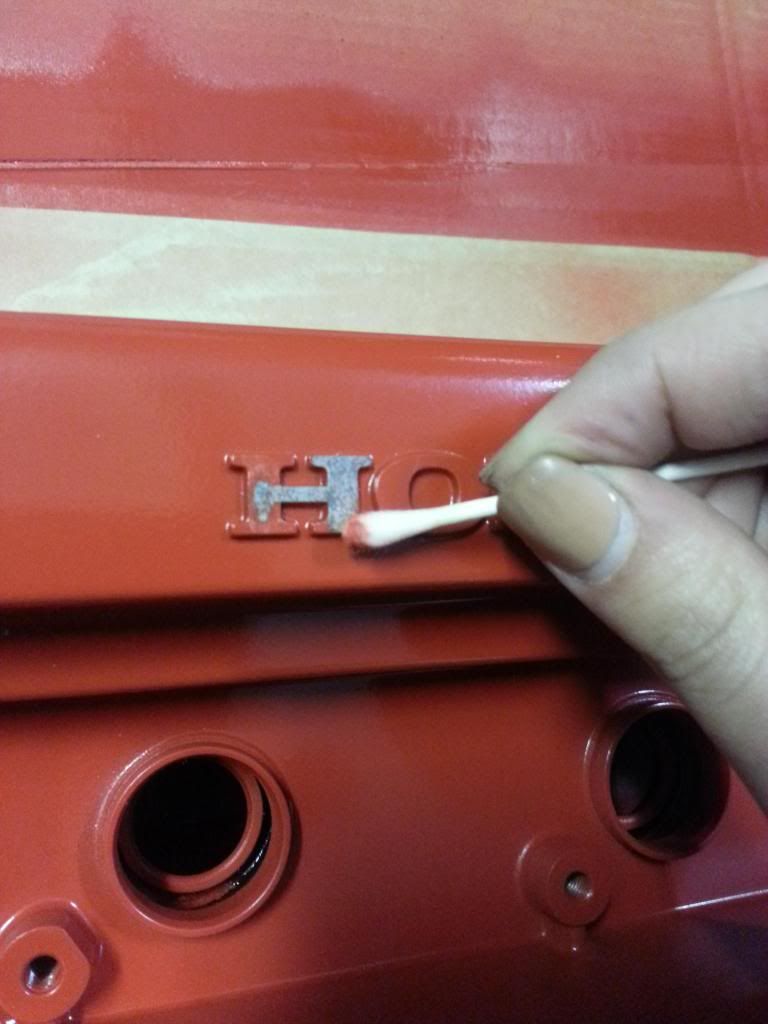
-Thinners and cotton ear buds OR sandpaper (depending on preference - to take the colour off the HONDA on the rocker cover)
-Gasket glue
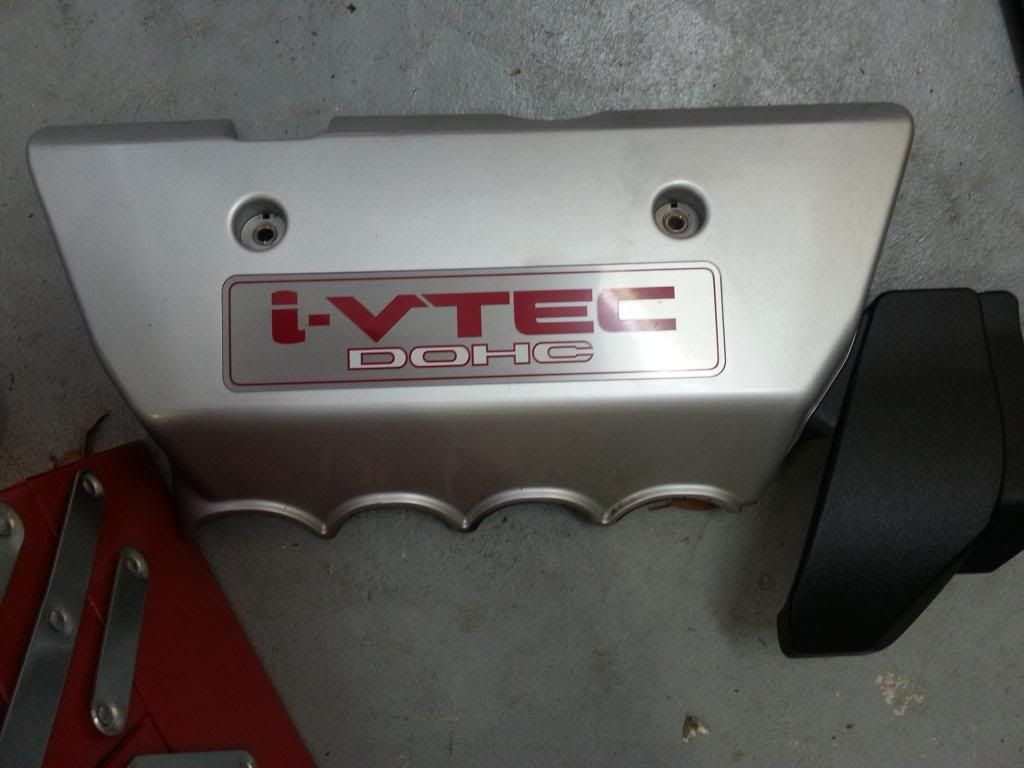
1. Take off the plastic engine cover which covers the fuel rail. This is pretty straight forward - use a socket tool to remove the bolts.
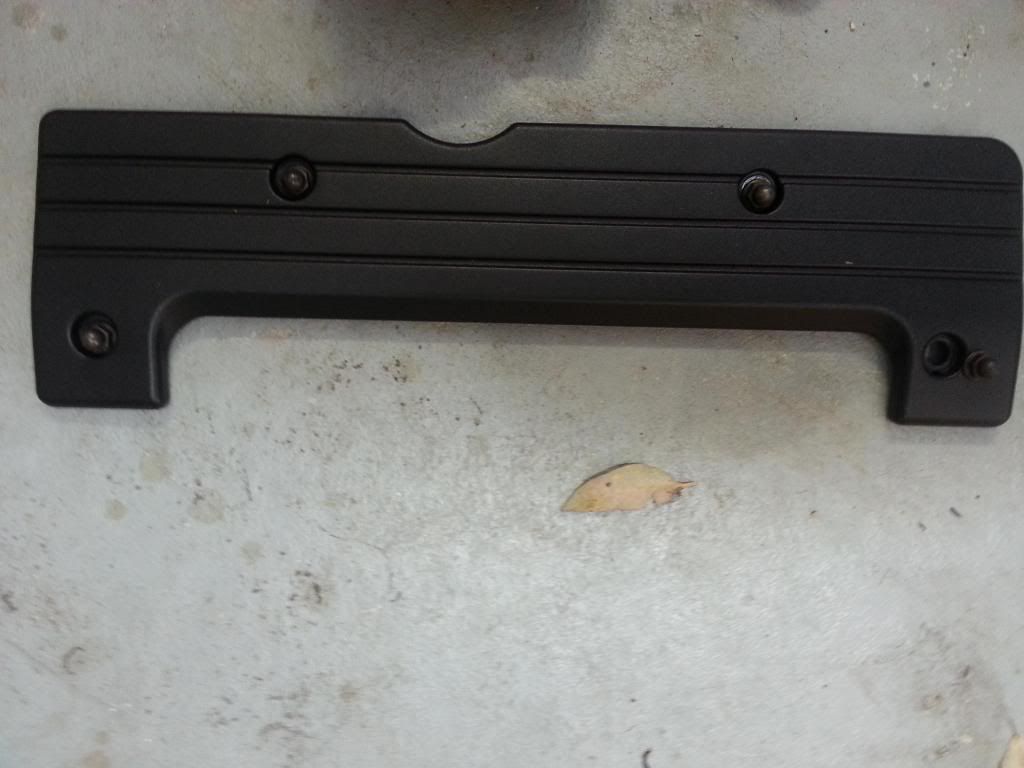
2. Take off the plastic cover that covers the spark plugs. Again, these can be removed similarly to that of the cover above. There are 4 bolts that cover this.
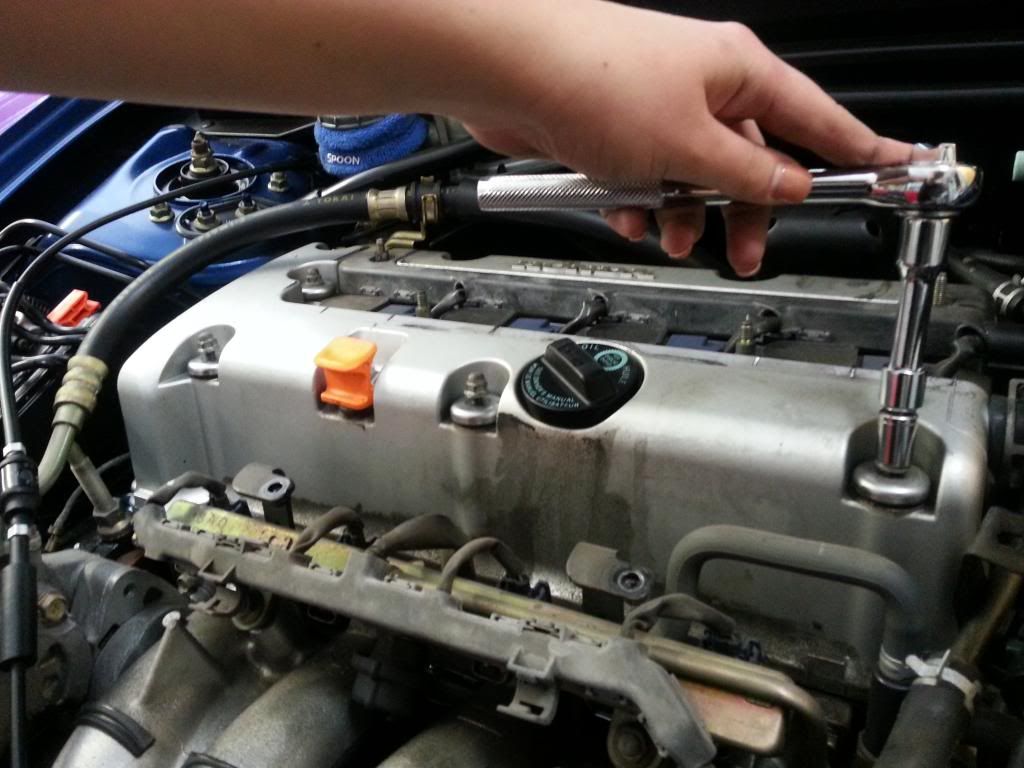
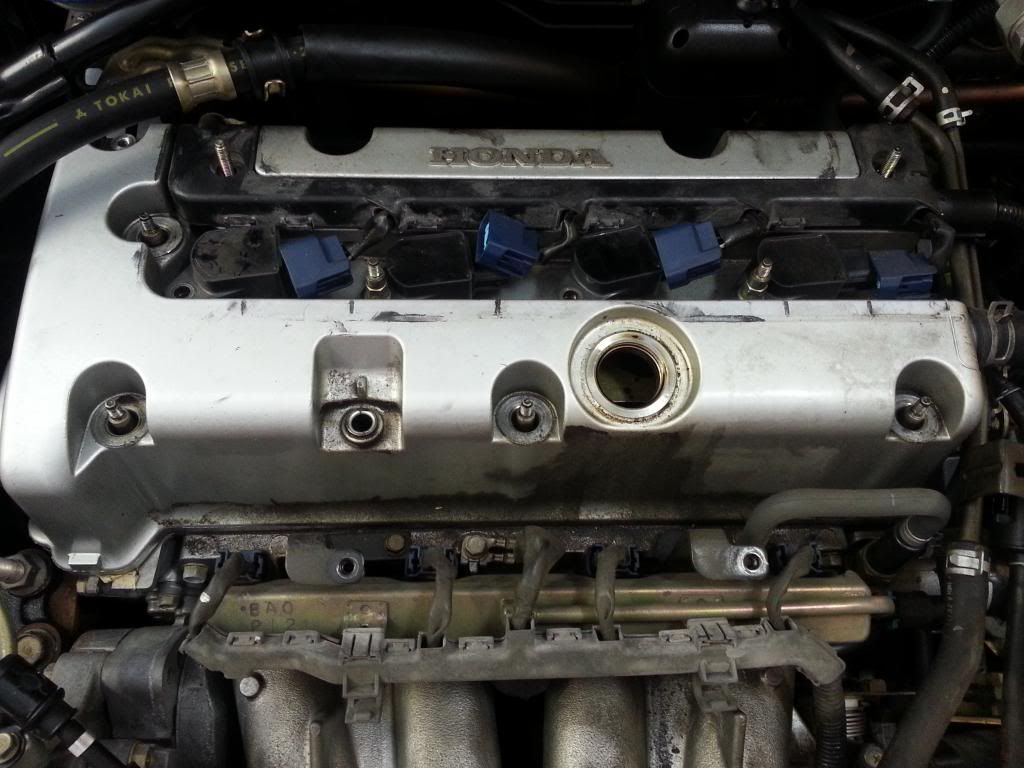
3. There are 6 bolts that are screwed on the actual rocker cover itself that tighten the rubber oil seals that have a silver cap to cover them.
Take these off, there are three at the top, one on the left and 2 on the back.
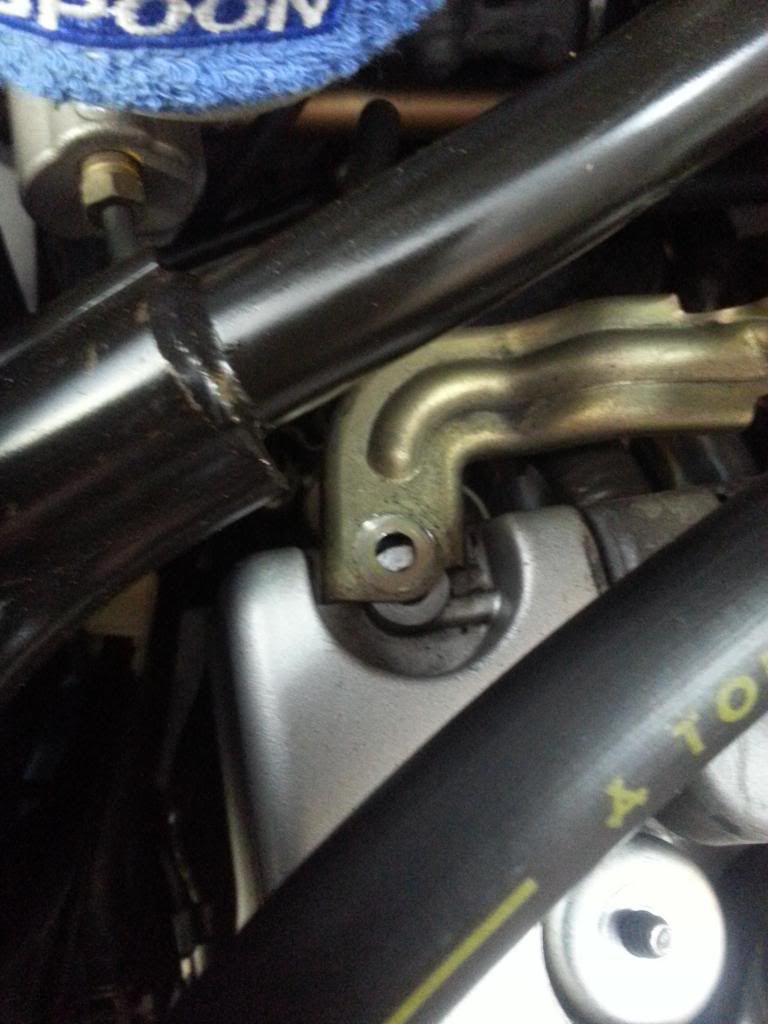
4. There is also a bracket that's attached by a bolt around the back left of the rocker cover. This must be removed. You can cable tie this to the sway bar to keep it out of the way if possible.
5. Take these seals off, there should be 6.

6. Undo the spark plug connectors and unbolt the bolts that hold down the ignition coils. The second and fourth one have quite a tricky bolt to undo, so you need a o-ring (I used a size 10) spanner to take it off. I found this took a little strength.
(2 short clips on a few extra explanations)
http://s1279.photobucket.com/user/ti...83d1c.mp4.html
http://s1279.photobucket.com/user/ti...656ce.mp4.html
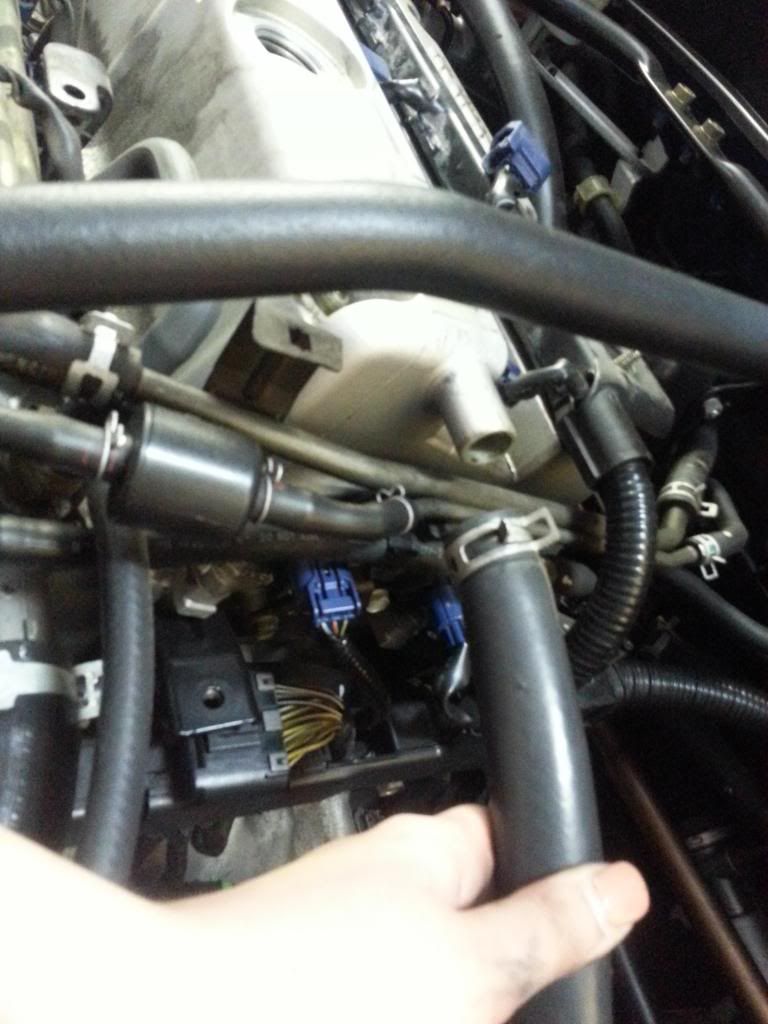
7. Get pliers to undo the hose clamp that is over the oil breather hose and slide off.
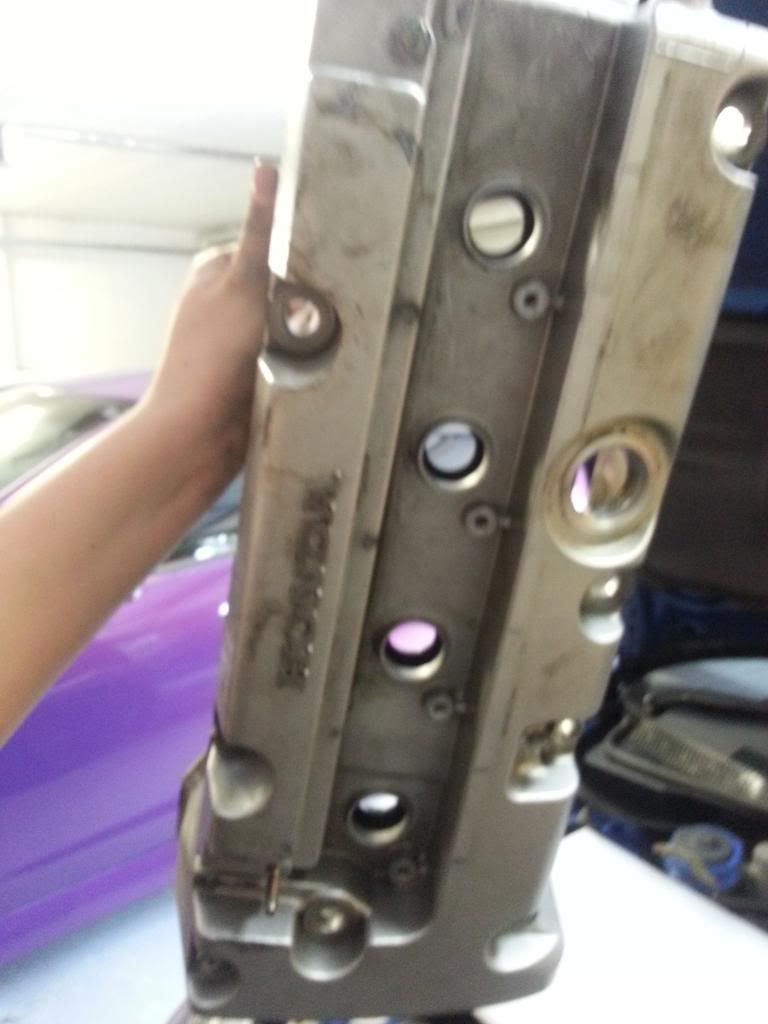
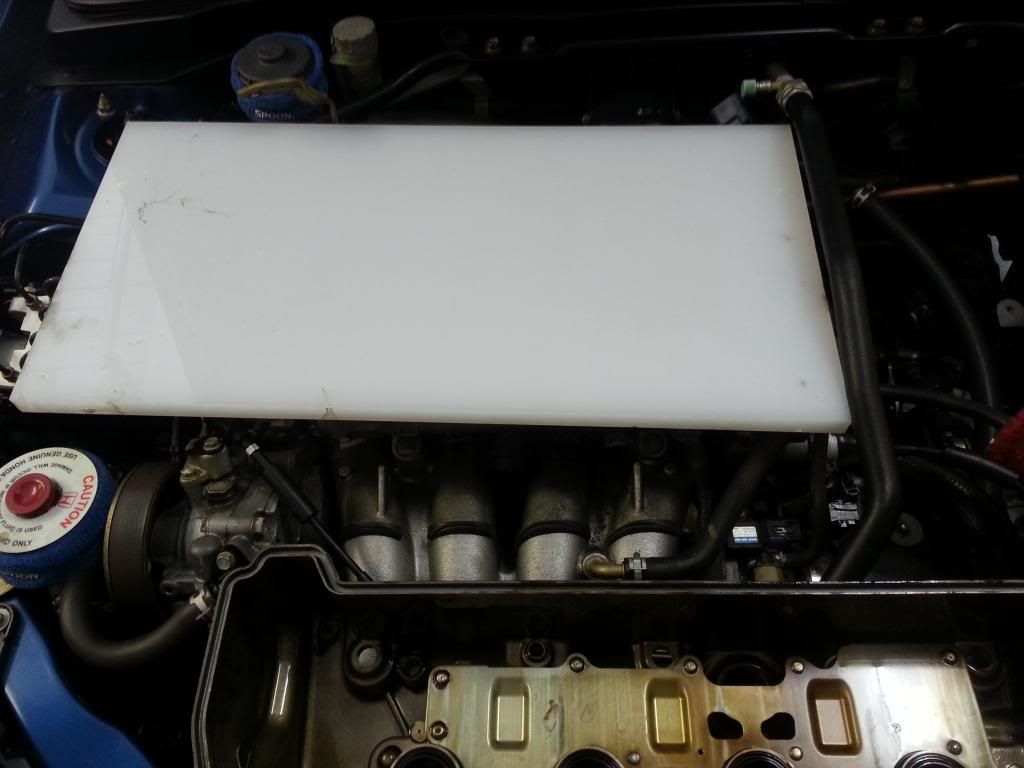
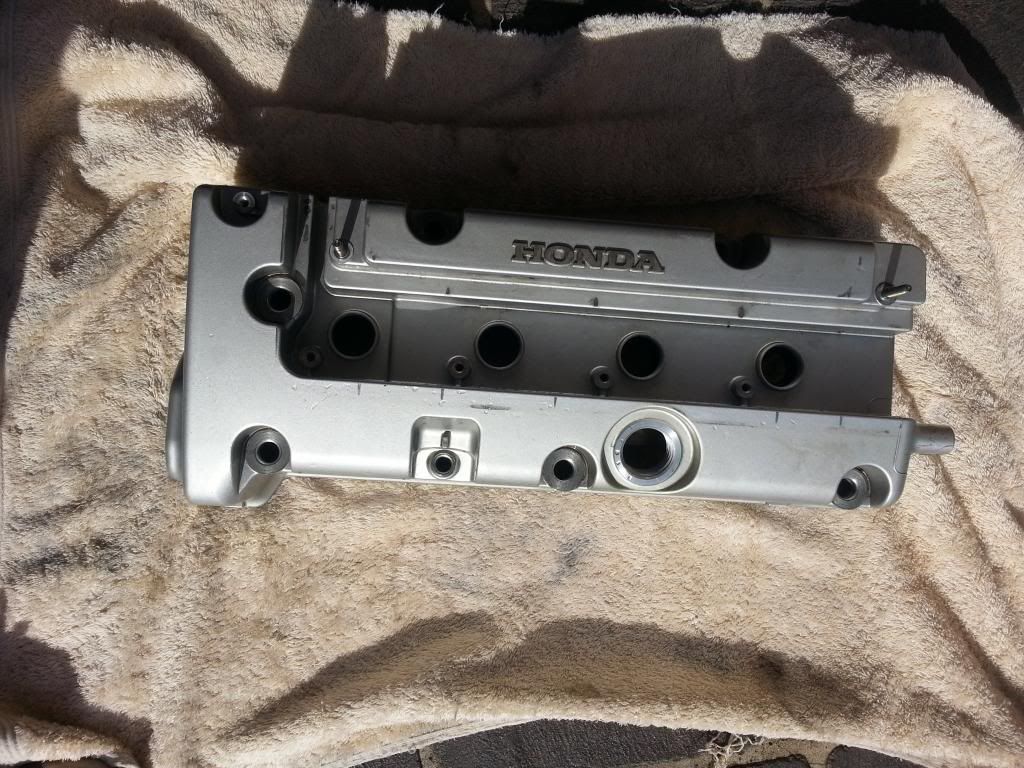
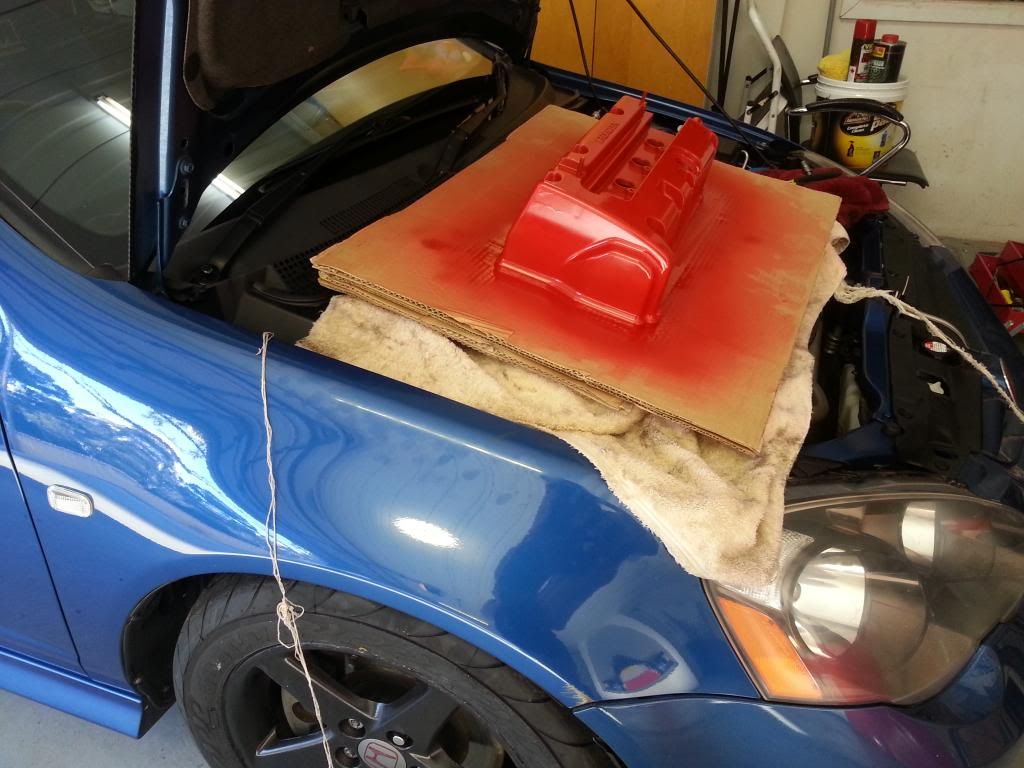
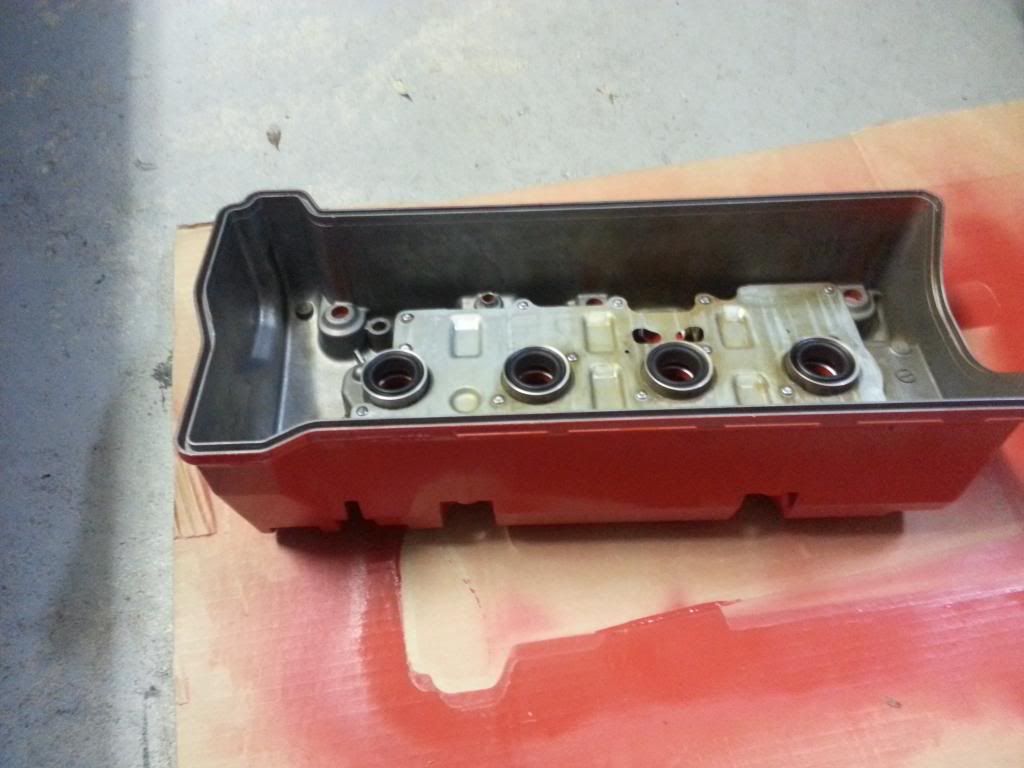
8. Take the rocker cover off, this takes a little force to break the seal. Take the gasket seal off the bottom. The spark plug seals do not have to come off, but you can take them off if concerned. Ensure to cover the engine bay with plastic. I covered mine with a plastic shelf and then a towel over the top.
9. Once taken off, get degreaser and place rocker cover on grass. Degrease thoroughly on the outside (the inside of the cover is optional). Leave the degreaser on for a minute then wash. Leave in the sun to dry.

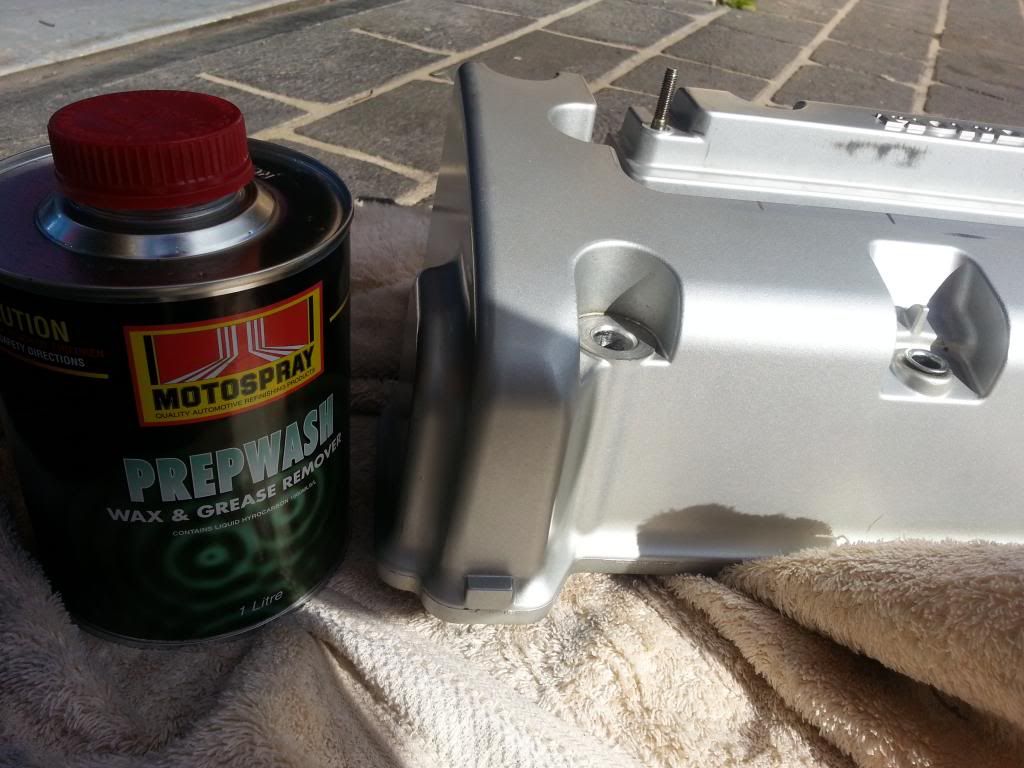
10. Get the wax and grease remover and clean the exterior of the rocker cover. Preferable with a microfiber so there is no dust left on it. Leave to dry.
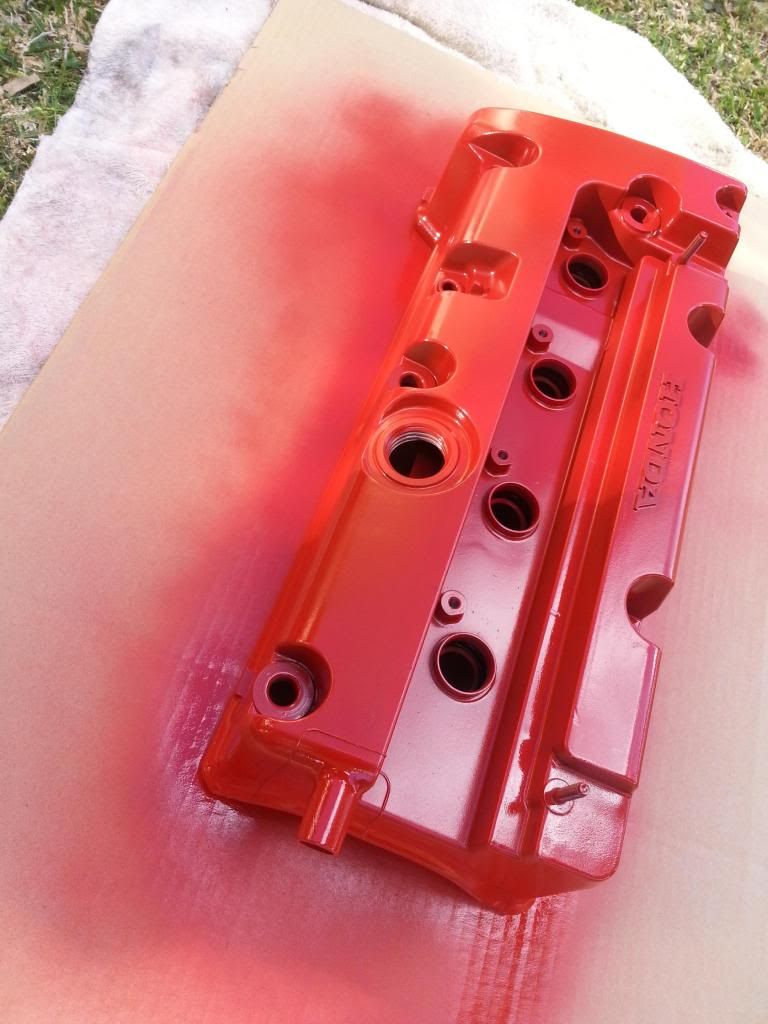
11. Get the VHT Engine enamel or wrinkle paint (whichever you prefer) place rocker cover on cardboard and give a light dust coat. Ensure that this coat is dried before applying another. Repeat. I did three coats before happy with the finish, however, you can apply more. Leave for a few hours to dry.
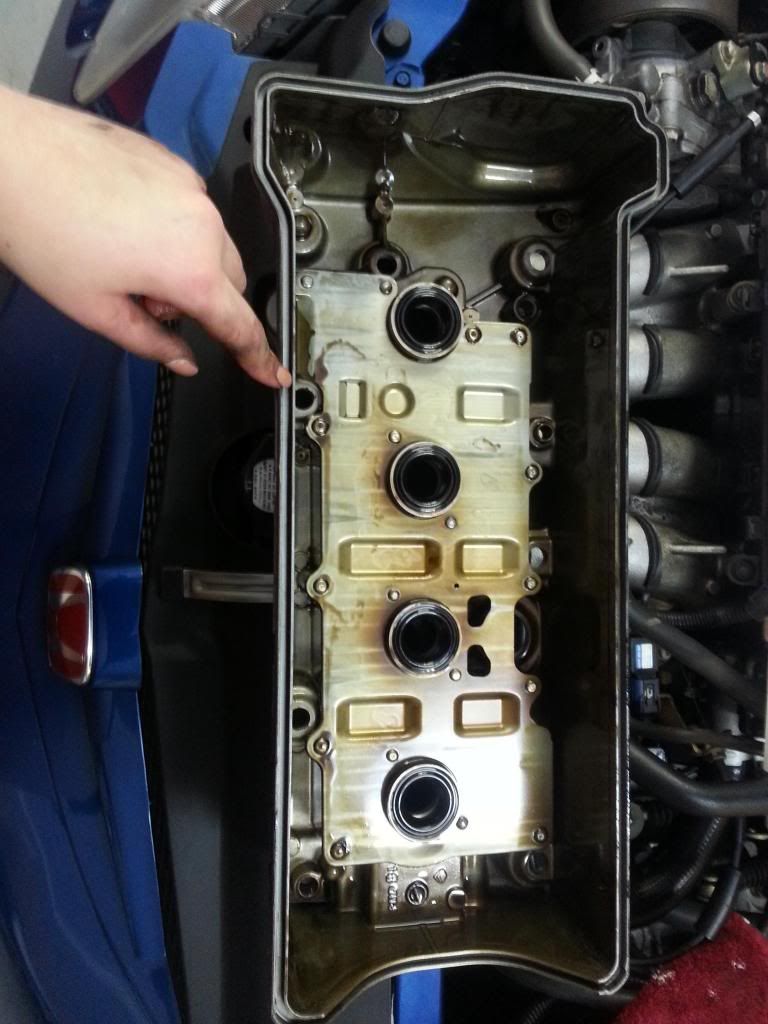
12. Get thinners and cotton ear buds. I used these to go over the words Honda and where the bolts screw on and underneath the rocker cover where the gasket sits to ensure the gasket can go back in smoothly. OR you can sand these sections. Depending on what your preference is.
13. For the gasket, I reused mine as I was waiting for my new one in the mail. I used Gasket Glue in the grey and used a thin layer on both sides of the gasket to make sure no oil leaks occur. Doing this around the spark plug gaskets are also preferable if reusing.
This is how I put mine back together, it worked fine. There may be other ways, but this worked okay for me.
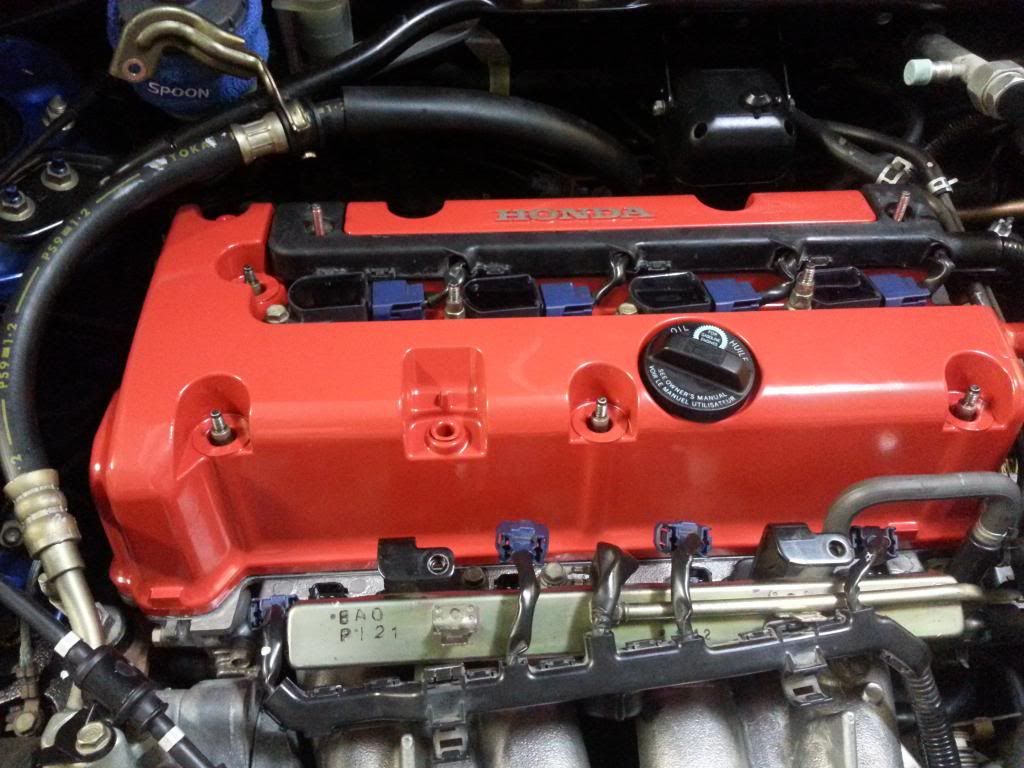
14. Place the rocker cover back onto the threads and begin with bringing the spark plug connectors over and sitting it on top of the rocker cover. Get the ignition coils reconnect with the spark plug connectors (make sure to place in order taken out). Bolt these in place.
15. Get the oil seal gaskets (6 of them) and place them on the threads. Get the nuts and get a socket tool to tighten them back on. Do this in a motion that you do one nut at the front, then one at the back area. This way, the rocker cover will not tilt up and it will be easier to put the nuts on. – similarly to that of tightening lock nuts on a wheel hub. (WARNING: DO NOT TIGHTEN TOO TIGHT OR THREAD CAN BREAK). Bolt the bracket back on the left rear corner that holds a hose.
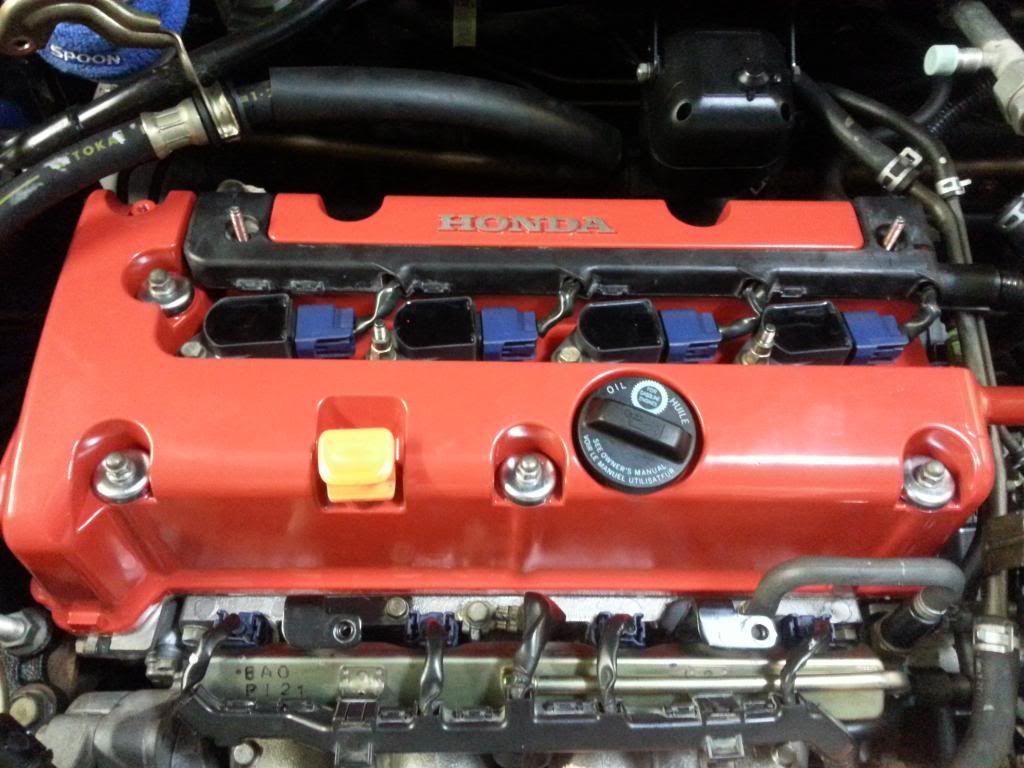
16. Place the spark plug cover (4 nuts) and the plastic engine cover (2 bolts) back on with the socket set. Then put the dip stick and the oil cap back on.

And there you have it!
I've decided to create a tutorial on how to paint your DC5R's rocker cover. This is because I couldn't find a tutorial when I was completing mine that clearly described what was going on, in specific to my model.
As it's my first time doing a tutorial, I'm open to feed back for future tutorials to determine whether this was effective or not!
Hope this helps!
You need:
-Socket set (size 10 usually for DC5's)
-O-ring spanner
-Flat head screw driver
-Plastic (to cover engine bay with when exposed)
-Degreaser
-Microfibre
-Wax and grease remover
-VHT engine enamel or wrinkle (depending on preference. I chose engine enamel because I personally prefer the shine)
-Thinners and cotton ear buds OR sandpaper (depending on preference - to take the colour off the HONDA on the rocker cover)
-Gasket glue
1. Take off the plastic engine cover which covers the fuel rail. This is pretty straight forward - use a socket tool to remove the bolts.
2. Take off the plastic cover that covers the spark plugs. Again, these can be removed similarly to that of the cover above. There are 4 bolts that cover this.
3. There are 6 bolts that are screwed on the actual rocker cover itself that tighten the rubber oil seals that have a silver cap to cover them.
Take these off, there are three at the top, one on the left and 2 on the back.
4. There is also a bracket that's attached by a bolt around the back left of the rocker cover. This must be removed. You can cable tie this to the sway bar to keep it out of the way if possible.
5. Take these seals off, there should be 6.
6. Undo the spark plug connectors and unbolt the bolts that hold down the ignition coils. The second and fourth one have quite a tricky bolt to undo, so you need a o-ring (I used a size 10) spanner to take it off. I found this took a little strength.
(2 short clips on a few extra explanations)
http://s1279.photobucket.com/user/ti...83d1c.mp4.html
http://s1279.photobucket.com/user/ti...656ce.mp4.html
7. Get pliers to undo the hose clamp that is over the oil breather hose and slide off.
8. Take the rocker cover off, this takes a little force to break the seal. Take the gasket seal off the bottom. The spark plug seals do not have to come off, but you can take them off if concerned. Ensure to cover the engine bay with plastic. I covered mine with a plastic shelf and then a towel over the top.
9. Once taken off, get degreaser and place rocker cover on grass. Degrease thoroughly on the outside (the inside of the cover is optional). Leave the degreaser on for a minute then wash. Leave in the sun to dry.
10. Get the wax and grease remover and clean the exterior of the rocker cover. Preferable with a microfiber so there is no dust left on it. Leave to dry.
11. Get the VHT Engine enamel or wrinkle paint (whichever you prefer) place rocker cover on cardboard and give a light dust coat. Ensure that this coat is dried before applying another. Repeat. I did three coats before happy with the finish, however, you can apply more. Leave for a few hours to dry.
12. Get thinners and cotton ear buds. I used these to go over the words Honda and where the bolts screw on and underneath the rocker cover where the gasket sits to ensure the gasket can go back in smoothly. OR you can sand these sections. Depending on what your preference is.
13. For the gasket, I reused mine as I was waiting for my new one in the mail. I used Gasket Glue in the grey and used a thin layer on both sides of the gasket to make sure no oil leaks occur. Doing this around the spark plug gaskets are also preferable if reusing.
This is how I put mine back together, it worked fine. There may be other ways, but this worked okay for me.
14. Place the rocker cover back onto the threads and begin with bringing the spark plug connectors over and sitting it on top of the rocker cover. Get the ignition coils reconnect with the spark plug connectors (make sure to place in order taken out). Bolt these in place.
15. Get the oil seal gaskets (6 of them) and place them on the threads. Get the nuts and get a socket tool to tighten them back on. Do this in a motion that you do one nut at the front, then one at the back area. This way, the rocker cover will not tilt up and it will be easier to put the nuts on. – similarly to that of tightening lock nuts on a wheel hub. (WARNING: DO NOT TIGHTEN TOO TIGHT OR THREAD CAN BREAK). Bolt the bracket back on the left rear corner that holds a hose.
16. Place the spark plug cover (4 nuts) and the plastic engine cover (2 bolts) back on with the socket set. Then put the dip stick and the oil cap back on.
And there you have it!
Comment